Desserts

White chocolate + raspberry blondies

When there’s something I have in my head that I want to make but I’m not quite sure exactly how to do it, I start with some research.

I look in recipe books and I google and google and google, reading all the recipes that grab my attention and that look like the thing I have in mind. As I’m reading them I’m just know what I think sounds right and, often, what I just think, ‘oh no, I don’t that’s going to work’.

Then I give it a go, mixing different things I’ve read and seen and seeing how it works out, making notes so I remember what I did and what I thought worked.

And then, some days later, I try it again.

And always, always, I try to simplify wherever I can.

For this recipe, I’ve simplified everything so the quantities are easy to remember.

It’s also really simple to make - basically everything is just mixed in one big bowl and poured into a baking tray to cook.

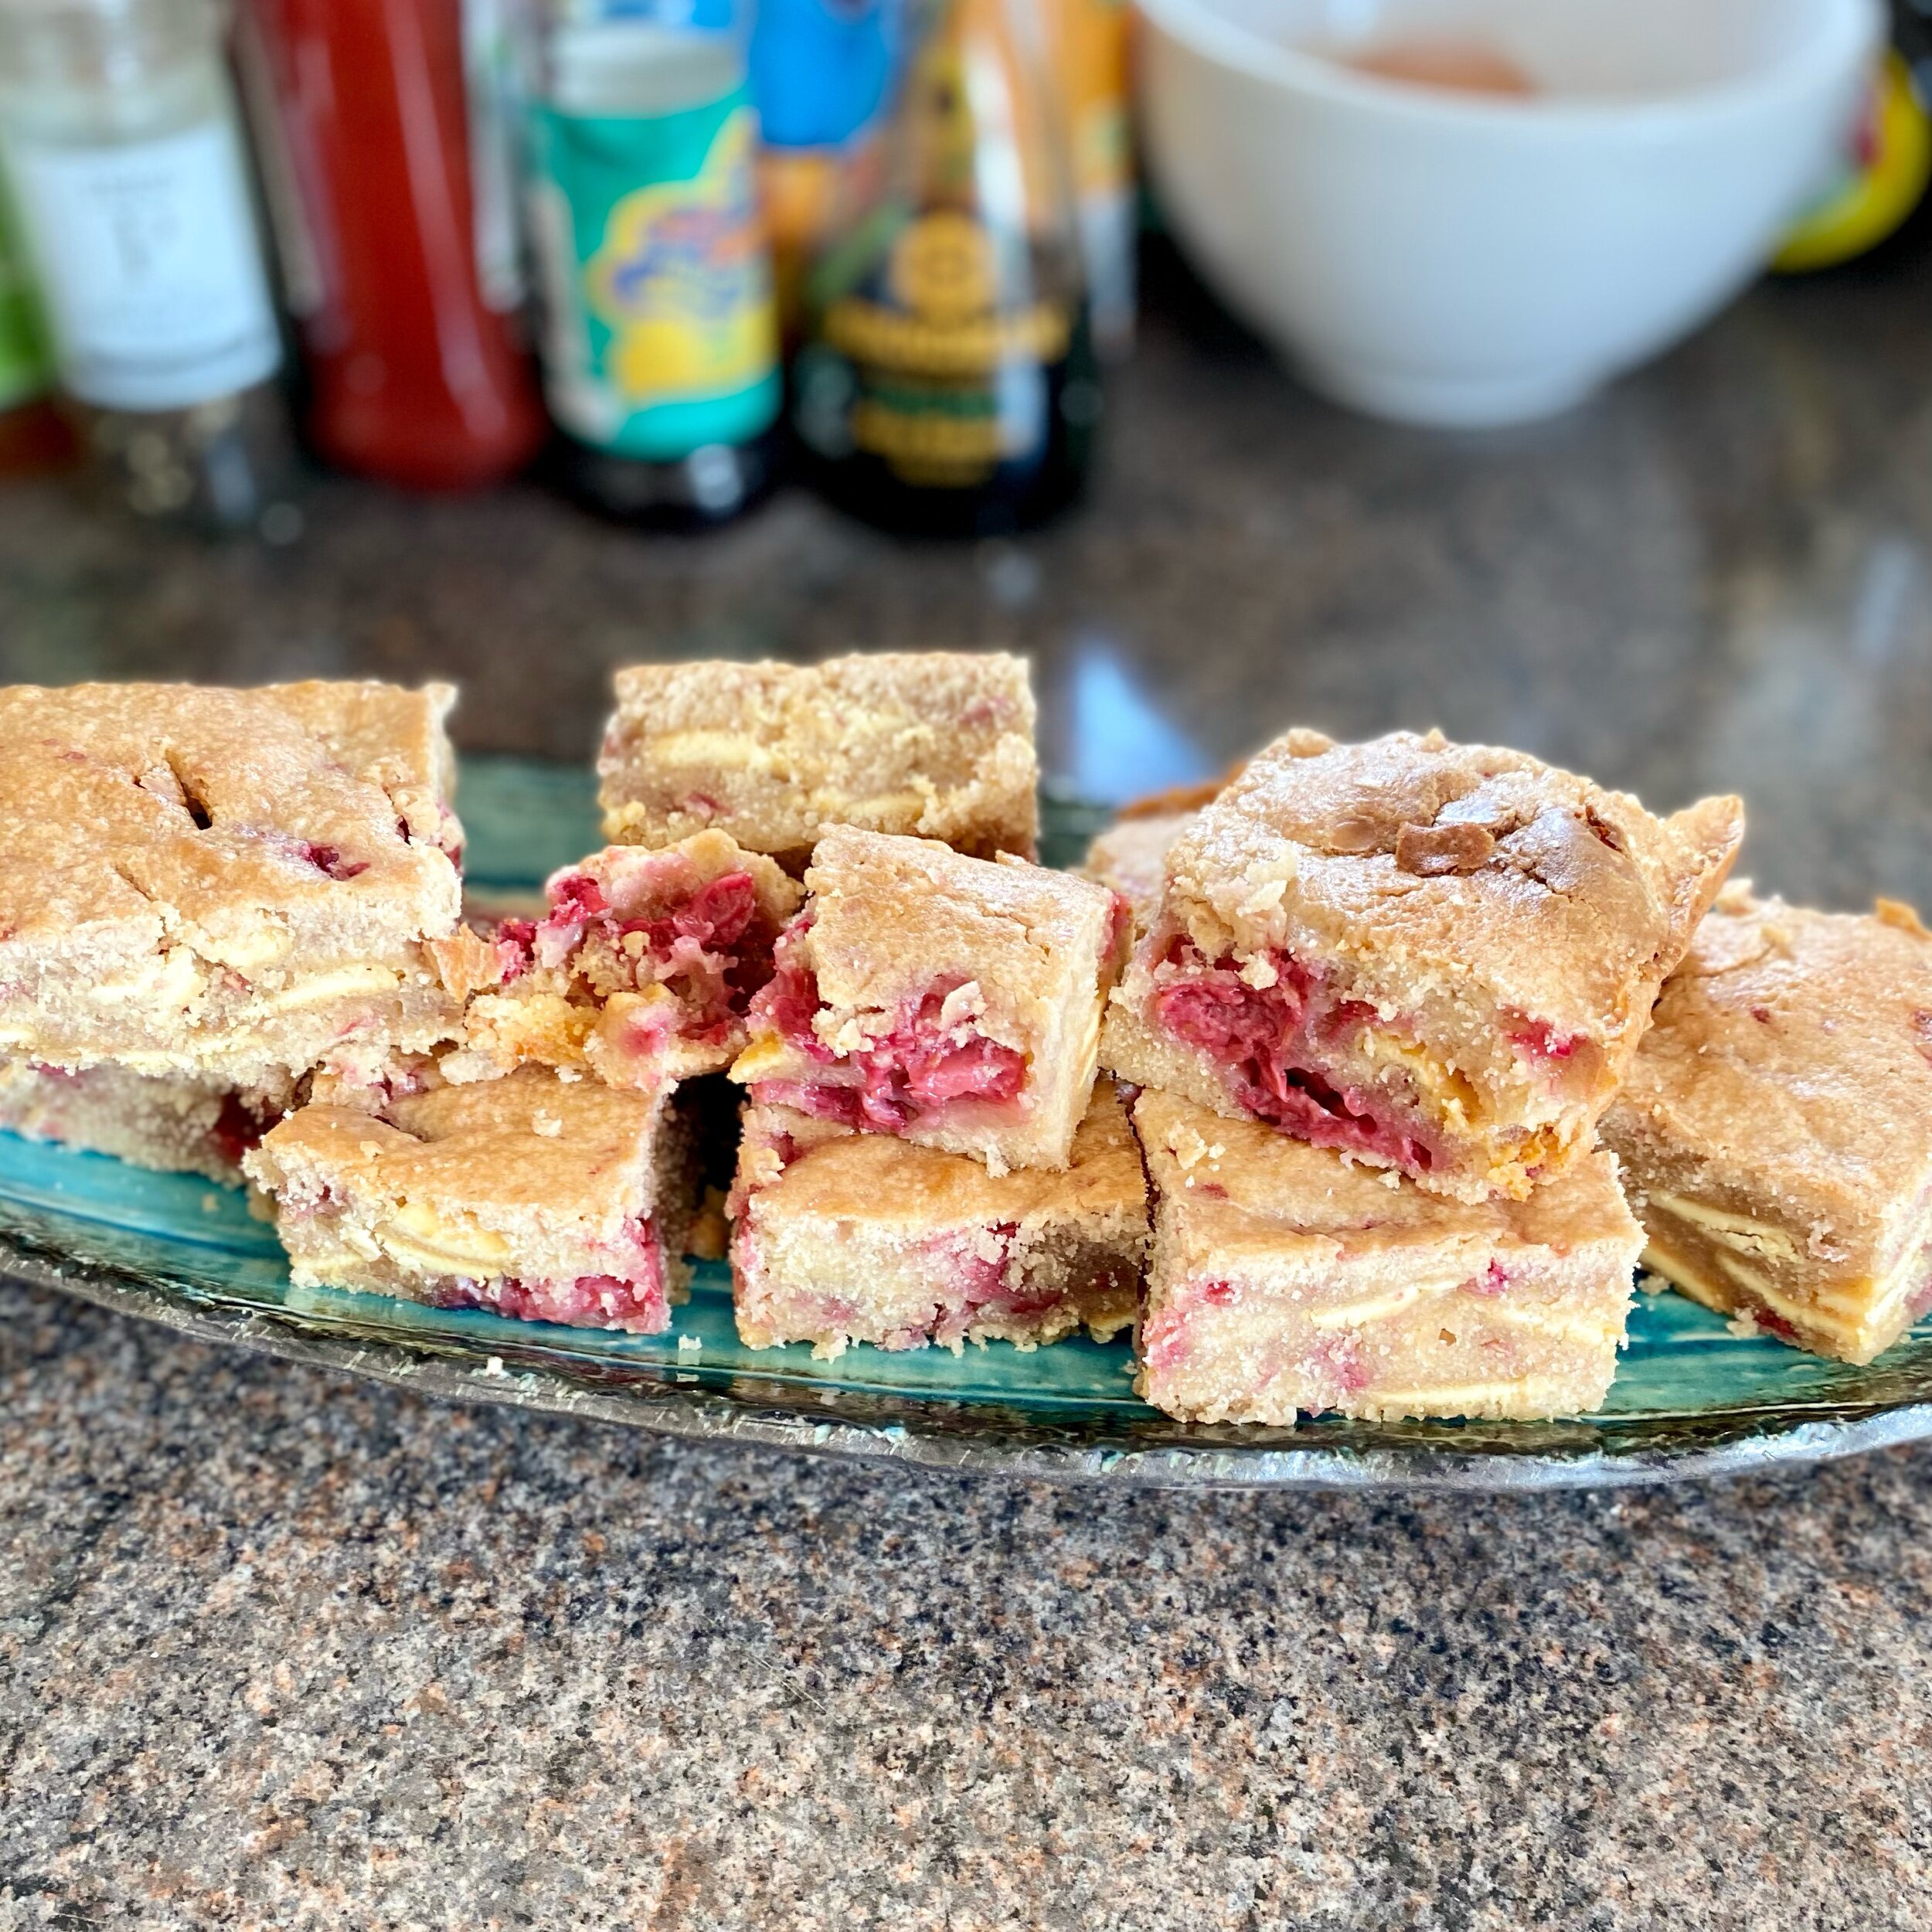
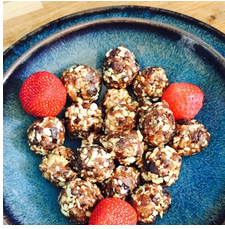
I absolutely love the combination of white chocolate and raspberries - so summery.

I don’t have a sweet tooth at all and these are undeniably quite sweet!

But every now and then I just really fancy something sweet with a cup of tea so I’ll make these and eat one …. and then give the others away to neighbours and friends …


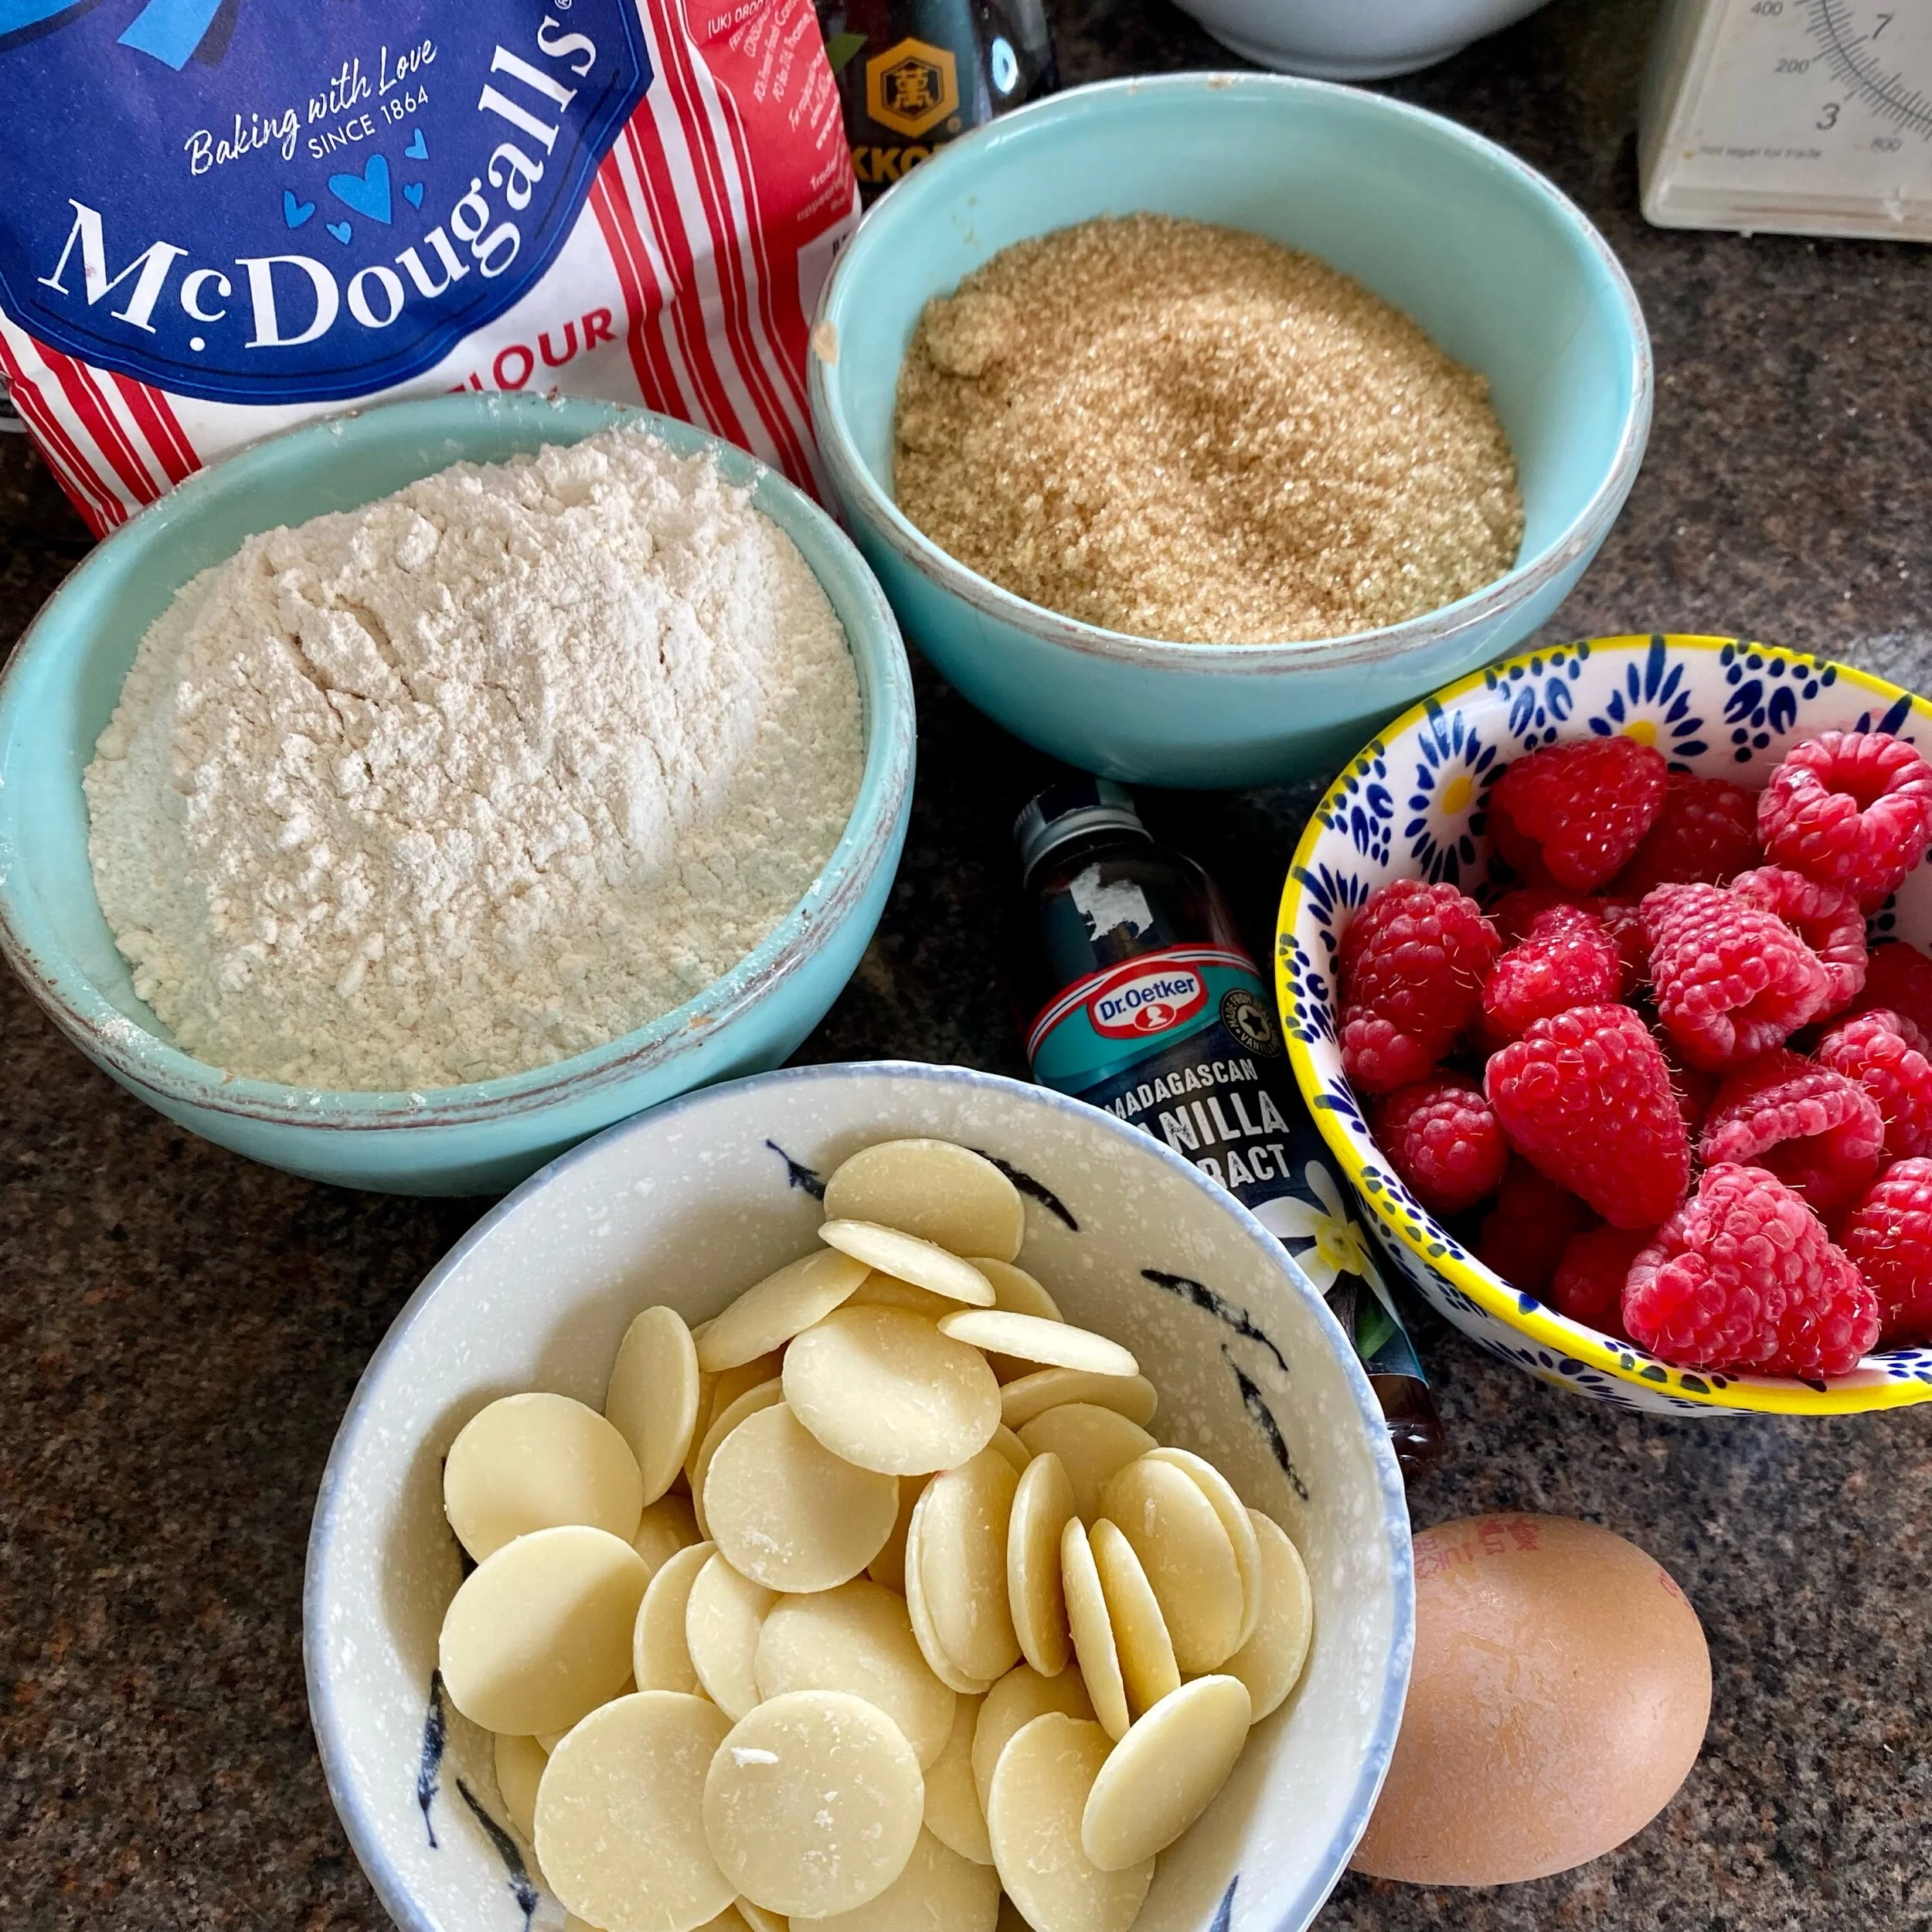
To make probably around 12 squares, you’ll need:
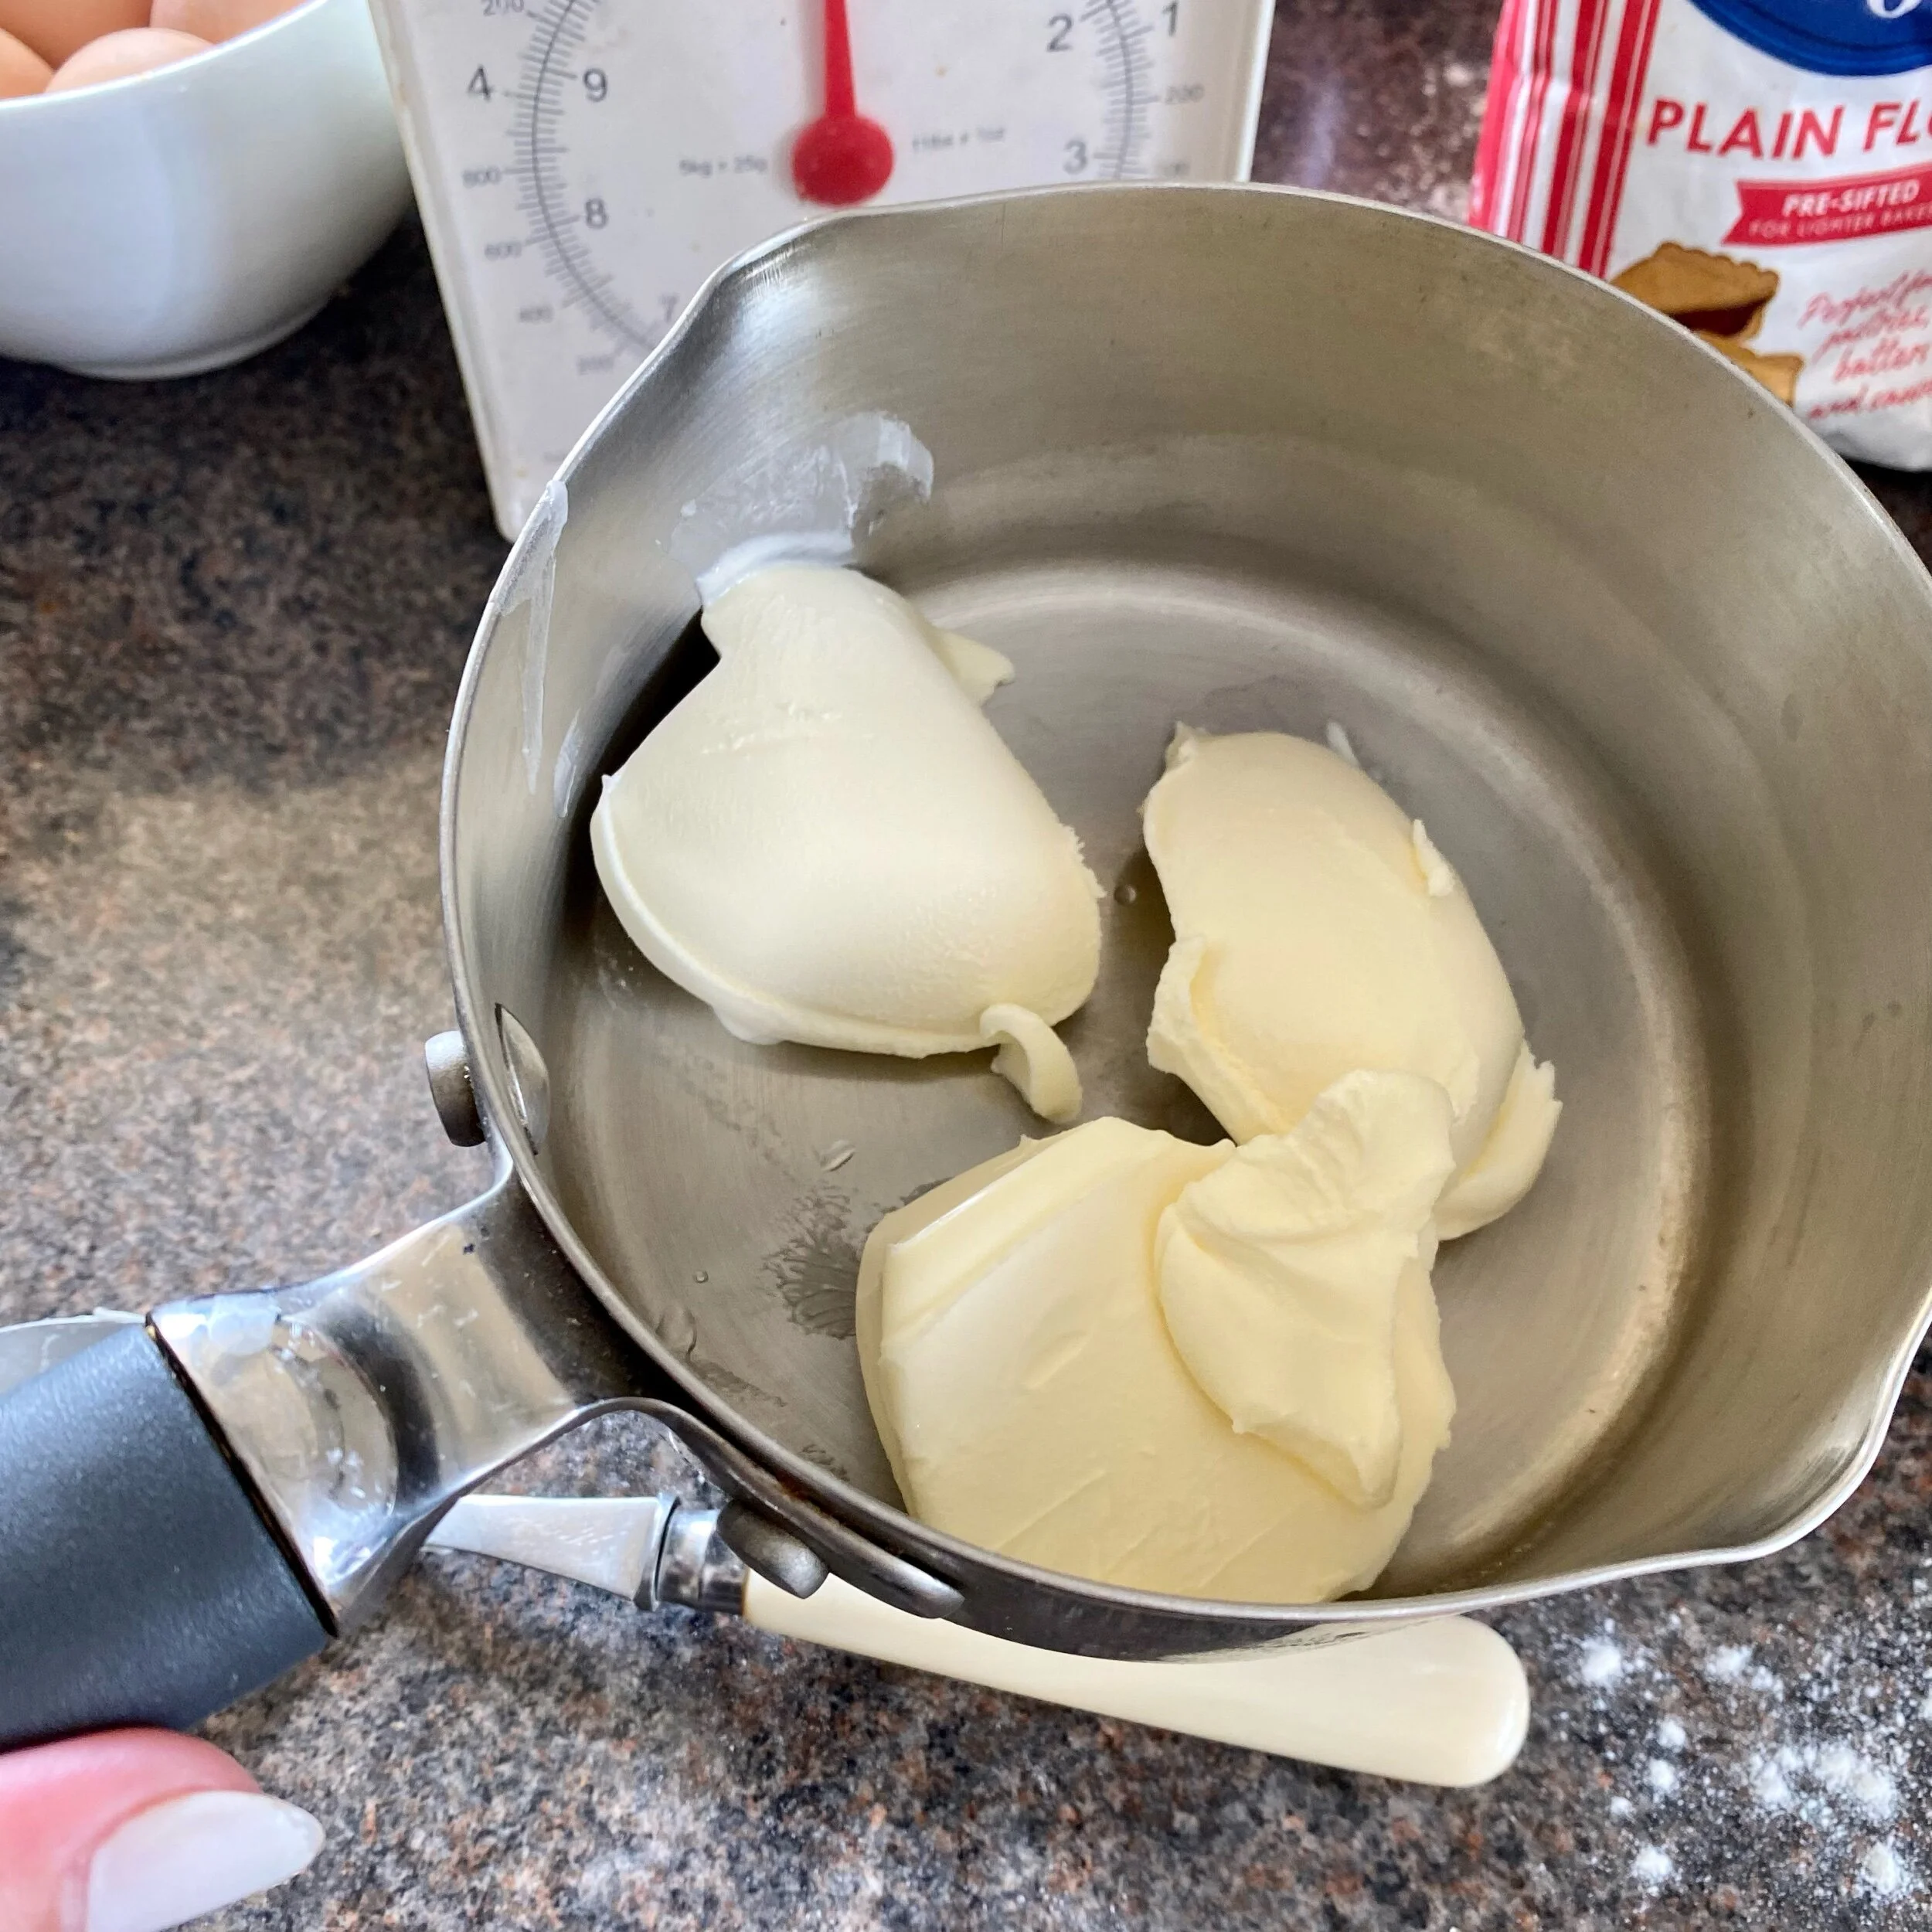
150g butter, melted

a little knob of butter for greasing the tin

200g demerara sugar

2 teaspoons vanilla extract

1 medium egg

200g plain flour

150g raspberries (I used fresh but frozen would work too)

150g white chocolate pieces - I used white chocolate buttons but that was only because there wasn’t a bar of white chocolate in the shop - otherwise I do rather like smashing it up in its packaging with a rolling pin and having lovely uneven little chunks of chocolate. But the buttons were good too).


Put the oven on to heat up. I always forget to mention this bit as I have a gas oven and you don’t need to pre-heat them.

I put mine onto Gas Mark 6 so just a nice sort of medium heat. I’ve looked it up and this should be equal to around 200C or 400F - but you know your oven so do what feels right to you.

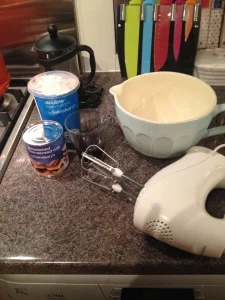
And now to get everything ready and weighed out, with the butter put straight into a little pan over a low heat to melt gently.

While it’s doing so, butter a square tin (or whatever shape you like really) and then put a piece of greaseproof paper/baking paper on top and so the ends hang off each side and then tuck in if you can.

I’m sure it would also be perfectly fine with just the buttered tin, but the paper does make it really simple to take out once cooked so is worth doing if you have some.

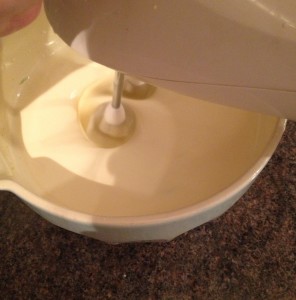
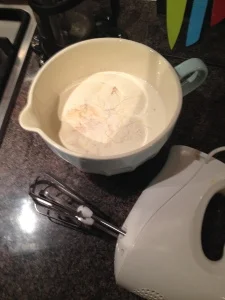
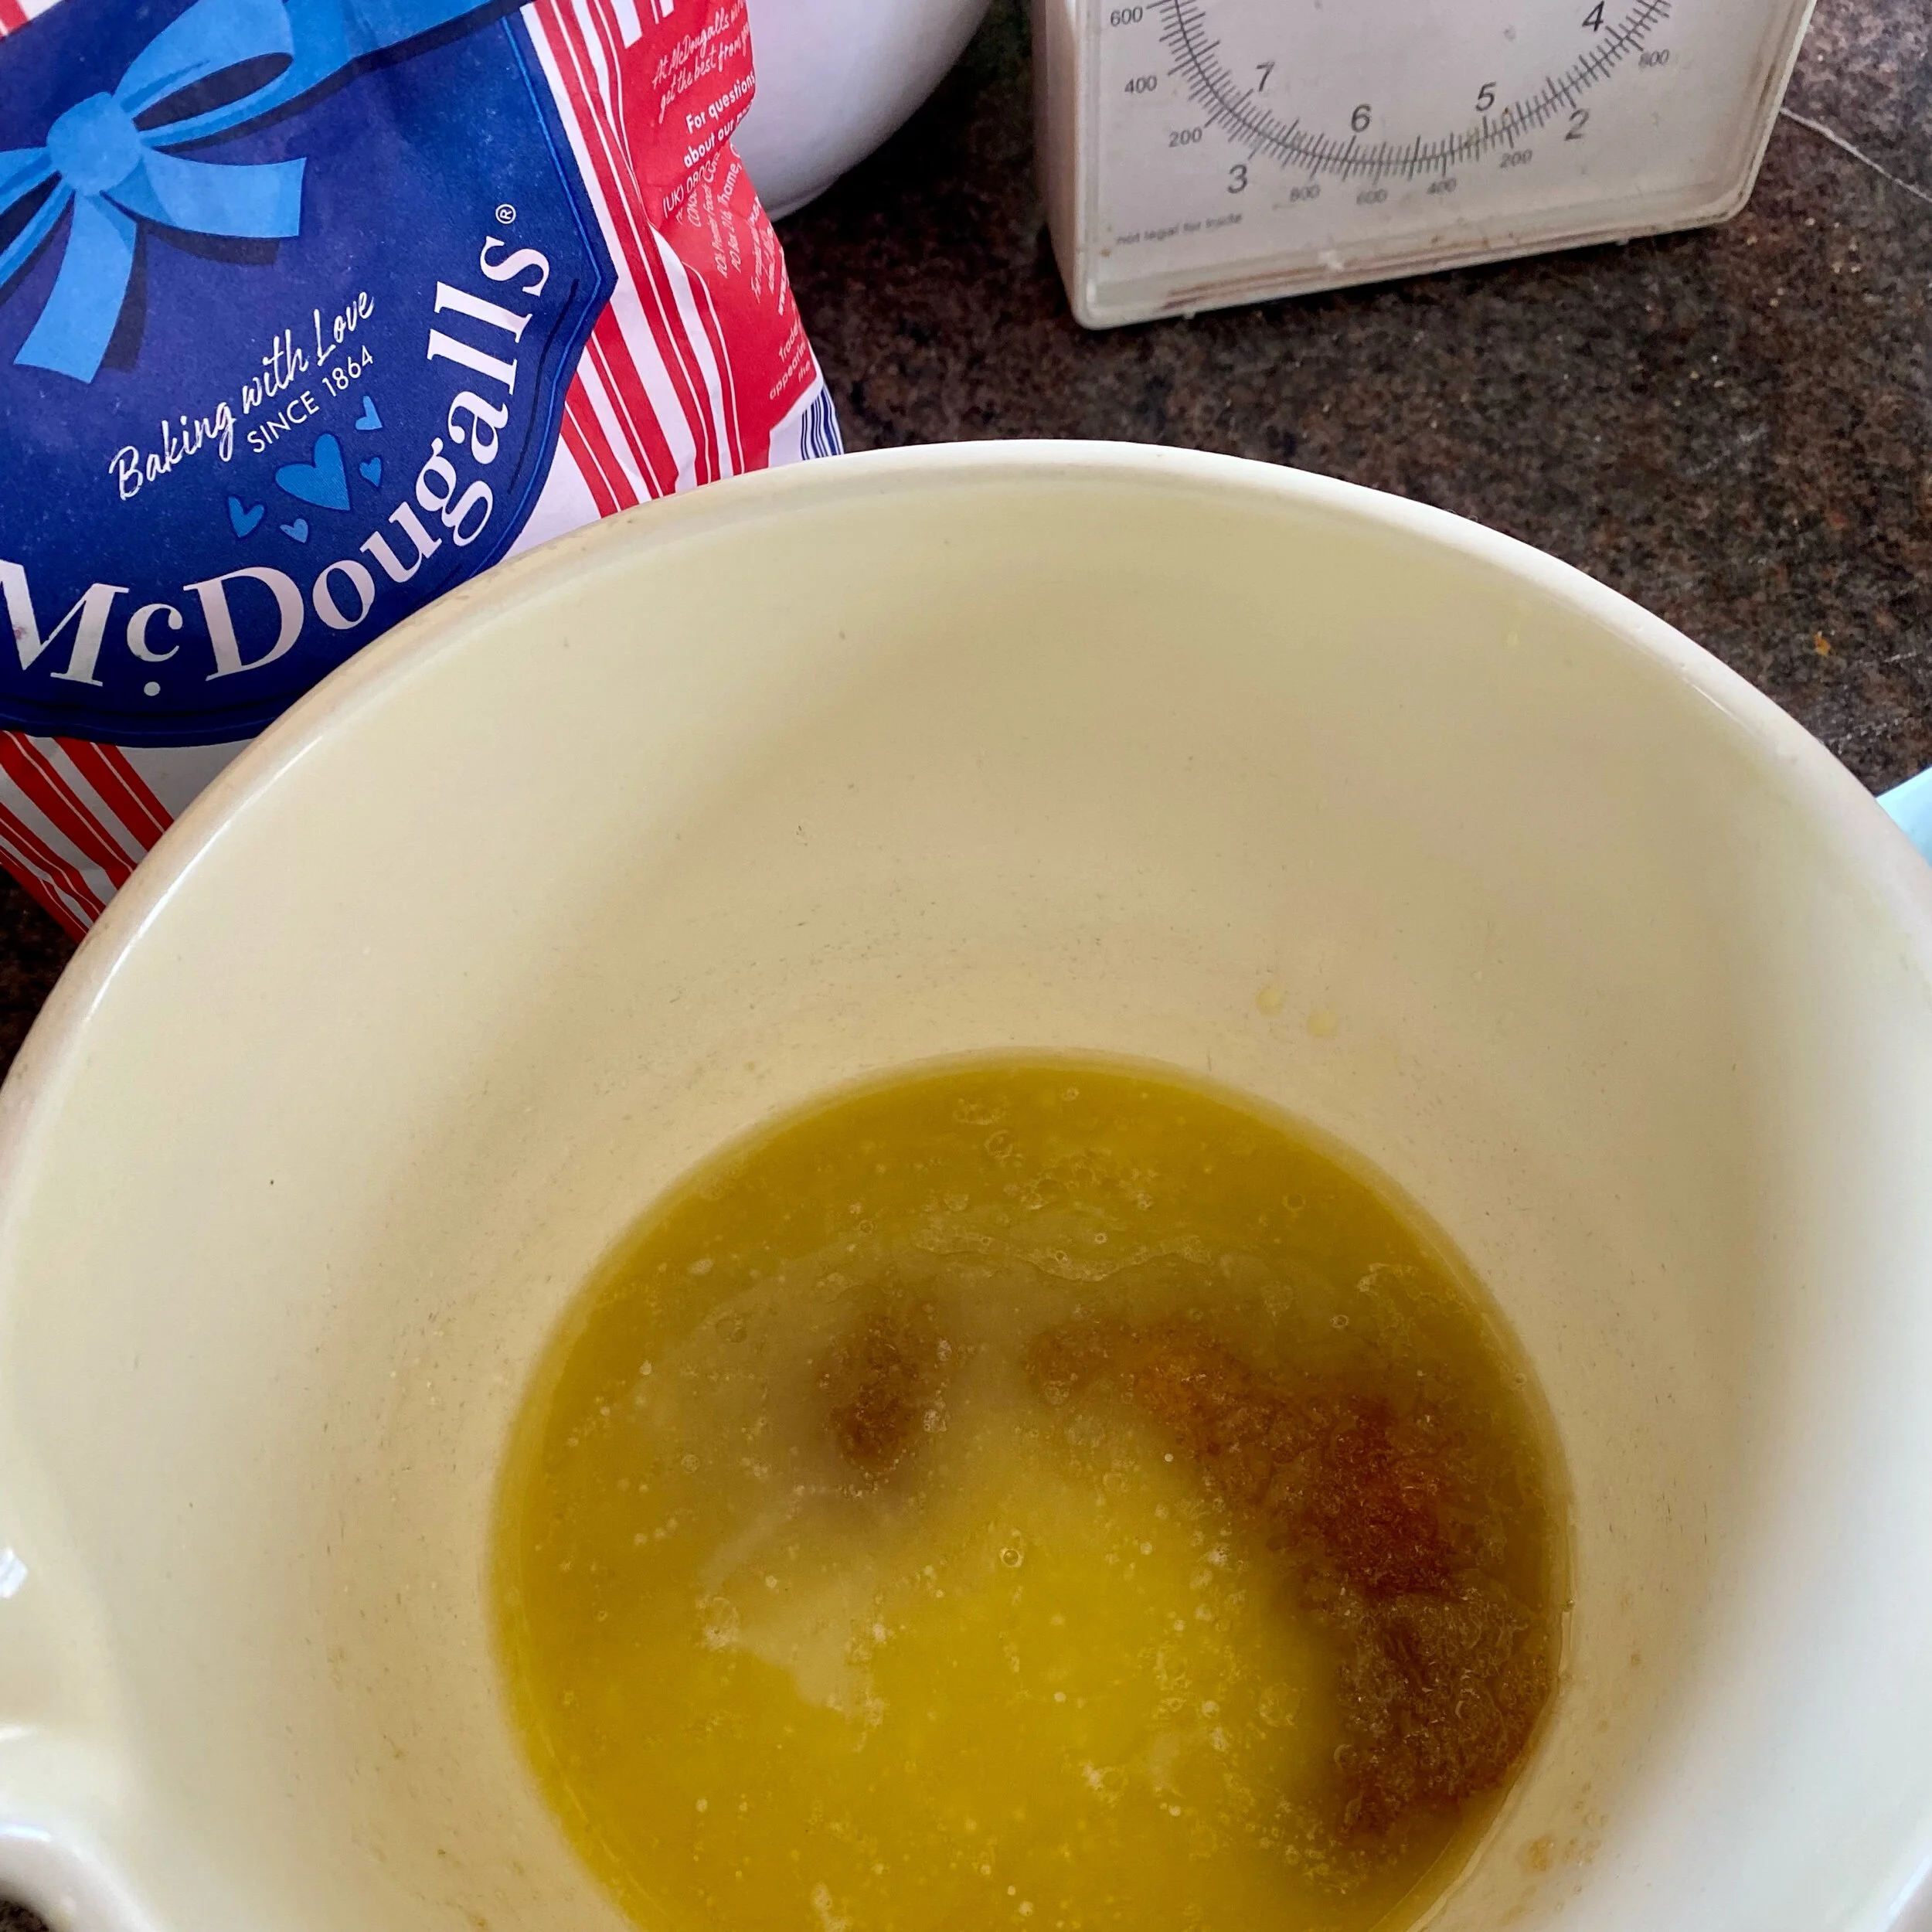
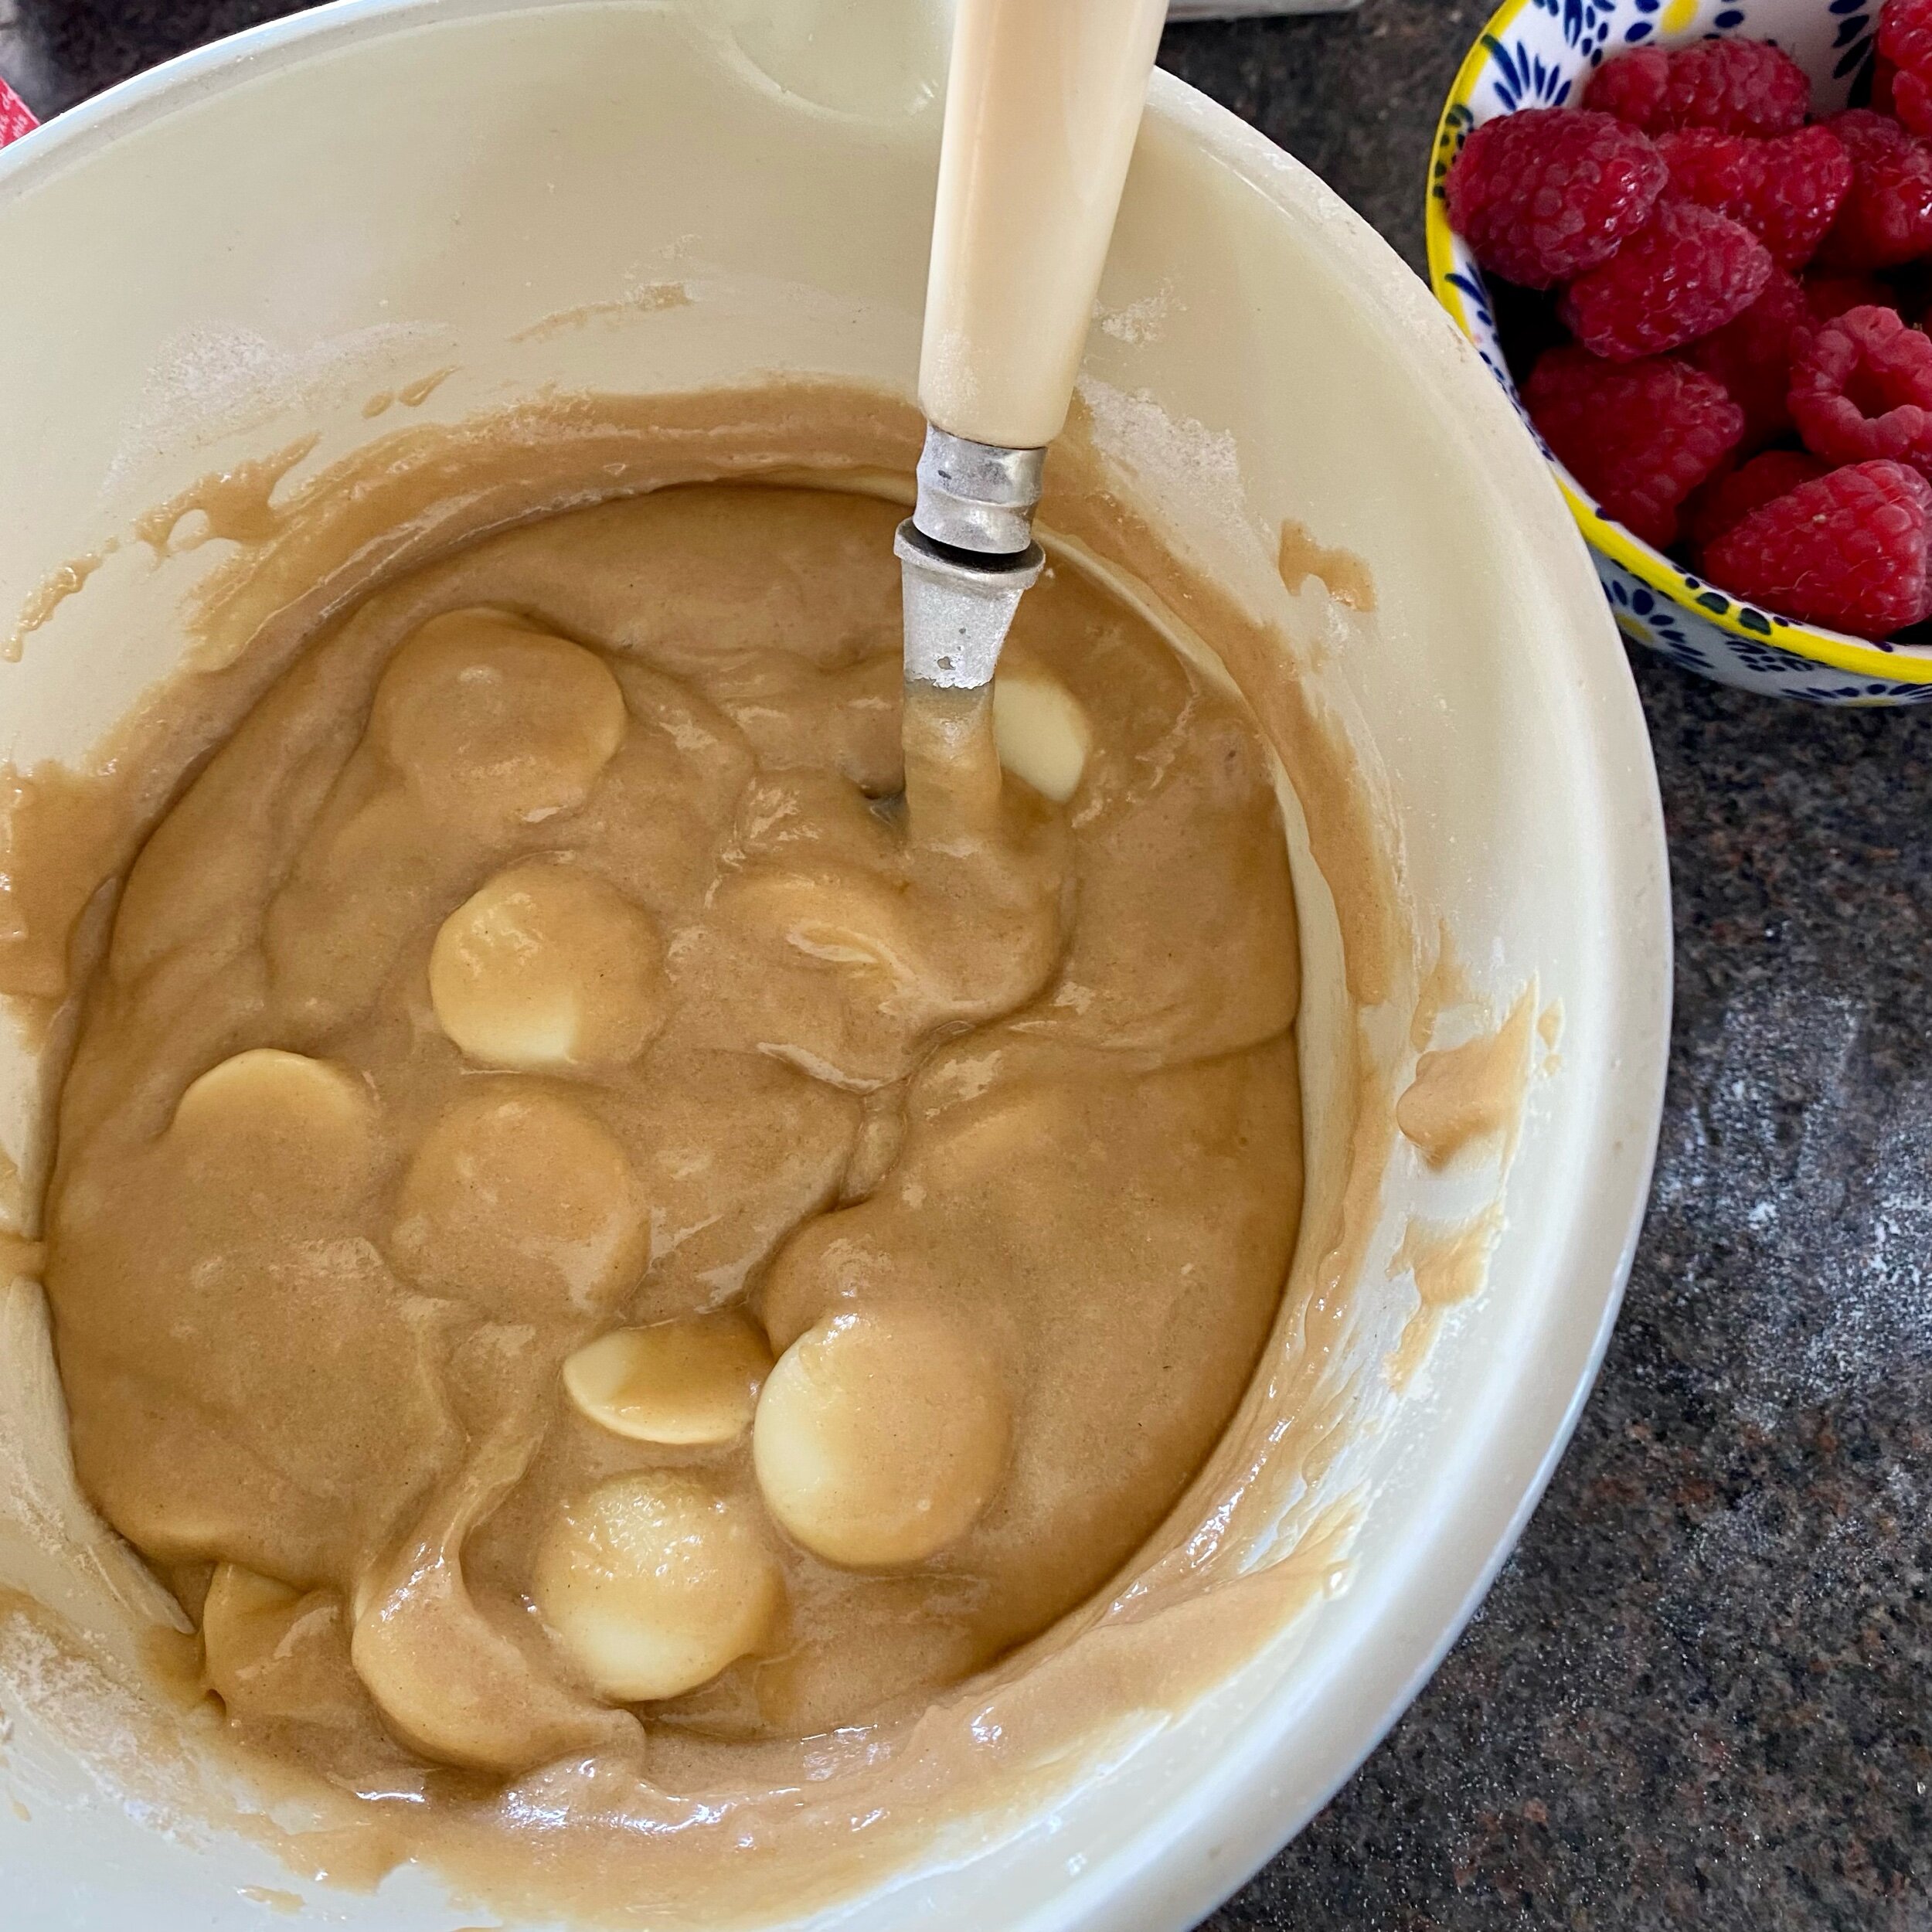
Tip the sugar into a big mixing bowl and pour in the melted butter and stir until it’s all combined.

Add the vanilla extract and stir in.

Then crack in the egg and stir again thoroughly so it’s all mixed in.

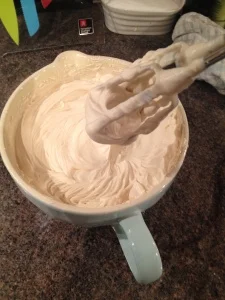
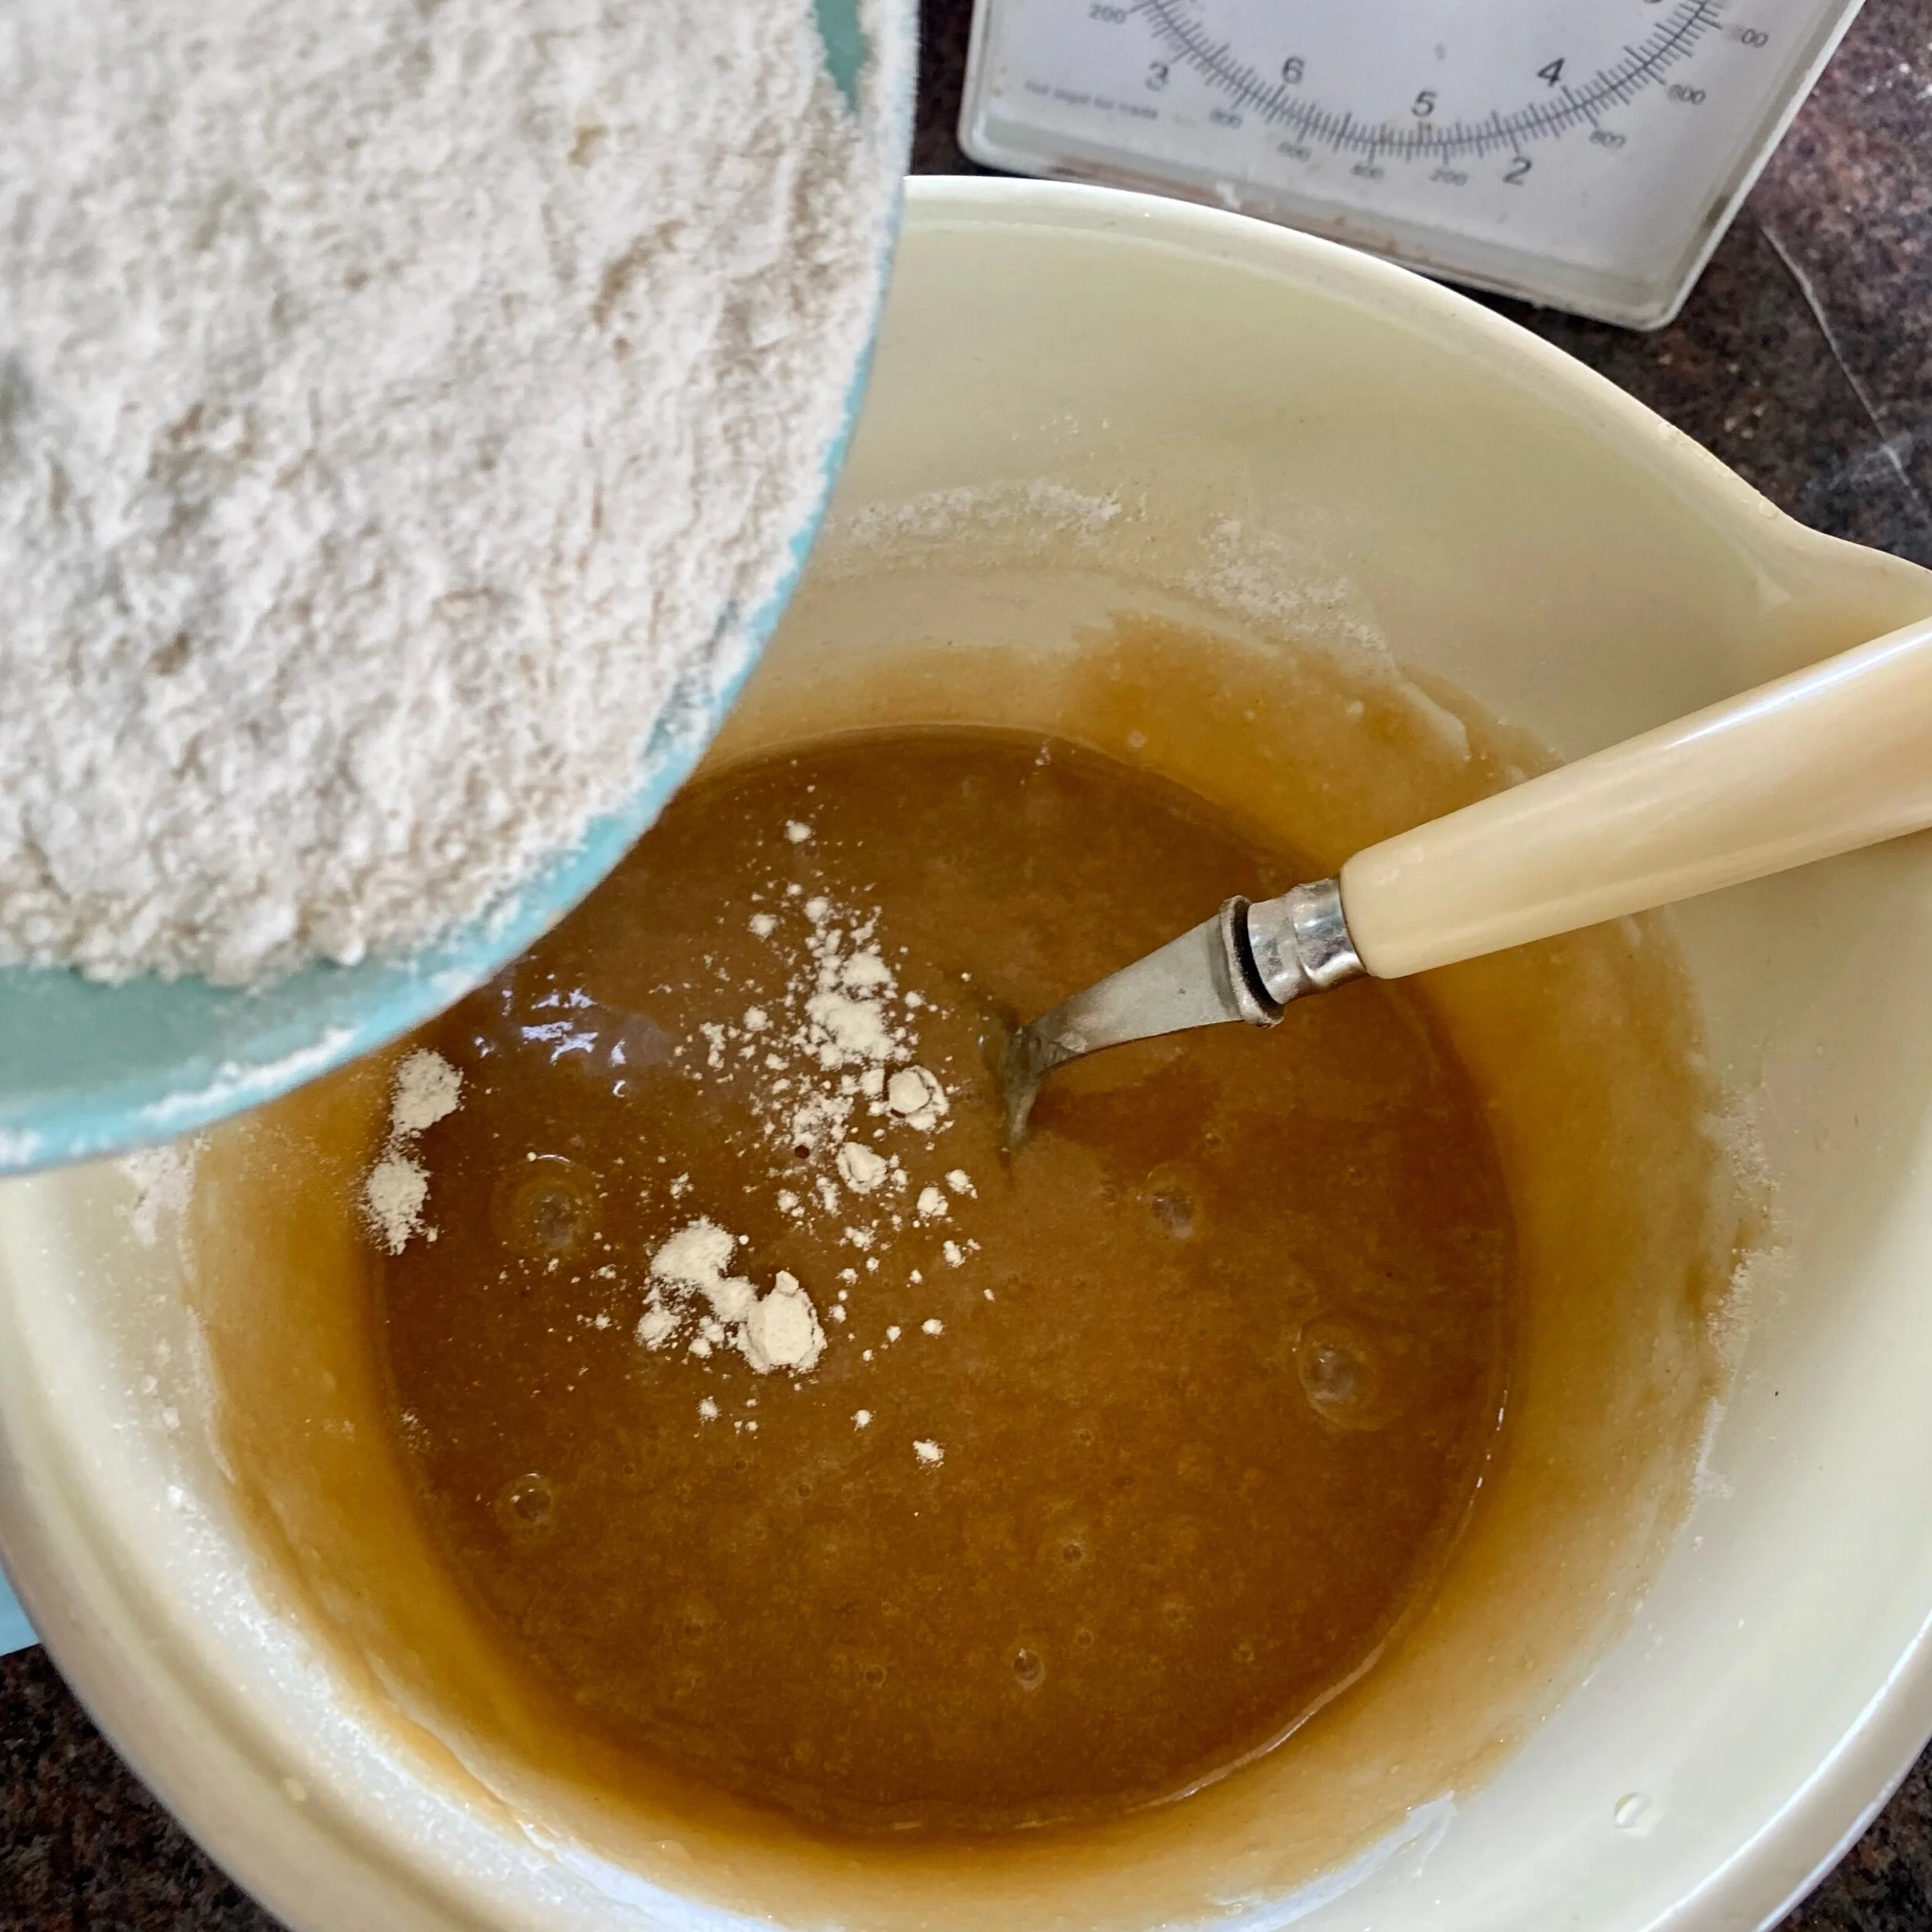
Tip in the flour a bit at a time and stir until mixed before adding some more. Continue until all the flour is completely mixed in and you have a lovely sort of batter.

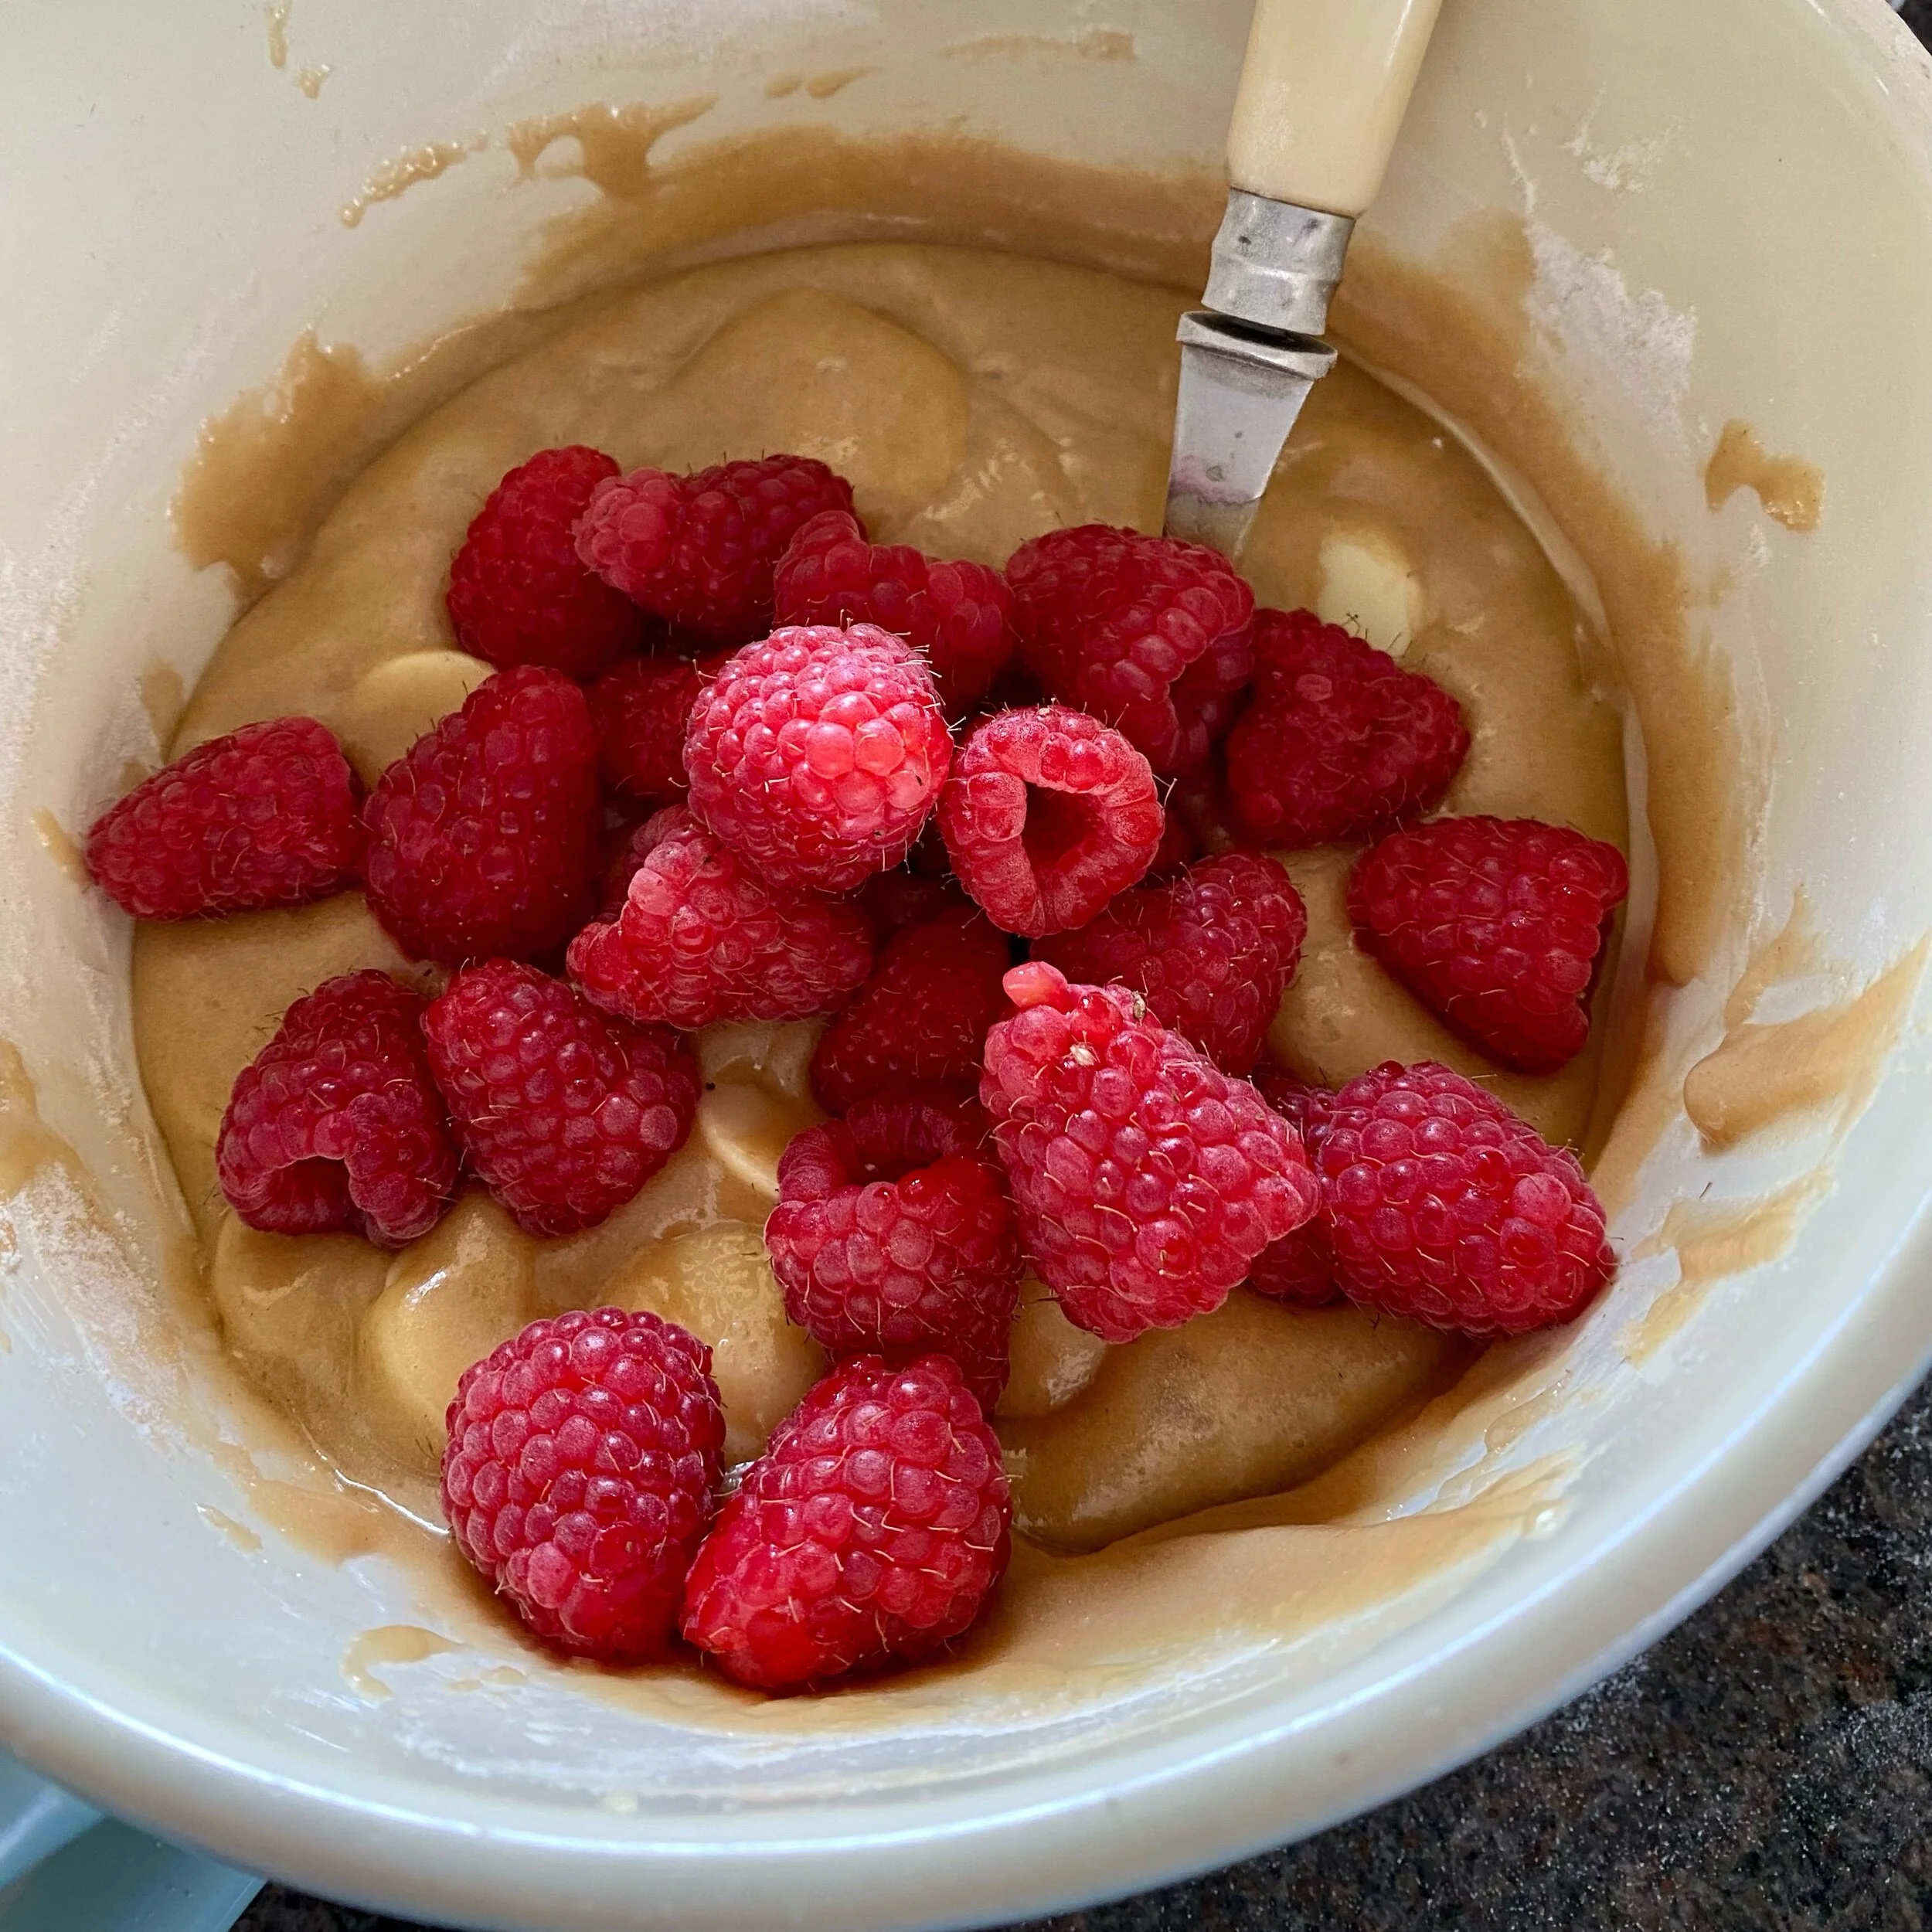
Next stir in the chips or chunks or buttons of white chocolate, and then add the raspberries and stir those in too.

I just love the colours and flavours of the raspberry and white chocolate combination (and have of course already eaten several raspberries and chocolate buttons from the bowls).

Of course.

Pour the batter into the tin and smooth down so it’s evenly spread.

Put into the oven on the middle shelf to cook.

Now I don’t know about you but pretty much every time I try to bake something it takes much longer than the recipe says.

So what I do is check it after 15 minutes and also then take the opportunity to turn the tin around, just to make sure it’s cooking evenly.

I put the timer on for another 15 minutes and then check again … still not done, so I turn the tin again and give it another 15 minutes.

This time I think it’s done as it’s nicely golden brown, especially around the edges.

You also need to stick a skewer or knife into the centre and it should come out clean without lots of cake mix stuck to it.

You can also see I’m not very confident at this as I have clearly stabbed my cake several times to make sure!

It’s not totally coming out clean but then I do also want my blondies to be soft and fudgey so I don’t want it completely cooked ‘til dry.

It’ll continue cooking anyway in the warm baking tray so I think it’s the right time to take it out and turn the oven off.

Cool the blondies in the tray and then cut into squares, ready to share and eat ….


YOU MIGHT ALSO LIKE …

Thai-style dip for fruit

When I lived in Thailand, I had a huge mango tree.  

We used to sit under the mango tree on the decking and watch the fruit grow.  When ripe, there were too many flies.  Also, there was too much fruit - imagine having so many mangoes you asked everyone you knew to take a bag away with them!

My favourite stage of the mangoes was when they were green and very sour.  My Thai friends leapt on them and picked them then and I soon understood why.  Slices of very sour green mango is utterly delicious with a fermented fish sauce, chilli, spicy, sweet and sour sauce. Dip in and eat.

So, so good. Much, much better than expected too.  (I soon got over seeing the fish heads and bits of crab etc in the bag of sauce. Plus I'm not remotely squeamish!).

This is a very much toned-down version of the same principle and works with sweet fruit as well as tart.

The flavours of sweet and slightly salty and a little bit spicy work so well with a tart green apple like a Granny Smith, but also with sweet fruits like pineapple, strawberries or kiwi fruits.

I just like to make things feel special, so putting a little of this dip in a bowl and taking a few minutes to slice my fruit and put it all on a plate just makes me enjoy it even more.

I'm having this as a snack as part of my Tiniest Thai diet ... more on that to come in future posts.

So - here's how you make it: 

1/2 cup white sugar (I used caster sugar as it was all I had but I think granulated better if you have it)

2 teaspoons salt

1 heaped teaspoon dried chilli flakes

Stir it all together! 

 
Rachel Redlaw thai dip for fruit
 

Then pour a little out into a dipping bowl to have with fruit.

Don't dip the fruit straight into the dip in the jar! Throw any used dip away and store the rest in the fridge for a month or so.

Rachel Redlaw thai dip for fruit

Hope you like this as much as I do!

Foodies Agenda's Citrus Yogurt Cake

This is the cake recipe that Kate from foodies agenda shared with me when we talked recently, and I'm glad for many reasons that she chose this.

I don't have a sweet tooth, to start, but I do have a citrus tooth! I absolutely love citrus flavours, to eat, to look at, to smell.  

Grapefruit and Wild Orange are two of my favourite essential oils (to put in the diffiuser or for my morning 'detox shower') and I always have a big bowl of limes as I use so many.  

And of course, they just look so pretty with their gorgeous colours.


I'm also glad she chose this because I very, very rarely bake ... so whilst I'm usually confident cooking and can trust my sense of taste, baking feels very different.  It always makes me nervous when I put the cake or pastry or whatever it is in the oven without feeling like I quite know what's going to come out! 

This recipe is delicious - the cake is made with coconut oil and is very moist.  It isn't too sweet and the flavours are fresh. I think it's a really elegant cake too.

There are only a couple of cakes I've ever made that I've then made again, and this has joined them.

I will definitely be making this one again! 

If you're  in Australia or the US, then I'd suggest you go straight to the original recipe as it's really simple and you'll be using measuring cups.  

Here's the recipe on foodies agenda.


But I managed to get myself confused over a few things ... because I don't ever bake.

I also never use measuring cups - I had thought it was only an American measure.

Turns out (I did a bit of googling) that American cups are 240ml and Australian cups are 250ml.  So not enough difference to affect the recipe and if you use either American or Australian measuring cups then just go ahead and make it.

I also found out that apparently we do have measuring cups in the UK and ours contain 220ml. The things I was reading then got way too technical for me and were advising how to convert volume to weight. Yes, exactly. 

So what I did was measure out 250ml water and thought I'd pour it in a mug and just use roughly where it came up to for each measure.  But then the water exactly filled a little teacup and so this little teacup is forever more going to be my Aus/US measuring cup.

My other concern was that - you guessed it - I've never used my coconut oil for baking and it's set completely solid and I imagine it needs to be liquid to measure it in a cup. 

Problem solved by just putting the jar in some hot water for about ten minutes - coconut oil has a pretty low melting temperature. 

Rachel Redlaw foodies agenda citrus yogurt cake

All ready to go with my new-found knowledge of measuring cups and how to melt solid coconut oil!

Just sharing all this in case there's anyone else out there as unknowledgeable about baking as me.  

Most people will have skipped over all this and already have cooked and be eating their cake by now I expect ... 

On to the recipe itself, which is incredibly simple, especially as none of that off-putting creaming butter and sugar together - you just pour in coconut oil! 

What you'll need:

1 cup demerera sugar

2 medium free range eggs

2 lemons, the zest of both + 2 tablespoons of juice

1 orange, the zest of half (I put in a little more than half) + 1 tablespoon of juice

1 pinch of salt

2 cups of self raising flour, sifted

1 cup of natural or Greek yogurt

3/4 cup coconut oil

Rachel Redlaw foodies agenda citrus yogurt cake

Preheat the oven to 180 / Gas 4

In a large mixing bowl whisk together the eggs and sugar until light and airy and the sugar has dissolved. I used my electric whisk and it was done in seconds ... 

Then you throw in the lemon and orange zest and juice (quantities in the ingredients list), followed by a pinch of salt and the sifted self-raising flour. 

Rachel Redlaw foodies agenda citrus yogurt cake

Fold in the yogurt.  I'm never sure about folding but do know to be gentle with the mixture and only folding/combining the ingredients without over-mixing to try to keep the end result light.

Then gradually pour in the coconut oil little by little, again gently combining to keep the air in.

When it's all combined, Kate's instructions are to: 

'Grease a 22cm springform cake tin or line with baking paper'.

Oops! Another non-baker's problem.  I don't have a round or springform cake tin.  So my choice was from a loaf tin and a 22cm square tin.  I went with the square tin as think the loaf tin might have made the cake too dense and the middle might not have been cooked.  So I greased that with a little butter and poured in the cake batter.

Rachel Redlaw foodies agenda citrus yogurt cake

When I first read through the recipe, I'd been a bit worried that my cake batter wouldn't look right, but batter is exactly what it looked like! Started feeling quite excited about this, especially as the batter on it's own was delicious (yep, I scraped the bowl out).

Put the cake on the middle shelf and then the recipe says to bake for 30-35 mins until cooked all the way through and golden brown. 

I don't know whether it's me or my oven (shouldn't be the oven which is a lovely steady-temperature-holding gas oven) but whenever I do bake a cake it always takes a LOT longer than the recipes say.

I tested it after 30 minutes by putting a sharp knife in, but it came out with batter still on the knife. And I kept testing it until 20 minutes later than the recommended time when I decided it was probably done. 

Take the cake out of the oven and allow to cool a little before releasing from the tin - or tipping it out.  You can see all the stab marks where I kept testing to see if was done!

But I didn't burn it and it came out of the tin so well, all in one lovely piece. 

(Yes my 'cooling rack' is the grill pan)!

Rachel Redlaw foodies agenda citrus yogurt cake

Next time I make it I'll cook it for even longer as mine was lovely on the outer sides but the middle was still a little doughy (although it still tasted really good).

Dust with icing sugar and grate over a little more zest before slicing and serving. 

I'm really pleased with this! Perfect with a mid-morning coffee I'd say.

Rachel Redlaw foodies agenda citrus yogurt cake


YOU MIGHT ALSO LIKE ... 


Delicious, different & easy NYE cocktail party ideas

I have SO many recipes and ideas for things that are easy and delicious to make for a party that I thought it would be useful to do a quick round-up now just ahead of New Year's Eve.

These are not only easy and delicious but will be something a little bit different to normal canape fare - and I also believe that by this stage in festive proceedings, most people are more than ready for some fresh flavours and spice after a few days of rich - but bland - food.

Here's two of my favourite cocktail recipes: 

Lemon prosecco punch and lemon vodka sours (yes I like lemon and citrus flavours!).

And my very favourite snack to have ready and warm when guests arrive is spicy cashew nuts.

Raachel Redlaw spicy cashew nuts

Really easy to prepare ahead - chop and slice everything and then just fry before serving warm - is this larb gai.  It's a spicy warm salad and if you serve small portions in little gem lettuce leaf 'cups' it's a fresh and different canape.

A really nice veggie version are these mango, chilli and lime cups.  Just make sure to only prepare an hour before serving so they don't go mushy! 

Rachel Redlaw larb gai spicy salad
Rachel Redlaw mango salad

These pork and prawn balls are a guaranteed winner! Serve just two on a cocktail stick and with a dipping sauce - honestly, everyone loves them! 

Rachel Redlaw pork and prawn balls
Rachel Redlaw cucumber dipping sauce

No Name are delicious vegetable fritters - make ahead of time and then just fry before serving with a sweet chilli sauce

 
Rachel Redlaw No Name vegetable fritters
 

And I love chicken or pork stir fried with garlic and served (again) on little lettuce leaves.  Really tasty and different! 

Rachel Redlaw pad gratiem

Oops! Can't believe I nearly forgot these pork and prawn sesame toasts! Classic - and easy to prepare ahead and then fry just before serving with a little soy sauce for dipping.

Another winner! 

Rachel Redlaw pork and prawn sesame toasts

And to end ... how about these little balls of deliciousness, pimped up however takes your fancy?!

Rachel Redlaw bits of deliciousness

But the main thing is to host a party with love and spirit - so I'm sure your guests (and you) will have a great time no matter if you just put out bowls of crisps!

If you do try any of my recipes, I'd love to hear if you and your guests liked them so please comment below or come over and chat at my FB page.


YOU MIGHT ALSO LIKE ...

Little bites of deliciousness (and goodness)

Now these can be as healthy or as decadent as you choose to make them - or a lovely mixture of both of course.

My sister started making them (after a friend shared the recipe - well, you can't really call it a recipe, more an idea really) for my niece and nephew as an alternative to the same kinds of things you can get from health food shops.  

Basically just a mixture of dried fruit and nuts they're full of natural sugars and fats and great for a little natural energy high mid-morning or afternoon. 

We made these ones a bit more indulgent by including a few squares of chocolate - and I'm already thinking of things I'll include in future versions.  

My next concoction will be for adults as petit fours with after-dinner coffee - am thinking lime zest, dark chocolate, chilli flakes, stem ginger and dried cherries could all come into play. Maybe a drop of orange liqueur. And experiment at some point with a drop of my doTerra peppermint oil to create an after-dinner-mints version.

 
Rachel Walder fruit & nut bites of deliciousness
 

Anyway, how we made them yesterday - and as you can tell, you just mix and match what you feel like and what you have in the cupboard - was with the following: 

nuts - we used cashews and hazelnut flakes

dried fruit - we had prunes, dates and raisons

extras - a few squares of chocolate

crunchy peanut butter to bind - we started with a tablespoon 

 
Rachel Walder fruit & nut bites of deliciousness
 

Then you just put it all in the food processor and whizz it up ... check if it needs more peanut butter as it needs to be squidgy enough to hold when you make the little balls.

We added another smaller spoonful of peanut butter and then it looked like this, and was ready to make into balls.

 
Rachel Walder fruit & nut bites of deliciousness
 

Make into small balls and let firm in the fridge for half an hour or so before eating.  

They'll last a while in the fridge - if you can resist eating them ... 

 
Rachel Walder fruit & nut bites of deliciousness
 

Let me know what you made yours with - I want to start collecting lots of ideas for these!


YOU MIGHT ALSO LIKE ... 

Roasted nectarines (or peaches)

A really nice but simple perfect-for-late-summer pudding - a lovely recipe one of my sisters shared with me last year.

Do make sure you use ripe fruit though as it just won't work if it's not ripe.

Serves 4

4 ripe nectarines or peaches
8 tablespoons white wine
100g caster sugar
double cream or Greek yogurt to serve

Heat the oven to 180/Gas 4

Halve and stone the fruit and arrange on a roasting tin or dish cut sides up.

Add the wine and sprinkle over the sugar.

Bake for 15 mins or a little longer - until it's bubbling and the fruit a little golden on the edges.

Serve with cream or yogurt (Greek yogurt is my favourite!)


YOU MIGHT ALSO LIKE ... 

Simplest jam

Saturday was hot, beautifully sun-bathingly hot.

And I really needed a good blast of Vit D and to take in some sun-goodness and re-charge those empty batteries so I loved it.

But the forecast was for rain on Sunday so I thought I'd better get blackberry-picking before the rain got to them.  And they are pretty much perfect right now and the bushes are full of berries although - as always (why is this?) - it feels that the most perfect ones are just out of reach.  

Returned home with scratched legs, sunburnt shoulders and a tub of lovely ripe blackberries. 

Rachel Walder simplest blackberry and apple jam

It was much too hot to even think about cooking yesterday - plus the sunshine and my roof were calling me back - so the blackberries oozed in the weighing scales overnight waiting for the rainy hours on Sunday before they were made into jam.

And this is the easiest jam recipe ever!

Use any fruit really - peaches, nectarines, plums, all berries, apples, and combinations of them all. I've heard that less ripe fruit sets better but to be honest I just use what there is when I notice there's fruit that needs picking.

First, put a saucer in the fridge as you want it cold for testing when the jam is set.

You'll also need to get your jam jars sterilised - either use them hot straight from the dishwasher for those who have dishwashers, or if you don't (like me), wash them in hot water and put in a very very low oven (I used Gas Mark 1) for about 15 minutes.

Then it's onto the jam making. 

Weigh the fruit and put it in a preserving pan or stainless steel saucepan with an equal quantity of sugar.  

Rachel Walder simplest blackberry and apple jam

I decided to add a couple of apples that I brought back from my dad's garden last weekend, but didn't then add any more sugar too - there's quite enough in there already I think!

Put the pan over a very low heat and heat gently, stirring now and then, until the sugar has dissolved. 

Rachel Walder simplest blackberry and apple jam

Turn up the heat and boil fairy rapidly, for 20-30 minutes.

Stir occasionally and also skim off some of the foam that appears at the start of the boiling time.

Rachel Walder simplest blackberry and apple jam

Test after 20 minutes by dropping a teaspoon of the boiling jam onto the saucer that you have in the fridge and after perhaps 30 seconds it will be setting and a sort of 'skin' wrinkle across the top of the jam blob. 

If it's not quite ready, put the saucer back in the fridge, continue boiling the jam and try again in a couple of minutes.

Rachel Walder simplest blackberry and apple jam

To be honest, I'm not all that good at judging this and often leave it just a little too long and it sets quite hard.  But it still tastes good.  This time I decided it was ready after 25 minutes. 

If you have any tips for getting this part right every time, I'd love to hear them so please comment and share! 

Pour the jam into the hot jars straight away - I transferred it to a pyrex measuring jug first but still managed to spill a little. 

 
Rachel Walder simplest blackberry and apple jam
 

One and three quarter jars filled, and a few hours later when it was cool, a slice of toast and jam to test of course (with a cup of tea - and I very very very rarely drink tea - it was nice). 

Rachel Walder simplest blackberry and apple jam


YOU MIGHT ALSO LIKE ... 


No-fuss, no-churn, no-of-course-it's-not-good-for-you-exactly: lime ice cream

So simple it barely deserves a whole blog post, but so good that - yes it does.

It's this easy to make delicious ice-cream in many flavours - I've made coffee, lemon, vanilla and with added berries so far.  Today, it's this lovely lime ice cream, and this is how you make it.

Oh and regarding the 'not exactly healthy' claim ... well, you only need a spoonful each, and you're unlikely to eat it every day, so everything in moderation, right?

You'll need:

600ml double cream

397g tin condensed milk (and WHY is it sold in such a strange volume? why not 400g?)

zest of a lime

juice of half a lime (don't be tempted to add more as it is likely to curdle)

4 or 5 drops doTerra essential oil of lime (optional)

The Tiniest Thai Rachel Walder lime ice cream

And then you just put all the ingredients into a big bowl ...

The Tiniest Thai Rachel Walder lime ice cream

... and with an electric whisk, whisk for until it is gorgeous and airy and fluffy and thick - it can take up to ten minutes.

The Tiniest Thai Rachel Walder lime ice cream

Scoop and pour into a plastic tub, cover and leave in the freezer to set.

The Tiniest Thai Rachel Walder lime ice cream

Bring out of the freezer and into the fridge perhaps 20 minutes before serving.  

The Tiniest Thai Rachel Walder lime ice cream

I like to serve it with a little squeeze of fresh lime and some flaked hazelnuts toasted in a hot dry frying pan.

I like to serve it with a little squeeze of fresh lime and some flaked hazelnuts toasted in a hot dry frying pan.

Let me know what other flavours you try as I guarantee that once you've made it once you'll be hooked on this simple easy ice cream!


LIKE THIS?  YOU MIGHT WANT TO TRY THESE ...

(sort of) Thai iced coffee / coffee ice cream

I can almost guarantee that this is the Best Hangover Cure Ever.  Sweet, cold, and caffeinated. However, it is also pretty clear that I made this (badly) and took photographs (badly) whilst being slightly hungover myself so, dear reader, you're going to need a bit of imagination here.

This coffee has brought me back to life many mornings in Thailand - there's something extra special about buying it from the street sellers who serve it in a plastic bag with a straw and drinking it whilst meandering along in the heat. I did briefly consider putting mine into plastic bags but given that I was having trouble making it at all, I thought I'd keep it as simple as possible.

All you need to make two servings (with enough to make ice cream as well) is to make half a pot of very strong (double or triple strength) coffee.  Or use instant, I'm sure it would work fine. I don't think this is authentic for Thai iced coffee but I once read somewhere that Vietnamese iced coffee is made using cardamom pods too, so I like to crush a couple of pods and add to the pot to brew with the coffee.  I'm not sure you can taste the cardamom but I like the ritual of adding it.  Once made, leave the coffee to cool to room temperature.

The Tiniest Thai Rachel Walder iced coffee

Put half a cup of the cooled coffee into each glass and add approx two tablespoons of condensed milk per person, and mix  well.  Add lots of ice and a slosh of cold milk.  Taste and add more coffee, condensed milk, ice and milk as needed. It needs to be very strong and very sweet and very cold.

Here's how not to do it - pouring the coffee over ice and not mixing the condensed milk properly.  I poured it all back out into another glass and mixed it properly before pouring back.

Anyway, on this occasion it didn't really matter what it looked like - it WORKS! And it's delicious of course in the summer too.

The Tiniest Thai Rachel Walder iced coffee

Or how about making coffee ice cream?

The Tiniest Thai Rachel Walder coffee ice cream

Put 600ml double cream and a tin of condensed milk (397g) into a big bowl with another quarter of a cup (or a couple of tablespoons) of the cooled strong coffee, and whisk with an electric whisk until fluffy soft peaks are created.  Pour into a tub and put in the freezer overnight.

The Tiniest Thai Rachel Walder coffee ice cream

And that's it.  Really good and really easy.

The Tiniest Thai Rachel Walder coffee ice cream

If I get the iced coffee looking a bit better next time I make it, I'll add another picture.  

And given that today is New Year's Eve, that time could well be tomorrow ... in the meantime, happy new year everyone!


YOU MIGHT ALSO LIKE ...