Rest of the world

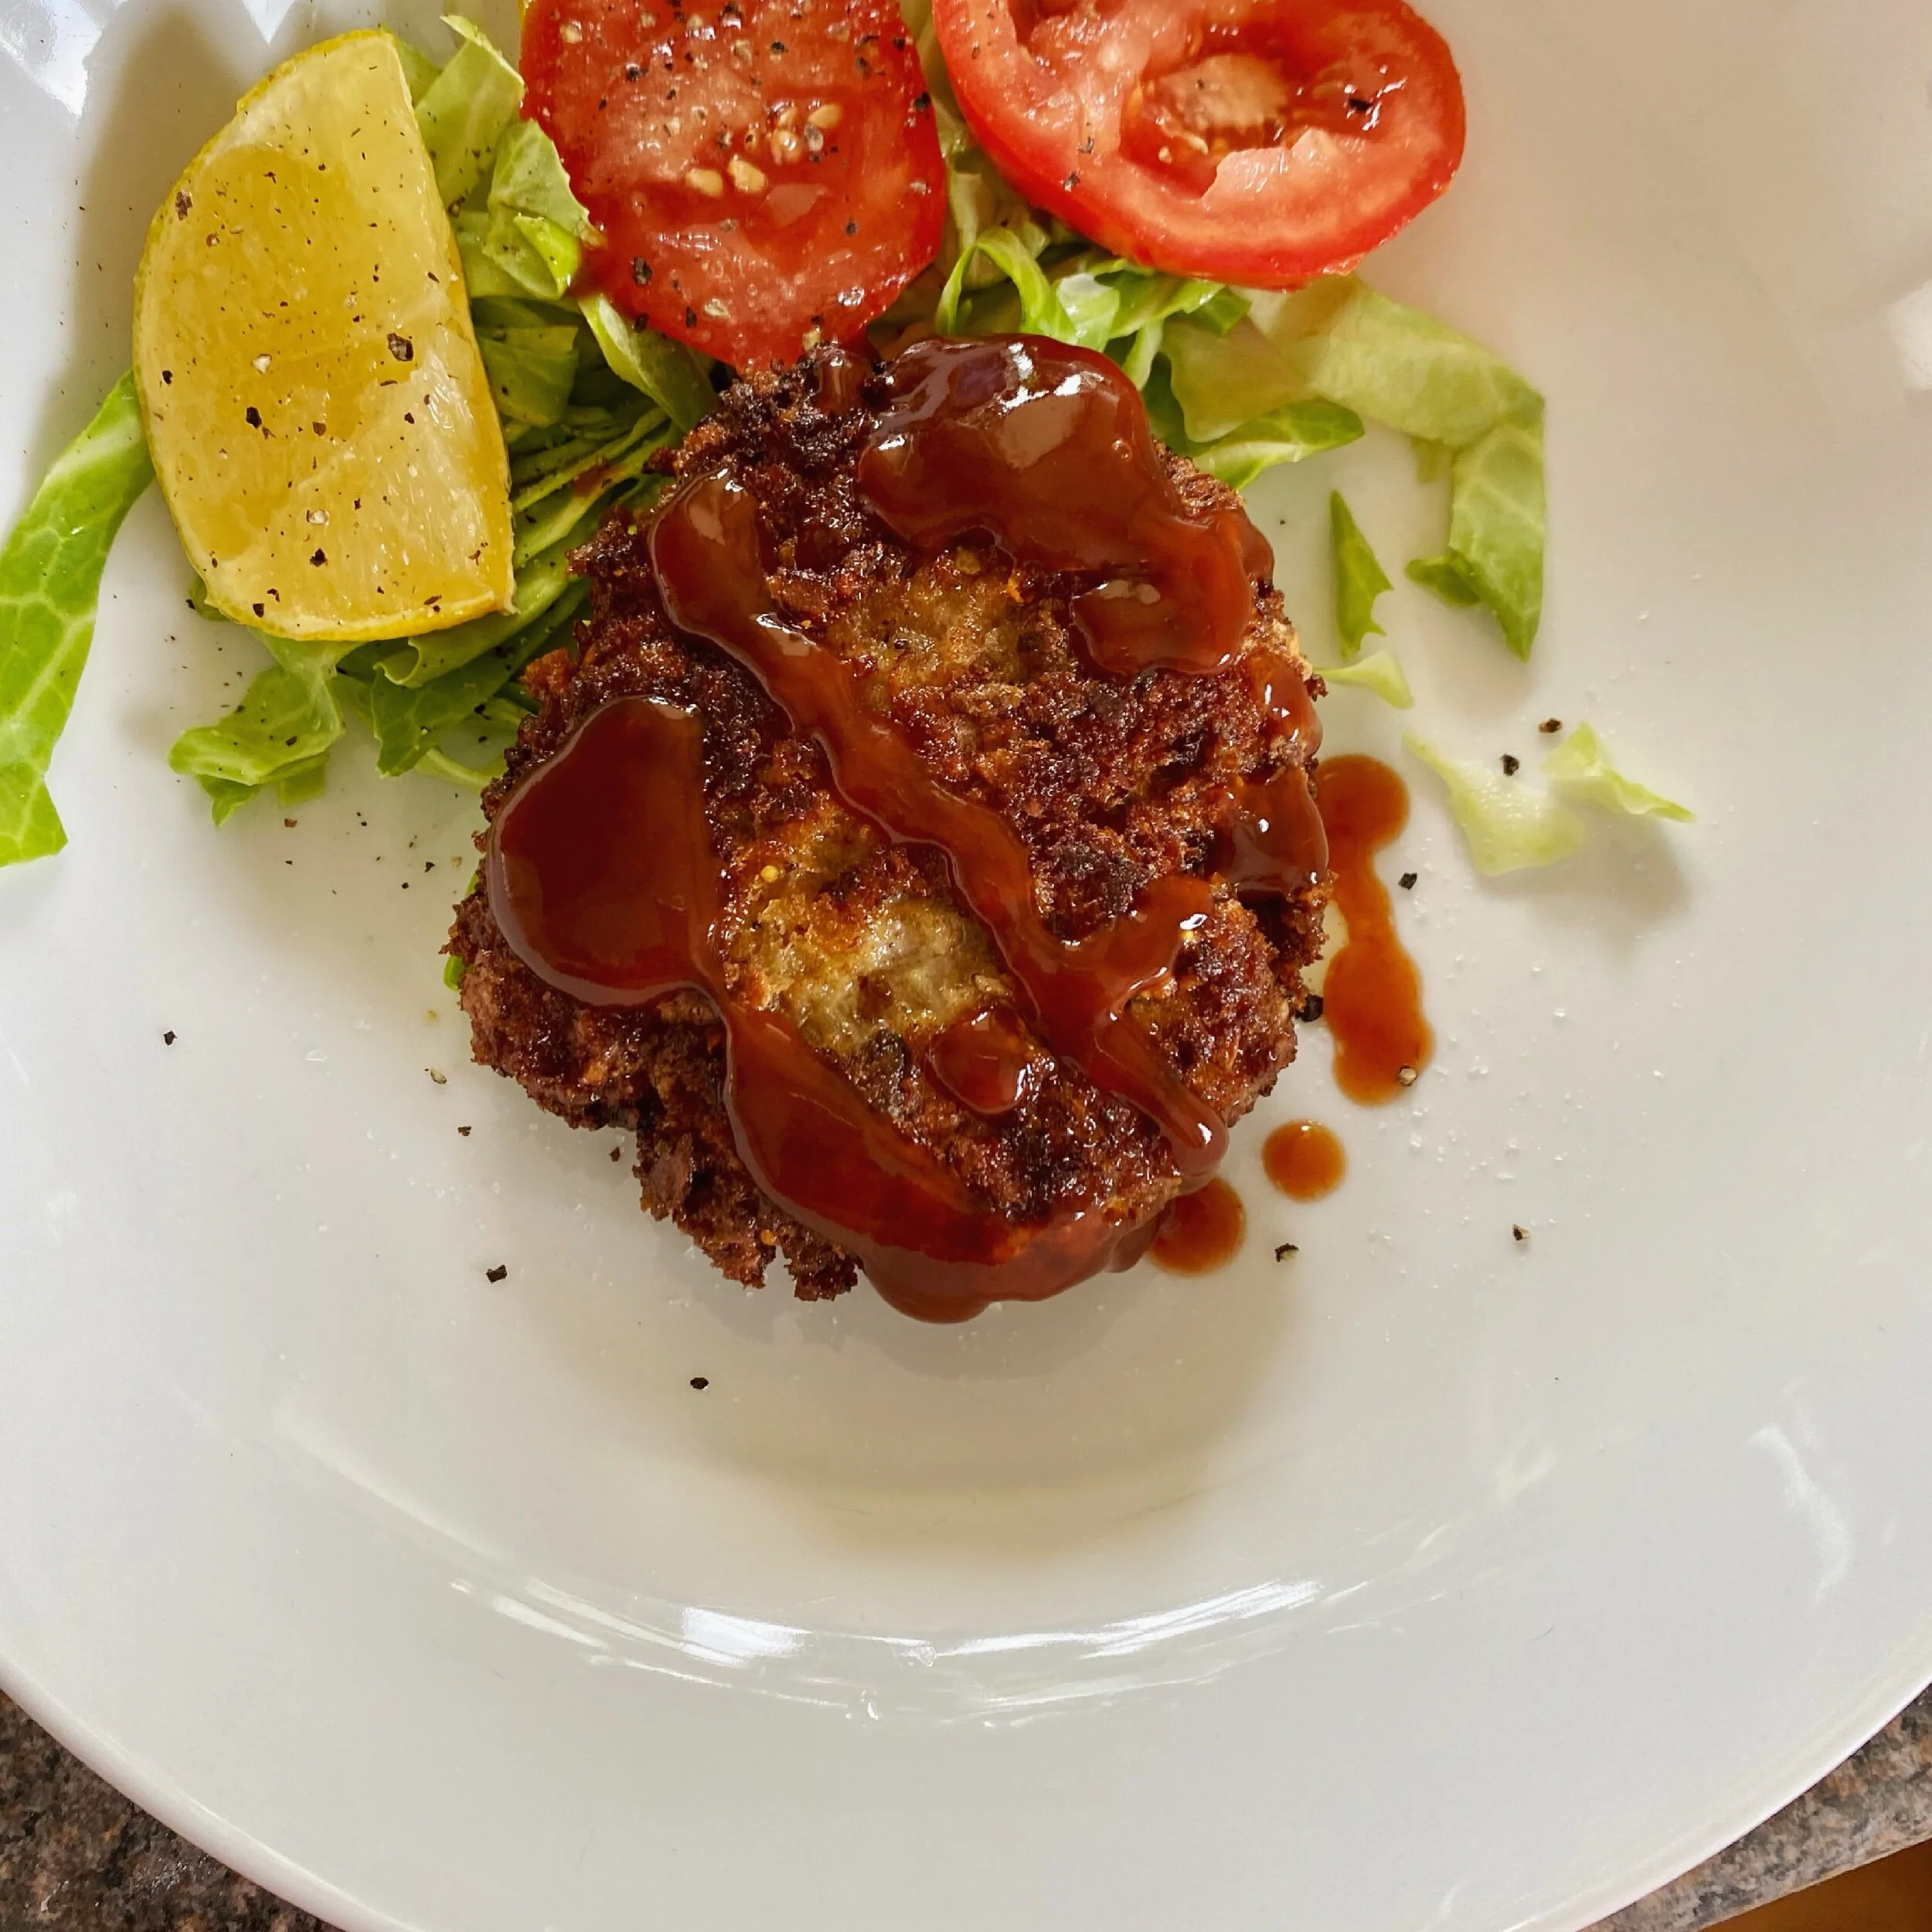
Midnight Diner's minced meat cutlet / menchi katsu

I watch little television but I am obsessed with Midnight Diner on Netflix. I recently discovered that it was released for viewing in a different order to when they were made so I’ve actually stumbled across a series I didn’t even know what there.

SUCH a great surprise and such a treat to get to binge-watch a whole new-to-me ten episodes!

I love everything about it. I love it so much I watch the intro every time. I love that each episode is short (I have the attention span of a gnat). I love the little stories, and connections.

Sometimes I also make the recipe from the episode - previously I made the chicken fried rice stuffed omelette, omurice. I’m tempted to go back right back to the start (in the correct order this time and make everything). Now that might be a good project!

Sometimes I can laugh, cry and then make a new recipe as with episode 1 of season 3.

As soon as I saw the minced meat cutlets I wanted to try them.

They’re so easy, really good with a lovely crunch and would perfect for kids too - a really good family dinner. And they’re kind of fun to make as well with the mixing and then the dipping etc.


To make four cutlets you’ll need:

approx 125g each of pork mince and beef mince

1/4 white onion, finely chopped

Worcestershire sauce and/or tabasco (both optional)

salt and pepper

breadcrumbs

1 egg, beaten

plain flour

cooking oil

You could use just beef mince or just pork mince but the mixture works really well and I read yesterday that in Japan you can actually buy a pack of it ready minced!

I’ve put the quantities as roughly 125g of each but that’s not exact and if it’s easier, it’s probably around a handful of each. Also, I didn’t weigh mine out - I had a 500g pack of each mince so just by eye halved it and then halved again, ie used a quarter.

I was trying to make that simple but think I’ve actually made it sound complicated! It’s honestly not!

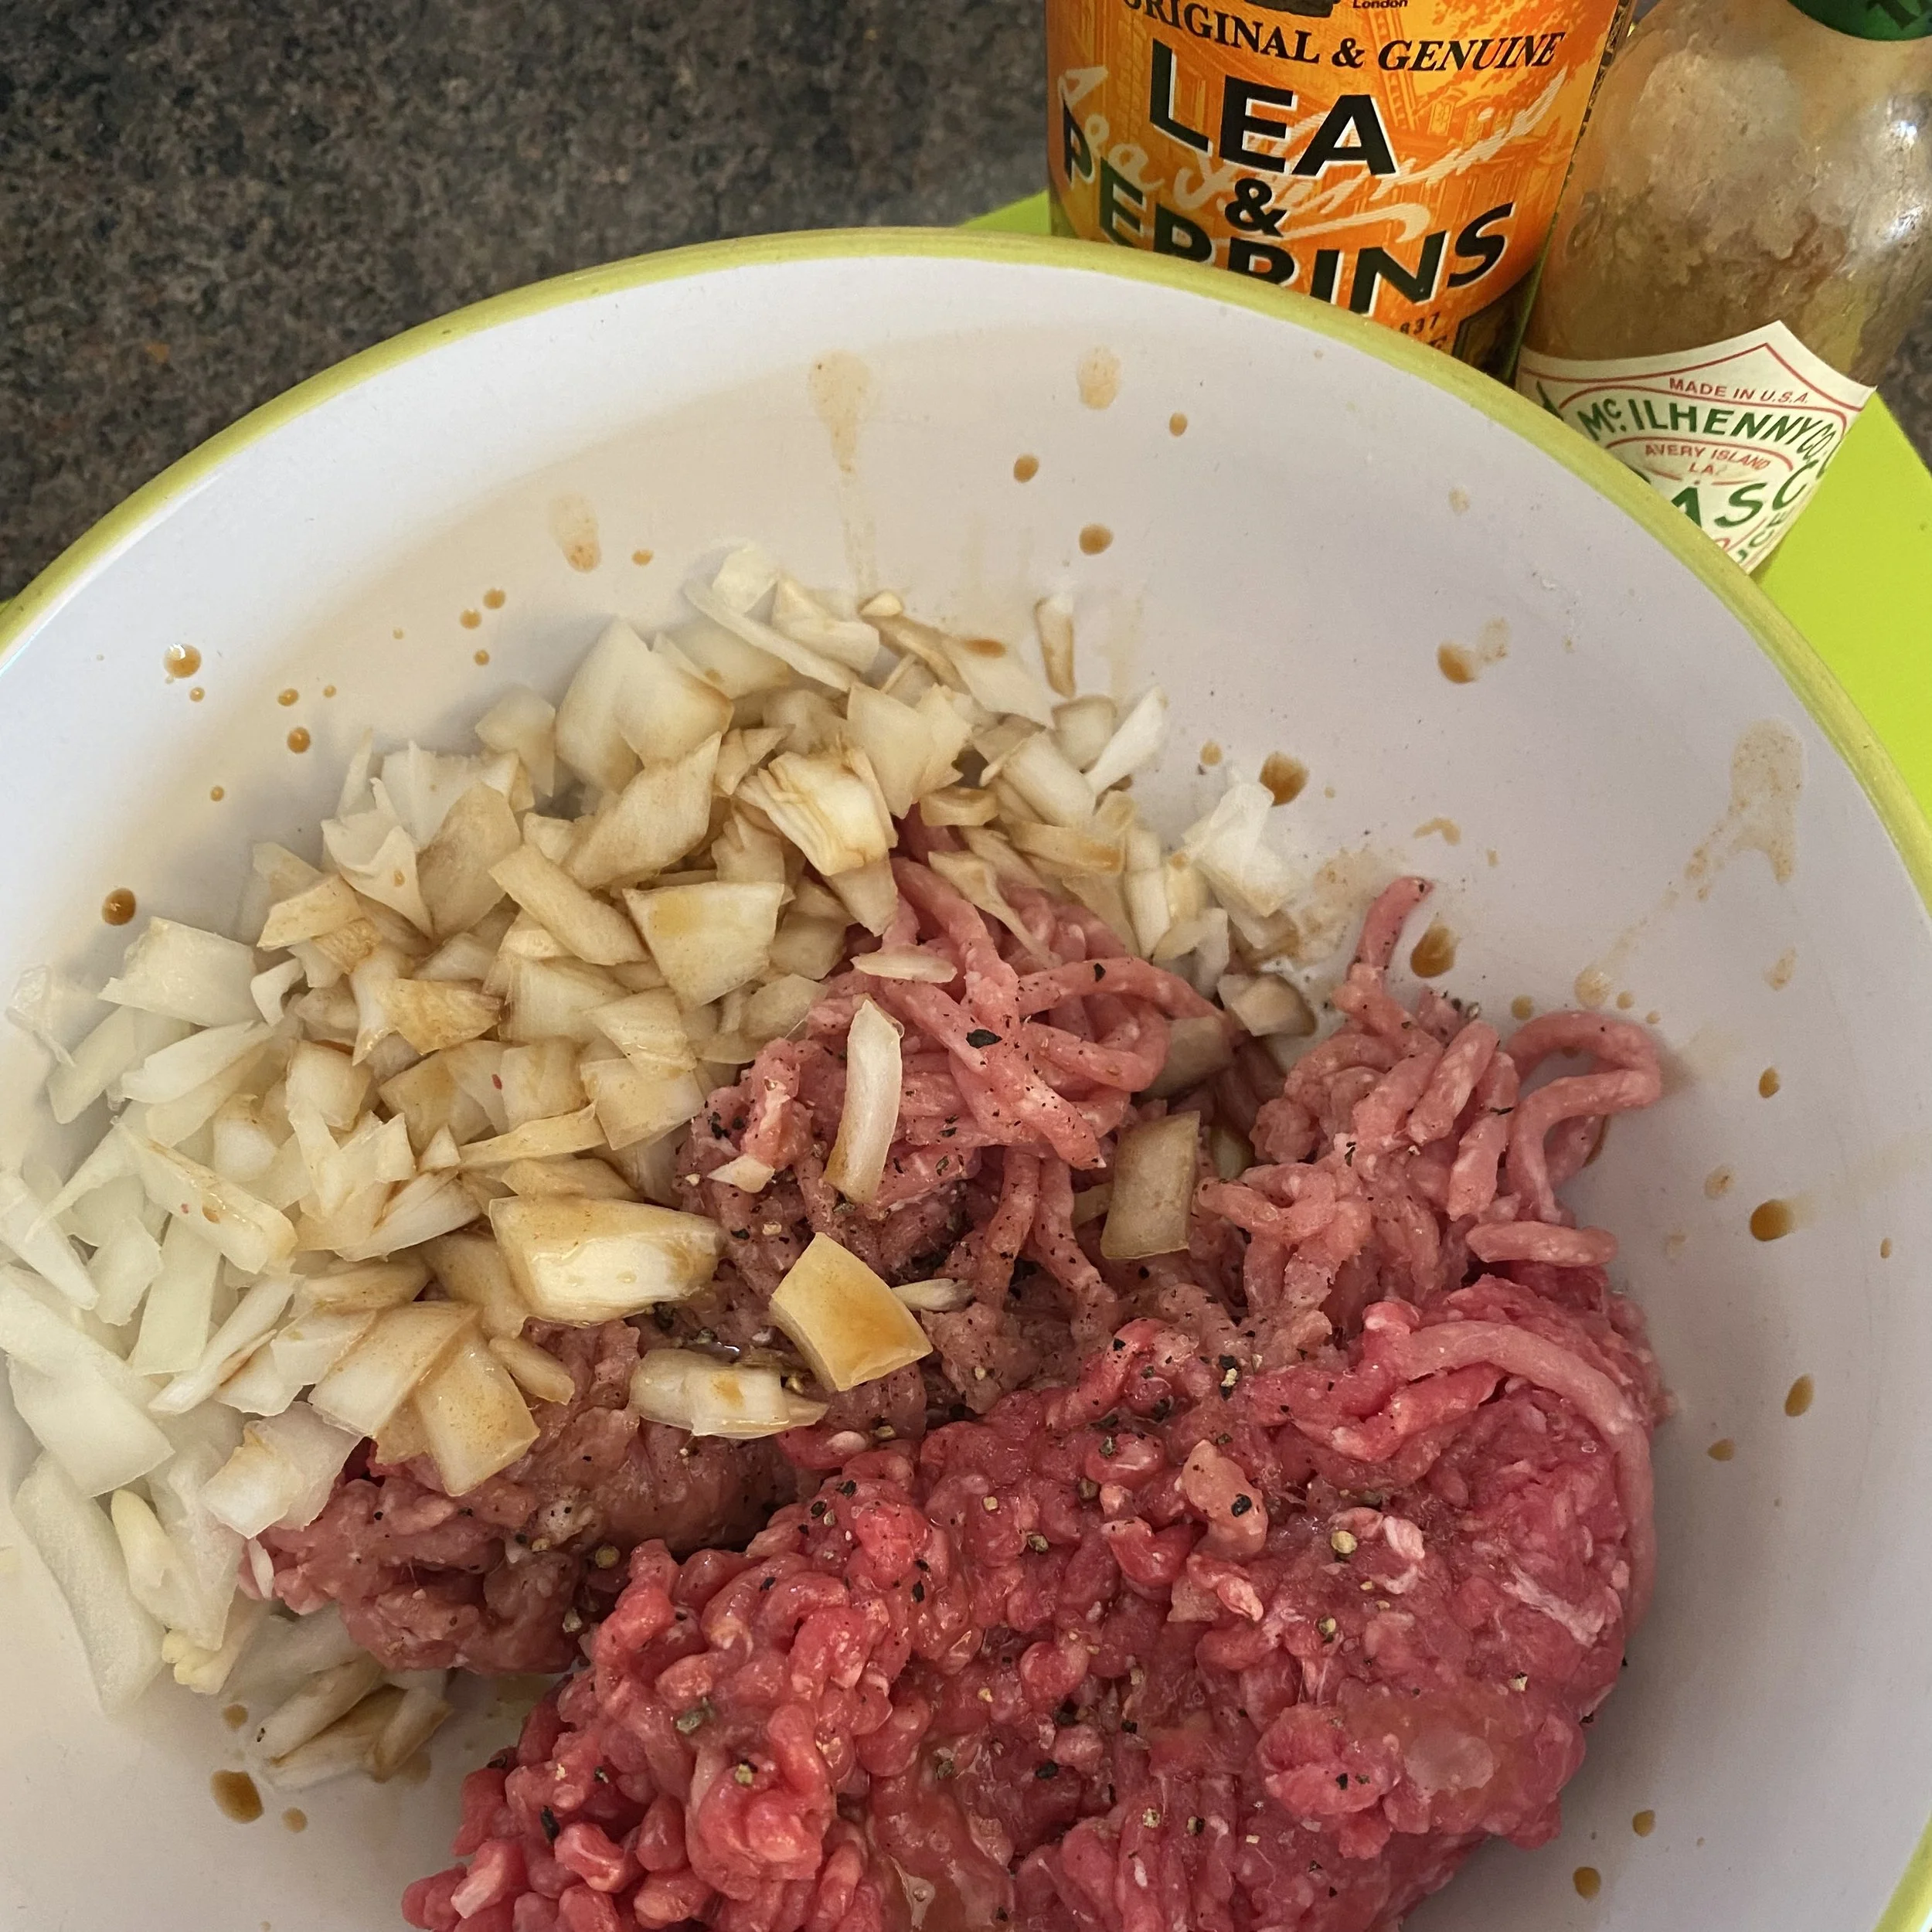
Mix the minces with the chopped onion, some salt and pepper and a dash or two each of Worcestershire sauce and Tabasco - if liked. If not, just leave them out. Really squish and mix it all together - I find it easiest to use my hands but I know some people don’t like touching meat so of course you can use spoons or something.

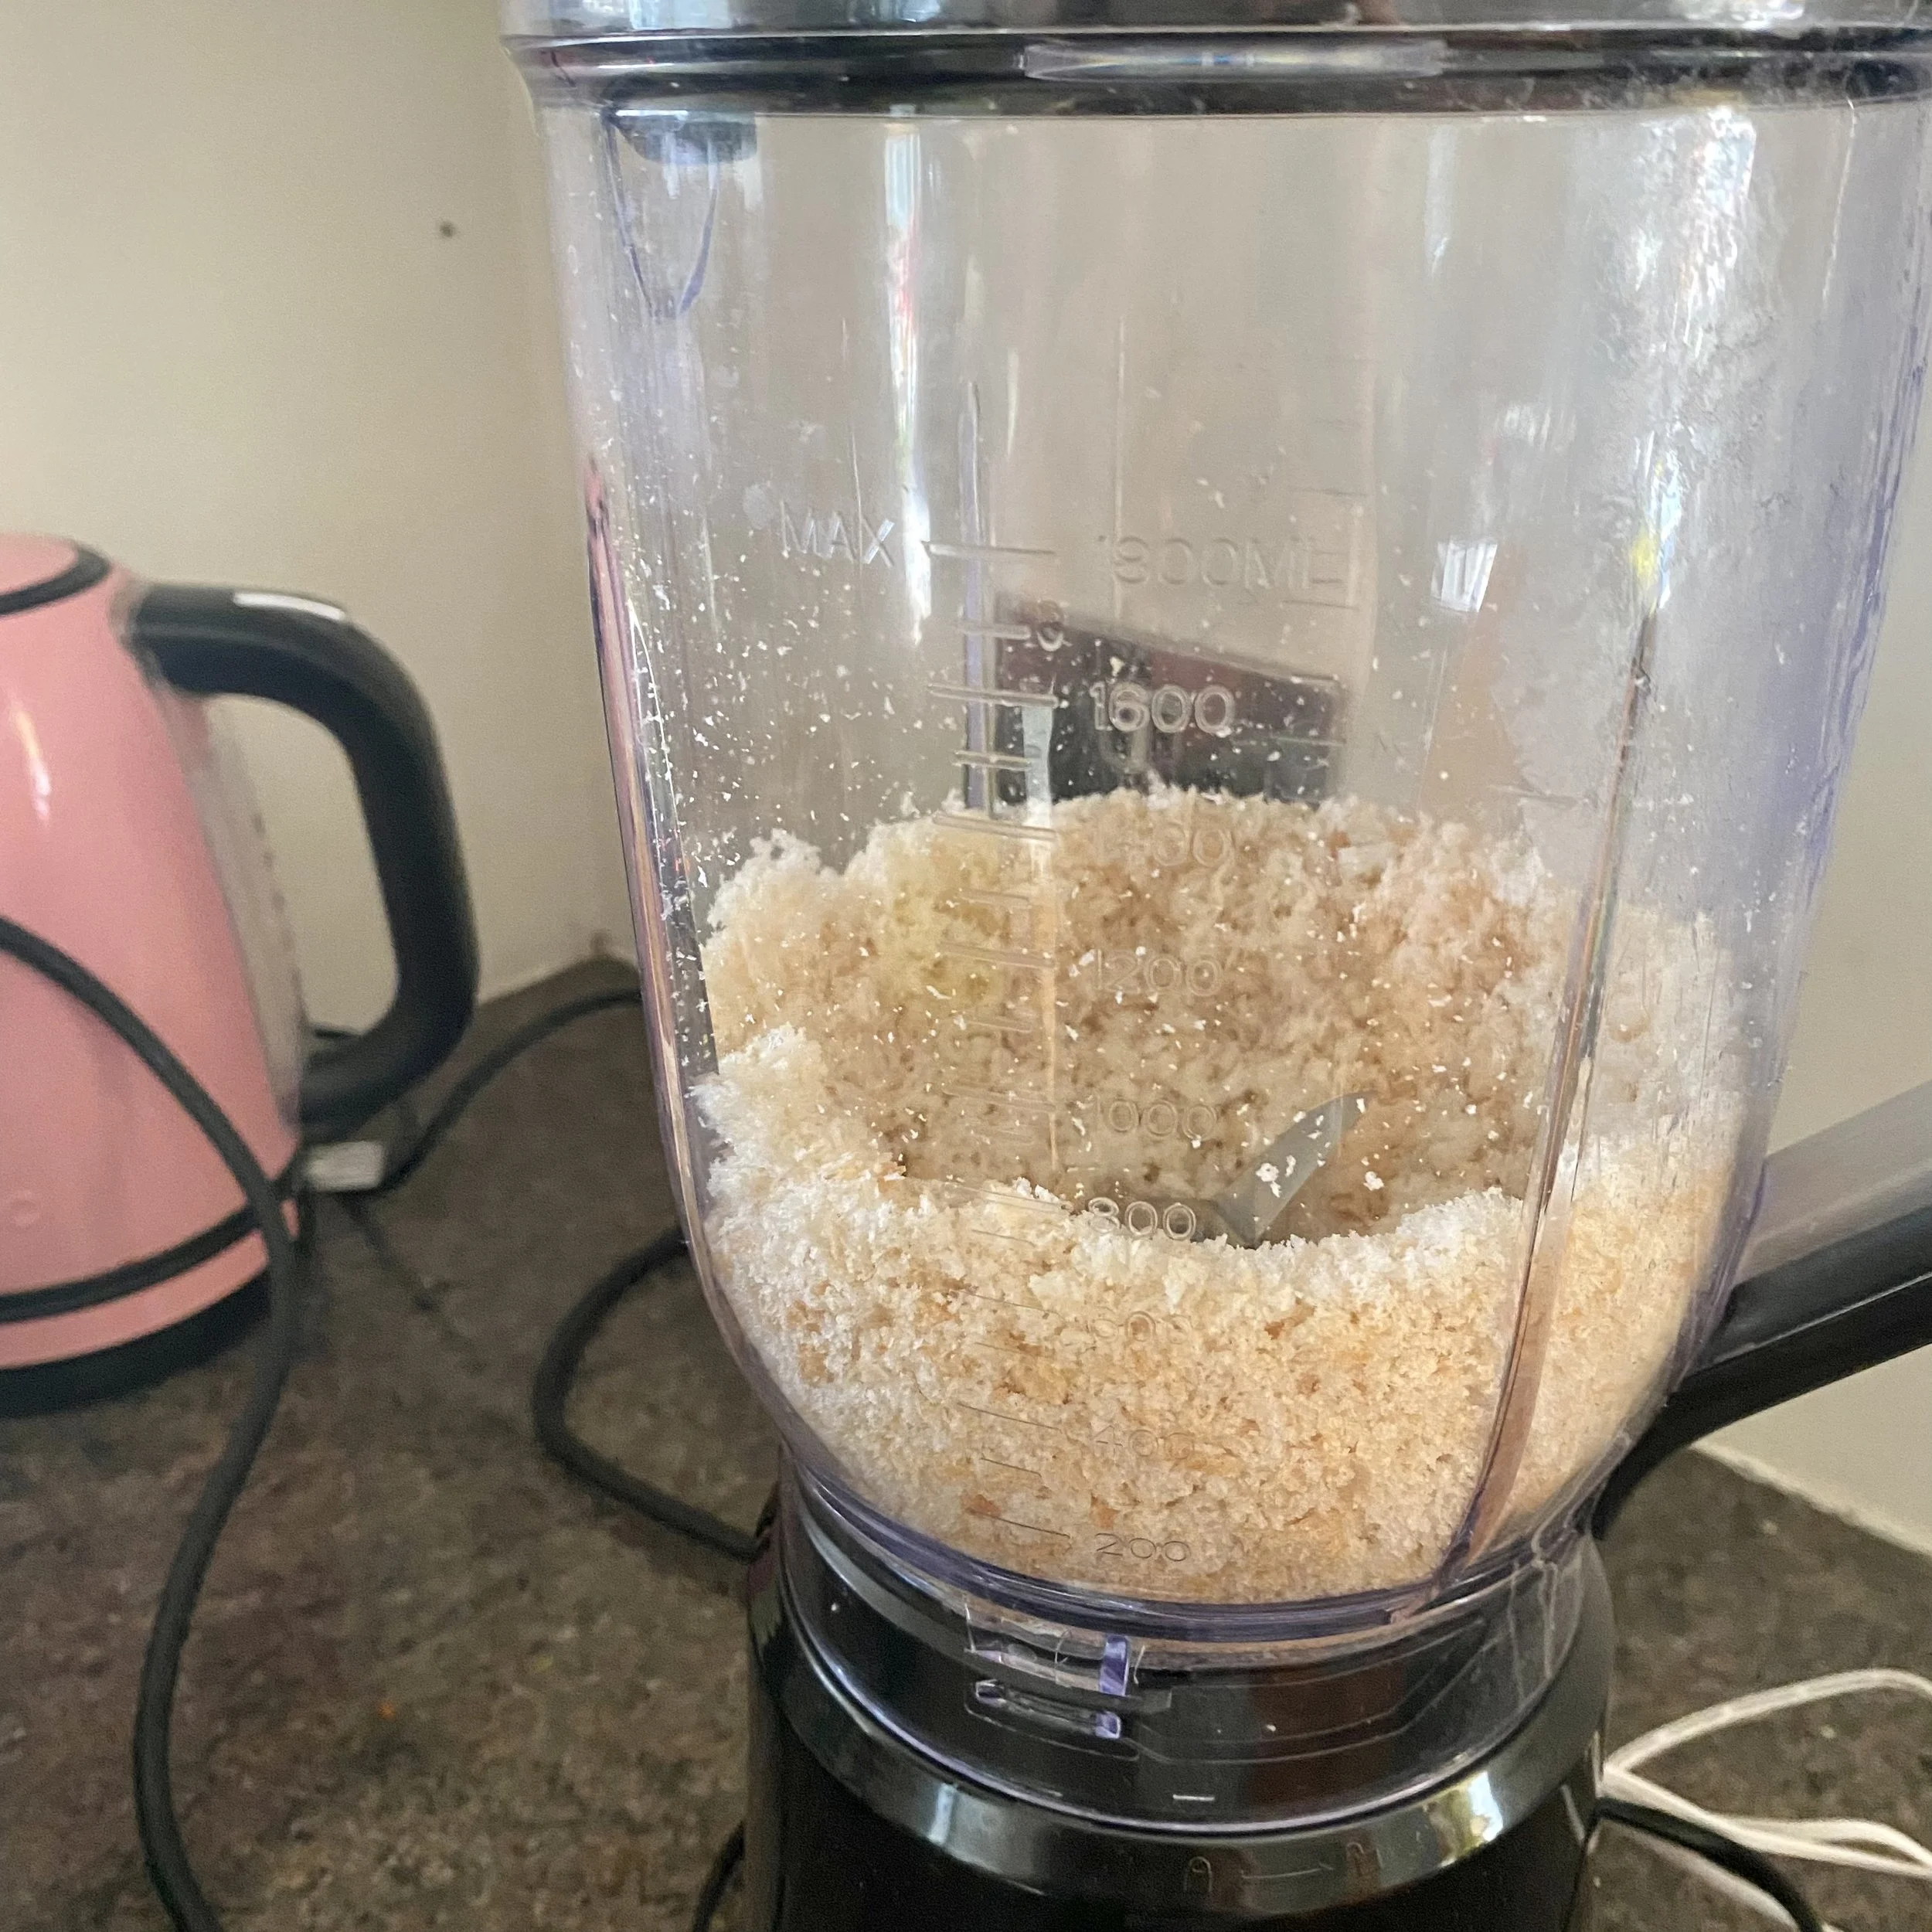
You can buy breadcrumbs or just whizz up a couple of slices or a hunk of bread in the blender or food processor.

And then get the dipping bowls ready: one with the breadcrumbs, one with a beaten egg and one with some plain flour.

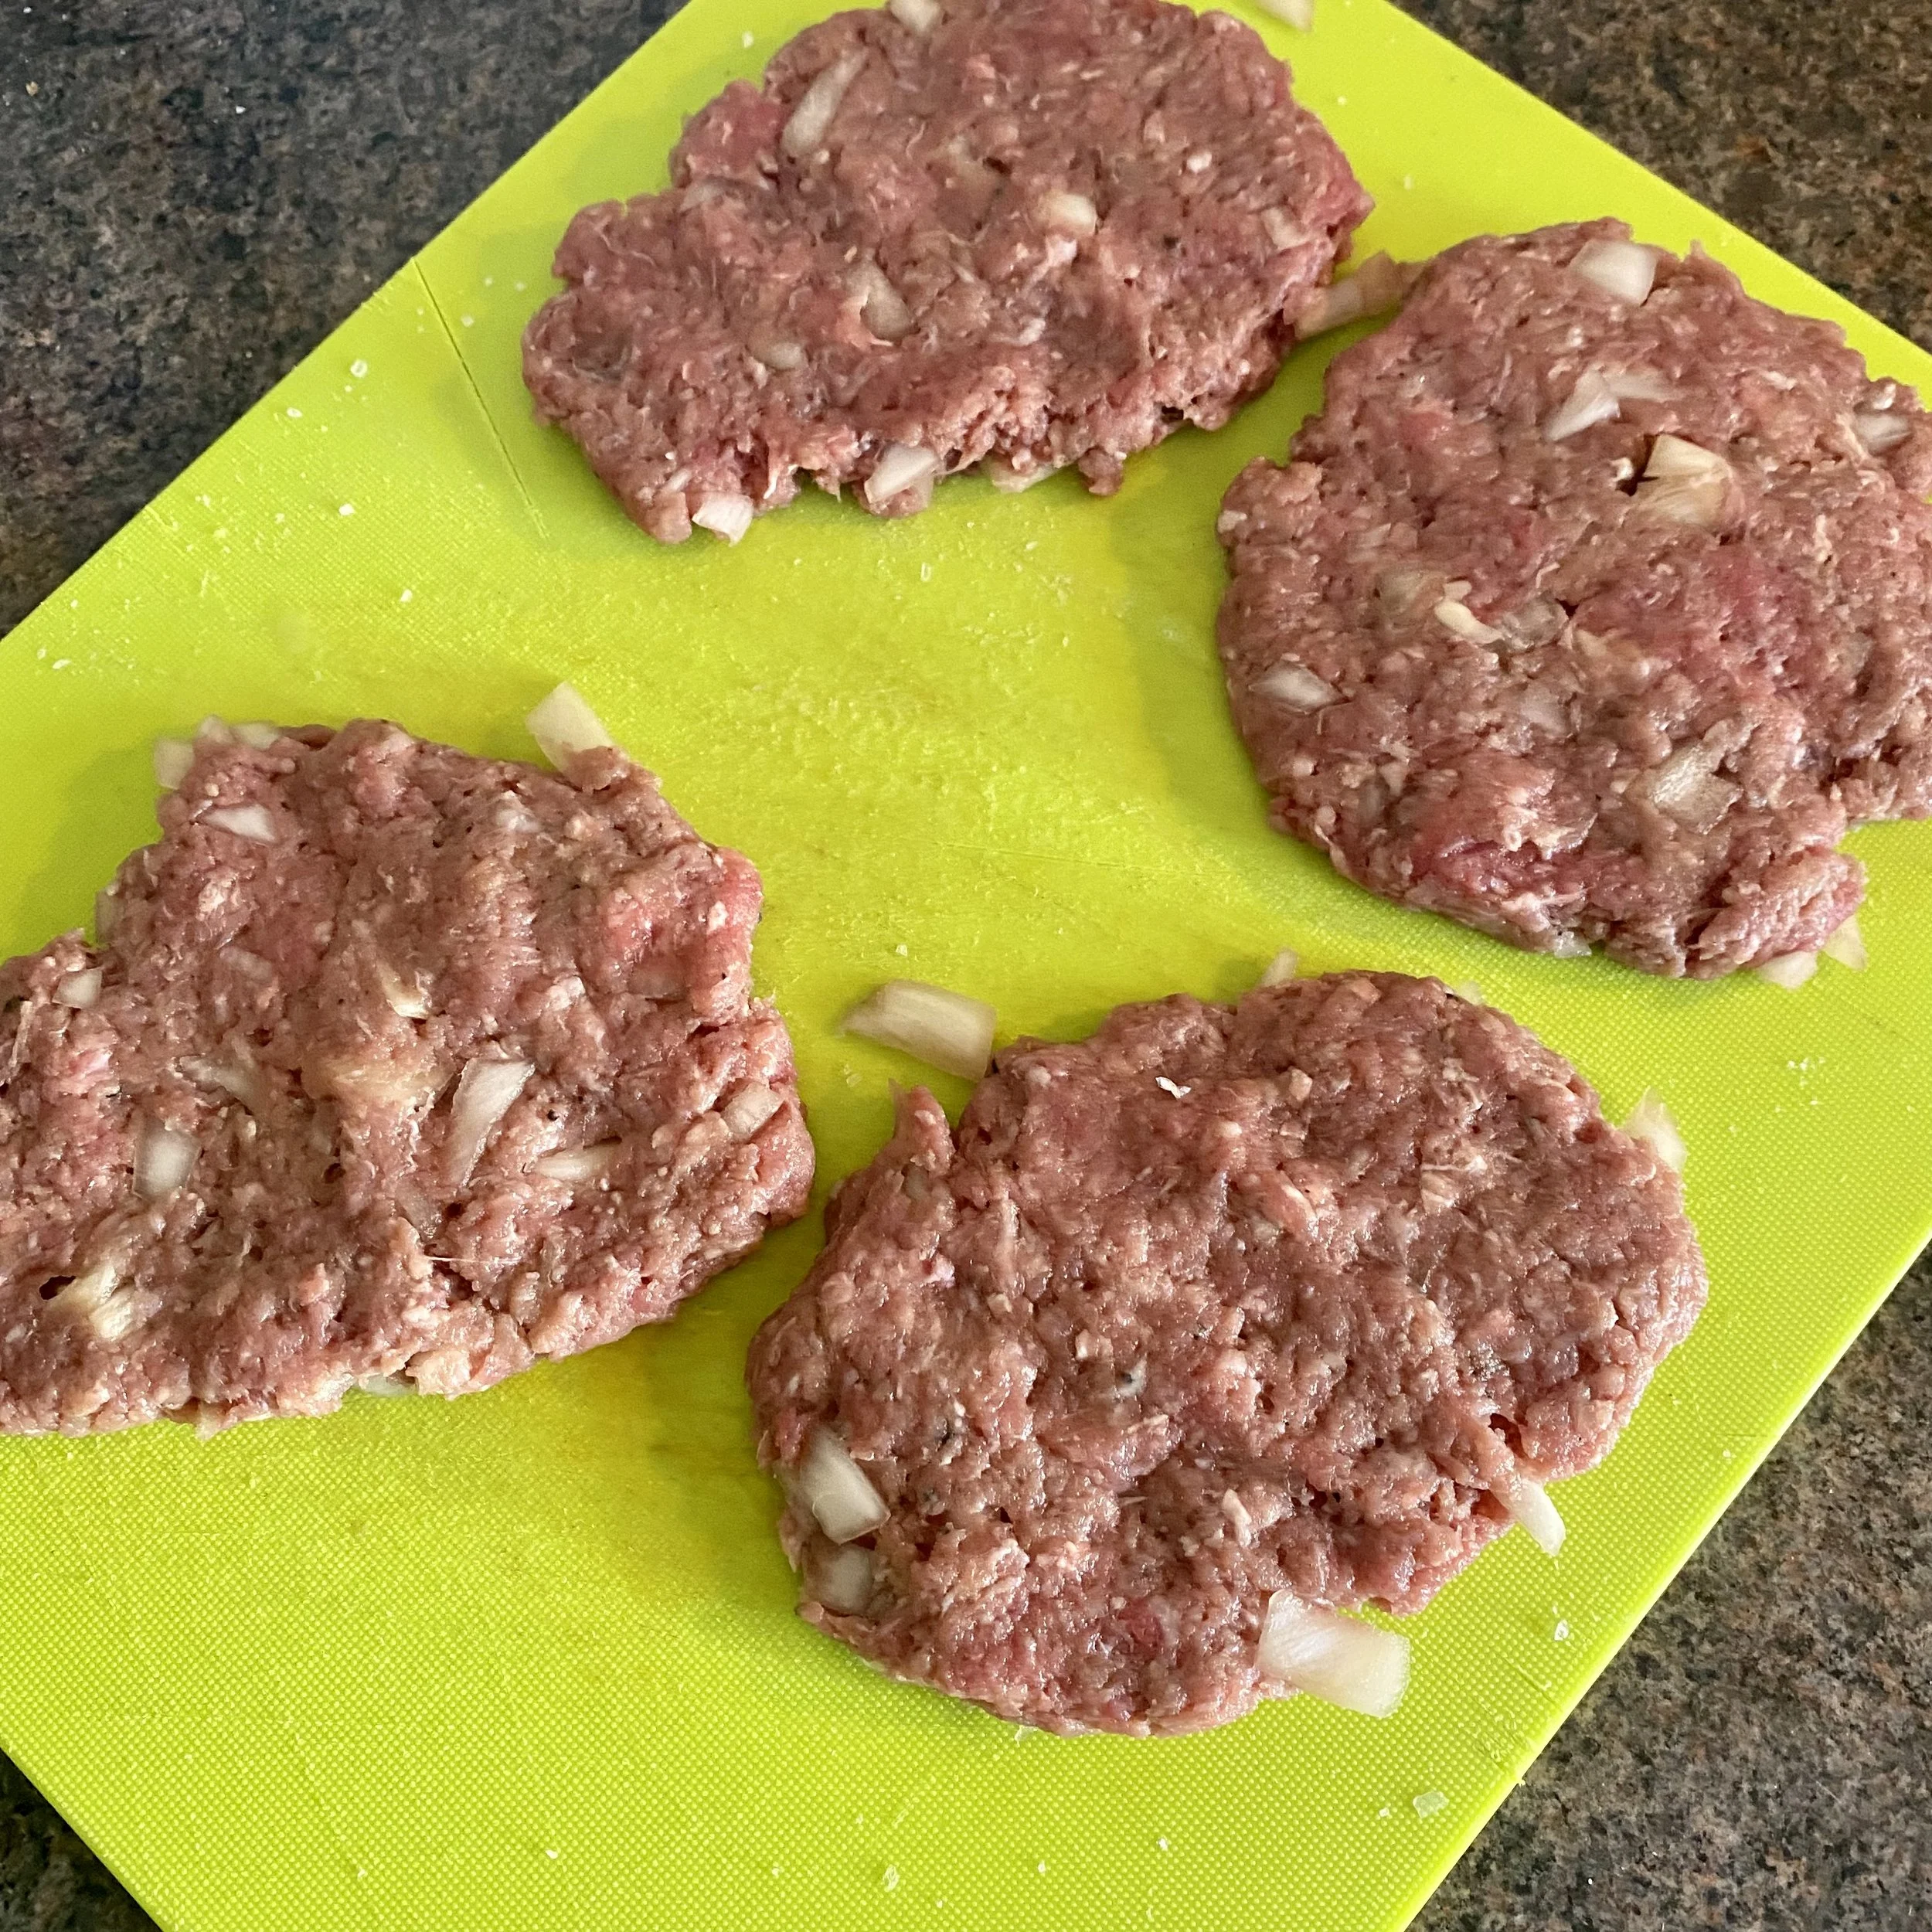
Divide the meat mixture into four, roll each into a ball and flatten out.

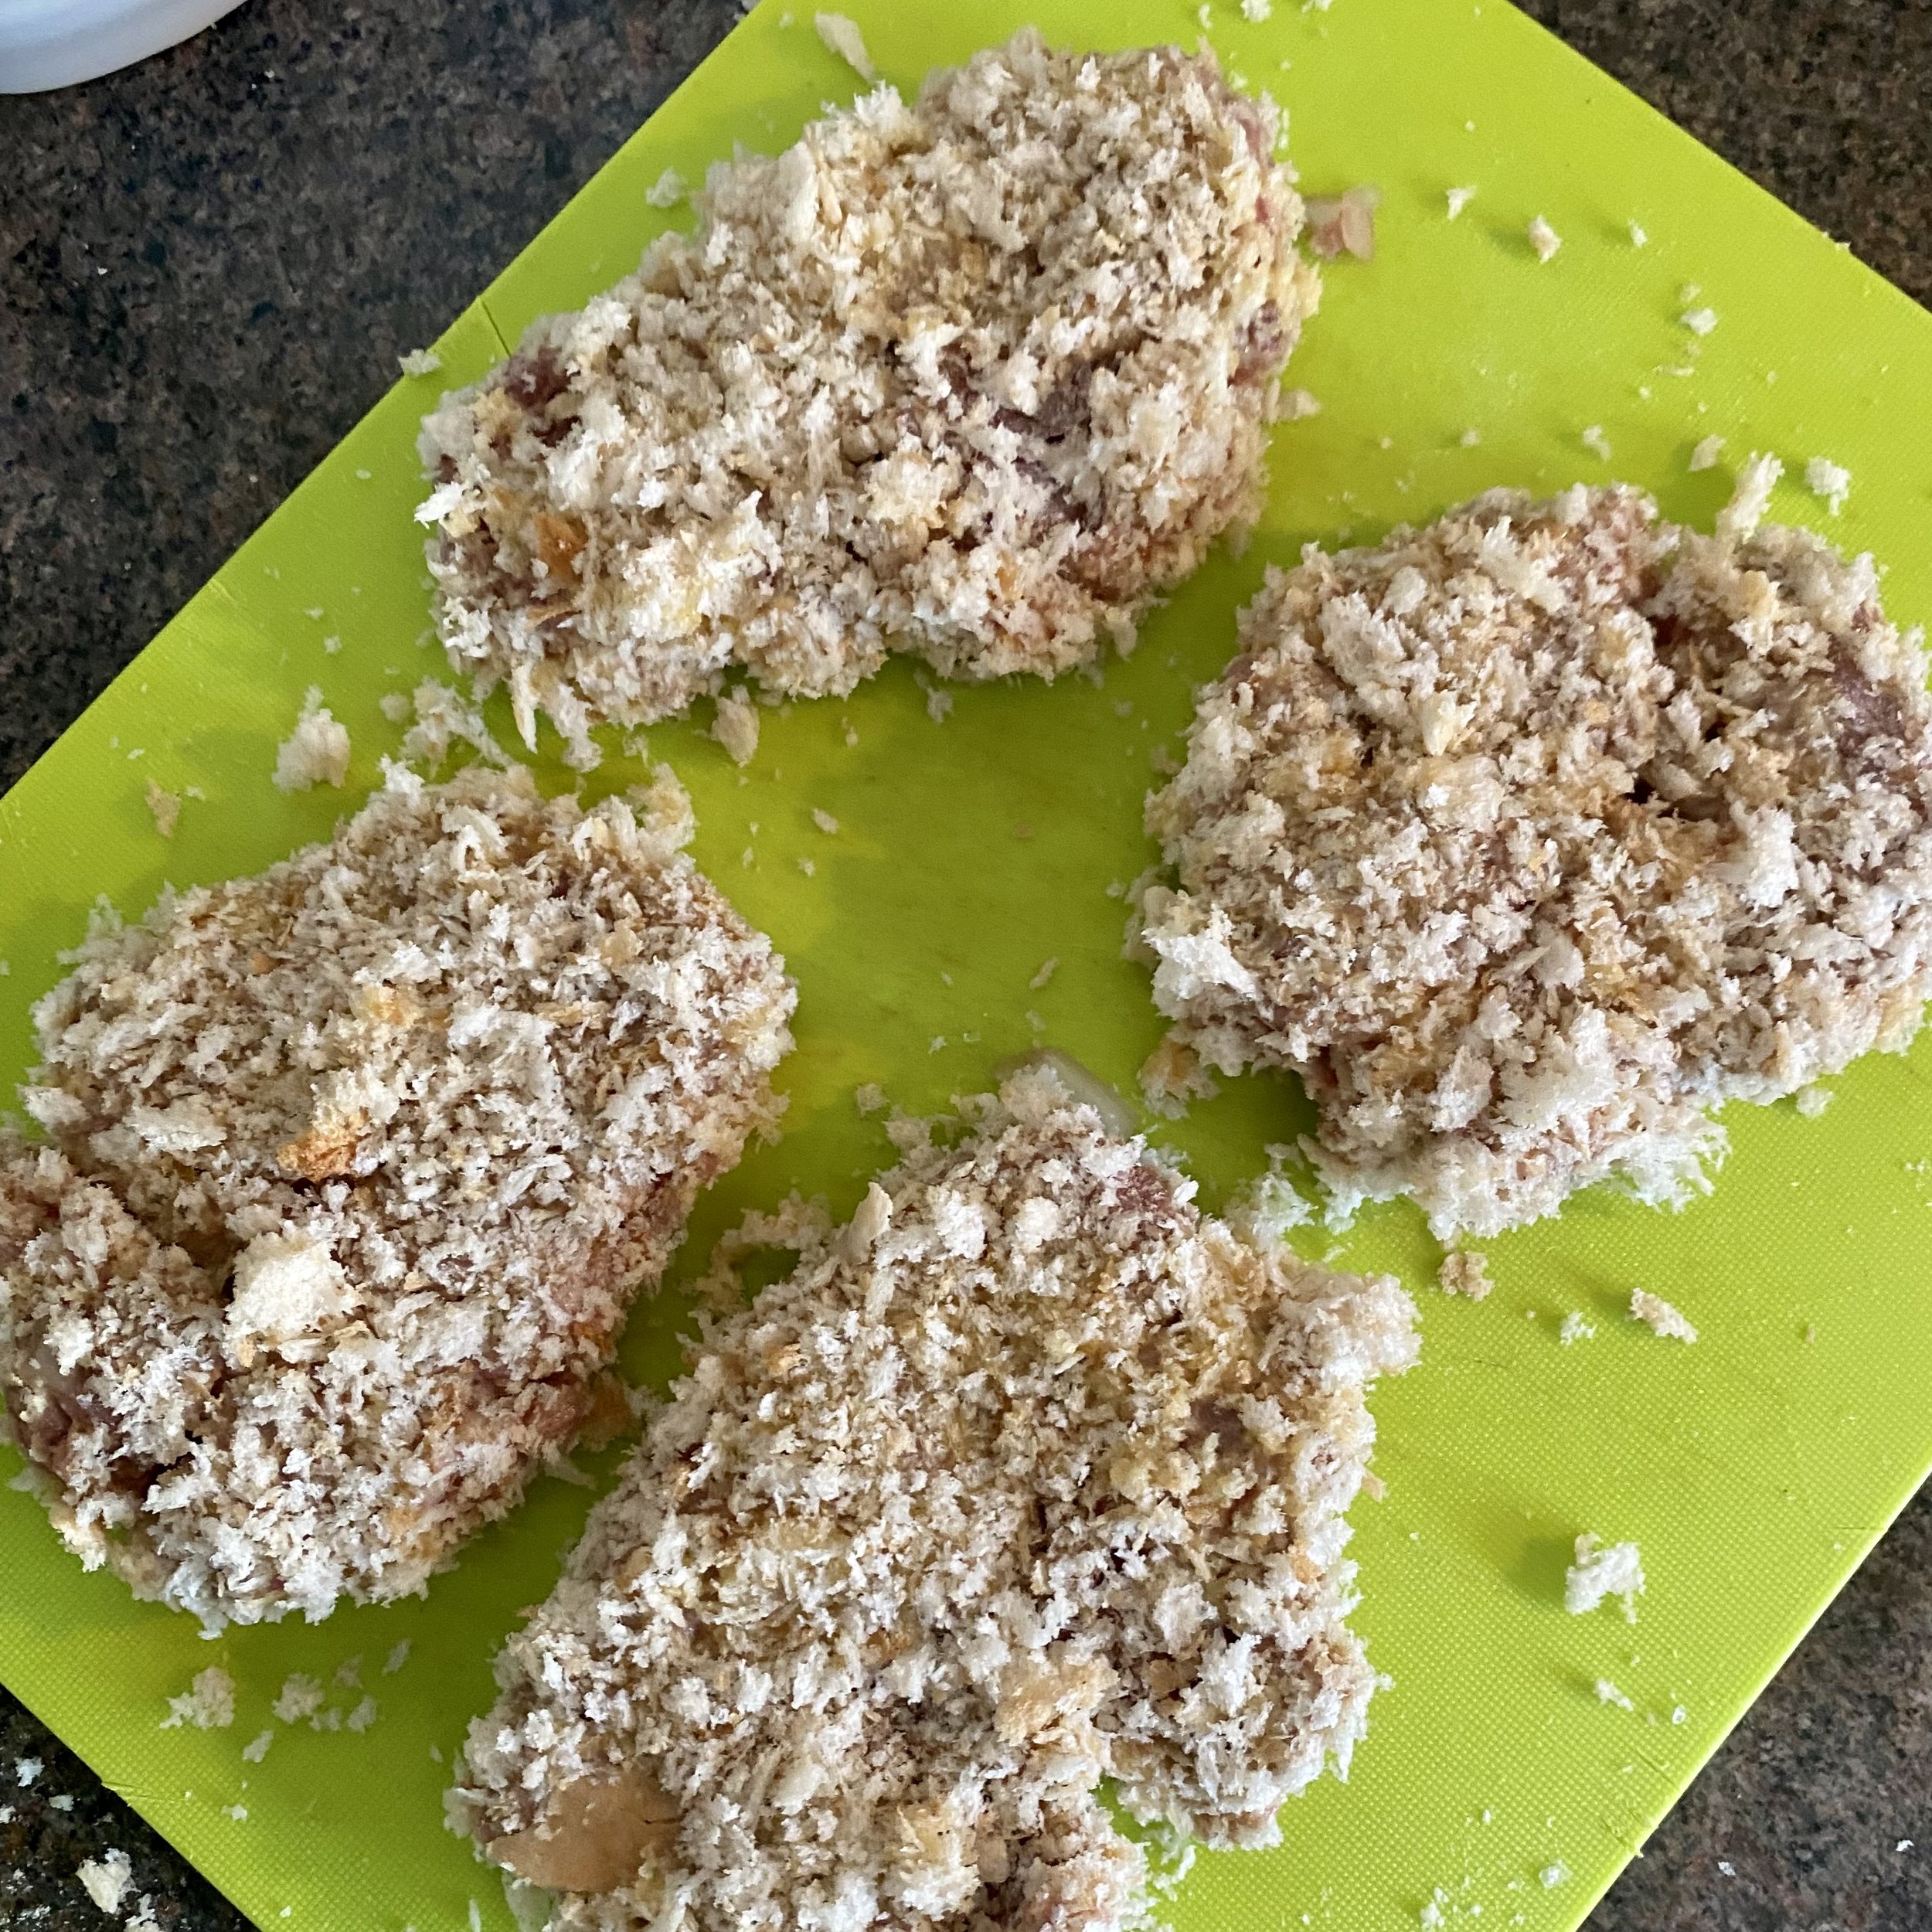
Then dip each first into the flour, then into the egg and then into the breadcrumbs.

Ooh just before we cook the cutlets let’s talk quickly about what to serve them with. I understand that traditionally it’s with tonkatsu sauce, which you can buy, or quickly make by mixing:

1 tablespoon ketchup

2 teaspoons Worcestershire sauce

1 teaspoon oyster sauce

1 teaspoon sugar

Stir it all together and taste - add more of anything to get the flavour as you like it.

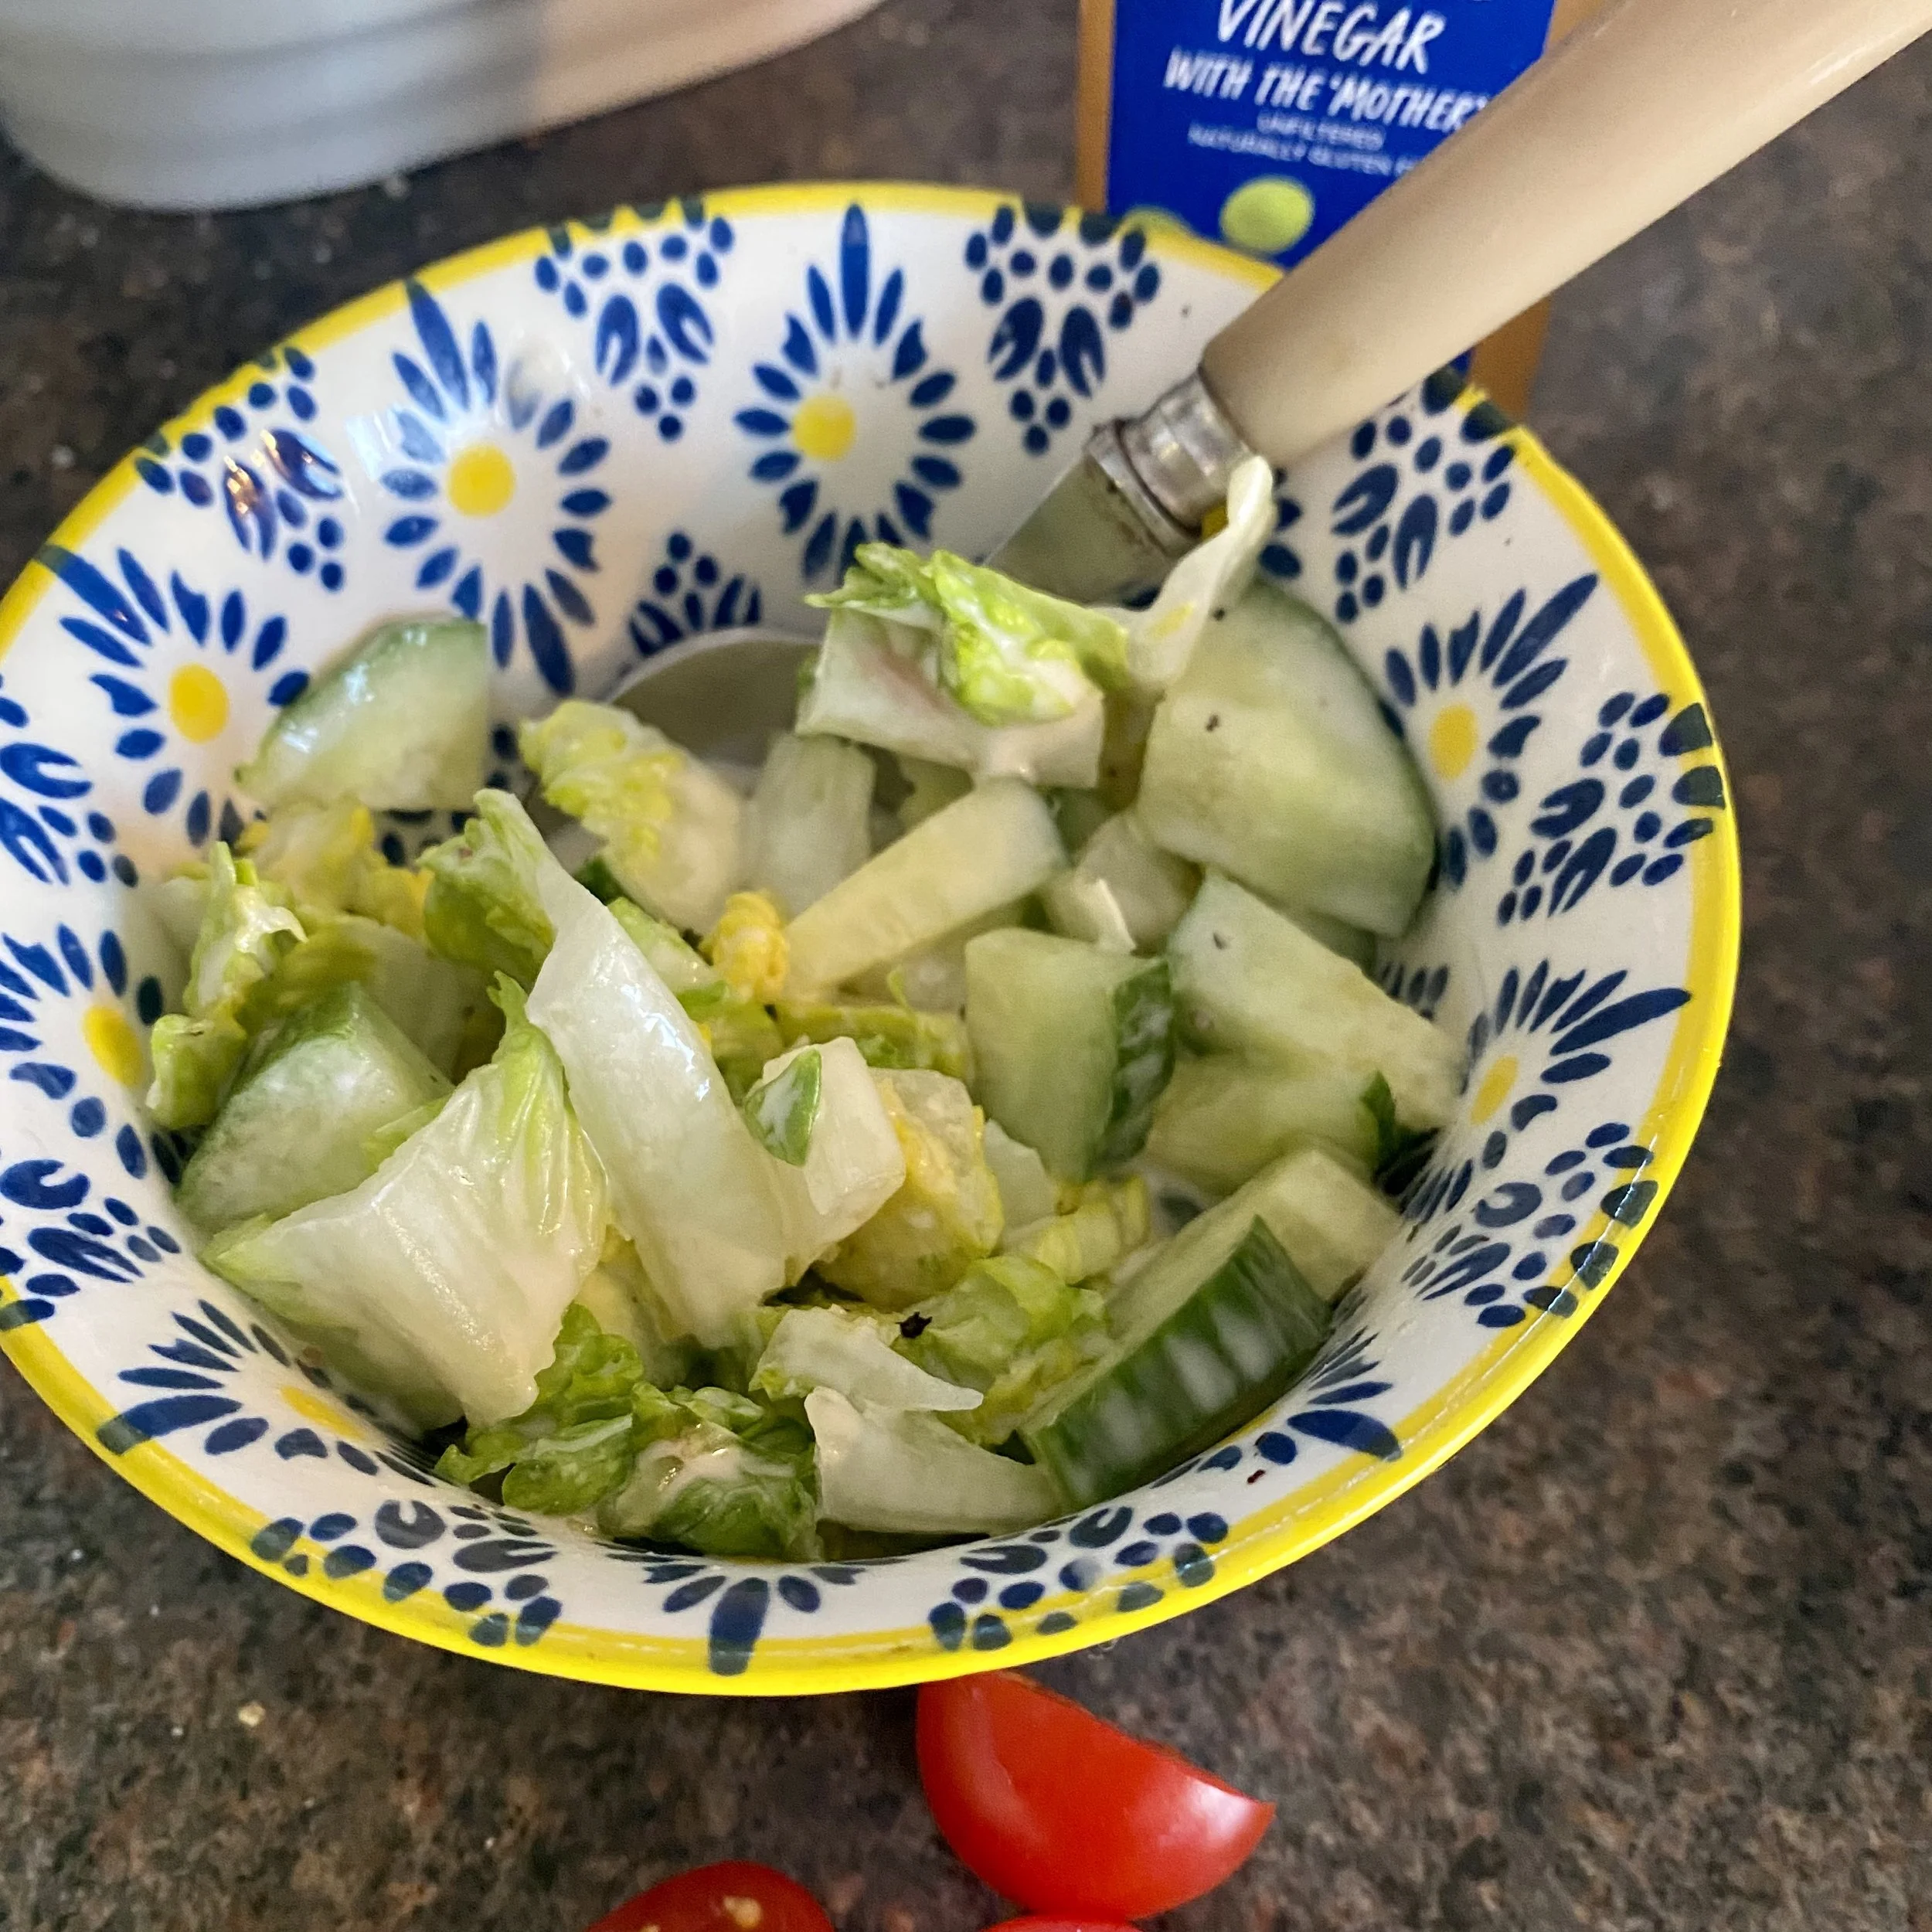
I also really like this with tartar sauce. I make a sort of very simple version just mixing mayonnaise with white wine vinegar.

Today I added some chopped lettuce and cucumber straight into this dressing to coat it all evenly so the salad was already dressed before adding to the plate.

OK, back to the cutlets.

Put a non-stick pan over a medium heat and add quite a lot of oil. When a breadcrumb dropped into the hot oil sizzles, add the cutlets and cook for three minutes each side, maybe four if your cutlets are thicker.

Serve drizzled with tonkatsu sauce with finely chopped cabbage and some sliced tomato on the side.

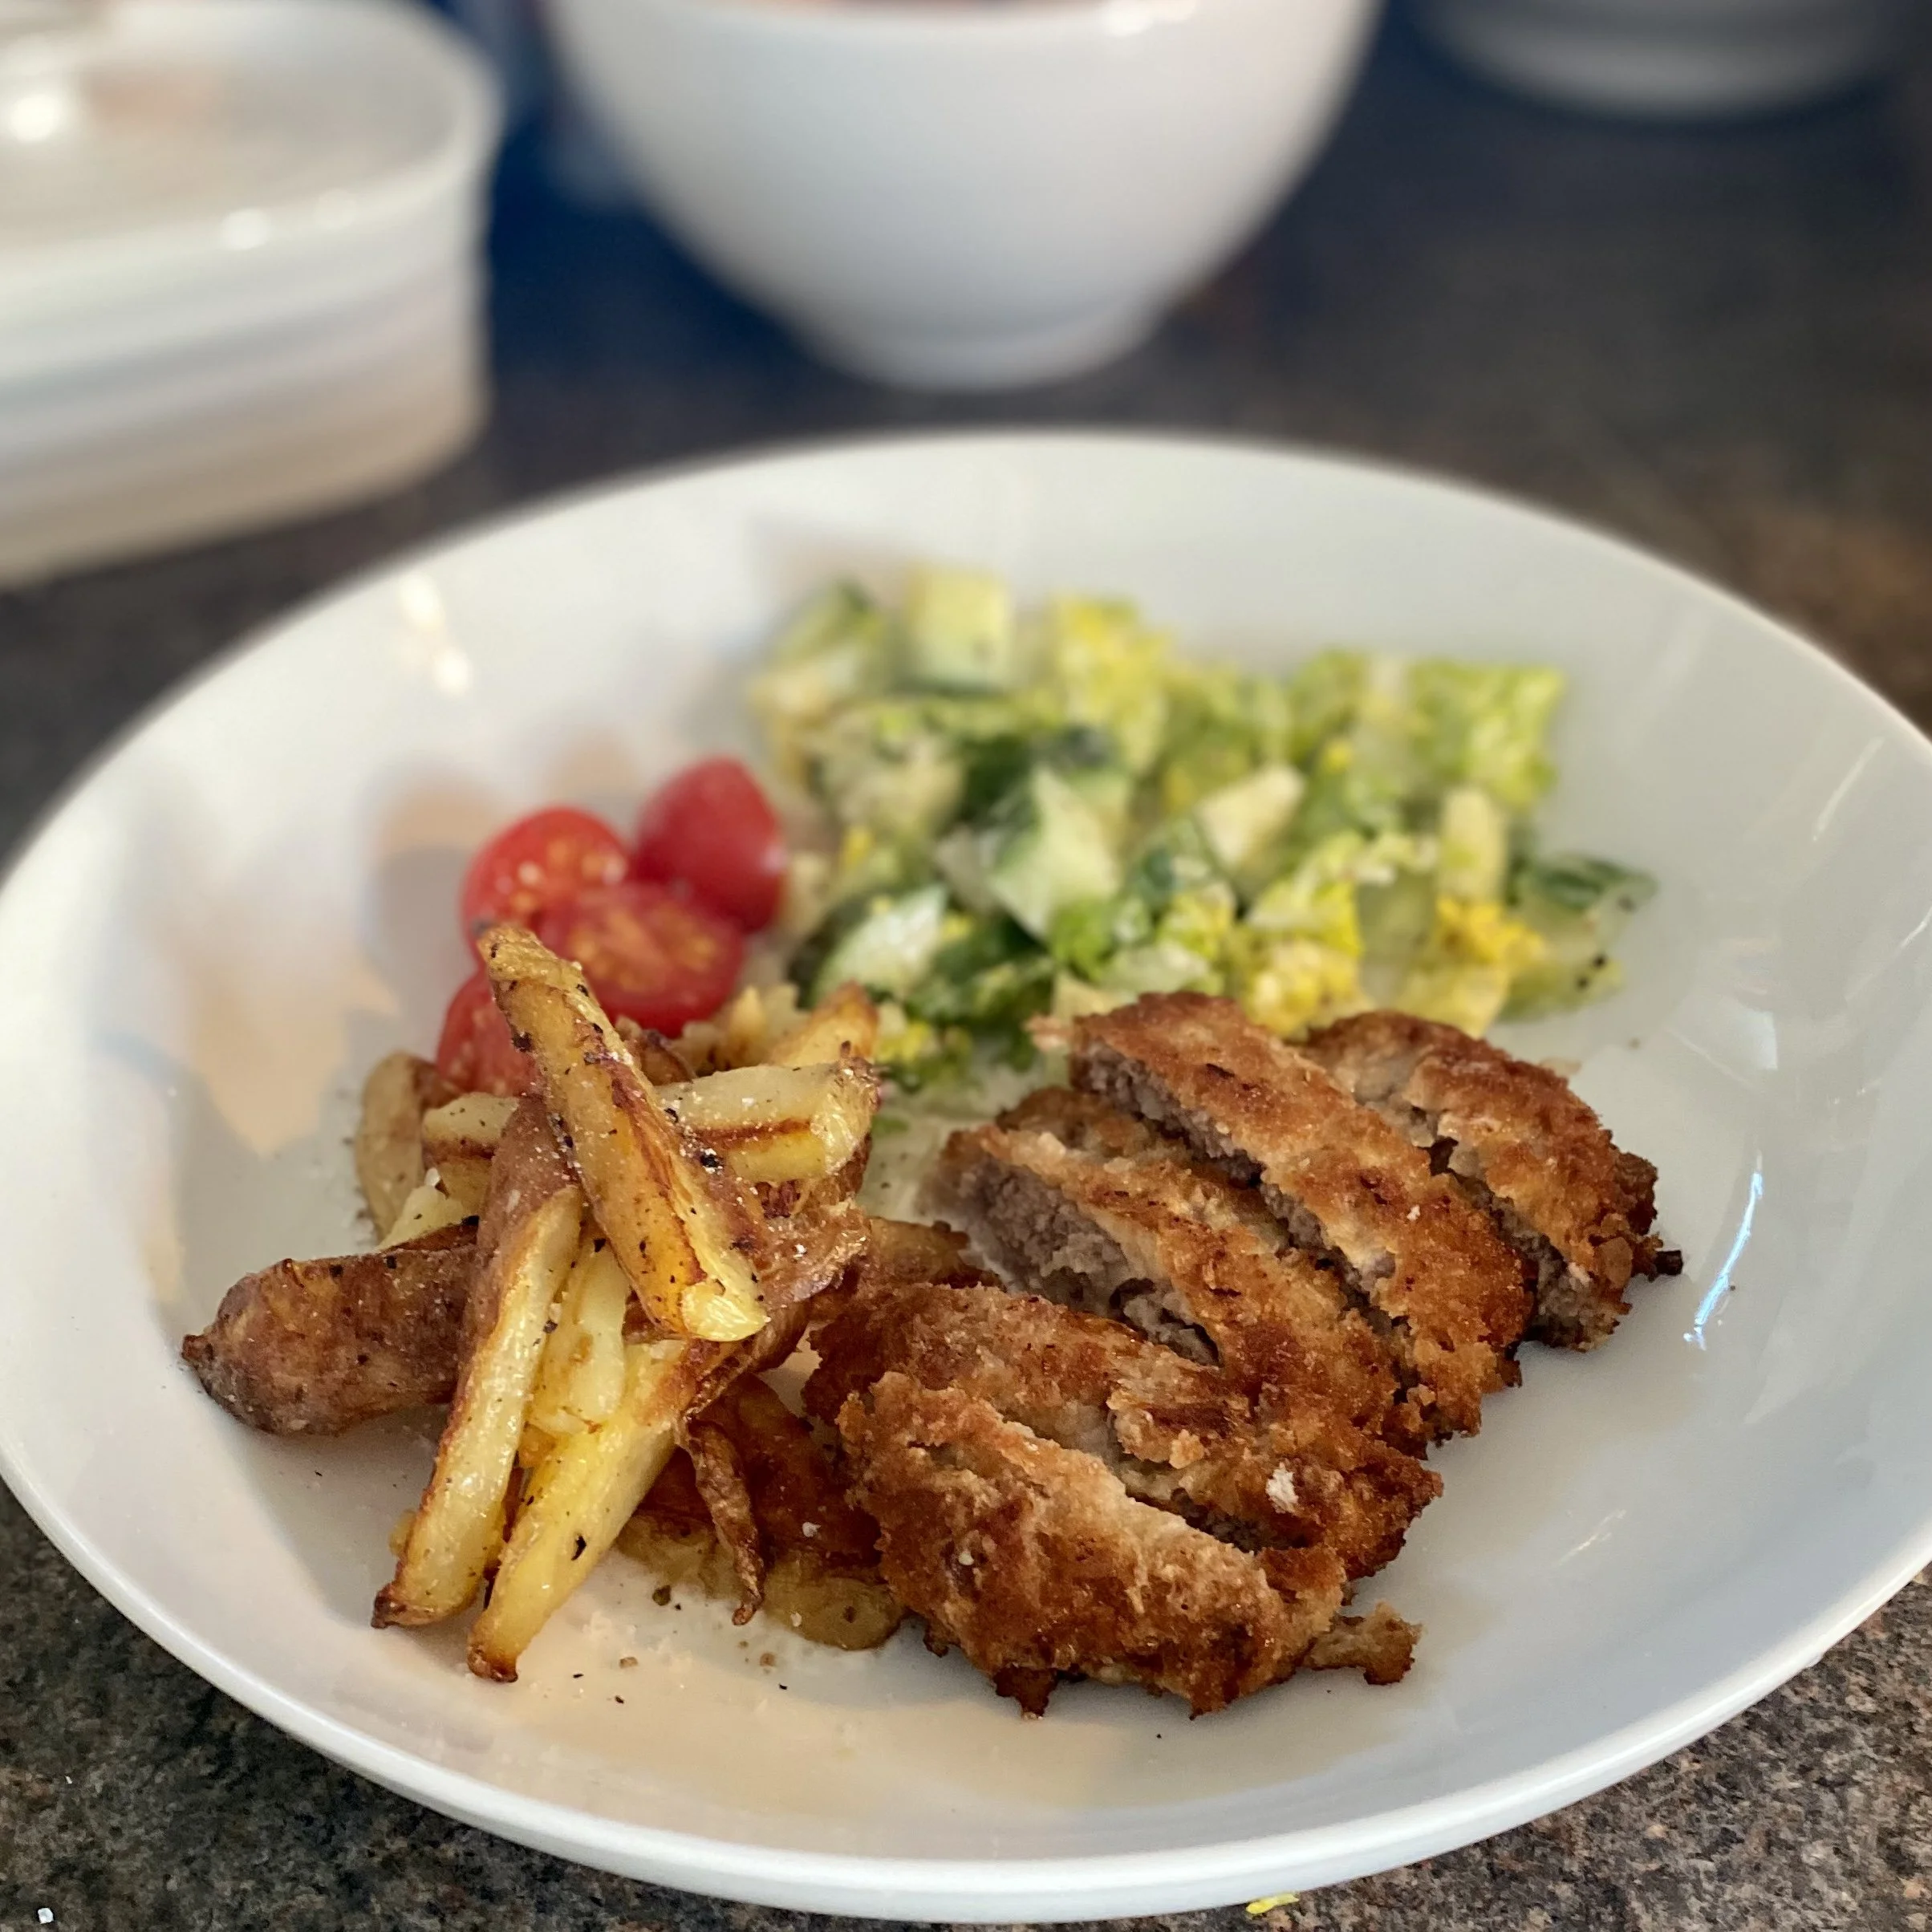
Or have with tartar sauce, salad and chips.

Or have in a bread roll like a crunchy burger.

Or whatever else you think would be good.

I mean really these are so good you could just eat them on their own.


YOU MIGHT ALSO LIKE …

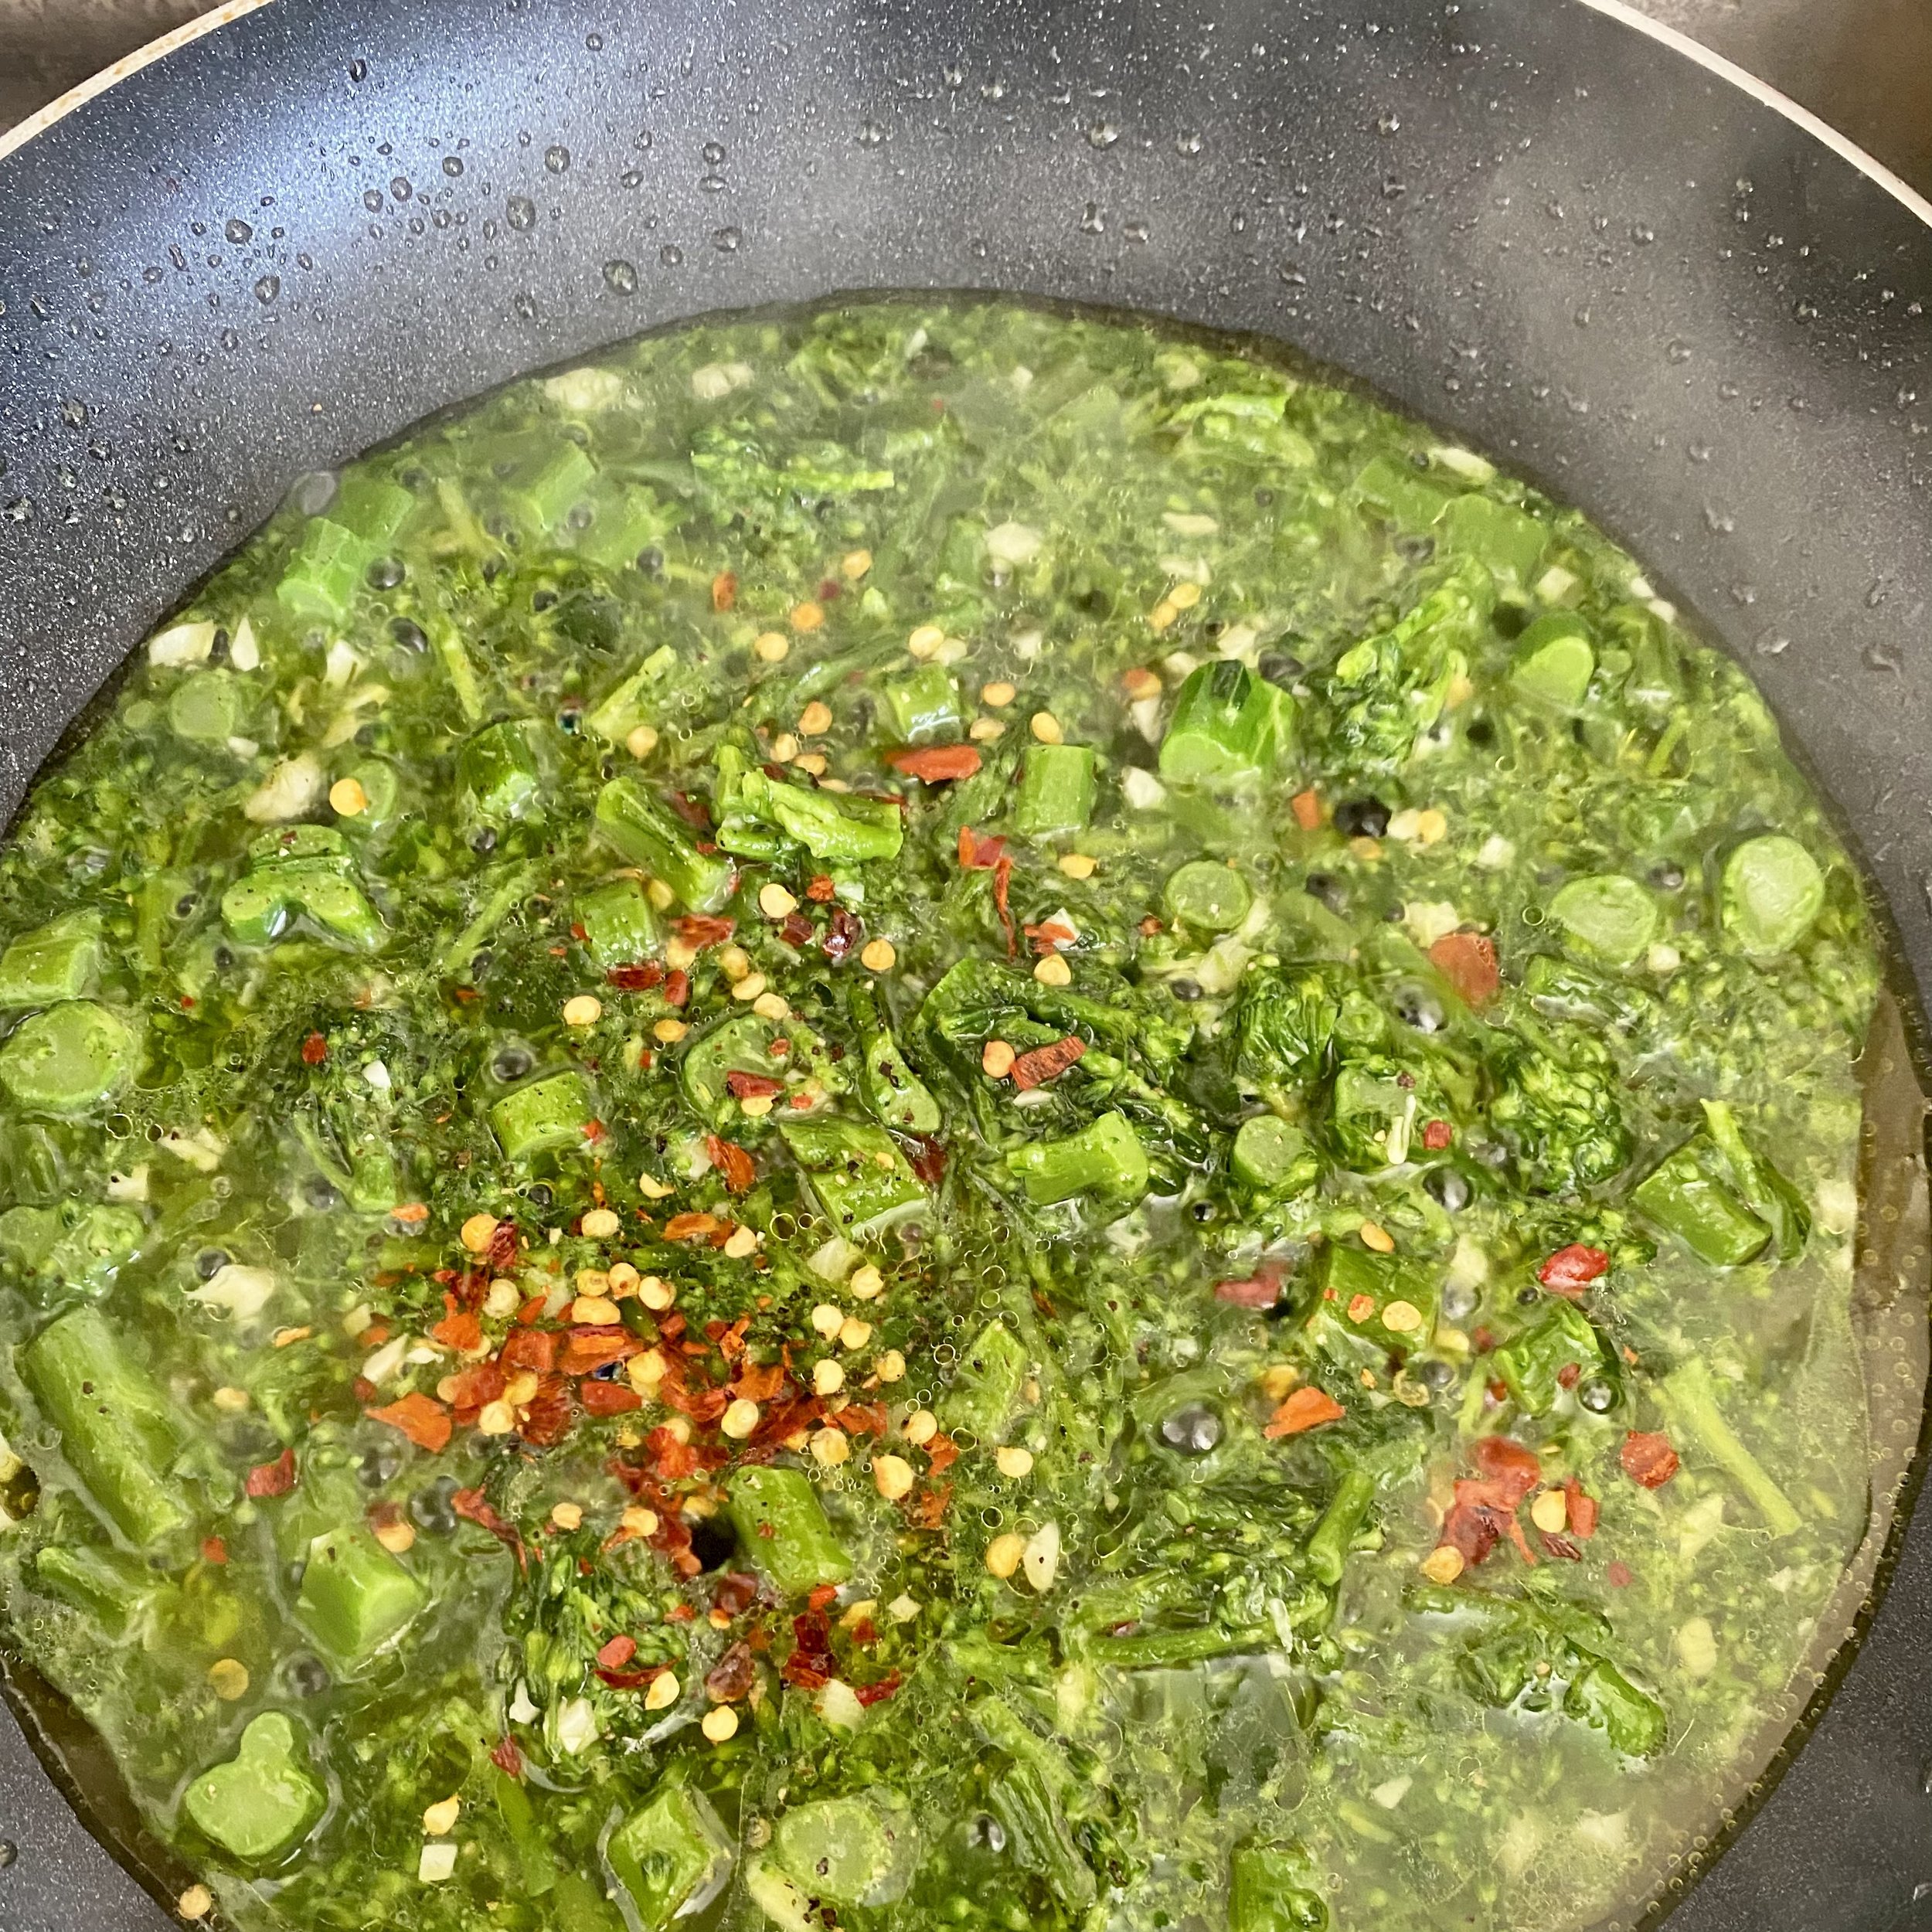
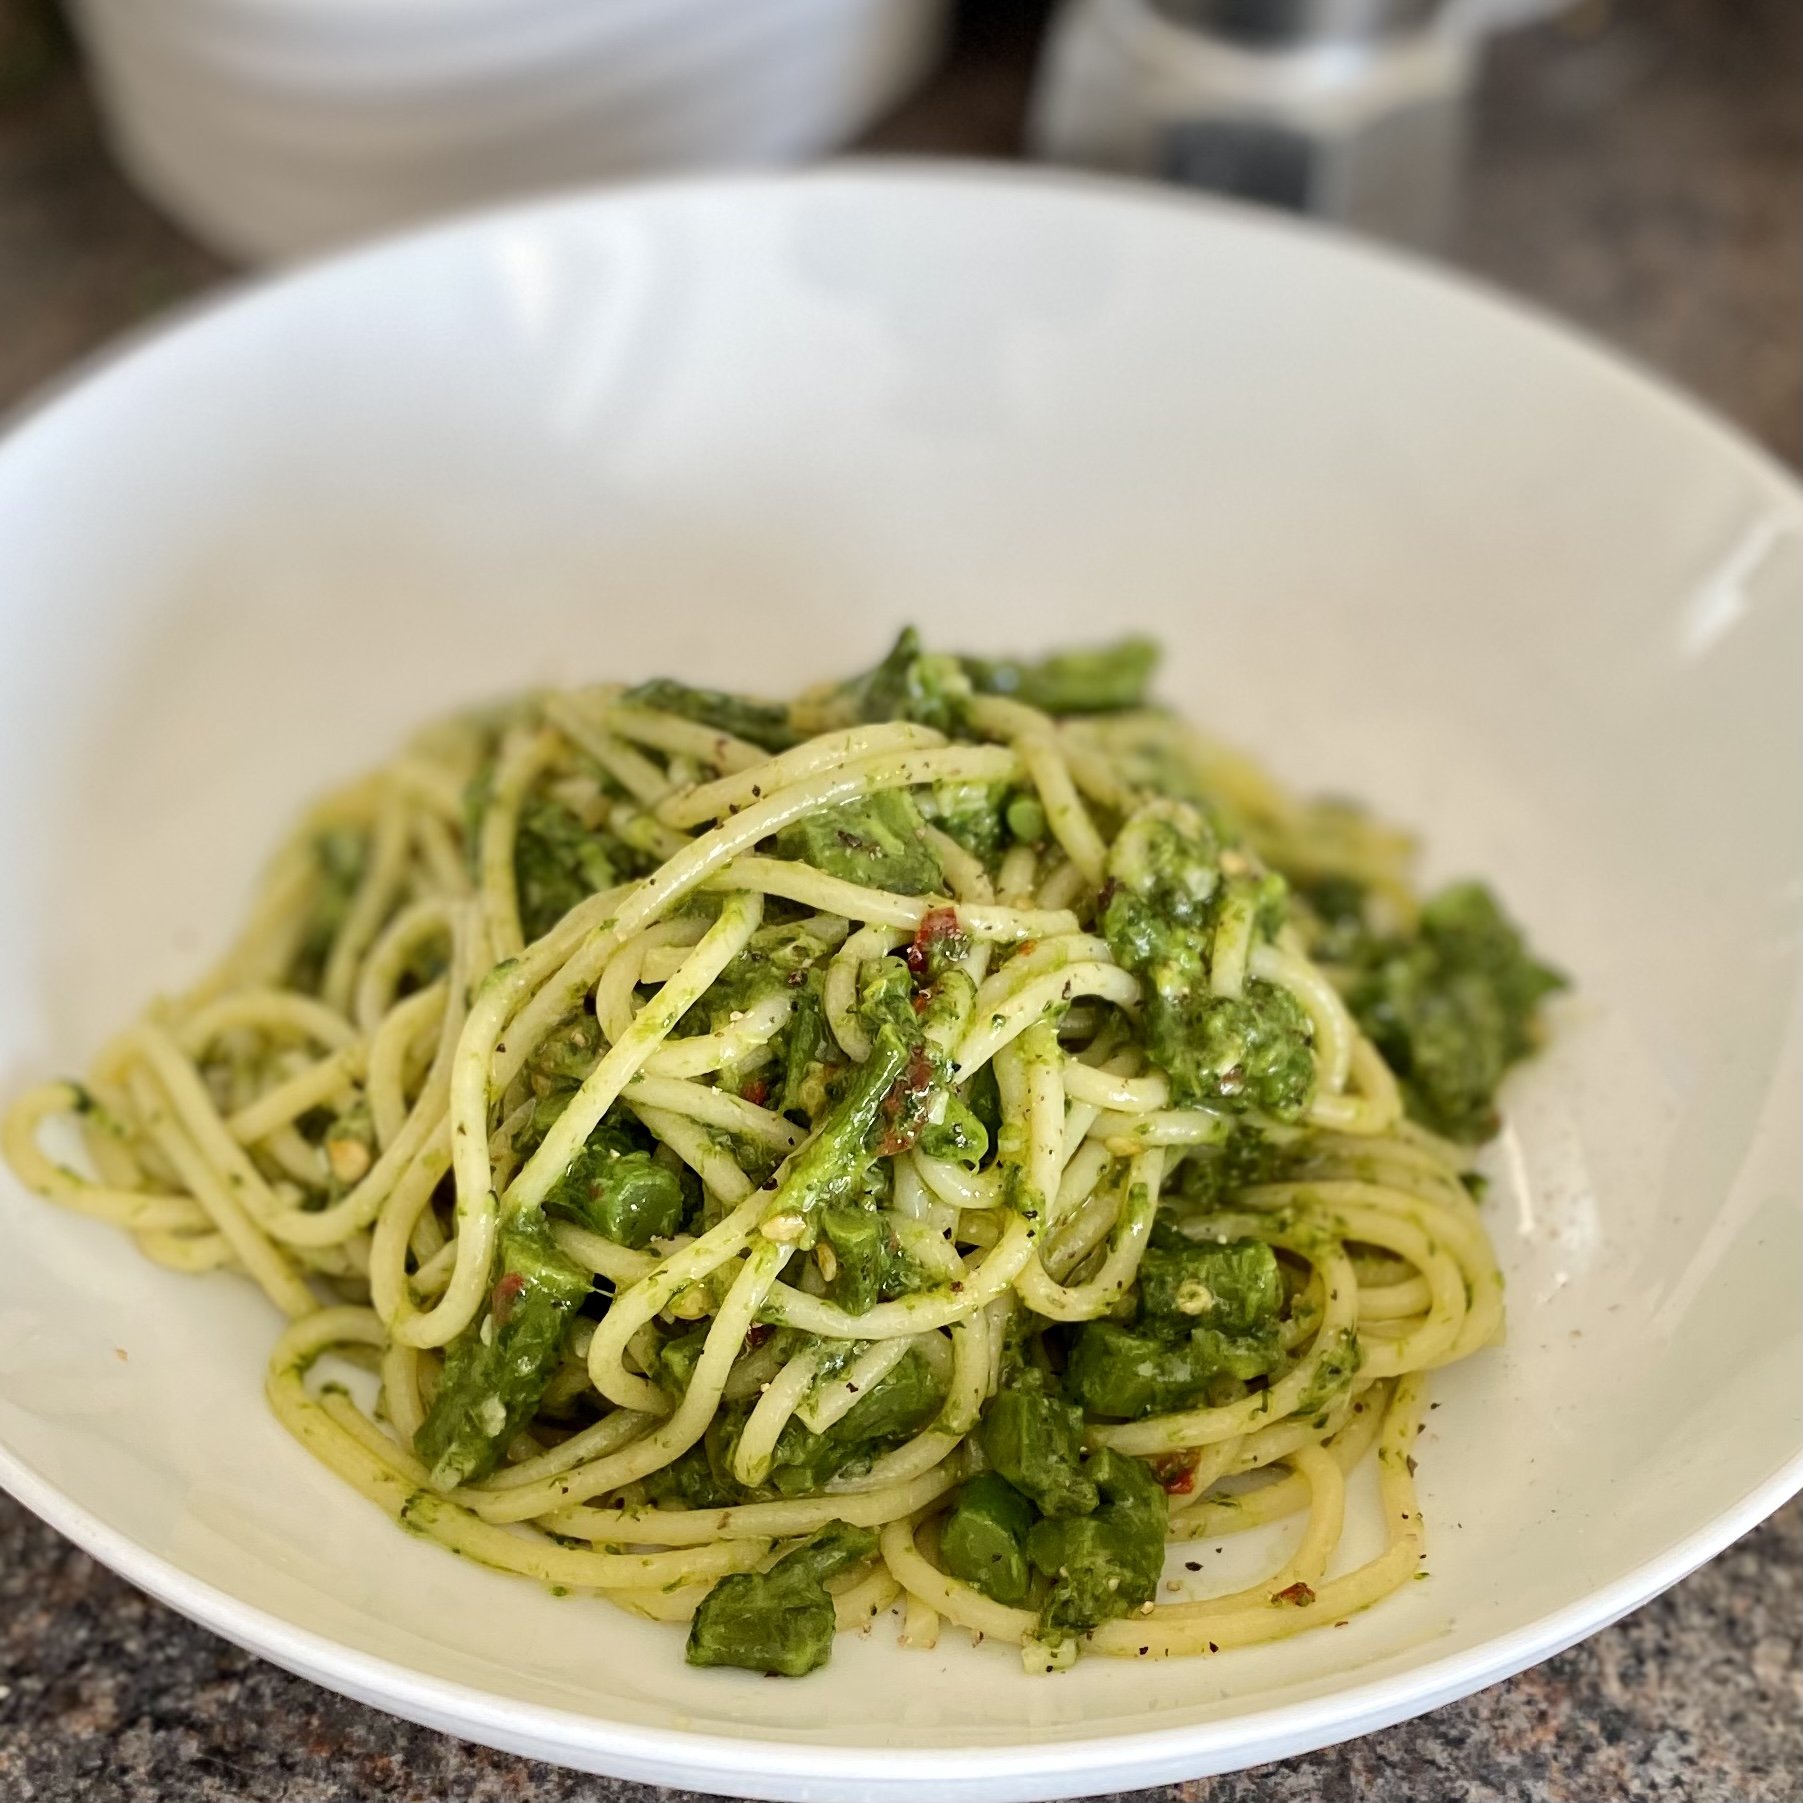
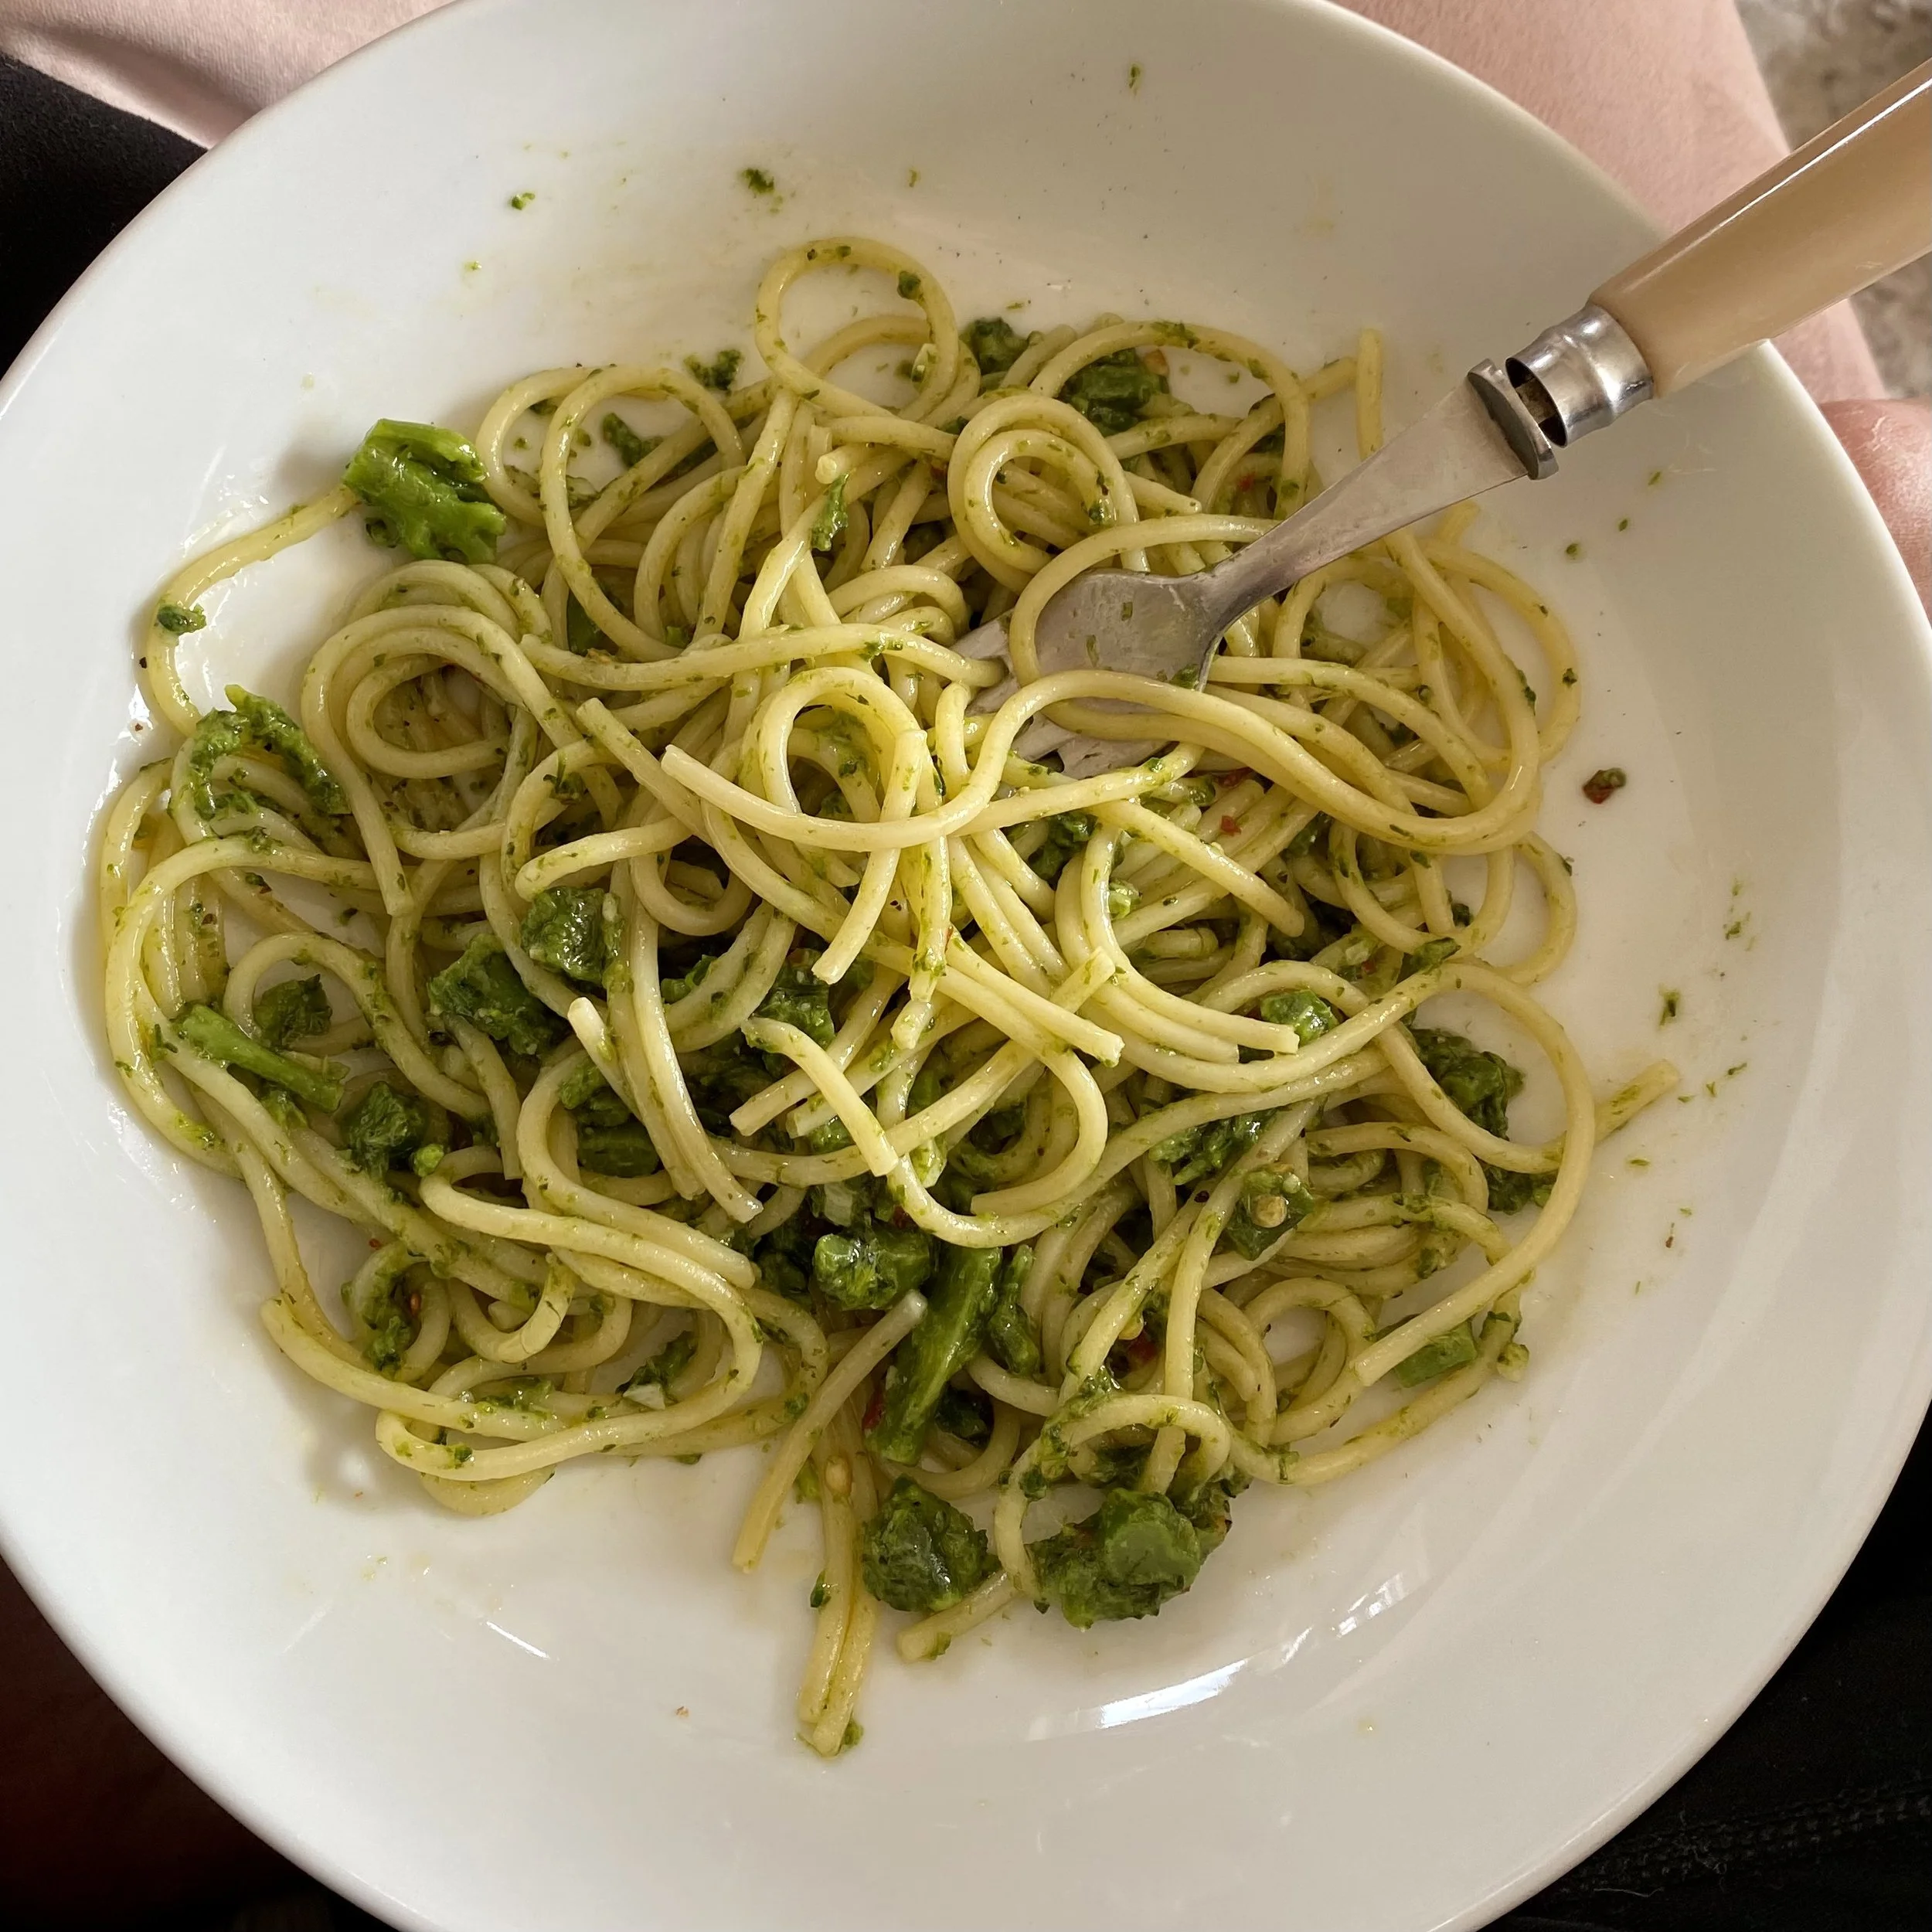
Spaghetti + broccoli

Sounds dull, doesn’t it? But it’s really, really not. It’s creamy and delicious and also full of goodness and I’ve eaten it two days in a row now.

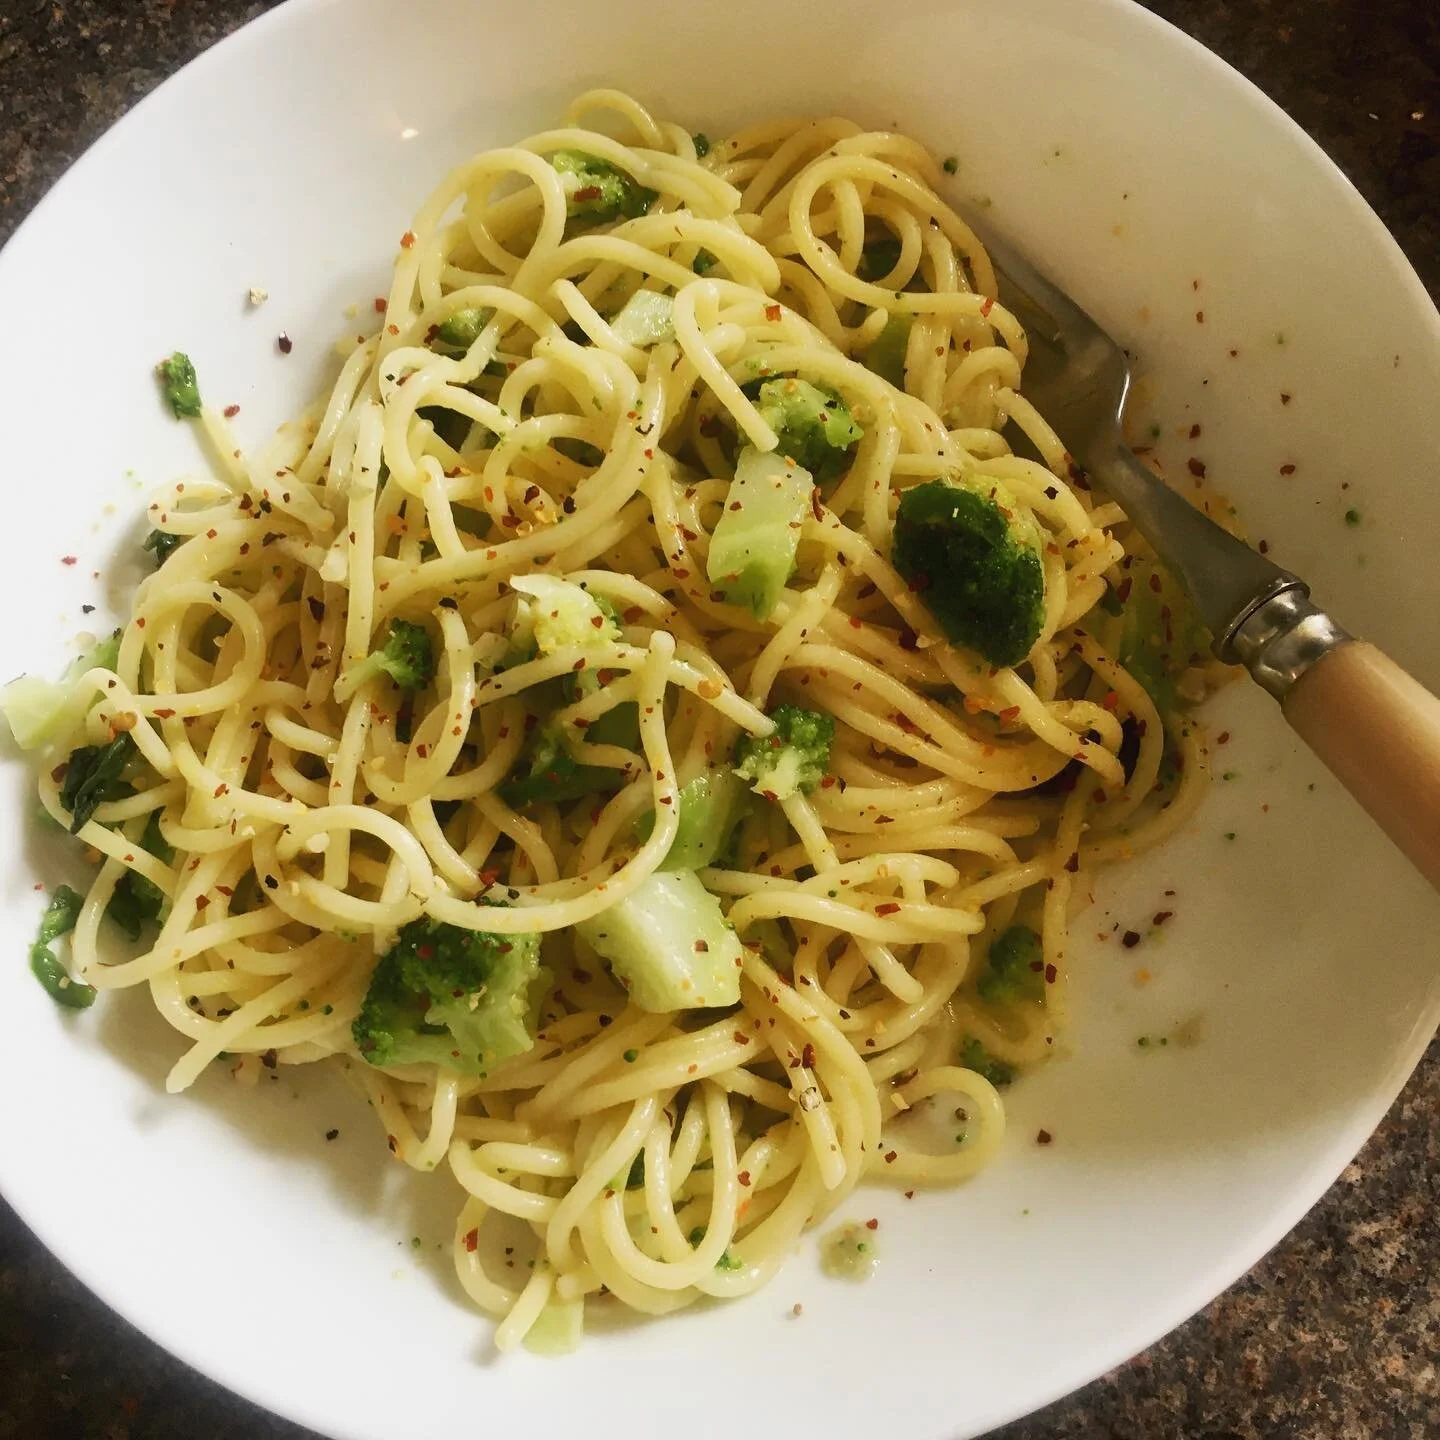
I made a big bowl of this for lunch the other day to celebrate the beginning of Spring but it would of course also be perfect for a simple supper.

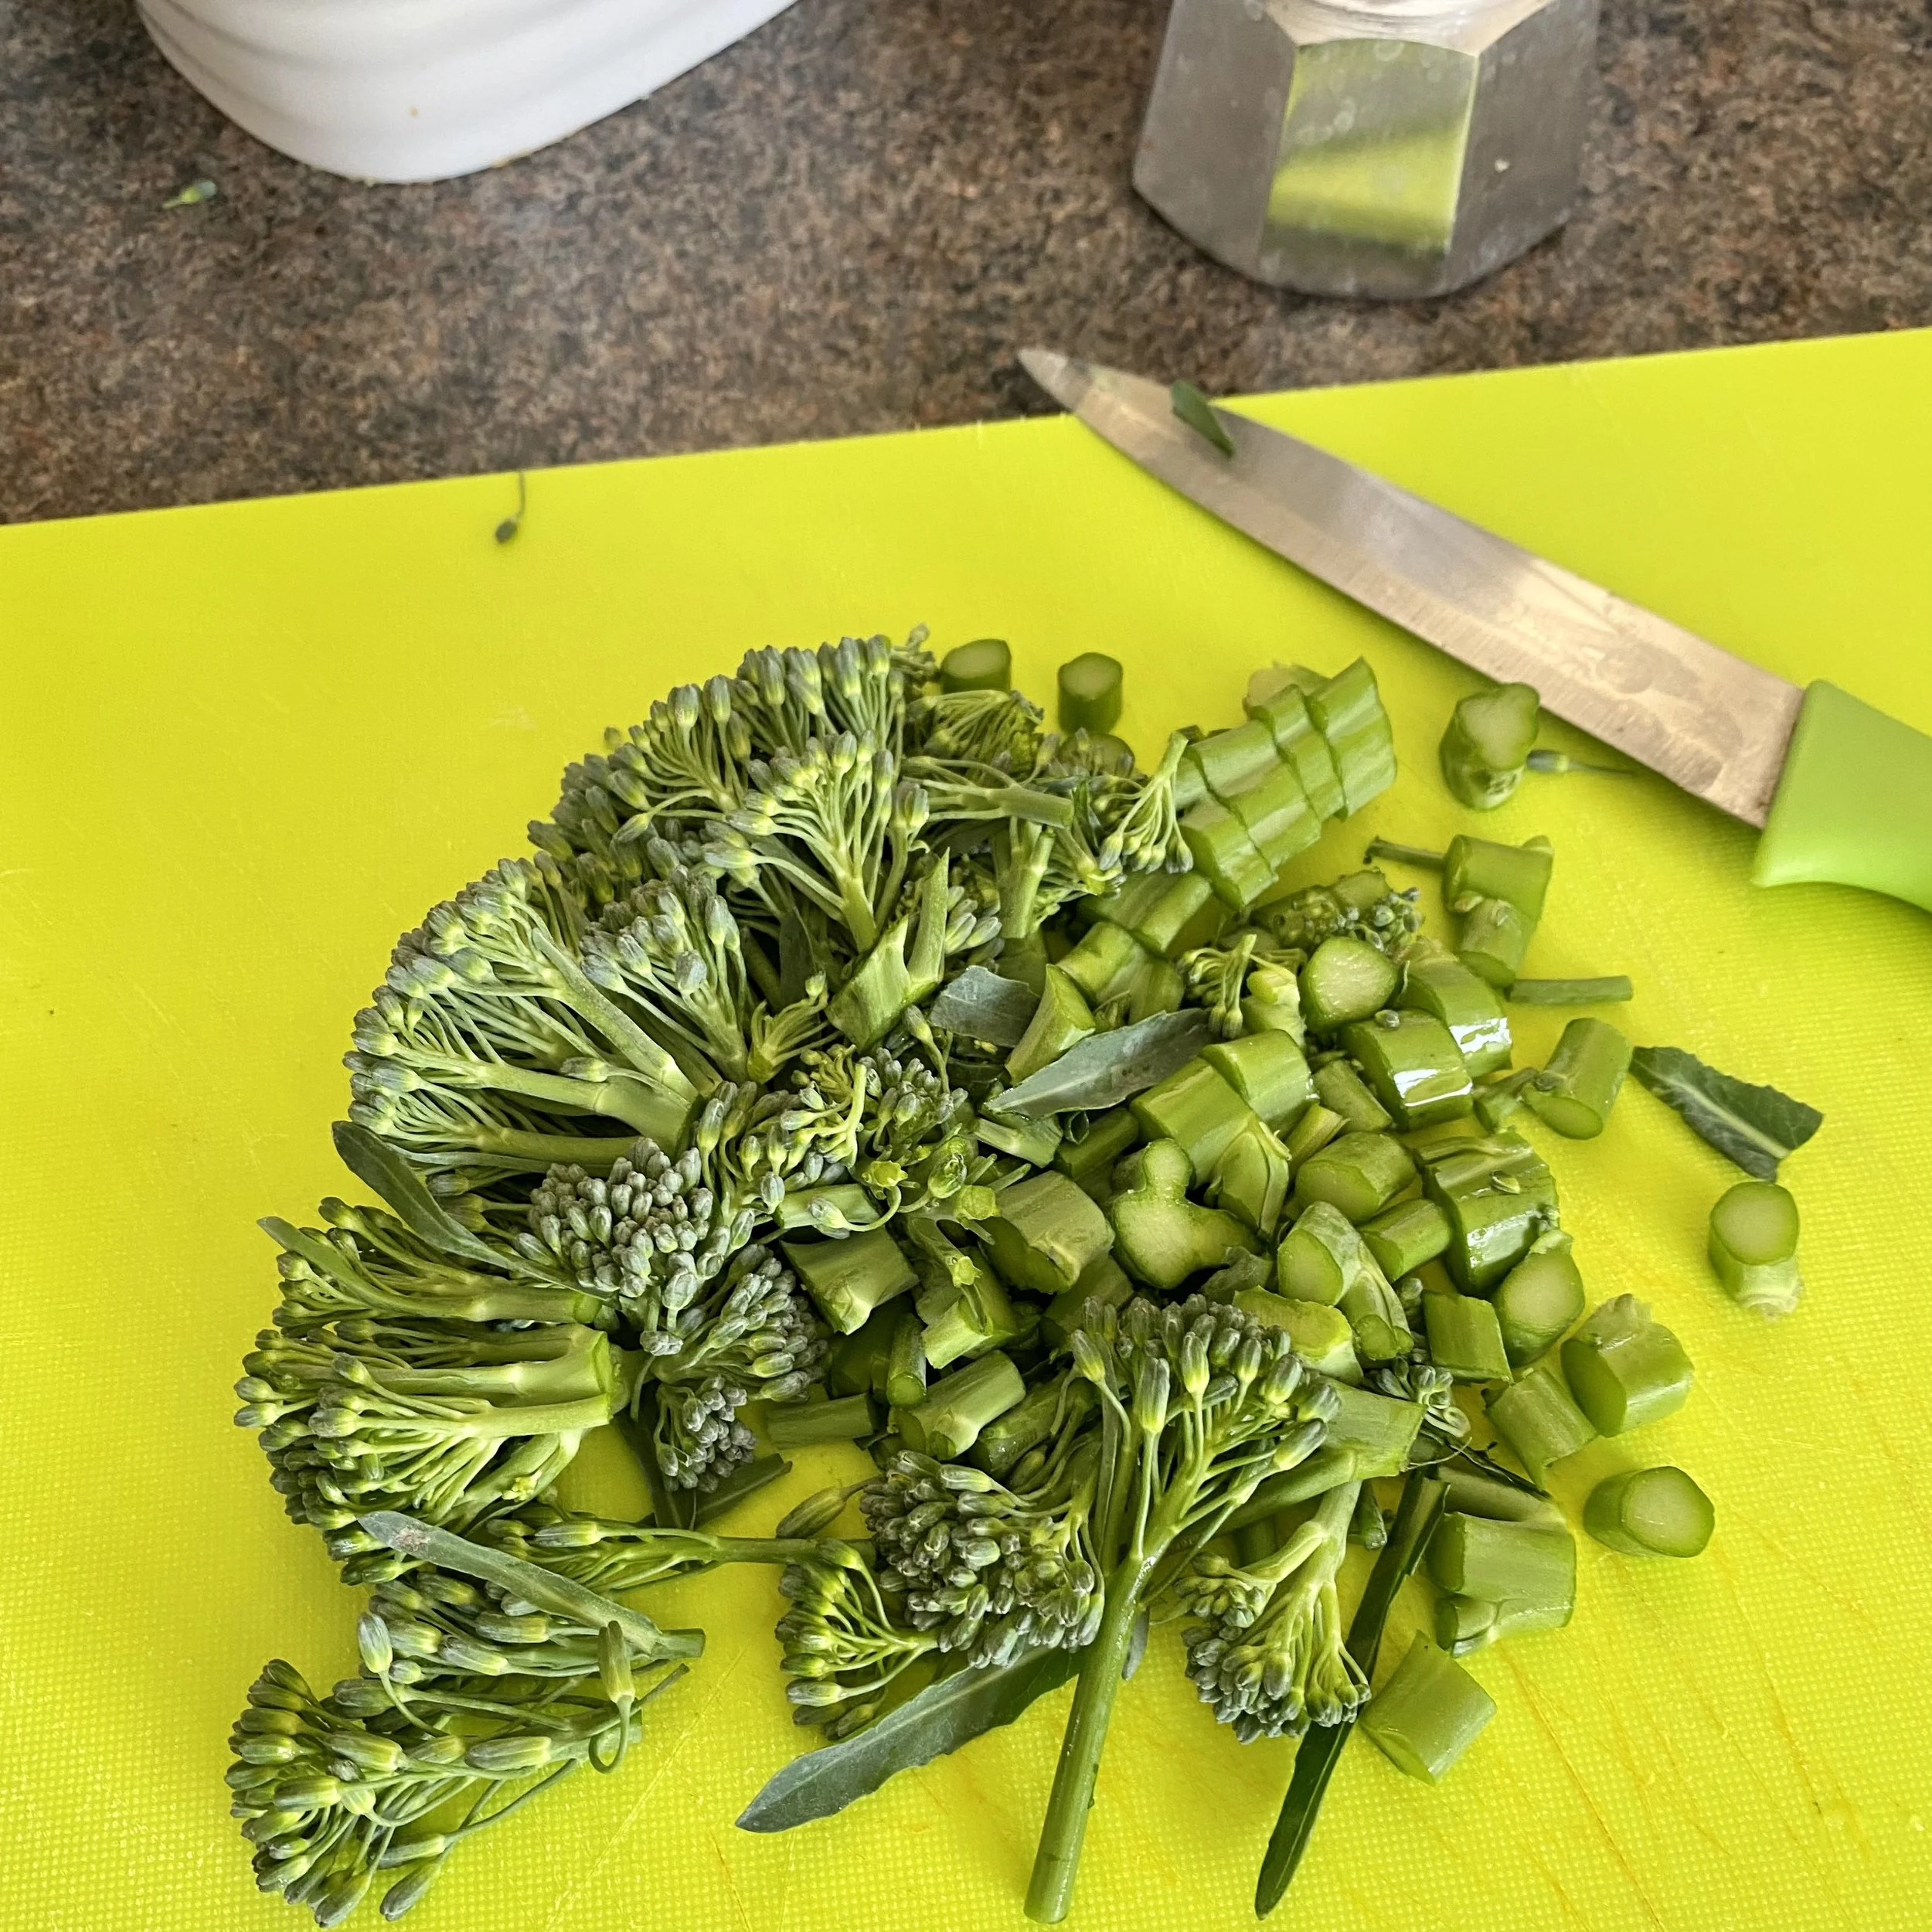
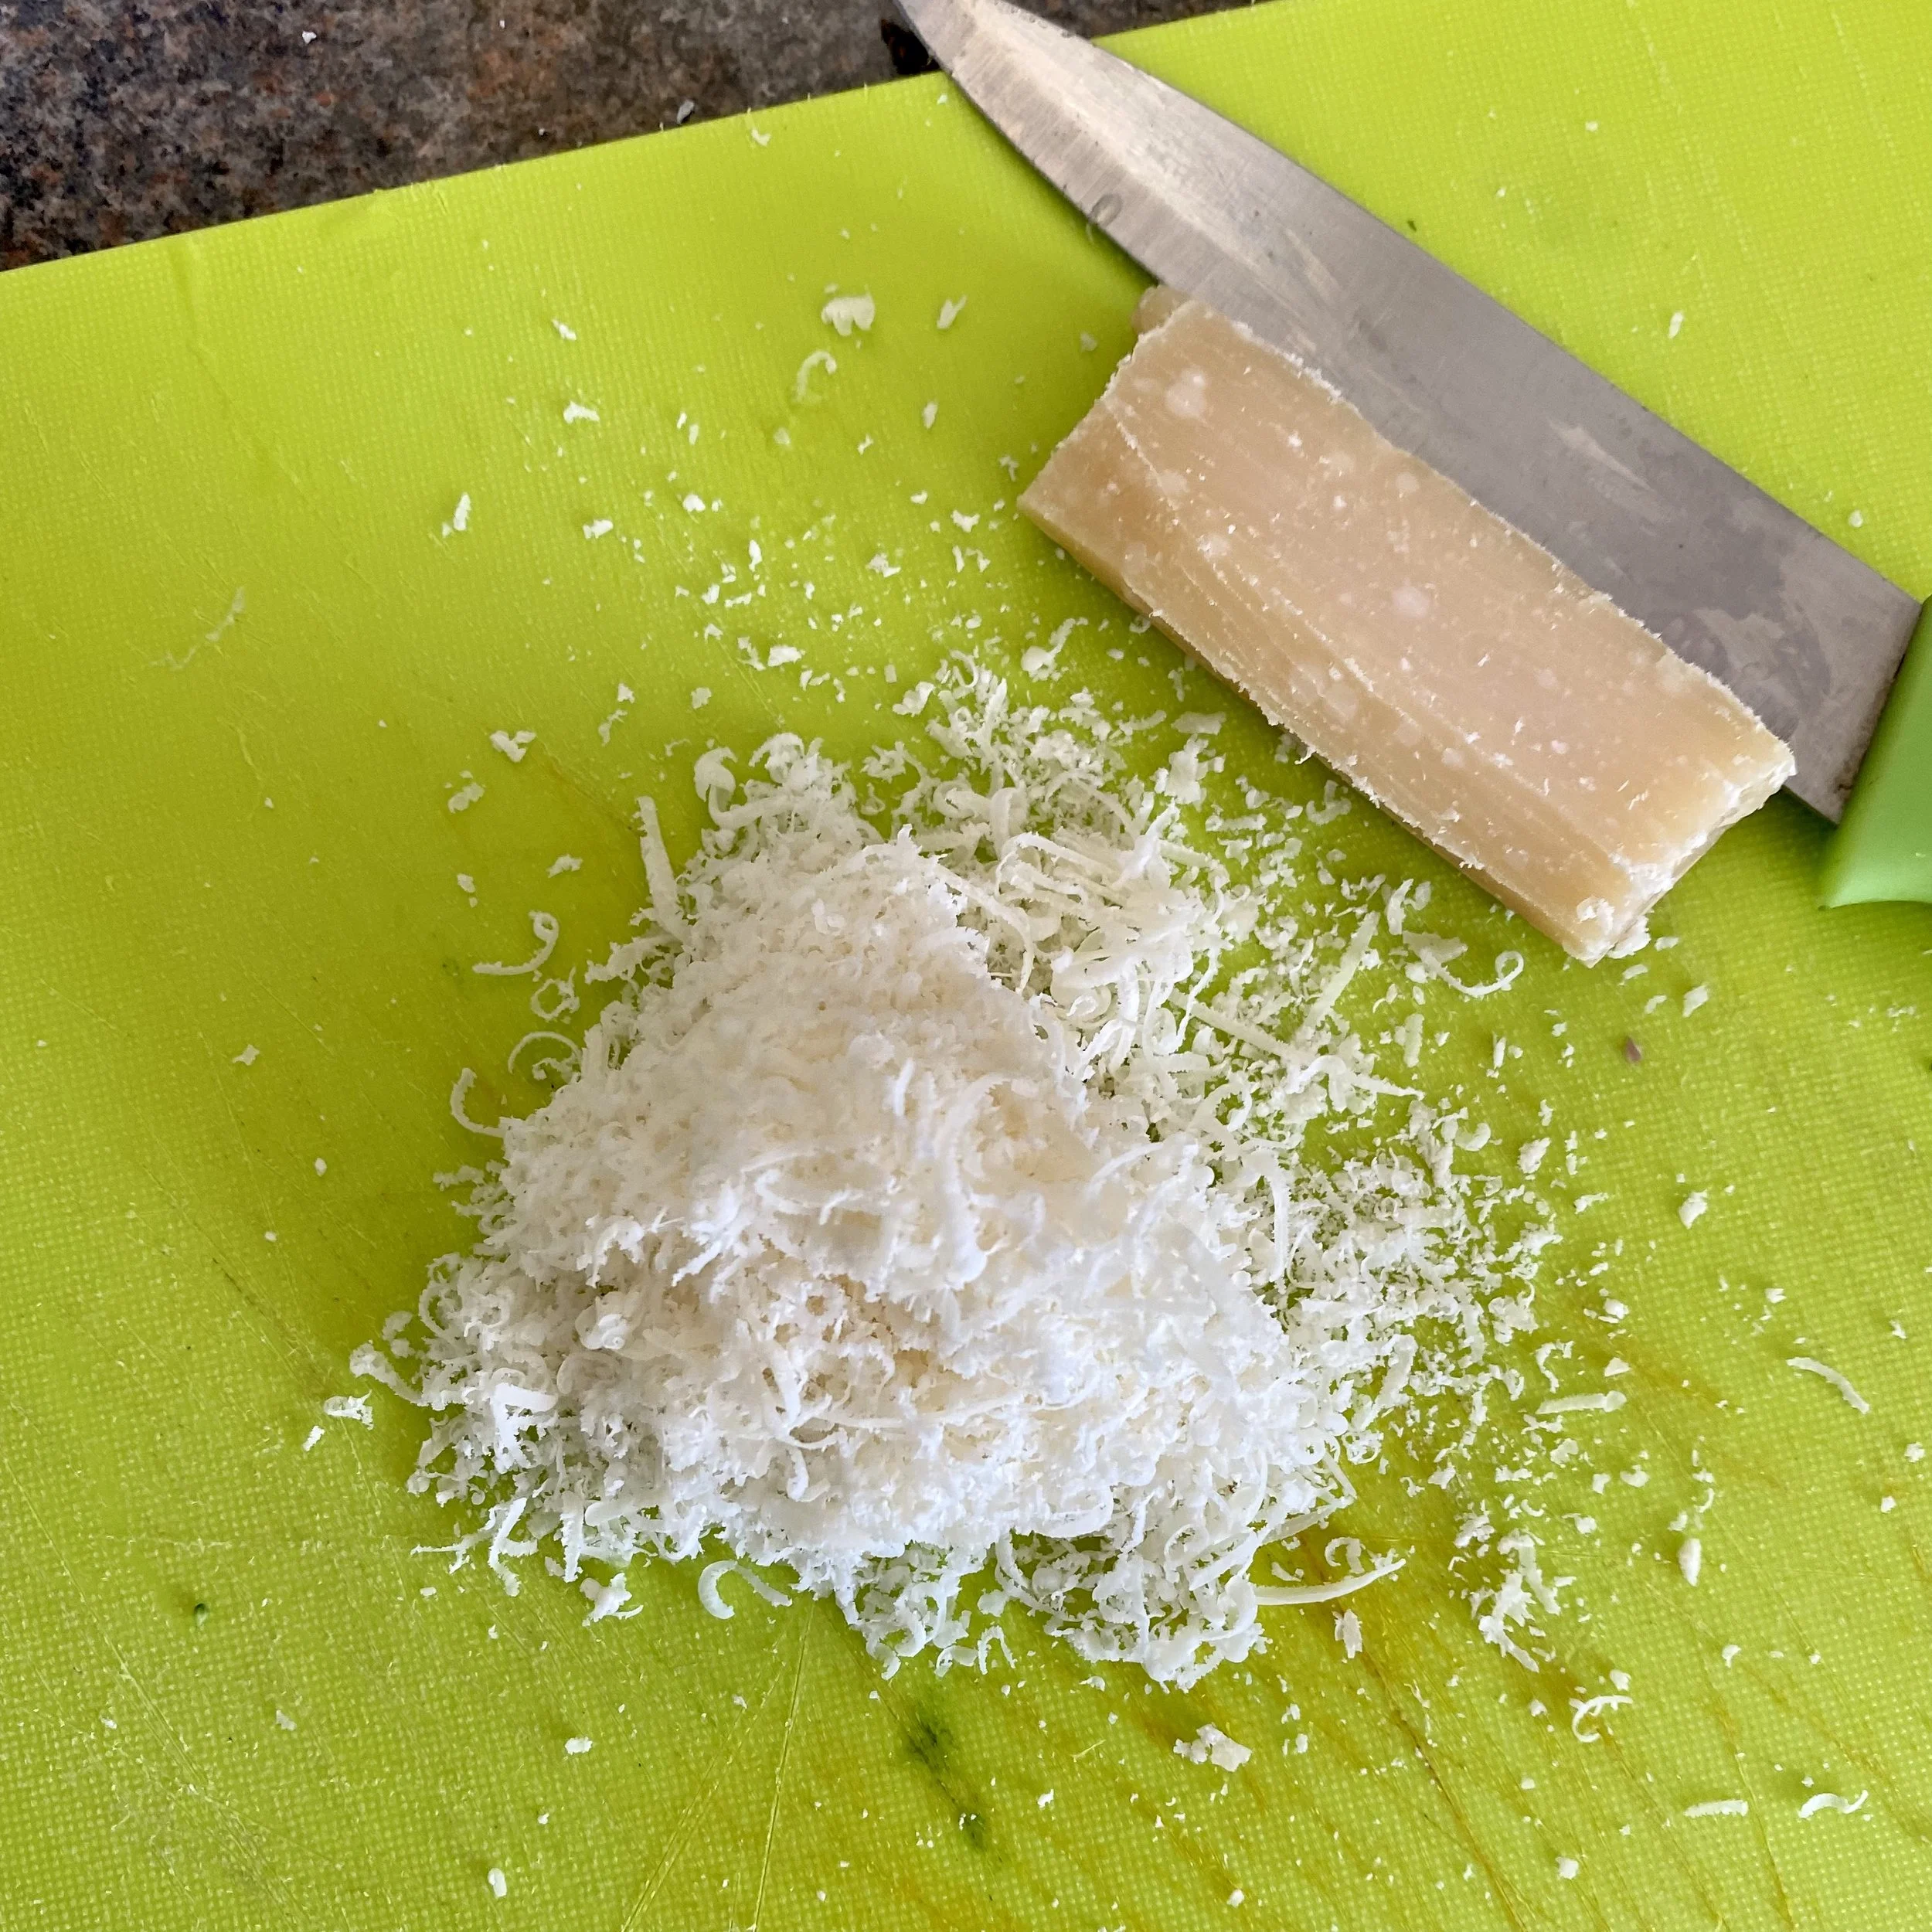
OK, the broccoli also looks weirdly kind of fluorescent against the lime green chopping board! I’ll take some new pics next time I make it.


To make lunch (or dinner) for one you’ll need:

about 100g of broccoli, chopped

one clove of garlic, peeled and finely chopped

handful of spaghetti (about 100g)

salt and black pepper

dried chilli flakes (if liked)

Parmesan or Pecorino cheese, grated

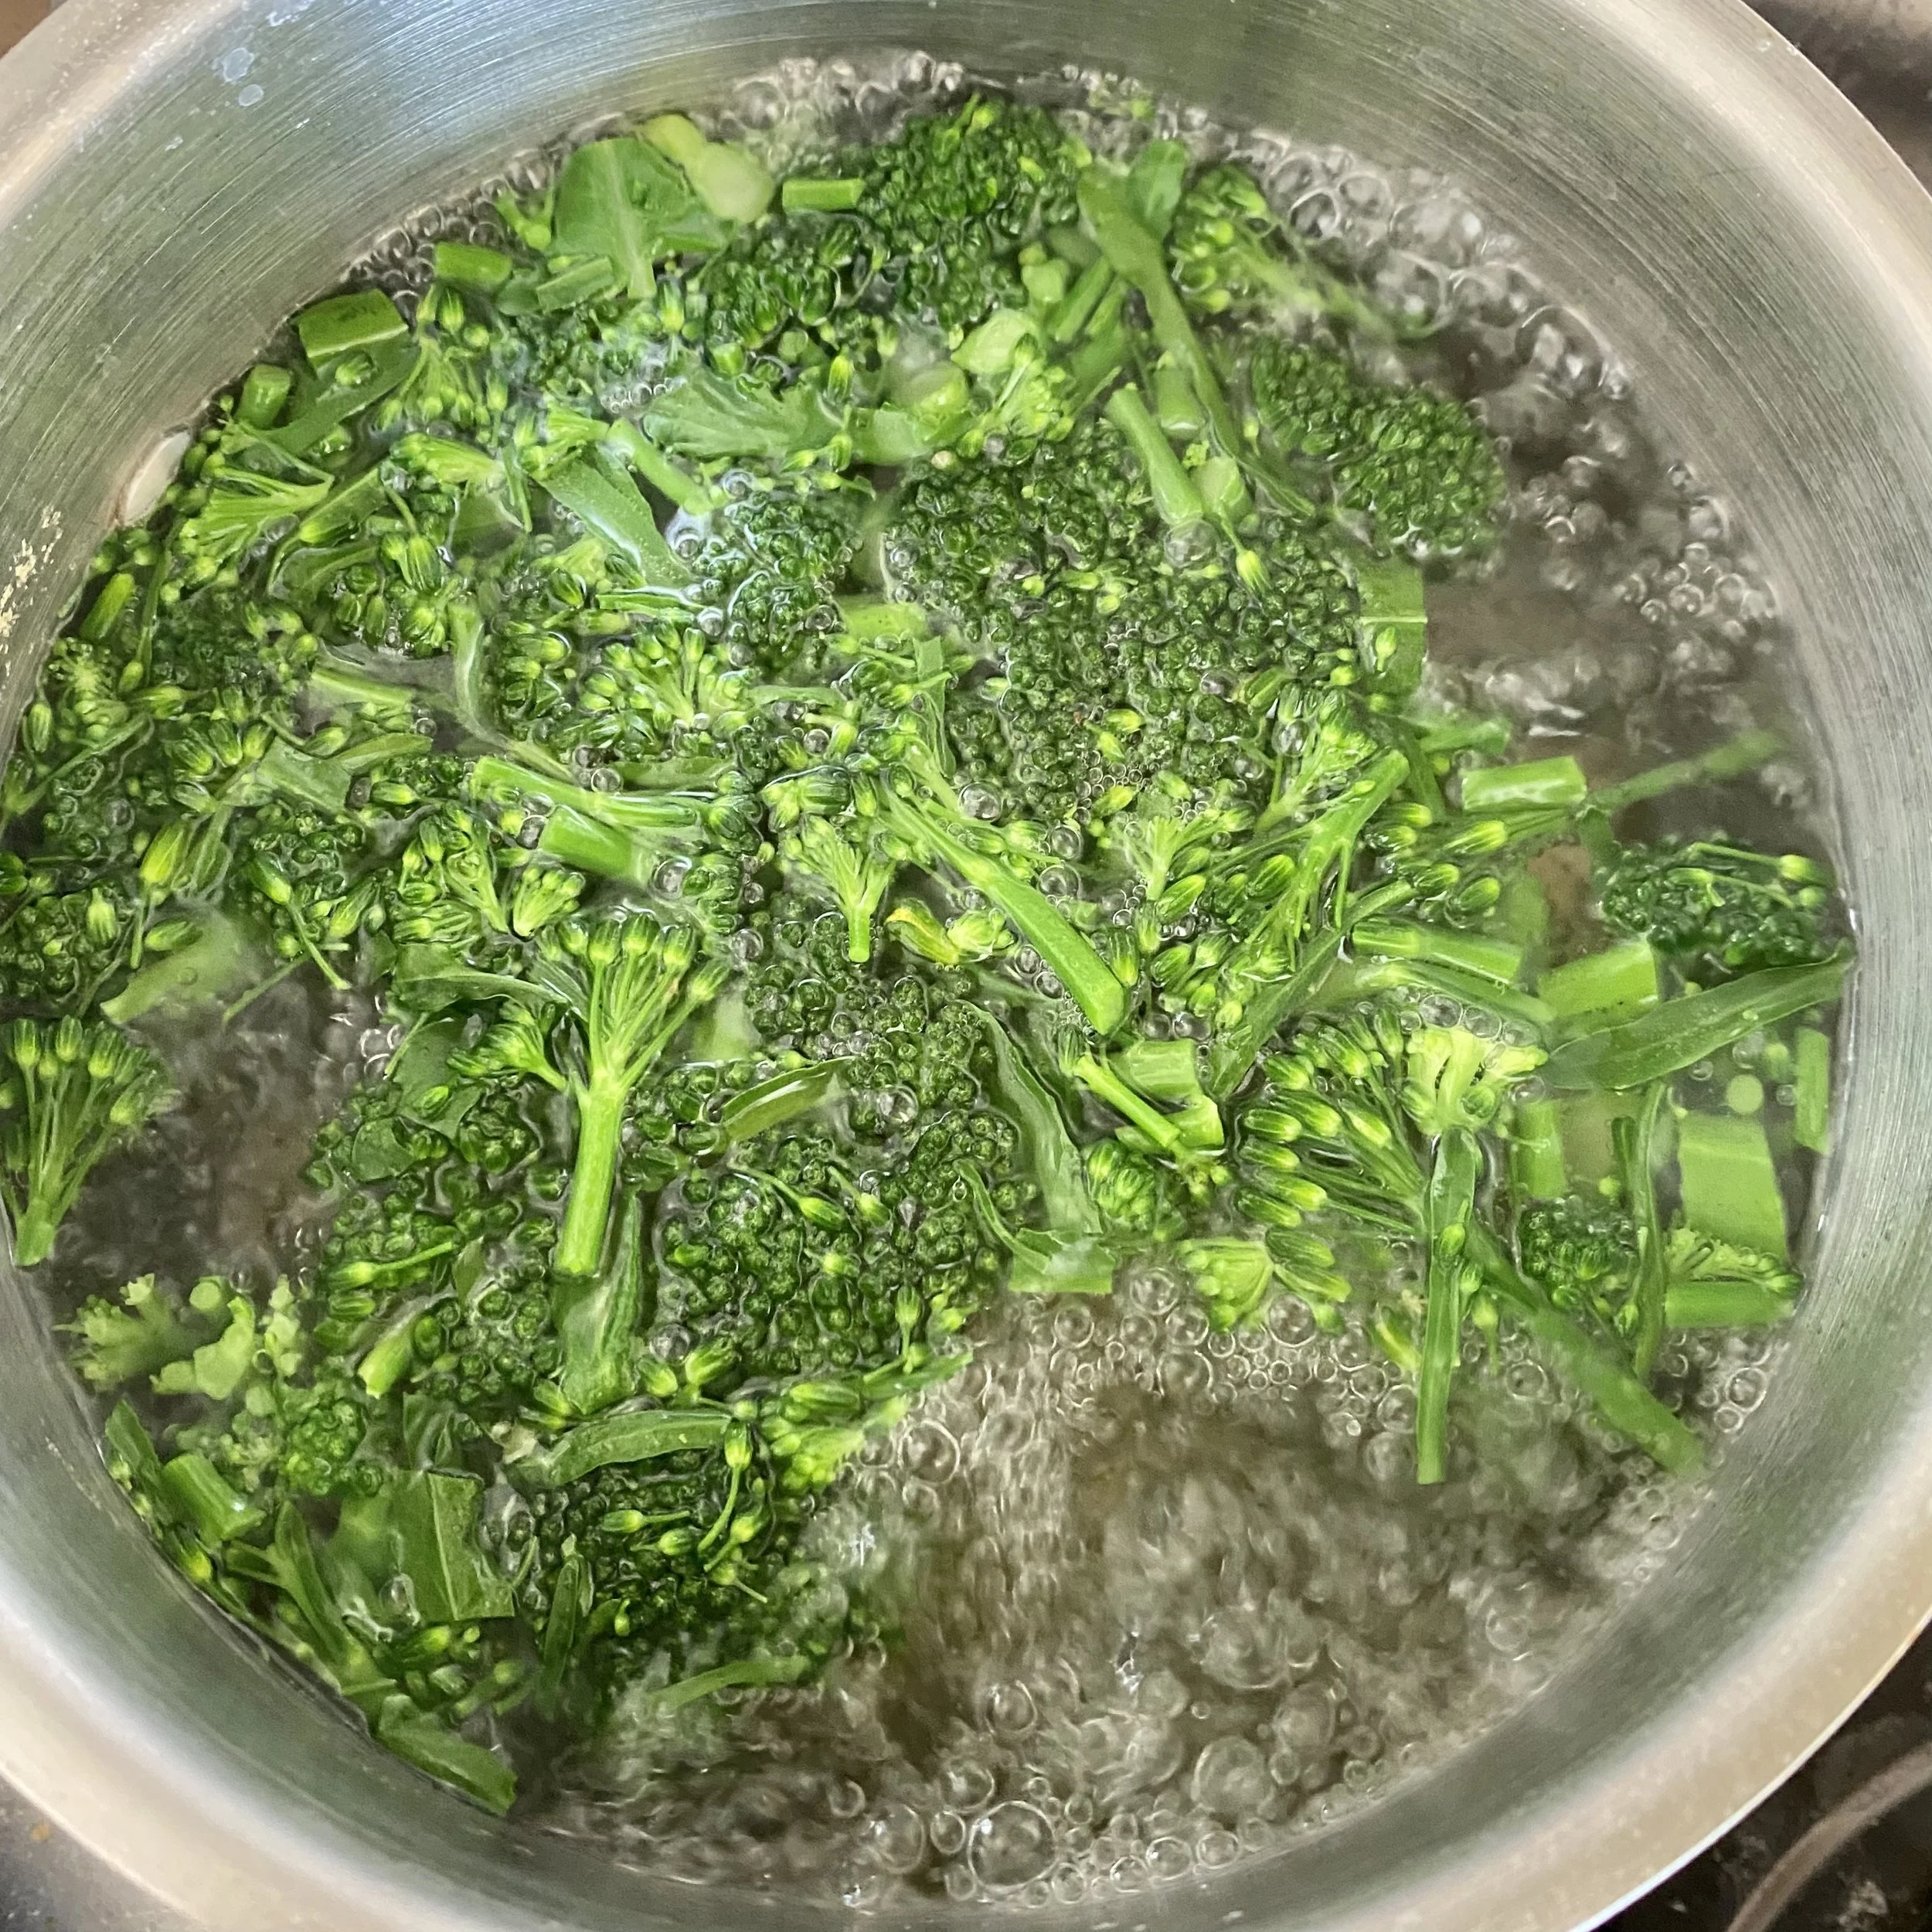
Put a pan of water with a big pinch of salt over the heat and cover. While it’s coming to the boil chop the broccoli and when the water’s boiling, add the broccoli and boil on a medium heat for about four minutes.

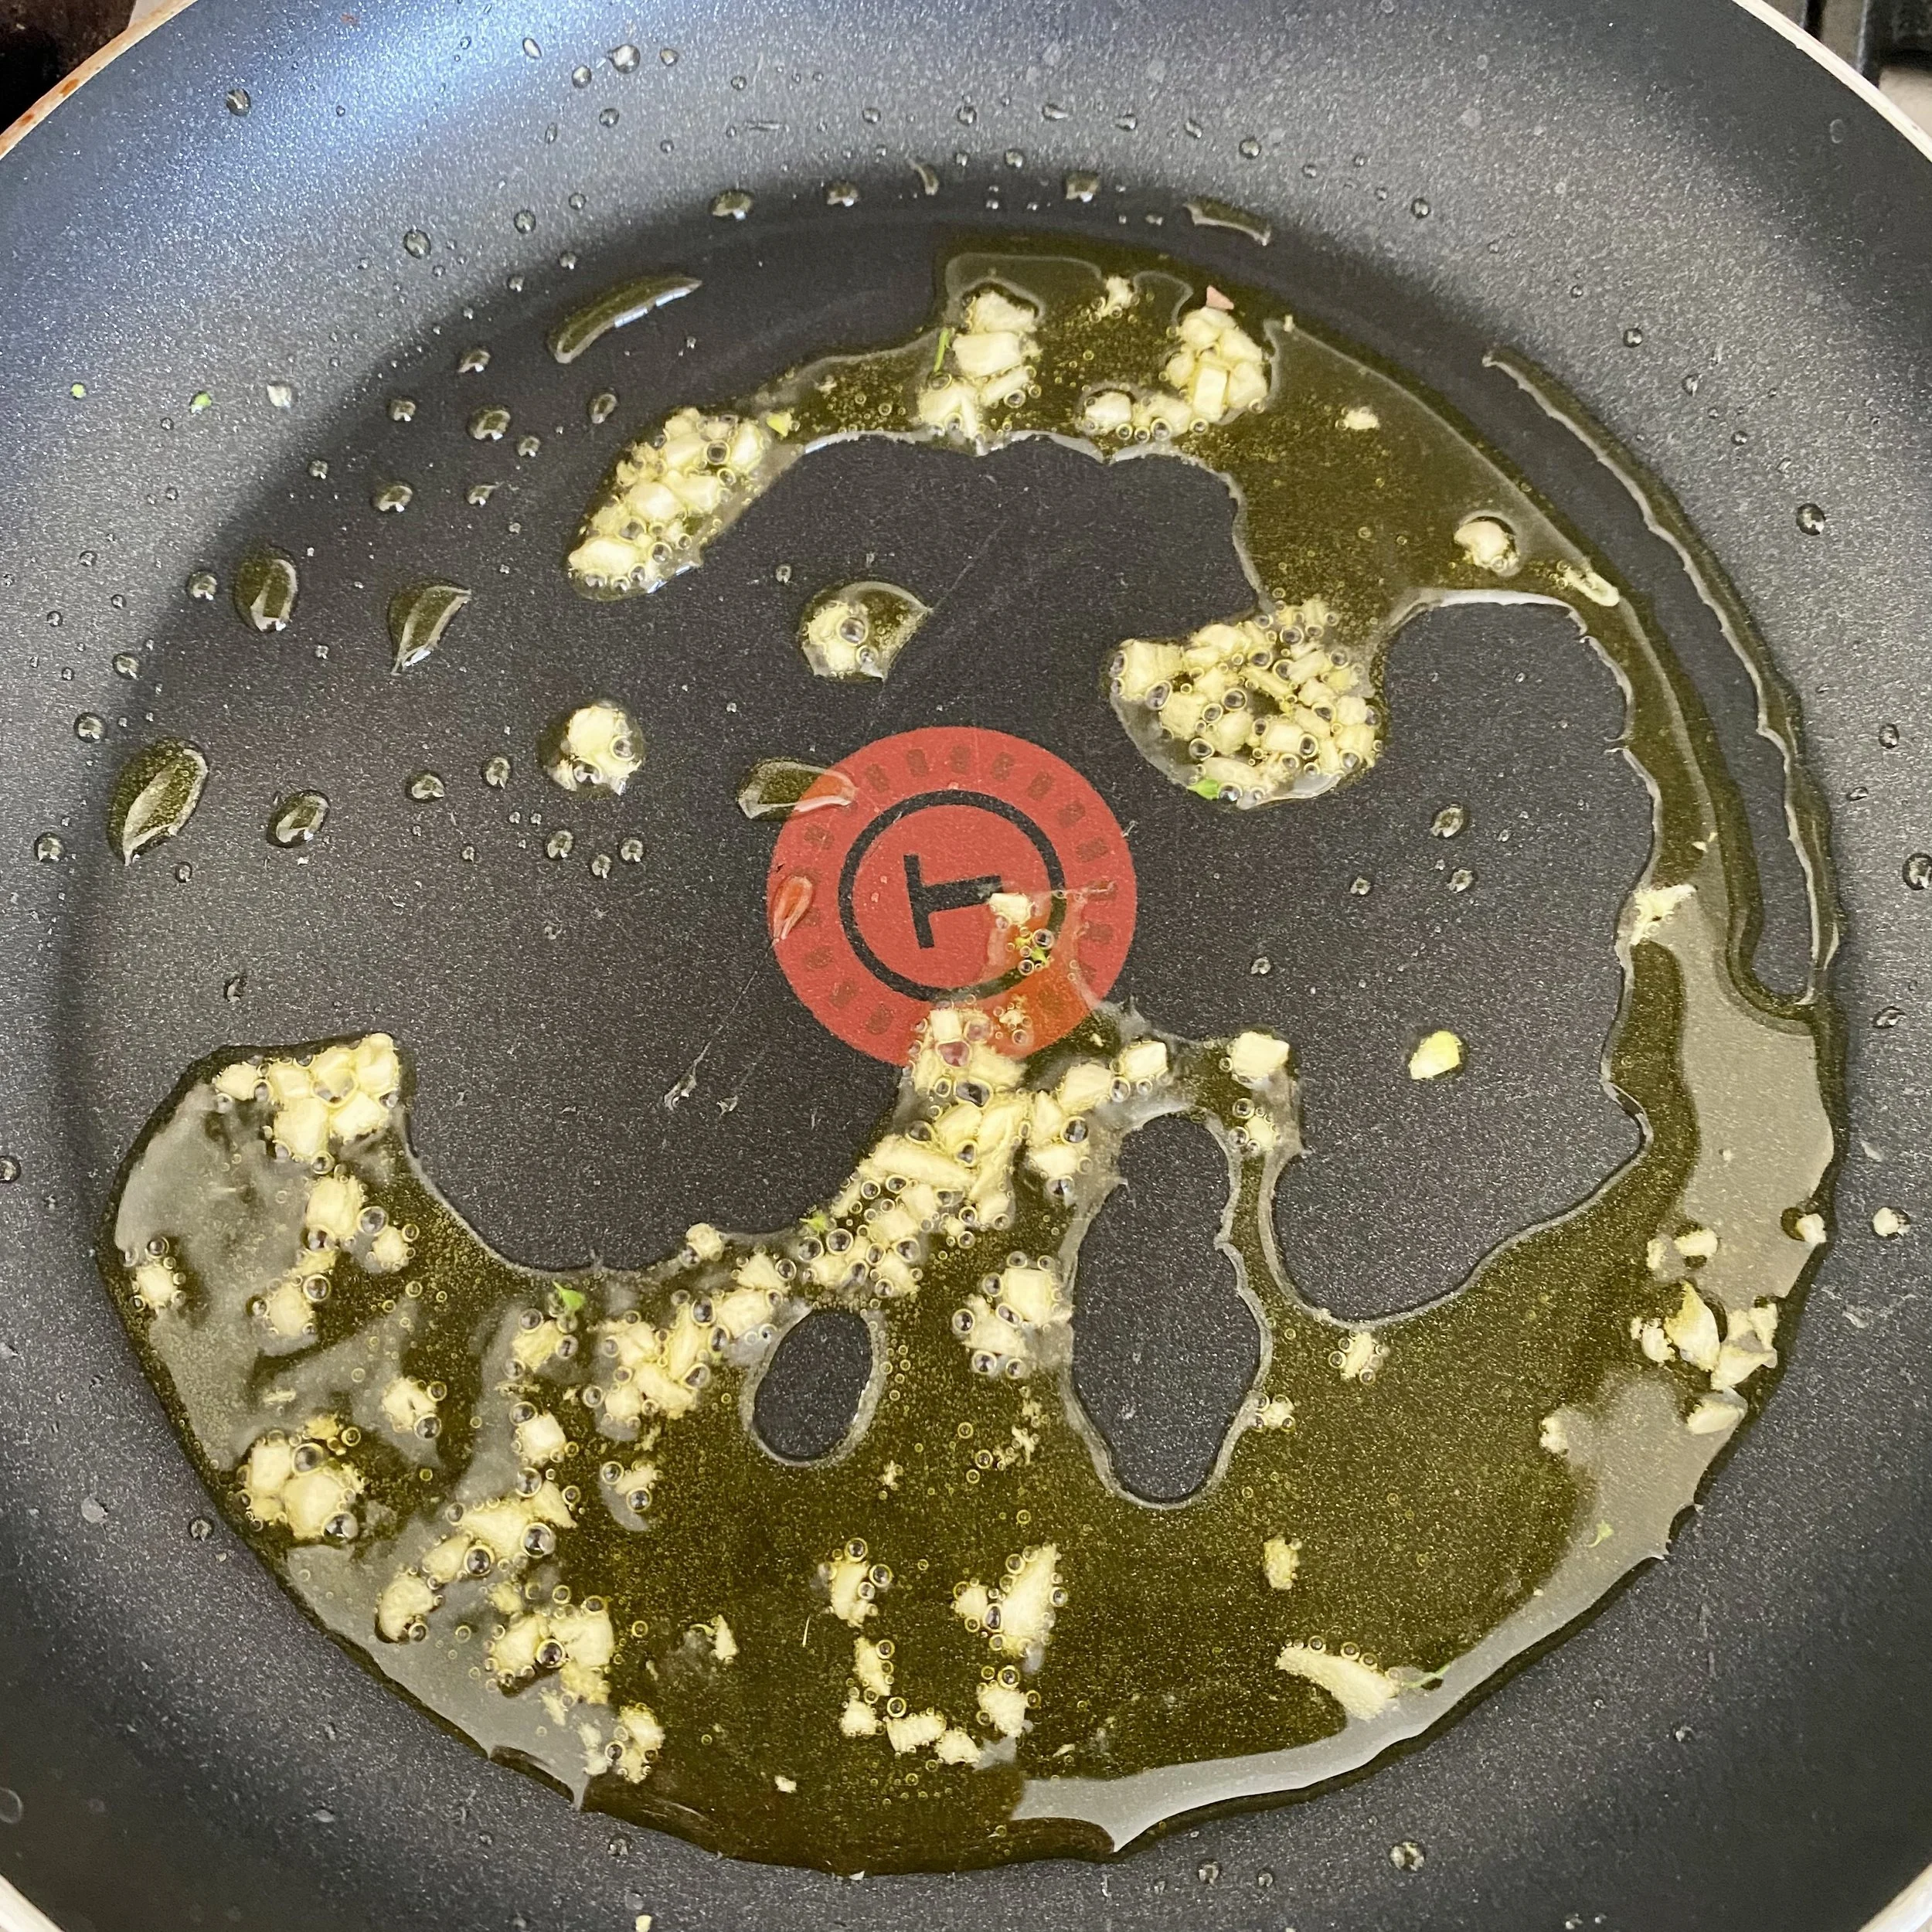
And while that’s cooking, add a good slosh of olive oil, perhaps a tablespoon, to a non-stick pan and fry the garlic very gently, stirring often. Add a little splash of water from the pasta pan if it even thinks about sticking/burning.

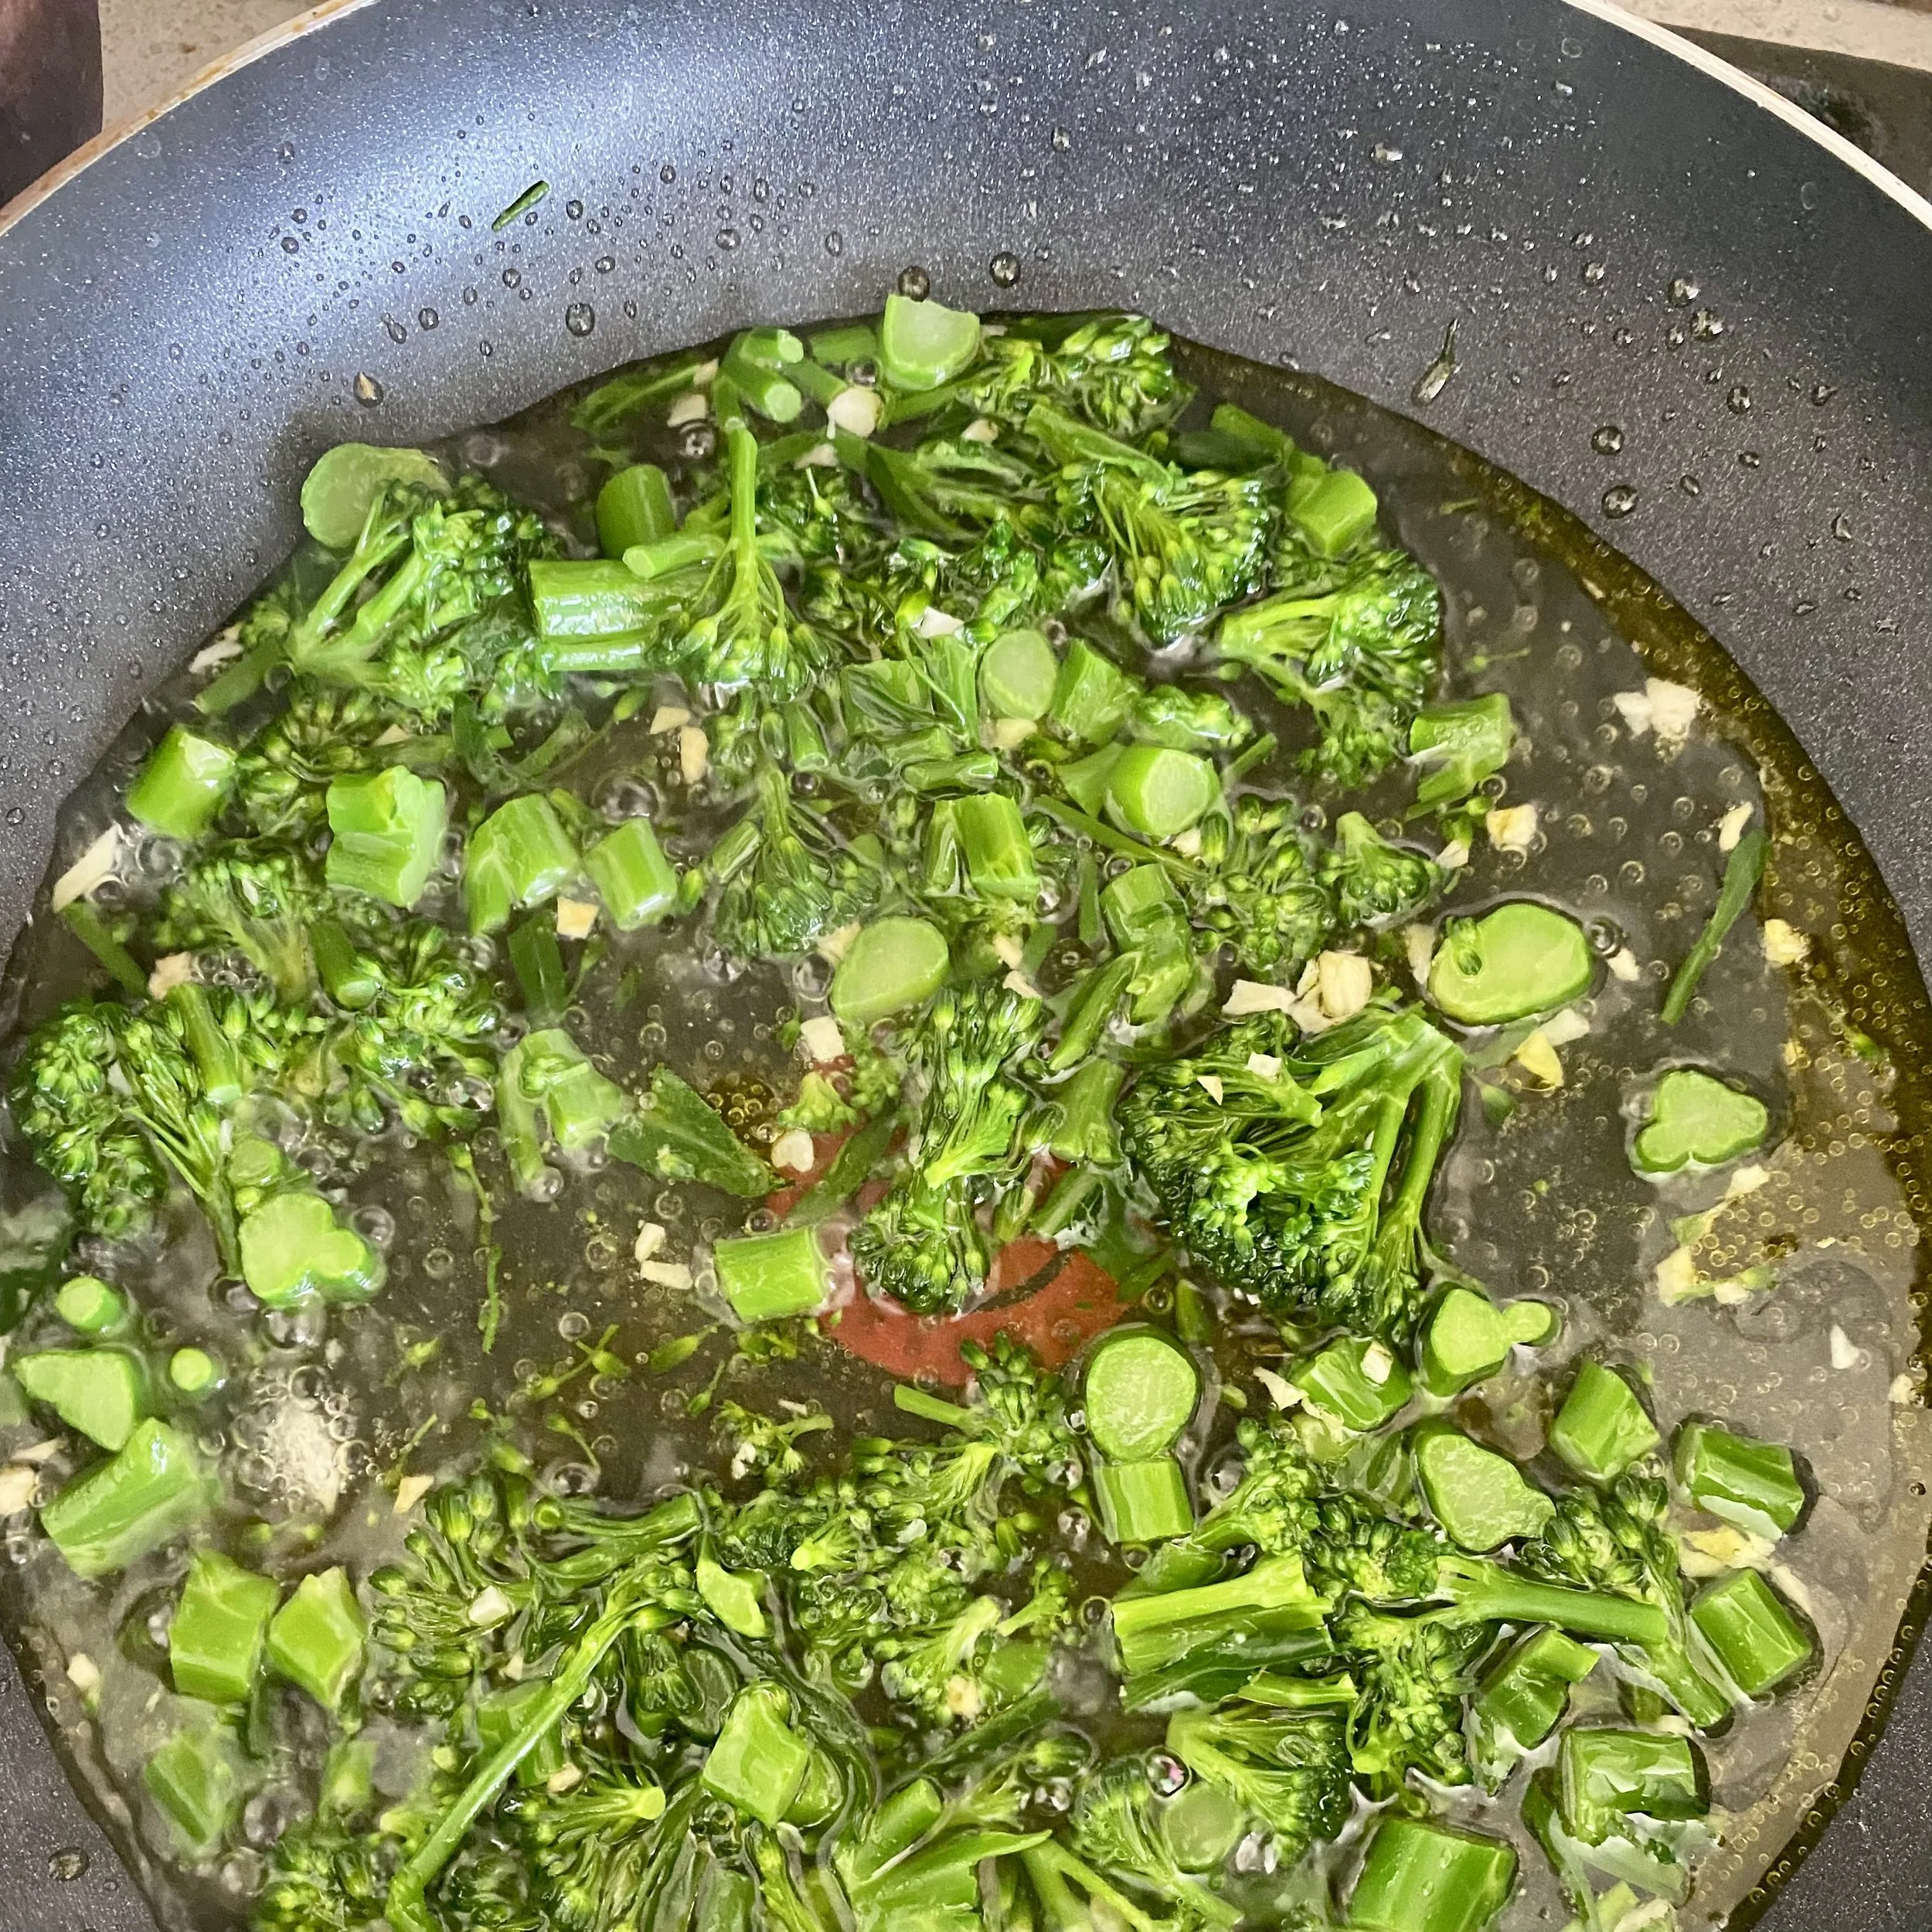
When the broccoli has cooked, remove it from the pan with a slotted spoon and add to the frying pan with a ladle more of the pasta water so it can continue simmering.

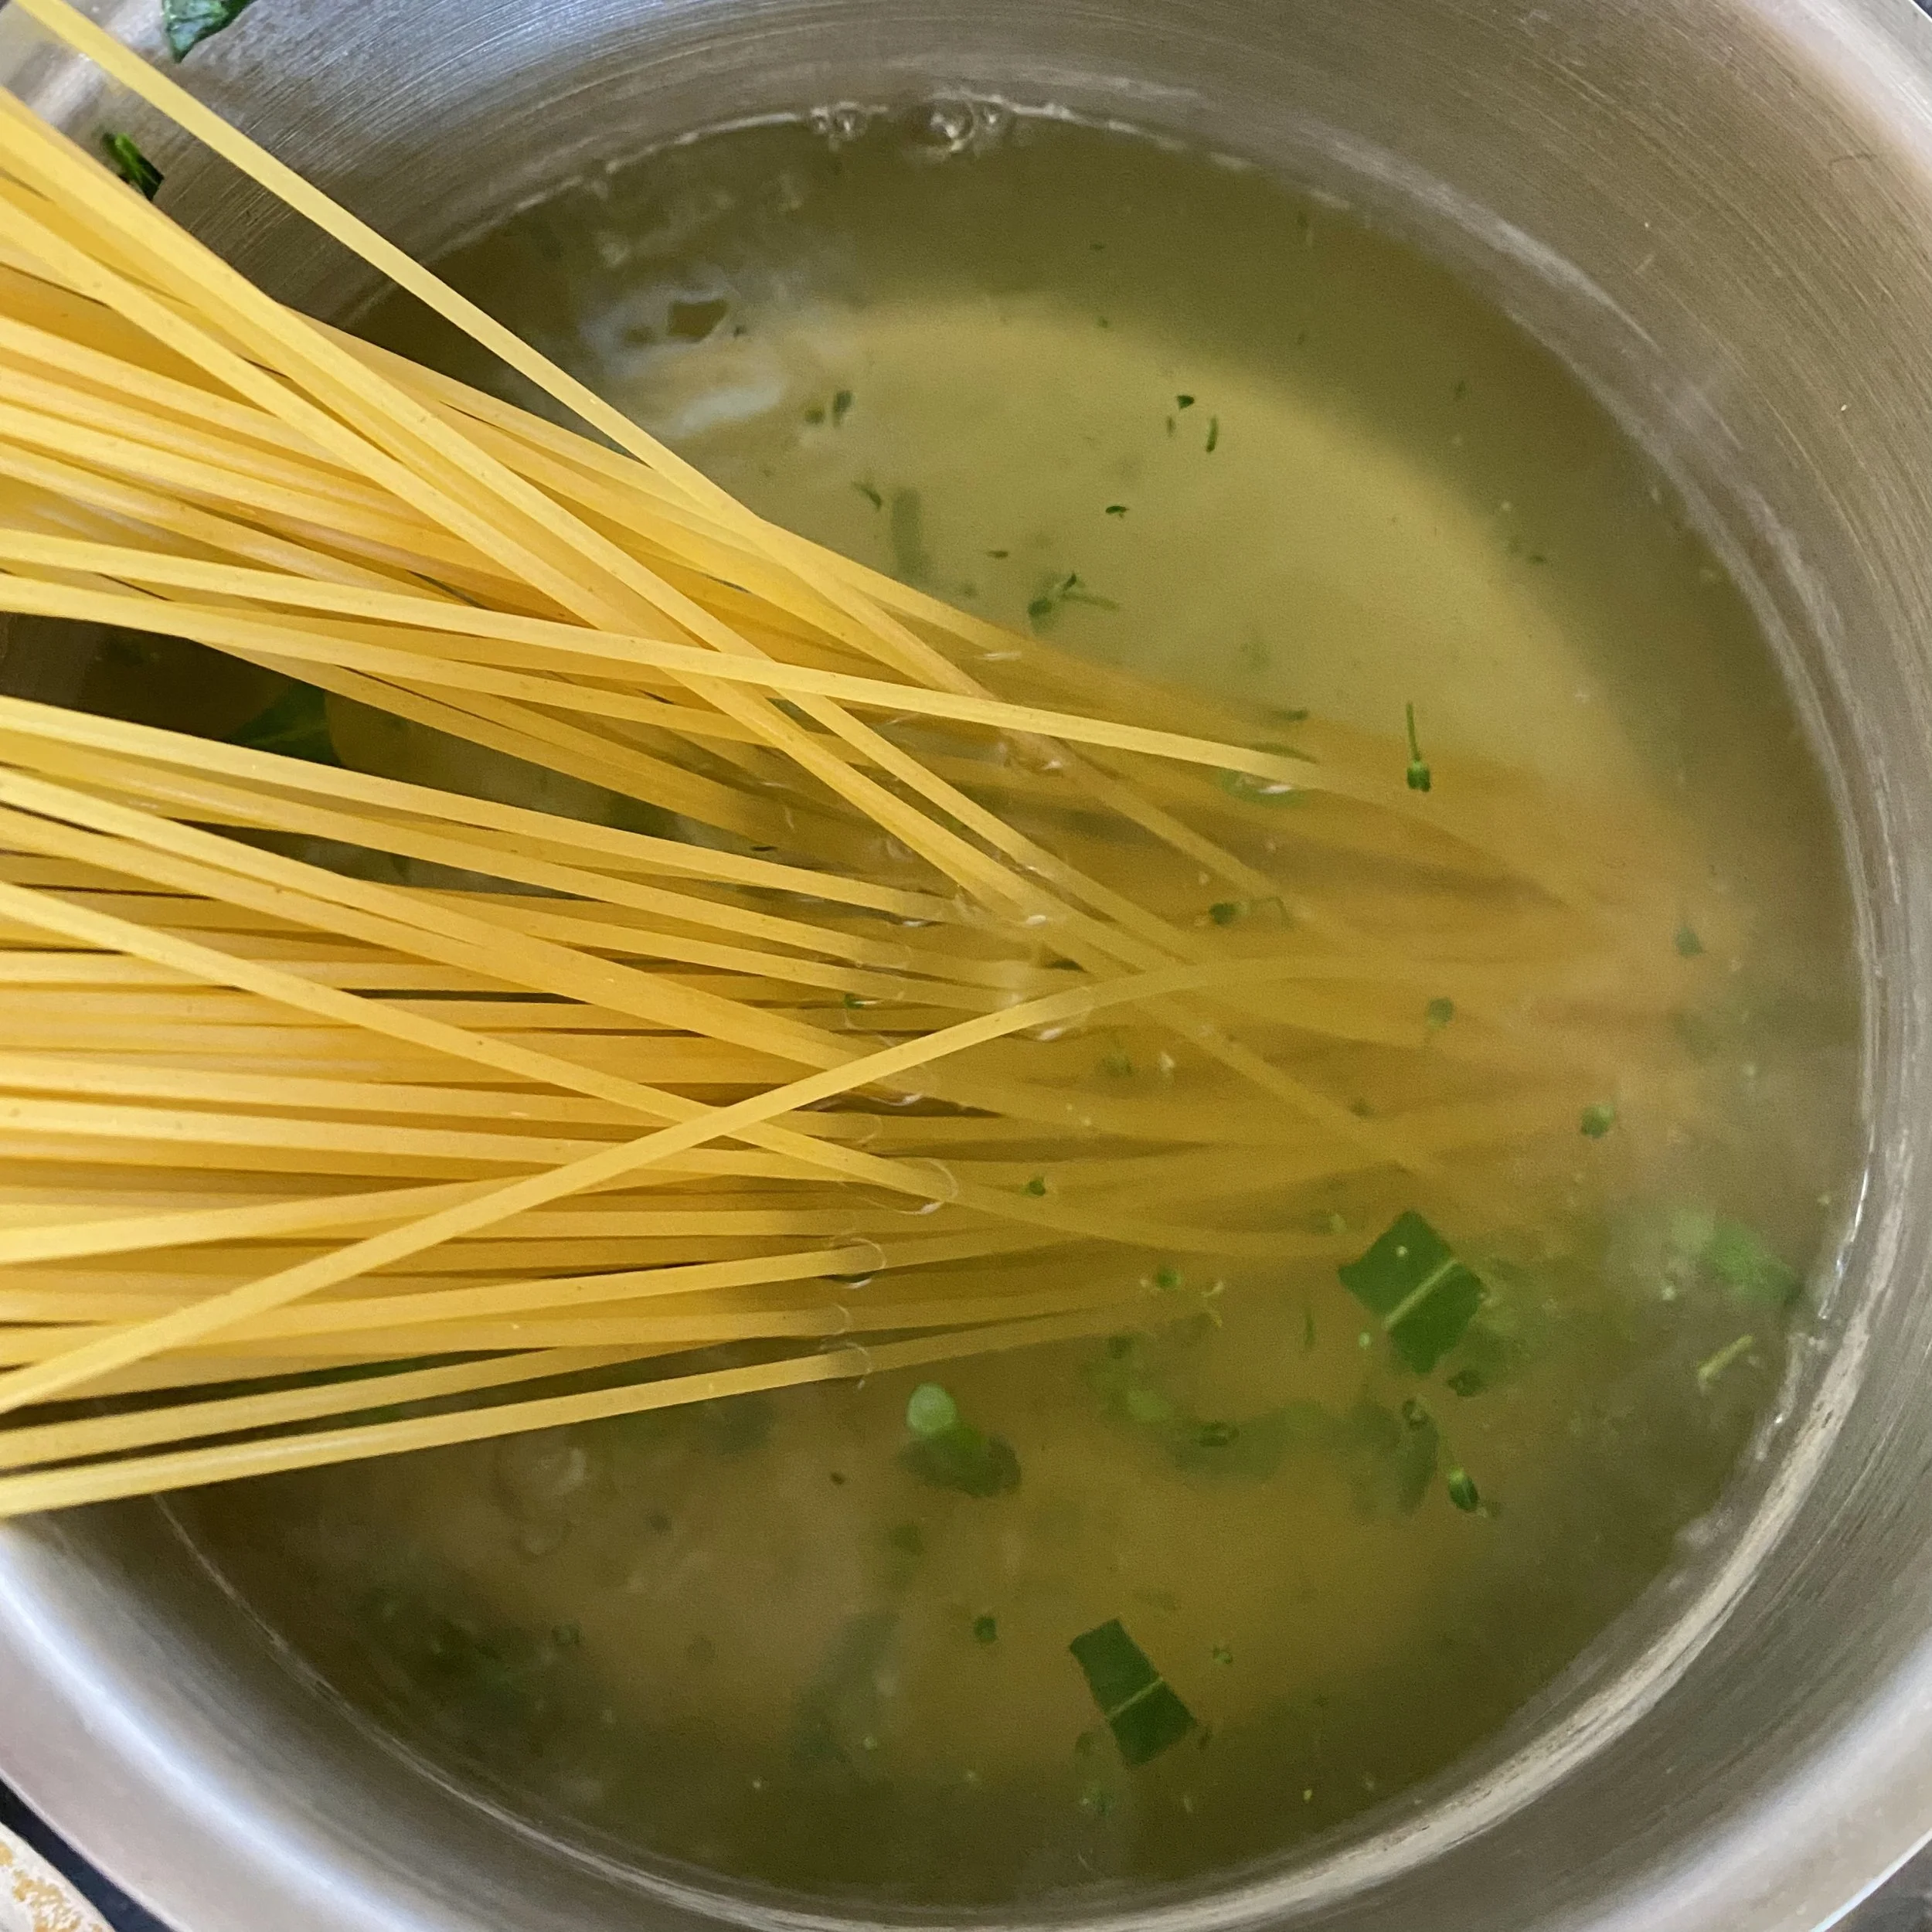
Put the spaghetti into the same pan of water that the broccoli was in - it’ll only add more flavour and goodness to cook in the vegetable water. Cook according to pack instructions or to your taste - I did mine on a medium boil for eight minutes.

Keep stirring the simmering broccoli and it’s going to get really nice and soft. After about five minutes season with salt and pepper - and some dried chilli flakes if liked. Also add about half the cheese and stir in .

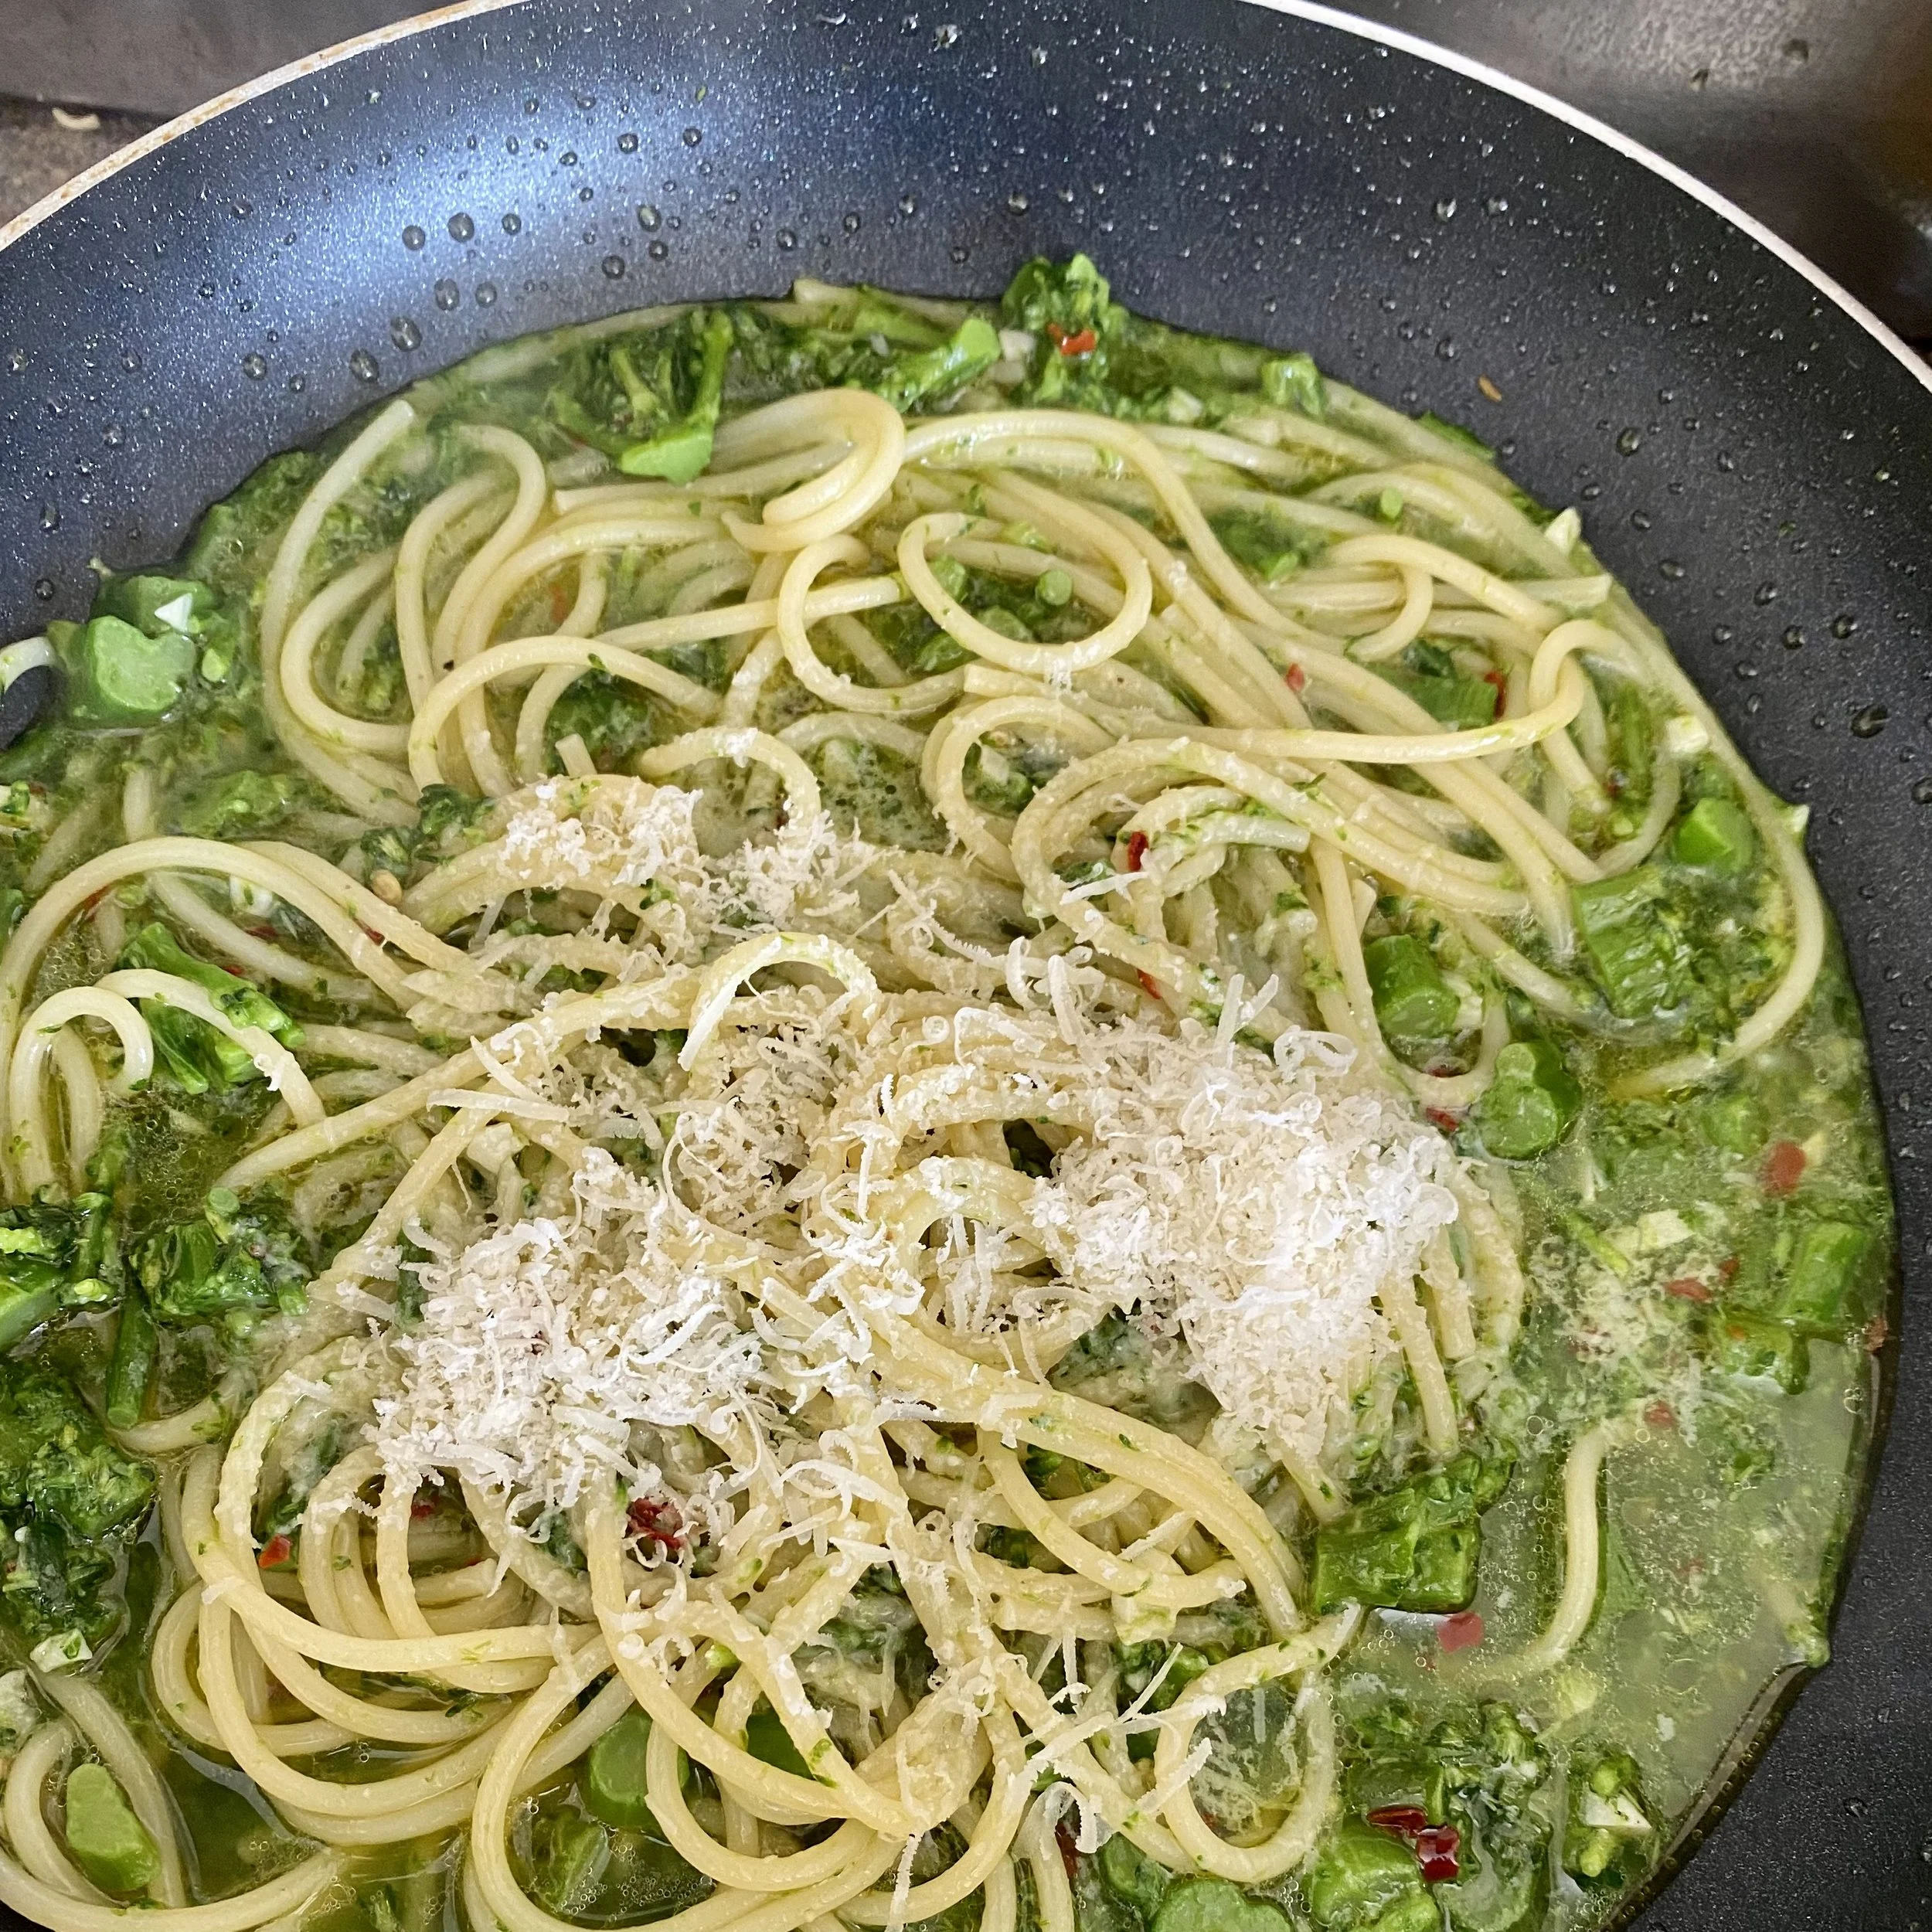
Drain the pasta when ready and add to the pan - make sure to reserve a little more of the cooking water in case you want to loosen your sauce any more. Stir, add the rest of the cheese and cook for another minute or two.

Taste and adjust the seasoning if needed and voila.

Creamy delicious nutritious broccoli spaghetti.


YOU MIGHT ALSO LIKE …

Pasta with ‘posh pesto’

My friend Gemma made a huge bowl of this insanely delicious pasta with - as she called it - ‘posh pesto’ for our book club the other night.

A few things …. firstly our book club is really a ‘food and wine club’ with added (optional) book! It’s so much fun, always always a great night. The host chooses the book and we then all eat and drink and try to remember to discuss the book at some point in the evening.

If you’re interested, Gemma's book choice was as good as her food - it’s also very short and can be read in one sitting. It’s The Yellow Wallpaper and I’m just going to copy and paste from one of the editions available on Amazon UK:

THE YELLOW WALLPAPER is a story by the American writer Charlotte Perkins Gilman, first published in January 1892 in The New England Magazine. It is regarded as an important early work of American feminist literature, illustrating attitudes in the 19th century toward women's health, both physical and mental.

I think we talked about this book more than we’ve talked about any book yet!


Back to the pasta though … we had it that night with tagliatelle but I’ve since made it twice with spaghetti.

If you’d like the original recipe, you can find it HERE.

I have to say I loved it so much I asked for the recipe whilst still eating my first bowlful!


To make this the way I did for two people, you’ll need:

200g spaghetti (every time I make spaghetti I weigh it by how it feels in my hand, I never trust it but when I then weigh it to check it is always EXACTLY the right amount!)

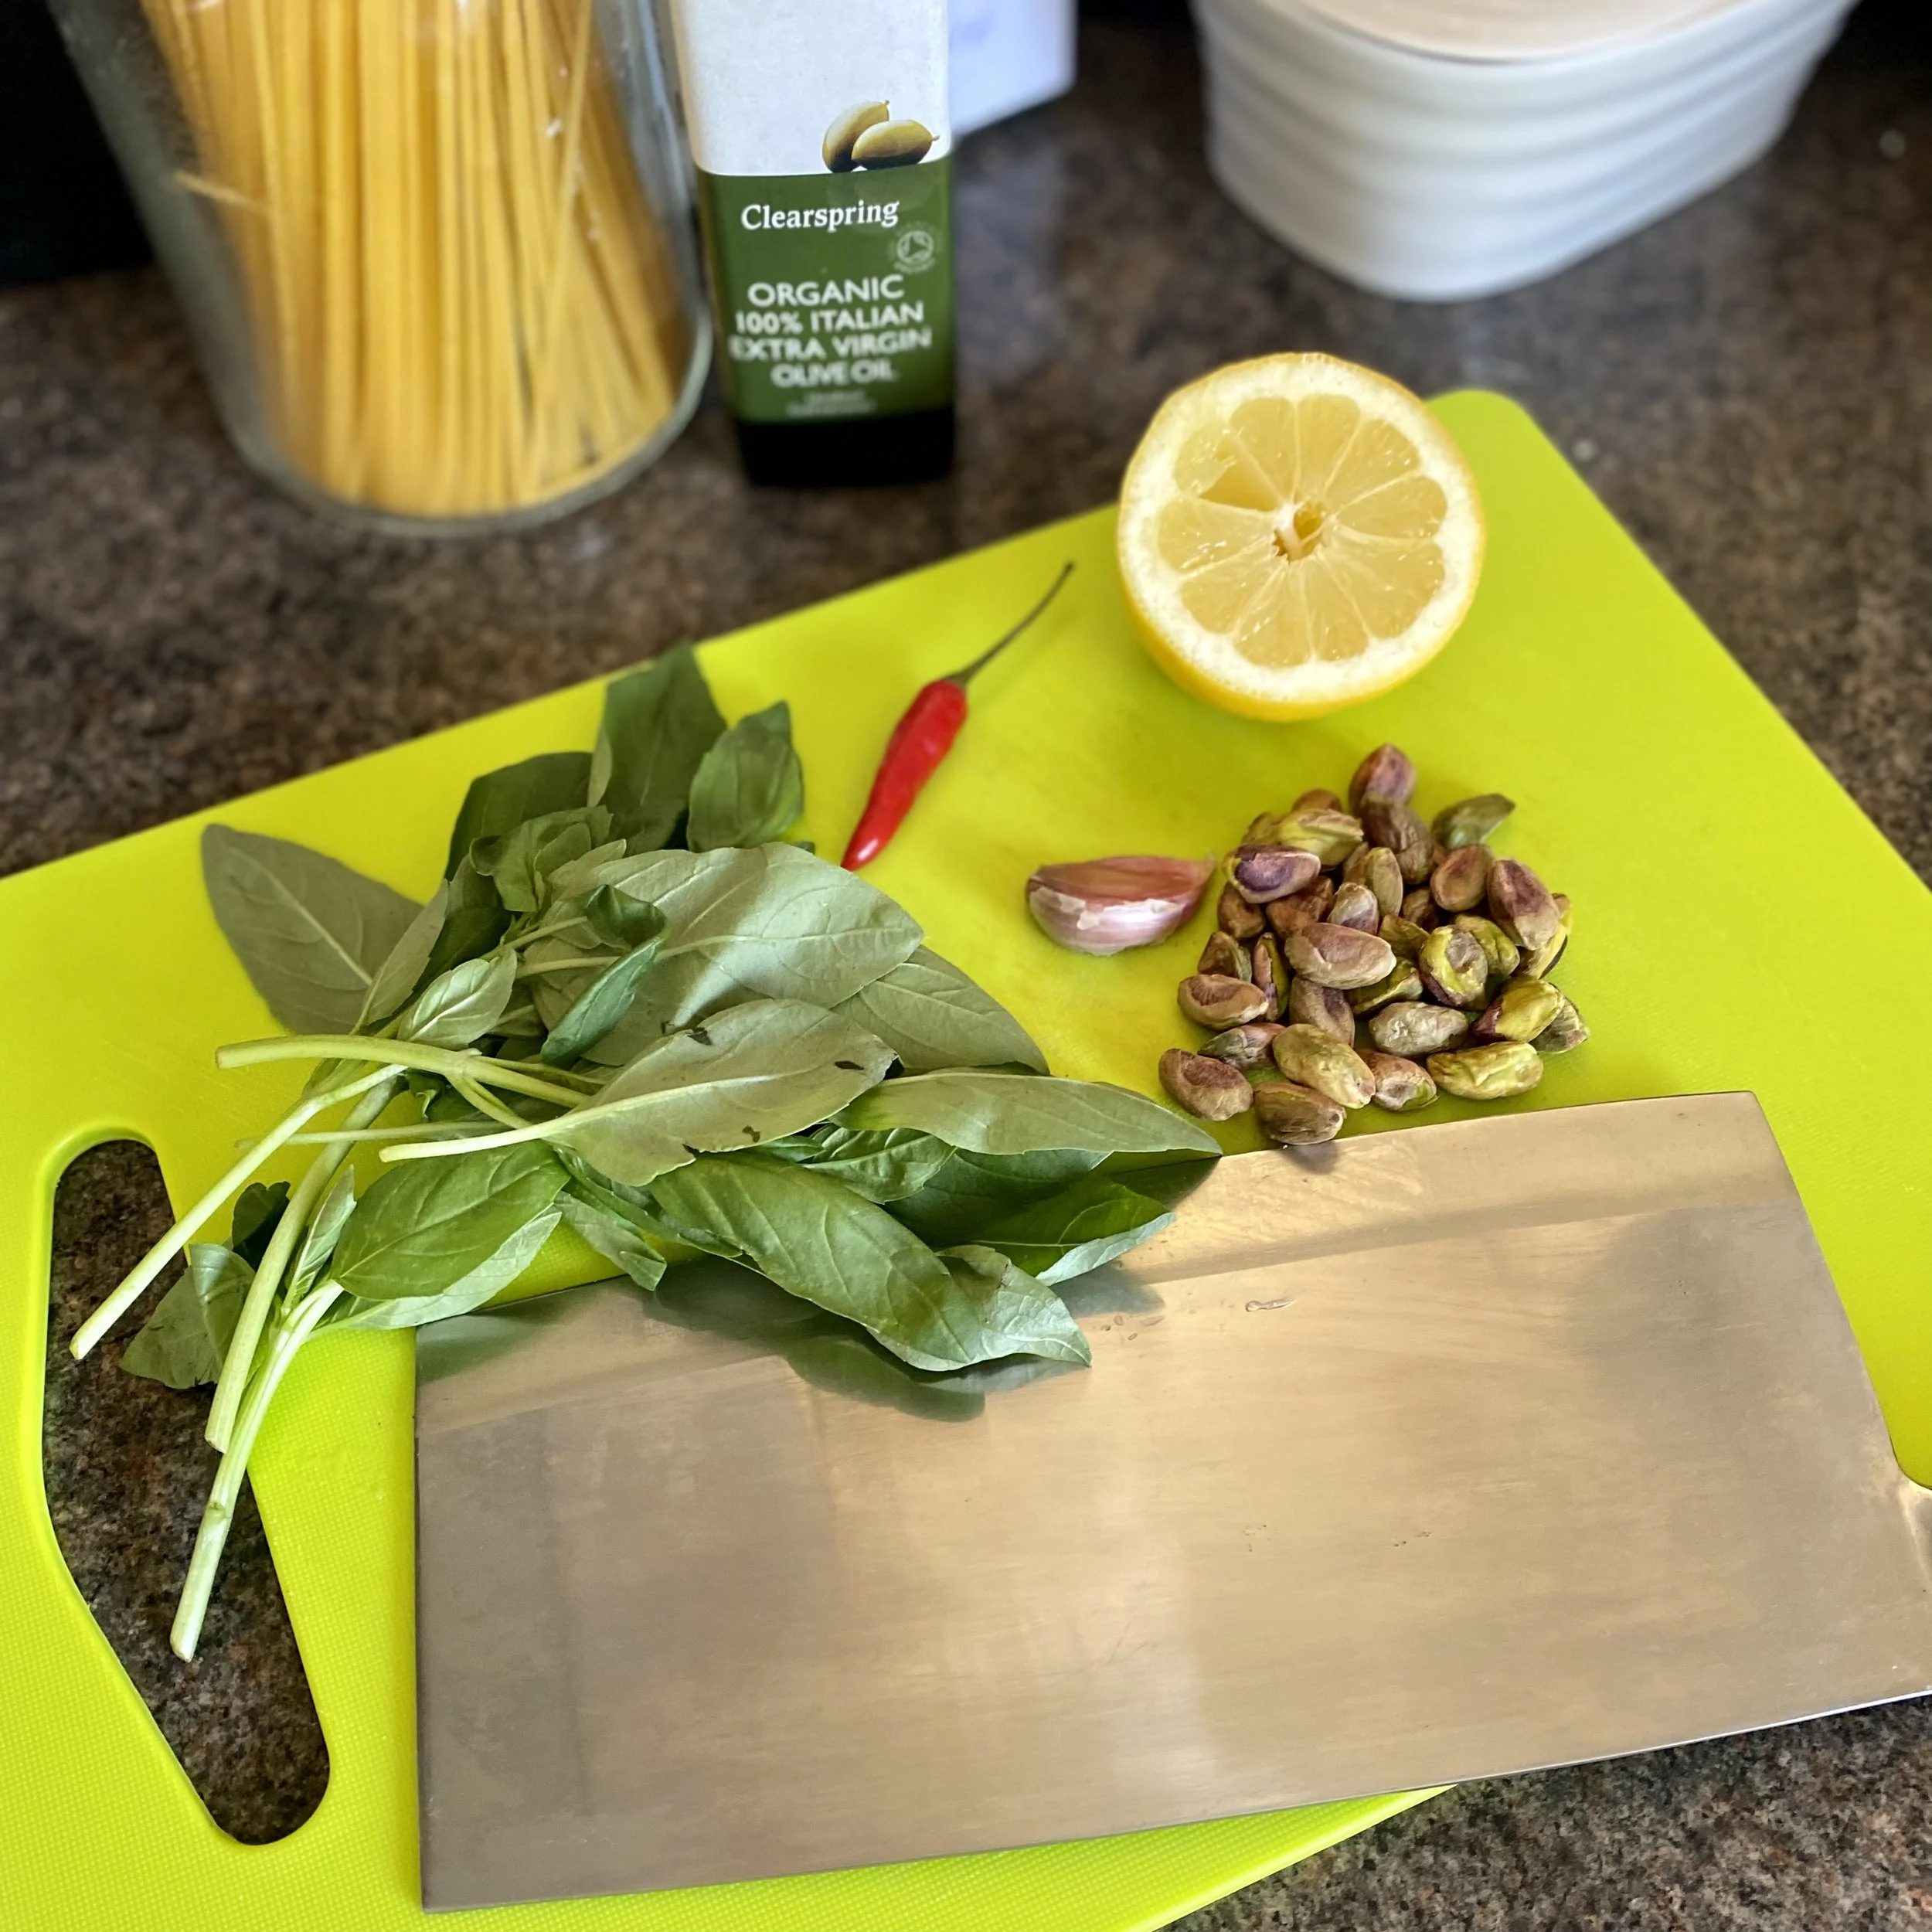
a pack of fresh basil (the actual recipe says 50g for two people but I only had one 15g bag and it was still delicious, so entirely up to you if you want to use more)

1 small garlic clove

a small handful of shelled pistachios (it should have been 50g but I didn’t weigh them and just guessed it might be about a small handful)

1 small red bird eye chilli (this was still quite hot, so of course adjust how much chilli to your own taste or use a milder chilli)

zest of half a lemon

juice of half - one lemon (to taste)

olive oil


Put a pan of water on to boil and add a good big pinch of salt (maybe a teaspoon).

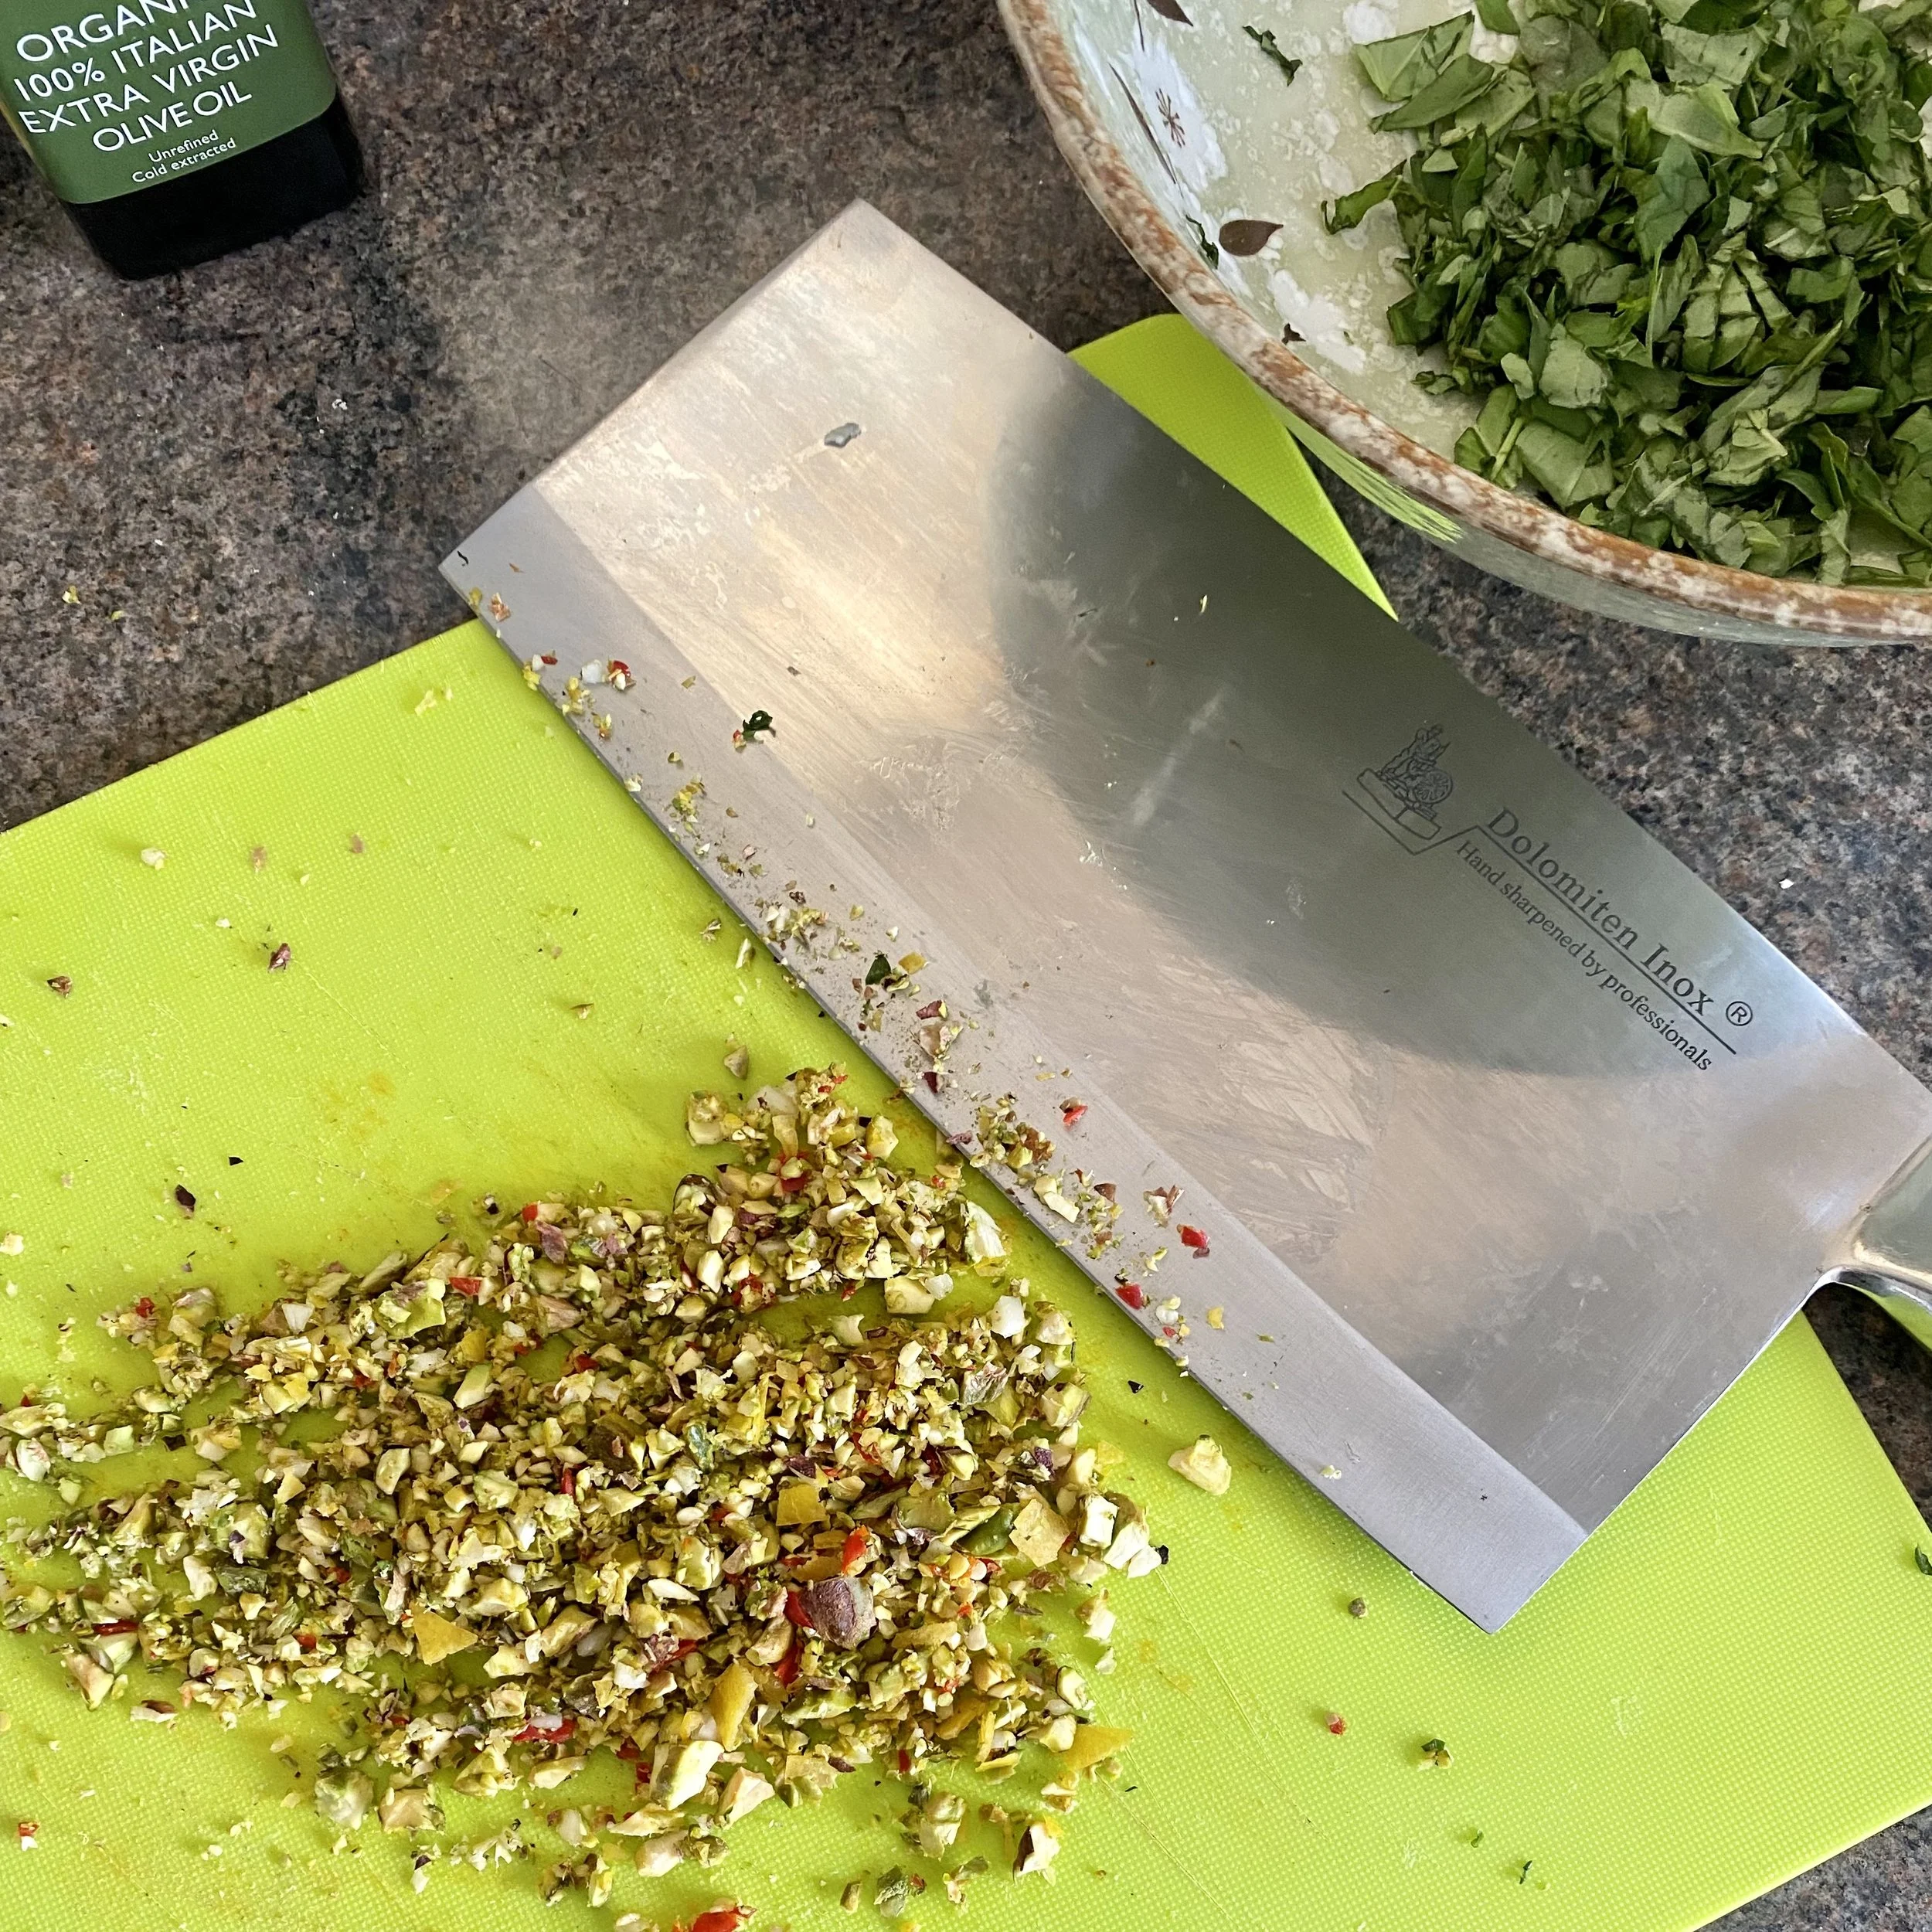
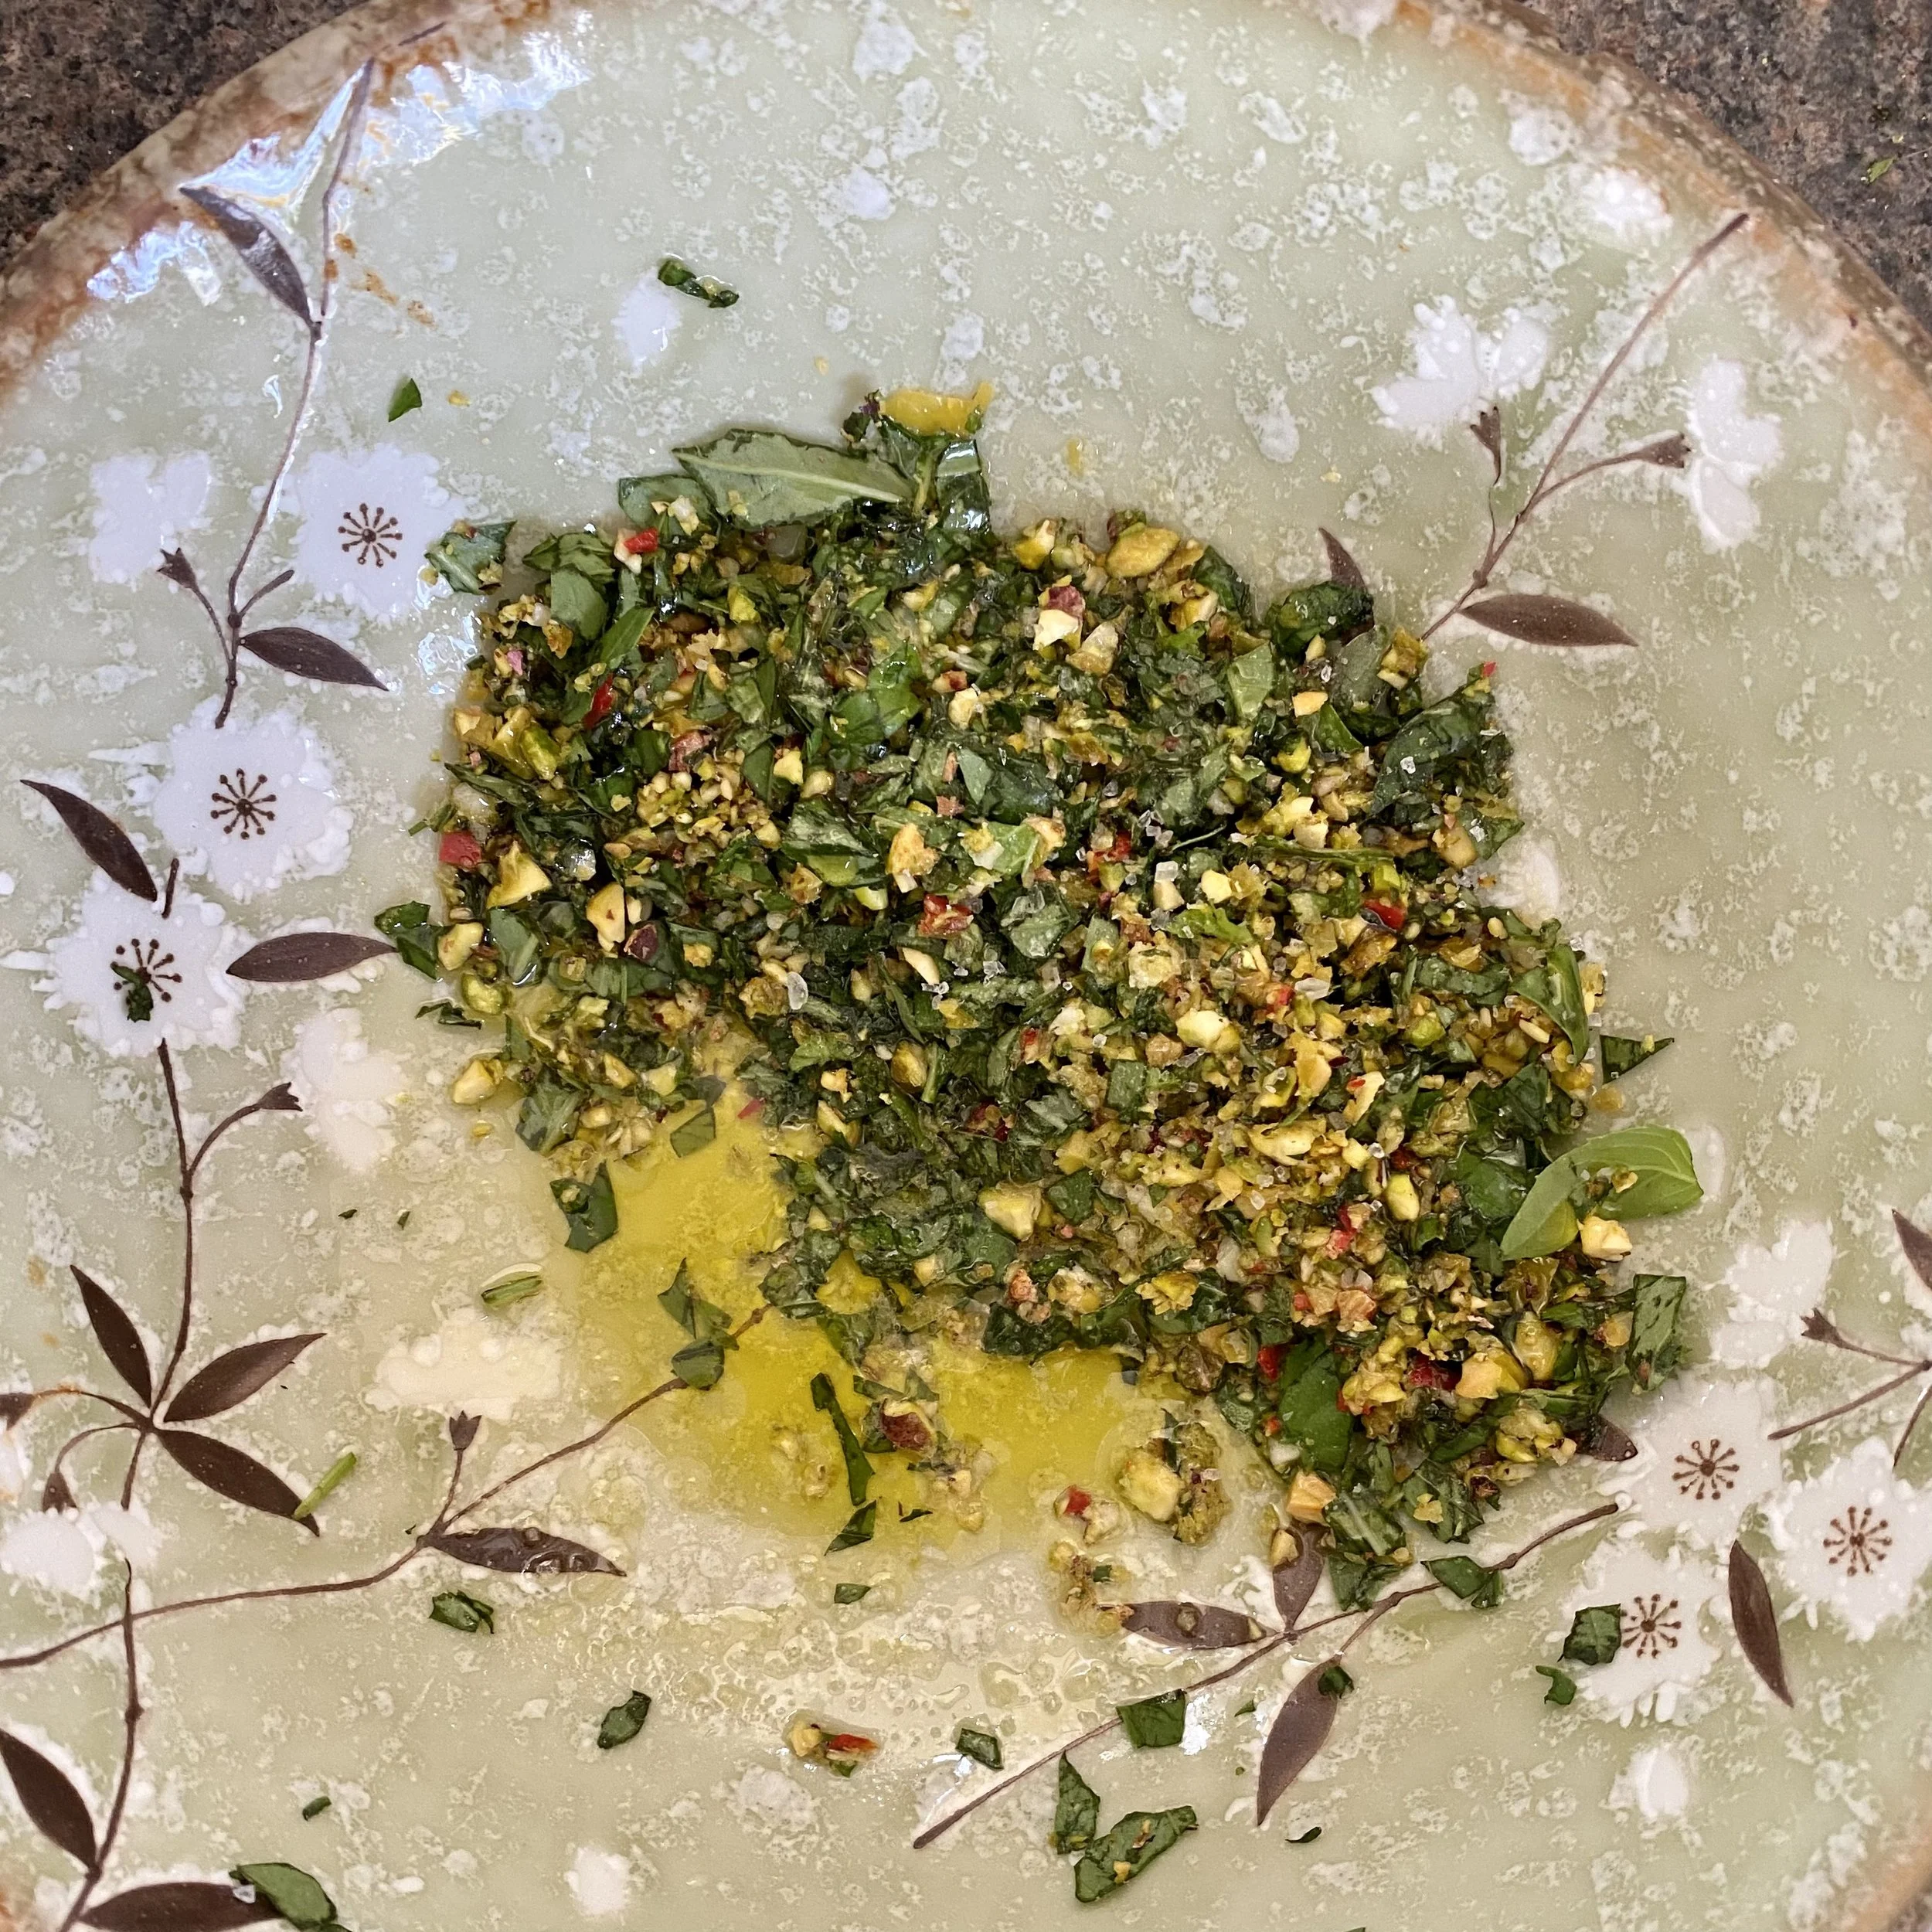
While it’s coming to the boil, start making the pesto by first finely chopping the basil. I did this separately to the other chopped ingredients to stop it going mushy.

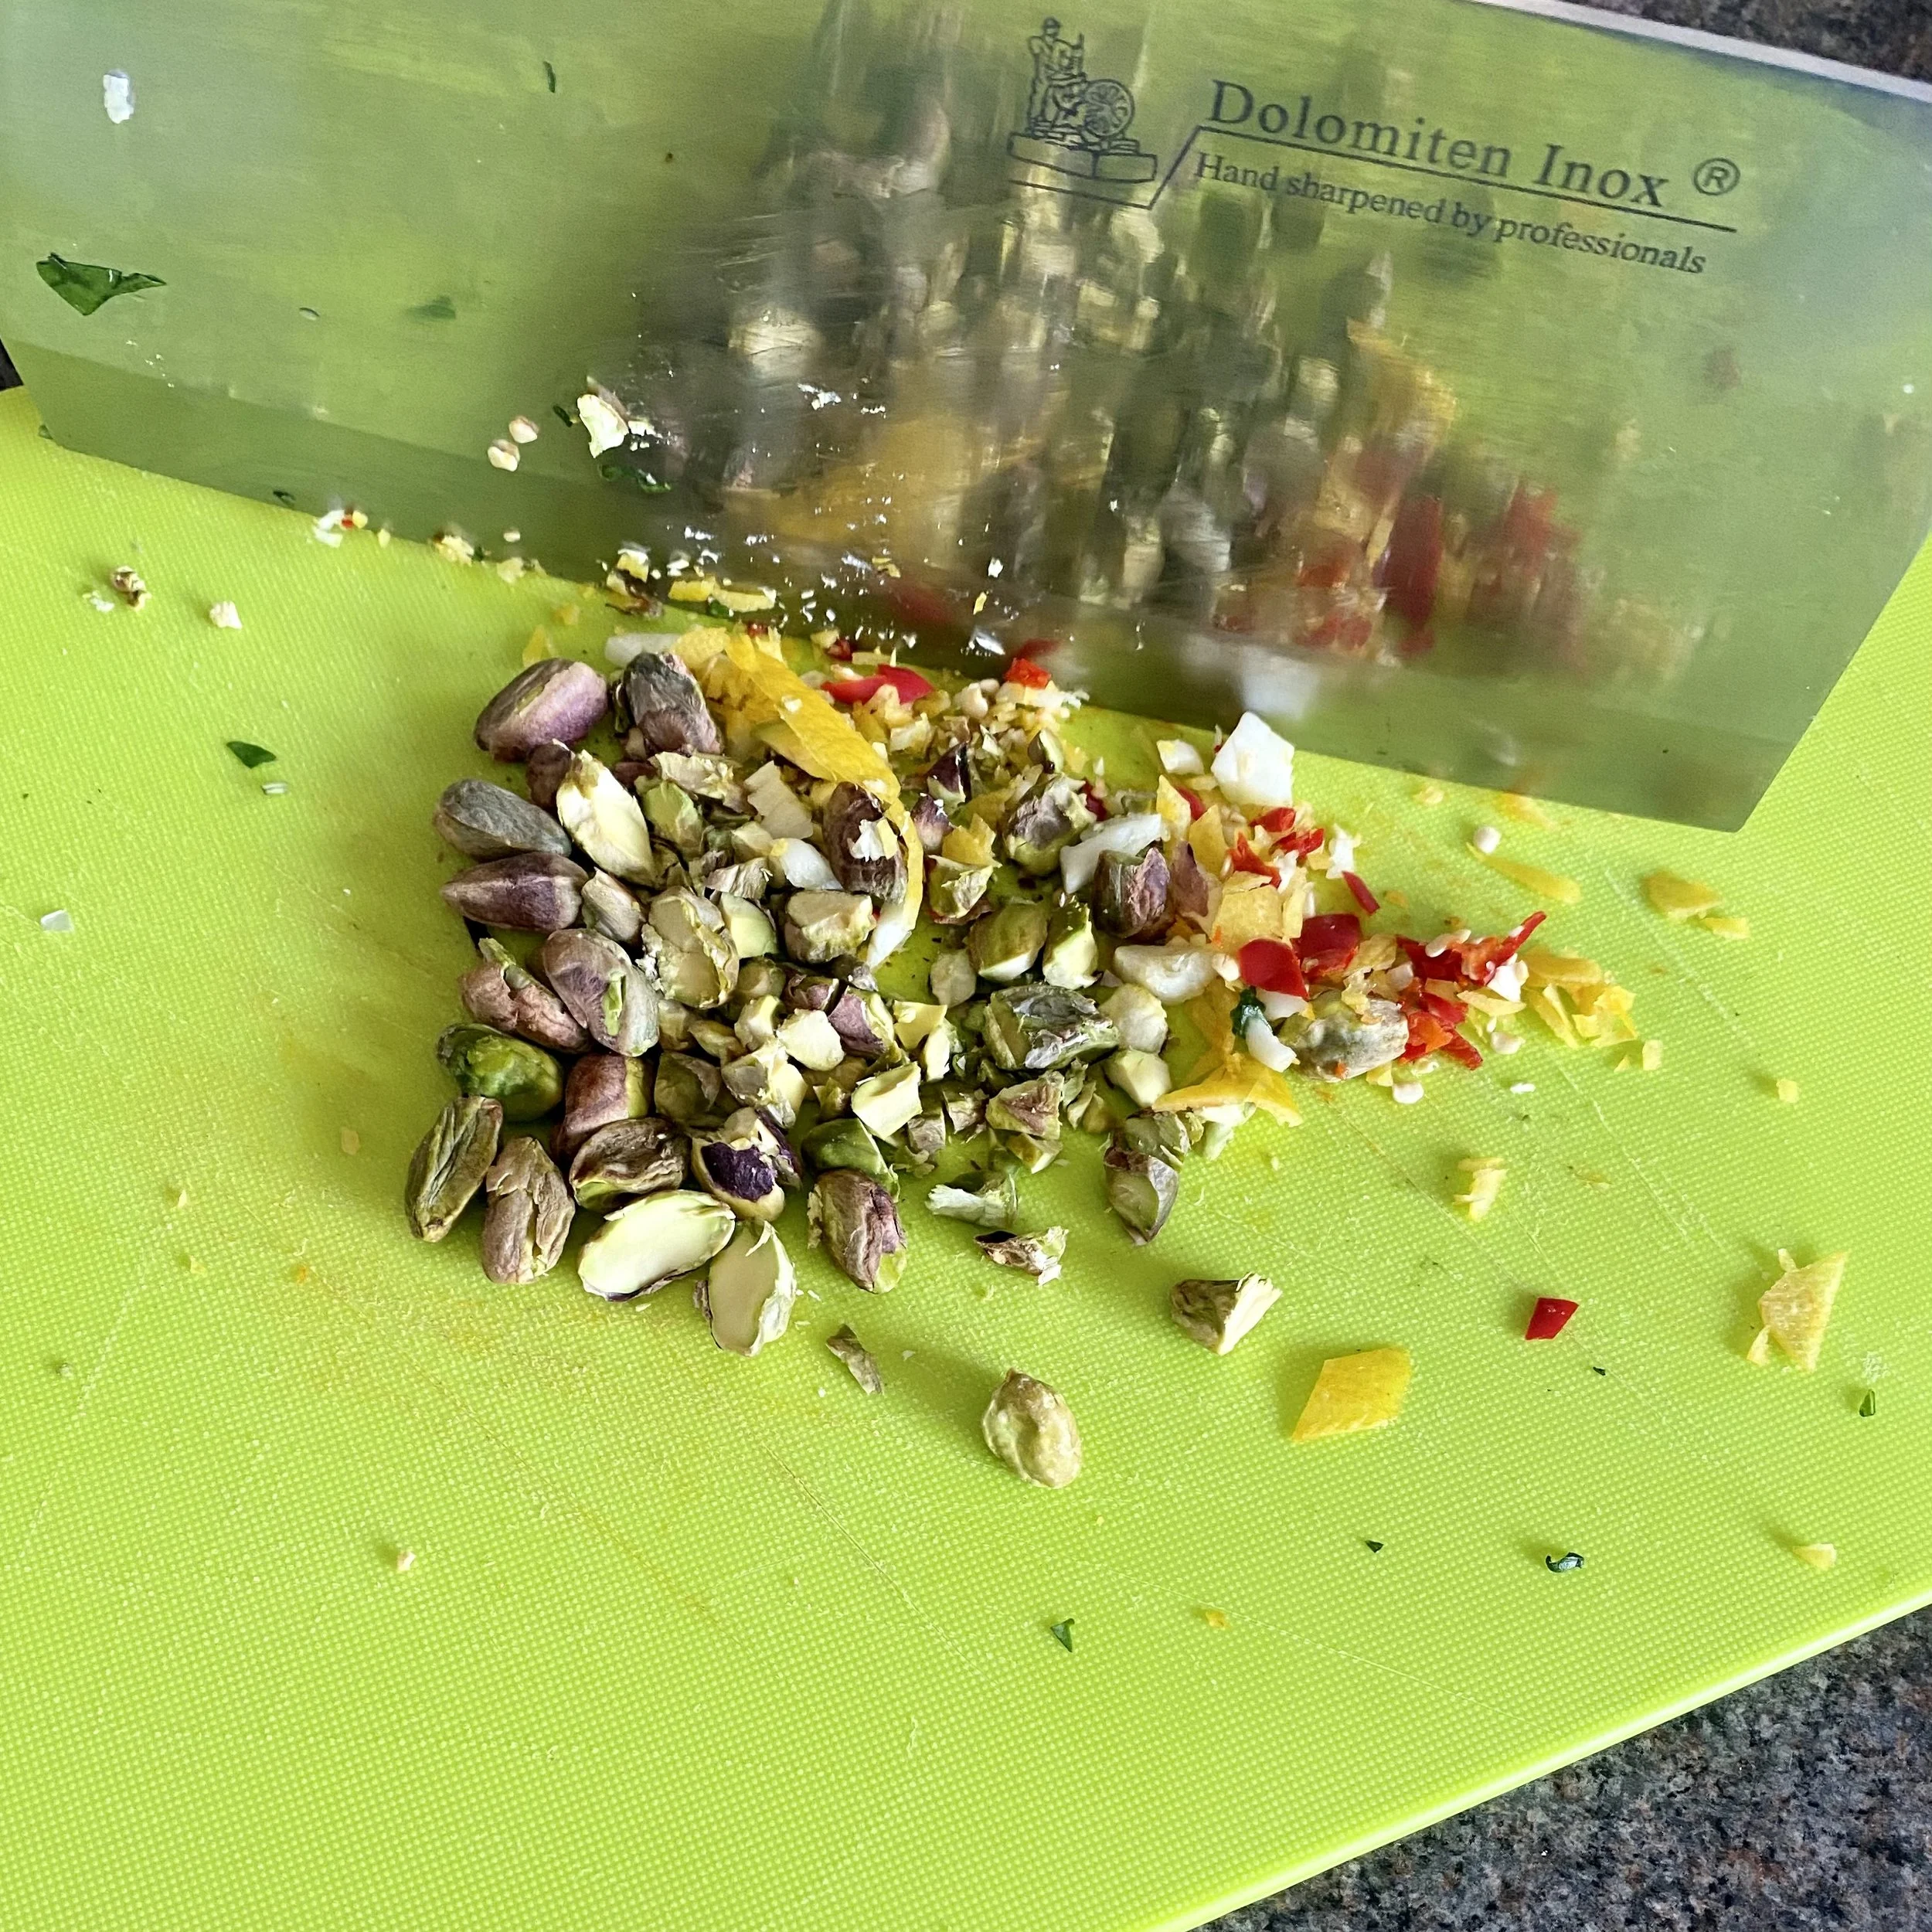
Put the chopped basil into a big bowl or serving dish and then start to finely chop the garlic, pistachios, chilli and lemon zest.

This is really easy with a big flat knife, so you can squash the ingredients and then chop, but if you don’t have a cleaver-style knife then (a) put one on your next birthday list - it is SUCH a useful knife to have and (b) use any knife you like but the bigger the easier I find.

Oh! The water is probably boiling by now so add in your pasta and cook according to the pack instructions, or to your liking, or for nine minutes (as I did).

Once everything is chopped finely, add back the basil and chop it all together again, just for that last bit of fineness and also to make the basil really part of the mix.

Tip it all back into the bowl and add lemon juice - start with the juice of half a lemon but taste and add more if needed (mine did).

Add a good slug of a good olive oil and a little salt.

Stir it all together and taste again to make sure you’re happy with it or you want to make any adjustments.

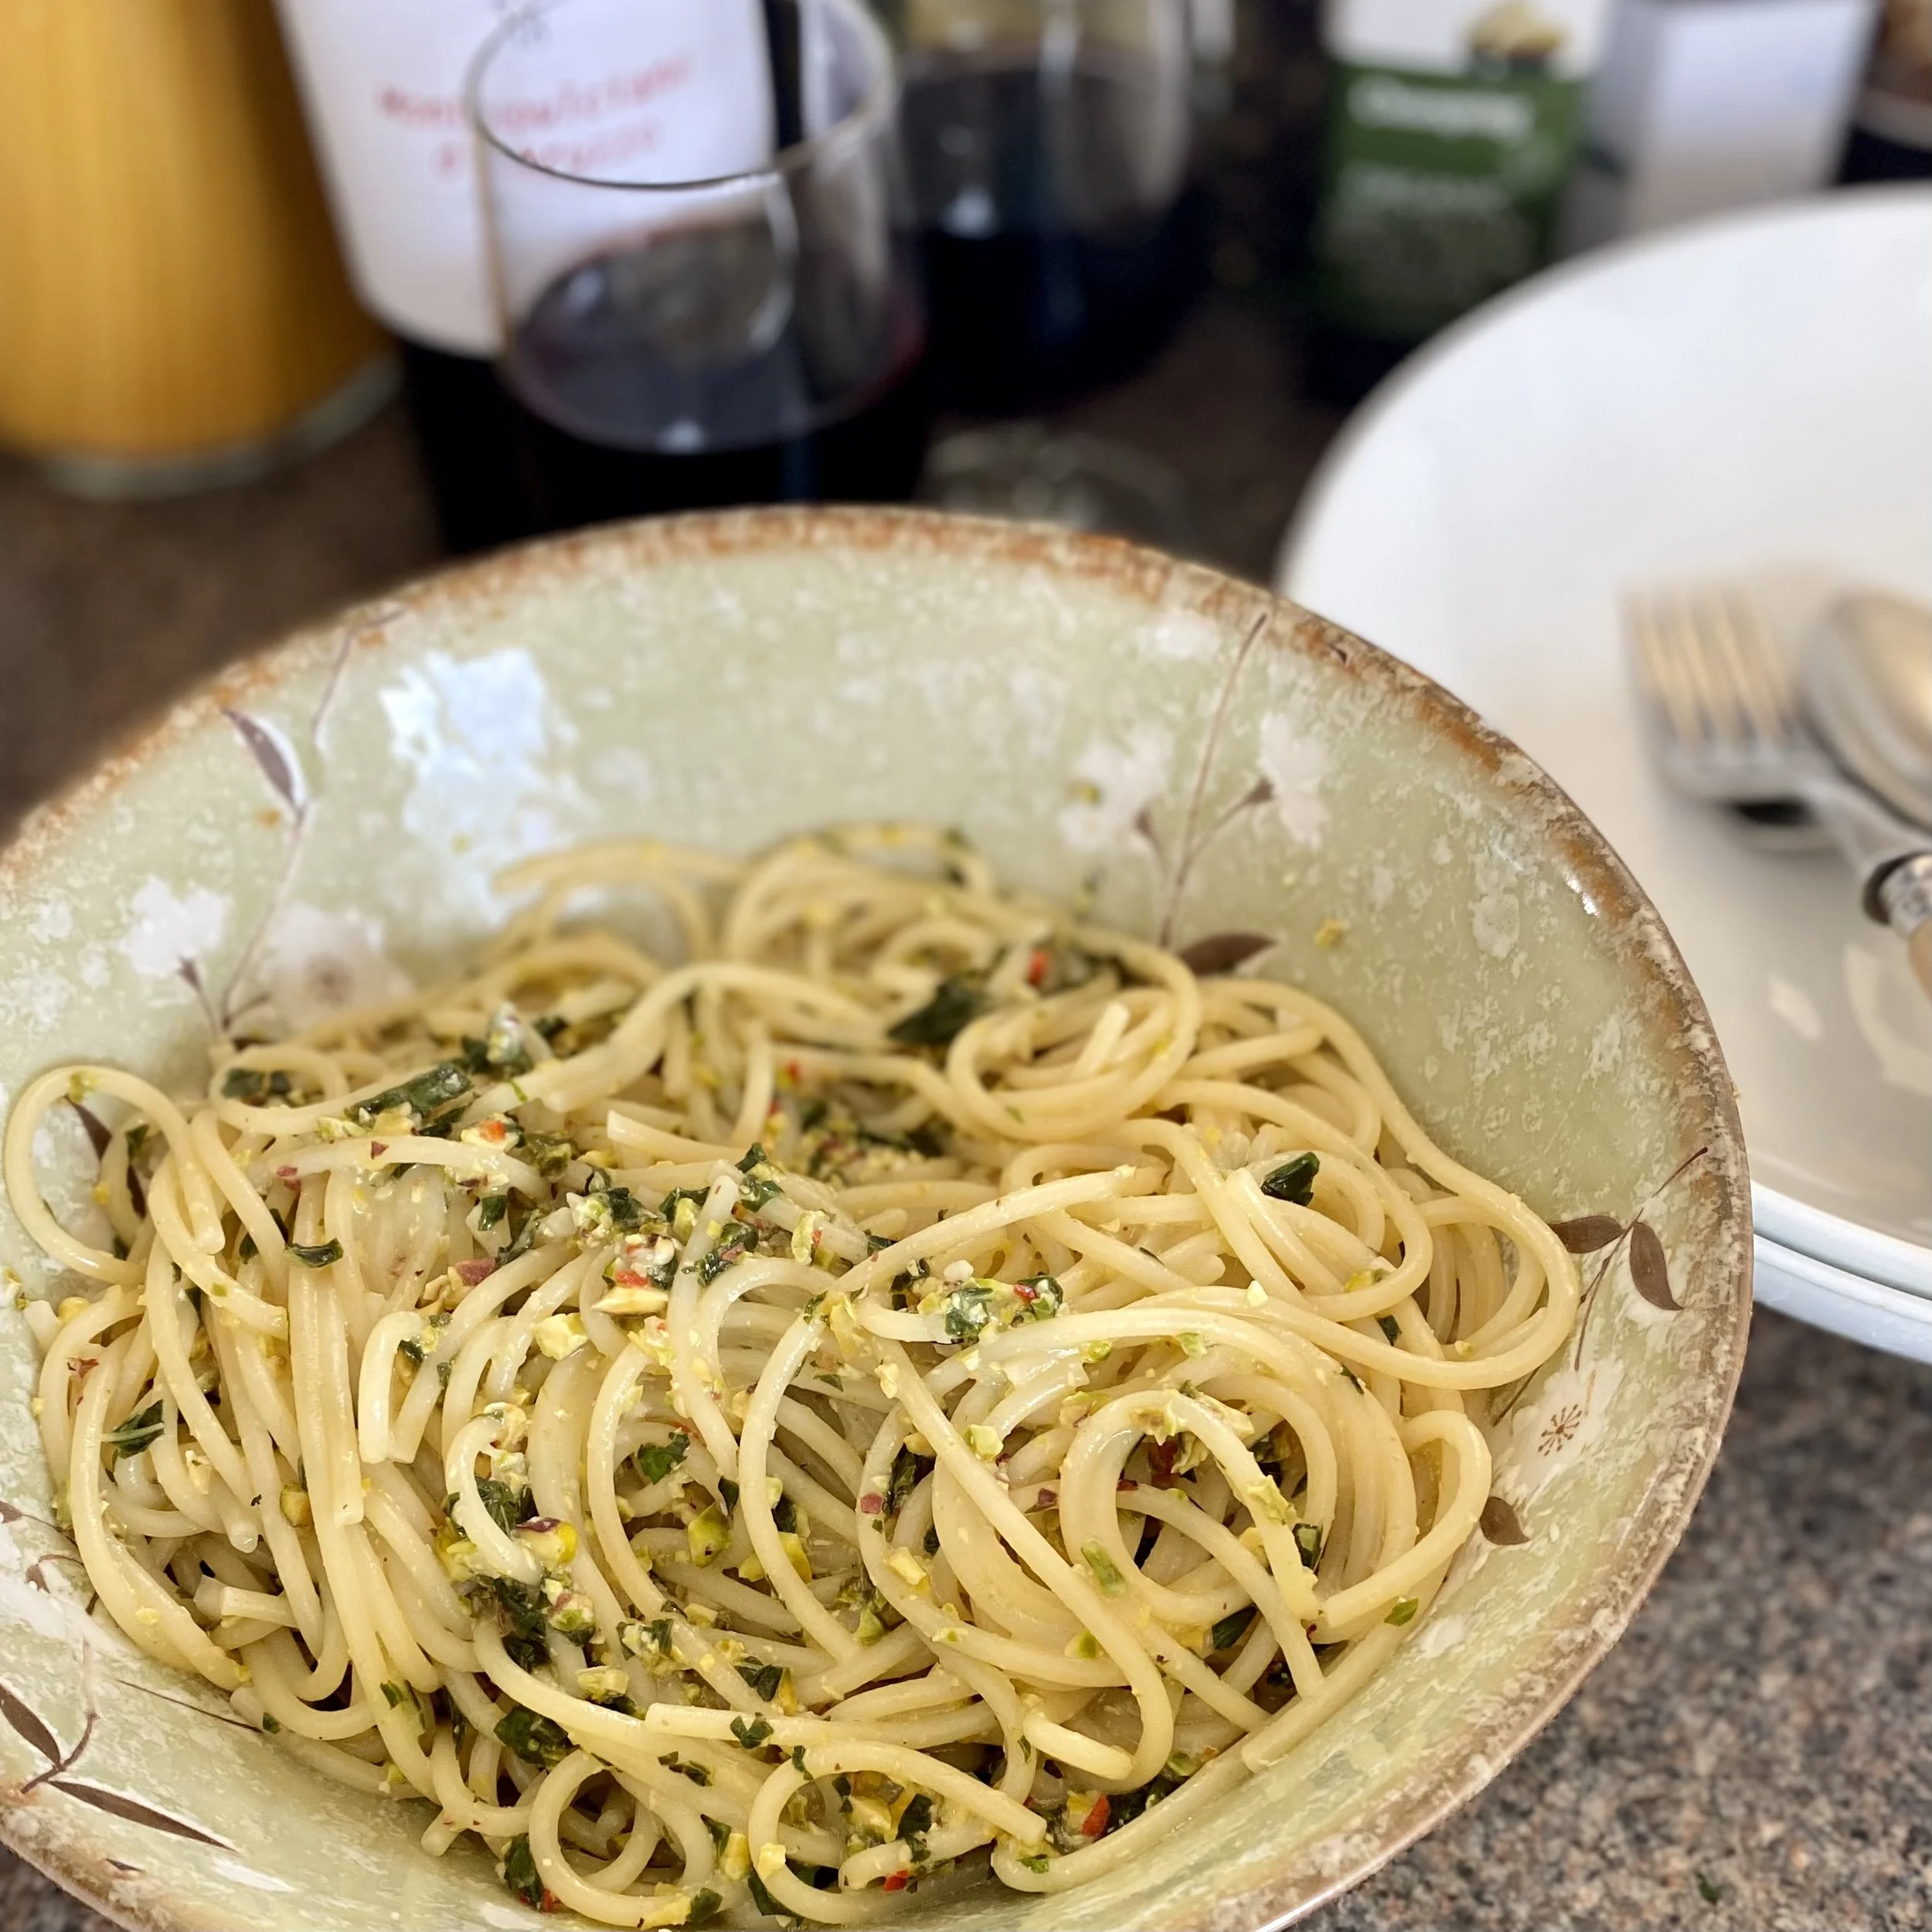
When the pasta is done, remove a ladle of the pasta water into a mug, then drain the spaghetti and add to the bowl of pesto.

Stir and mix thoroughly, adding a little of that reserved pasta water if it needs loosening at all.

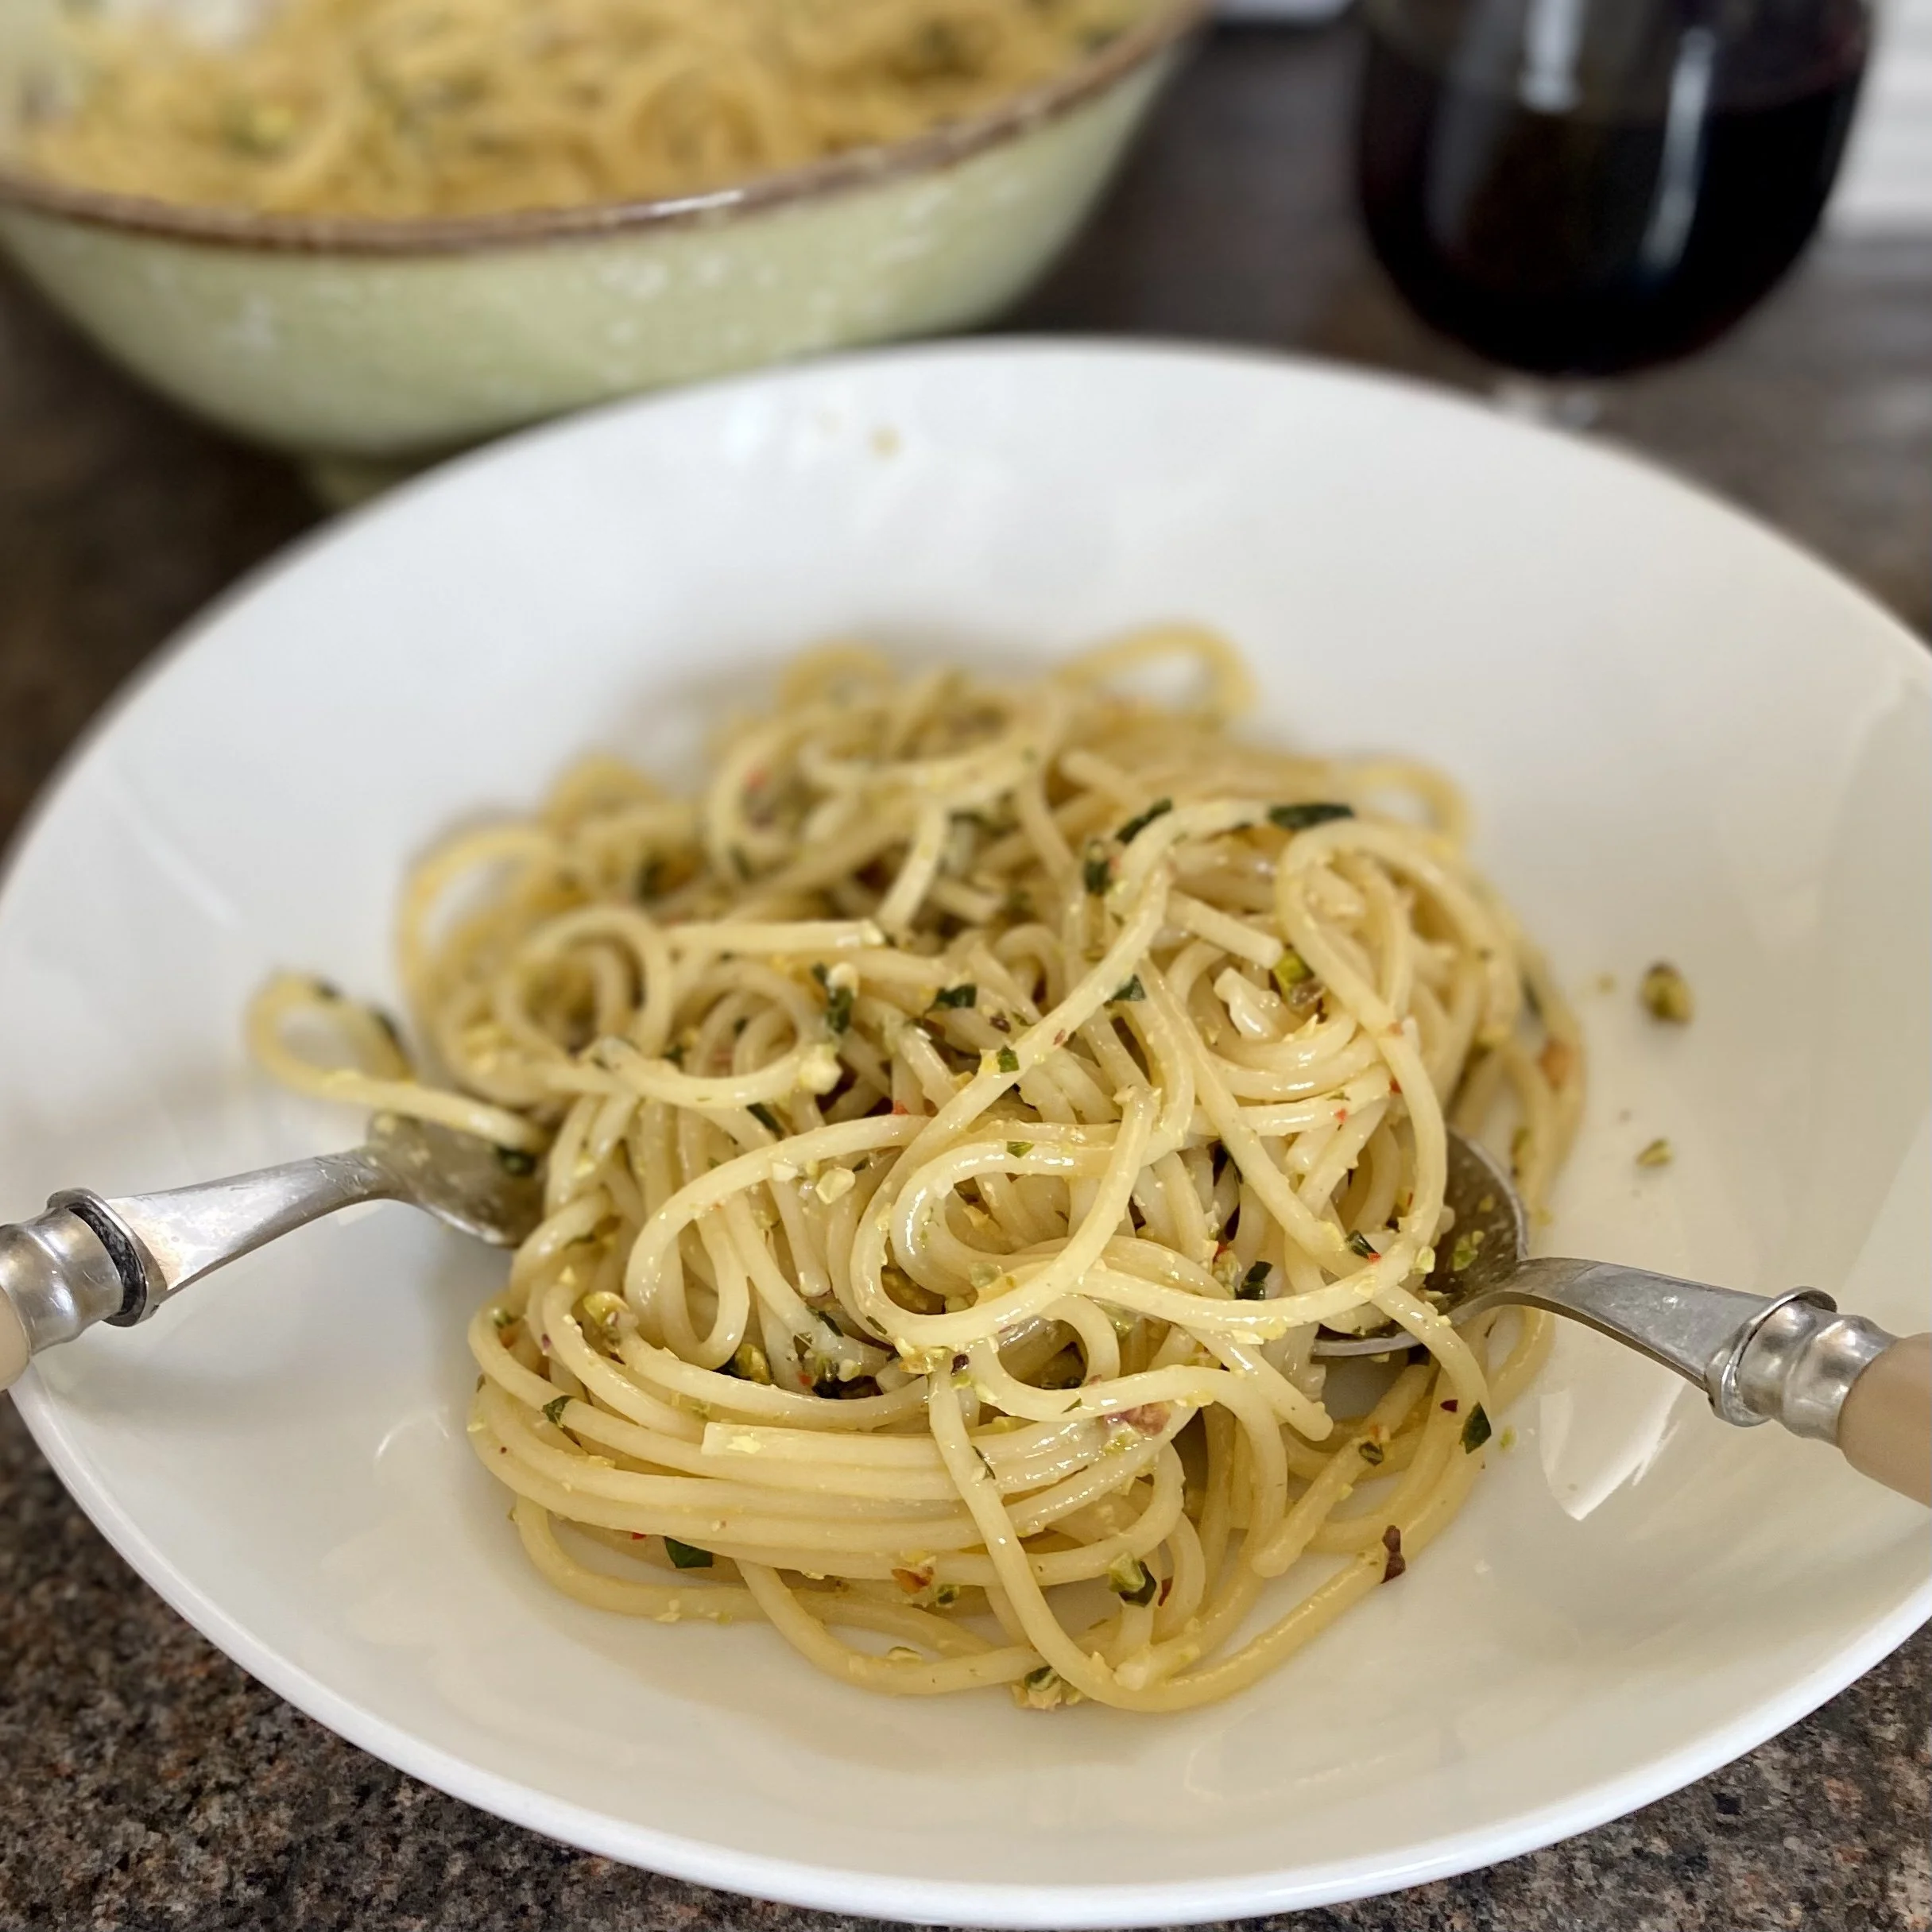
Serve. As is.

Personally, I don’t think this needs anything else to go with it, except for good company and a glass of red wine …


YOU MIGHT ALSO LIKE …

Chilli cheese on toast

You know how sometimes you think you’ve just invented the best dish ever?

And then you google it and yes, it is amazing, but no, sorry, you definitely didn’t invent it …..?

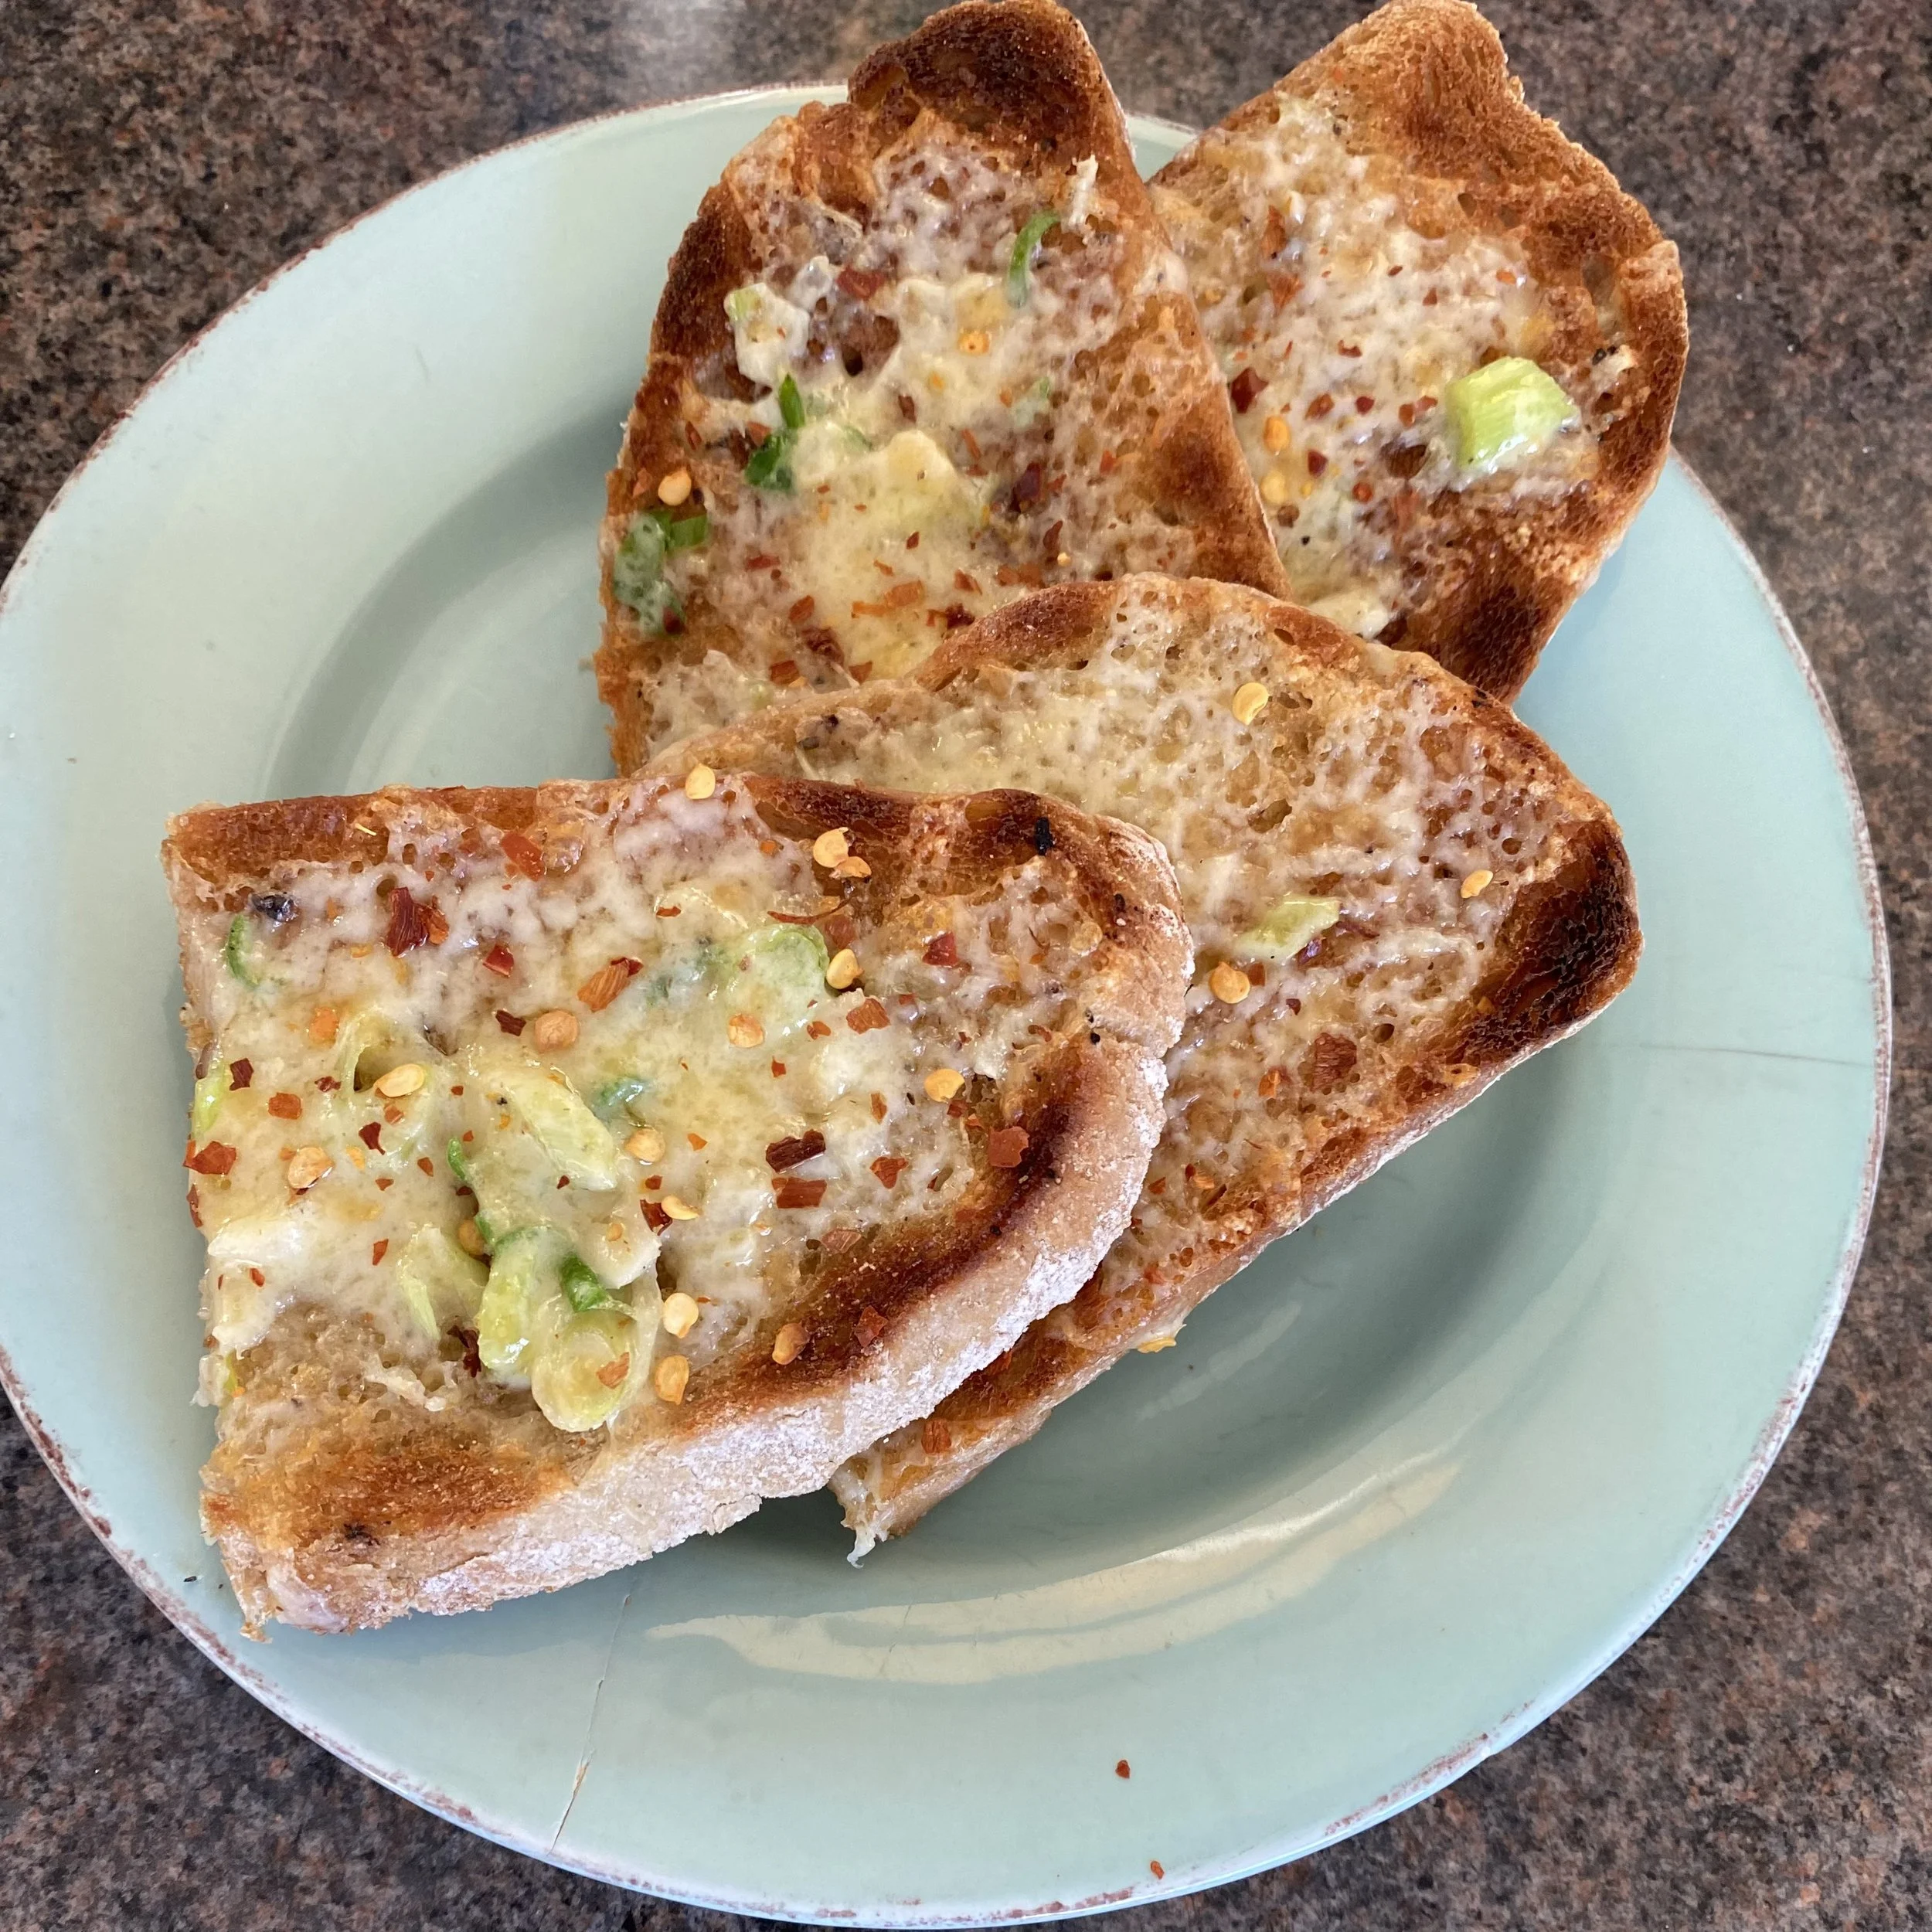
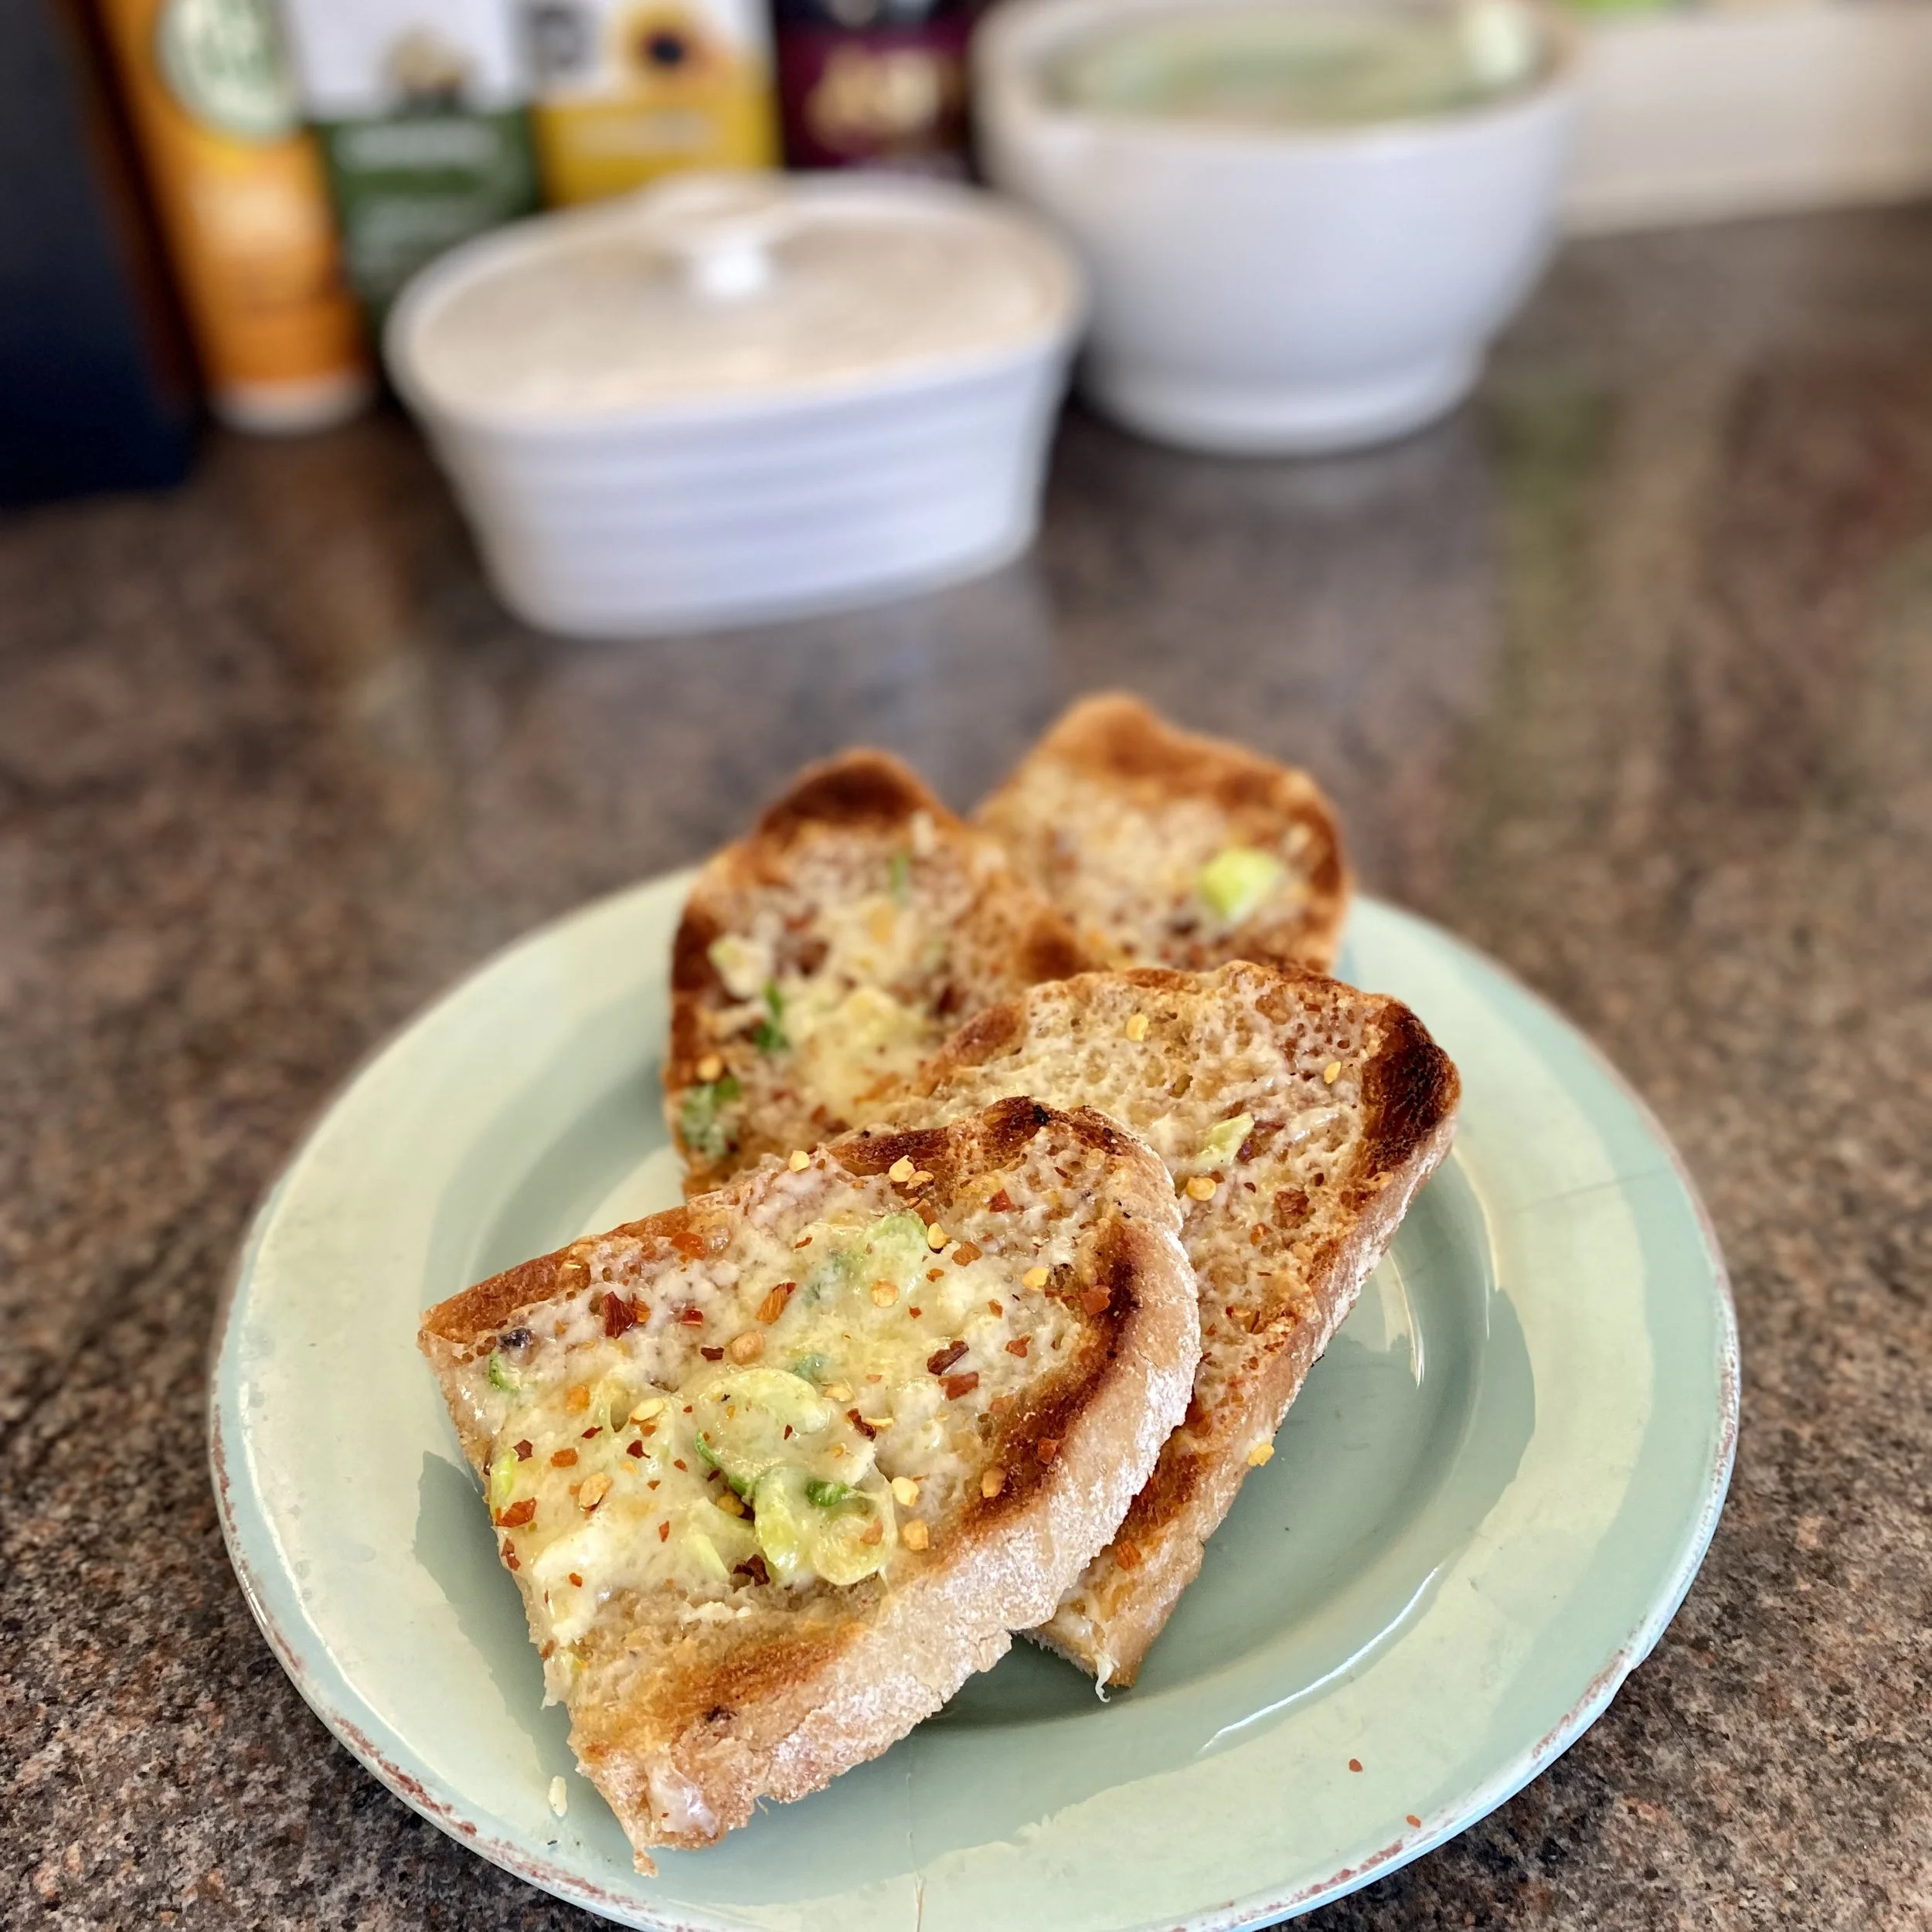
Well, that just happened to me earlier this week with this amazing chilli cheese on toast.

I mean, I thought cheese on toast with extra chillies was entirely my idea! (hehe, even as I write this I do know that I didn’t actually invent it, obviously).

Anyway, anyway, anyway …

If YOU haven’t yet invented chilli cheese on toast, well then I invite you to do so right now.

It’s very good and all you need (for one greedy one) is:

A good big spoonful of butter - probably around a tablespoon, but really whatever feels right to you

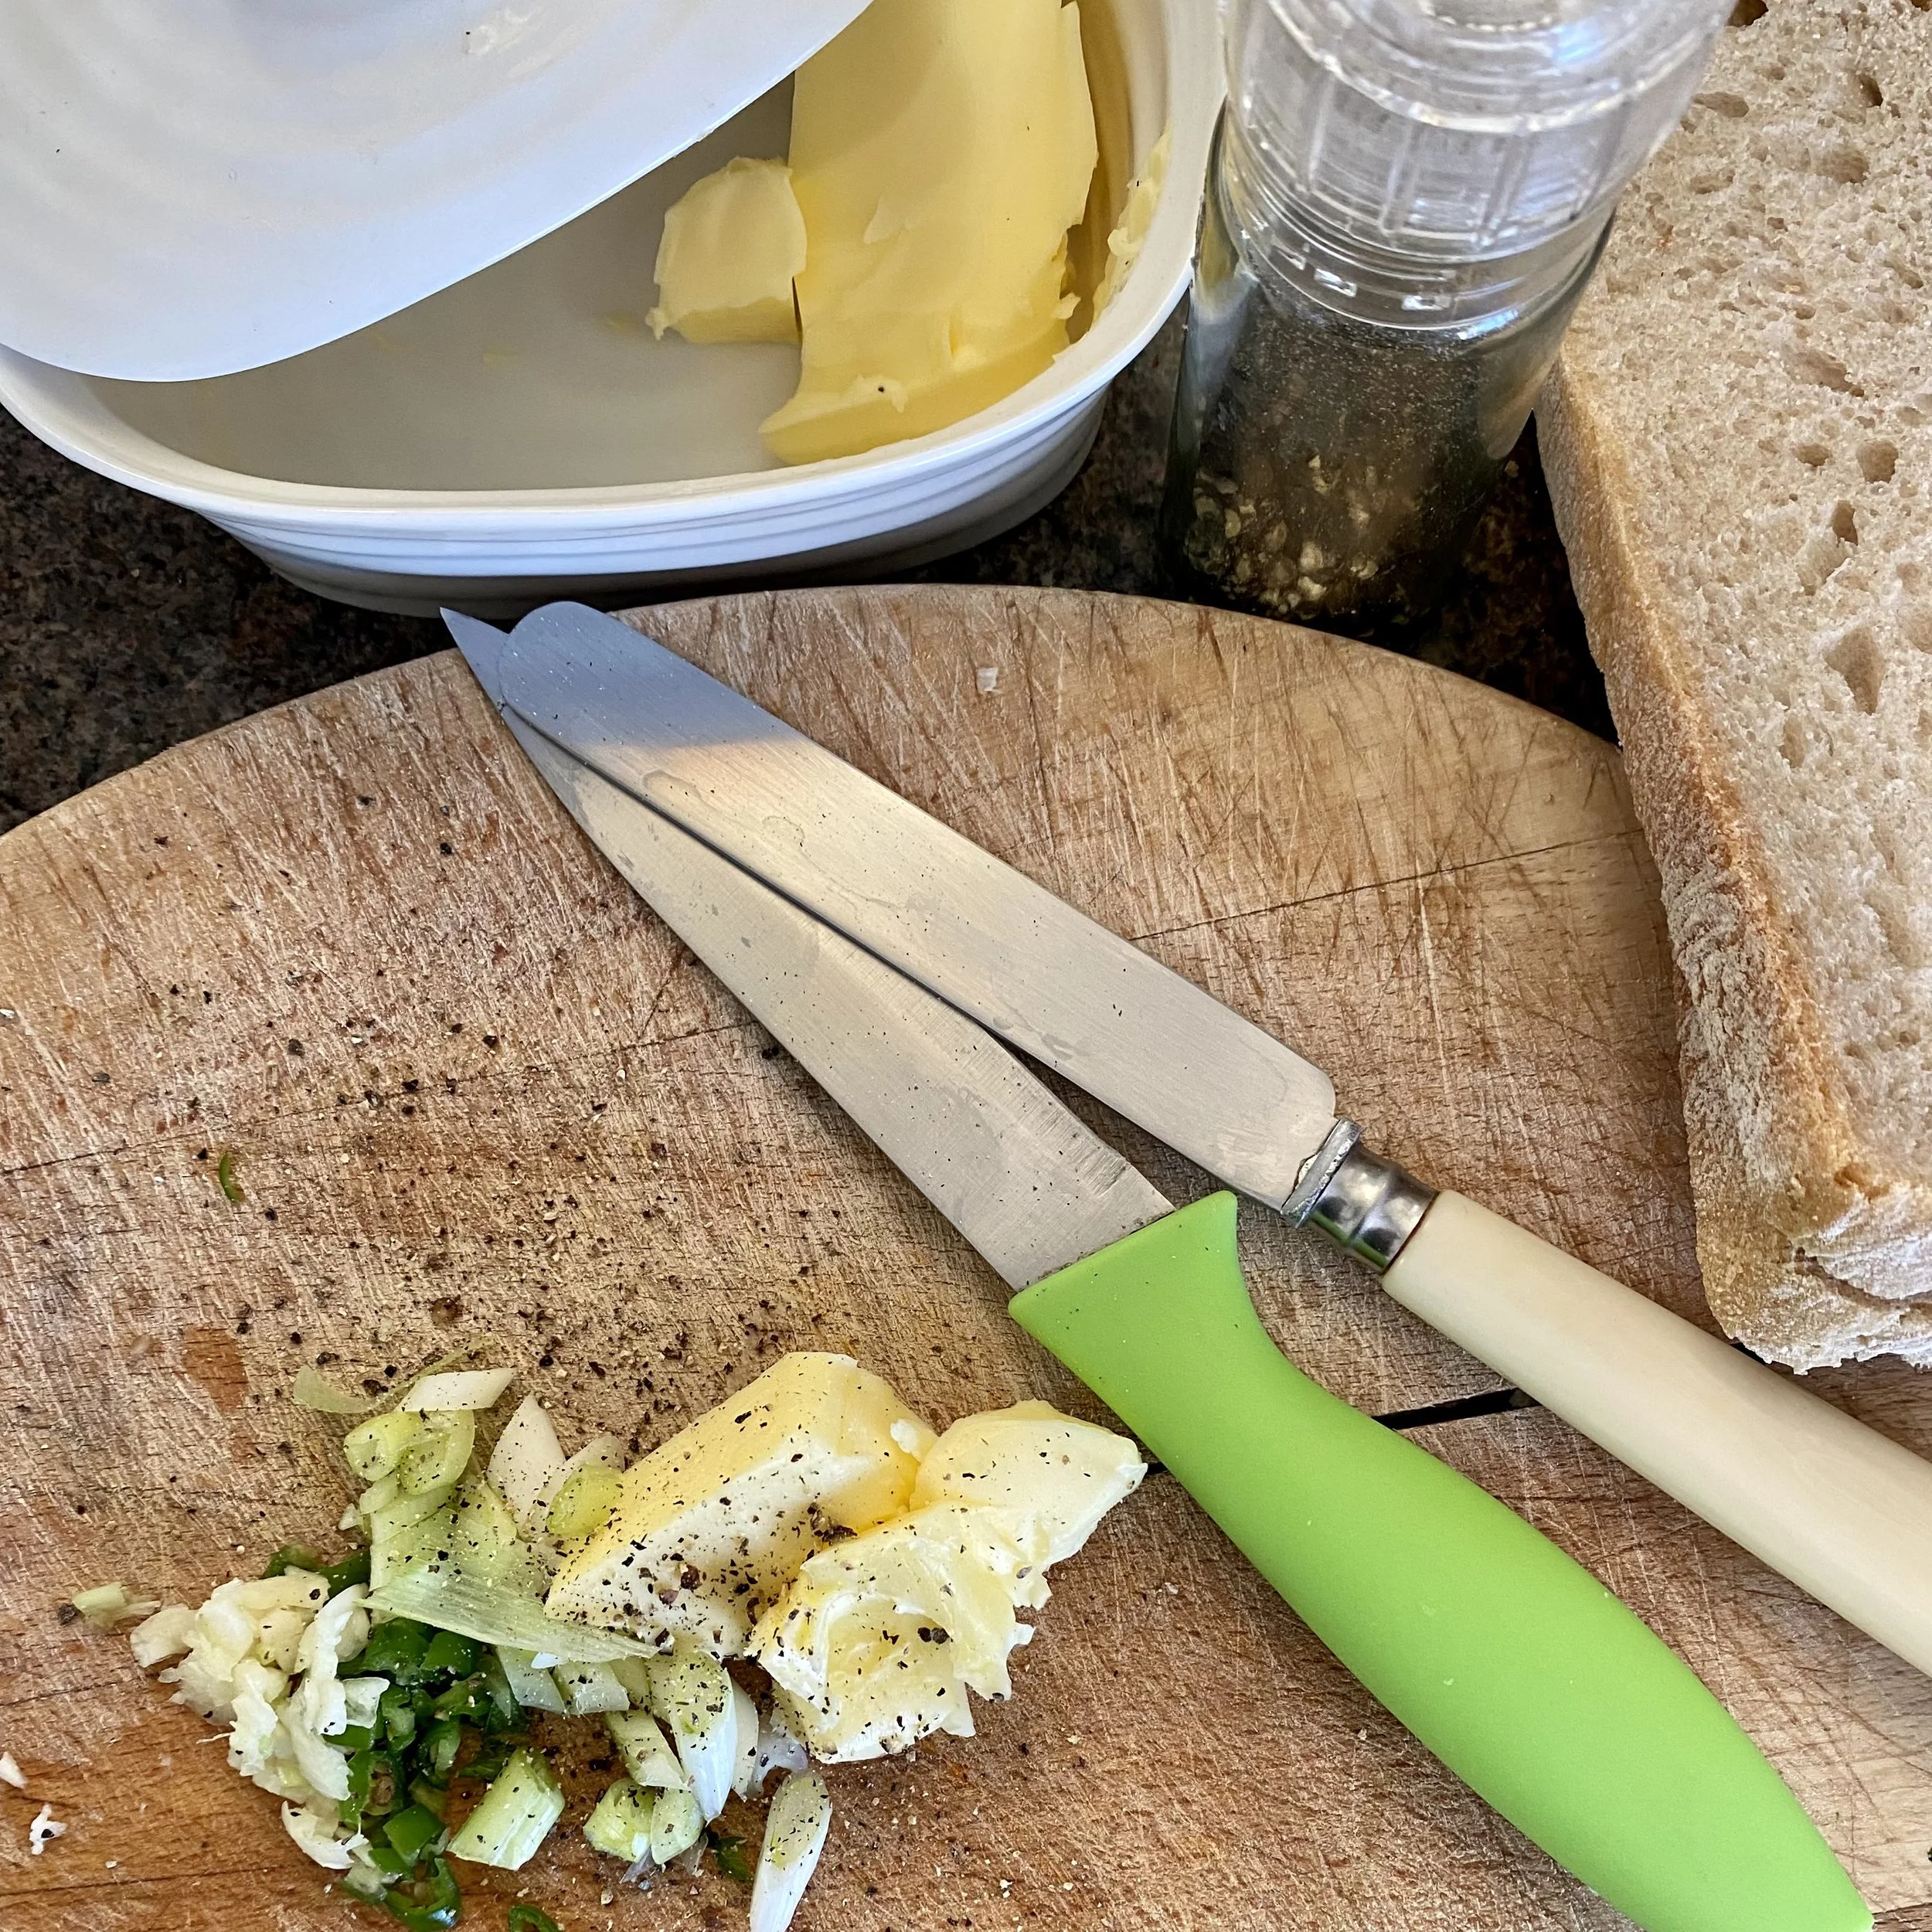
1-2 spring onions, sliced

1 small garlic clove, peeled and finely chopped

1 green chilli, finely sliced - or amount to your taste of course

freshly ground black pepper

2 slices of bread - or however much you want really. I’ve got two slices of the sourdough they do already sliced at the supermarket. If I’d bought a fresh small springy loaf from my favourite local shop I’d probably have four slices so … y’know - all up to you, your hunger or greed, and the size of the loaf. You decide.

A nice big hunk of strong cheddar cheese, grated. Or mozzarella - I think that would be delish. Or a mix of cheddar and mozzarella. Possibly even better.

Dried chill flakes, to garnish.


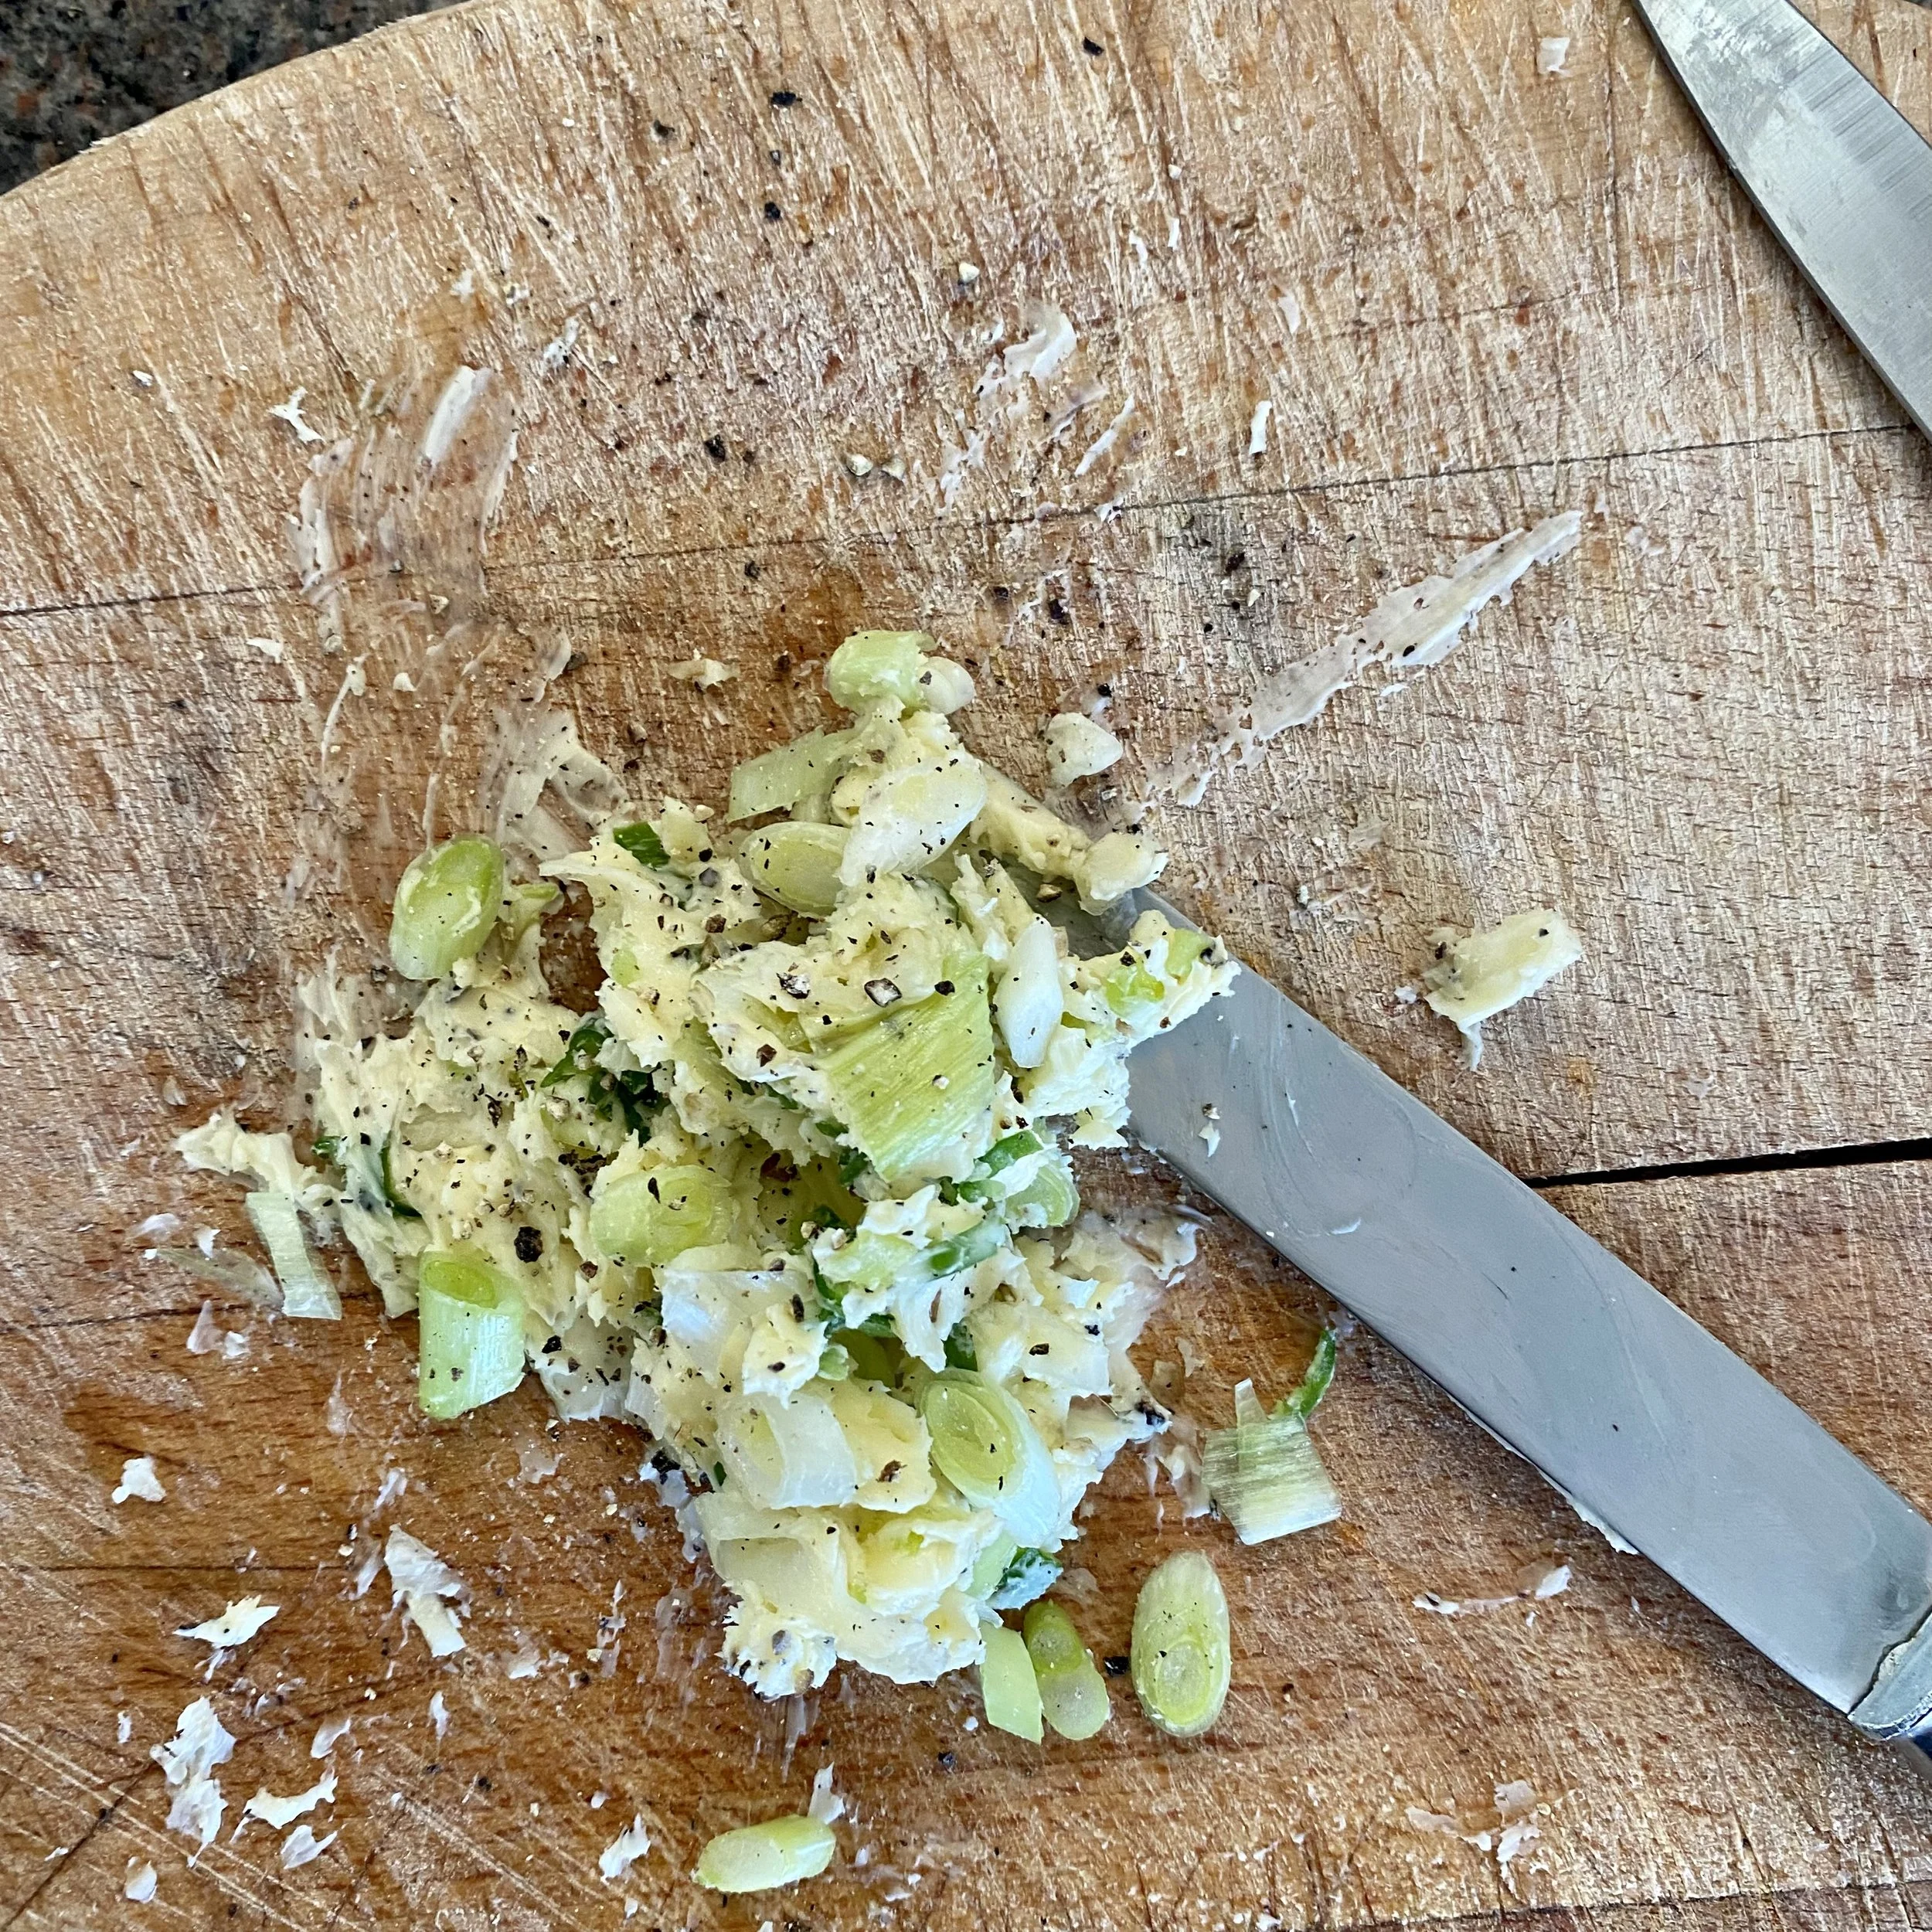
Mash up the butter, spring onions, garlic, chilli and black pepper until you have just the most adorable flavoured butter.

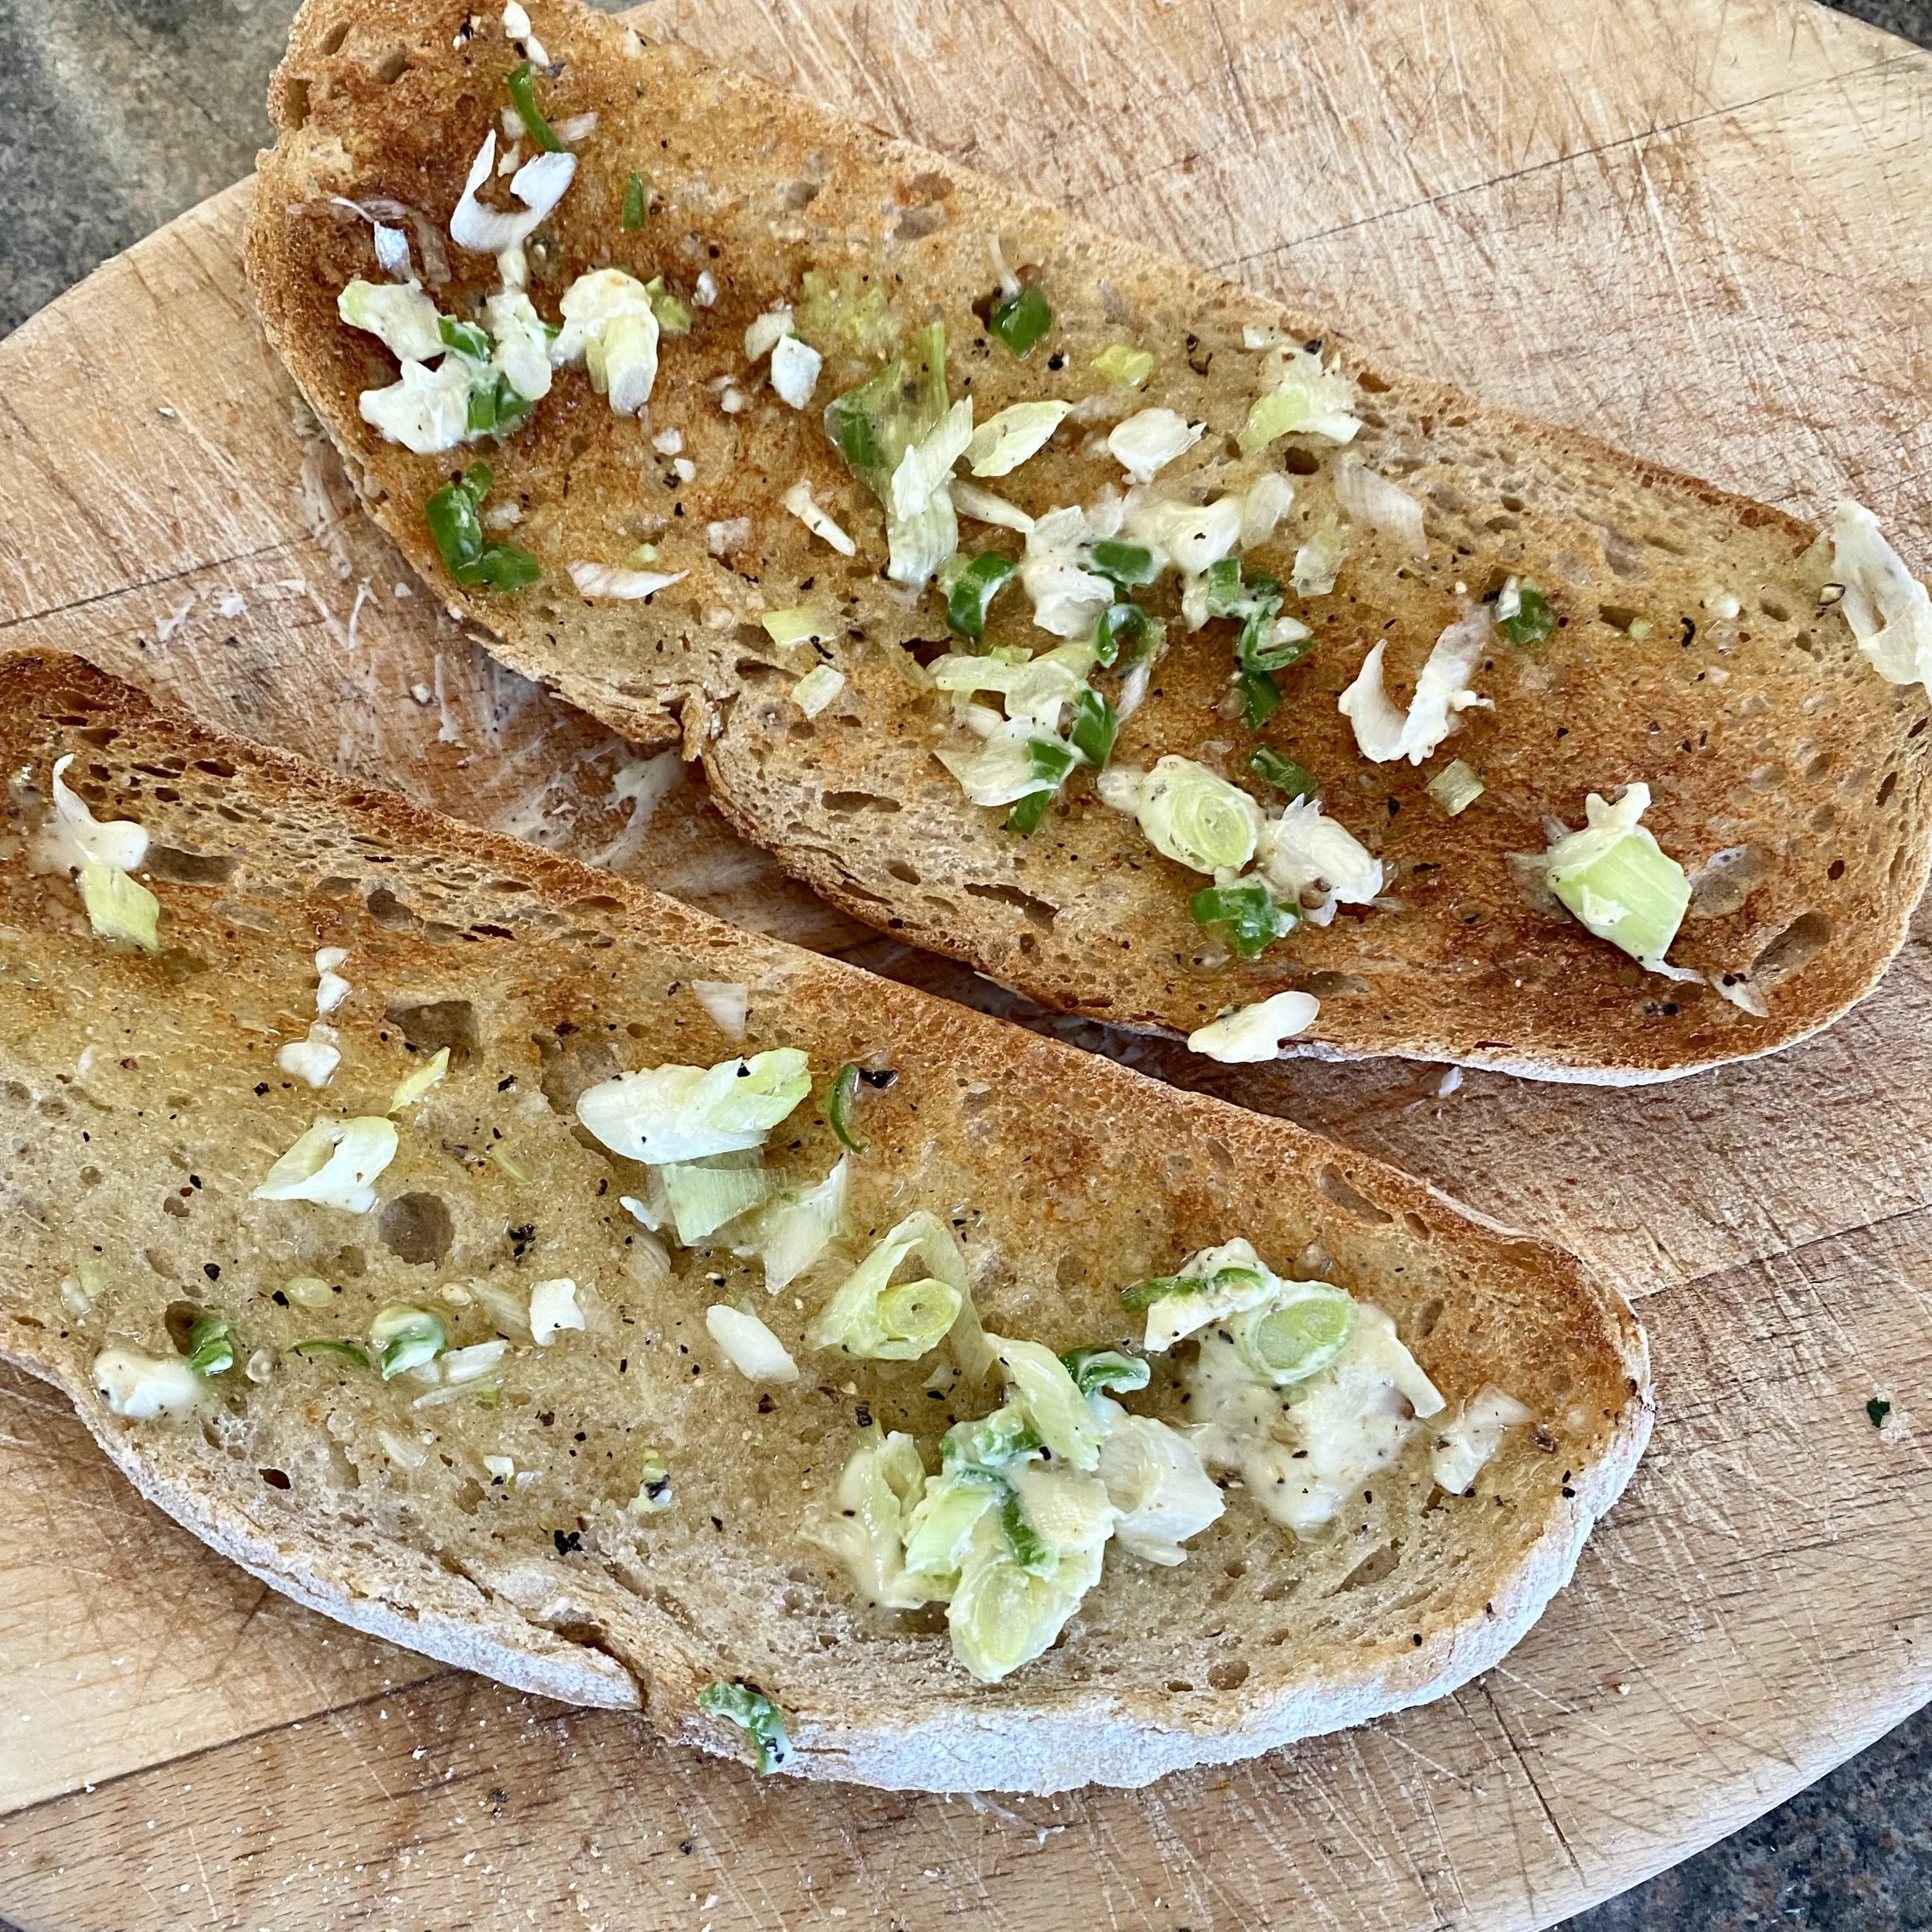
Toast the bread either in a toaster or - as I prefer to do when making this, under the grill. Why? So that I can toast one side of the bread to perfection and one side a little under-done - ready to be cooked a little longer once the topping is on.

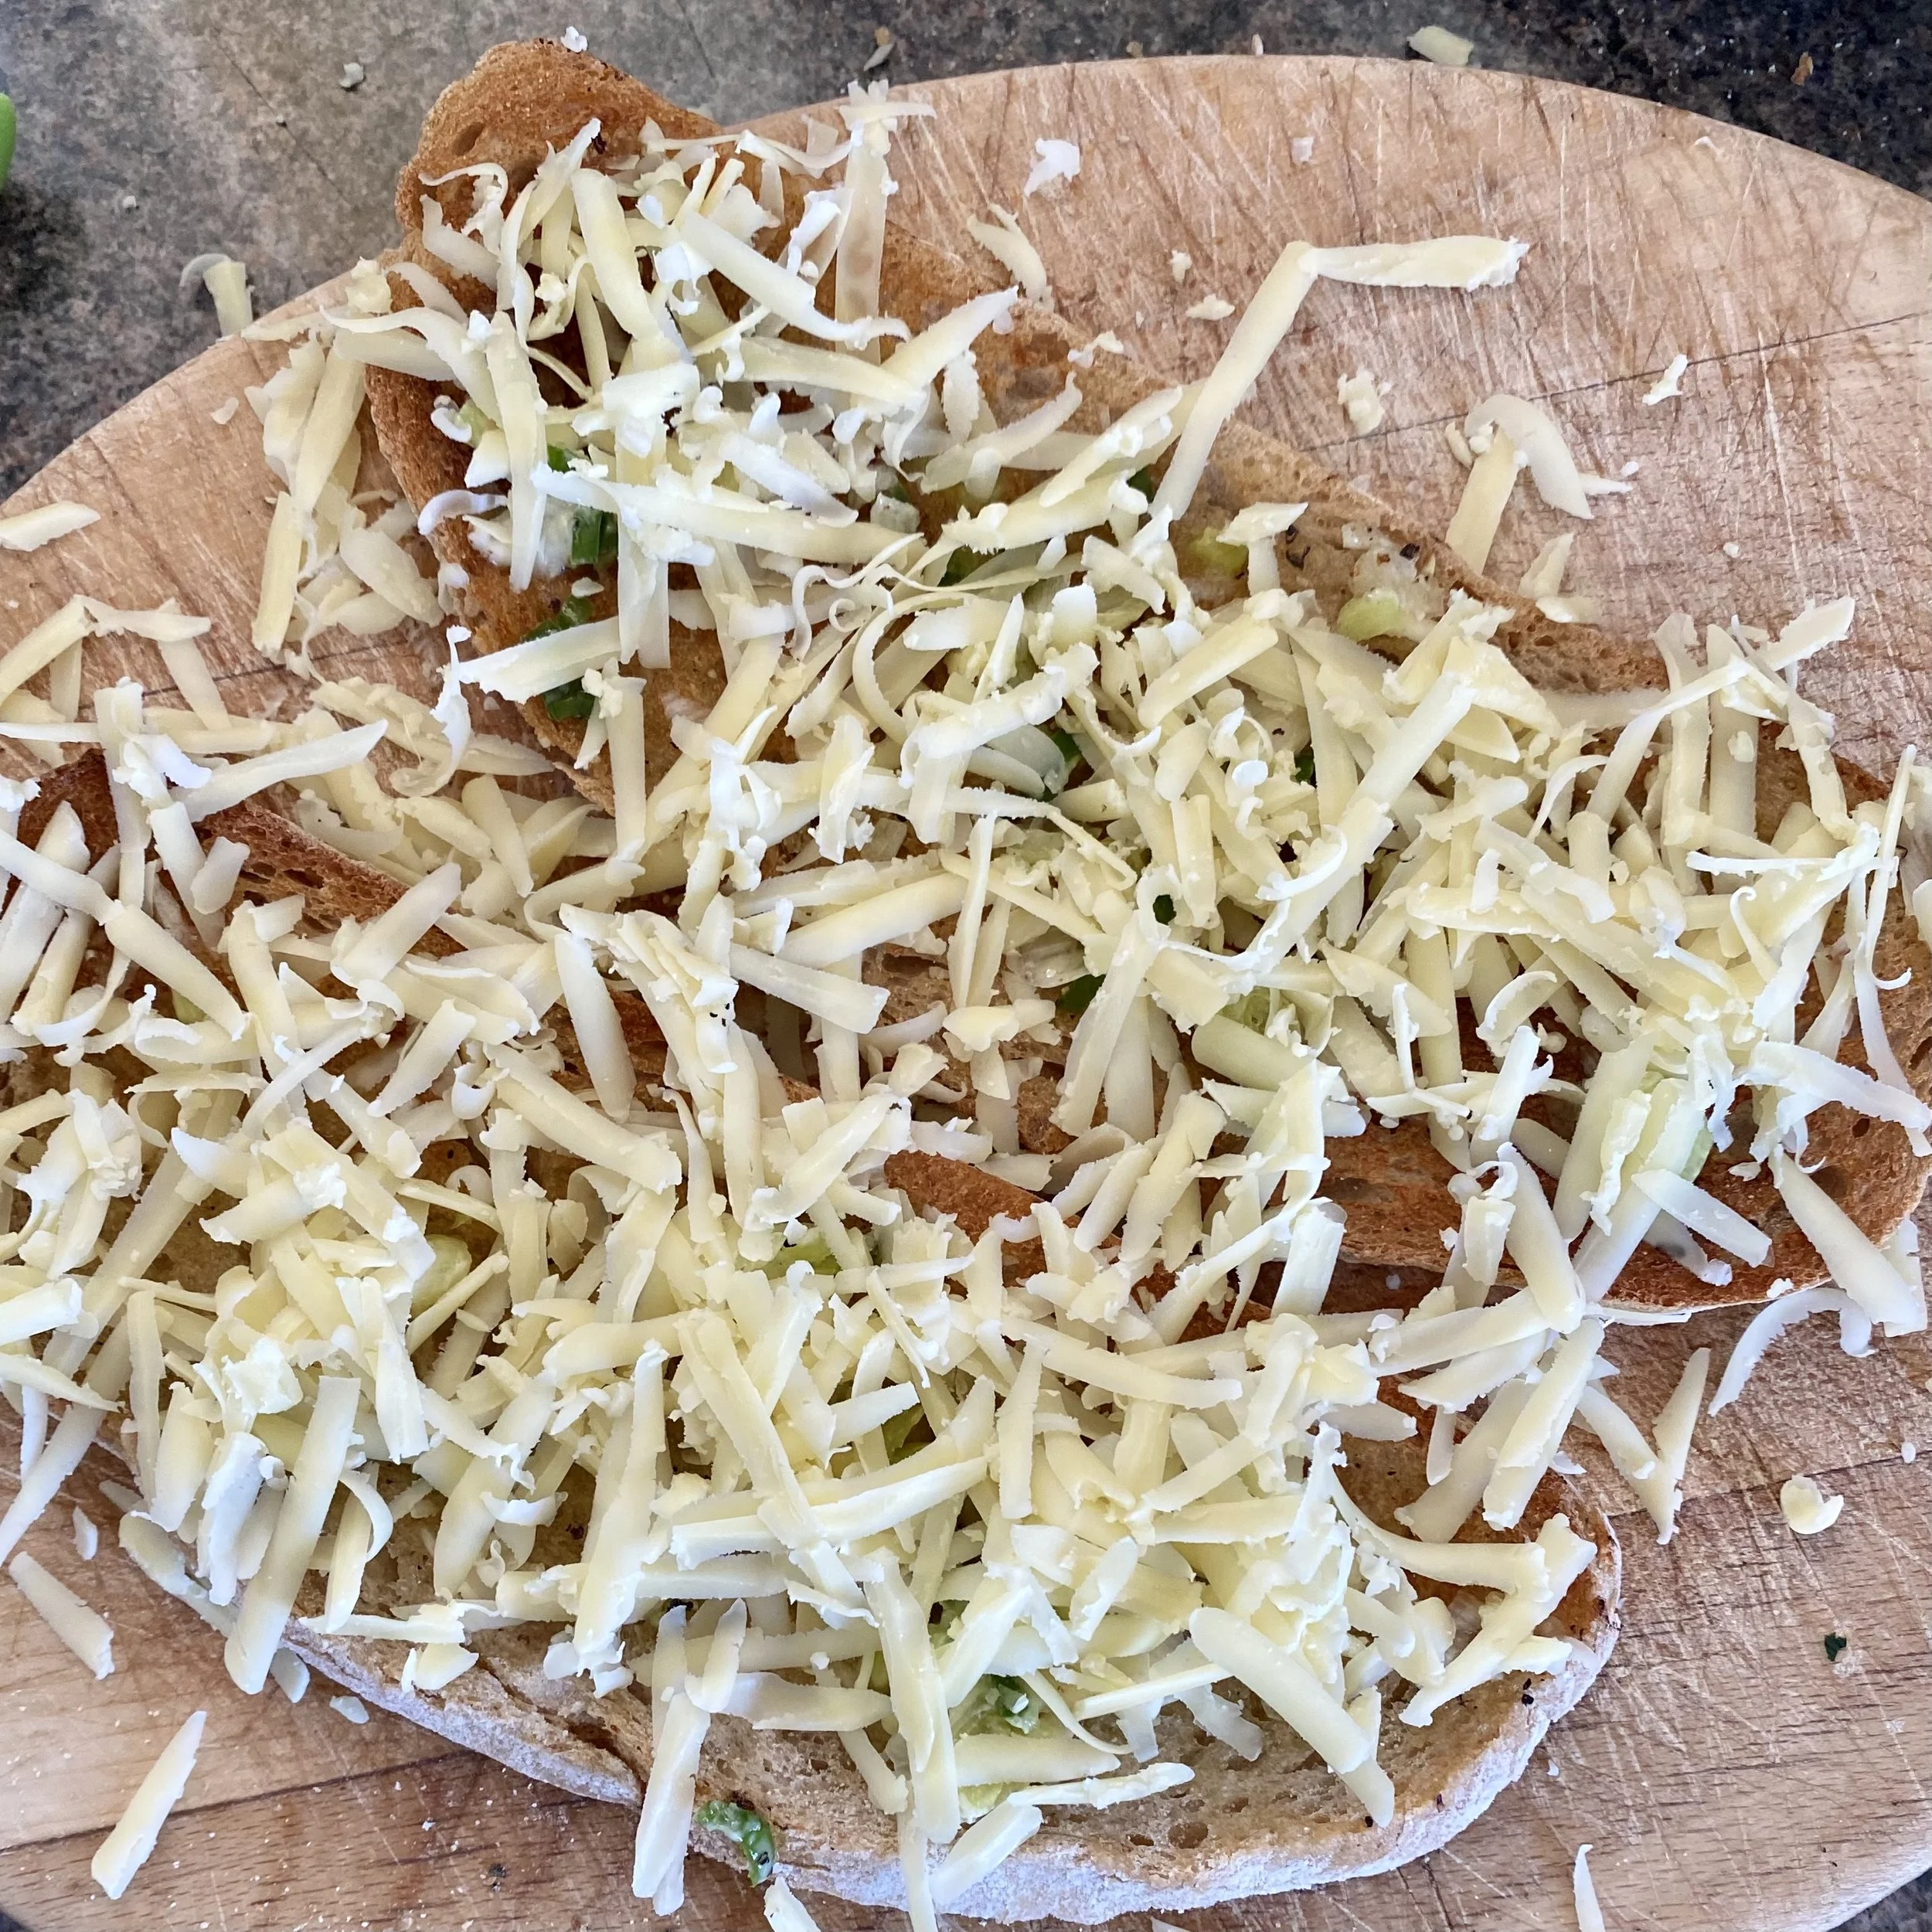
Spread the lightly toasted side with the adorable butter mixture and then grate on the cheese, or add ready-grated cheese (I really am now thinking a mix of cheddar and mozzarella would be amazing).

Put back under the grill and heat until the cheese is all lovely and melted.

I then sprinkled on a few dried chilli flakes And that’s it!

You could add sauces or mustard or whatever you want right now, but mine was perfect as it was. Really, perfection.

Oh! And talking of finding you didn’t actually discover this for the very first time ever … when googling I came across a recipe for this from Dishoom (which I’m kind of proud about because if Dishoom are making it then it’s obviously incredible, right?) and they add a fried egg to the chill cheese on toast, then a bit MORE cheese and then toast again. (I think).

I haven’t tried it yet, but I do intend to!

Happy chilli cheese toasting, everyone ….


YOU MIGHT ALSO LIKE …

Beautiful, easy, no-cook sauce for pasta

Like summer in a bowl, no matter what time of year.

More specifically, like a summer in Italy brought to life in a bowl.

It’s like everything you ever imagined the Mediterranean diet would be.

Actually I’m now not sure about that as I think if I had to think of the quintessential Mediterranean diet dish it might be this sauce on top of a simple grilled white fish.

If you think tuna in a sauce for a fish is too much …. well, fish … you can leave the tuna out.

In fact, you can leave the tuna out anyway, to make this a vegetarian dish - and it’s still utterly gorgeous.

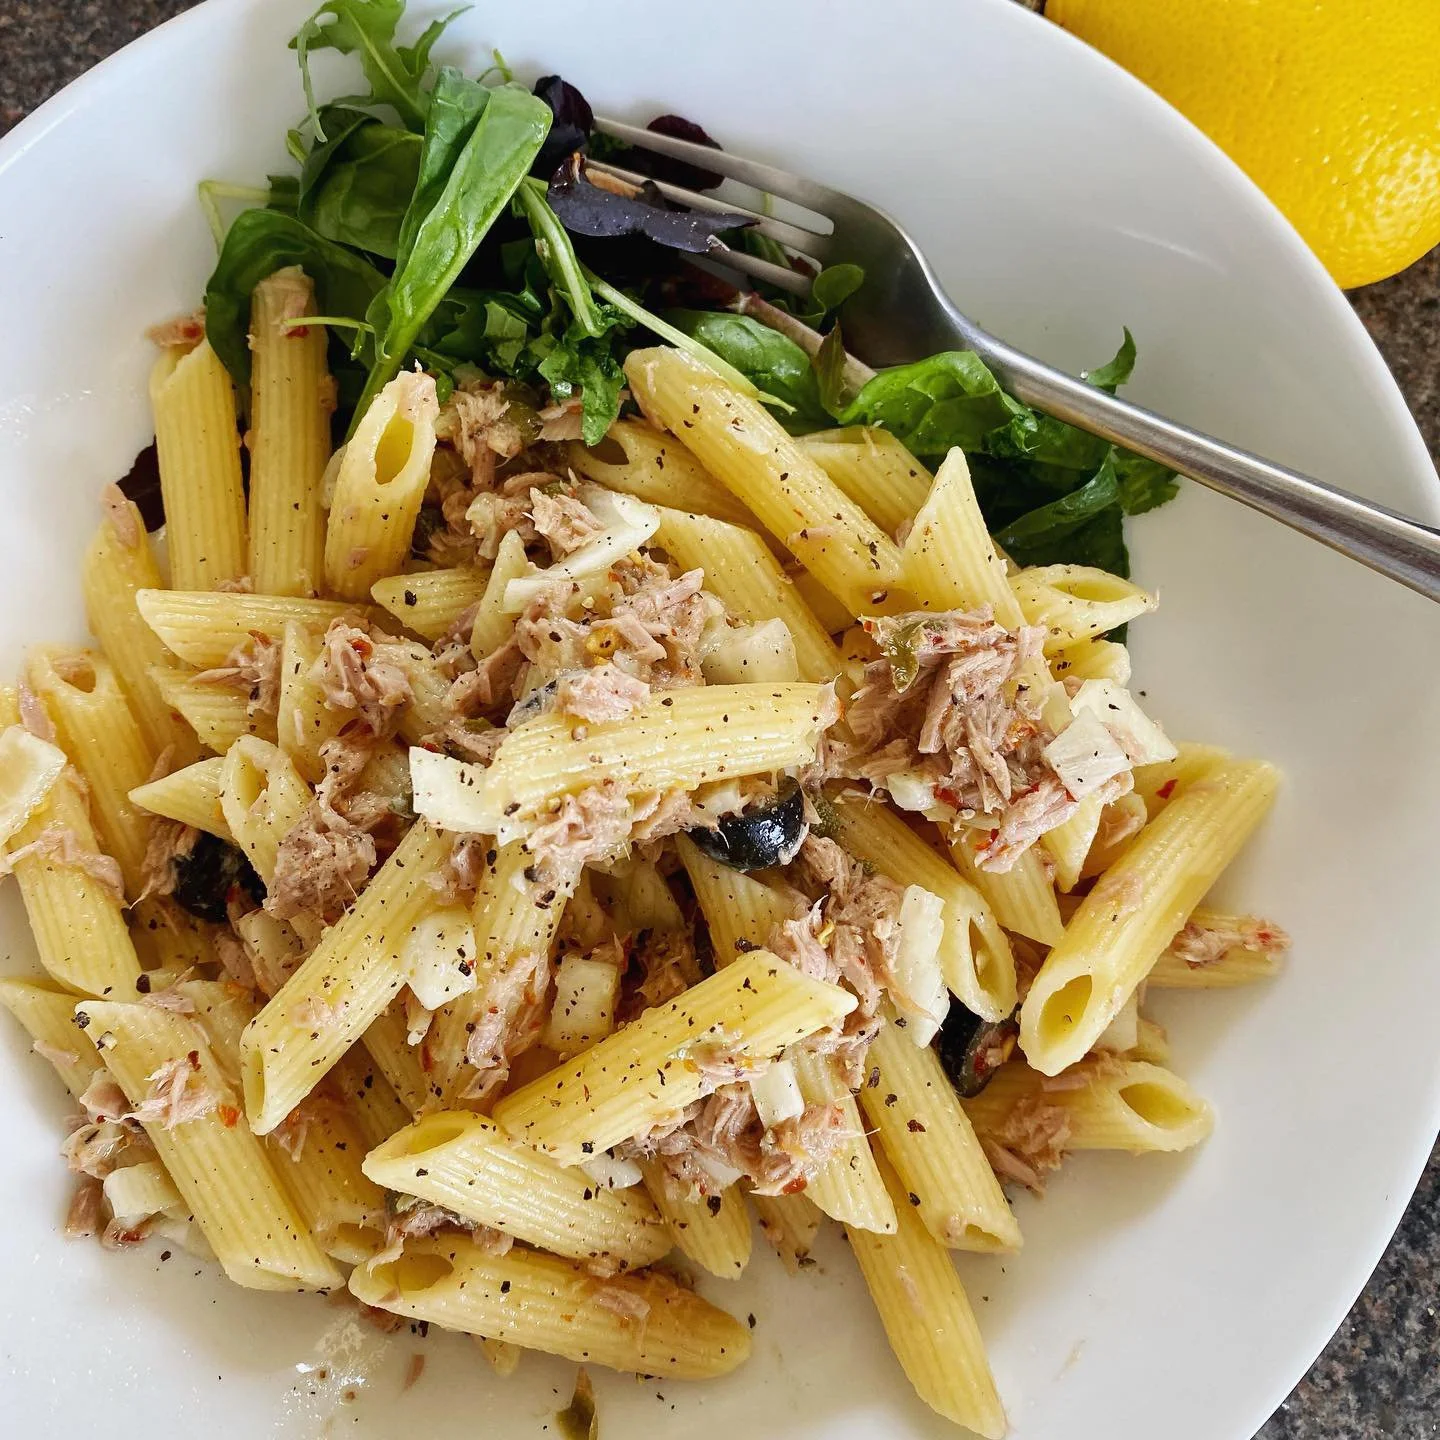
This sauce, with or without the tuna (ok, now I’m singing U2 ‘With or Without Tu’) is amazing with pasta of course but also delicious with crusty bread. If you have it on bread I’d suggest leaving it a few minutes before eating so the sauce has a chance to really soak in.

Here’s what you need - but the quantities are up to you and what tastes good …

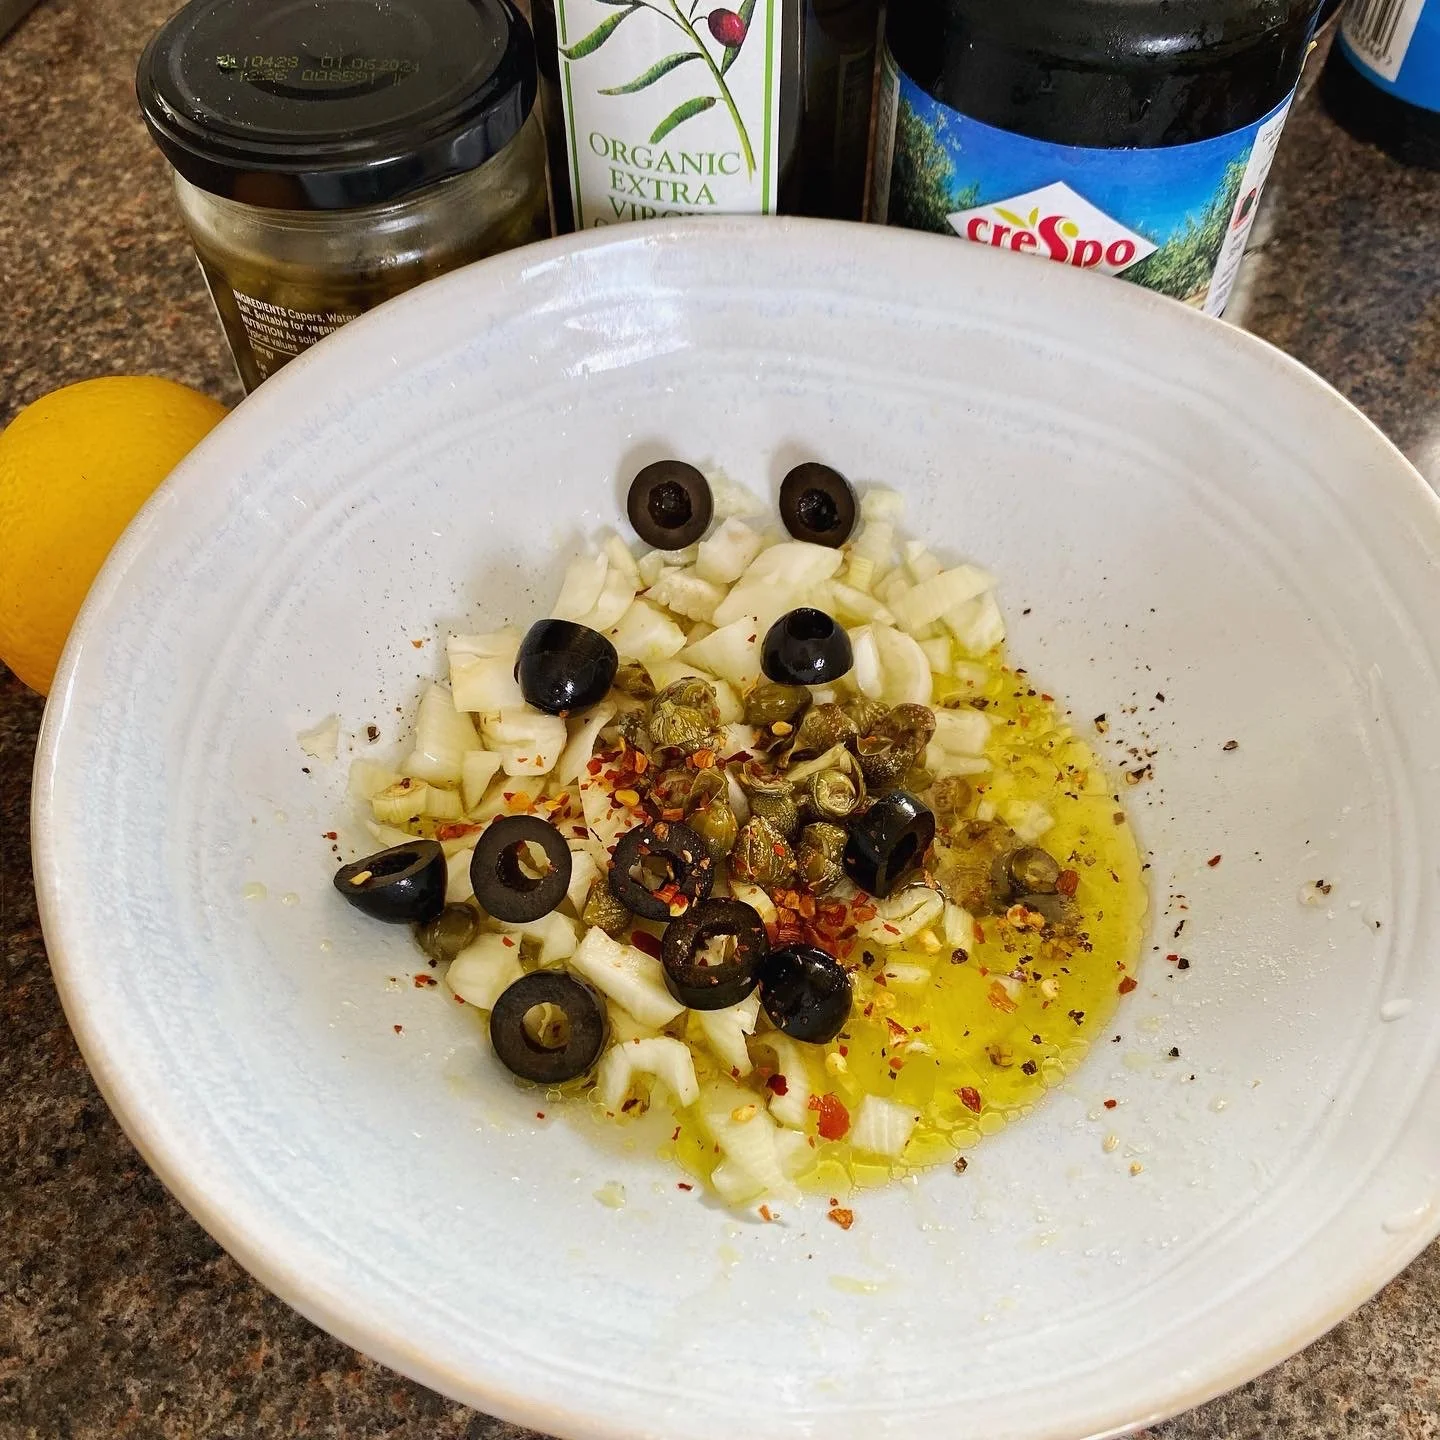
Freshly squeezed lemon juice - it’s going to be more than you think. Keep tasting but at least 1 lemon if not two

Good olive oil and lots of it

Fresh sliced fennel bulb and some of the lovely leafy fronds too if you have them

Capers, drained and chopped

Pitted black olives, drained and sliced

Salt, pepper and a pinch of dried chilli flakes

Stir it all together, mix it up and then see what tastes good to you?

What does it need? Maybe a little more lemon? A few more chilli flakes?

Make it taste perfect for YOU.

Add to this mixture

1 tin of flaked tuna, preferably in oil, but do drain it first

Mix and leave for five minutes or so, so that the flavours can really meld together.

And THEN (and literally I’m practically salivating just typing this as I want to be eating it again RIGHT NOW …. scoop it onto bread or toast, stir into cooked pasta, or spoon over that previously mentioned plain grilled white fish.

This is so delicious, I can’t wait for you to make it too.


YOU MIGHT ALSO LIKE …

Summertime courgette pesto pasta

Summertime … of course just at the very word THIS is draping it’s sumptuousness into your mind right now …

You know those days when it’s so hot, so still, so languid …. that you really absolutely cannot bear the thought of the oven being on for even a second?

Today was one of those.

I did brave the hob though - just for five quick minutes mind you, to boil the fresh penne pasta.

But the delicious courgette pesto is all raw so no unnecessary over-heating going on over here at all.

This is pretty much exactly as one of my very favourite food writers, Diana Henry, shared it, but I made a couple of tiny changes to it.

Her original recipe is HERE.

And I’m also putting the link to her books HERE too as I’m a huge fan so why not share the love?

I used her recipe as a starting point but didn’t really measure what I was using, so here’s kind of what I used to make a very lovely simple summer evening dinner for two …

1 courgette, peeled (mostly) and grated using a box grater

1 small garlic clove, peeled, squashed and roughly chopped

small handful of pine nuts, perhaps around 20-30g

handful of basil leaves, torn

small green chilli, chopped (optional, totally optional, I just like a bit of chilli in things)

salt and pepper

a little slosh of olive oil

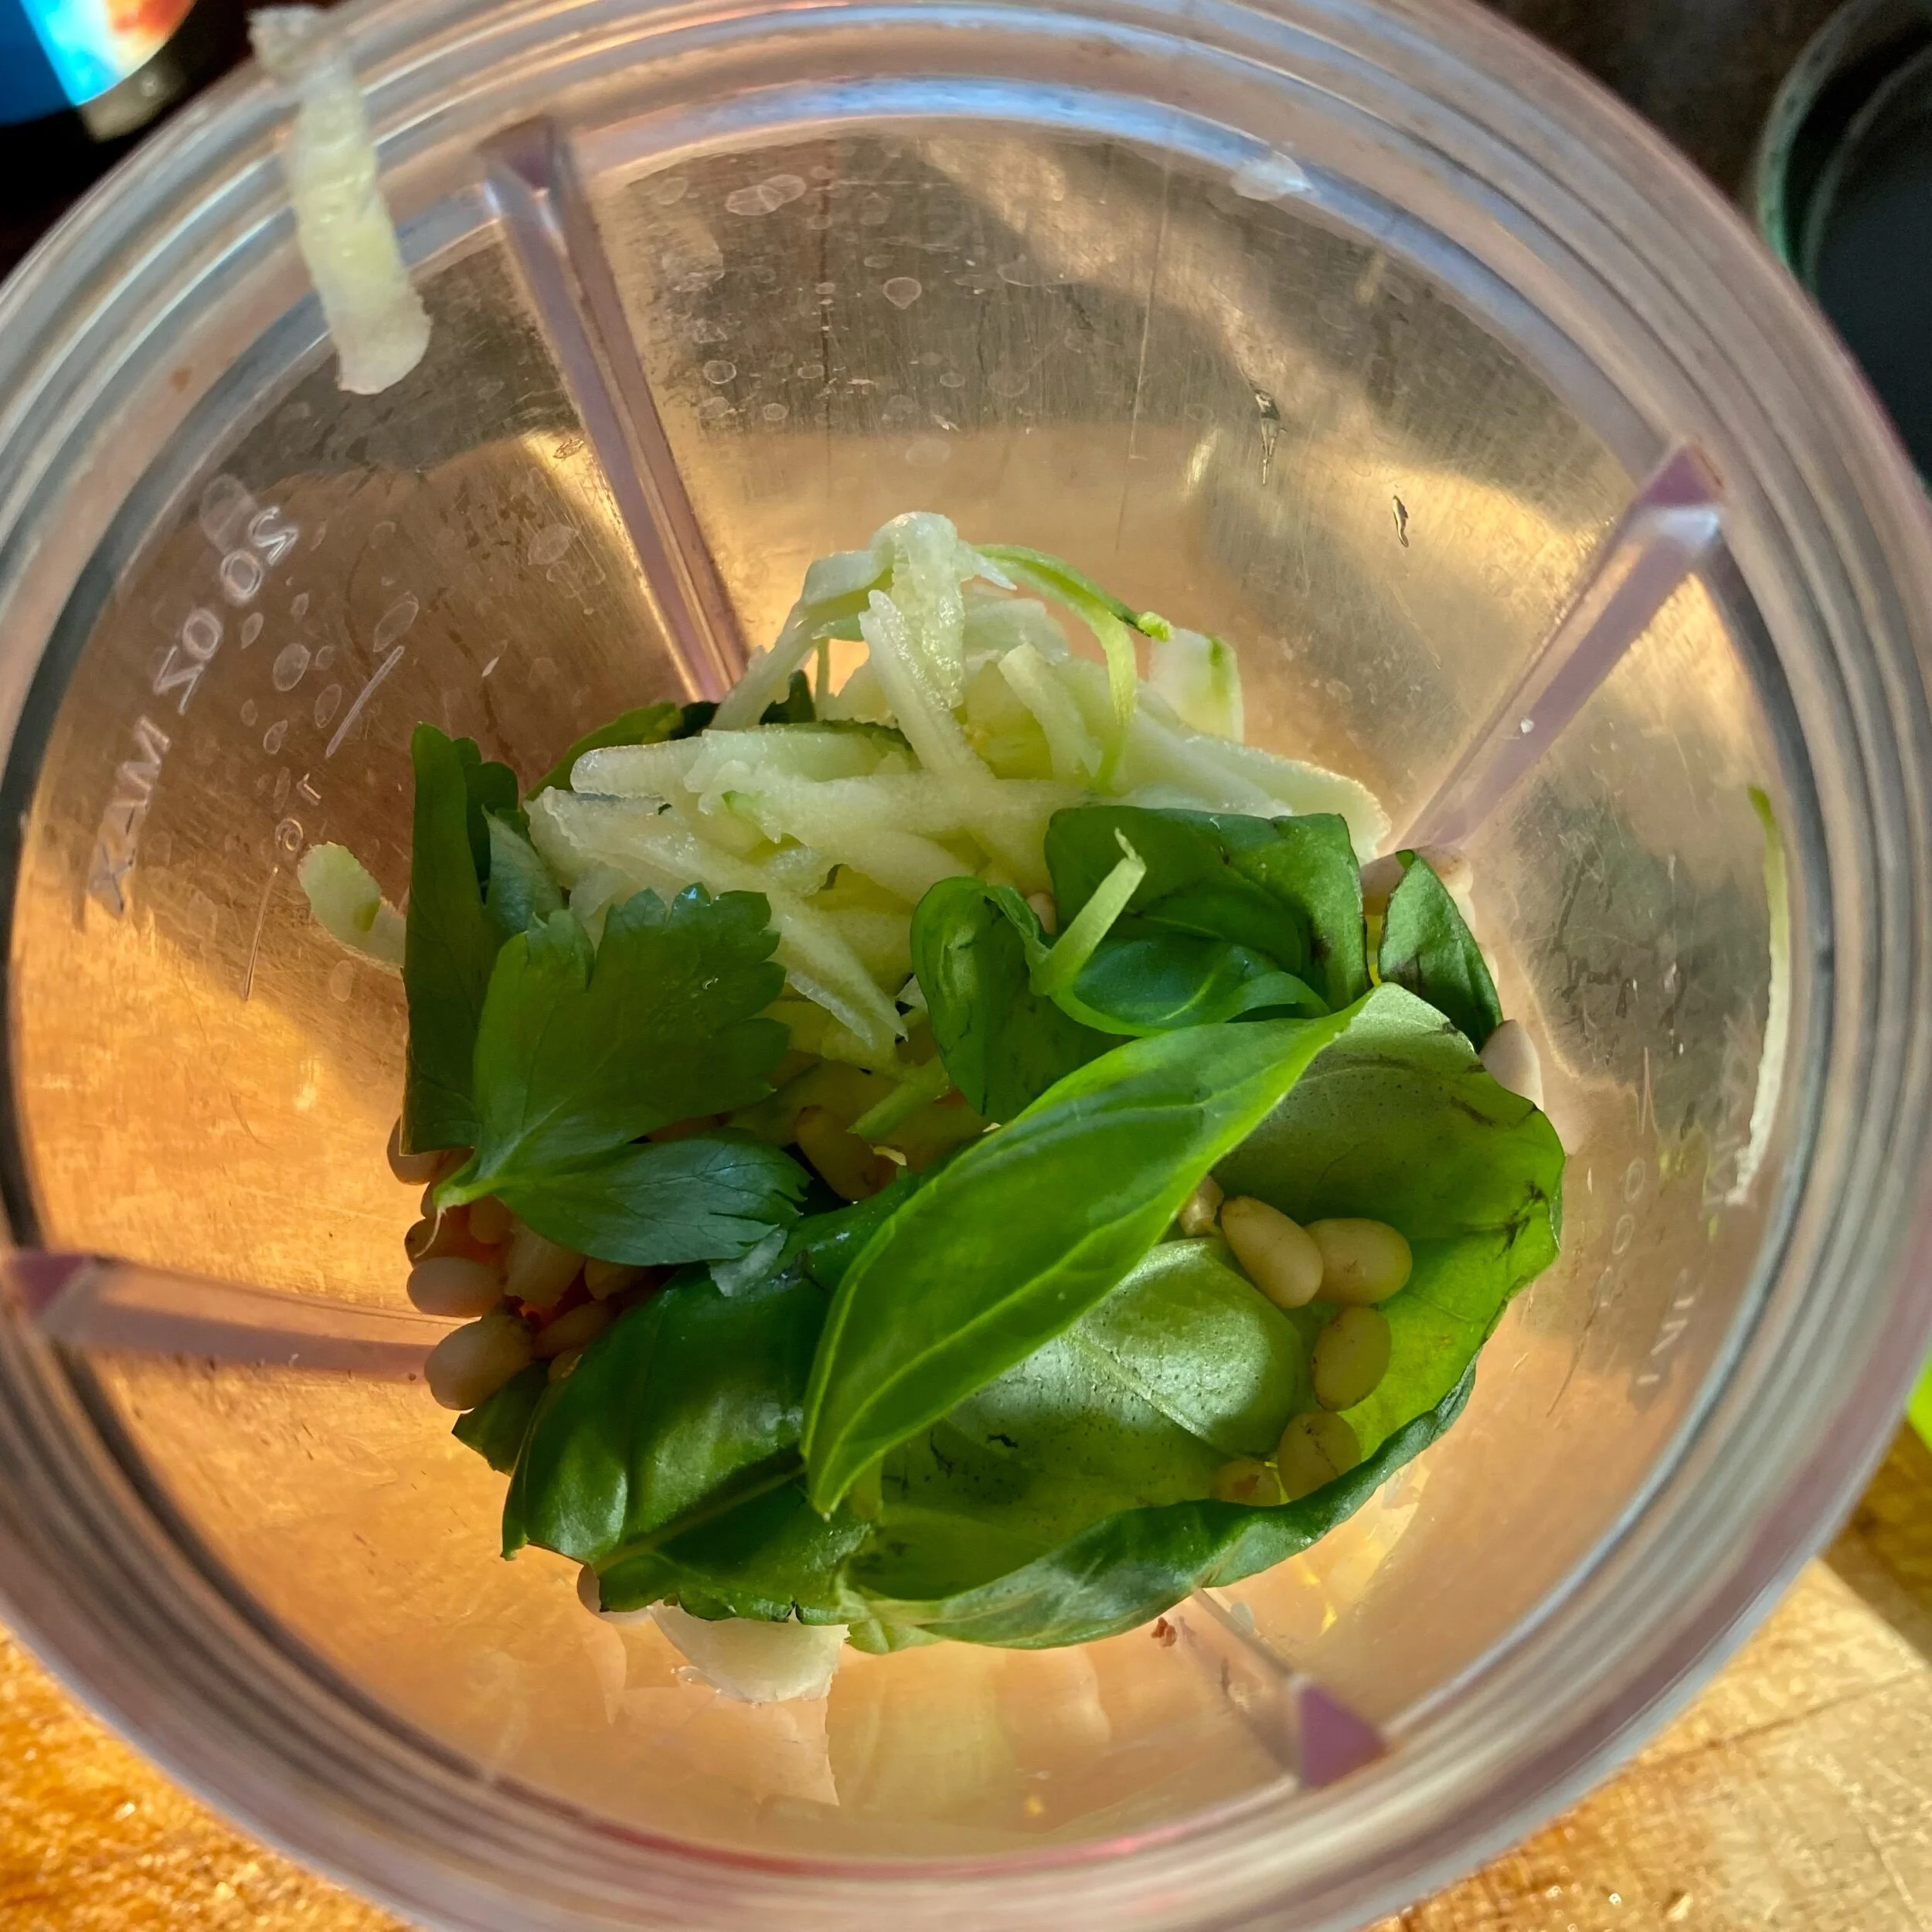
Put everything into a blender or food processor and whizz up to a lovely soft paste. I like this to be quite soupy so added a little water too.. Basically, just make it perfect for you and exactly as you like it. You might need to stop a couple of times to push the mixture down the sides and get it all mixed up together.

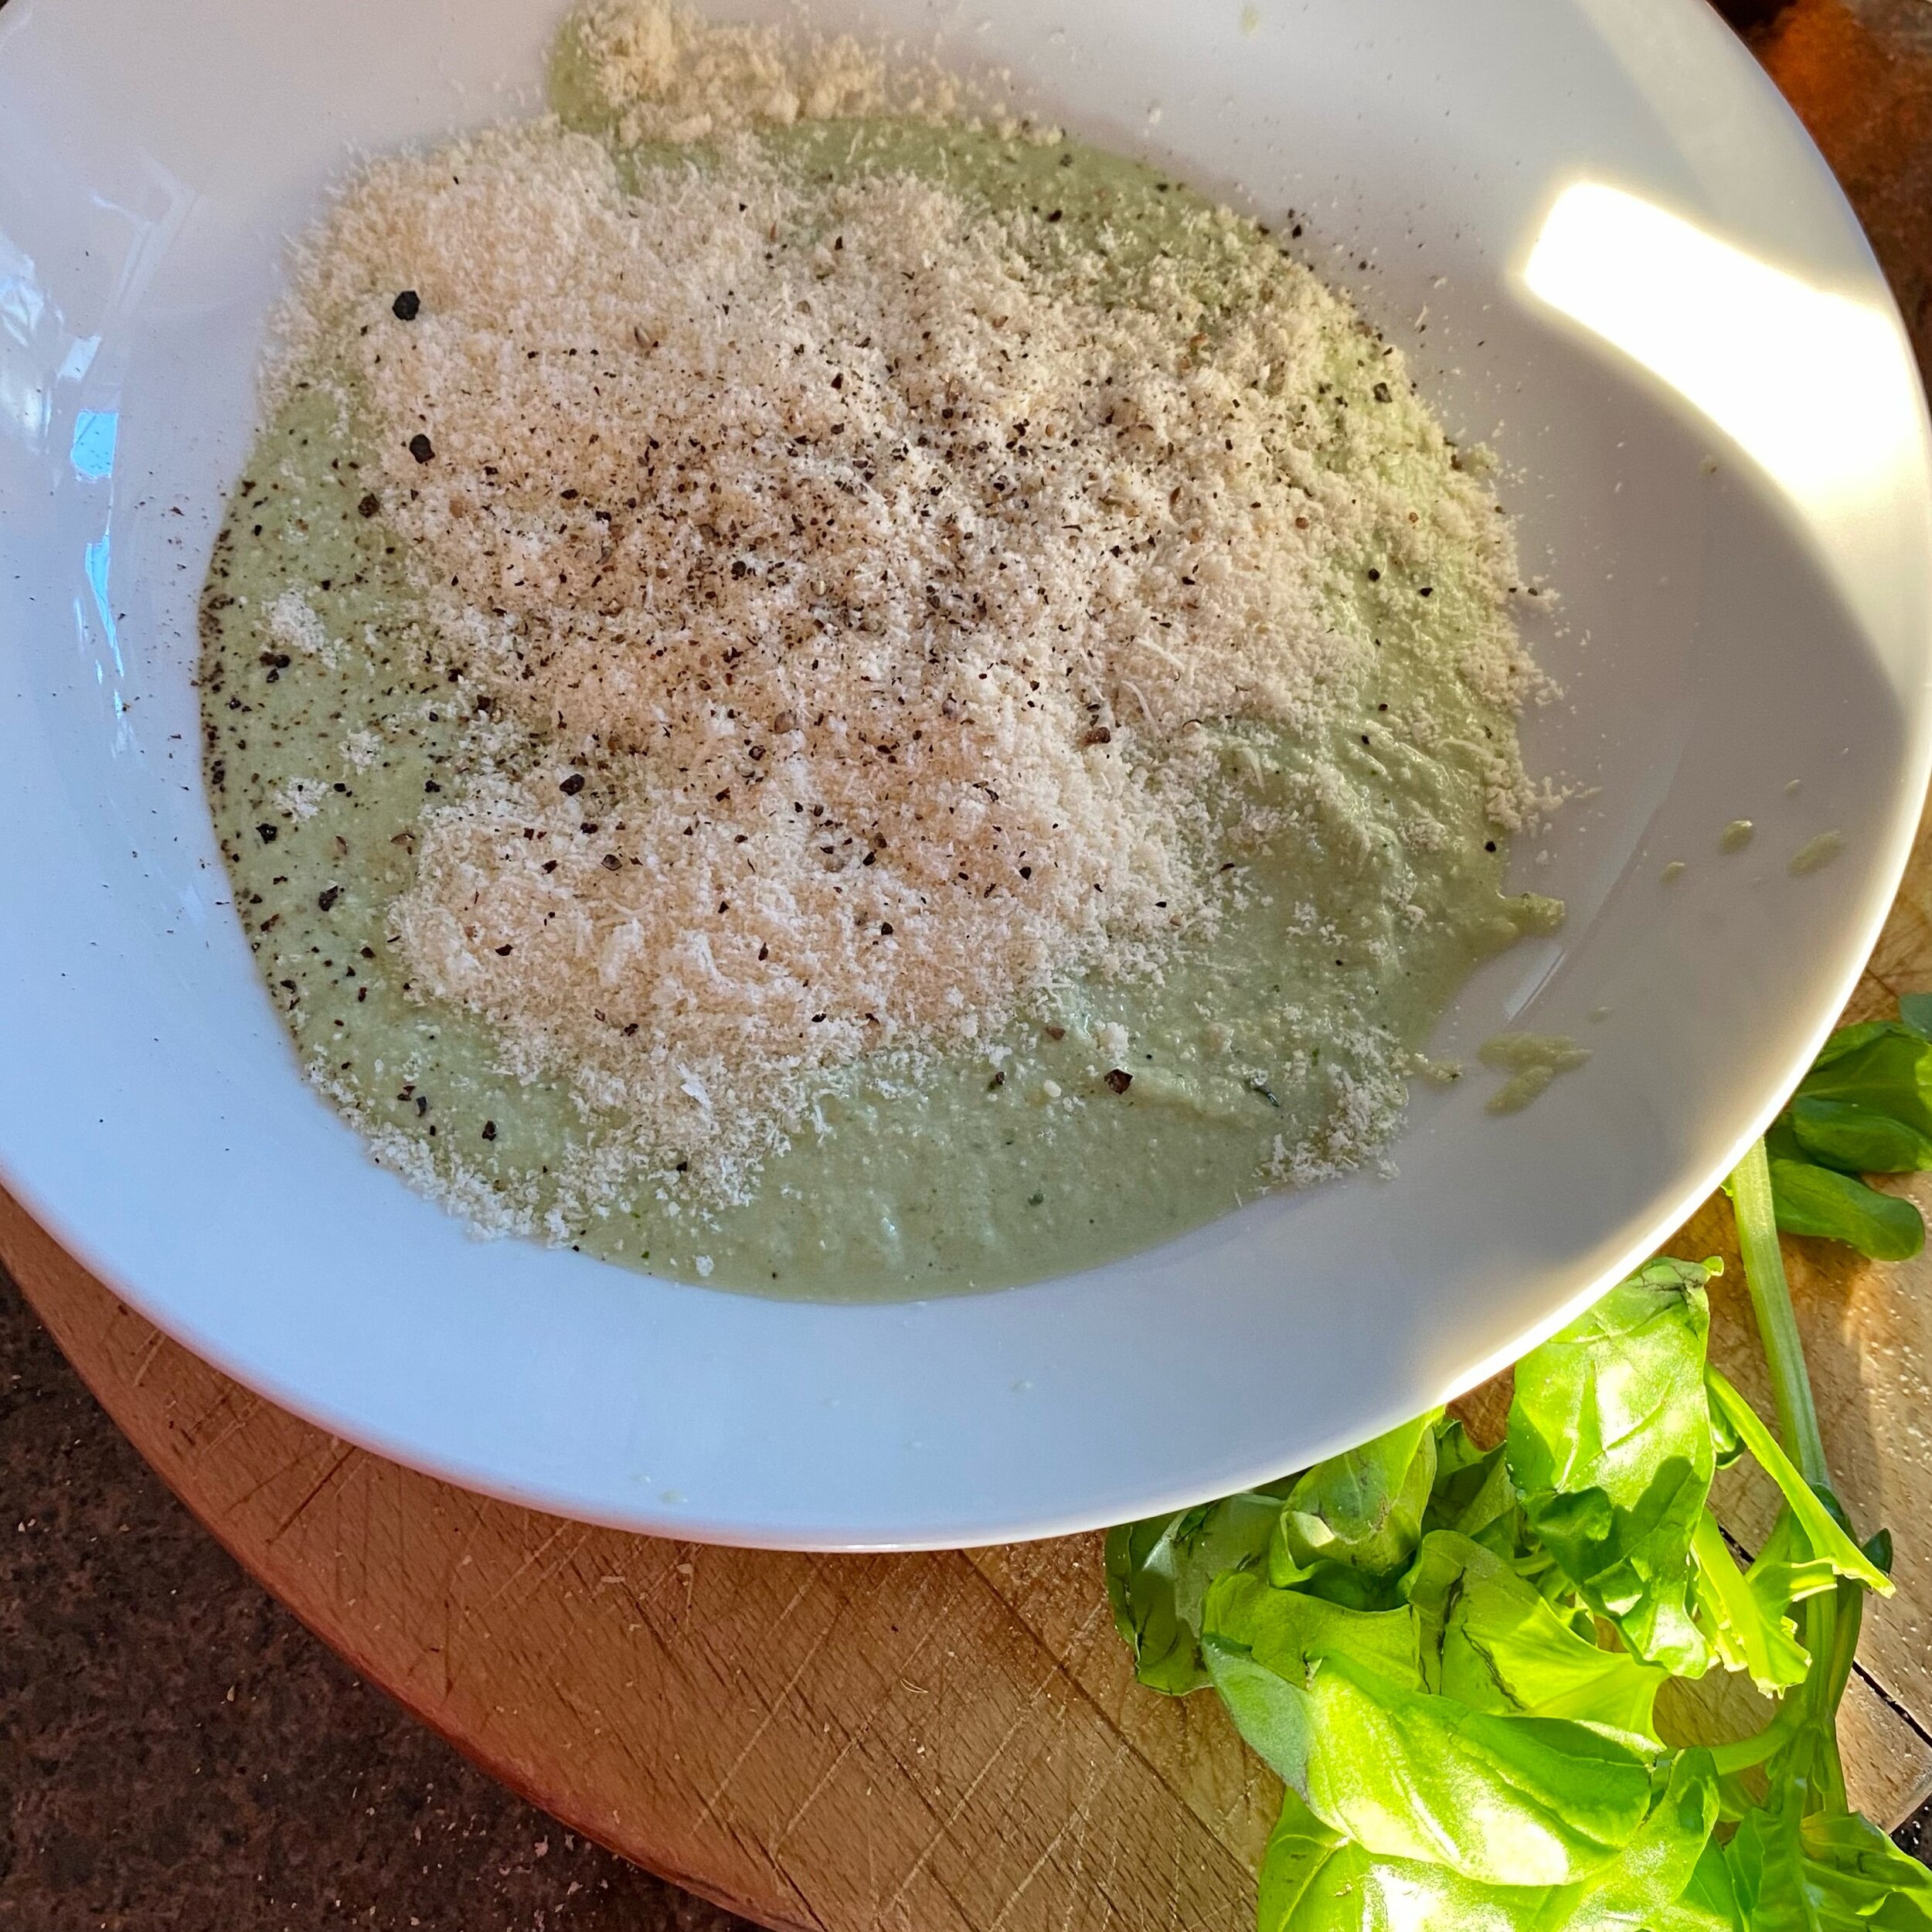
Pour into a shallow dish and scrape all the mixture from the sides of the food processor or blender.

Add a good handful of freshly grated parmesan and some salt and freshly ground black pepepr.

Stir this lovely fragrant mixture together.

The sauce is now there, happy waiting for the pasta - so time to make the pasta!

Fresh I think is best for this dish and mainly because it’s super-quick and won’t make us too hot on this of hottest of days.

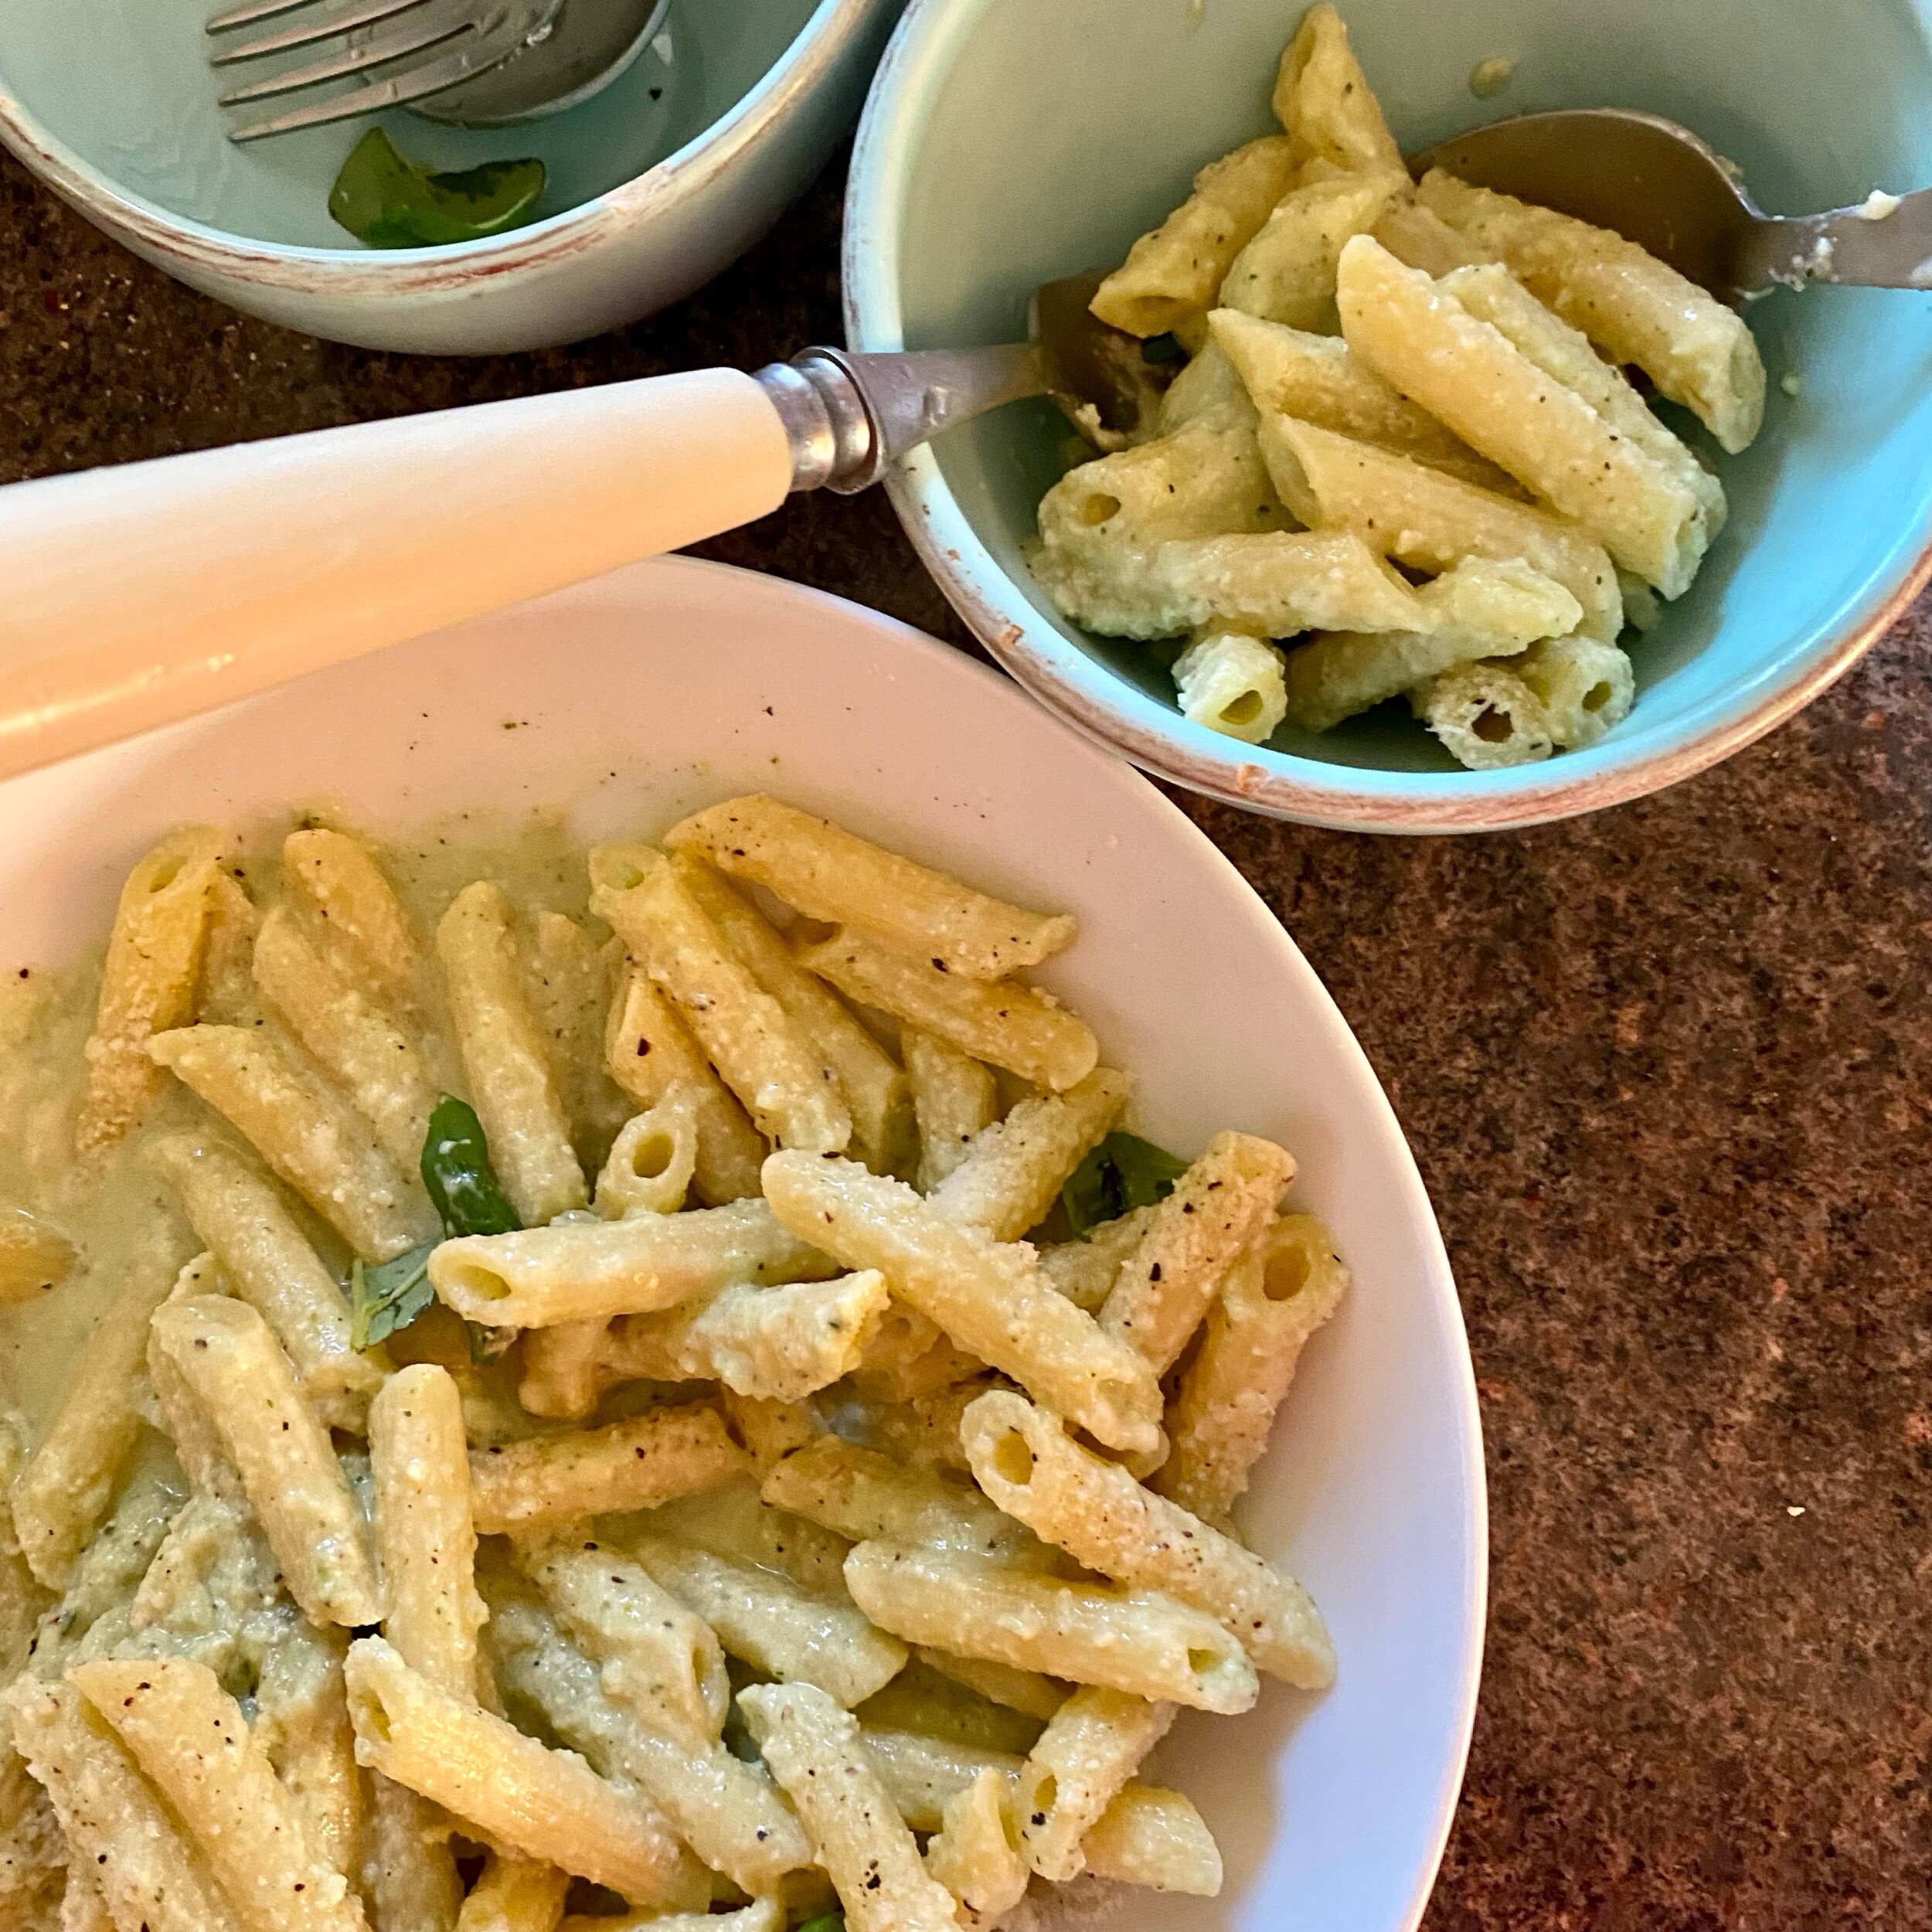
My fresh penne needed just five minutes on a low boil, then drained it was ready to put straight into the bowl of delicious courgette pesto sauce.

I just mixed it all in together, tasted - seasoned a little more - and it was ready.

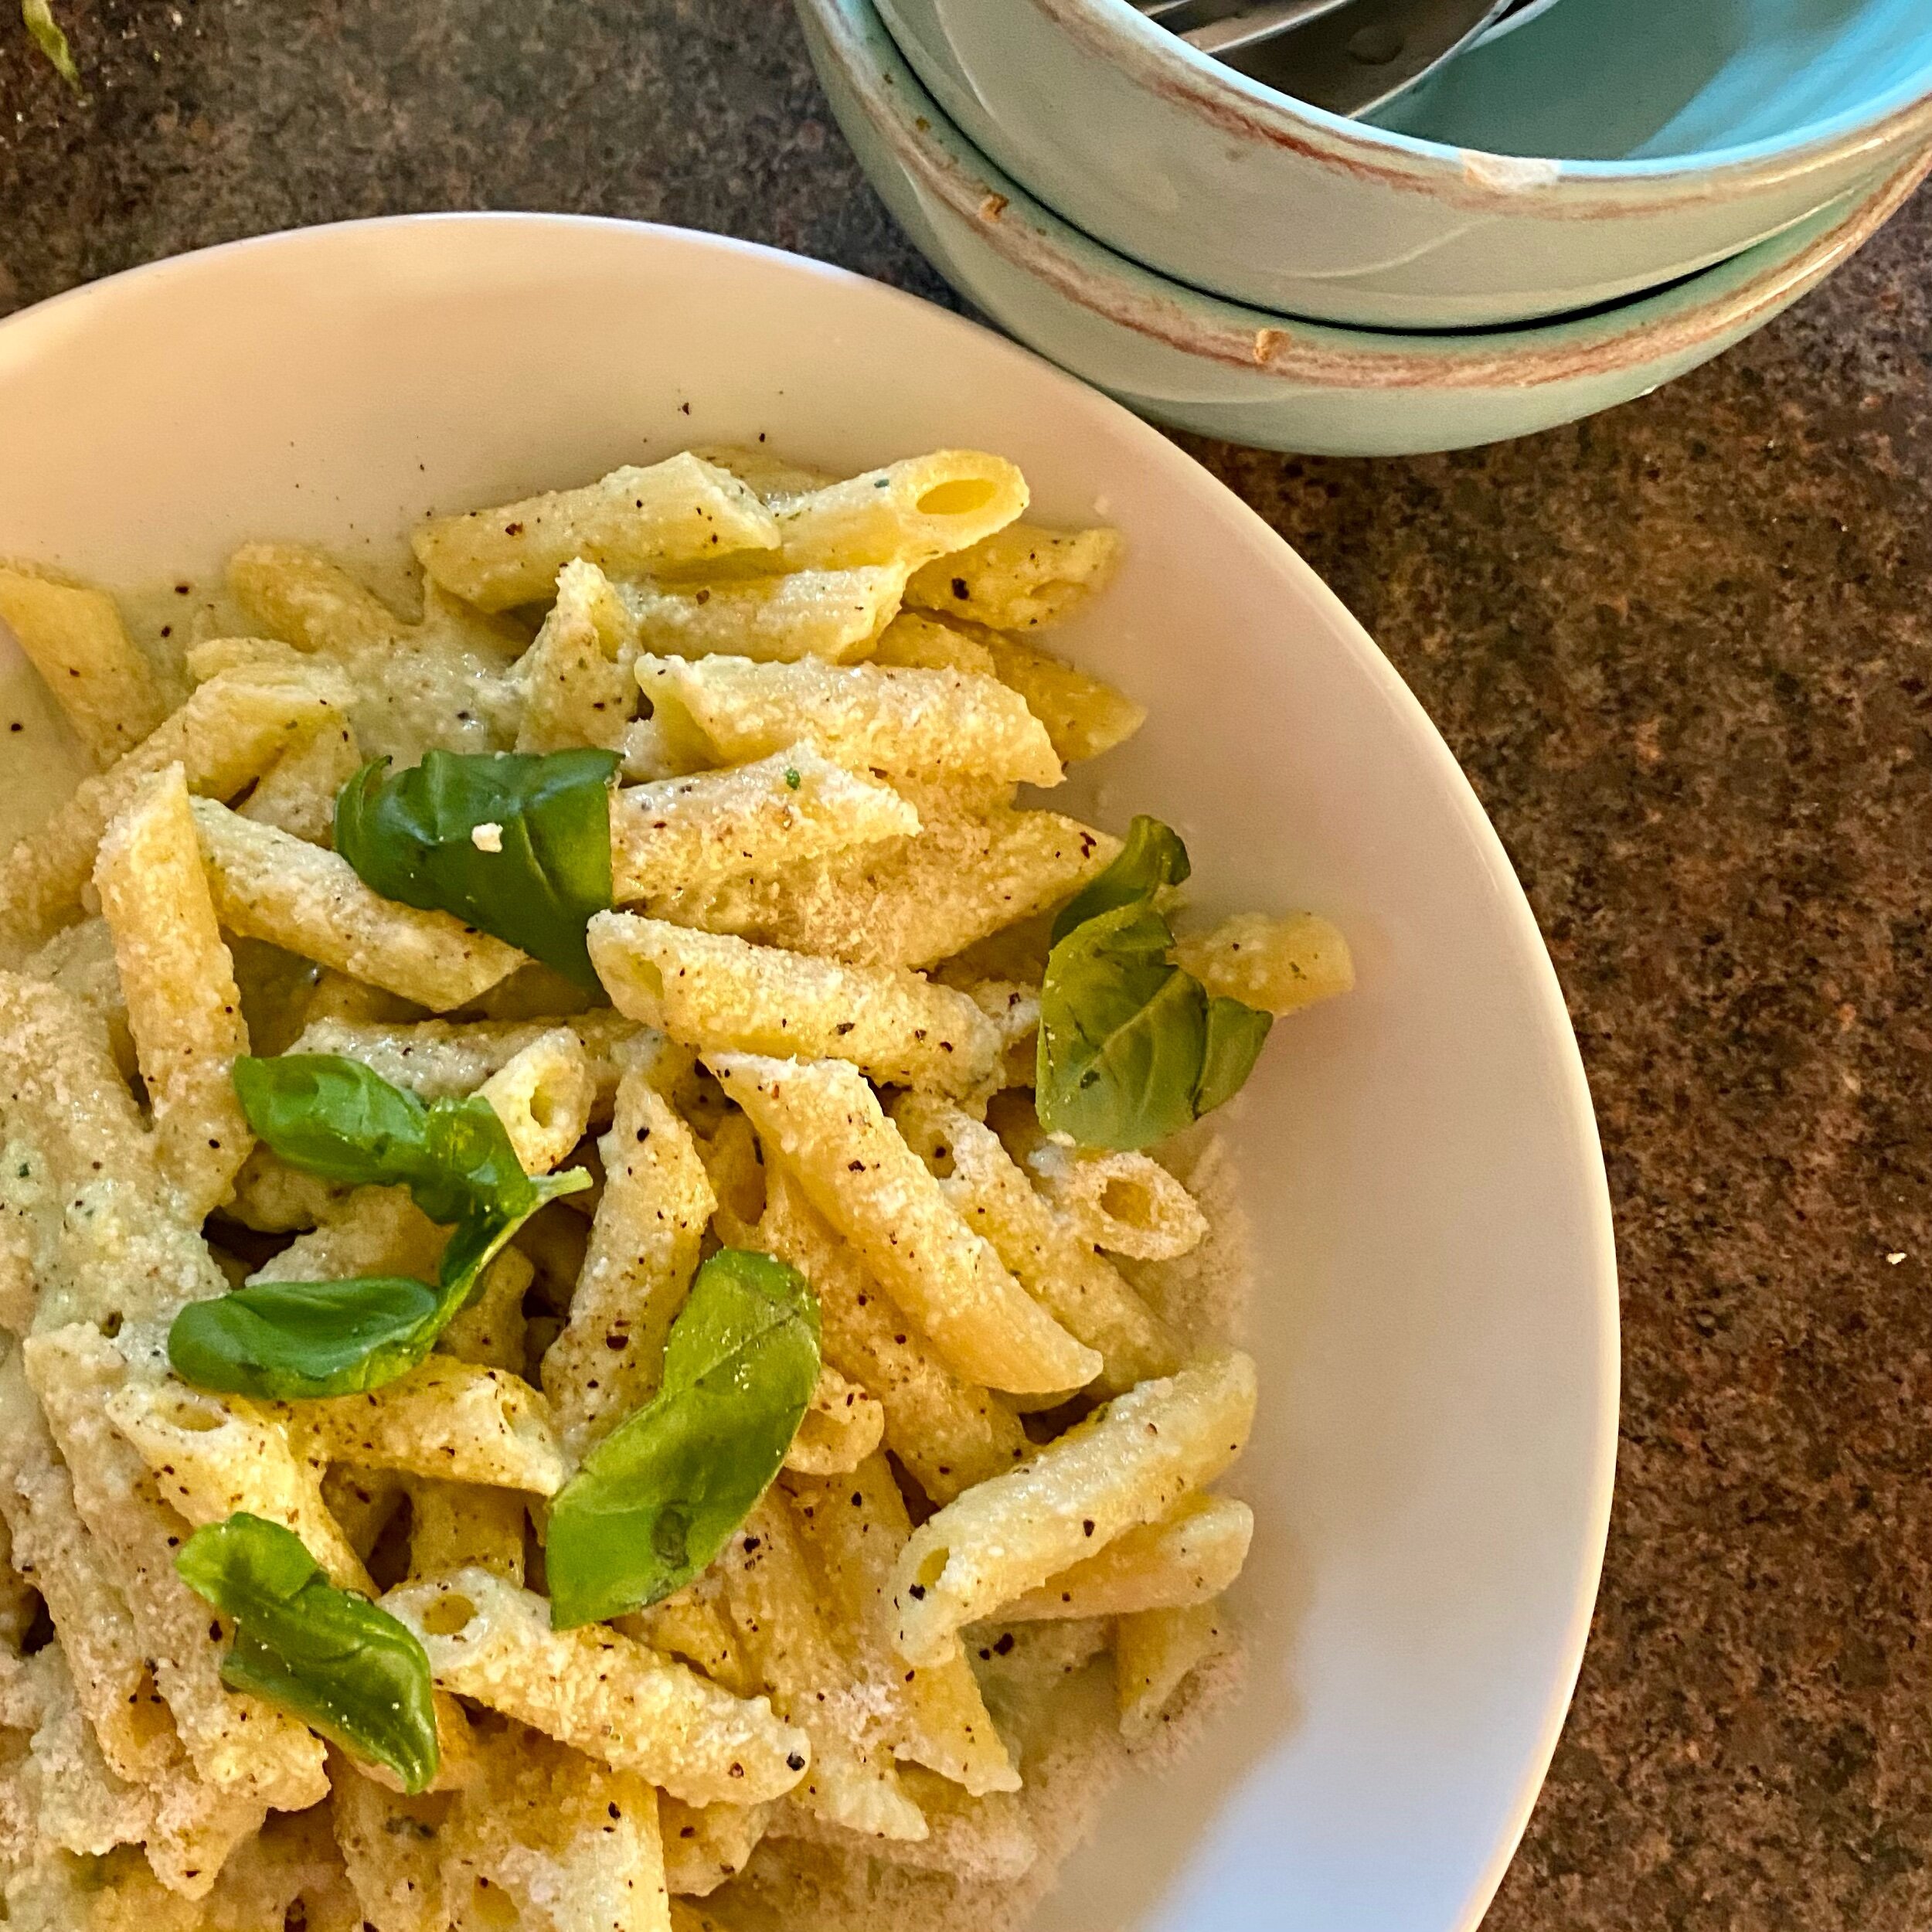
I added a little more grated parmesan, a little more black pepper, and a few basil leaves to garnish and that was it.

So simple.

So delicious.

So good for these sweltering evenings when you really want to limit having the oven or hob on!


YOU MIGHT ALSO LIKE …

Midnight Diner’s tomato rolls

I just finished Season 3 of Midnight Diner …. and cried. Not for the first time this season either - it’s been absolutely beautiful and I’ve loved every second of it.

This is the second recipe I’ve made from this series as well - I’ll post the minced cutlets later. I only made one - the delicious omurice (Japanese chicken fried rice omelette) - from the previous two series and I’m now very (very) tempted to start again from the beginning and not only enjoy watching again but make every recipe this time.

There’s something about this amazing programme that just draws me in - I want to go there, I want to know the regulars (I feel I already do).

I want to open my own Midnight Diner. I want to make things I’ve never wanted to make before (like the liver and leek stir fry I just watched).

ANYWAY.

Season 3, episode 22.

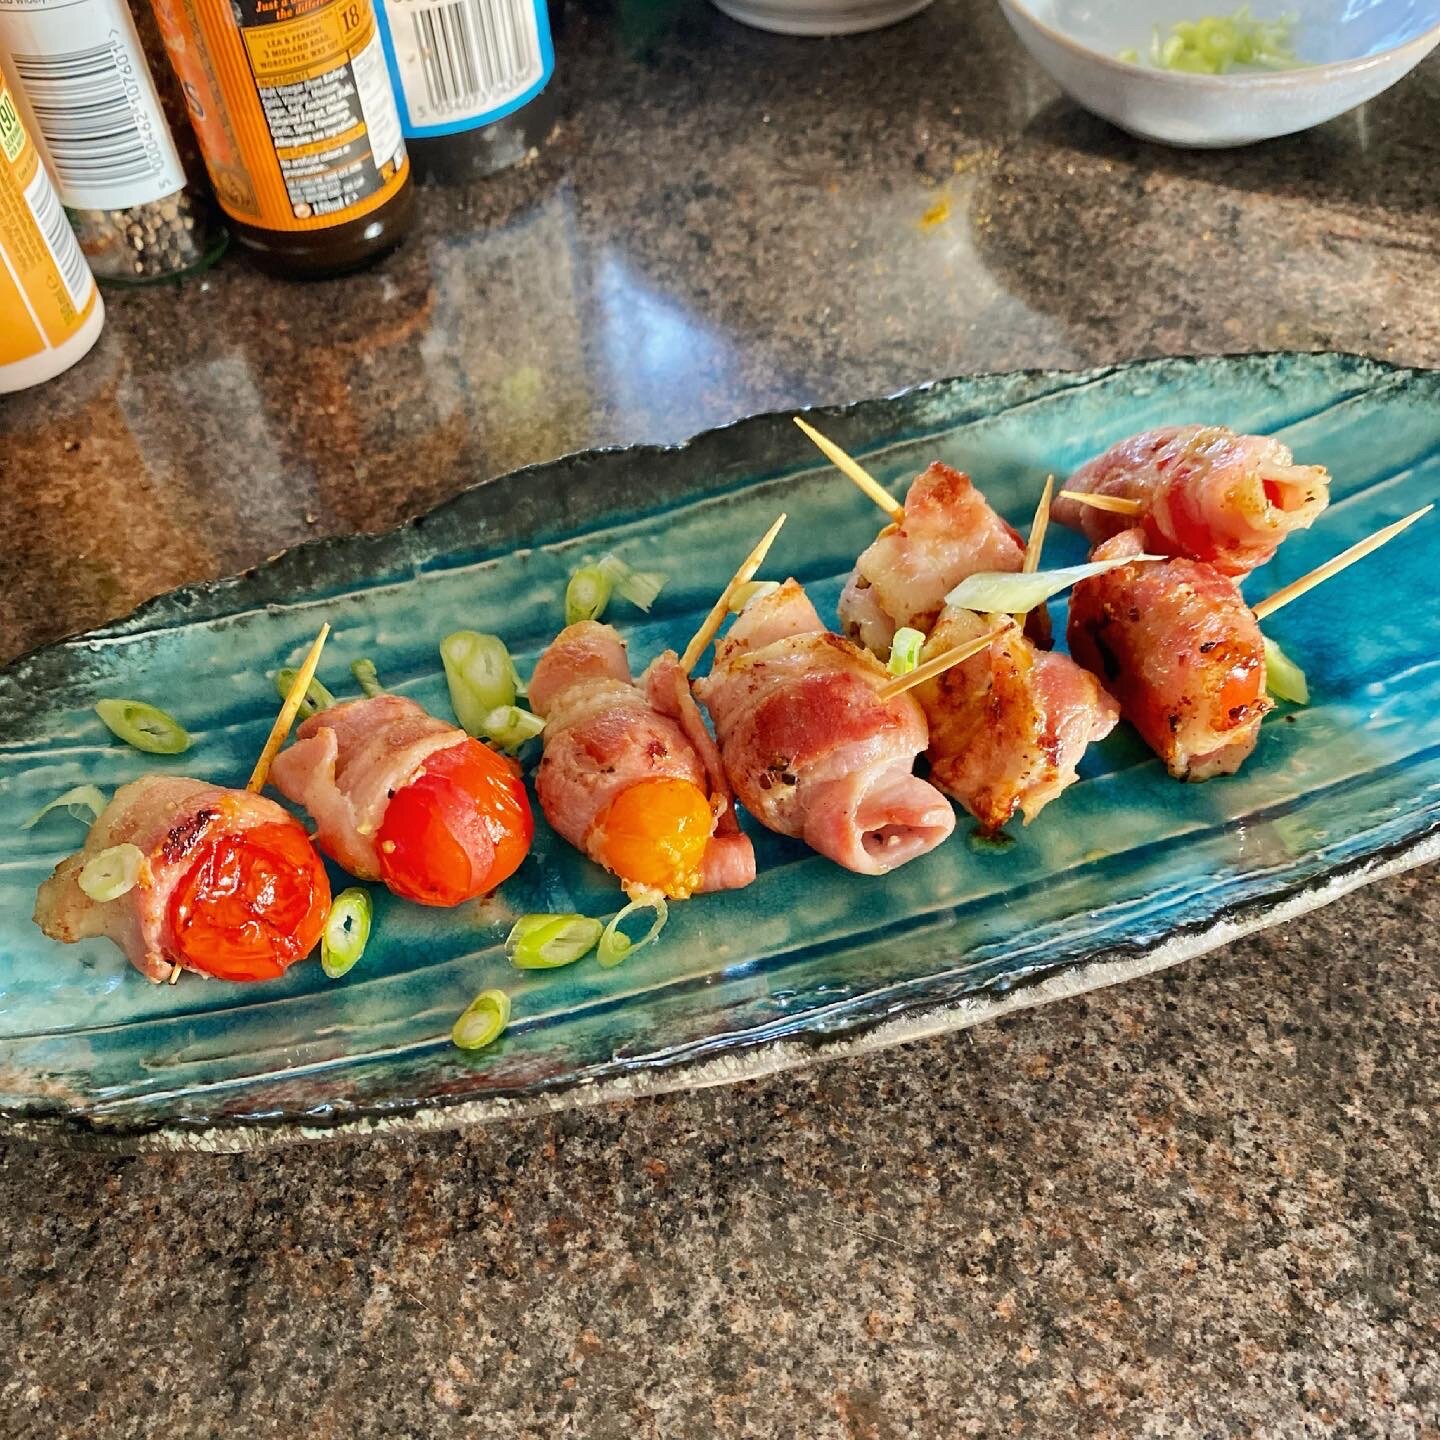
The one about the manga artist. The one where the recipe is pork-wrapped tomato rolls.

I made them a couple of times to practice and had them with a glass of wine (although kinda wanted beer really though as that’s how they had them in the Midnight Diner).

These are really simple and really good.

Cooled down just a little (those tomatoes are HOT) they would be amazing one-bite canapes. They’re also just really good as a starter or snack.

Do try these!


It couldn’t be more simple.

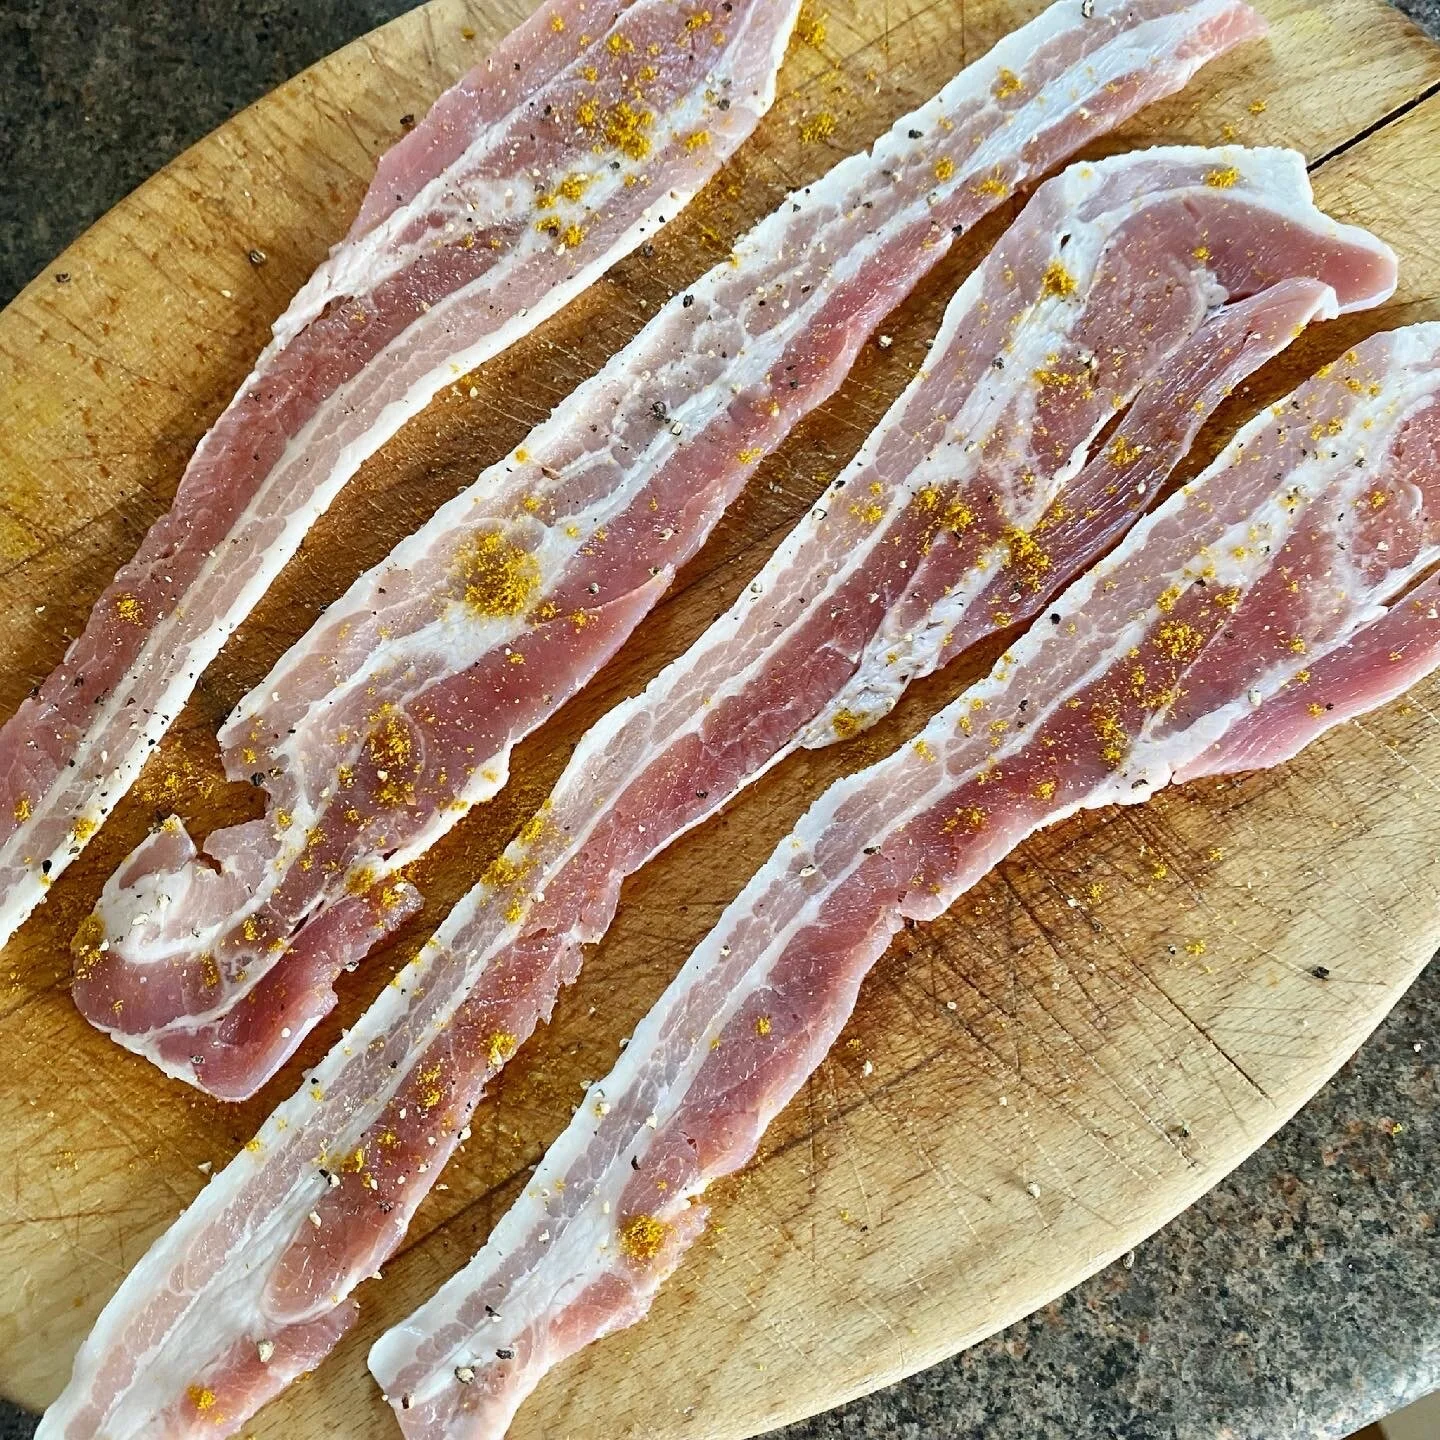
Take lovely streaky bacon and rub in a little pinch of curry powder and one each of salt and pepper (I like white pepper for this but you can use black pepper).

Stretch the rashers out using the flat side of a knife and then cut in half lengthways.

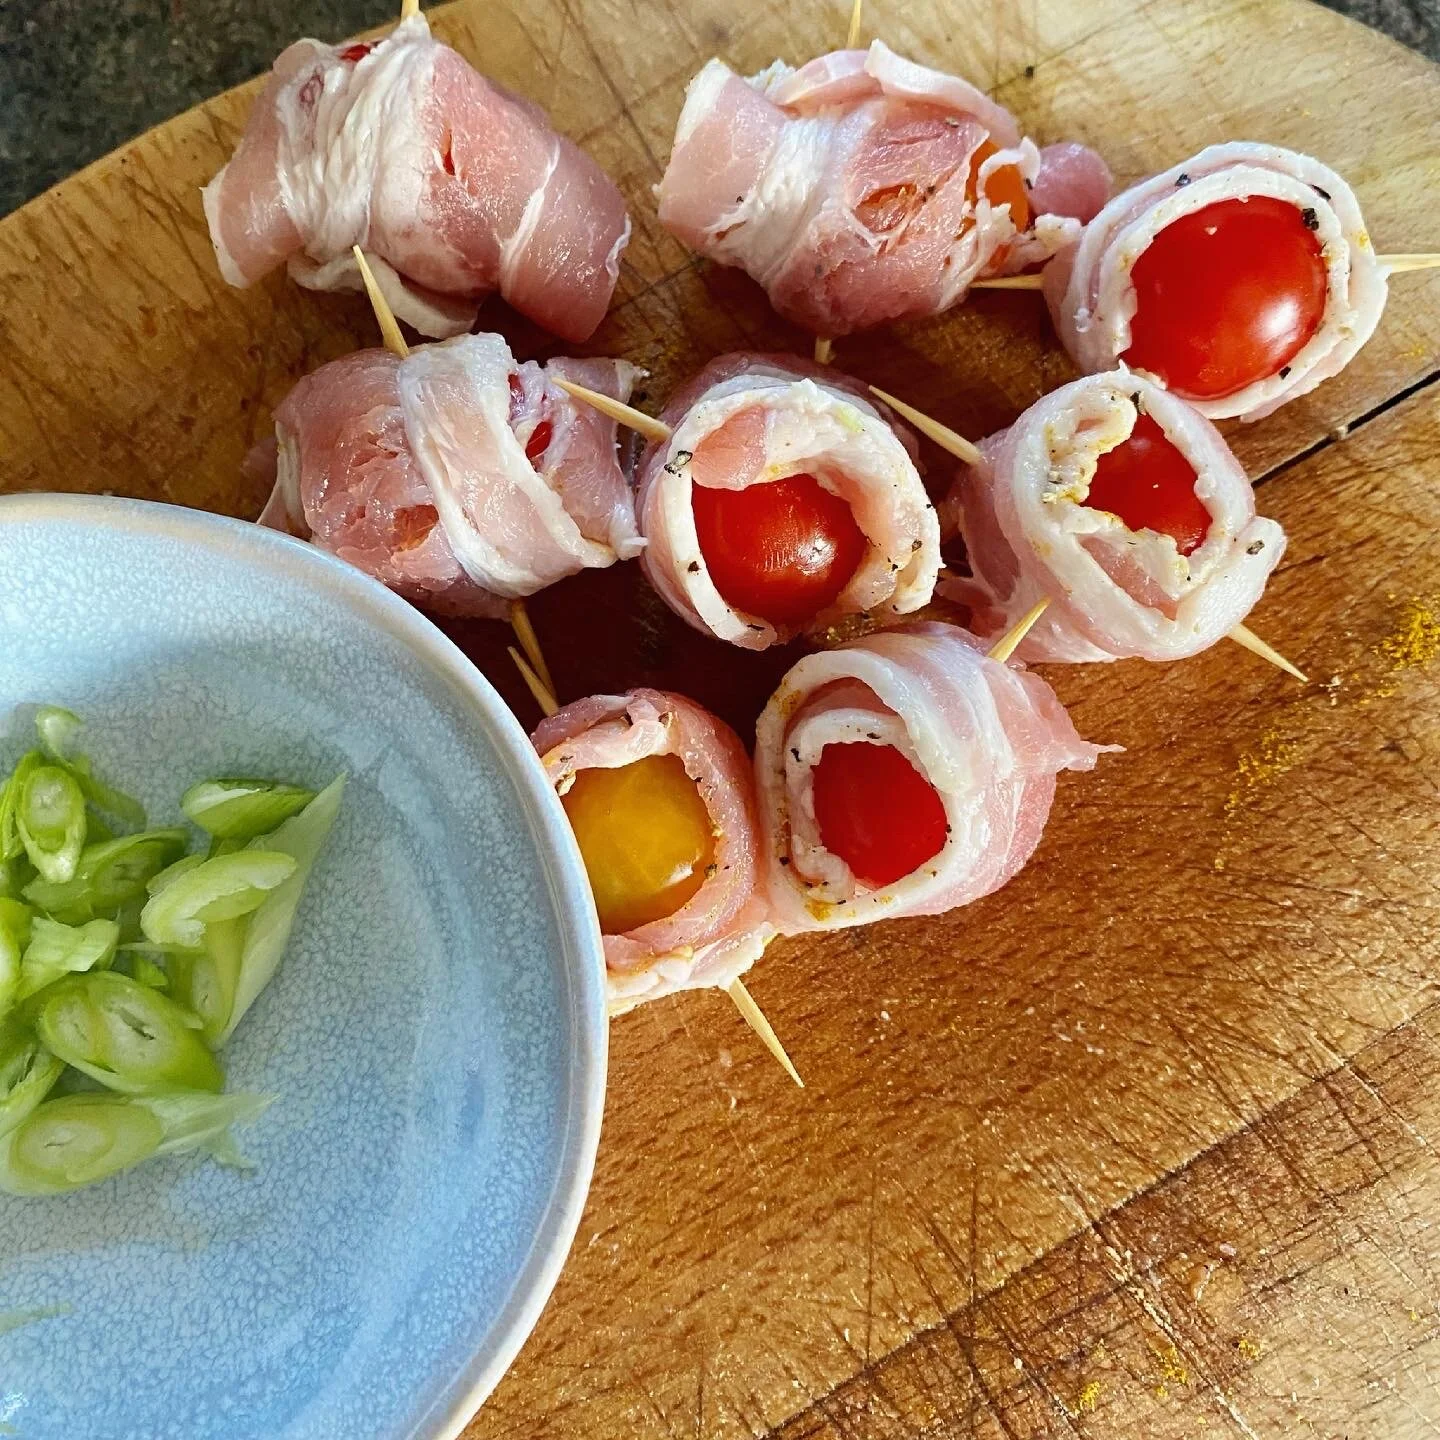
You could use skewers which I think they do on the series with three tomatoes on each, but I only had toothpicks so it’s just one tomato per toothpick here.

I pricked each cherry tomato a couple of times with the toothpick before wrapping it in a piece of the bacon and then securing with the toothpick.

I have cooked them in a little oil in a non-stick pan and also on a griddle and both worked well. Just have them on a medium heat so the tomatoes become properly beautifully sweet and soft, and the bacon browns. Turn regularly so the cook evenly. It’ll probably take around ten minutes in total but check and see when you’re happy they’re done.

To be honest, you should really add an extra two or three for those ones you’re going to need to taste!

I’m sure they’d also cook well on a tray in the oven but I haven’t tried that yet.

Sprinkle with some sliced spring onions or chives to look nice and they’re ready to serve.


YOU MIGHT ALSO LIKE …


Welsh rarebit

I love cheese on toast …. who doesn’t? Actually, really, IS there anyone who doesn’t?

But, confession. I have never, ever either eaten a proper Welsh Rarebit (or Welsh Rabbit and I understand it goes by both names) out for supper, or at home, or made it myself.

Last week at work, we had a just-for-fun challenge to make a Welsh Rarebit and it was just the impetus I needed.

I made it immediately! Ha, competitive much?

And it was so delicious I’ll definitely be making it again.

It was also much richer than I’d anticipated so I won’t be making it for lunch again - I think it’s definitely a light dinner or a supper option!

I could only get cheddar at my local shop but I’d like to try a Lancashire next time.

I did research many recipes online before deciding how I’d cook mine and in the end I went with The Guardian’s ‘how to cook perfect Welsh Rarebit’ (pretty much).

I liked it so much that I might buy another can or two of stout (never bought before in my life) and keep in the fridge for late night supper emergencies.


So, for two, here’s what you need:

2-3 tablespoons of stout

1 teaspoon English mustard powder

4 teaspoons butter

2 teaspoons Worcestershire sauce

175g of grated cheese (whichever cheese you like)

2 egg yolks (small or medium; or perhaps 1 large egg yolk)

2 slices of bread (I had some nice thick sliced seeded bread, but again of course use whatever you like)


Get a small pan and mix the stout and mustard power together over a low heat.

Stir in the butter and Worcestershire sauce and continue heating gently, stirring, until the butter has melted.

Next tip in the grated cheese and keep stirring over that nice gentle heat, until the cheese has melted - but don’t let it boil.

Remove from the heat while you toast the bread under the grill - just make sure to do one side a little more lightly than you want it when finished.

Beat the egg yolks into the warm cheesy mixture and then spoon over the more lightly toasted side of bread.

Put back under the grill and just keep watch - it suddenly bubbles up hugely!

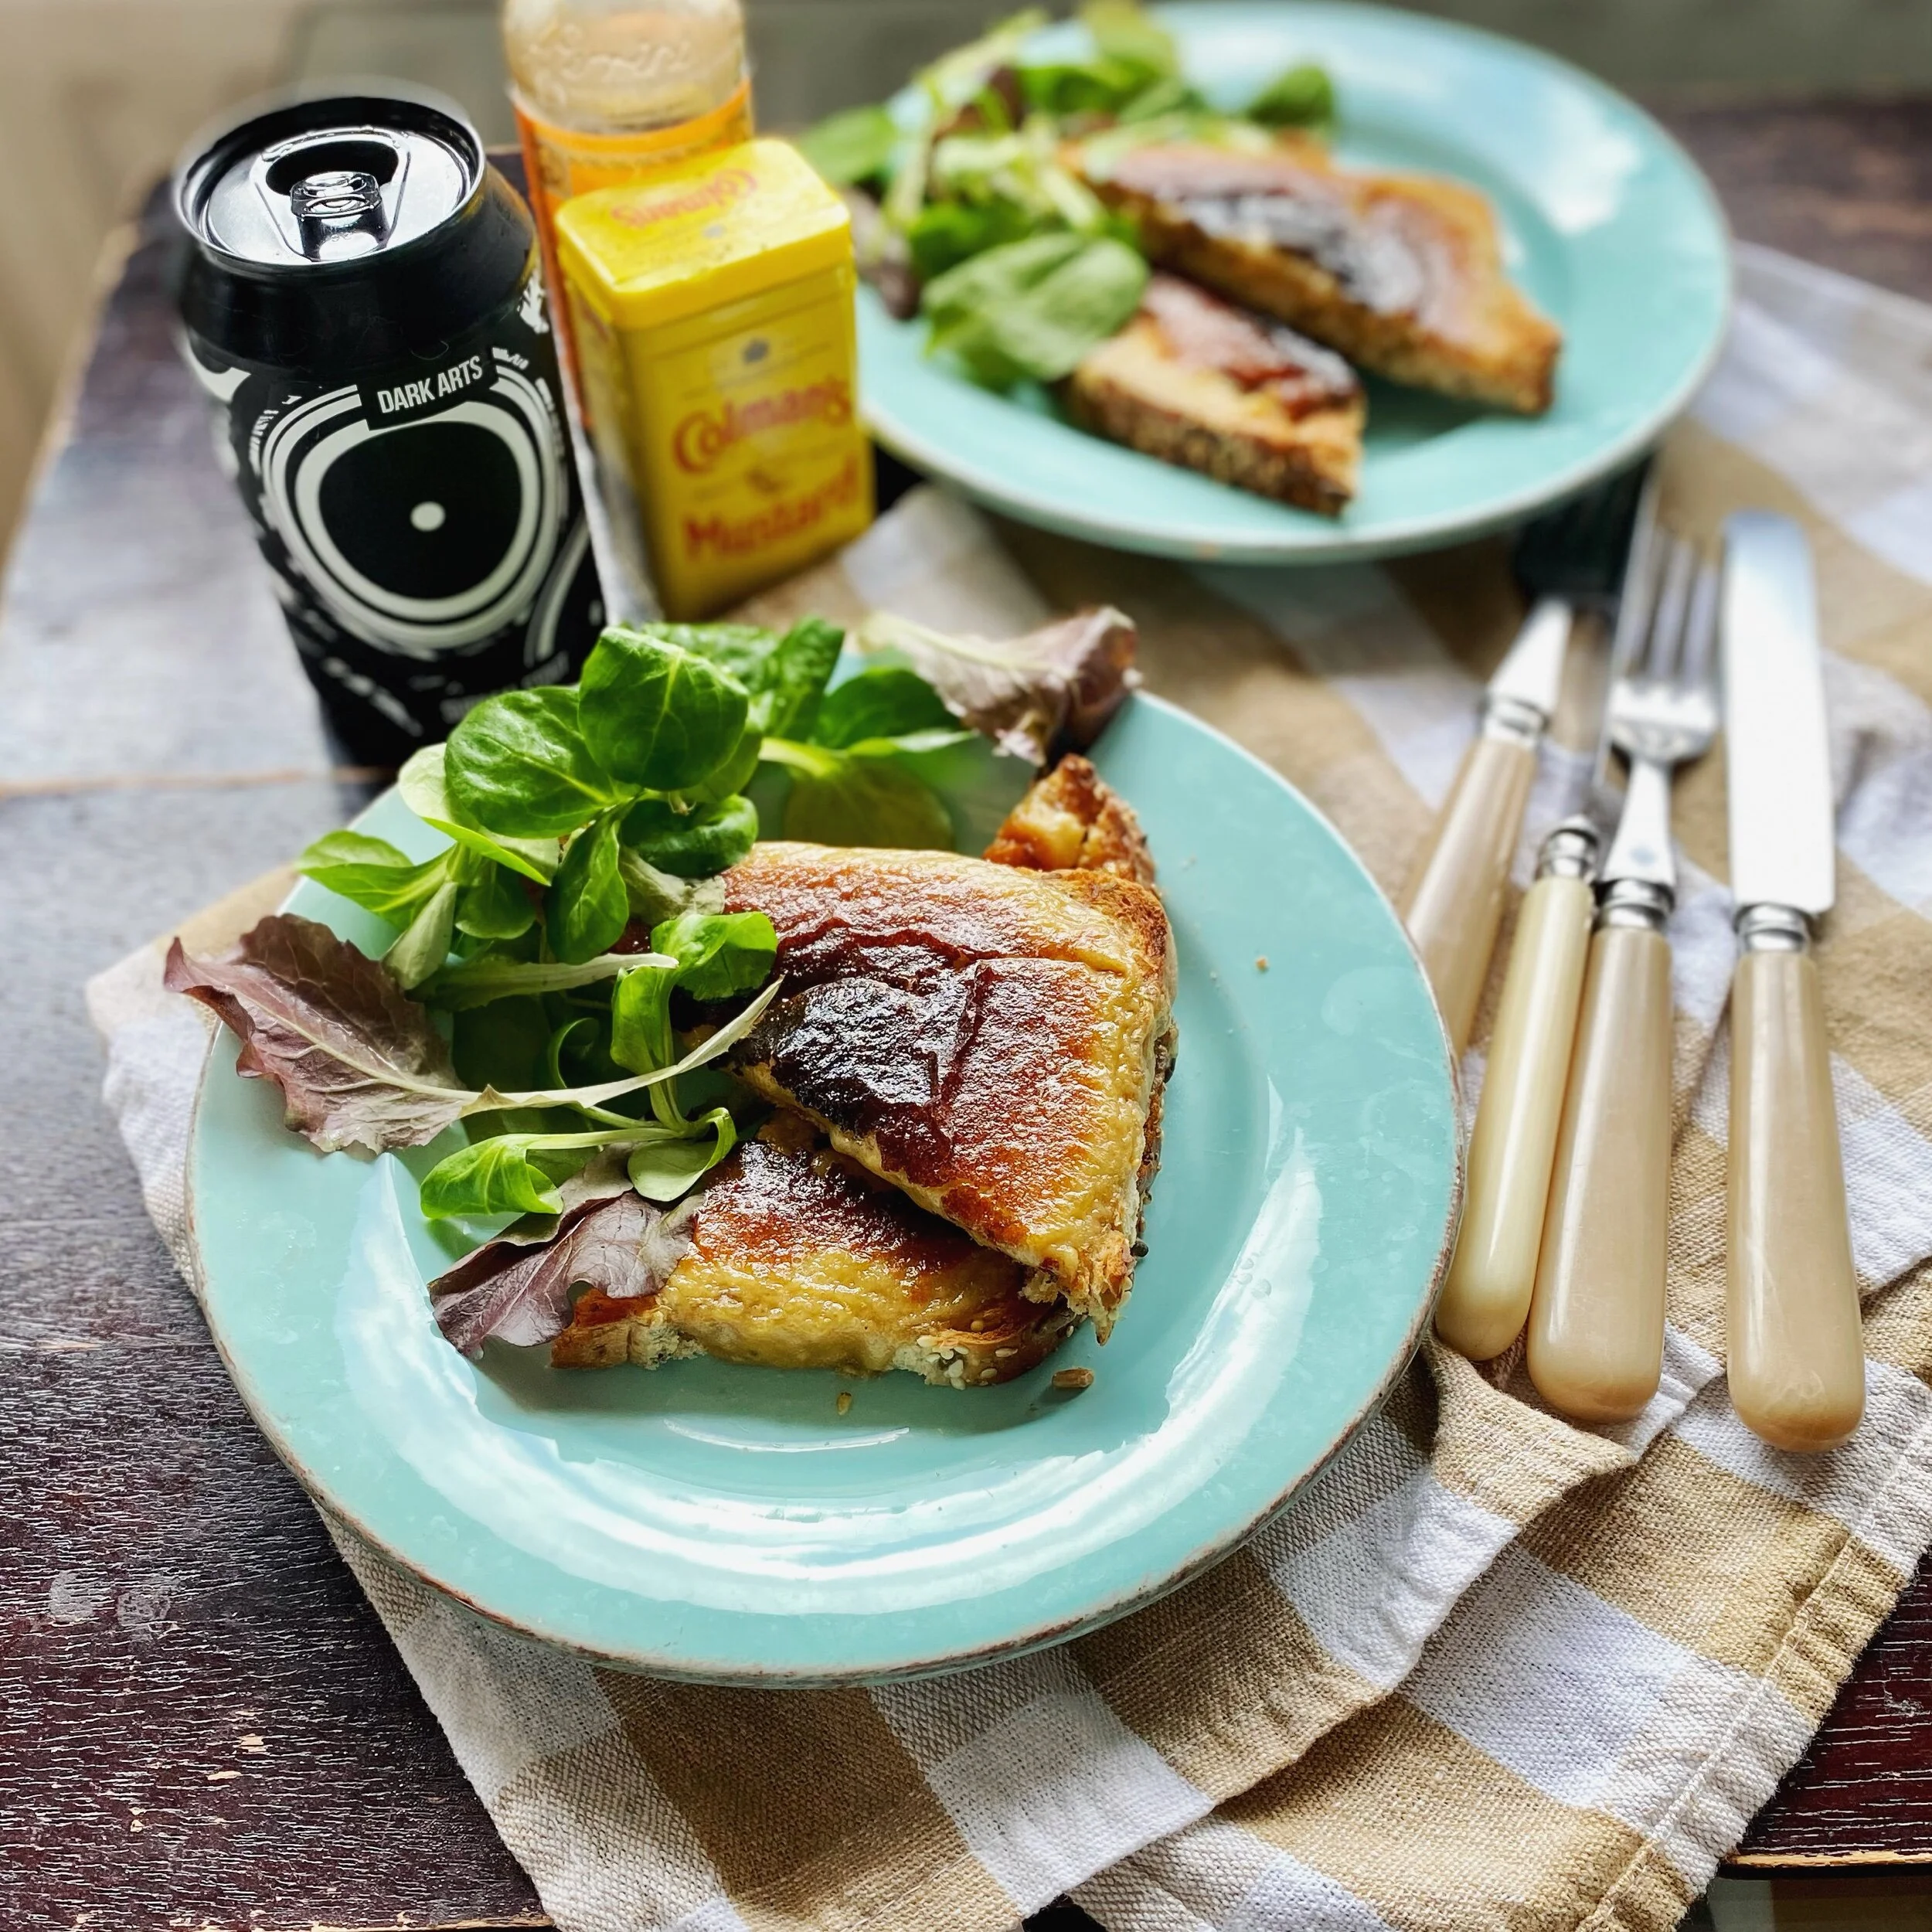
When it’s bubbling and golden and beautiful, then it’s done.

Eat immediately - just as it is or with some salad on the side perhaps - I liked the fresh cool salad alongside the rich cheese on toast.

B20642F8-C0D6-4387-82E2-573F4F8460B3.jpeg


YOU MIGHT ALSO LIKE …

Vietnamese duck in spiced orange juice

Well, I’ve been meaning to share this one for a (long) while now. I’ve put it off because I don’t think my photos look that good - it’s so much harder getting good dinner photos in winter in the dark!

I’ve decided that it’s such a beautiful, special and yet still simple recipe that I’m going to post it anyway and I’ll come back another time with new-and-improved pictures.

But for now, I don’t want to put off sharing it any longer.

This is a Rick Stein recipe that I confess I’ve never read or seen myself. One day - a while ago - a friend texted me that she was watching a Rick Stein programme and they were making an amazing duck in orange juice dish.

I googled it and didn’t actually come across the original recipe but did find several blogs sharing that recipe, so I read a couple of those. I read the recipes through and knew I needed to simplify it to work for me - I just won’t ever get round to getting a whole duck and having it jointed, for instance, but I really did want to make this recipe.

So here’s my simplified version of another blogger’s version of a Rick Stein recipe ….


This is for two people and you’ll need:

2 duck breasts

2 cloves of garlic, peeled, crushed and minced

a good piece of fresh ginger, peeled and grated (probably around equal amount to the minced garlic)

Approx 1/2 litre orange juice (fresh with bits is good but normal orange juice in a carton will work too so don’t get hung up on it)

2-3 birds eye chillies - red is ideal but green is good too. First time I made this I diced them all and it was spicy - I think the original puts them all in whole to flavour the dish whilst cooking. This time I made it I sliced one and put the other two in whole (you can remove them at the end before eating)

2-3 star anise (and just how beautiful are they? I LOVE star anise)

2 tablespoons fish sauce (last night I didn’t have any so used light soy sauce and it was still good)

2 teaspoons granulated white sugar

chopped zest of a lime and the juice of half a lime (the original recipe says to use lemongrass but I didn’t have any so this is simpler)

ground black pepper

1/2 teaspoon corn starch mixed with 1 teaspoon water

a few spring onions, chopped as garnish (the green part looks nicer, but I used the white part - another thing to change when I make it again and take new photos!)


Adjustments.jpeg
IMG_1099.jpeg

Get all the ingredients together so you’re ready to go.

Put a good big-enough-to-cook-it-all-in non-stick pan over a medium high heat and add the duck breasts, skin side down.
Cook for 5-6 minutes until the skin is crisp then turn (carefully, it’s going to spit!) and cook on the other side for three minutes.

Turn off the heat and remove the duck breasts and put into a dish for now.

You only need a tablespoon or so of the duck breast oil now in the pan so spoon any extra away - you could keep in a jar to make roast potatoes another time.

Add the garlic and ginger into the pan with that duck oil and turn the heat back on. Cook on a low heat for 30 seconds or so, stirring all the time, until it just smells amazing!
Next add the orange juice, chillies, star anise, fish/soy sauce, sugar, lime zest and juice. Stir it all together and season with freshly ground black pepper.
Bring slowly to a nice gentle simmer and return the duck breasts to the pan.

Partially cover and simmer for about 40 minutes.

Check on it and perhaps turn the duck over and cook for another 15-20 minutes or so.

Take the duck pieces out and keep warm.

Skim off any fat on the surface and then turn the heat up and boil to reduce slightly (don’t do this if your sauce has already reduced enough of course). Add the corn starch in water, stir and simmer again for a couple of minutes.

And then serve this up in whatever way looks most delicious to you!

You could keep the duck breasts whole and put them on top of rice and ladle the sauce over, or you could slice them and pour the sauce over ….

Garnish with spring onions (the pretty green part ideally) and eat with rice.

This is such a gorgeous dish I really hope that you try it and like it.

Adjustments.jpeg
5118BC2C-004B-4AA8-B125-687415B1ADDC.jpeg


YOU MIGHT ALSO LIKE …

Lemon garlic breadcrumb spaghetti

It’s all about the simplest, most delicious, spaghetti for me this year.

In all the craziness there’s something just very grounding and nurturing about it.

I just want easy. I want simplicity. I don’t want to faff around with a million ingredients.

Yes, I still love cooking, I just want it to be simple and kind of meditative. There’s something about the simplest spaghettis that provide this for me.

I hope you love making and eating this too.

For one big portion I used:

olive oil

1/2 lemon zest, just peeled off and chopped

1 garlic clove, peeled, squashed and minced

a big handful of breadcrumbs (I just blitzed a slice or two in the food processor - by the way you can do this and keep bags of breadcrumbs in the freezer and no need to defrost before using)

a small handful of fresh chopped parsley leaves

spaghetti cooked to your liking (around 75 - 100g for one)

a little of the pasta cooking water

juice of 1/2 - 1 lemon

a pinch of dried chilli flakes

salt and pepper

grated parmesan to serve, if liked

Put a slug of olive oil into a non-stick pan and then add the lemon zest and garlic.

Stir and after a few seconds - maybe 30 - when it smells incredible, tip in the breadcrumbs.

Keep stirring and cooking until the breadcrumbs are gorgeous and toasty and crisp - and then remove from the heat.

Add the chopped parsley and stir to make a lovely garlicky, lemony, toasted breadcrumb mixture - and set to one side.

Adjustments.jpeg
Adjustments.jpeg

Cook your spaghetti in boiling salted water but drain it a minute or two before it’s perfect and make sure to retain half a cup or so of the water it was cooking in.

Return the pasta to the pan along with a good slosh of its cooking water, a little drizzle of olive oil, the juice of 1/2-1 lemon (to your taste and also depending on how juicy your lemon is of course) and a good pinch of dried chilli flakes.

Stir it all together over a low heat for a minute and then turn the heat off.

Add salt and pepper to taste.

Tip in most of the breadcrumb mixture and combine.

Adjustments.jpeg
Adjustments.jpeg

Pour into a bowl and top with the remaining breadcrumb mixture and some grated parmesan, if you choose (to be honest it doesn’t really need it but sometimes you do).

Adjustments.jpeg
Adjustments.jpeg


YOU MIGHT ALSO LIKE …

Spaghetti with creamy avocado sauce

Simple, delicious and immune-boosting (vitamins A, C and E are all present in avocados).

Plus we’re adding fresh lemon juice and some gorgeous olive oil to the sauce just to up the goodness stakes.


Here we go …

For one or for two, basically it’s up to you how runny or thick you make the sauce:

one lovely soft ripe avocado

fresh lemon juice

a glug or so of olive oil

a handful of fresh basil leaves

salt and pepper

a pinch of dried chilli flakes

a little slosh of water if needed to loosen it up or to make the sauce thinner (as you choose)

Adjustments.jpeg
Adjustments.jpeg

Blend the sauce ingredients first so that’s ready to go and then cook your spaghetti in a big pan of salted water.

When you drain the pasta, make sure you keep some of the cooking water behind too, just in case you need to loosen the pasta a little more.

Pour the sauce over the pasta and make sure it’s covering all of it - keep mixing!

And then add salt and pepper and grated parmesan - if liked - and some extra fresh basil to garnish.

Super simple, super good for you and super good for this time of year as we head into winter and want our immune systems to be happy and strong.

Adjustments.jpeg
Adjustments.jpeg

PS. Yes, it’s unnecessary to have two almost identical photos of the dish but I’m just having one of those days where I can’t decide which I prefer!


YOU MIGHT ALSO LIKE …

Perfect poached chicken

I love poached chicken and it unfairly gets a bad rap.

Nothing too serious, y’know, just basically that it’s tough, boring and tasteless!

Well I, for one, love it and here’s why …

1. It keeps the chicken super-moist and delicious but you do have to cook it on a whispering murmur of a simmer for maybe 20-25 mins (not boil the crap out of it for ten mins). .

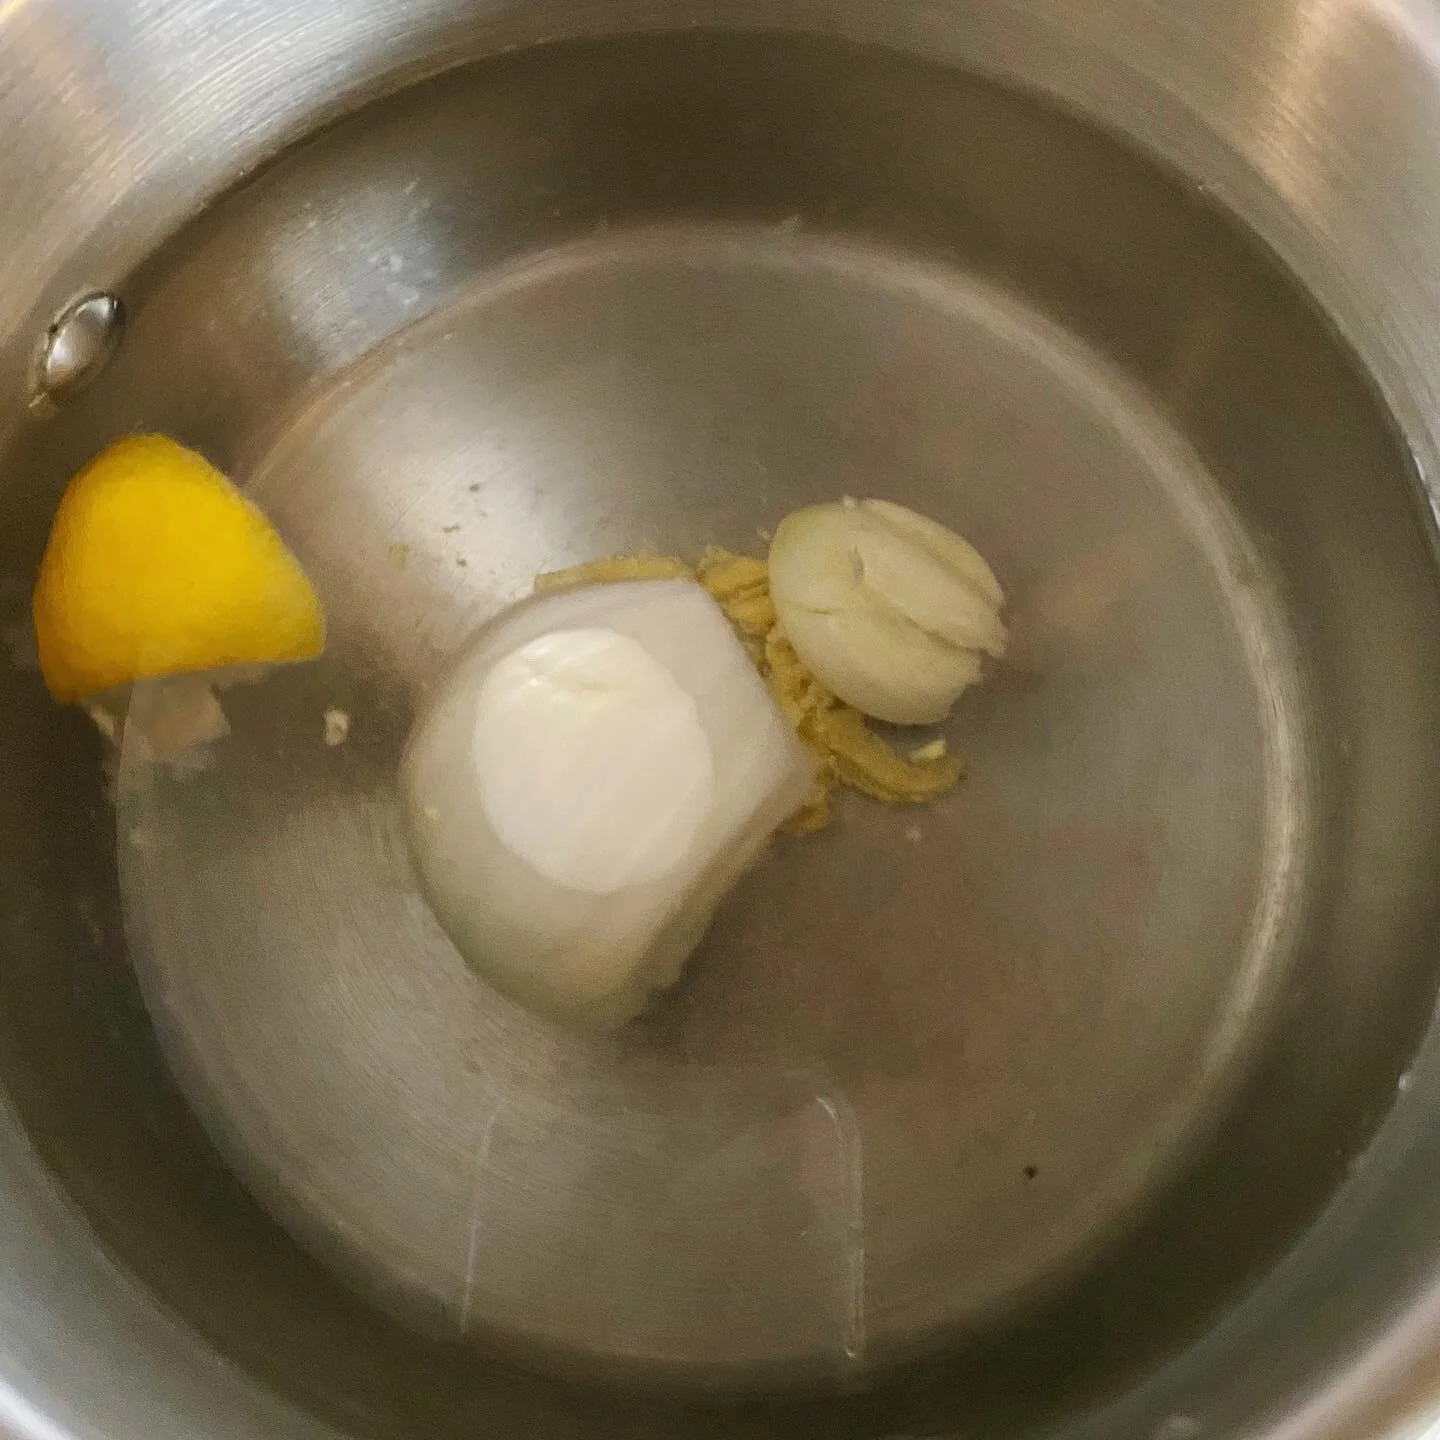
2. If you find it tasteless then try adding some flavour! A few slices of onion, a squashed garlic clove, lemon or lime, stock cube ... apparently some people add ‘leftover wine’ but I’m afraid I don’t know what that is.

3. It keeps you looking youthful! True. It’s a much more anti-ageing way of cooking - basically the more you keep hydrated the better so cooking in liquid is way better than dry grilling or frying. .

4. Yes I’m sure it does have an old-fashioned ‘diet cooking’ feel about it but hey times move on and if it was tastes great AND it’s got no added fat, what’s not to love? .

5. I forgot to mention my favourite way to poach and that’s to do so in a mixture of coconut milk and water. OMG. I add rice to the same pan too and all of a sudden you’ve got the most amazing warm salad with soft coconut rice and chicken and then crunchy veg and a super spicy sour dressing. .

5b. If you only used half a tin of coconut milk for the poaching liquid then you can chuck the rest straight into a bath for a beautiful luxurious bath milk soak.

6. It’s so versatile and you can poach enough to last the next day or so two. I love it in a spicy sour salad, in a stir fry, with noodles or as tonight in a simple salad with a mustard vinaigrette and Parmesan shavings.

7. Your dog will demand some too! And why not? It’s as healthy a snack or addition to their food as it is for us. .

Er, I really didn’t know I had so much to say about poached chicken but it seems I do

With flavours in the pan

With flavours in the pan

Simmering softly

Simmering softly

Lovely poached chicken salad

Lovely poached chicken salad


YOU MIGHT ALSO LIKE …

Parmesan cauliflower ‘steak’

I’m a little bit obsessed with cauliflower ‘steak’ right now and I’m pretty sure you will be too once you try it.

You just need a nice fat slice of cauliflower, cut from the middle of the head so you have the whole piece, including the stalk, although do remove any leaves etc.

I always find on cutting my ‘steak’ piece that several florets kind of want to be a part of things too, so I just add them to the pan and have them later in a stir fry or salad (or straight from the pan after eating my steak if I’m feeling extra greedy).

Rub the steak on both sides with olive oil and salt and pepper.

Plus add whatever herbs or spices you like.

I love adding ground cumin.

You could try paprika. Or curry powder. Or chilli flakes. Or oregano. Just try it and see if you like it.

You can cook the cauliflower on a hot griddle pan for maybe ten minutes or so each side, but it gets so hot and smoky that I find roasting it in the oven easiest.

I put the cauliflower onto an oven dish and cook in a medium hot oven for 15 minutes or so and then turn for 15 minutes on the other side.

It’ll probably need a bit longer to be slightly blackened and soft and at perfect deliciousness so see what you think.

I added a handful of grated Parmesan to the top of the cauliflower for a last ten minutes cooking.

Cheddar or mozzarella would also be good.

Oh yum or how about blue cheese? Even bacon?

Or just keep it plain.

Adjustments.jpeg
Adjustments.jpeg

Have your cauliflower steak with salad or with stir-fried veg.

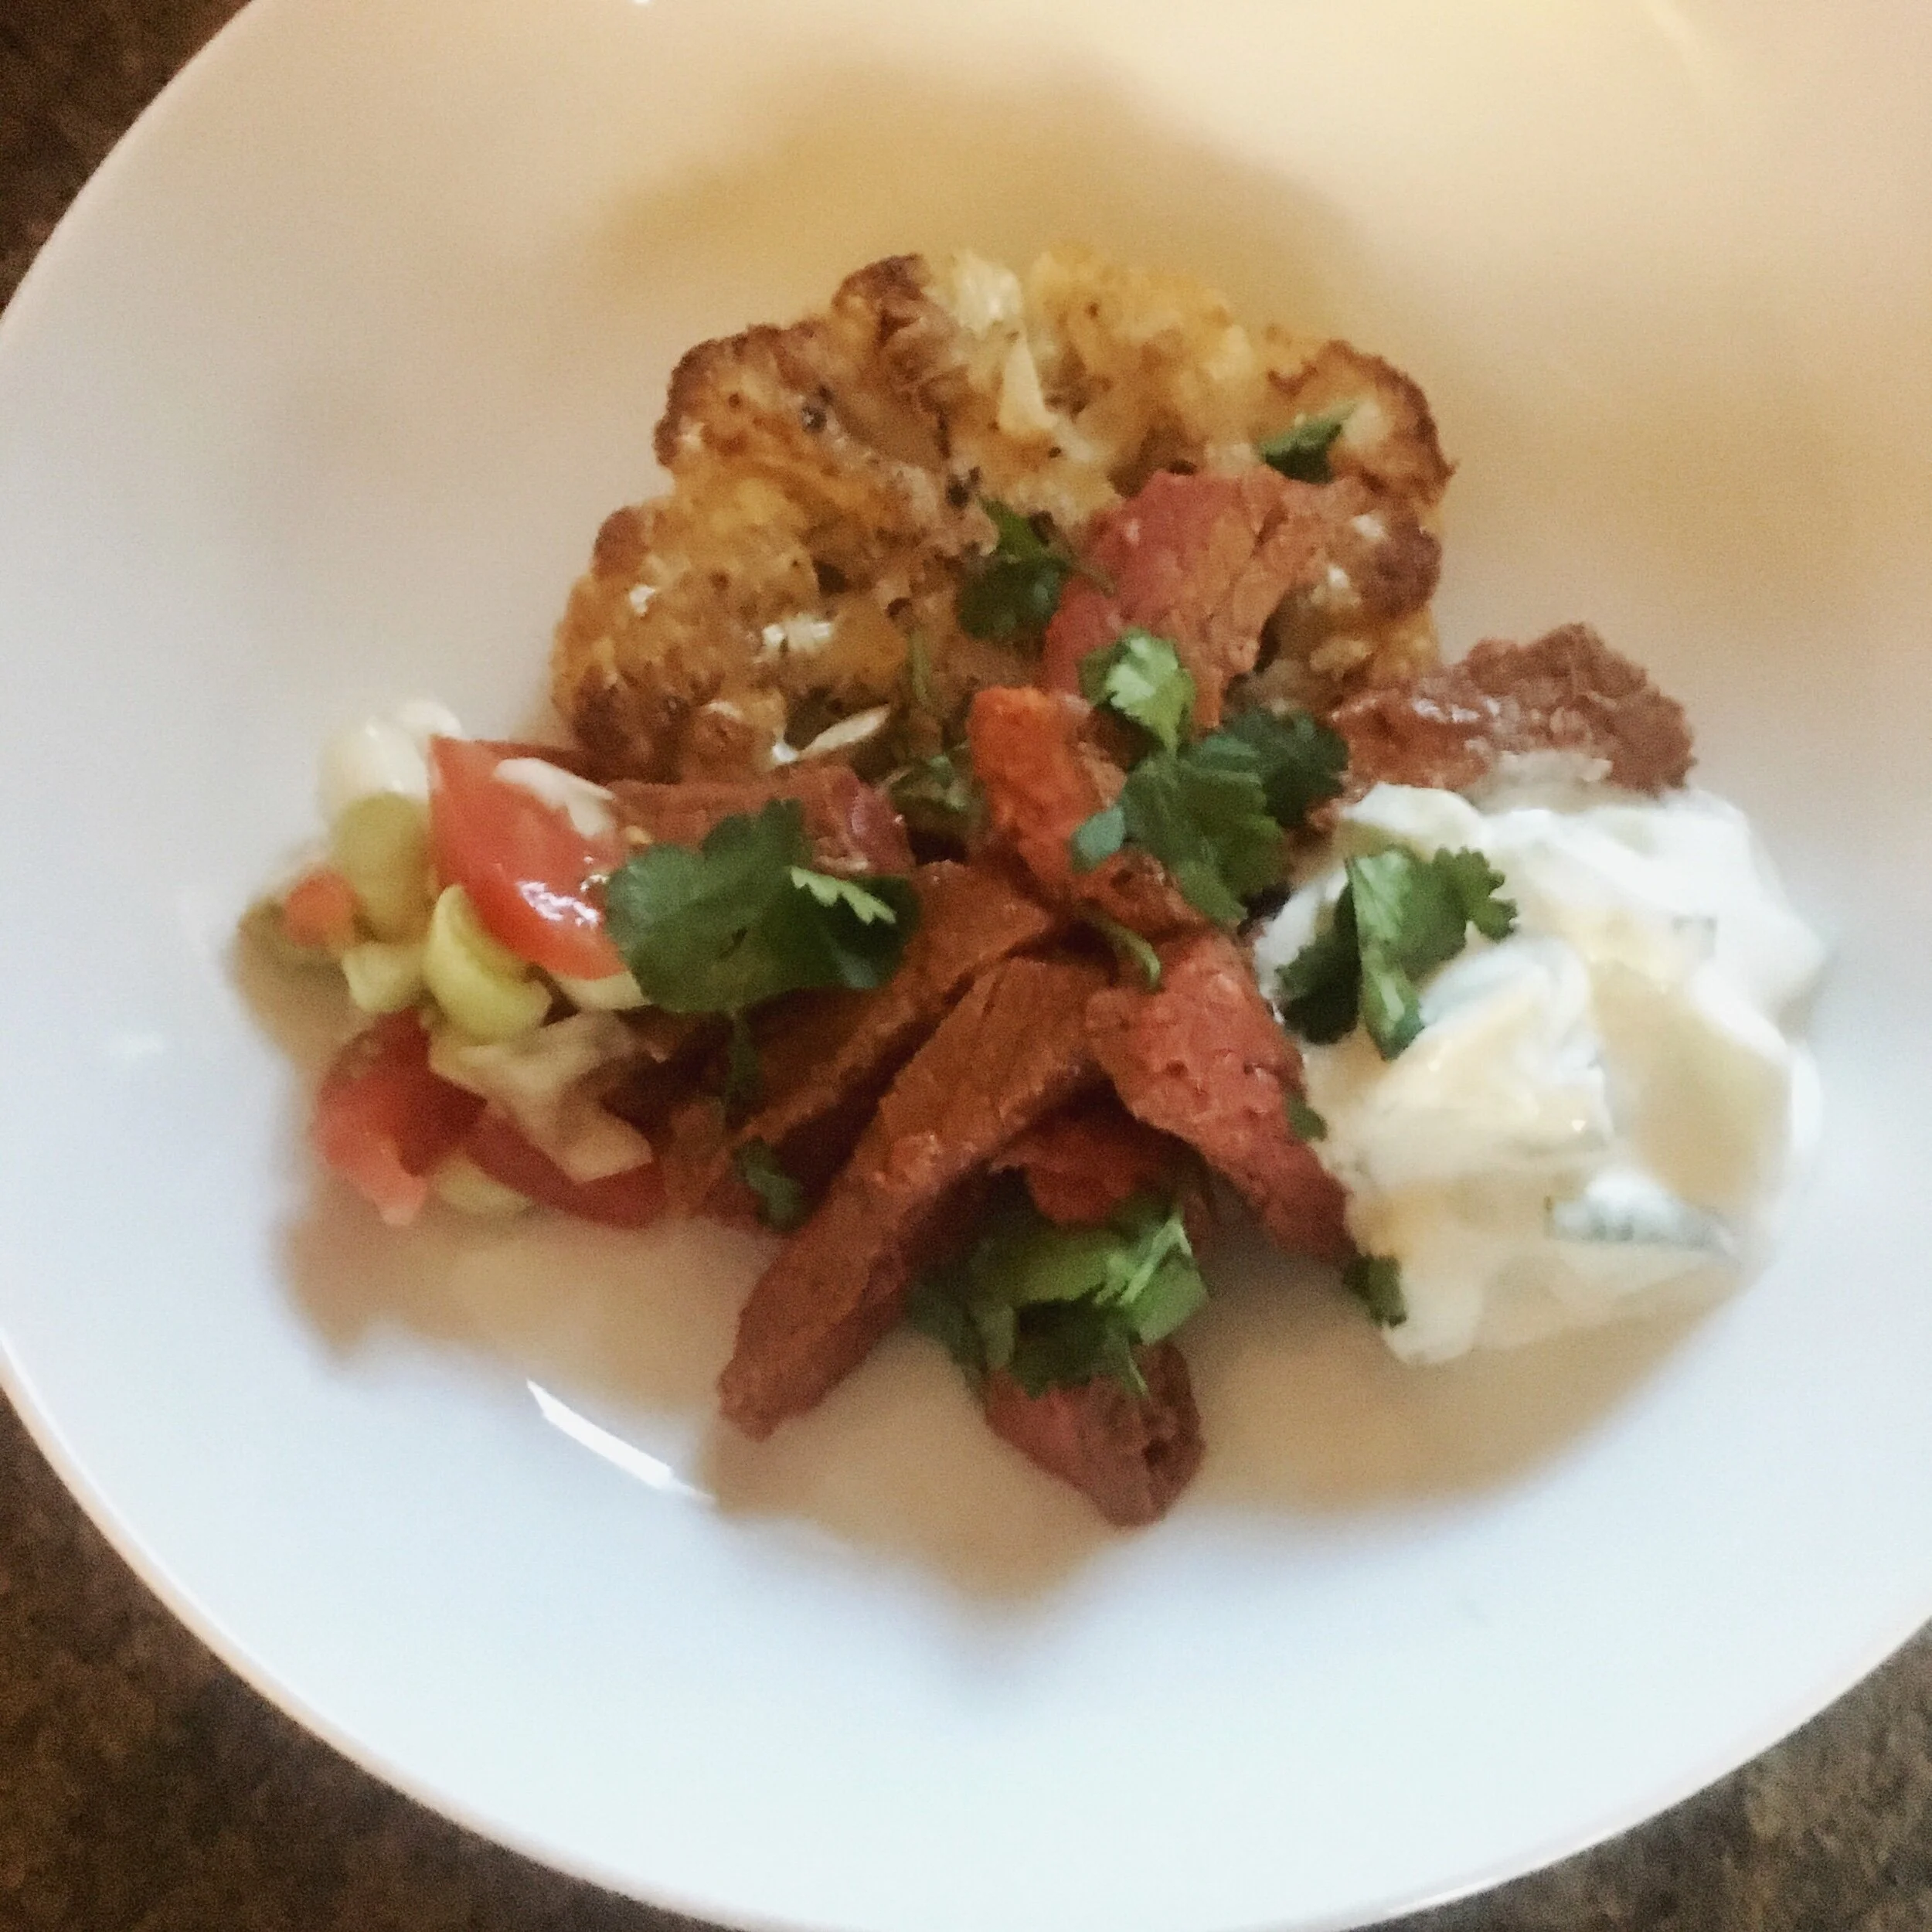
I’ve had it with steak steak (beef) and I’ve had it on noodles with charred little gem lettuce.

I think it would make an amazing burger too …. if you want another idea for a vegetarian burger, here’s my watermelon burger.

Perhaps try it with a curry sauce and rice.

Just do, do try it ….

3E9AF0BB-338A-4EE7-952D-843648A2C2FA.jpeg
Adjustments.jpeg


YOU MIGHT ALSO LIKE …

Watermelon burger

C28A1CEC-A8E8-455C-8798-65C30AA1A772.jpeg

I might never eat a beef burger again!

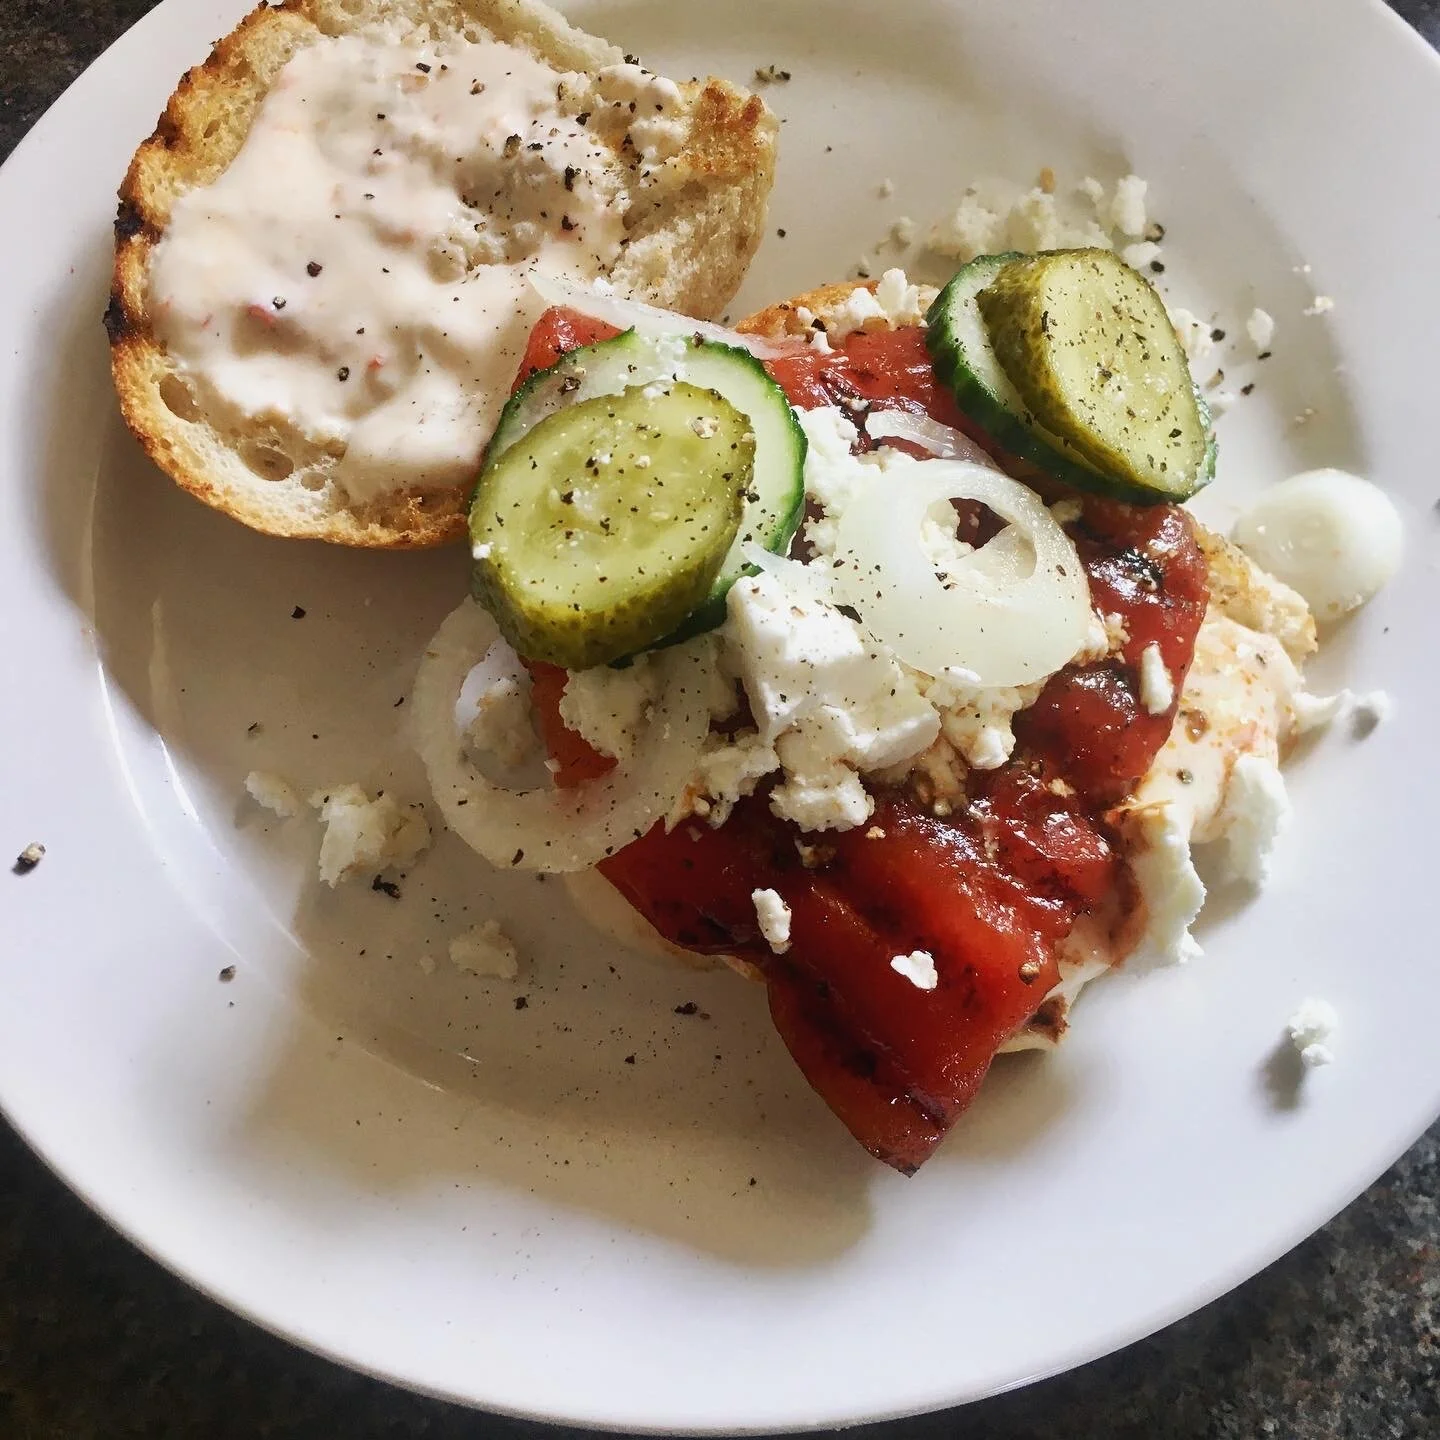
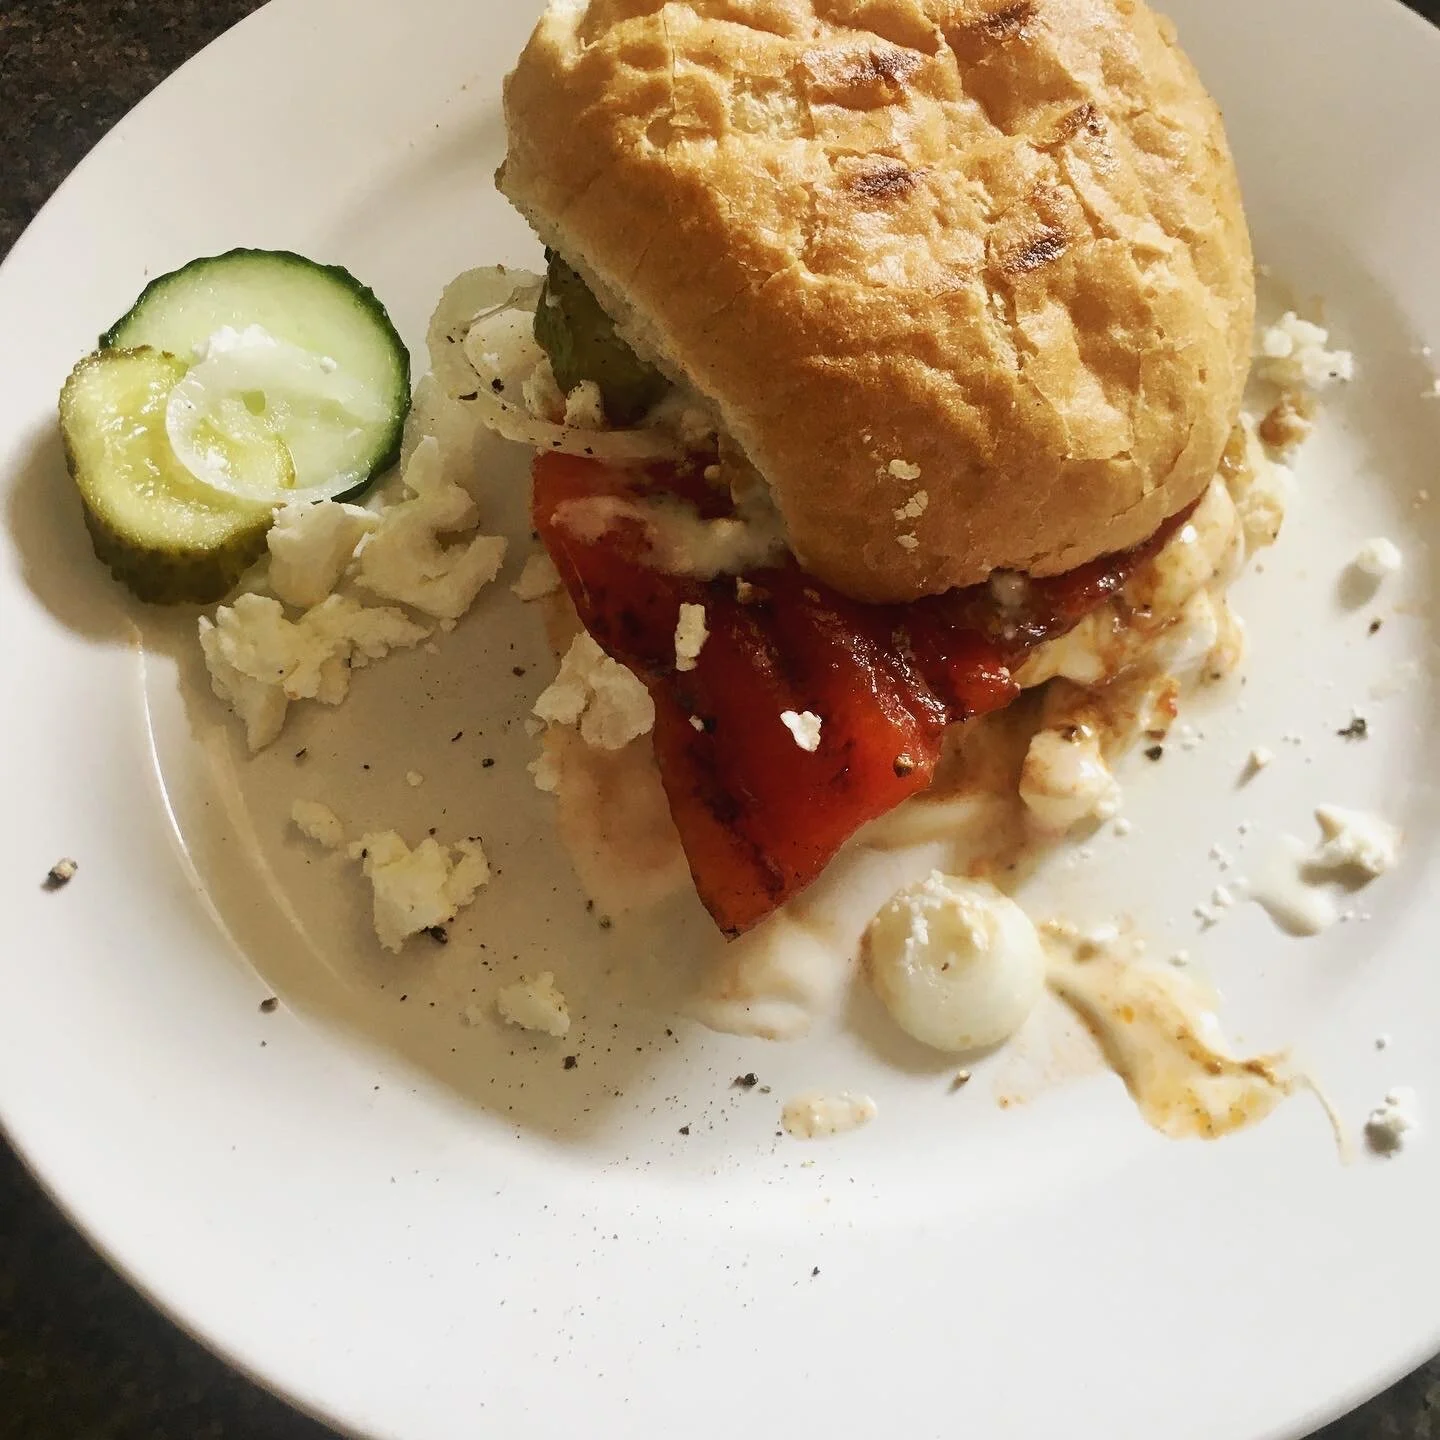
This is a watermelon burger and it’s absolutely delicious. PLEASE TRY IT!!

Having seen one recipe I kept seeing watermelon burgers everywhere (you know how it is) and as I had one I thought I’d try it.

So we have …

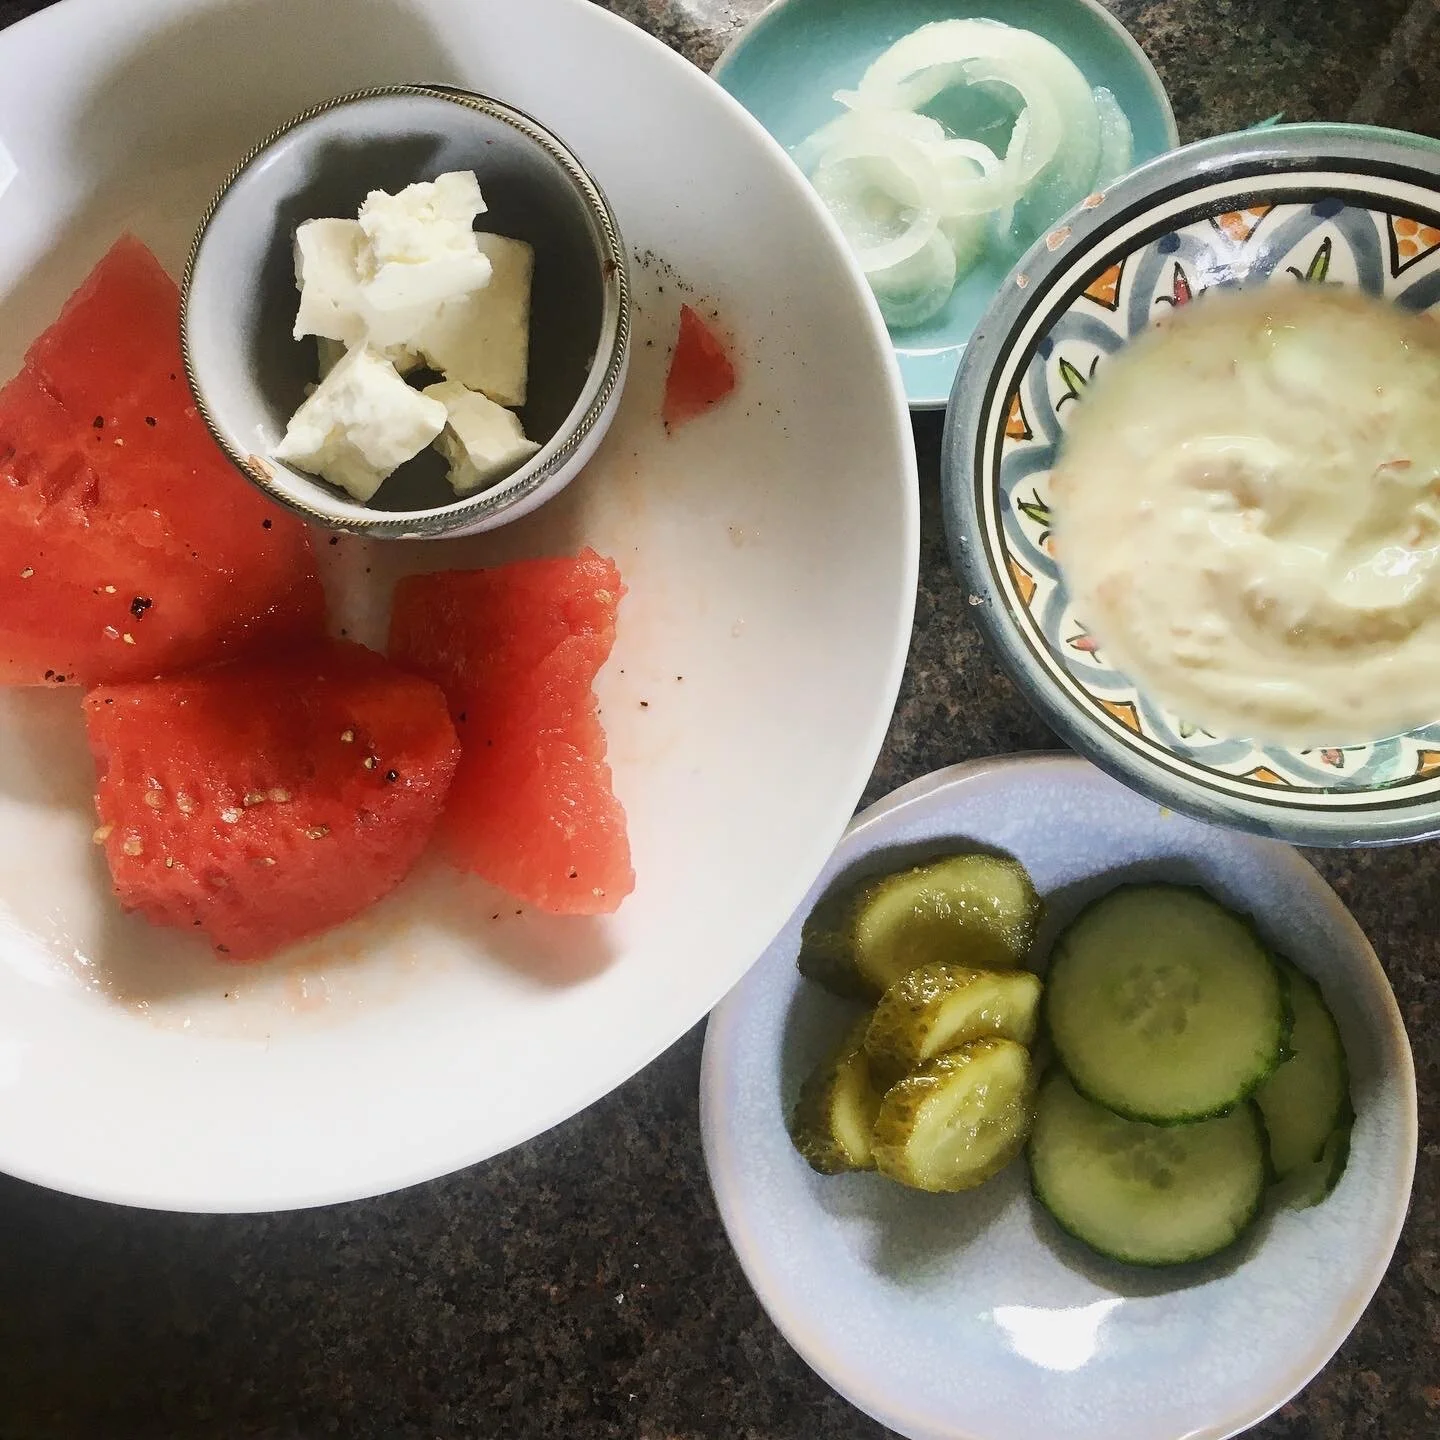
Watermelon (peeled of course) and in a little olive oil, salt and pepper and then onto a hot griddle for 3-4 mins each side - longer if your melon burger is thicker of course.

I added the bread roll to the same griddle pan to quickly toast it.

Accompaniments were what I had in the fridge really and thought would be good.

Greek yogurt with sweet chilli sauce stirred into it (to have in place of any butter or mayo) …. but next time I’ll use something spicier as the melon is so sweet when it’s cooked

cucumber

pickles

onion slices in white vinegar to remove the sharpness

feta cheese crumbled over - you could try other cheeses melted onto the melon - goat’s cheese would be good. Ideally a tangy cheese I think


The melon is a delight. Warm and sweet and a little charred.

I actually can’t wait to make this on a barbecue and surprise everyone with how good it is!

897E4A13-E640-4E84-83B4-3922D2E93682.jpeg
0AF7C5C0-625D-405D-8164-CBB74EB1E11E.jpeg


YOU MIGHT ALSO LIKE …

Greek yogurt coleslaw

I think coleslaw looks nicer when it’s shredded into thin strips and probably just wins on texture too, but I just wanted to make something super-fast, so whizzed it quickly in the food processor instead.

To make enough for two, I used:

1/2 small green cabbage

1/2 red cabbage

2 carrots, peeled and quartered

1/2 white onion

I also finely chopped a green chilli to stir into the vegetables (I don’t think the food processor would have minced it finely enough).

And for the dressing:

Greek yogurt (about 100g - it was what was left in the carton)

The juice of half a lemon

A teaspoon of honey

A teaspoon of Dijon mustard

Salt and pepper to taste

To save time (and washing up) I just mixed it all into the Greek yogurt pot as I was using the last 100ml or so that were in there, so it just made sense instead of using a bowl.

Adjustments.jpeg
Adjustments.jpeg

Taste and adjust any seasonings to your liking and then stir into the vegetable mixture.

Adjustments.jpeg

For a really speedy lunch, have it with some cold leftover roast chicken or other cooked meat.

It would also be great with burgers or veg-burgers.

This is one of those salads that just tastes so much better than it looks!

So it you’re after a quick lunch or a healthy coleslaw recipes, do try this one.


YOU MIGHT ALSO LIKE …

Courgette leek salad with (possibly) the best dressing ever

This one’s firmly based on a recipe from one of my favourite cookbooks, The French Women Don’t Get Fat Cookbook by Mireille Guiliano.

I love her writing and her recipes but I do usually change them up just a little bit, as with most recipes, as here.

This is the most beautifully simple dish that would be an utterly elegant side dish but I’m on a focused lose-the-lockfown-weight THING so I had this for lunch.

And I’ll be having it again soon. It was DELICIOUS.

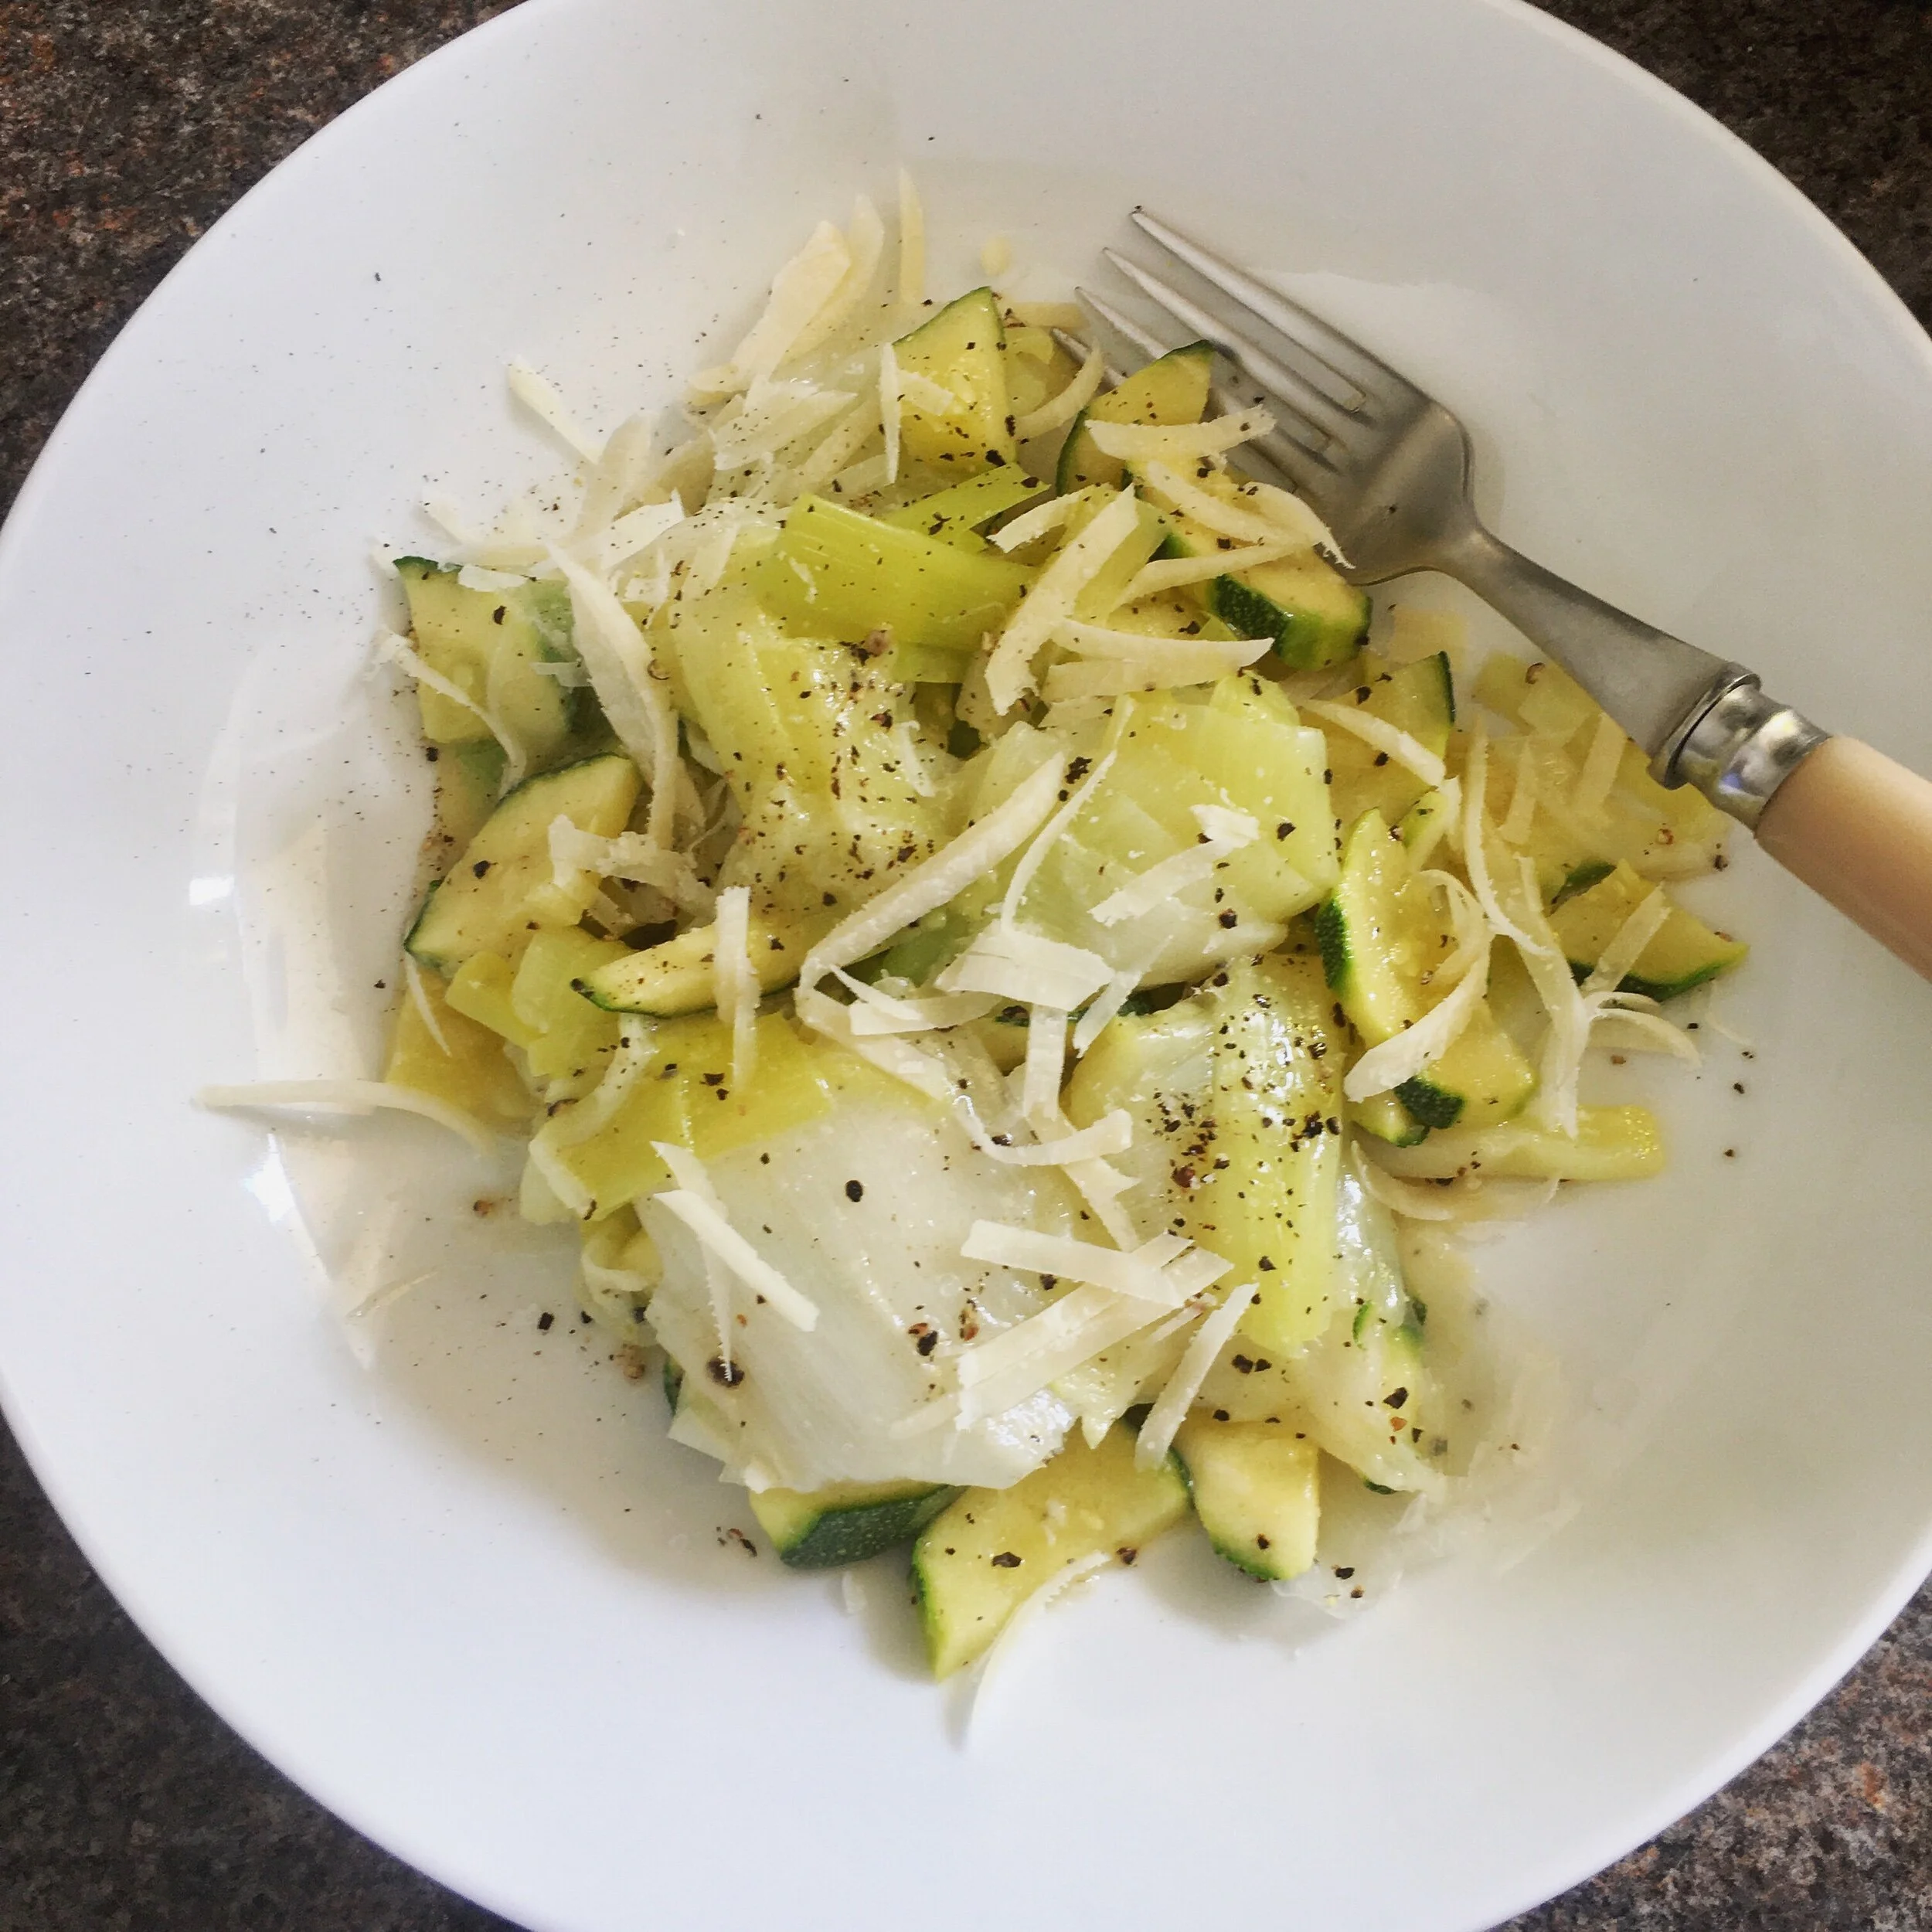
The dressing makes enough for two so I have my second portion (this image) in the fridge ready for tomorrow’s amazing salad lunch idea (that I have already).

Honey, mustard, olive oil, lemony dressing = AMAZING.


To make it the way I did and to make a glorious, sunshine, light, gorgeous, healthy lunch for one, you’ll need:

FOR THE SALAD

2 leeks, cleaned, any tough outer layers removed, most of the green part cut off (use in soup another time) and the white piece remaining cut into a few smaller pieces

1 courgette, washed, peeled if you prefer, cut horizontally into slices and then these halved again

FOR THE DRESSING

2 tsp Dijon mustard

2 tsp runny honey

2 tablespoons olive oil

2 tablespoons freshly squeezed lemon juice

FOR THE MAKING IT ALL AMAZING

salt and pepper

fresh parmesan cheese, grated into little slices


Bring a big pan of salted water to the boil, throw in the leeks and boil on a fairly gentle boil for five minutes.

Add the courgettes, bring it back to the boil and give it another two minutes.

Drain and leave to cool.

Make the dressing while the vegetables cool by mixing all the dressing ingredients together in a bowl (to be honest, I started eating it straight from the bowl with a spoon). Obviously taste and adjust the quantities so it’s exactly right for you.

When the vegetables are cool, tip into a bowl and season with salt and pepper to your liking.

Toss and add some of the dressing and toss again.

Taste again!

Crumble or peel or grate on some parmesan cheese.

When it’s perfect, just pile it all up and dig in …. this is SO SO GOOD.

966A7823-599A-4FA9-A8EF-0F8029D26174.jpeg
Adjustments.jpeg


YOU MIGHT ALSO LIKE …

Summer spaghetti with courgettes

A lot of us probably have a glut of courgettes right now, trying to pick them before they seemingly overnight turn from tiny to marrow-sized monsters!

I like to peel and julienne them and have raw in a spicy Thai-style salad - they have a very similar texture to green papaya so make a great substitute when you’re craving som tam.

And last week at my sister’s in Cornwall (first time out on a train since lockdown! Seeing the sea! Seeing family!) we made a really nice lunch from a recipe I’d been reading (by Letitia Clark) and immediately wanted to try.

As the courgettes were begging to be picked and cooked, it was pretty immediate too.

That recipe is HERE and is a delicious Italian dish of slow-cooked courgettes with mint, chilli and almonds. We had it warm with crusty baguette and my favourite Roquefort cheese.

So when I arrived home a couple of nights later, yes to the sound of those begging courgettes here too, I made a kind of version of this to have with spaghetti.

I am slightly obsessed with very simple pasta recipes this year and this is now a new favourite. Cook the courgettes slowly so they’re a bit mushy and creamy and they are just perfect with the spaghetti and a good grating of fresh parmesan cheese.

Quantities are really up to you as you can make as much as you like, perhaps saving any leftover courgette sauce for lunch the next day, or just because you already know you’re going to be wanting more than one bowl of this summer lushness.

But this is what I used to make enough sauce for two:

olive oil

2 courgettes, washed, sliced lengthways and then into thin horizontal slices

1 clove of garlic, peele and squashed and finely minced (there’s two in this photo but I changed my mind and used on one - you use what feels right for you)

2 anchovies from the jar, with a little of their oil, roughly chopped (optional - just leave out if you don’t have or don’t like)

1 dried red chilli, or just a pinch of dried red chilli flakes

1 big fat spring onion, topped and tailed, any tough outer layer removed, and sliced

zest and juice of half a lemon

fresh mint and/or parsley leaves, chopped

salt and pepper to season

fresh parmesan to grate over


OK, so firstly, I’m going to ignore the cooking of the spaghetti as I’m sure you’ll get that underway while the courgettes are cooking.

Personally I bring a big saucepan of water to the boil with a pinch of salt and when boiling add the spaghetti, stirring as it folds into the water, and then cook for - I think - ten minutes, maybe 11.

I like to do this alongside the sauce so that if the sauce needs loosening at all I can use a little of the nice hot starchy pasta water to do so.


Anyway.

Put a good sized non-stick pan over a medium heat, add a slosh of olive oil and then courgettes and garlic and cook, stirring often, for 5-10 minutes until they start to slightly brown in places. Add a slosh of water if it looks like sticking though at any time and take it slowly and gently - maybe reduce that medium heat to a medium-low if that’s feeling more like it for you today.

Adjustments.jpeg
Adjustments.jpeg

Throw in the anchovies, reduce the heat to low and stir, stir, stir (gently) for a minute or two until the anchovies do their anchovy trick of just vanishing and leaving behind a full savoury slight saltiness to the dish (without tasting fishy either).

Crumble in the dried chilli and add the spring onion and a little slosh of water and cook for another ten minutes of so on a low heat with the pan covered, stirring every once in a while.

Adjustments.jpeg
Adjustments.jpeg

Uncover the pan, stir and taste. Add the lemon zest and juice, and the herbs, stir again and taste again before adding seasoning.

You can cook for a bit longer of course if you’d like your courgettes even creamier and mushier.

You might not need to add salt if you added the anchovies but a good grind of pepper might be good.

Adjustments.jpeg
Adjustments.jpeg

Tip the spaghetti into the pan of sauce to make sure it’s thoroughly coated and then put into a bowl and grate over (lots of) fresh parmesan.

So summery, so good and so good for using up those courgettes too!


YOU MIGHT ALSO LIKE …

Beautiful Asian-inspired spaghetti

I’m currently, unashamedly, singularly, OBSESSED with the simplest pastas.

Which means yet again it’s pretty impossible to show in a picture just how good this is.

I’d actually wanted noodles but didn’t have any (I KNOW - outrageous, right?).

So I cooked some beautiful spaghetti. And this turned out so gorgeous I’m GLAD I was out of noodles.

I warmed oil in a pan and added garlic and spring onions and chilli and after 30 seconds or so when it smelt really good, I added a big ladle of the pasta cooking water and crumbled in 1/3 of a chicken Knorr stock cube and a slosh of light soy sauce.

Next time I make this i might add a little grated fresh ginger too at the start along with the garlic, onions and chilli.

Cooked for three minutes, simmering. Added the spaghetti that was deliberately a little under cooked and cooked for two more minutes.

Added a teaspoon or so toasted sesame oil and let it simmer for another minute. And then added just a little salt and a sprinkling of dried chilli flakes for seasoning.

Adjustments.jpeg

Here’s the reminder of what you’ll need to make this:

Spaghetti

Olive oil

Garlic

Spring onions

One fresh red or green hot chilli

Pasta cooking water

A little Knorr chicken stock cube

Light soy sauce

Toasted sesame oil

Salt

Dried chilli flakes

This was so satisfying and so quick.

I really, really liked this.

It has so much of everything I love about it - it’s simple, classic, easy and has some of my favourite flavours.


YOU MIGHT ALSO LIKE …

Blue cheese + broccoli spaghetti

This is so simple and so good.

No ingredients list needed really.

But … oh ok then … this is what I used for a big greedy portion for one person …


spaghetti

broccoli

olive oil

garlic clove, minced

green chilli, minced

lots of blue cheese, Gorgonzola ideally

fresh basil leaves, if you have them


I just brought a big of water to the boil with a big pinch of salt and cooked the spaghetti for eight minutes.

Added broccoli chopped into quite small bits and boiled for another three minutes.

Drained and ran cold water over so it all stopped cooking any further.

Put a big non-stick pan over a medium heat and added a a dash of oil plus one garlic clove, ;peeled and finely chopped and a green chilli, finely chopped (omit the chilli if you don’t want it spicy of course).

After maybe 30 seconds I tipped in the spaghetti and the broccoli plus some of their cooking water to keep it loose and light and easy.

Also added quite a lot of lovely chopped up Stilton cheese, but any blue cheese will do. I think Gorgonzola would be perfect … but Stilton is what I had.

Put a lid on the pan and cook on a low simmering heat for maybe three minutes more.

Remove from heat, check seasoning, add a few leaves of fresh basil if you have them.

Rachel Redlaw blue cheese broccoli spaghetti

This is a super-simple dish that is just WAY more than the sum of its parts!

Just gorgeous.

And decadent.

And quick.

What more could you ask from an easy quick supper?

NOTHING. RIEN.

It’s kinda perfect.


YOU MIGHT ALSO LIKE …


So simple, so good - & it's just aubergine, tomato, onion, chickpeas

Yep I did actually pretty much write a whole recipe in the title!

So let’s write this recipe quickly too so you can just get on with making and eating this.

It’s so simple and so good.

I bought a beautiful glossy aubergine the other day - just because it was so beautiful and so glossy … and then didn’t know what to make with it.

i asked my friends on FB for their suggestions, recommendations and recipes and chose to make the simplest - sent by my friend Amoul.

OK, confession .

Even though I have eaten in Amoul’s restaurant and so tried her wonderful food, and not just once, oh no …

But I STILL read the simple recipe she kindly shared with me on my asking for help and I read it and I thought, ‘mmmmm I’m not sure about this, it sounds a bit bland’.

I asked her several questions, almost like I wanted it to be more complicated, like I didn’t really get that this much simplicity would be so delicious.

But hey - I have eaten her amazing food and I see her mouth-watering posts and I know she knows all about simple delicious food.

So I trusted.

And oh my goodness, it was utterly delicious.

My dinner didn’t even make it to a bowl or plate, I ate it straight from the pan.

Then I stopped and tipped the rest into a dish so that I would have some the next day (this is enough for two portions).

And then I got the spoon again and dug right back in again.

Amoul suggested serving with rice.

Not a chance here! I tried it and I couldn’t stop eating it.

This is definitely a new regular dinner over here and I hope you love it too. I think it would also be a very lovely accompaniment to some simple baked or pan-fried white fish.

Also - go follow Amoul


Oops sorry, chatted on there more than I’d meant to.

This will make enough for two but if you have rice with it maybe more. Or maybe just make as much as you can as it’ll keep in the fridge a couple of days anyway.

Here’s what you need …

one white onion, peeled and finely chopped

a tablespoon of olive oil

one lovely beautiful glossy aubergine (eggplant) washed and diced

a tiny crumble (maybe a quarter) of a Knorr stock cube - but just omit if you don’t have/don’t want

three nice happy large vine tomatoes (more if small) peeled and chopped

salt and pepper

one tin of chickpeas, drained and rinsed

rice to serve, if liked


Saute the onion in the oil over a low heat, stirring often, for AGES - or it feels like ages anyway.

Don’t let it burn or stick so add a splash of water if needed.

Just go gentle, this is a very gentle dish.

Let it saute at its own pace - maybe up to 10 minutes - until soft and translucent.

Add the diced aubergine and the little crumble of stock cube, if using, and a little splash of water and stir.

Cook gently with a lid on the pan, stirring every now and then, for 6 or 7 minutes.

Check that the aubergine is really softening and cook a little longer if not.

Add in those lovely peeled fresh tomatoes and also now’s when to add the seasoning - so salt and pepper to taste.

I’d go a little tiny bit more heavy handed than you might normally do, but remember you can always add more, can’t take away.

Cover the pan again and simmer - gently - for another five minutes then stir and taste.

Add the tin of drained, rinsed chick peas, stir.

Add a little water if needed but it shouldn’t need.

Cover and simmer - gently - for a few minutes, maybe three.

Take the lid off, turn up the heat a little if it’s very liquid and cook for another minute or two.

Taste, add more salt and pepper if needed.

Try not to eat the whole thing straight from the pan yourself but let others also have some dinner ….


Adjustments.jpeg
Adjustments.jpeg


YOU MIGHT ALSO LIKE …