Meat

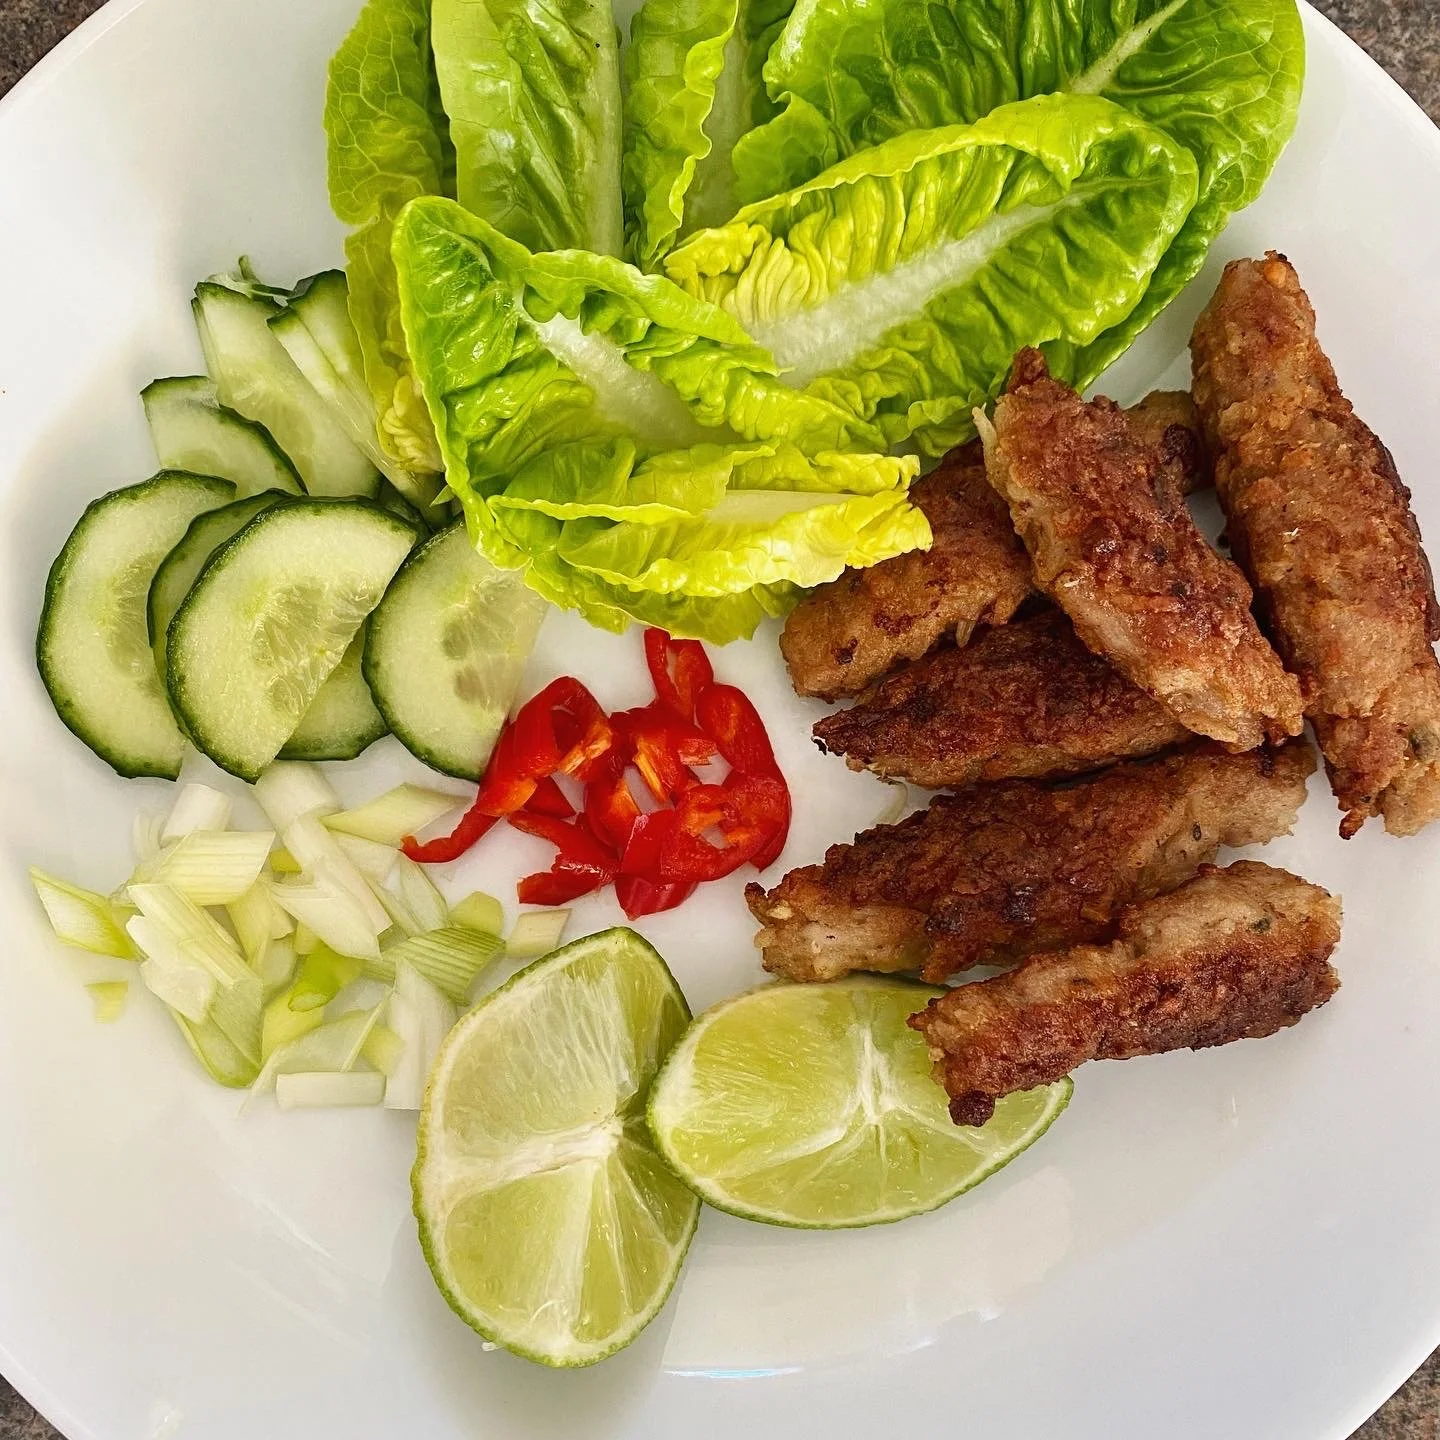
Thai Isaan-style sausage salad - sai krok isan

You know when you just know what exactly it is you want to eat?

And that just makes everything so much easier.

I hate making wrong food choices. So usually when I know exactly what I want, well that’s good.

Except perhaps when what you really (really) want is sai krop isan … a beautiful sour fermented sausage street food from north eastern Thailand …

BUT … ! Hold on!

I made this. And it was so good. All from store-cupboard stuff and some pork sausages.

A real cheat’s version, yep.

But really good in its own right too.

Note that the ingredients need cooked rice, so maybe make some extra one evening so you can have this for lunch the next day, or cook the rice first anyway so that you have it ready to make the new sausages.


For a light lunch for two you’ll need …

2 or 3 pork sausages, plain or Cumberland

one garlic clove, peeled and finely chopped

1 tablespoon light soy sauce

a good pinch of salt

a teaspoon of ground coriander

1/2 teaspoon white pepper if you have it

a tablespoon or two of cooked rice

plain flour

cooking oil

lettuce, cucumber, spring onions, sliced chillies and lime juice to serve


Get all the ingredients together and squeeze the sausagemeat from the sausages, just cutting the casings (and discarding), squeezing it out and then mixing with the garlic, soy sauce, salt, ground coriander and white pepper.

Mix it all up and add the cooked rice, and mix again and make into a ball.

Dredge with plain flour so you’re ready to start making the brand new sausages.

Pull off pieces of the mixture and roll in your hands to make new little sausages.

Put a non-stick pan over a medium heat, add cooking oil and when hot add the sausages.

Cook for around eight minutes in total, turning every two minutes or so.

When brown and a little bit crispy they are perfect and ready.

(Try not to eat them all straight from the pan even though I know how tempting it is).

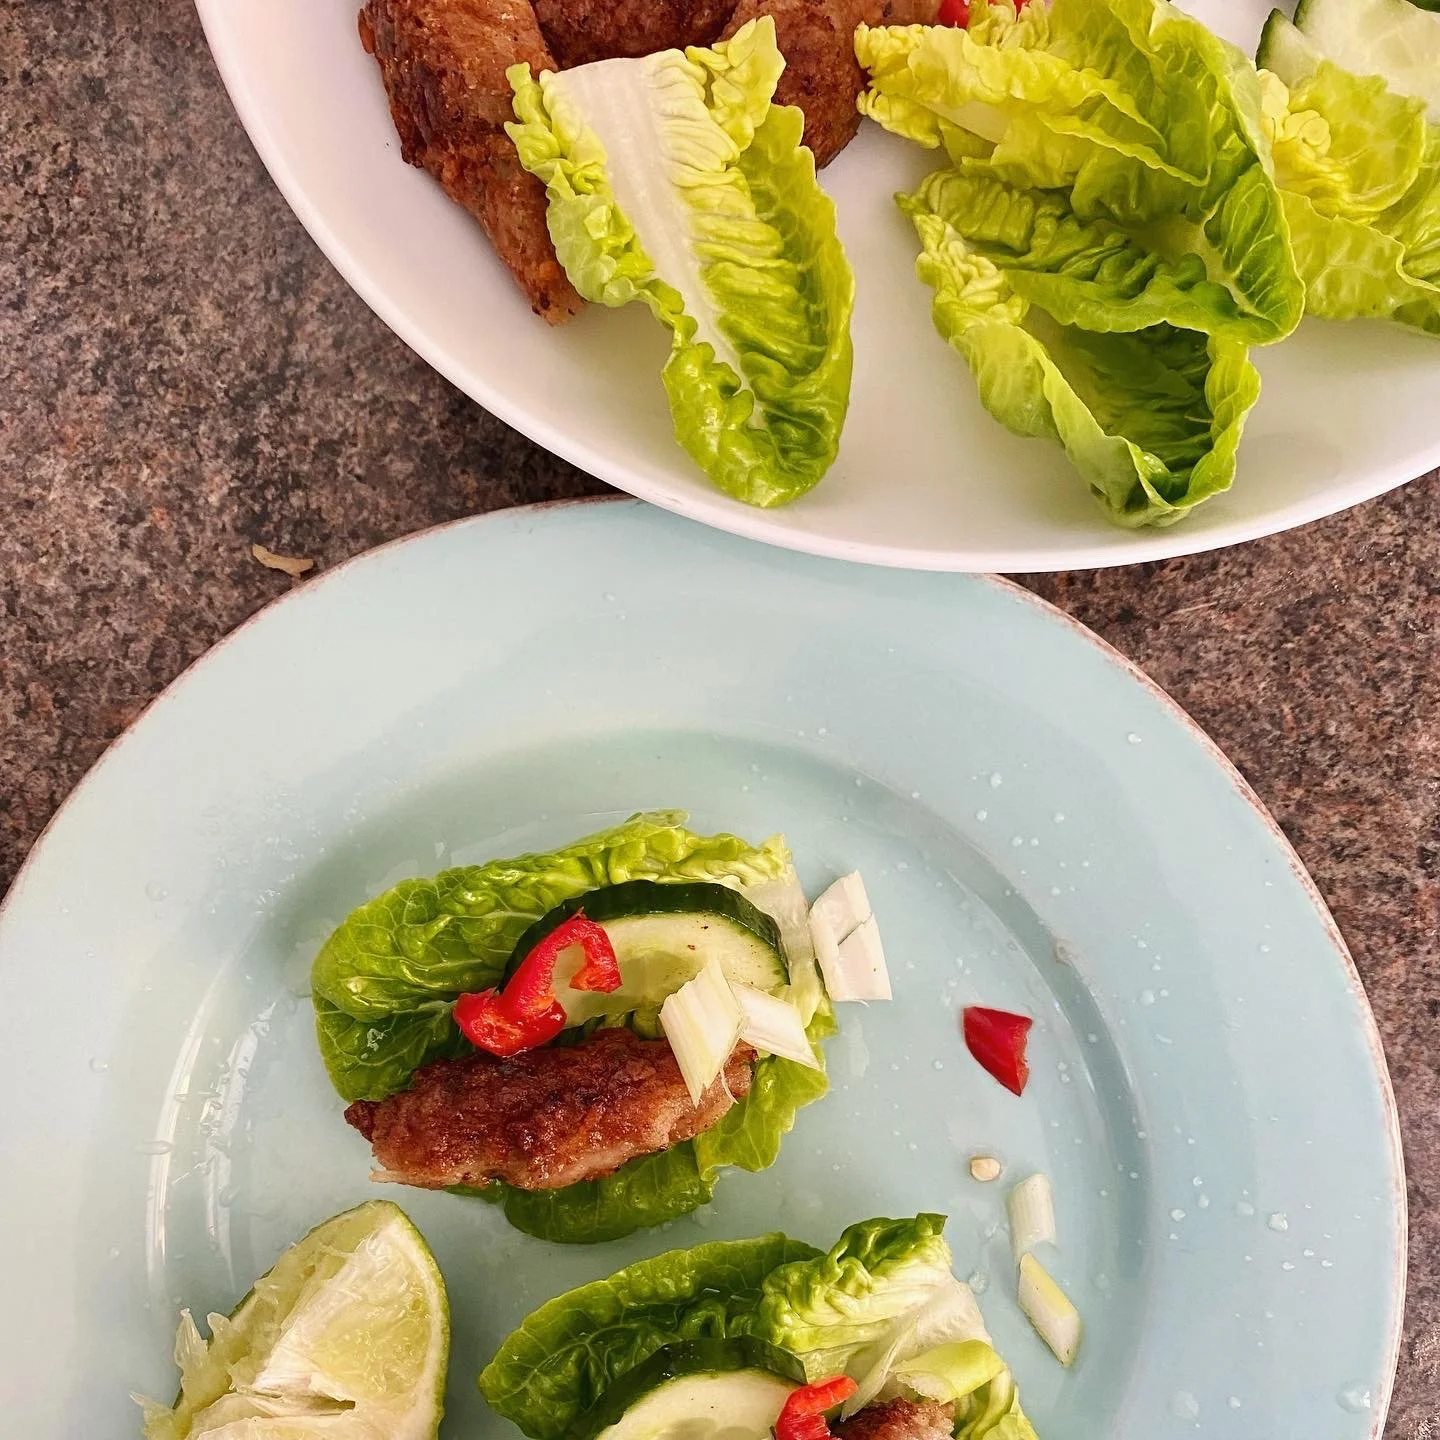
Eat wrapped in lettuce leaves, with perhaps also some cucumber, spring onions, some sliced chillies and a good squeeze of lime.

Really easy, perfect light lunch or dinner.

I hope you like them.


YOU MIGHT ALSO LIKE …

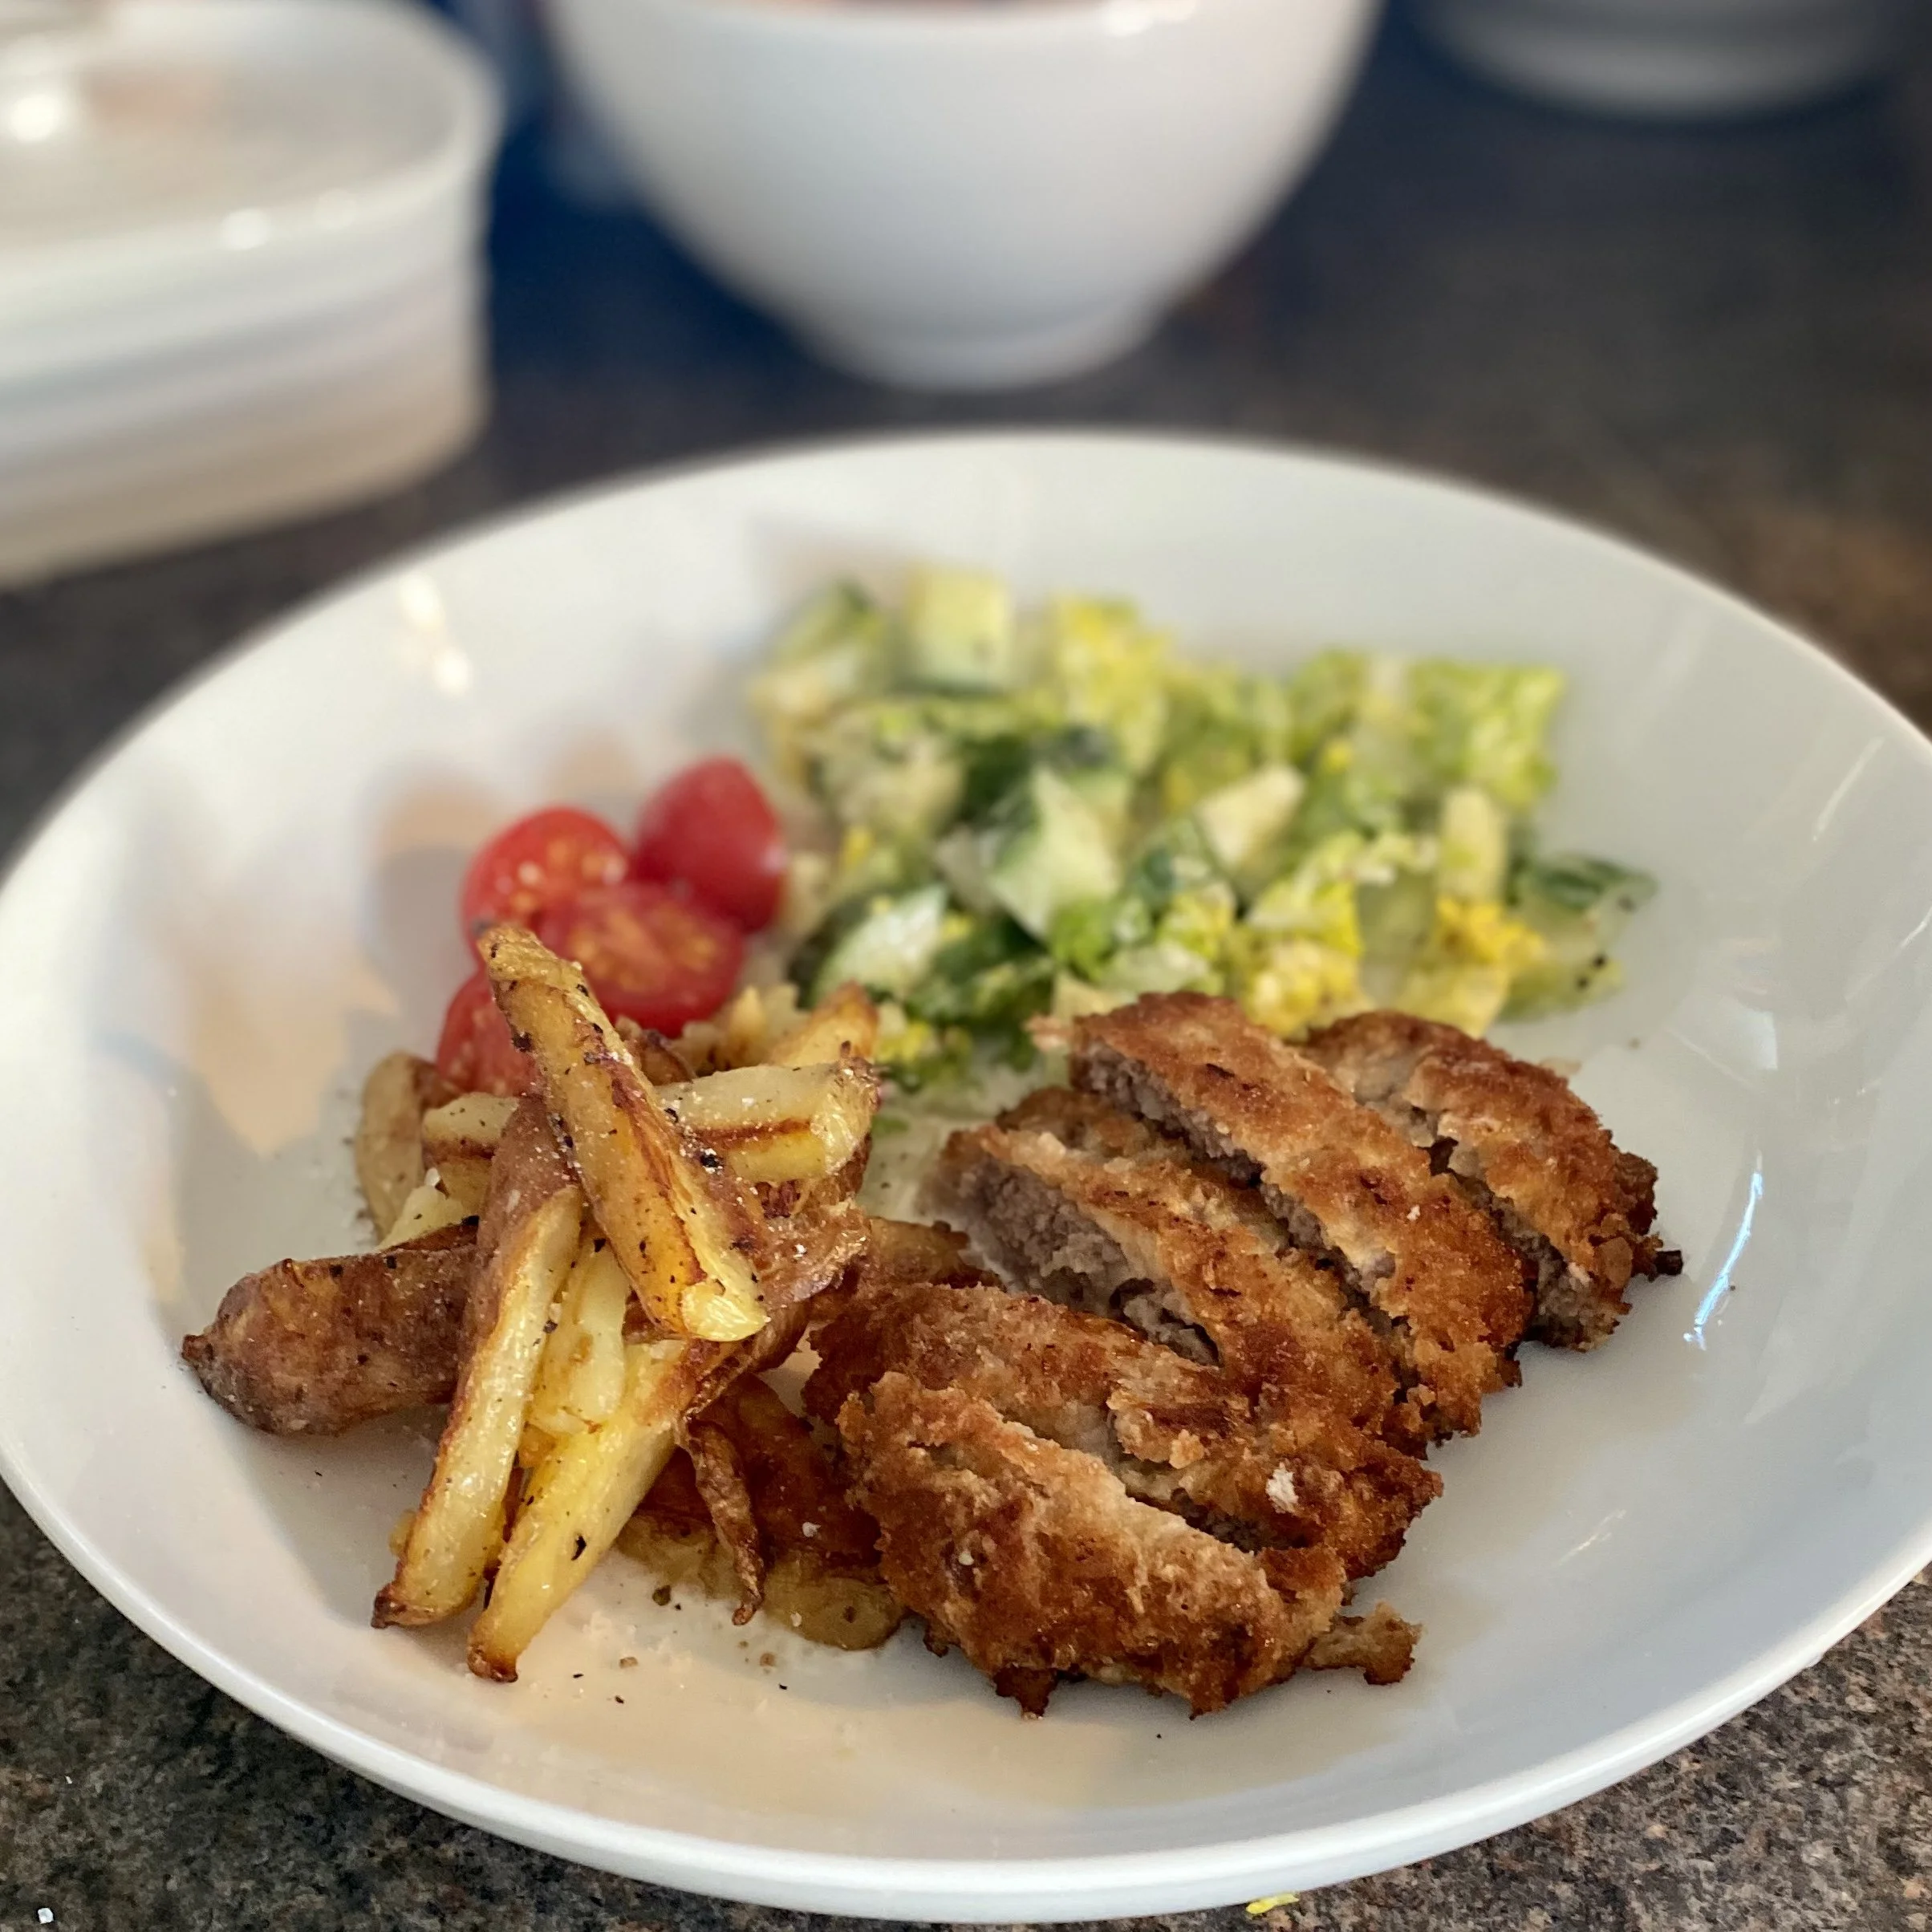
Midnight Diner's minced meat cutlet / menchi katsu

I watch little television but I am obsessed with Midnight Diner on Netflix. I recently discovered that it was released for viewing in a different order to when they were made so I’ve actually stumbled across a series I didn’t even know what there.

SUCH a great surprise and such a treat to get to binge-watch a whole new-to-me ten episodes!

I love everything about it. I love it so much I watch the intro every time. I love that each episode is short (I have the attention span of a gnat). I love the little stories, and connections.

Sometimes I also make the recipe from the episode - previously I made the chicken fried rice stuffed omelette, omurice. I’m tempted to go back right back to the start (in the correct order this time and make everything). Now that might be a good project!

Sometimes I can laugh, cry and then make a new recipe as with episode 1 of season 3.

As soon as I saw the minced meat cutlets I wanted to try them.

They’re so easy, really good with a lovely crunch and would perfect for kids too - a really good family dinner. And they’re kind of fun to make as well with the mixing and then the dipping etc.


To make four cutlets you’ll need:

approx 125g each of pork mince and beef mince

1/4 white onion, finely chopped

Worcestershire sauce and/or tabasco (both optional)

salt and pepper

breadcrumbs

1 egg, beaten

plain flour

cooking oil

You could use just beef mince or just pork mince but the mixture works really well and I read yesterday that in Japan you can actually buy a pack of it ready minced!

I’ve put the quantities as roughly 125g of each but that’s not exact and if it’s easier, it’s probably around a handful of each. Also, I didn’t weigh mine out - I had a 500g pack of each mince so just by eye halved it and then halved again, ie used a quarter.

I was trying to make that simple but think I’ve actually made it sound complicated! It’s honestly not!

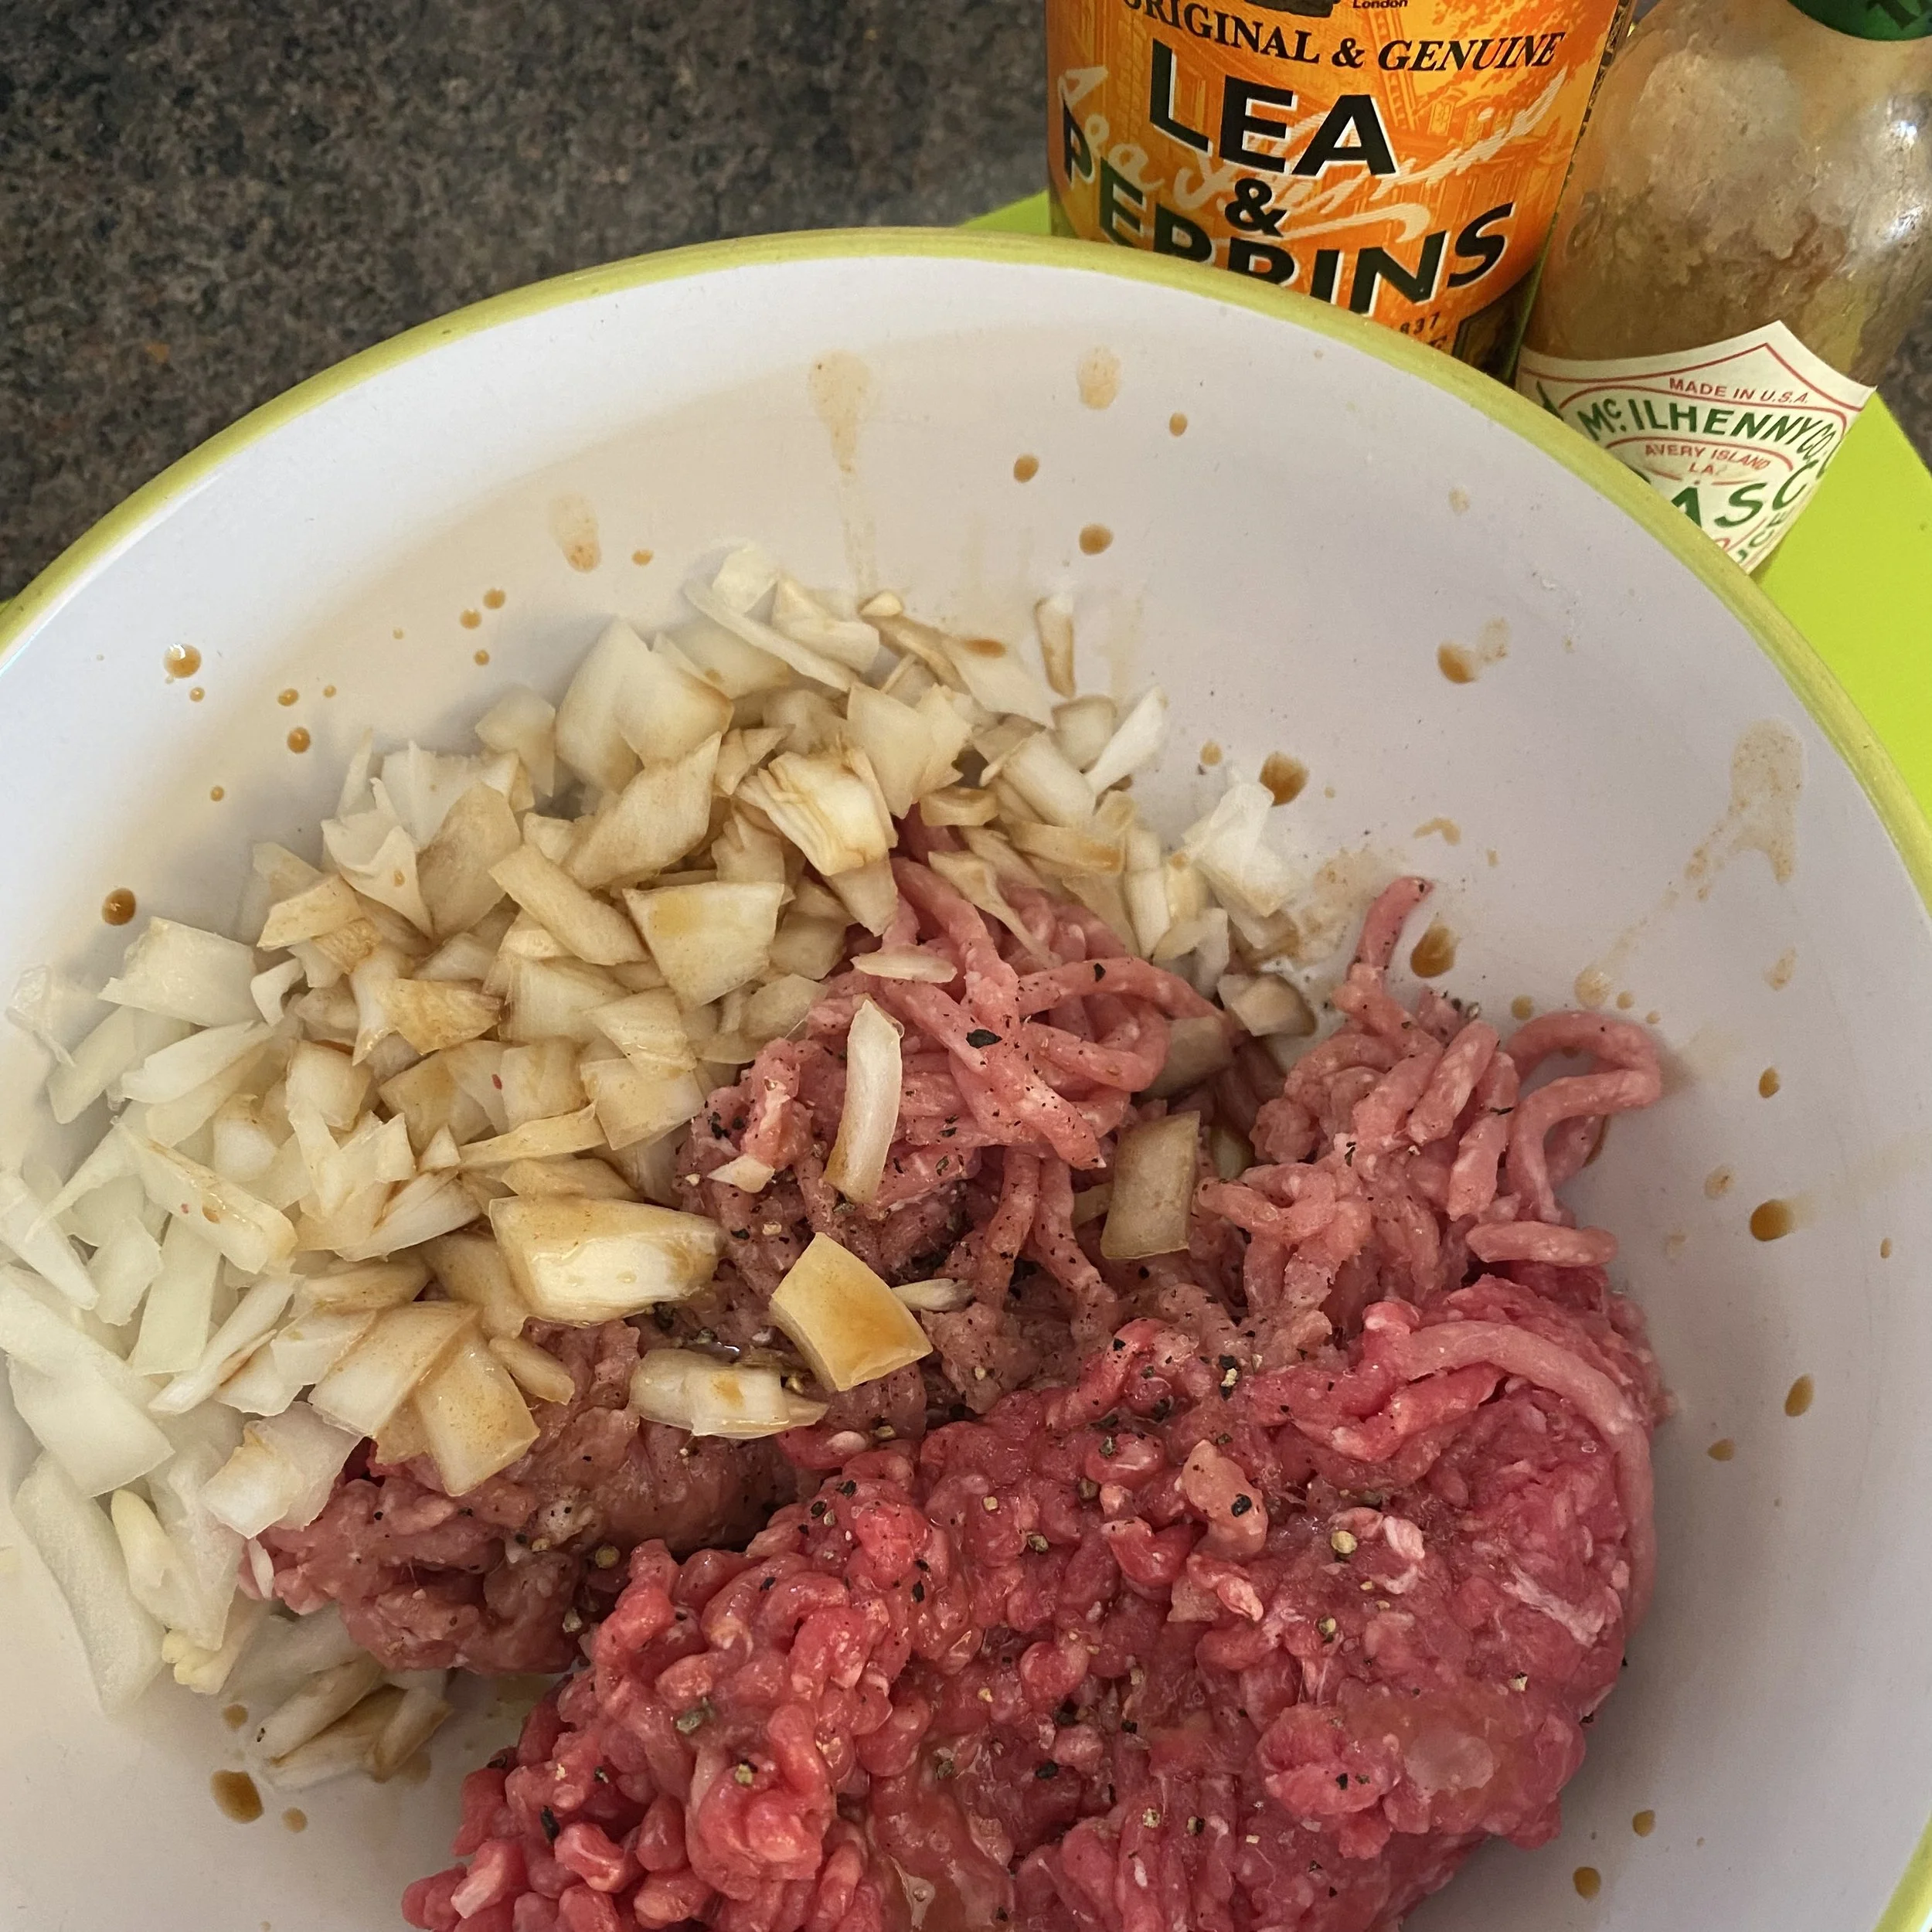
Mix the minces with the chopped onion, some salt and pepper and a dash or two each of Worcestershire sauce and Tabasco - if liked. If not, just leave them out. Really squish and mix it all together - I find it easiest to use my hands but I know some people don’t like touching meat so of course you can use spoons or something.

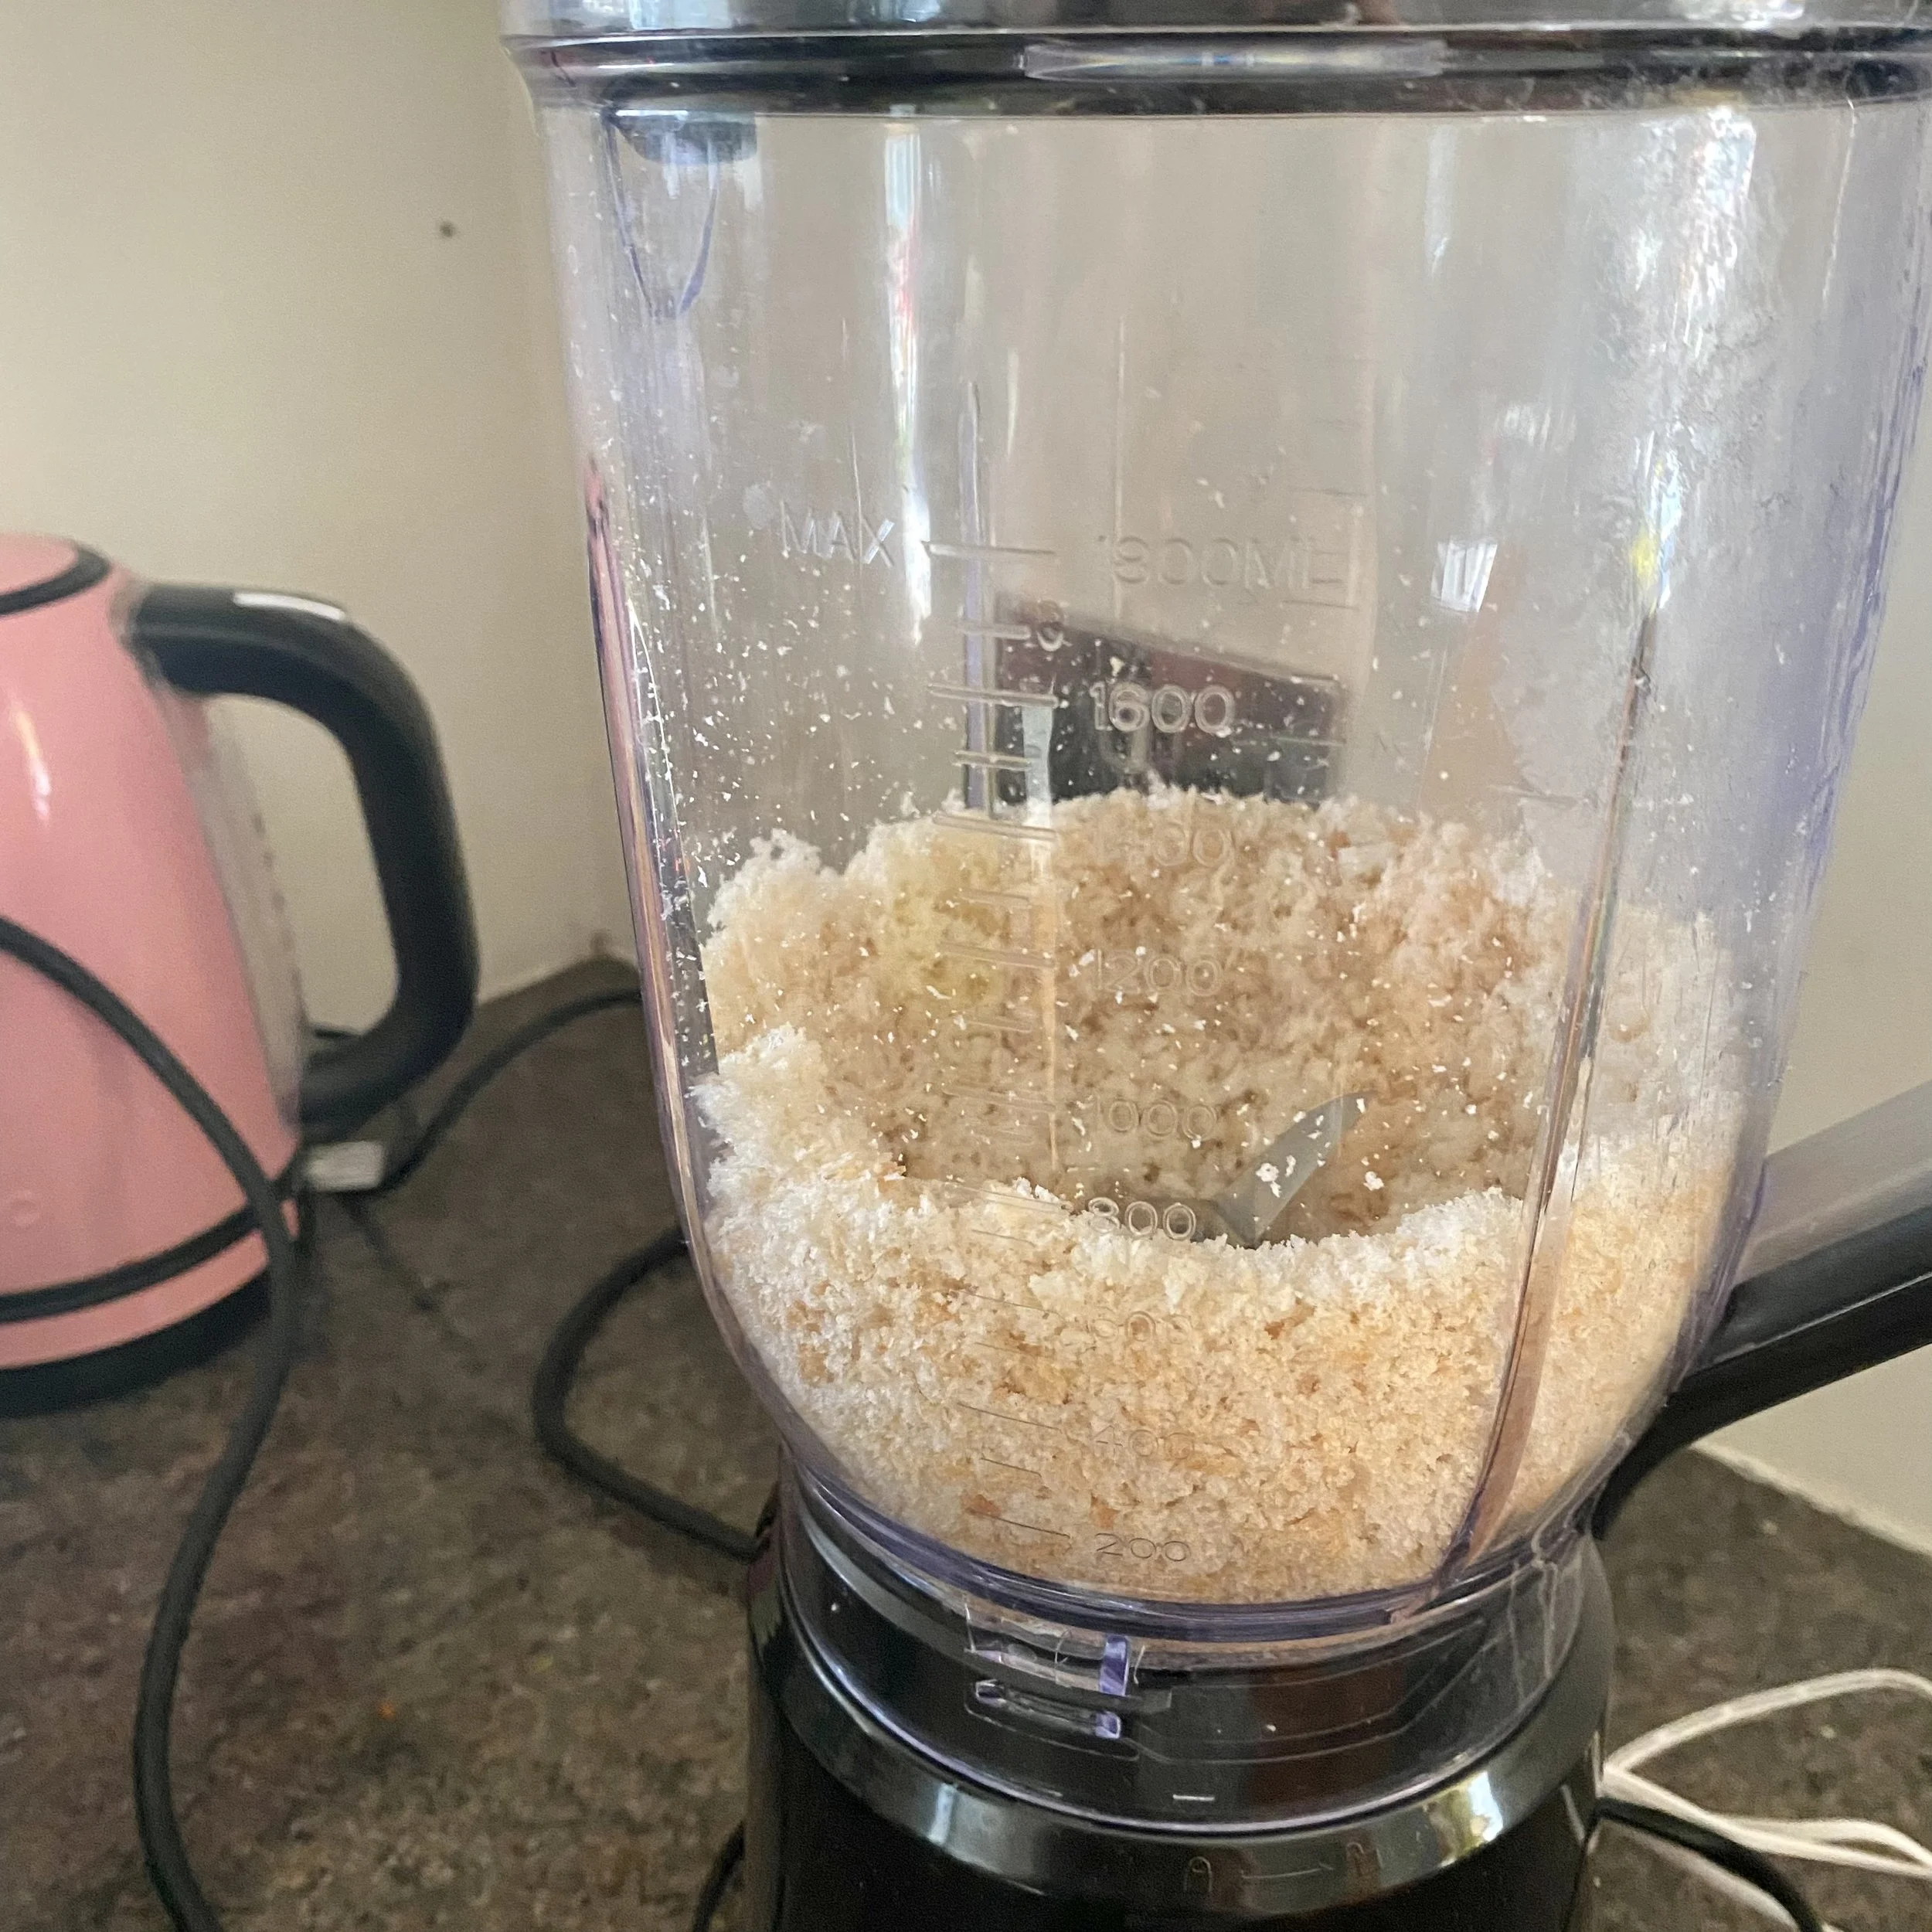
You can buy breadcrumbs or just whizz up a couple of slices or a hunk of bread in the blender or food processor.

And then get the dipping bowls ready: one with the breadcrumbs, one with a beaten egg and one with some plain flour.

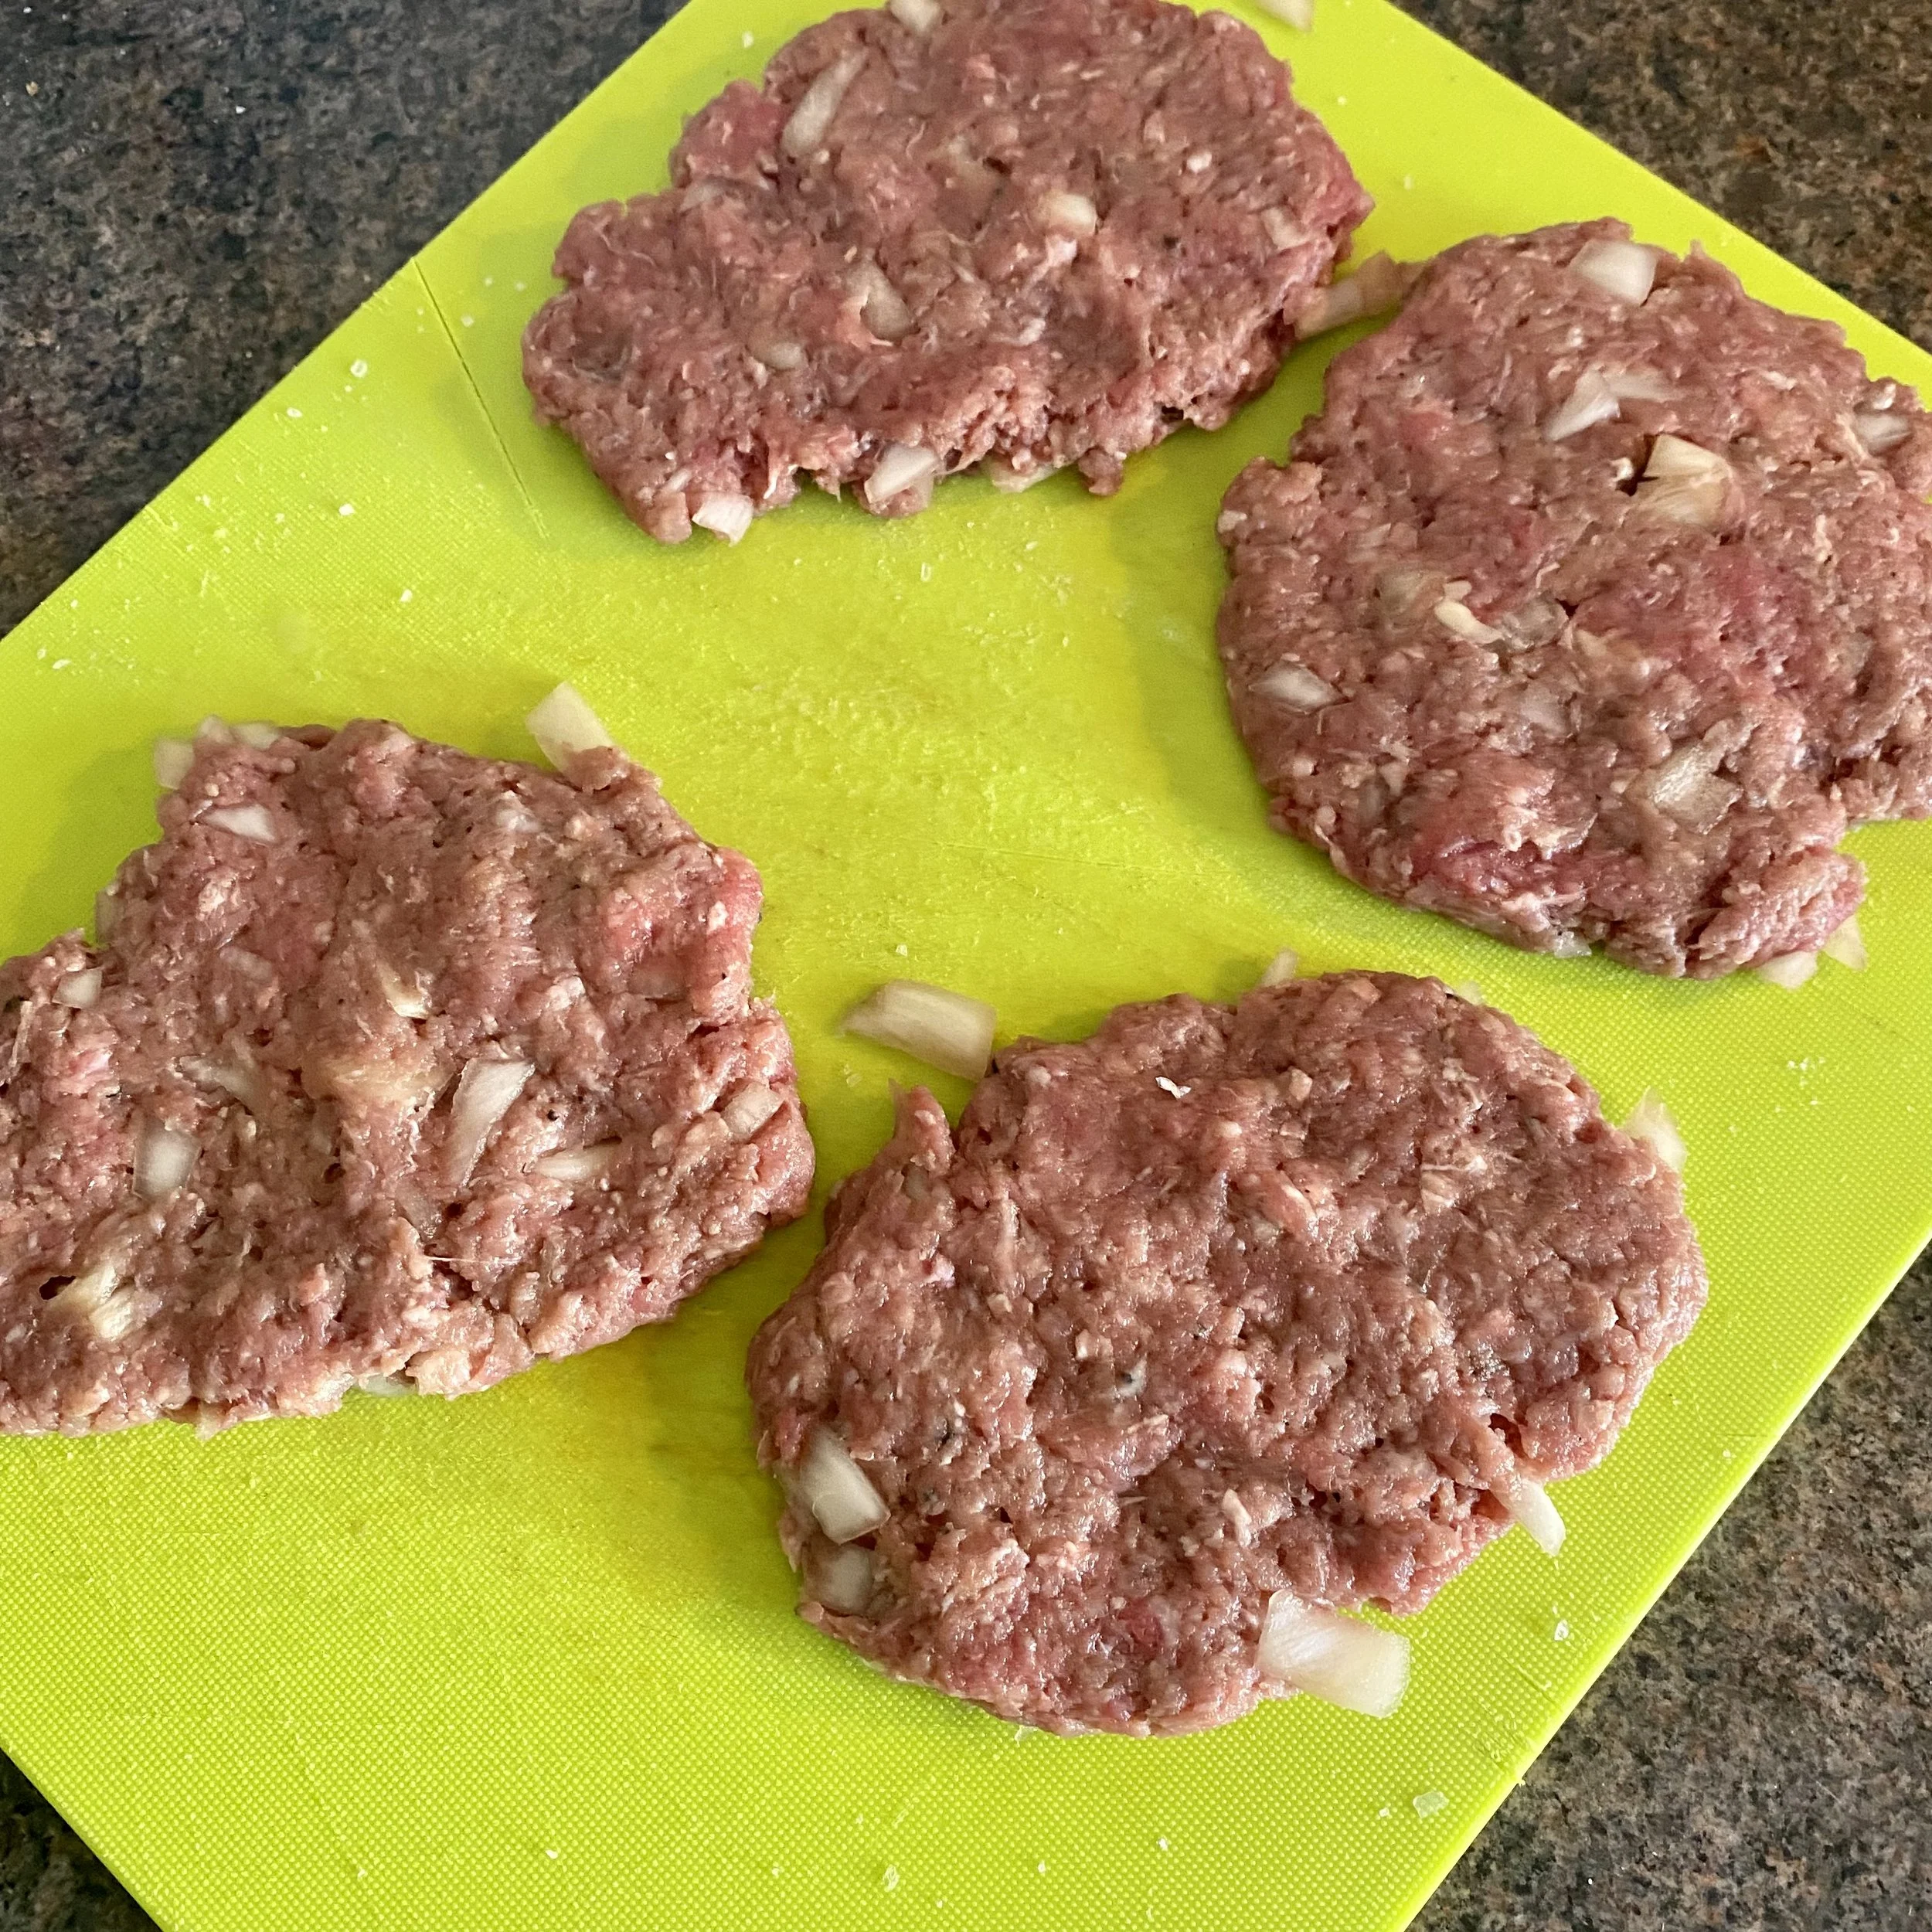
Divide the meat mixture into four, roll each into a ball and flatten out.

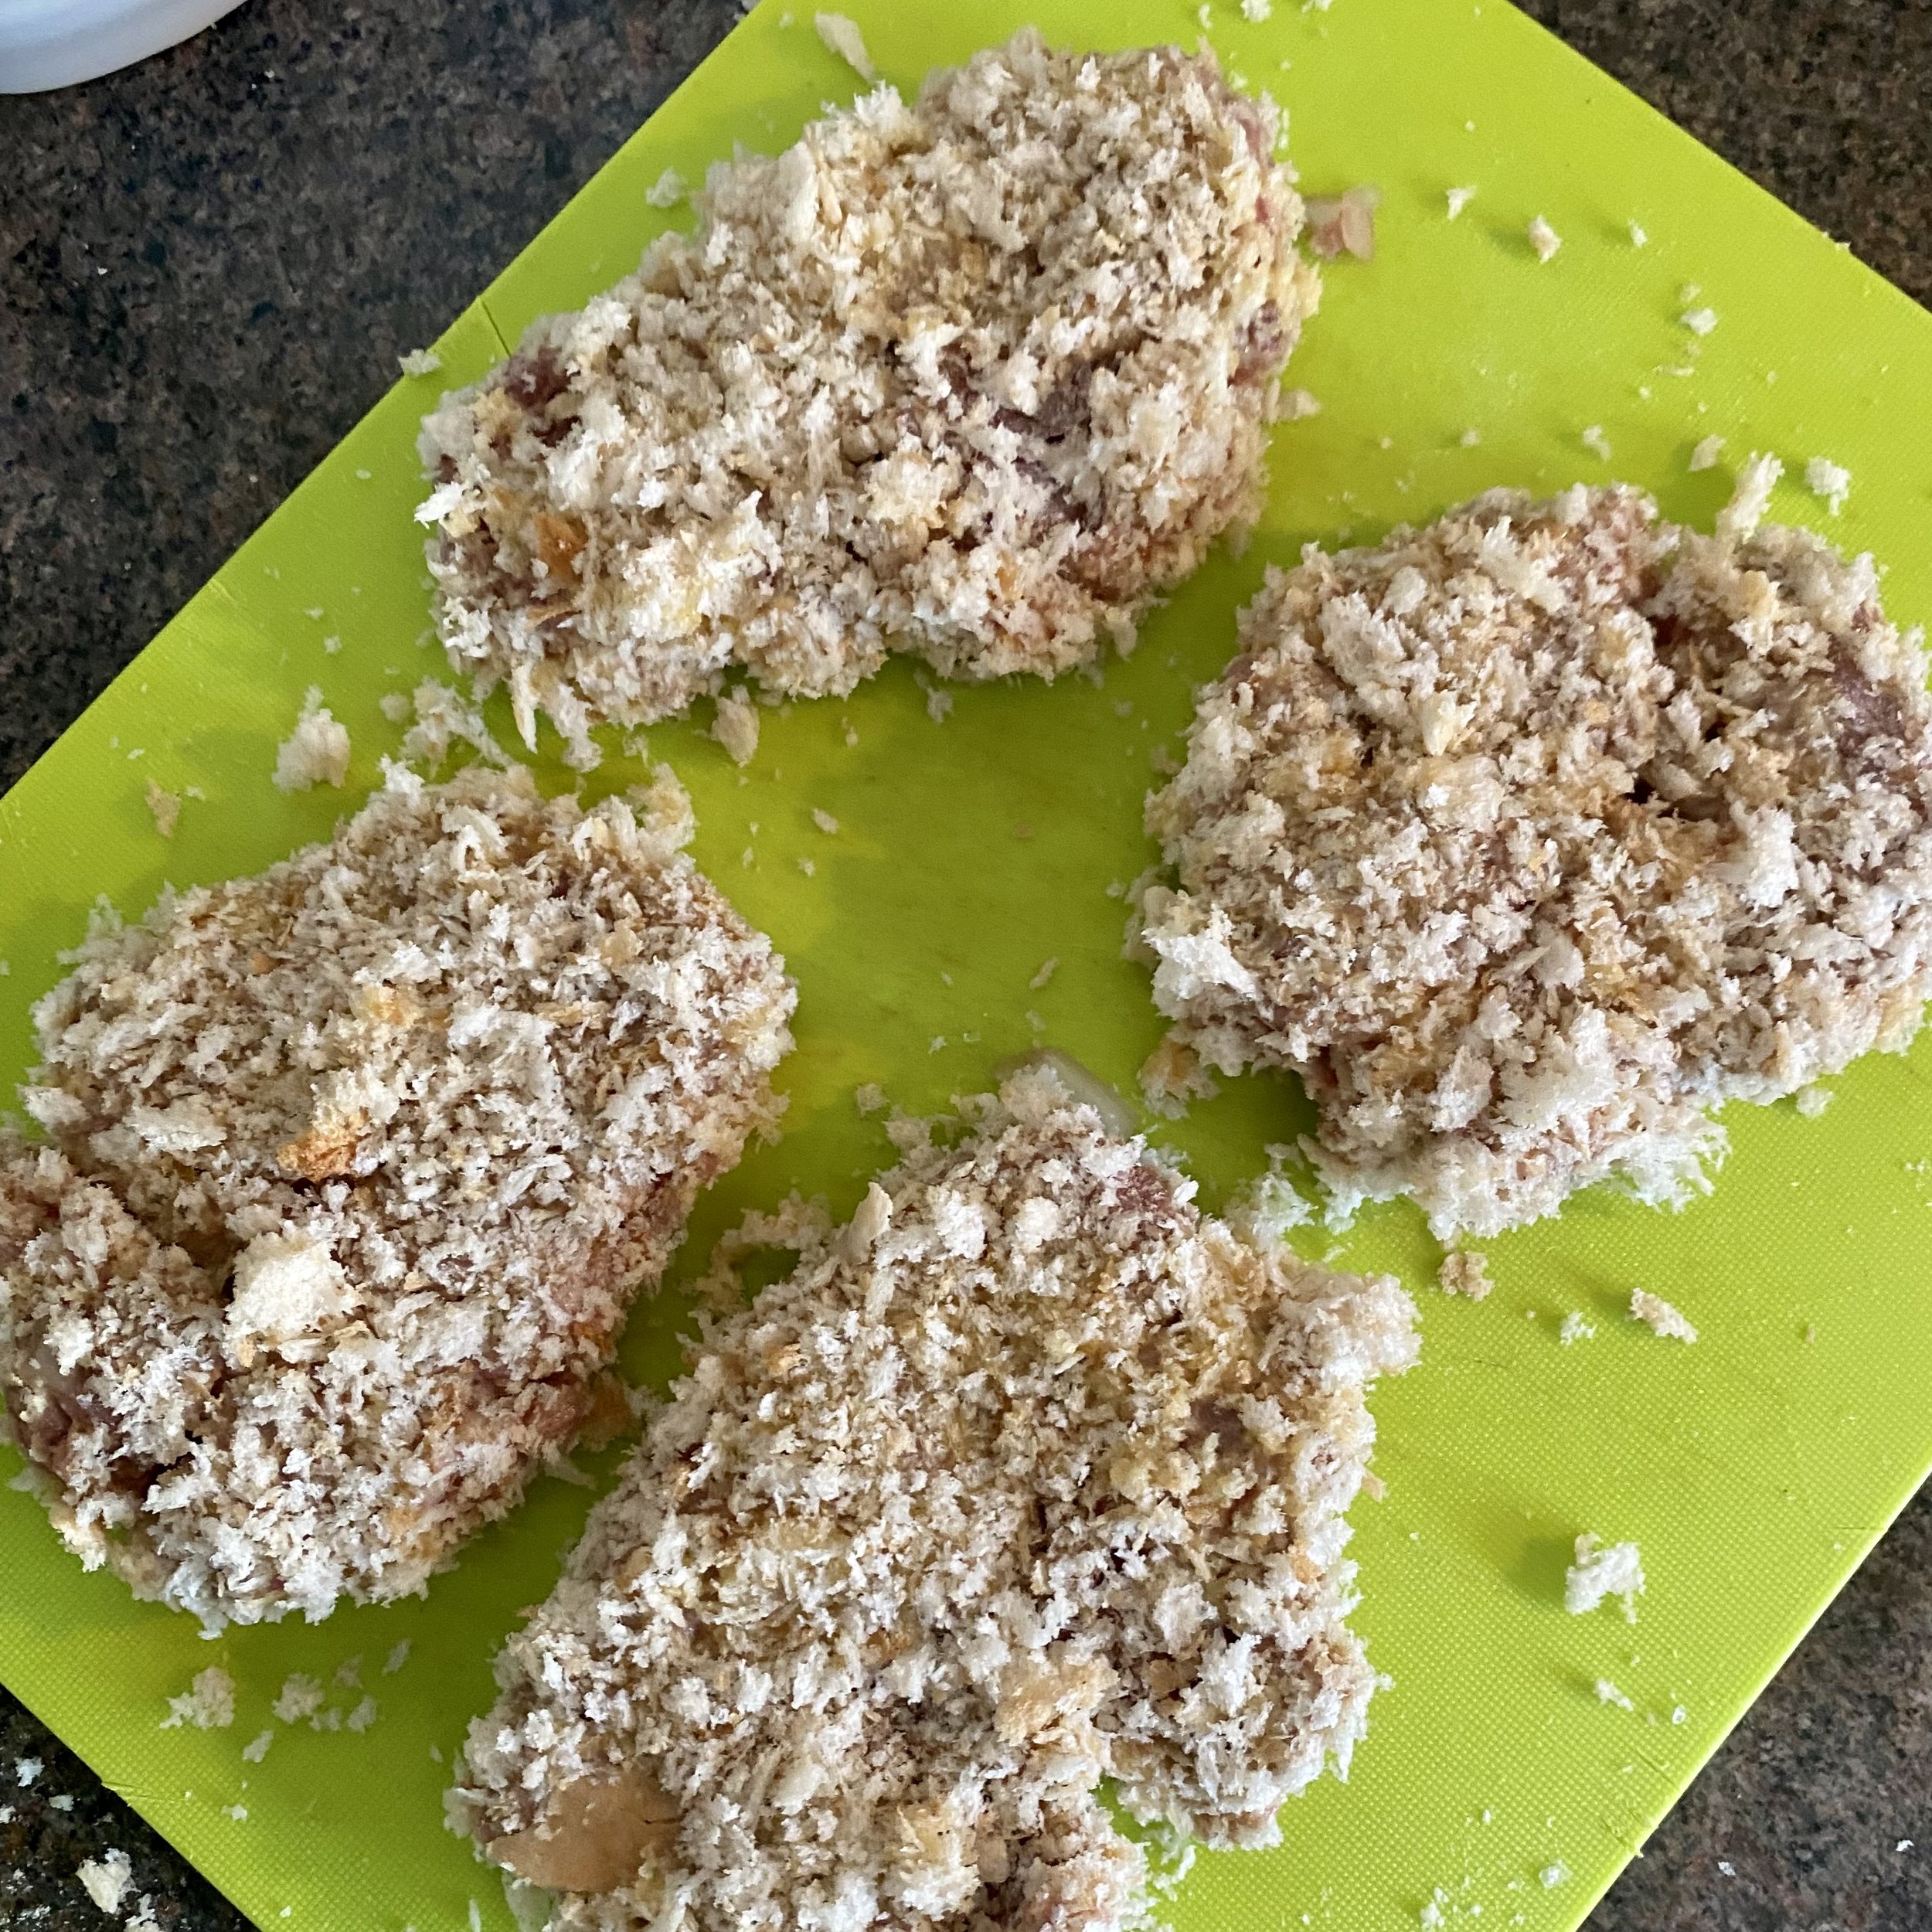
Then dip each first into the flour, then into the egg and then into the breadcrumbs.

Ooh just before we cook the cutlets let’s talk quickly about what to serve them with. I understand that traditionally it’s with tonkatsu sauce, which you can buy, or quickly make by mixing:

1 tablespoon ketchup

2 teaspoons Worcestershire sauce

1 teaspoon oyster sauce

1 teaspoon sugar

Stir it all together and taste - add more of anything to get the flavour as you like it.

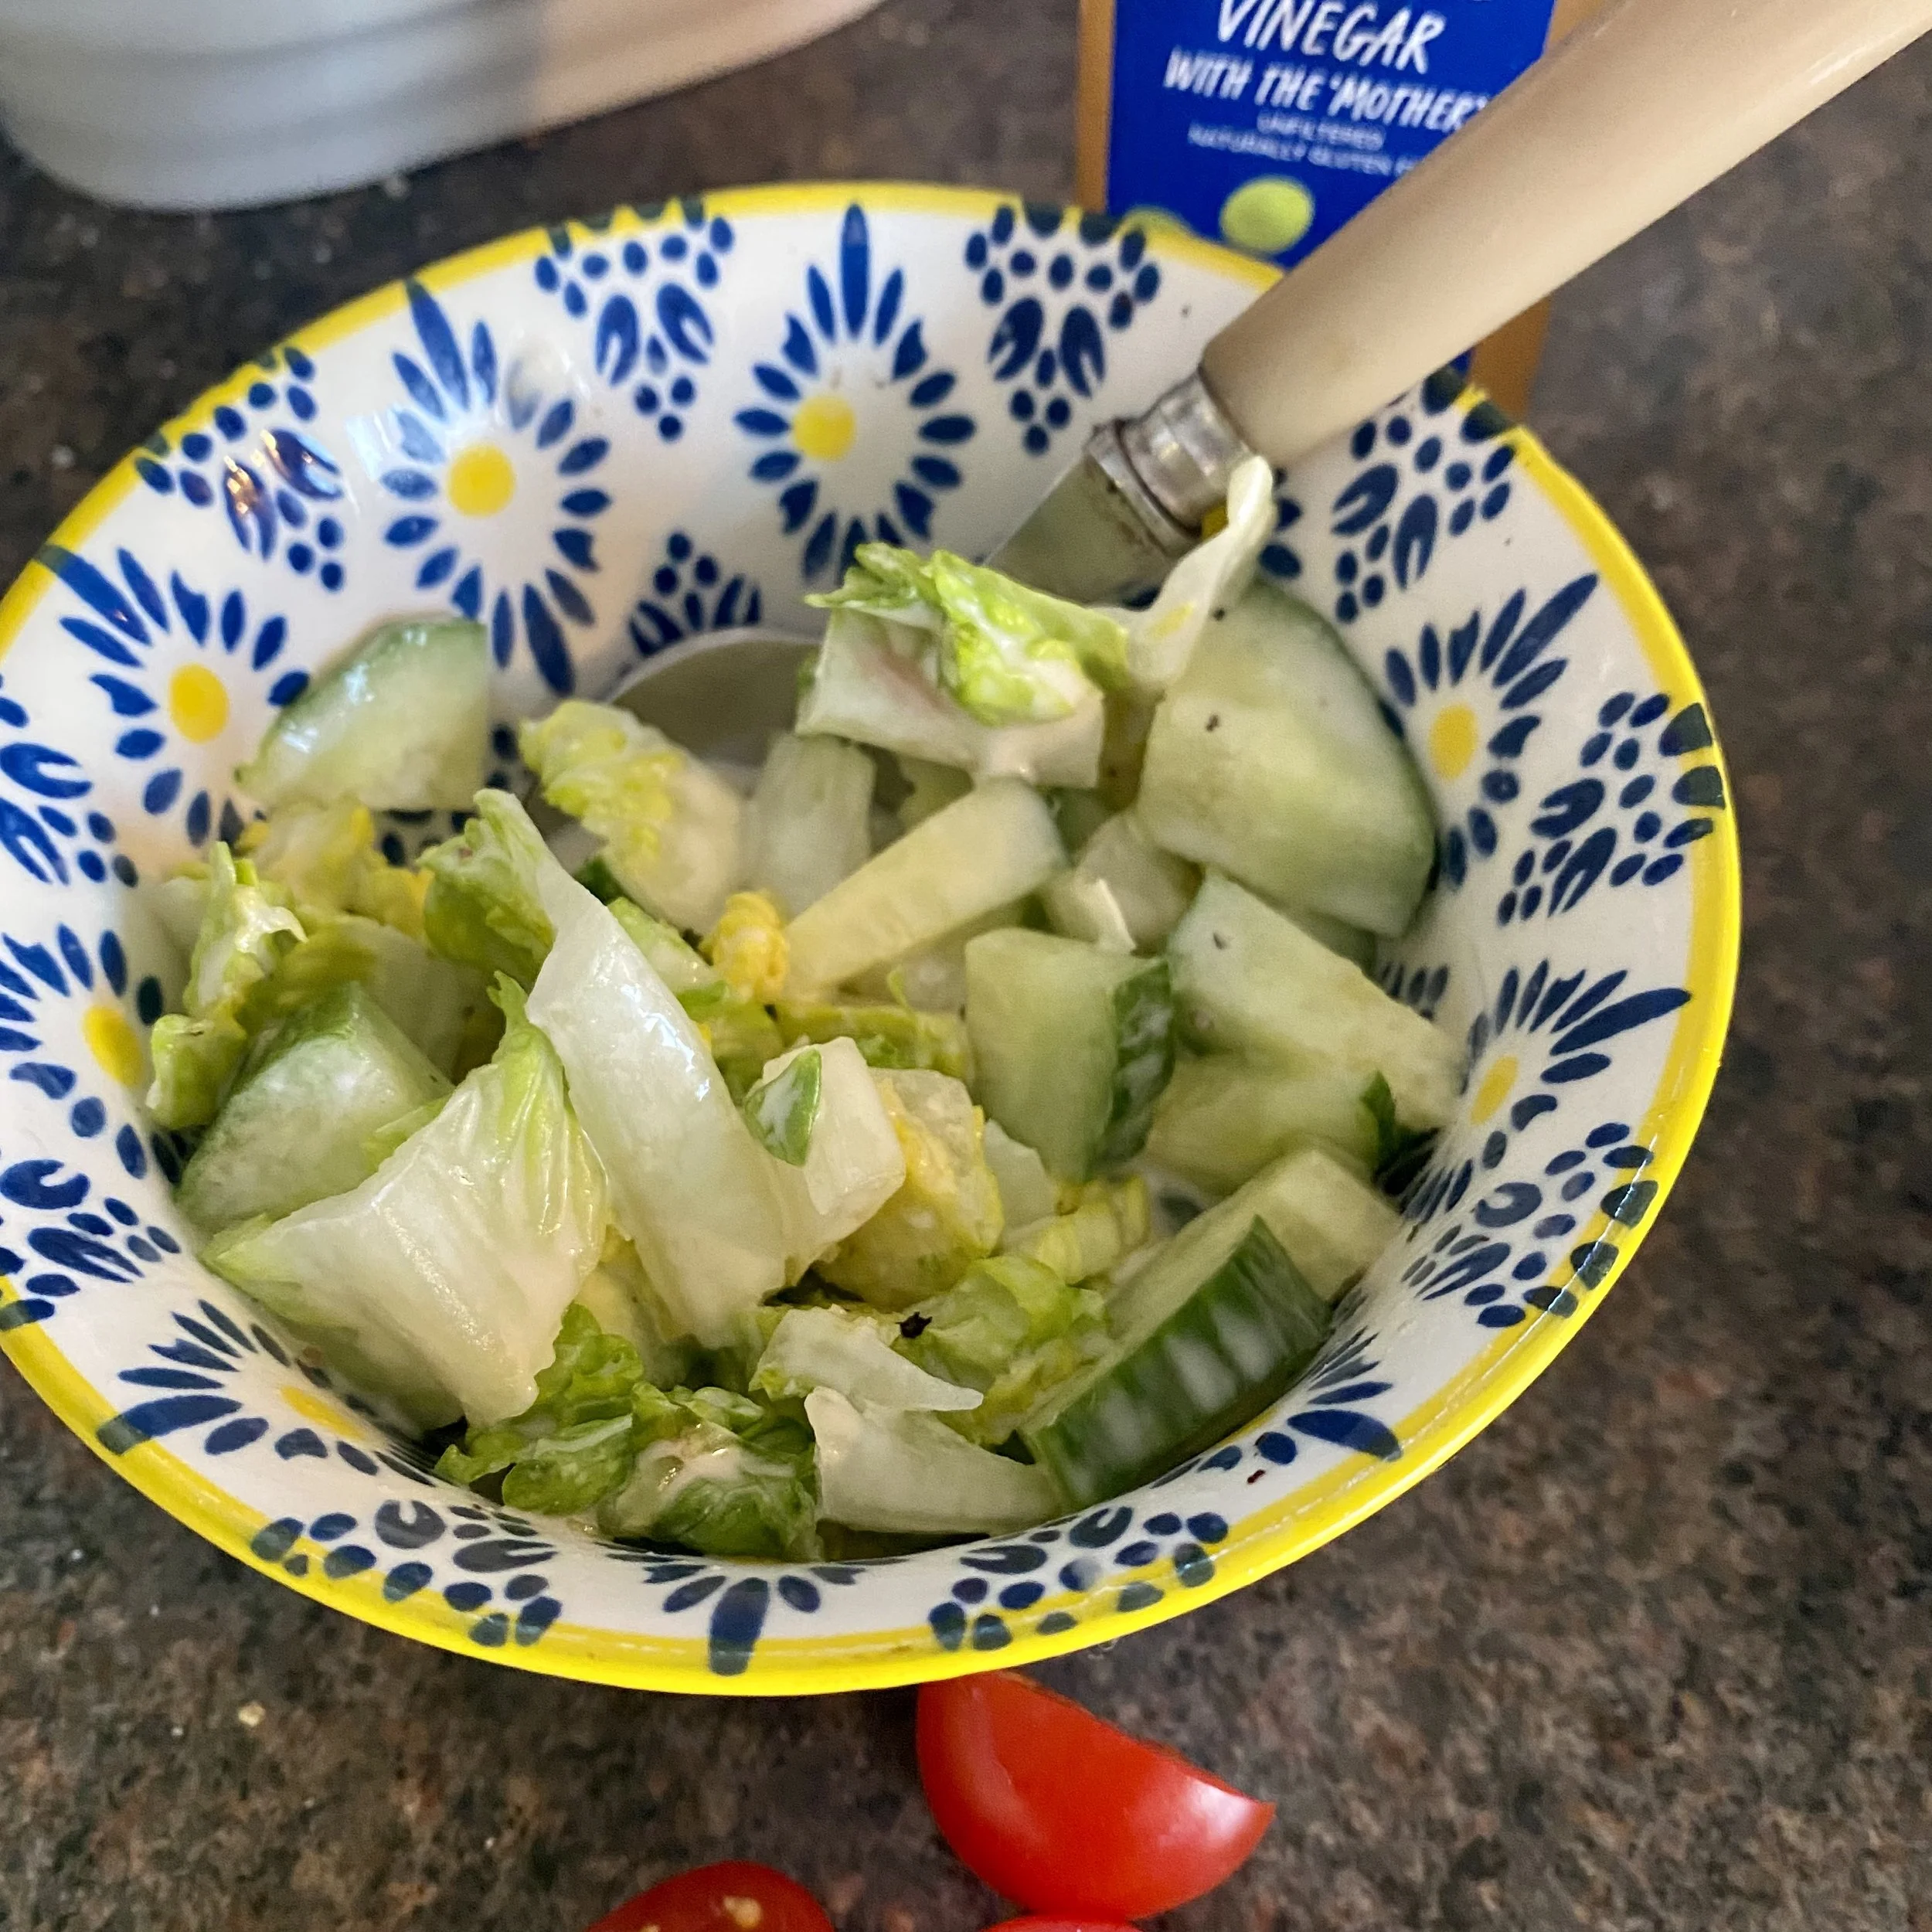
I also really like this with tartar sauce. I make a sort of very simple version just mixing mayonnaise with white wine vinegar.

Today I added some chopped lettuce and cucumber straight into this dressing to coat it all evenly so the salad was already dressed before adding to the plate.

OK, back to the cutlets.

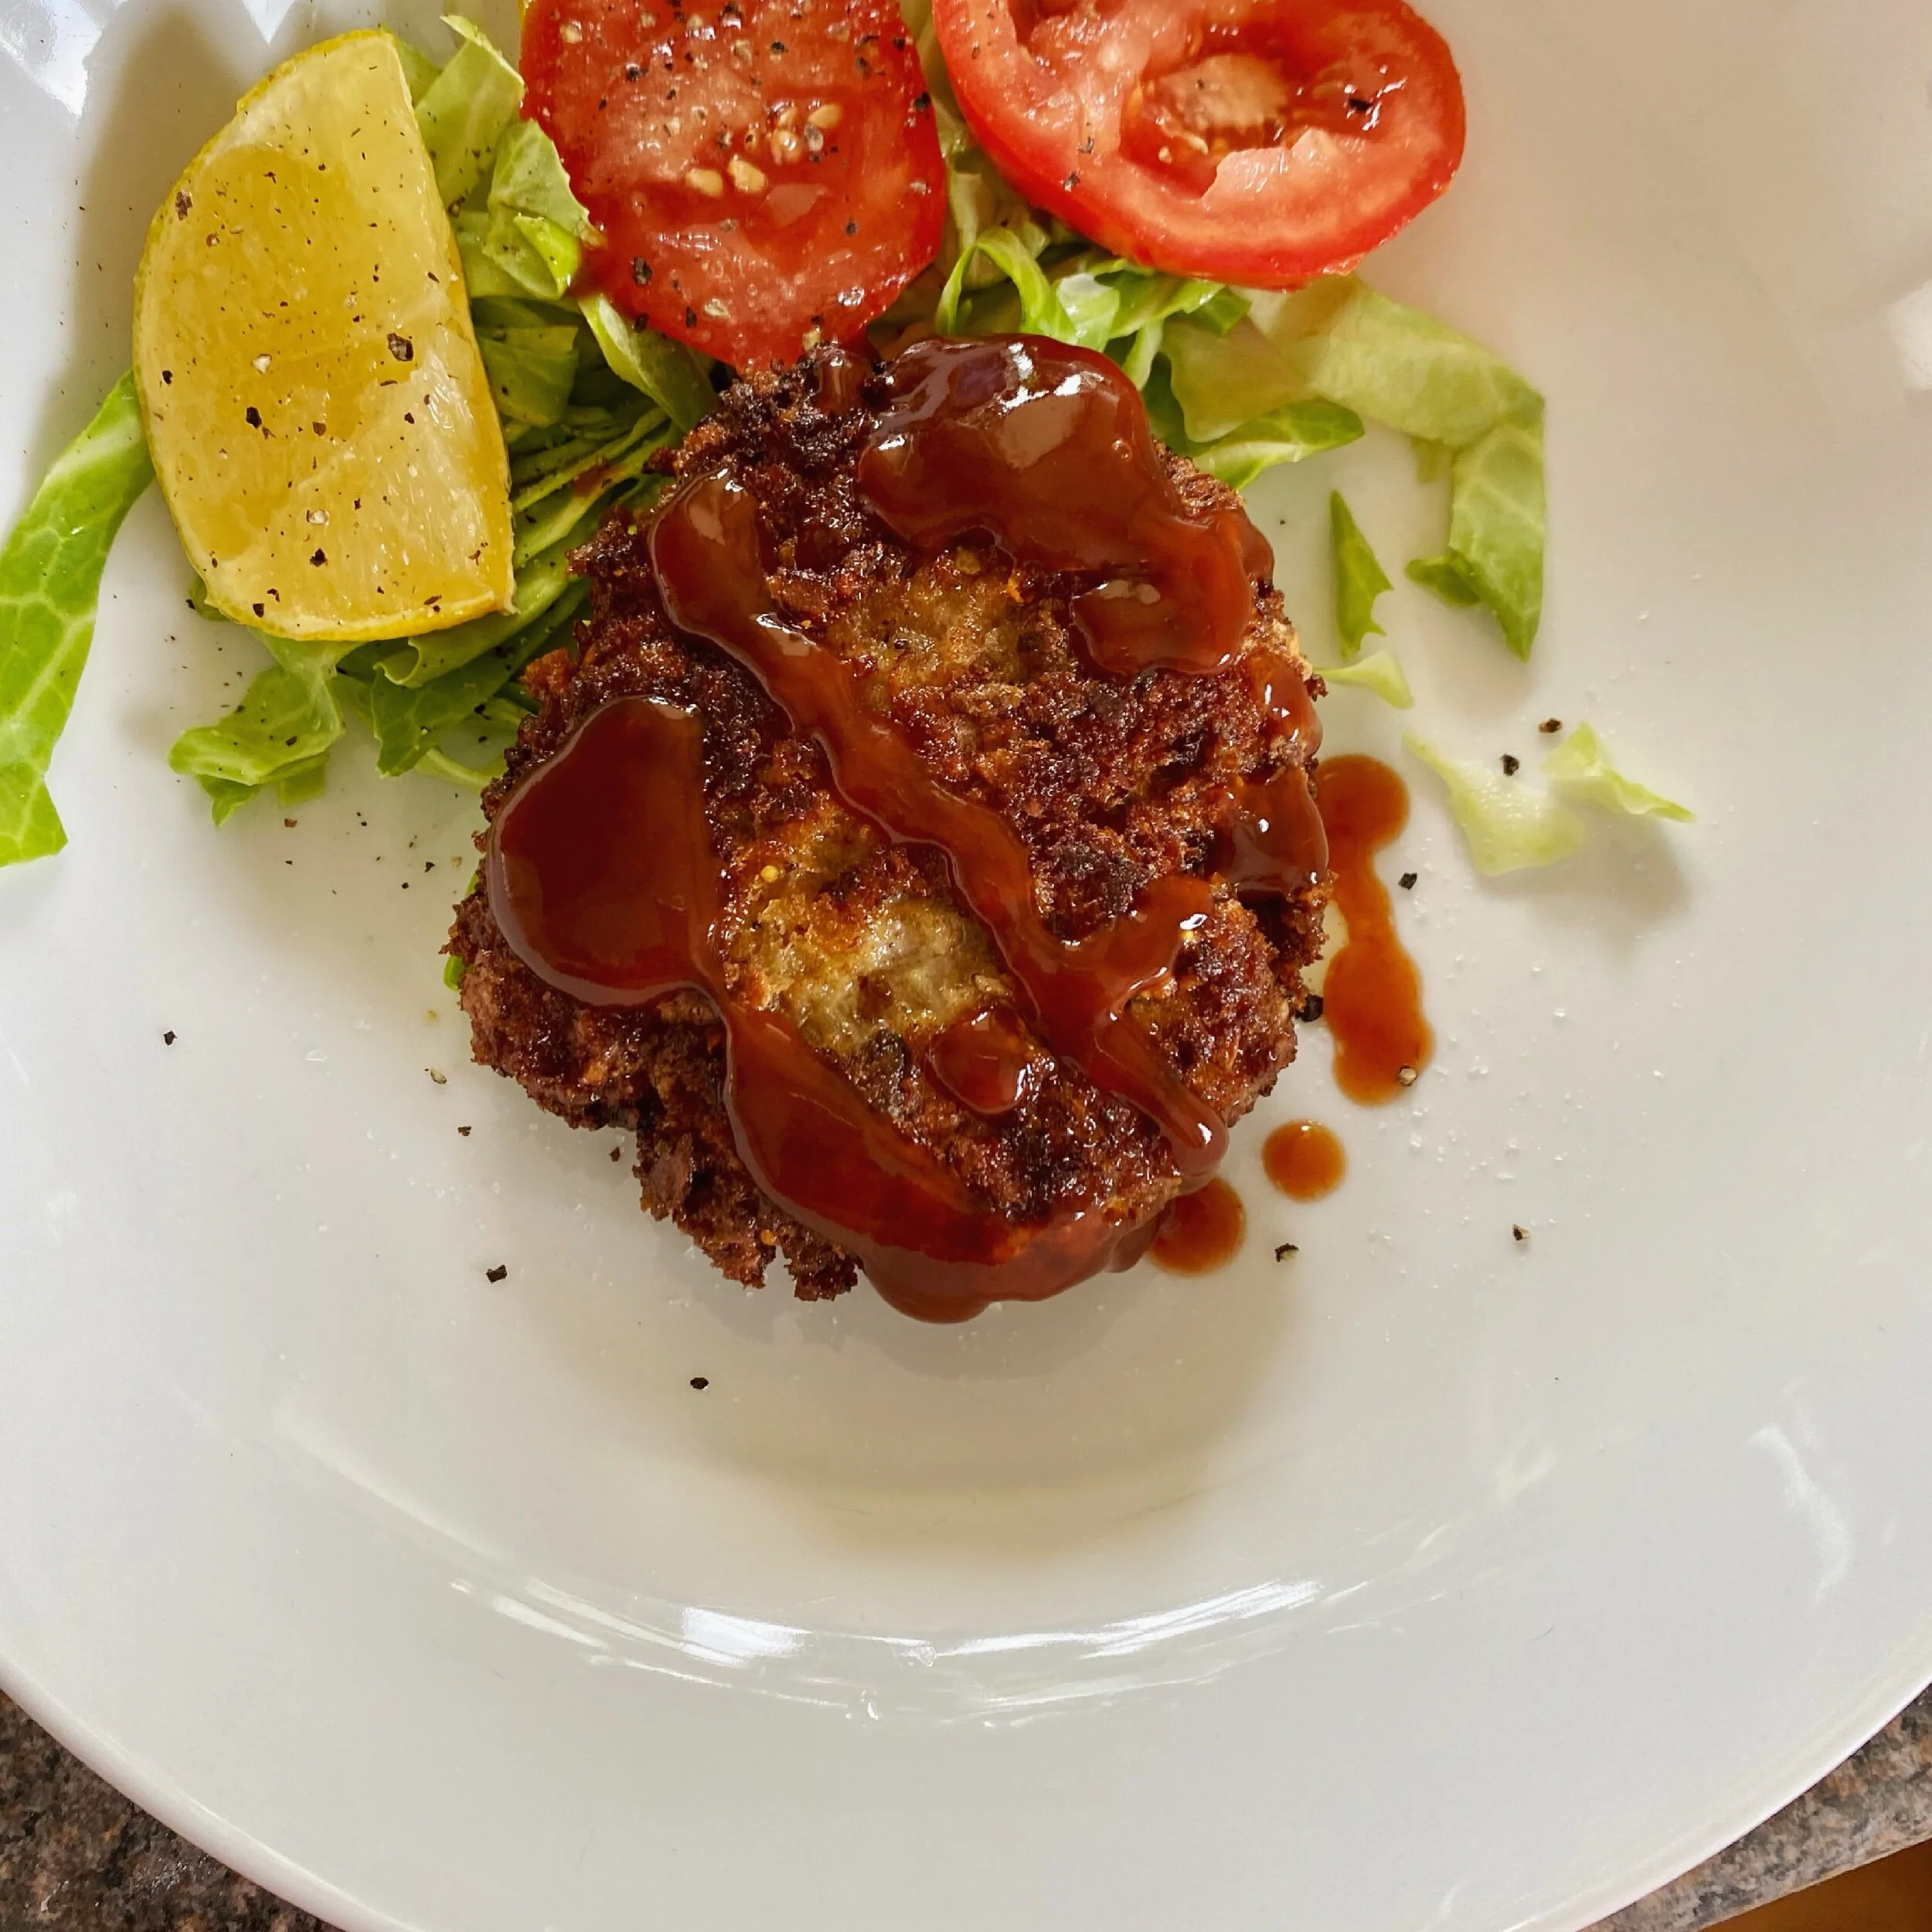
Put a non-stick pan over a medium heat and add quite a lot of oil. When a breadcrumb dropped into the hot oil sizzles, add the cutlets and cook for three minutes each side, maybe four if your cutlets are thicker.

Serve drizzled with tonkatsu sauce with finely chopped cabbage and some sliced tomato on the side.

Or have with tartar sauce, salad and chips.

Or have in a bread roll like a crunchy burger.

Or whatever else you think would be good.

I mean really these are so good you could just eat them on their own.


YOU MIGHT ALSO LIKE …

Vietnamese duck in spiced orange juice

Well, I’ve been meaning to share this one for a (long) while now. I’ve put it off because I don’t think my photos look that good - it’s so much harder getting good dinner photos in winter in the dark!

I’ve decided that it’s such a beautiful, special and yet still simple recipe that I’m going to post it anyway and I’ll come back another time with new-and-improved pictures.

But for now, I don’t want to put off sharing it any longer.

This is a Rick Stein recipe that I confess I’ve never read or seen myself. One day - a while ago - a friend texted me that she was watching a Rick Stein programme and they were making an amazing duck in orange juice dish.

I googled it and didn’t actually come across the original recipe but did find several blogs sharing that recipe, so I read a couple of those. I read the recipes through and knew I needed to simplify it to work for me - I just won’t ever get round to getting a whole duck and having it jointed, for instance, but I really did want to make this recipe.

So here’s my simplified version of another blogger’s version of a Rick Stein recipe ….


This is for two people and you’ll need:

2 duck breasts

2 cloves of garlic, peeled, crushed and minced

a good piece of fresh ginger, peeled and grated (probably around equal amount to the minced garlic)

Approx 1/2 litre orange juice (fresh with bits is good but normal orange juice in a carton will work too so don’t get hung up on it)

2-3 birds eye chillies - red is ideal but green is good too. First time I made this I diced them all and it was spicy - I think the original puts them all in whole to flavour the dish whilst cooking. This time I made it I sliced one and put the other two in whole (you can remove them at the end before eating)

2-3 star anise (and just how beautiful are they? I LOVE star anise)

2 tablespoons fish sauce (last night I didn’t have any so used light soy sauce and it was still good)

2 teaspoons granulated white sugar

chopped zest of a lime and the juice of half a lime (the original recipe says to use lemongrass but I didn’t have any so this is simpler)

ground black pepper

1/2 teaspoon corn starch mixed with 1 teaspoon water

a few spring onions, chopped as garnish (the green part looks nicer, but I used the white part - another thing to change when I make it again and take new photos!)


Adjustments.jpeg
IMG_1099.jpeg

Get all the ingredients together so you’re ready to go.

Put a good big-enough-to-cook-it-all-in non-stick pan over a medium high heat and add the duck breasts, skin side down.

Cook for 5-6 minutes until the skin is crisp then turn (carefully, it’s going to spit!) and cook on the other side for three minutes.

Turn off the heat and remove the duck breasts and put into a dish for now.

You only need a tablespoon or so of the duck breast oil now in the pan so spoon any extra away - you could keep in a jar to make roast potatoes another time.

Add the garlic and ginger into the pan with that duck oil and turn the heat back on. Cook on a low heat for 30 seconds or so, stirring all the time, until it just smells amazing!

Next add the orange juice, chillies, star anise, fish/soy sauce, sugar, lime zest and juice. Stir it all together and season with freshly ground black pepper.

Bring slowly to a nice gentle simmer and return the duck breasts to the pan.

Partially cover and simmer for about 40 minutes.

Check on it and perhaps turn the duck over and cook for another 15-20 minutes or so.

Take the duck pieces out and keep warm.

Skim off any fat on the surface and then turn the heat up and boil to reduce slightly (don’t do this if your sauce has already reduced enough of course). Add the corn starch in water, stir and simmer again for a couple of minutes.

And then serve this up in whatever way looks most delicious to you!

You could keep the duck breasts whole and put them on top of rice and ladle the sauce over, or you could slice them and pour the sauce over ….

Garnish with spring onions (the pretty green part ideally) and eat with rice.

This is such a gorgeous dish I really hope that you try it and like it.

Adjustments.jpeg
5118BC2C-004B-4AA8-B125-687415B1ADDC.jpeg


YOU MIGHT ALSO LIKE …

Perfect poached chicken

I love poached chicken and it unfairly gets a bad rap.

Nothing too serious, y’know, just basically that it’s tough, boring and tasteless!

Well I, for one, love it and here’s why …

1. It keeps the chicken super-moist and delicious but you do have to cook it on a whispering murmur of a simmer for maybe 20-25 mins (not boil the crap out of it for ten mins). .

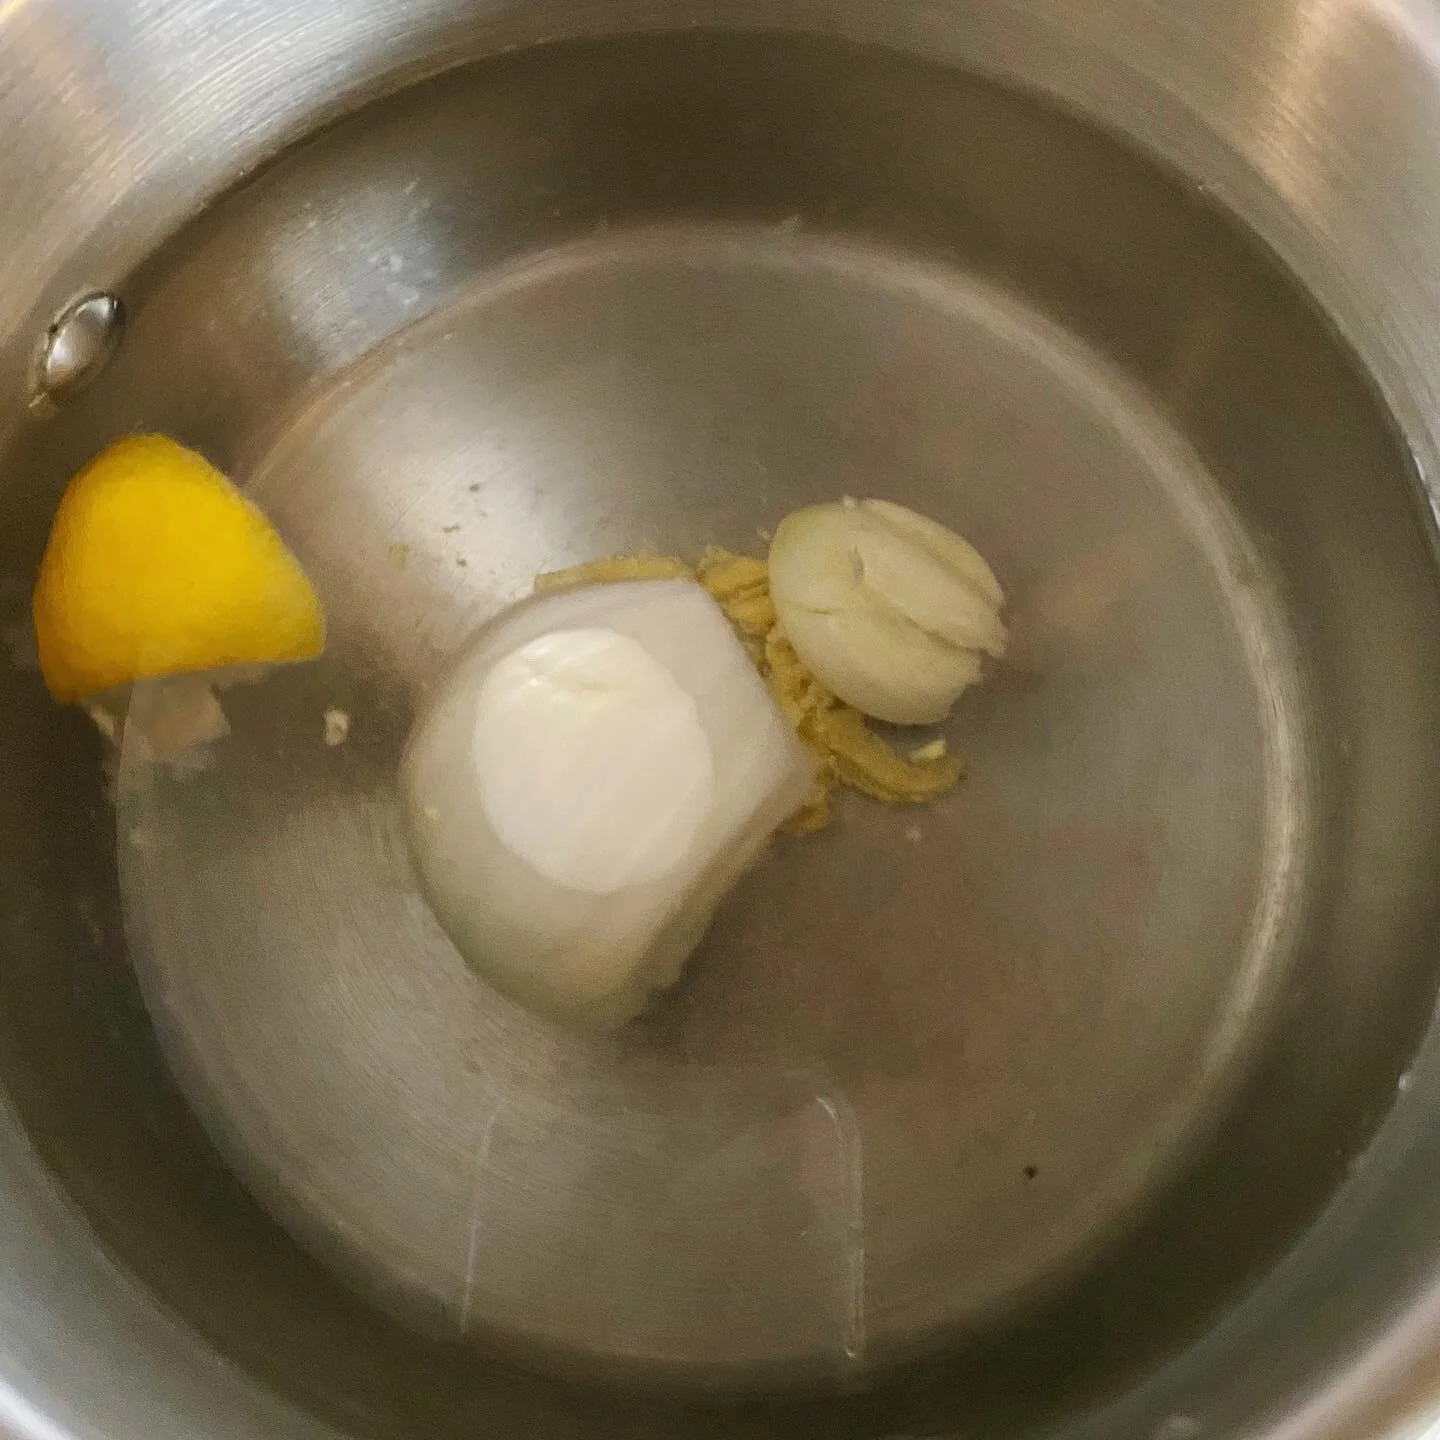
2. If you find it tasteless then try adding some flavour! A few slices of onion, a squashed garlic clove, lemon or lime, stock cube ... apparently some people add ‘leftover wine’ but I’m afraid I don’t know what that is.

3. It keeps you looking youthful! True. It’s a much more anti-ageing way of cooking - basically the more you keep hydrated the better so cooking in liquid is way better than dry grilling or frying. .

4. Yes I’m sure it does have an old-fashioned ‘diet cooking’ feel about it but hey times move on and if it was tastes great AND it’s got no added fat, what’s not to love? .

5. I forgot to mention my favourite way to poach and that’s to do so in a mixture of coconut milk and water. OMG. I add rice to the same pan too and all of a sudden you’ve got the most amazing warm salad with soft coconut rice and chicken and then crunchy veg and a super spicy sour dressing. .

5b. If you only used half a tin of coconut milk for the poaching liquid then you can chuck the rest straight into a bath for a beautiful luxurious bath milk soak.

6. It’s so versatile and you can poach enough to last the next day or so two. I love it in a spicy sour salad, in a stir fry, with noodles or as tonight in a simple salad with a mustard vinaigrette and Parmesan shavings.

7. Your dog will demand some too! And why not? It’s as healthy a snack or addition to their food as it is for us. .

Er, I really didn’t know I had so much to say about poached chicken but it seems I do

With flavours in the pan

With flavours in the pan

Simmering softly

Simmering softly

Lovely poached chicken salad

Lovely poached chicken salad


YOU MIGHT ALSO LIKE …

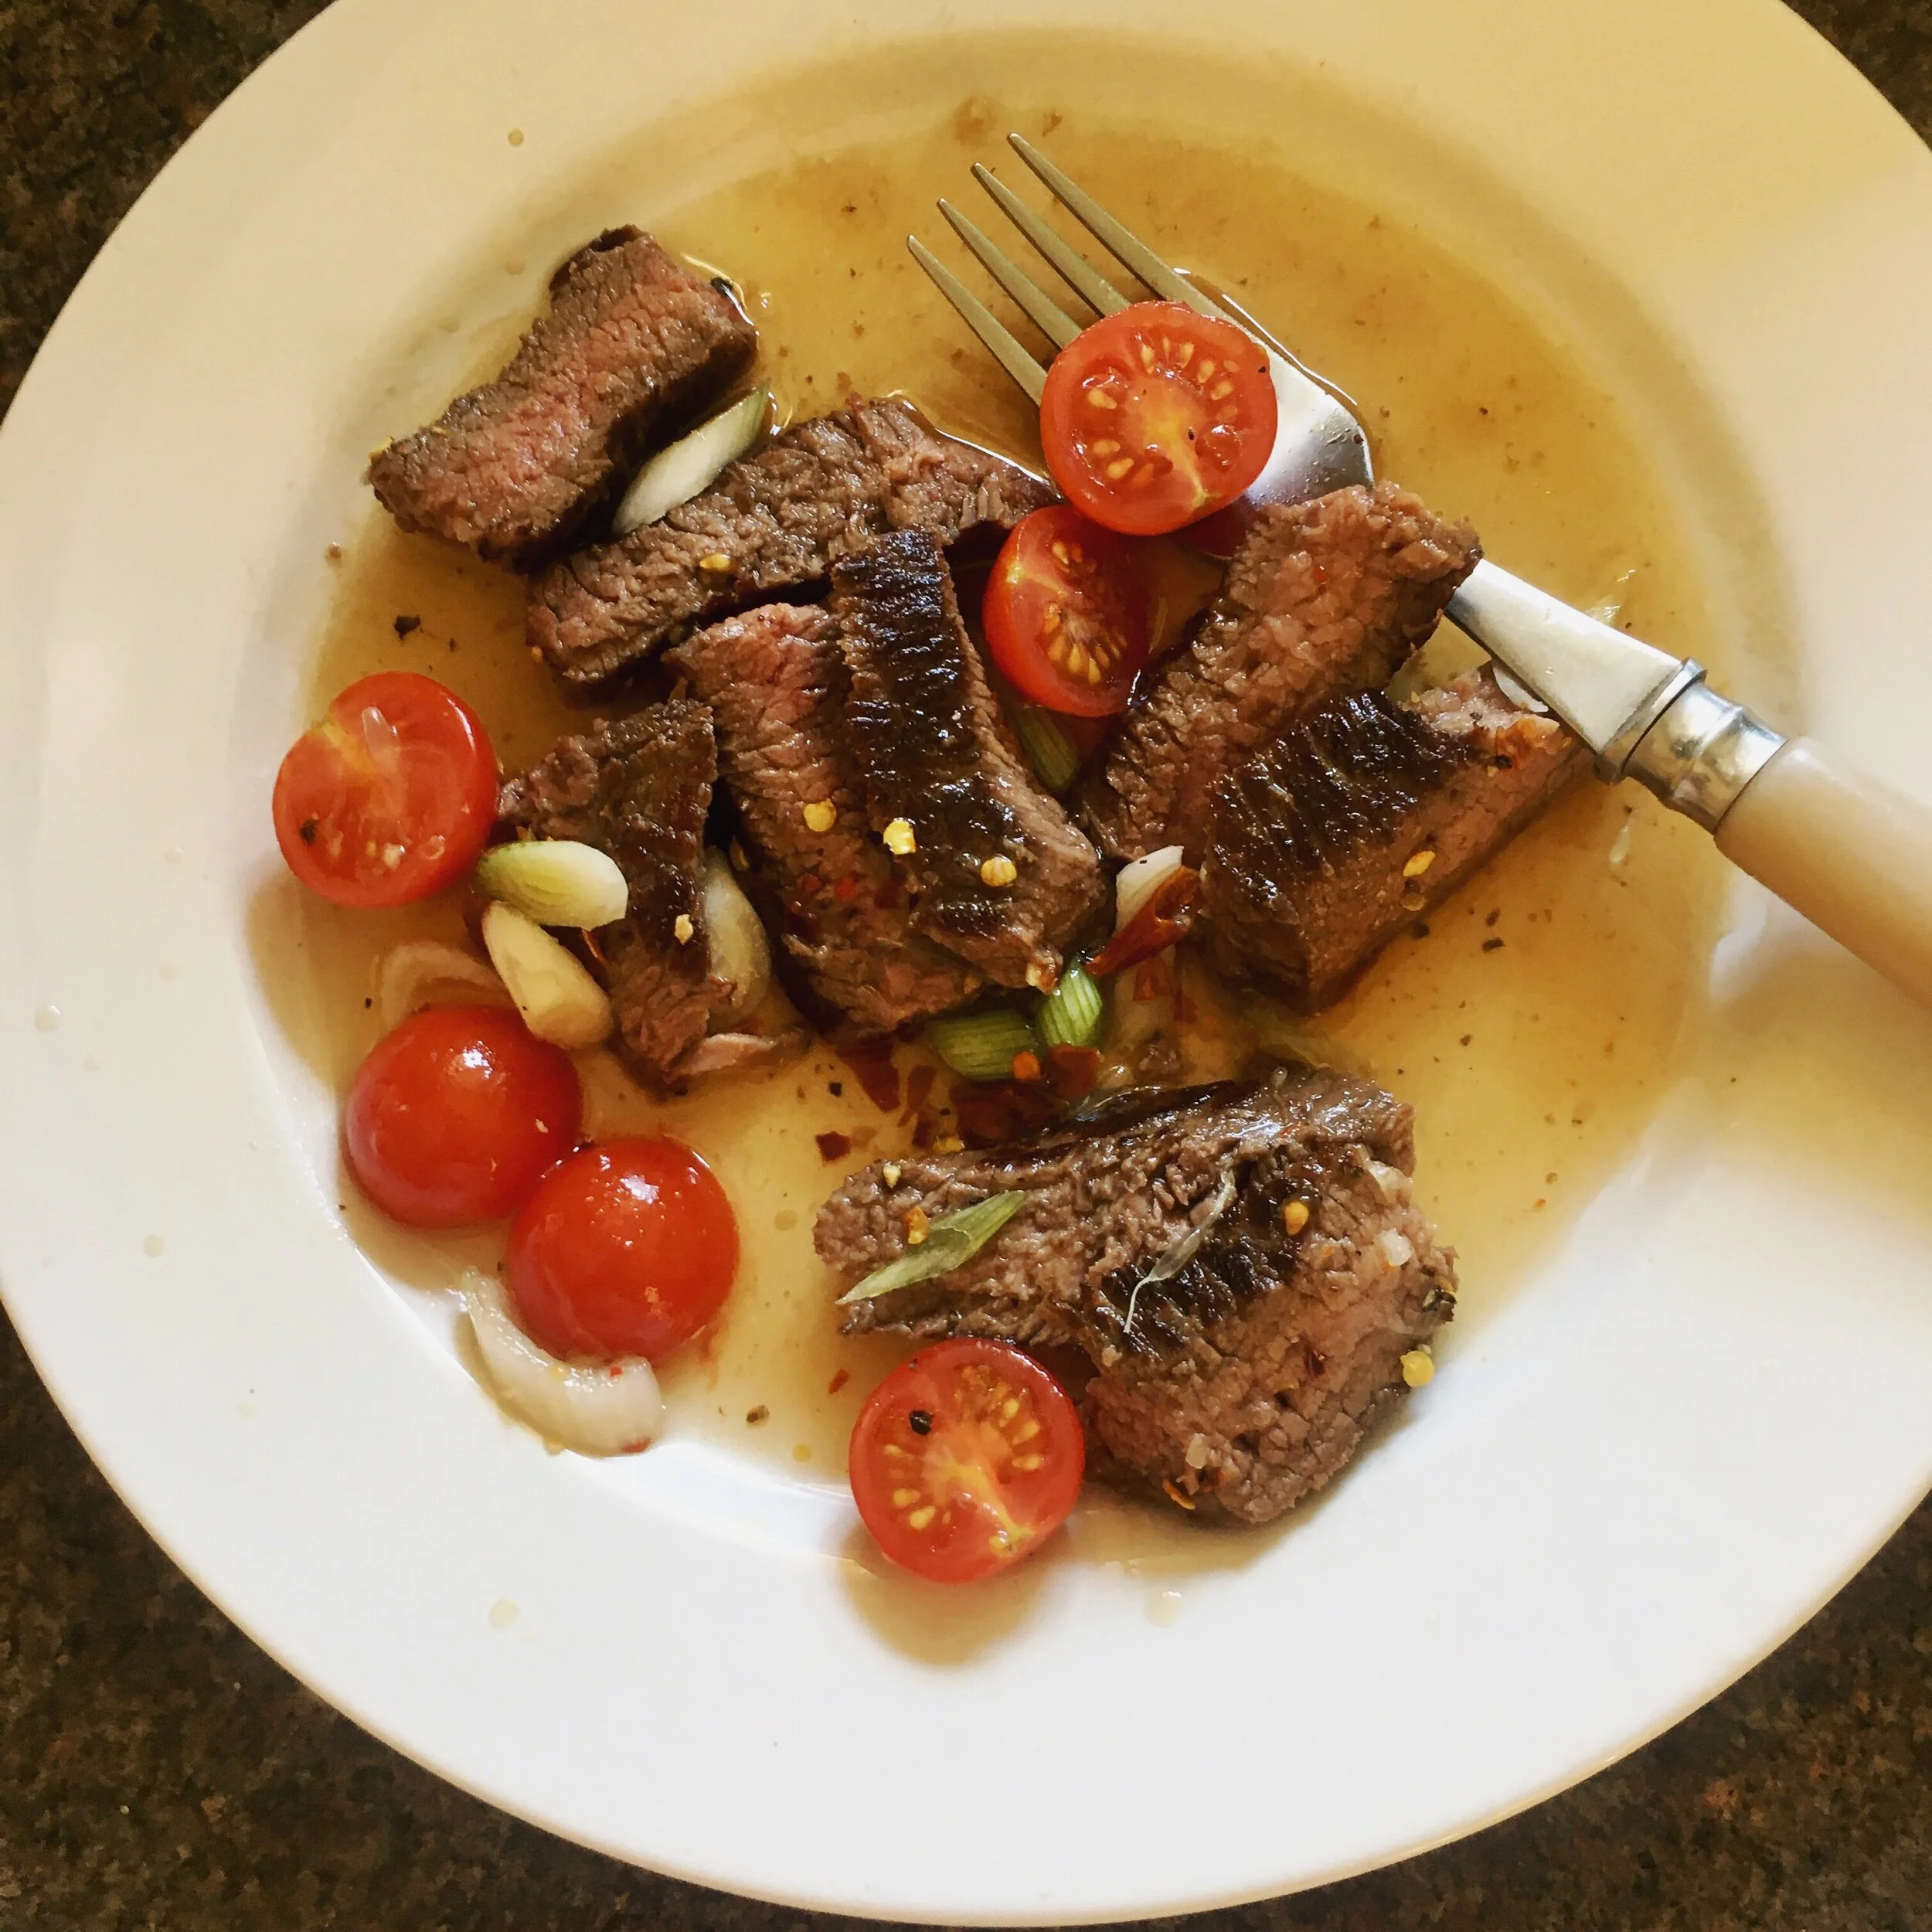
Simplest spicy-sour steak salad

When you want healthy and light and fast … but also incredibly luxurious and special, this quick steak and salad is going to be perfect.

To make it for one, one gorgeous one who totally deserves a luxe delicious lunch, you’ll need:

1 steak of your choice - my favourite is rump

1 small dried red chilli, crumbled or 1/4-1/2 teaspoon dried chilli flakes (you could use fresh chilli if you prefer)

1 small clove of garlic, peeled, crushed and finely diced

The juice of one juicy lime

A good slosh (maybe 1.5 teaspoons) fish sauce

1 teaspoon caster sugar (granulated will work too though)

A tablespoon of water

Dressing of lime, chilli, garlic, fish sauce, sugar and water.

A few cherry tomatoes, halved

A few spring onions, cleaned and sliced on the diagonal so you get nice long pieces

Take your steak from the fridge about half an hour before you’re going to cook it and toss it in a little light soy sauce and a little cooking oil. Massage it all in on both sides and leave until you’re ready to cook.

Mix all the dressing ingredients together and taste. Adjust to see if you need any more of anything to make it perfect for you.

Add the tomatoes and spring onions to the dressing to kind of marinade and soak in all the lovely flavours while you cook your steak.

Cook the steak on a griddle or in a non-stick frying pan to your liking and then leave to rest on a chopping board for a minute of two.

Slice the steak, arrange on a plate and tip over the dressing and salad.

And that’s literally all there is to it!

You could add more salad ingredients if you wanted of course, or fresh herbs (parsley or coriander would be good) or even have this with rice to make it more substantial.

Easy, fast and feels luxurious as well - one of my favourite special lunches just for me.

I hope you love it too.

83D2214C-D1BF-44B0-96E9-809E9D7EC7F5.jpeg


YOU MIGHT ALSO LIKE …

Super simple jerk sauce / jerk chicken

Oh my goodness look at these scotch bonnet chillies! I love scotch bonnets - they’re properly spicy but also have that lovely fruity tanginess to them.

This photo is one a friend sent me of the beautiful display at her local shop - and then sent me five chillies in the post (this was written in lockdown times, should you be reading it later) as we can’t meet up right now.

So I made jerk chicken and this simple jerk sauce is so easy and delicious I wanted to share it and you could use it with fish or vegetables too.

I confess I have absolutely no idea how authentic or not this is - it’s a simplified version of the one from Jamie Oliver’s 30-minute meals book (which I LOVE by the way - I don’t try to cook them in 30 minutes but there’s lots of great ideas there that I have taken inspiration from).

There are two ingredients here that might be a little harder to get but that to me you absolutely have to have … and that’s the scotch bonnet chillies (rather than using any other variety) and the golden rum. DO track ‘em down because I think they’re what makes this dish just so good.

9D0A2241-CA06-4515-BED7-050AE81503BC.jpeg
Adjustments.jpeg

So … ingredients - and this will be enough for either two or four I think, just one has more sauce but you can play around with it of course and just make what looks good to you.

1 scotch bonnet chilli, diced

2 spring onions, sliced

2 fat (or more smaller) cloves of garlic, peeled and chopped

1 heaped teaspoon Allspice

1 big tablespoon runny honey

6 tablespoons golden rum

6 tablespoons white wine vinegar or scant ones of white malt vinegar as I used


And then you just blend it all up to make a sauce, literally, that’s it.

I like to slice the chicken breasts in half to make them thinner, leaving them joined at one end, and ideally with skin-on, but I only had skinless so that’s what I used.

I season them and massage in olive oil and cook on the griddle (or in a non-stick pan) for a few minutes until golden each side. If your chicken has skin then start with the skin side down.

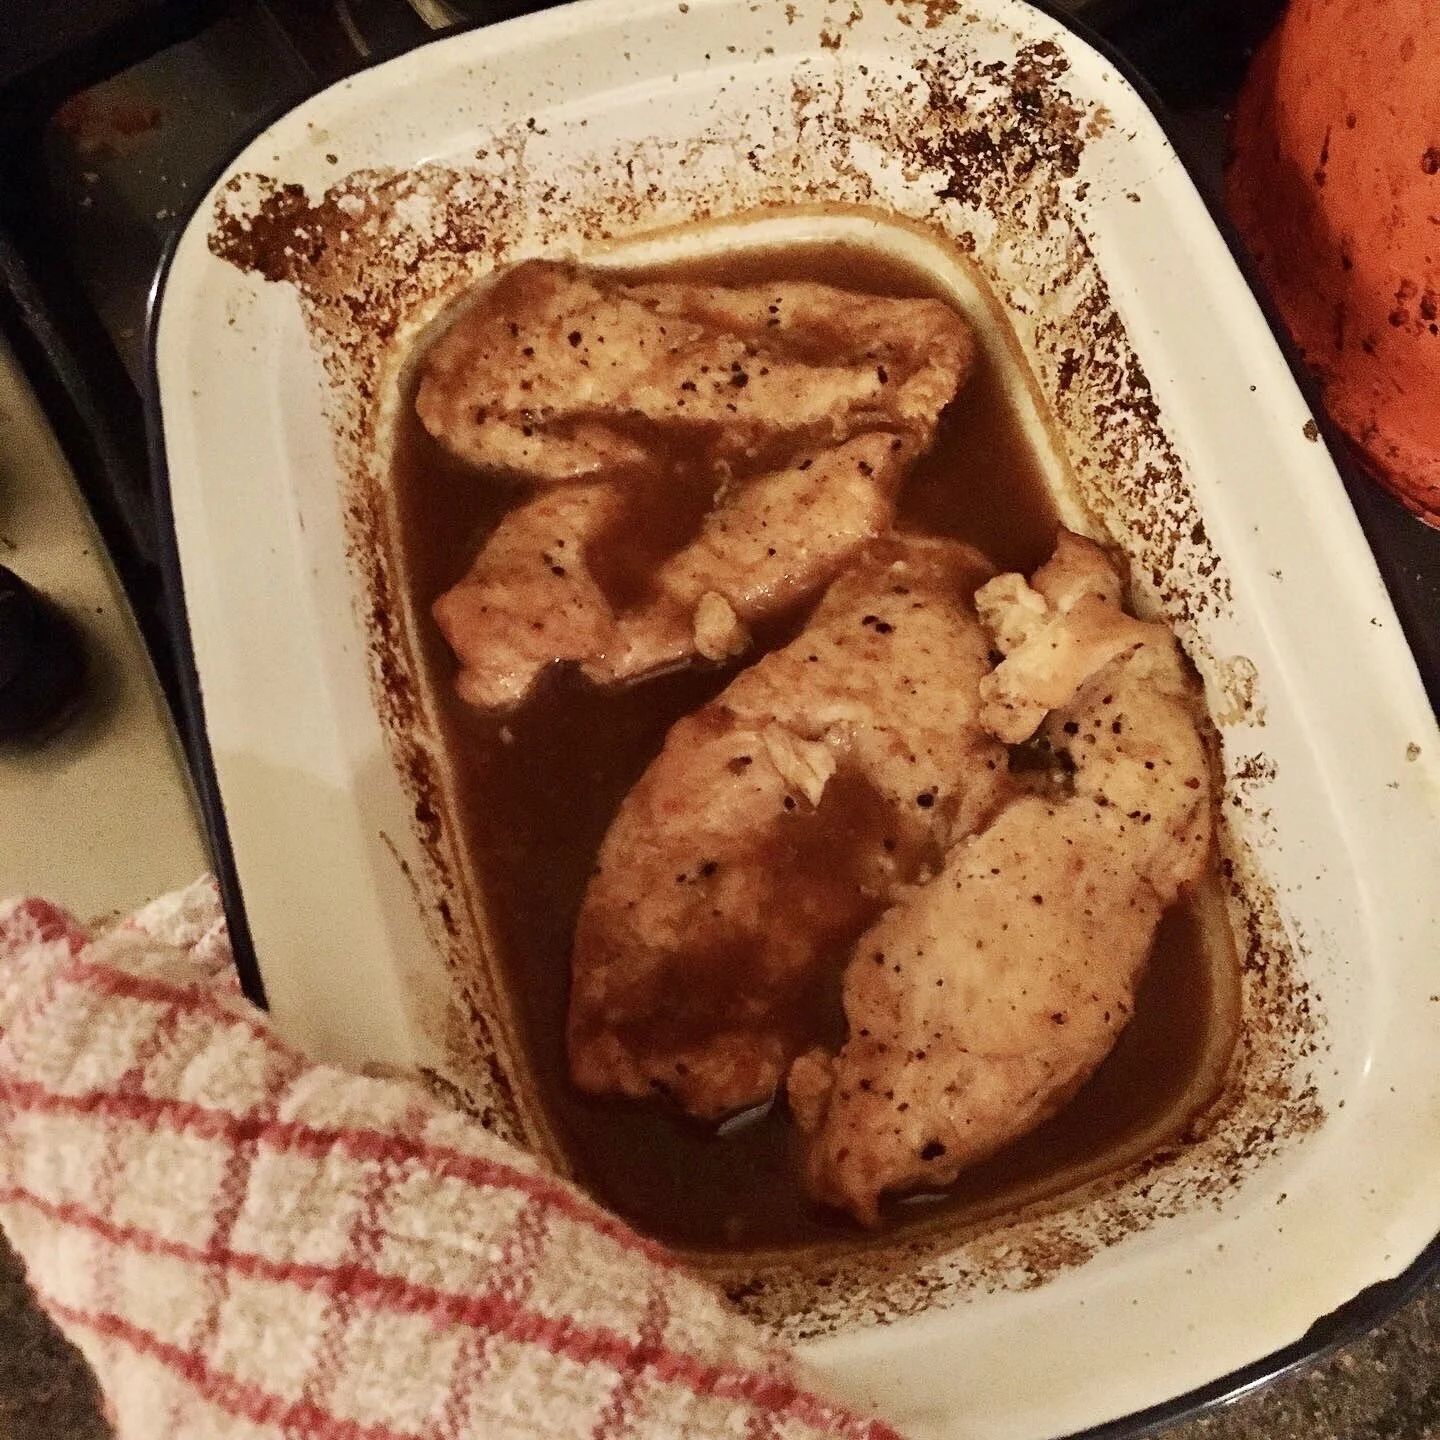
Then pour the sauce into an oven dish and lay the chicken on top and cook in a medium oven for maybe 20 minutes turning once halfway.

I’d also add fresh thyme and rosemary too now but have to confess I was just too lazy to down to the garden to get any! I will do next time and will add another picture - it’ll look much prettier and definitely worth adding for the extra flavour, but I still really love it just as it is.

Rachel Redlaw simplest jerk chicken

Check if the chicken is done, cook a little longer if needed.

Serve with rice and salad. Garnish with fresh chopped coriander if you have any and if you like it.

I’ve realised writing this up that I was missing a lot of things that would make it even better, but hey it was still good … and very, very simple … and that counts for a lot for me.


YOU MIGHT ALSO LIKE …

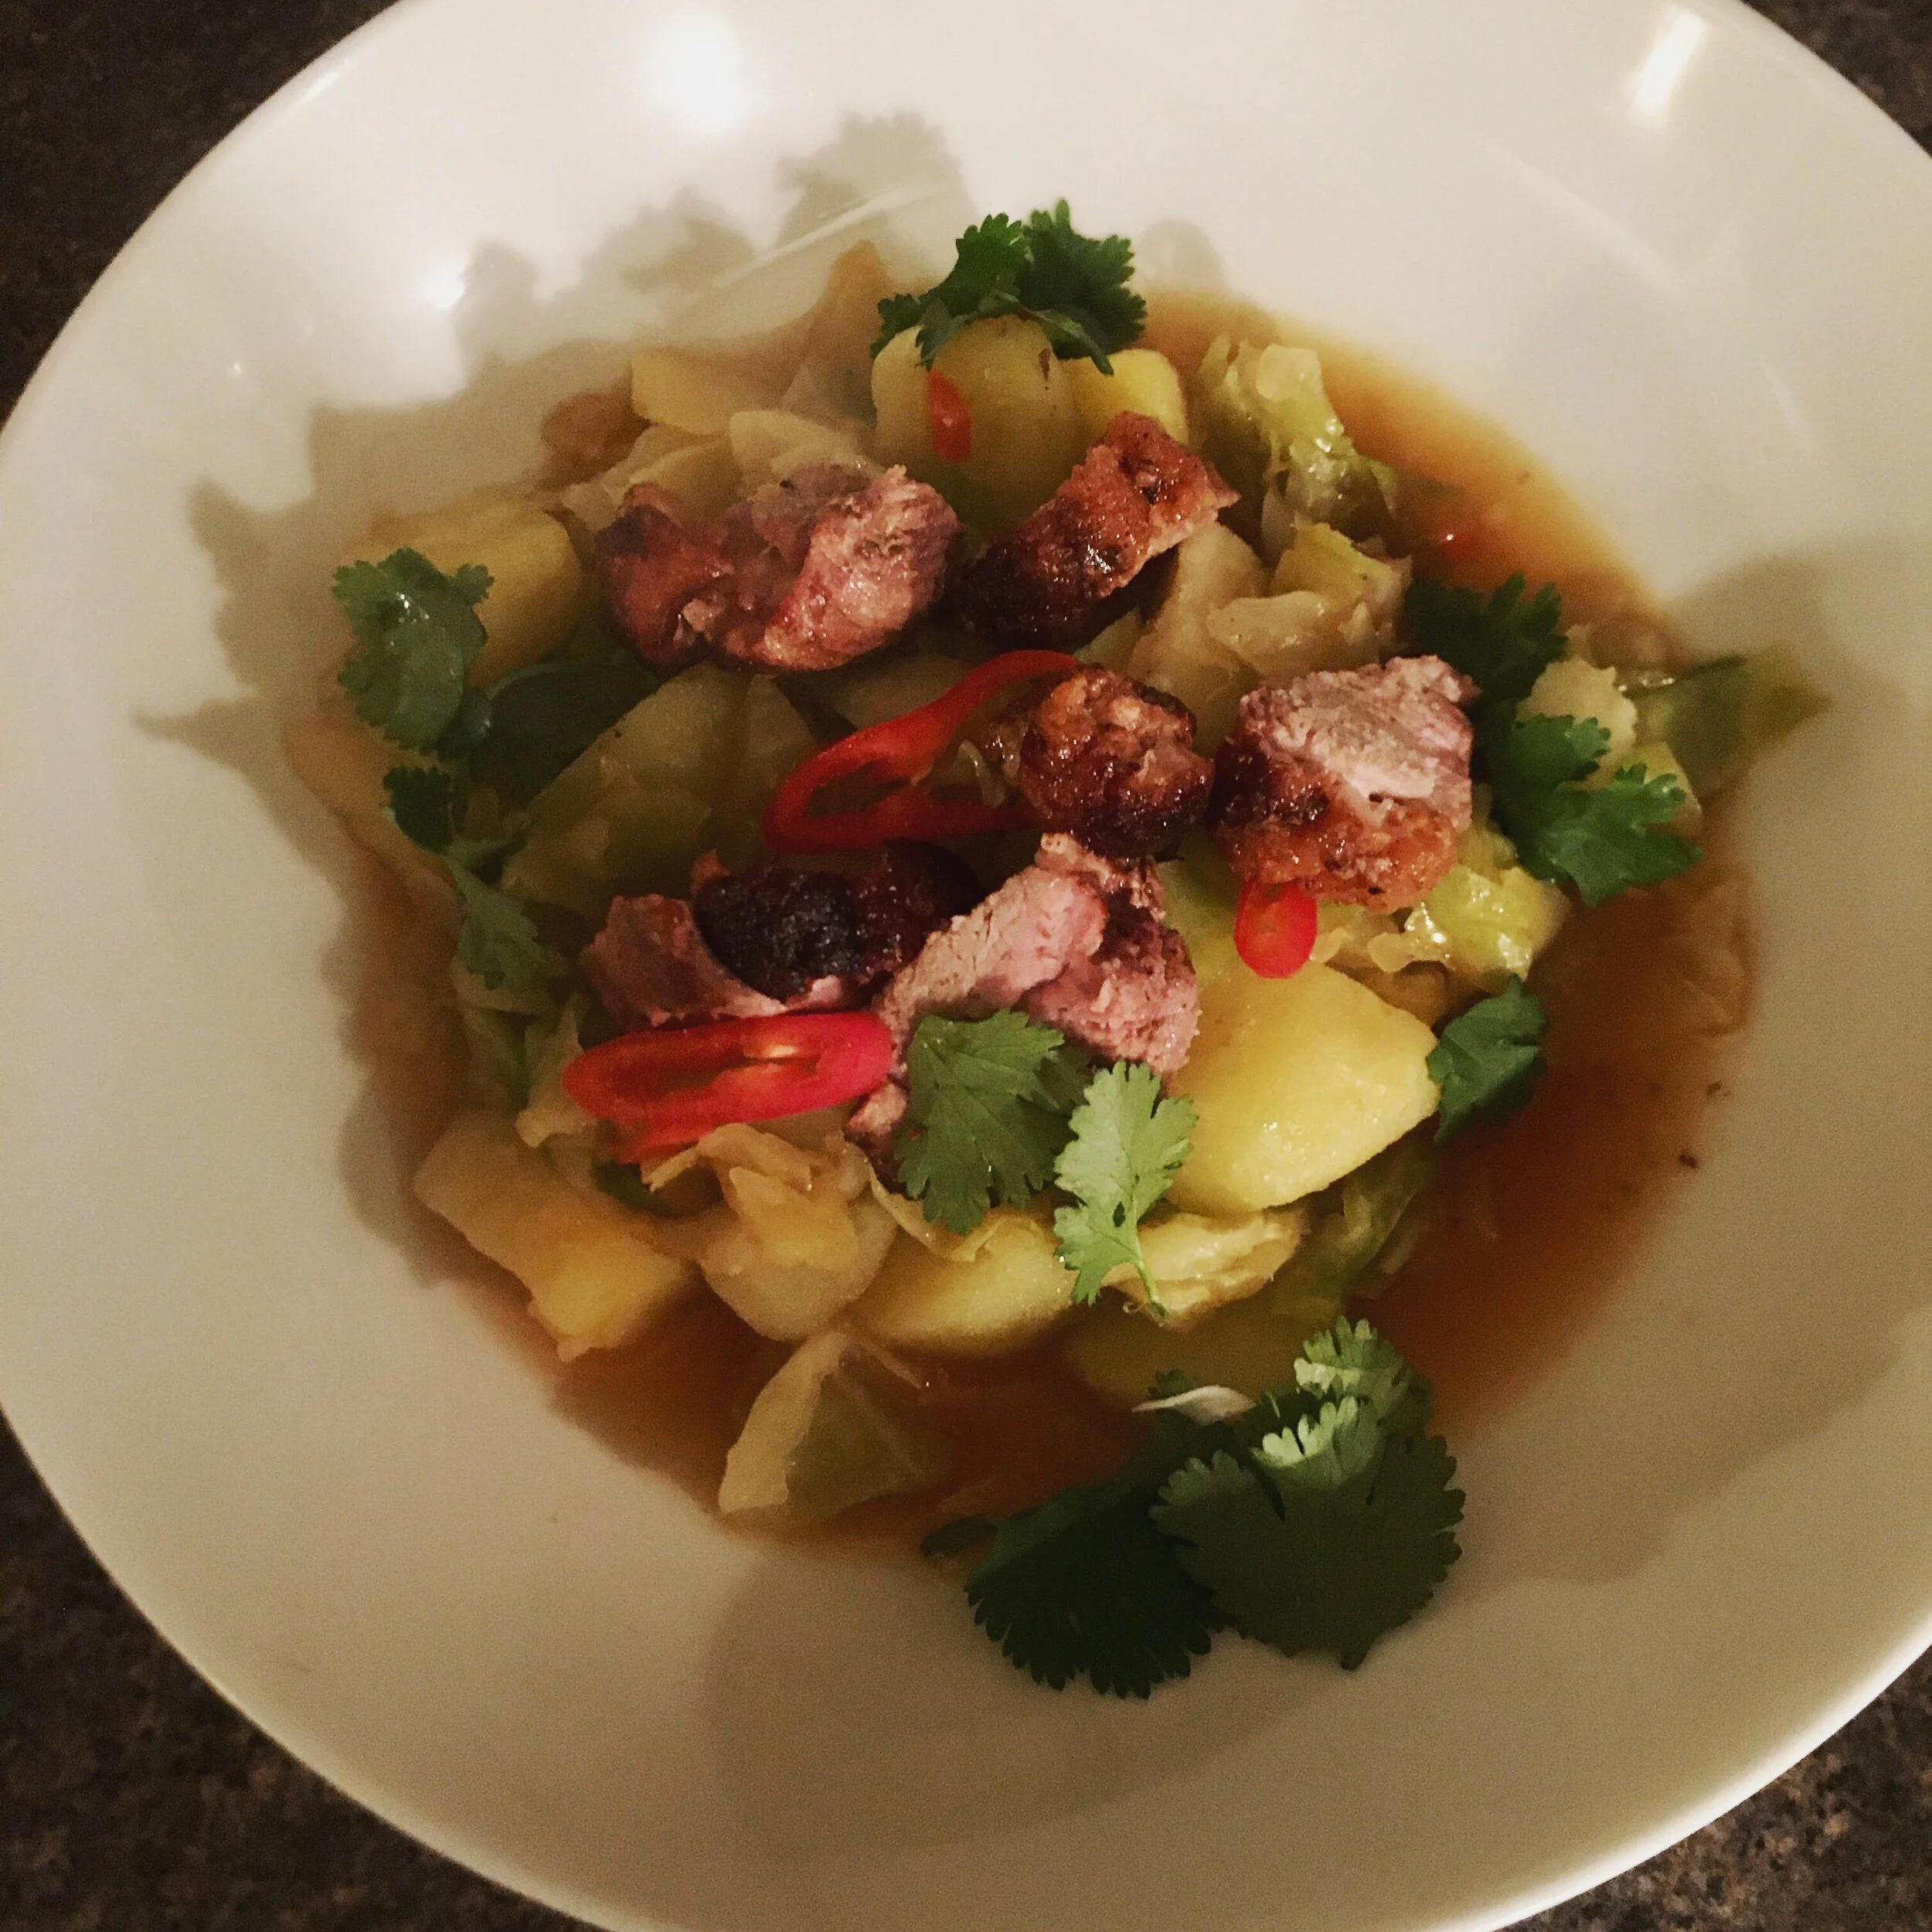
Duck, cabbage and potato stir fry with chilli, garlic + ginger

I saw the duck breasts in the shop and just wanted to see what I could make with them.

And I LOVE experimenting with cooking with what you have, not wasting food.

What I had was about a third of a cabbage and a cooked potato in the fridge - they were the main things that needed using up, so I thought I’d do some kind of stir fry but using potato instead of having it with rice or noodles.

Cabbage is so good stir-fried and I definitely think it should have the chance to be the hero, the star, every now and then, given how it’s so often over-looked or relegated to a bit part.

And of course, if you haven’t got leftover cooked potato, do cook a potato or two before starting to make this - just cut into smaller pieces and boil for ten minutes of so in salted boiling water on quite a fast boil.

Quantities are quite vague, as often, just go with what you’ve got and taste and see if it’s good … but this was a good big dish for one (moi) and I started with the duck breast.

I just patted dry with kitchen paper, then scored the skin with a sharp knife, rubbed in some salt and black pepper and then sprinkled over some soy sauce.

Get a non-stick pan over a medium heat on the hob and when hot add the duck breast, skin side down and cook on a low to medium heat for five minutes. Try not to touch it but obviously if it’s really sticking (it shouldn’t be, it has a lot of fat in that skin), then just ease it away from the bottom of the pan.

When you flip it over it’ll be nice and browned already and then just remove from the heat, pop it skinside UP this time onto a baking tray and put into a medium oven for ten minutes.

This cooked mine perfectly for me, just a little pink still, but you can always check it and cook for a couple of minutes more if you want it well done.


What you’ll need for the stir fry is:

lots of chopped fresh chilli (amount to your taste!)

lots of chopped fresh garlic (same! I had two cloves)

a good piece of fresh ginger, peeled and grated

a little oil (you could use the duck fat in the pan, up to you)

a slosh of fish sauce

lime juice 1/2 - 1 depending on how juicy it is

cabbage, sliced and cut into smaller pieces

granulated sugar, just a pinch

cooked potato, cut into small pieces

2 spring onions, sliced

fresh coriander leaves to serve, if liked

Get everything ready and then put that good non-stick pan back over the heat - you can use some of all of that lovely duck fat to cook the stir fry, or get rid of it and use a little fresh oil, up to you.

When it’s hot, add the aromatics (I love saying this, I don’t know why, I just love putting it all together as ‘aromatics’) and stir fry for a few seconds on a medium heat until it smells amazing!

IMG_4736.jpeg
Adjustments.jpeg

Add a little slosh of water, plus another slosh of fish sauce, squeeze in the lime juice and then throw in the cabbage along with a pinch of sugar.

Stir, reduce heat, put a lid on the pan and let it cook for about five minutes. Stir every now and then and check if it needs a little more water.

Whenever the duck is cooked, take it out of the oven and leave on a chopping board to rest. Take it out a few minutes before it’s exactly cooked to your liking as it will continue to cook while it rests. The skin should be gorgeous and crispy now too!

Adjustments.jpeg
Adjustments.jpeg

Take the lid off the pan and add the chopped potato and the spring onions. Taste too and see if you want any more water, any more fish sauce, any more lime juice …

Cook, stirring, for another minute or two, then put into a bowl.

Slice the duck and add to the stir fry - yes I did eat a couple of pieces even as it made its way from chopping board to dish!

Garnish with fresh coriander leaves and a few more slices of red chilli, if liked.

10C004D1-FC88-4E5C-B815-12054BC1B13D.jpeg

I really liked having potato in the dish itself and not making separate rice or noodles and just LOVED the duck breast - what a treat. And exciting for cabbage to make it into a treat dish too!

Er, confession - I’m wondering looking at this photo if I added a little light soy sauce too along with the fish sauce and it’s very likely but I’m afraid I can’t say for sure. It wouldn’t do any harm though - I’ll try it next time I make it so I can update this recipe if need be …


YOU MIGHT ALSO LIKE …

Delicious Thai-inspired baked chicken

This has to be one of the easiest - as well as tastiest - ways to cook up a big platter of chicken pieces. This one’s a winner and I’m just pleased I actually noted down what I was adding when I made it (up) on Saturday so I can share it with you!

Saturday lunch was my family celebration for my birthday and I wanted to cook something special but also easy to share and to eat.

So this pile of chicken was to go alongside beef marinaded in green peppercorns, chopped coriander stalks and other good things served with a spicy dressing. I also made crushed roasted new potatoes with ginger, garlic and sprinkled with chopped chilli and coriander leaves as well as a big vegetable stir fry with oyster sauce.

B89976CD-BFAA-4FF6-9684-1897B97A91D4.jpeg
IMG_3058.jpeg

Plus a sweet chilli sauce and a green curry ‘gravy’ - just another sauce really but I liked thinking of it as gravy!


I’ll give you the recipe for the amount I made, which I think was about 18 pieces of chicken thigh or drumsticks, and then it’s easy to scale up or down as needed.

So to make the amount I made, you’ll need:

approx 1kg of free-range chicken thighs and drumsticks - they MUST have skin on!

2 long stalks of lemongrass, cut off tough bottom and top, remove tough outer layers and finely chop

4 tablespoons Demerera sugar

6 garlic cloves, peeled and finely chopped

a good piece of fresh ginger (maybe two thumbs - why is ginger measured in thumbs, btw?), peeled and grated

6 tablespoons fish sauce

6 tablespoons light soy sauce

2 tablespoons dark soy sauce

the juice from 2 juicy limes

1 tablespoon turmeric powder

1 level teaspoon dried chilli flakes

1 level teaspoon ground white pepper

1/2 Knorr chicken stock cube

Chopped fresh coriander leaves and lime to garnish


Put the chicken pieces in a roasting/baking dish.

Mix together all the marinade ingredients (from lemongrass down to white pepper) and when thoroughly combined and the sugar is hopefully at least mostly dissolved, pour over the chicken pieces. Massage into them and ensure all are covered, then cover with foil and leave in the fridge overnight.

When you come to cook the chicken, remove the foil, and crumble in the piece of stock cube and pour over a little boiling water so that it surrounds the chicken but only shallowly.

Put the tray of chicken pieces into a pre-heated oven of 200C / 392F / Gas 6 towards the top of the oven.

Check on it after half an hour - my pieces were getting quite beautifully burnished by that time - and turn them if yours are too.

Put back and check again after another half an hour - you might decide to cover them with foil if they’re getting too well done on the outside, or you might move them to a lower shelf.

They’ll be done after about an hour and a half in total and you could eat immediately or move to a warming oven as I did as I was then cooking the beef.

Rachel Redlaw Thai style baked chicken

Don’t forget that if you reduce the quantity you’re cooking, the cooking time will reduce too, so do check on them a few times, see how they look to you, and always skewer at the end with a sharp knife to check they’re cooked right through.

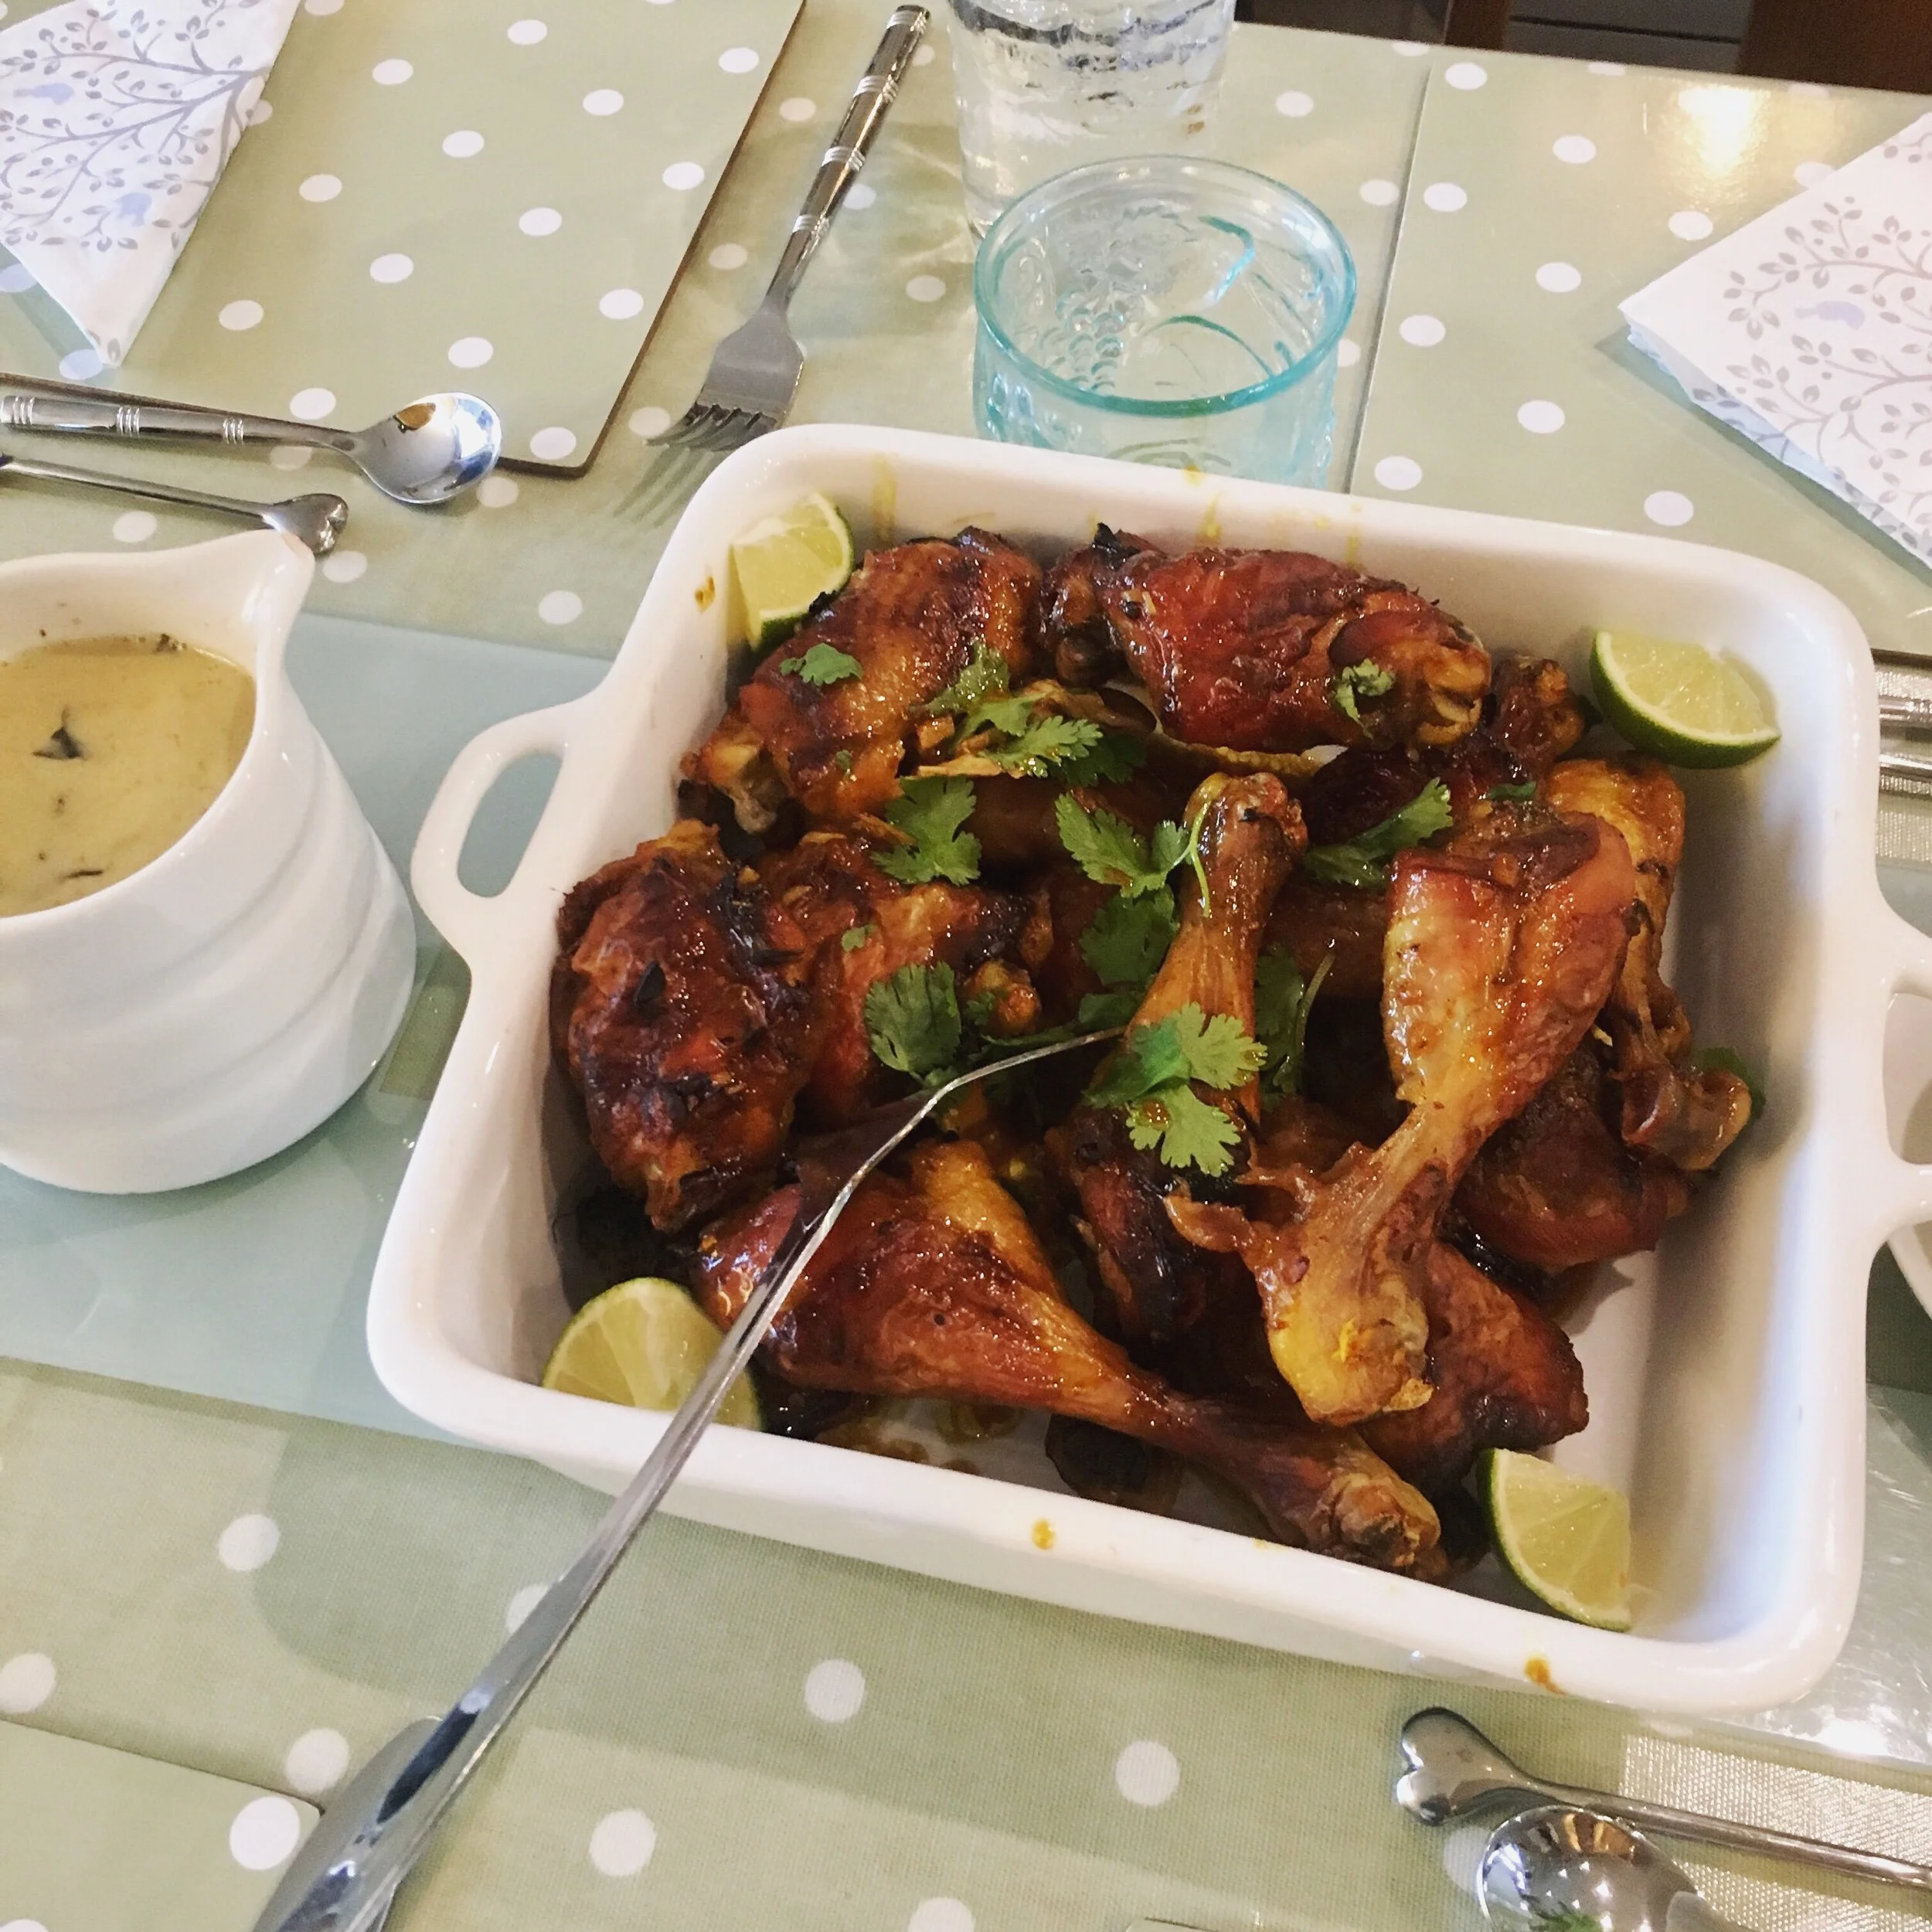
Tip into a serving dish, spoon over the juices from the cooking pan and garnish with chopped fresh coriander leaves, if liked, and some wedges of lime.

Serve with potatoes as I did, or with a big bowl of steamed rice.


YOU MIGHT ALSO LIKE …

Savoury mince + oats

Oats are so , so good for us.

But I’d never liked them because of porridge being all gluey and / or sweet … so I didn’t eat them.

Until I experimented a few weeks’ ago with savoury oats and I’m now pretty addicted!

First I made a kind of Thai-inspired vegetable congee-type-thing - delicious - and then a South Indian-inspired kinda curried oats thing - also delicious, and now they’re my current favourite weekend brunch dish.

And today I had a piece of beef mince that needed using up, about 100g, so I thought I’d add it to a savoury mince - and it was ALSO delicious.

I mean it’s not going to win presentation awards but it’s a quick and easy, really somehow comforting dish for when you just want to curl up indoors and stay tucked away from EVERYTHING!


This is definitely not a strict recipe, more an idea to use as a starting point to experiment with. Leave out anything you don’t like, add anything you like and think will work.

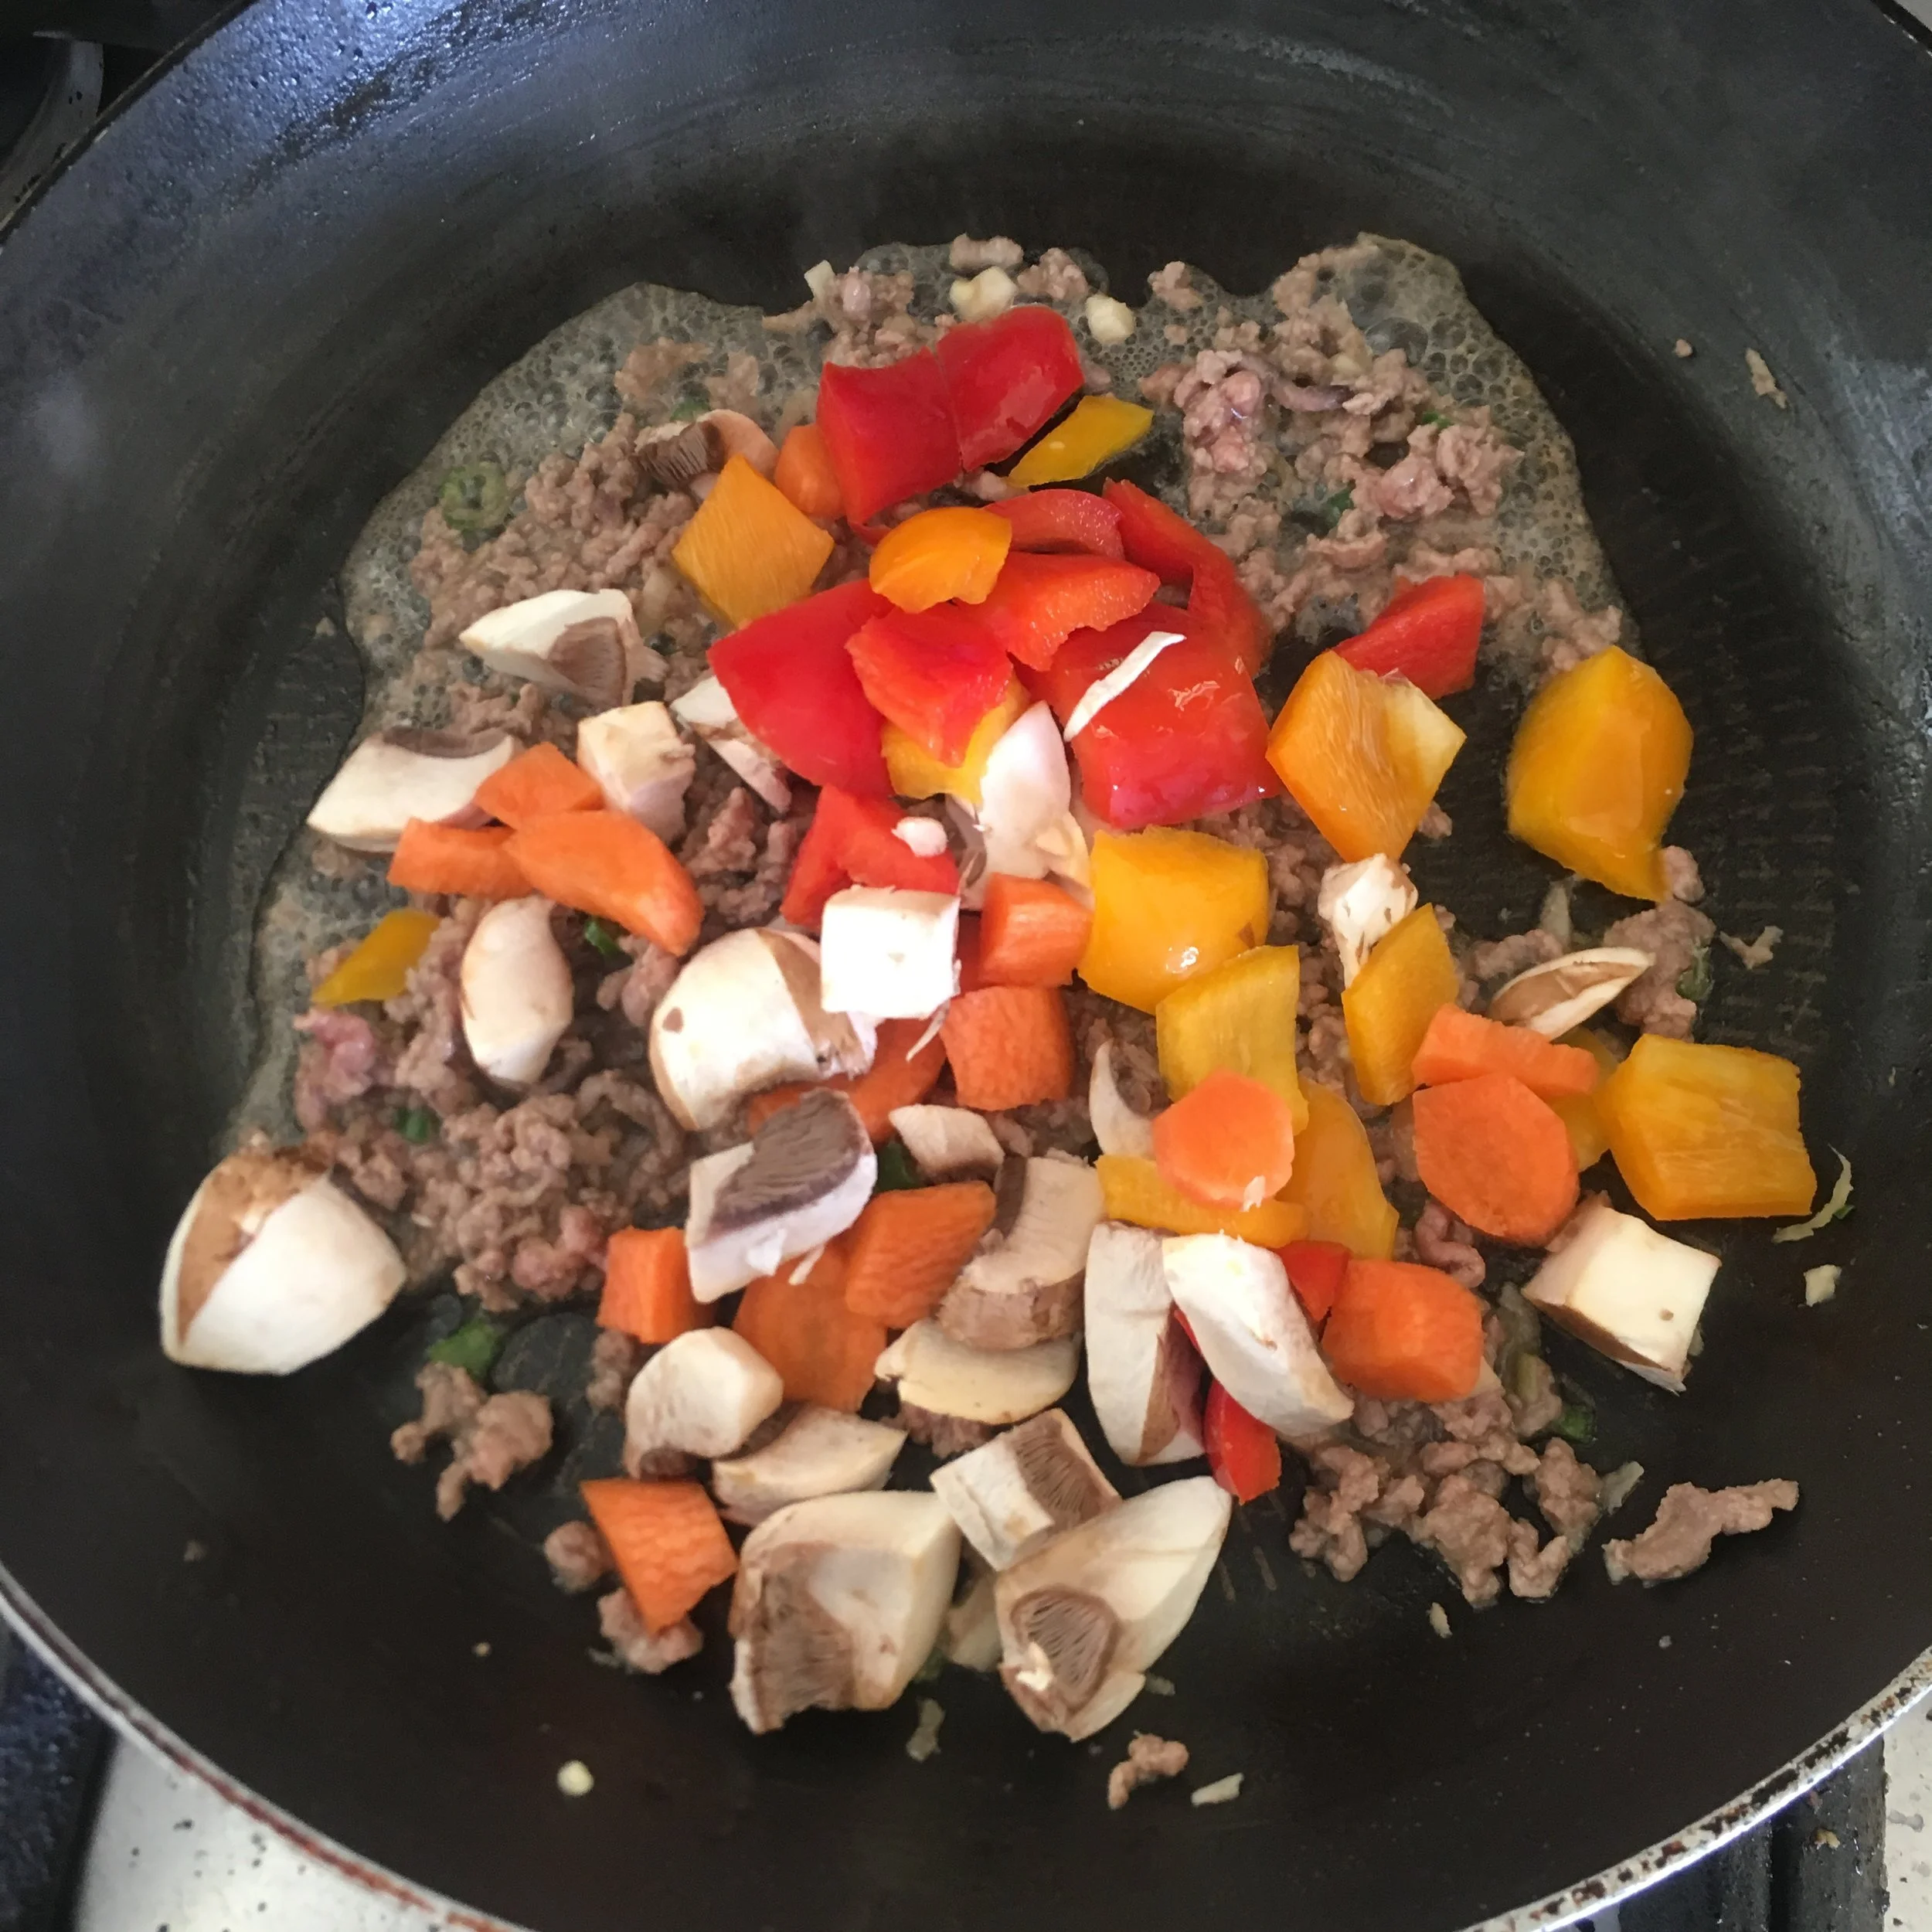
I started with a non-stick pan, a few sprays of oil, some garlic and chilli and then after a few seconds added the mince and cooked, stirring, to brown - add a splash of water if needed to stop it sticking.

Add some chopped vegetables of your choice.

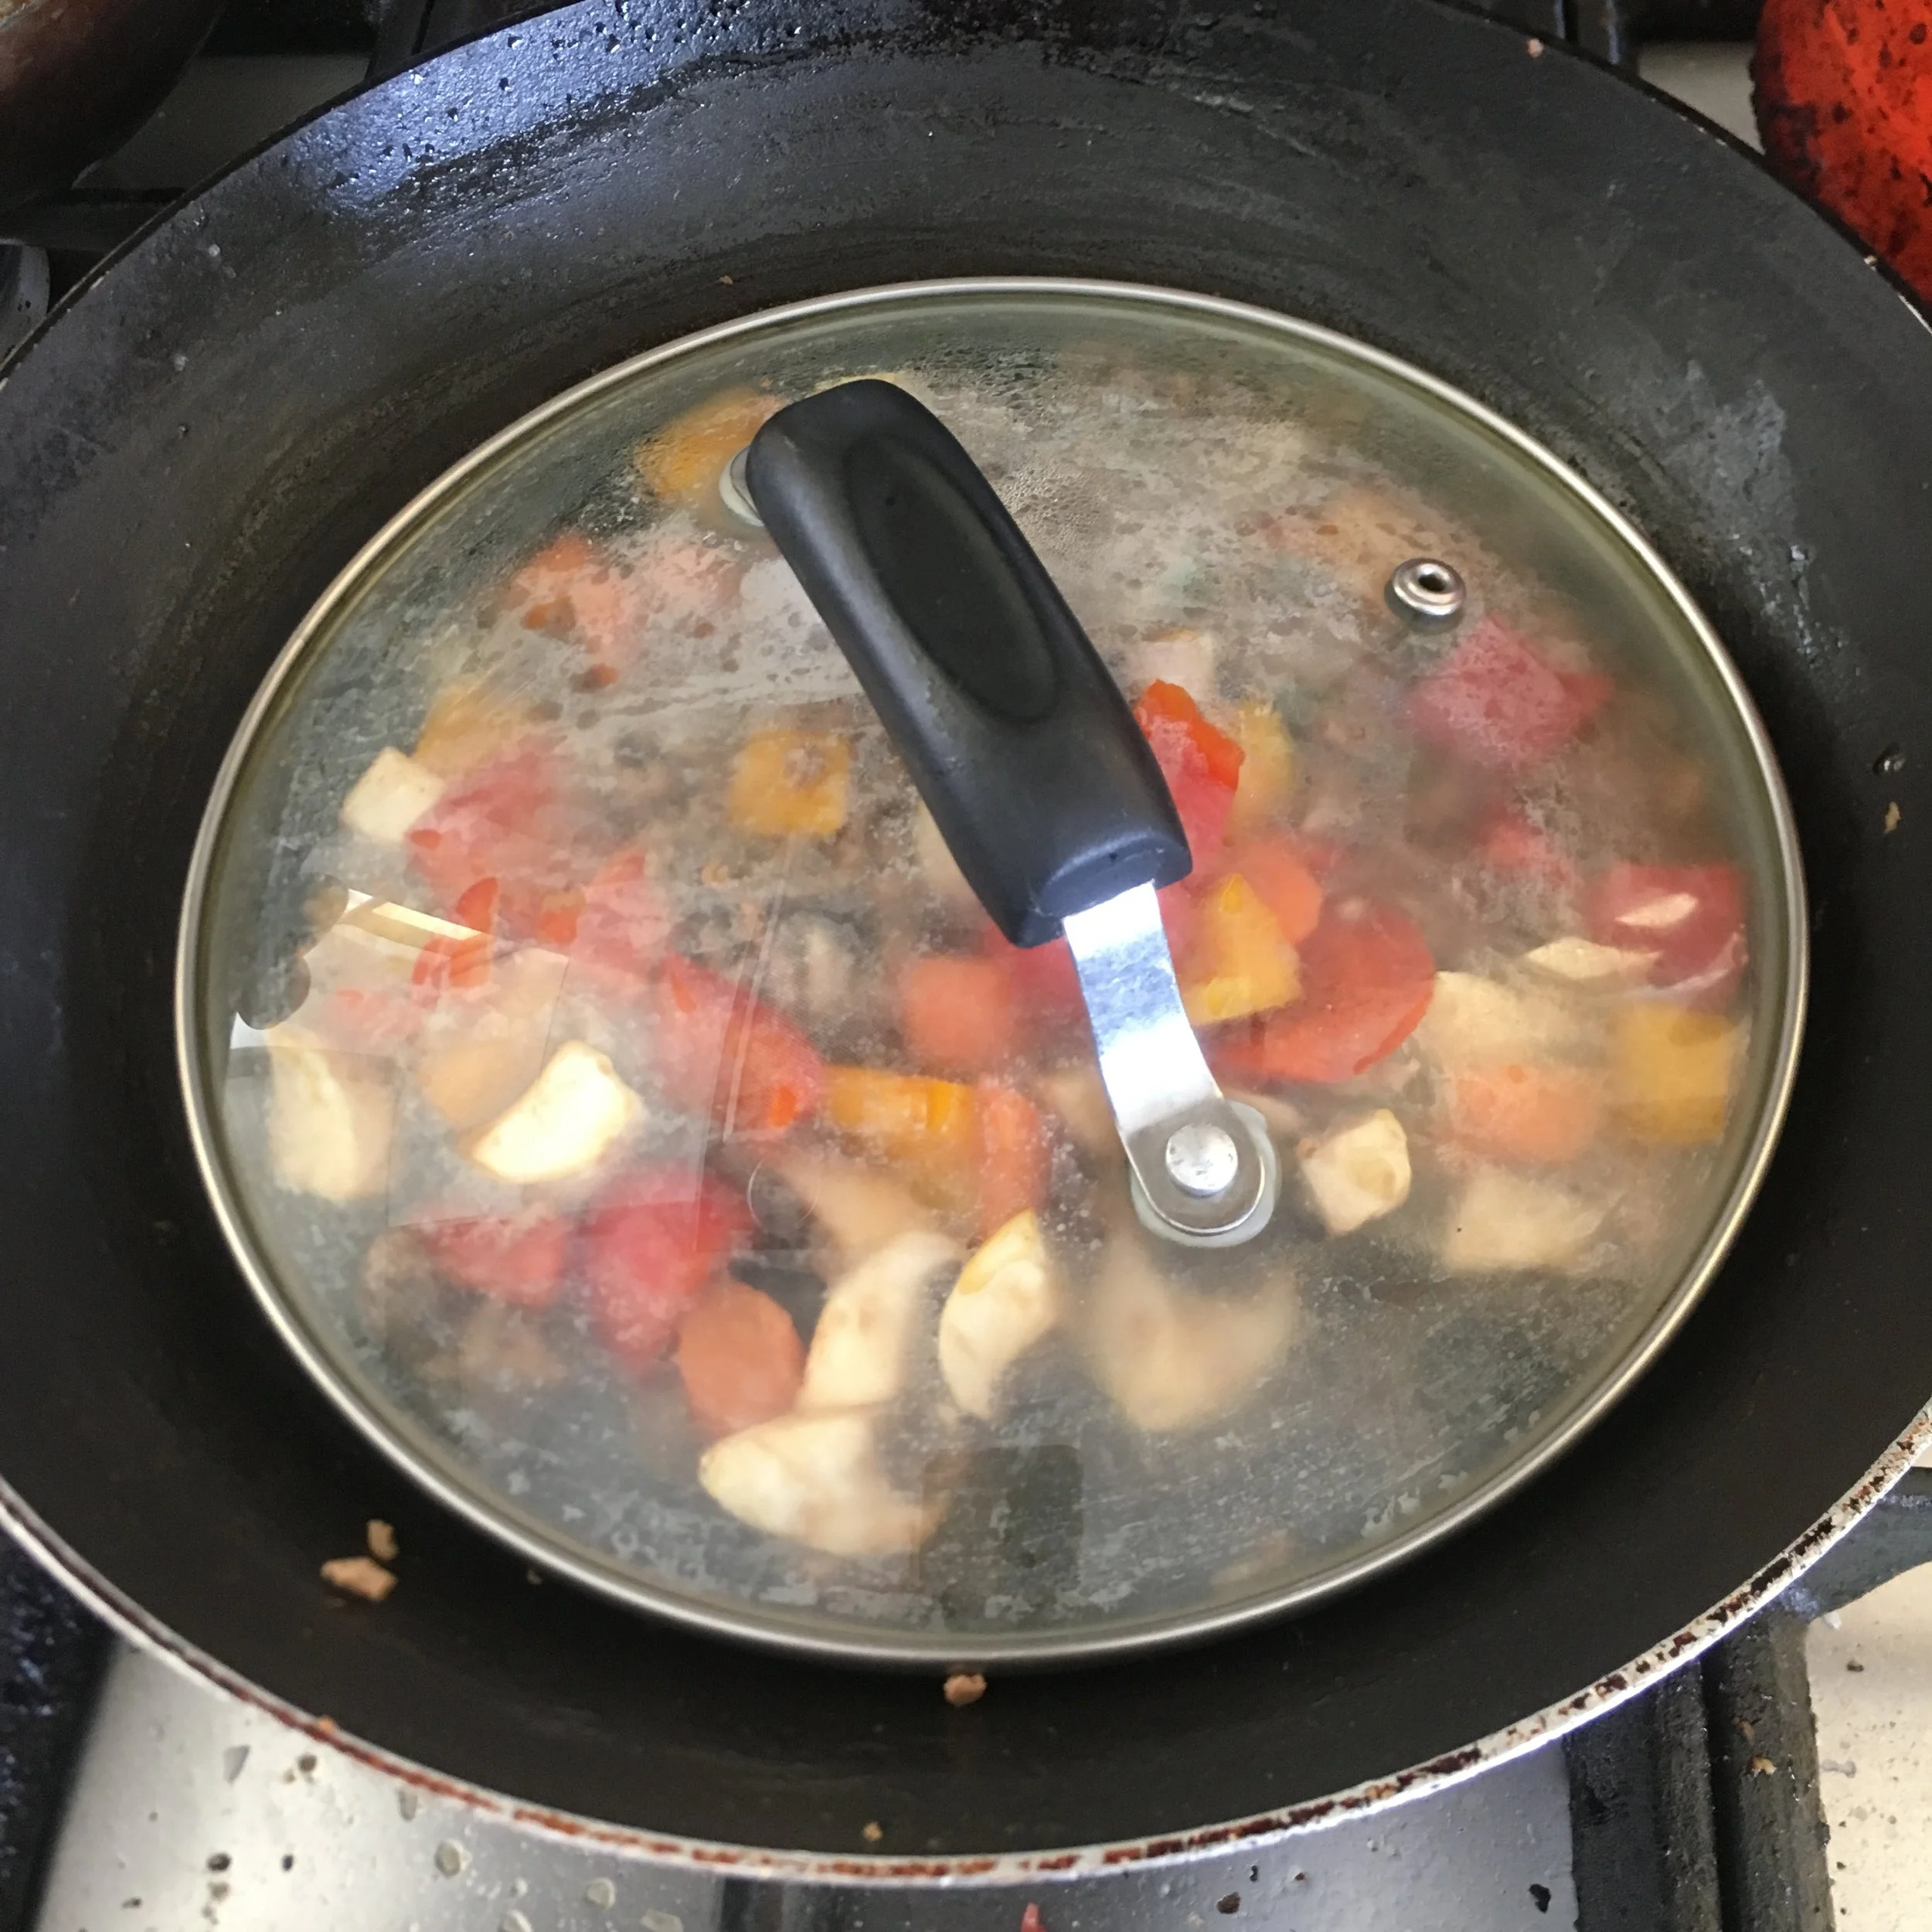
Crumble in a piece (perhaps 1/4 - 1/3) a stock cube (I use chicken Knorr) and add a little water and then stir and cook for a few minutes until softened - I put a lid on to keep all the nutrients in when it steams although I have a say a saucepan might have been a better option.

IMG_1693.jpeg
IMG_1694.jpeg

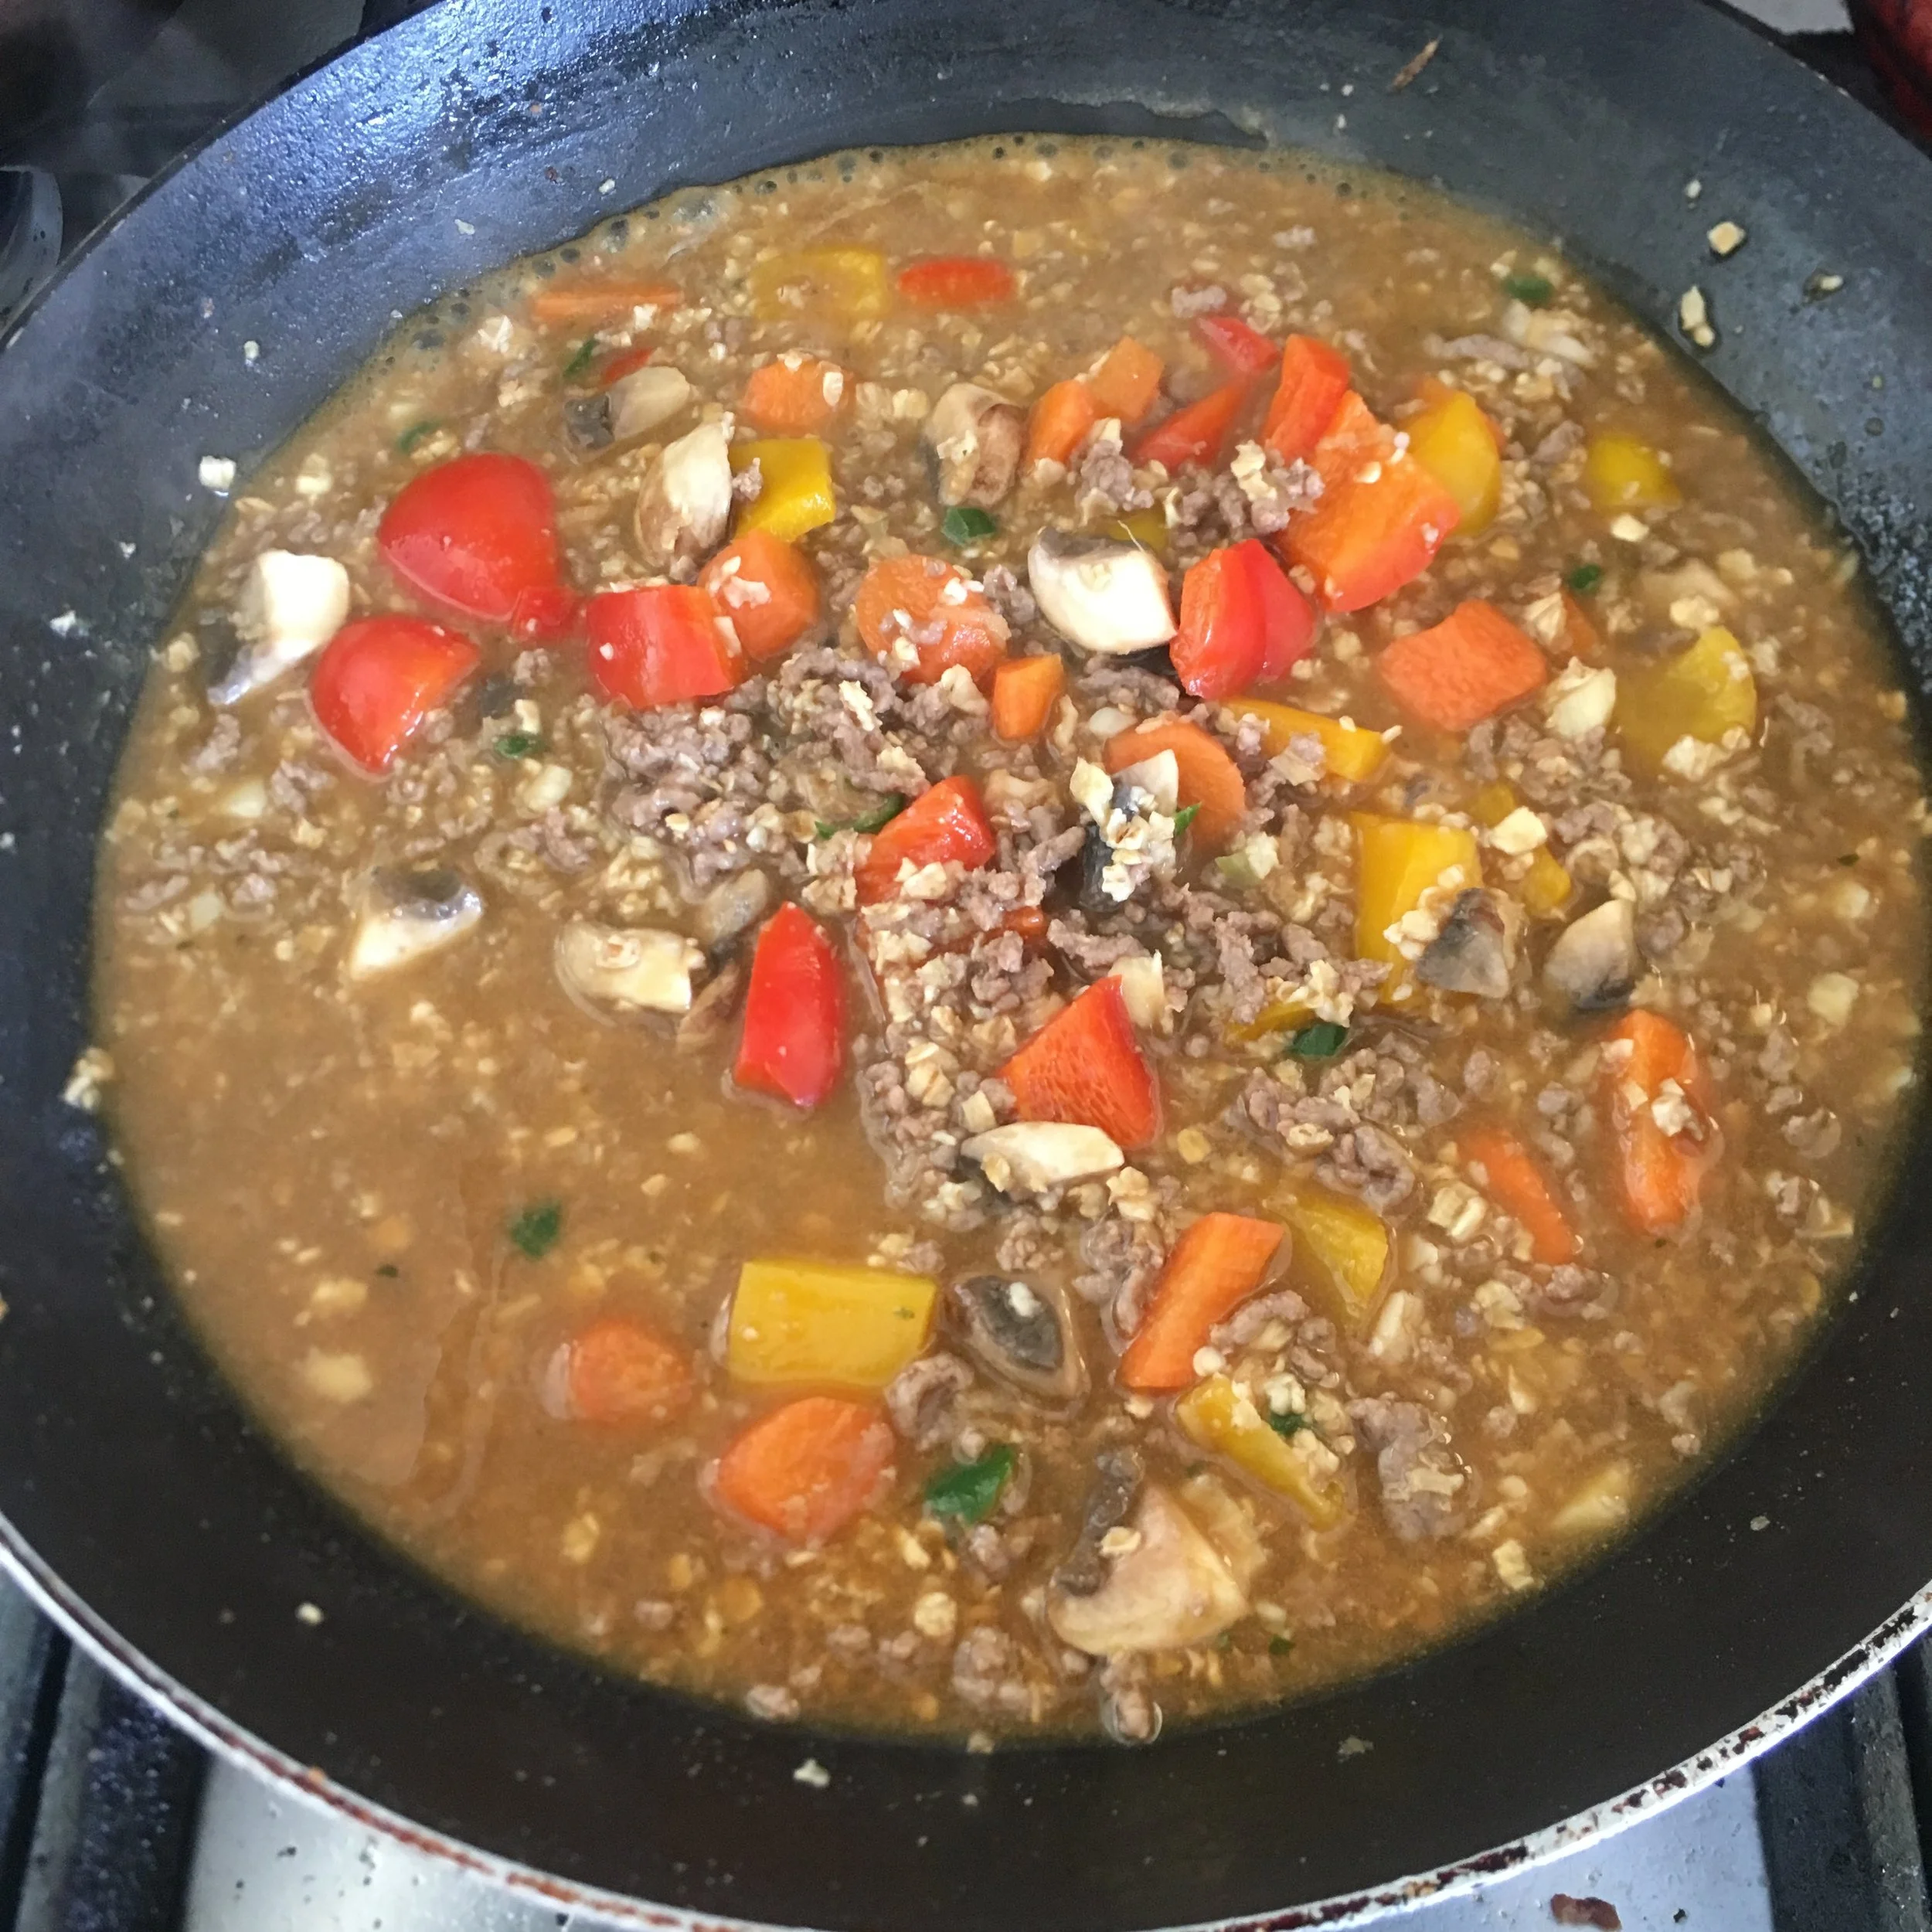
Add some more water, a dash of light soy sauce, one of fish sauce, a tiny pinch of sugar and a couple of dessert-spoonfuls of oats and cook, stirring all the time, at a simmer until the oats are cooked and it’s all a lovely kind of savoury spicy porridge!

IMG_1696.jpeg
IMG_1697.jpeg


YOU MIGHT ALSO LIKE …

Spring rack of lamb traybake

The clocks have gone forward, the evenings are immediately lighter and it’s officially SUMMERTIME!

Well,ok, it’s still Spring really, being the last day of March and the streets are lined with blossom-heavy trees shedding pink and white snowflakes of petals in the breeze.

I bought a little rack of lamb from the butcher yesterday so it feels perfect time to cook it.

But … how? Now that is the question.

I unashamedly ADORE rack of lamb, and if I had to one day choose a last supper it’s always going to be on the list (yes there’s a list, and I don’t know how I’d ever choose). Rack of lamb, cooked pink in the middle, with dauphinoise potatoes and a green salad with a mustardy French dressing - definitely on my last supper list.

But I don’t really feel like potatoes, i want something light and Spring-like … so I was kind of thinking Moroccan flavours perhaps, or Middle Eastern, or just a good classic Mediterranean vibe.

Since I didn’t really have any of the ingredients to make it clearly one thing or the other, it just turned into a very lovely round-the-world-in-one-tray-bake rack of lamb.

And very good it was too.

So basically, this isn’t really a recipe as such, just hopefully a Spring-board (ha! pun!) for you to add vegetables to a dish, then a rack of lamb and cook it all together until it’s delicious.

Do not skimp on the garlic cloves though, whatever you do - squishing out that gorgeous soft roasted garlic and spreading it onto the lamb should not be missed.

For what it’s worth, here’s how I made mine for two people.

Preheat the oven to 180 ish / Gas 7 ish (I’m a little vague on temperatures as I have gas and it’s immediately at the right temperature - I just checked and gas 7 is apparently 200 but that sounds a bit high to me, so I’ve suggested 180).

I asked my butcher to cut me a little rack of lamb with four cutlets/chops and he also scored the fat - you’ll need to do that with a sharp knife if yours didn’t come with it already scored - and I seasoned the lamb with a little salt and pepper

I added a little oil to a non-stick frying pan and sealed the meat quickly on the back before turning over and cooking it skin-side down for two or three minutes and the fat was slightly browned.

Into a baking tray / dish I put:

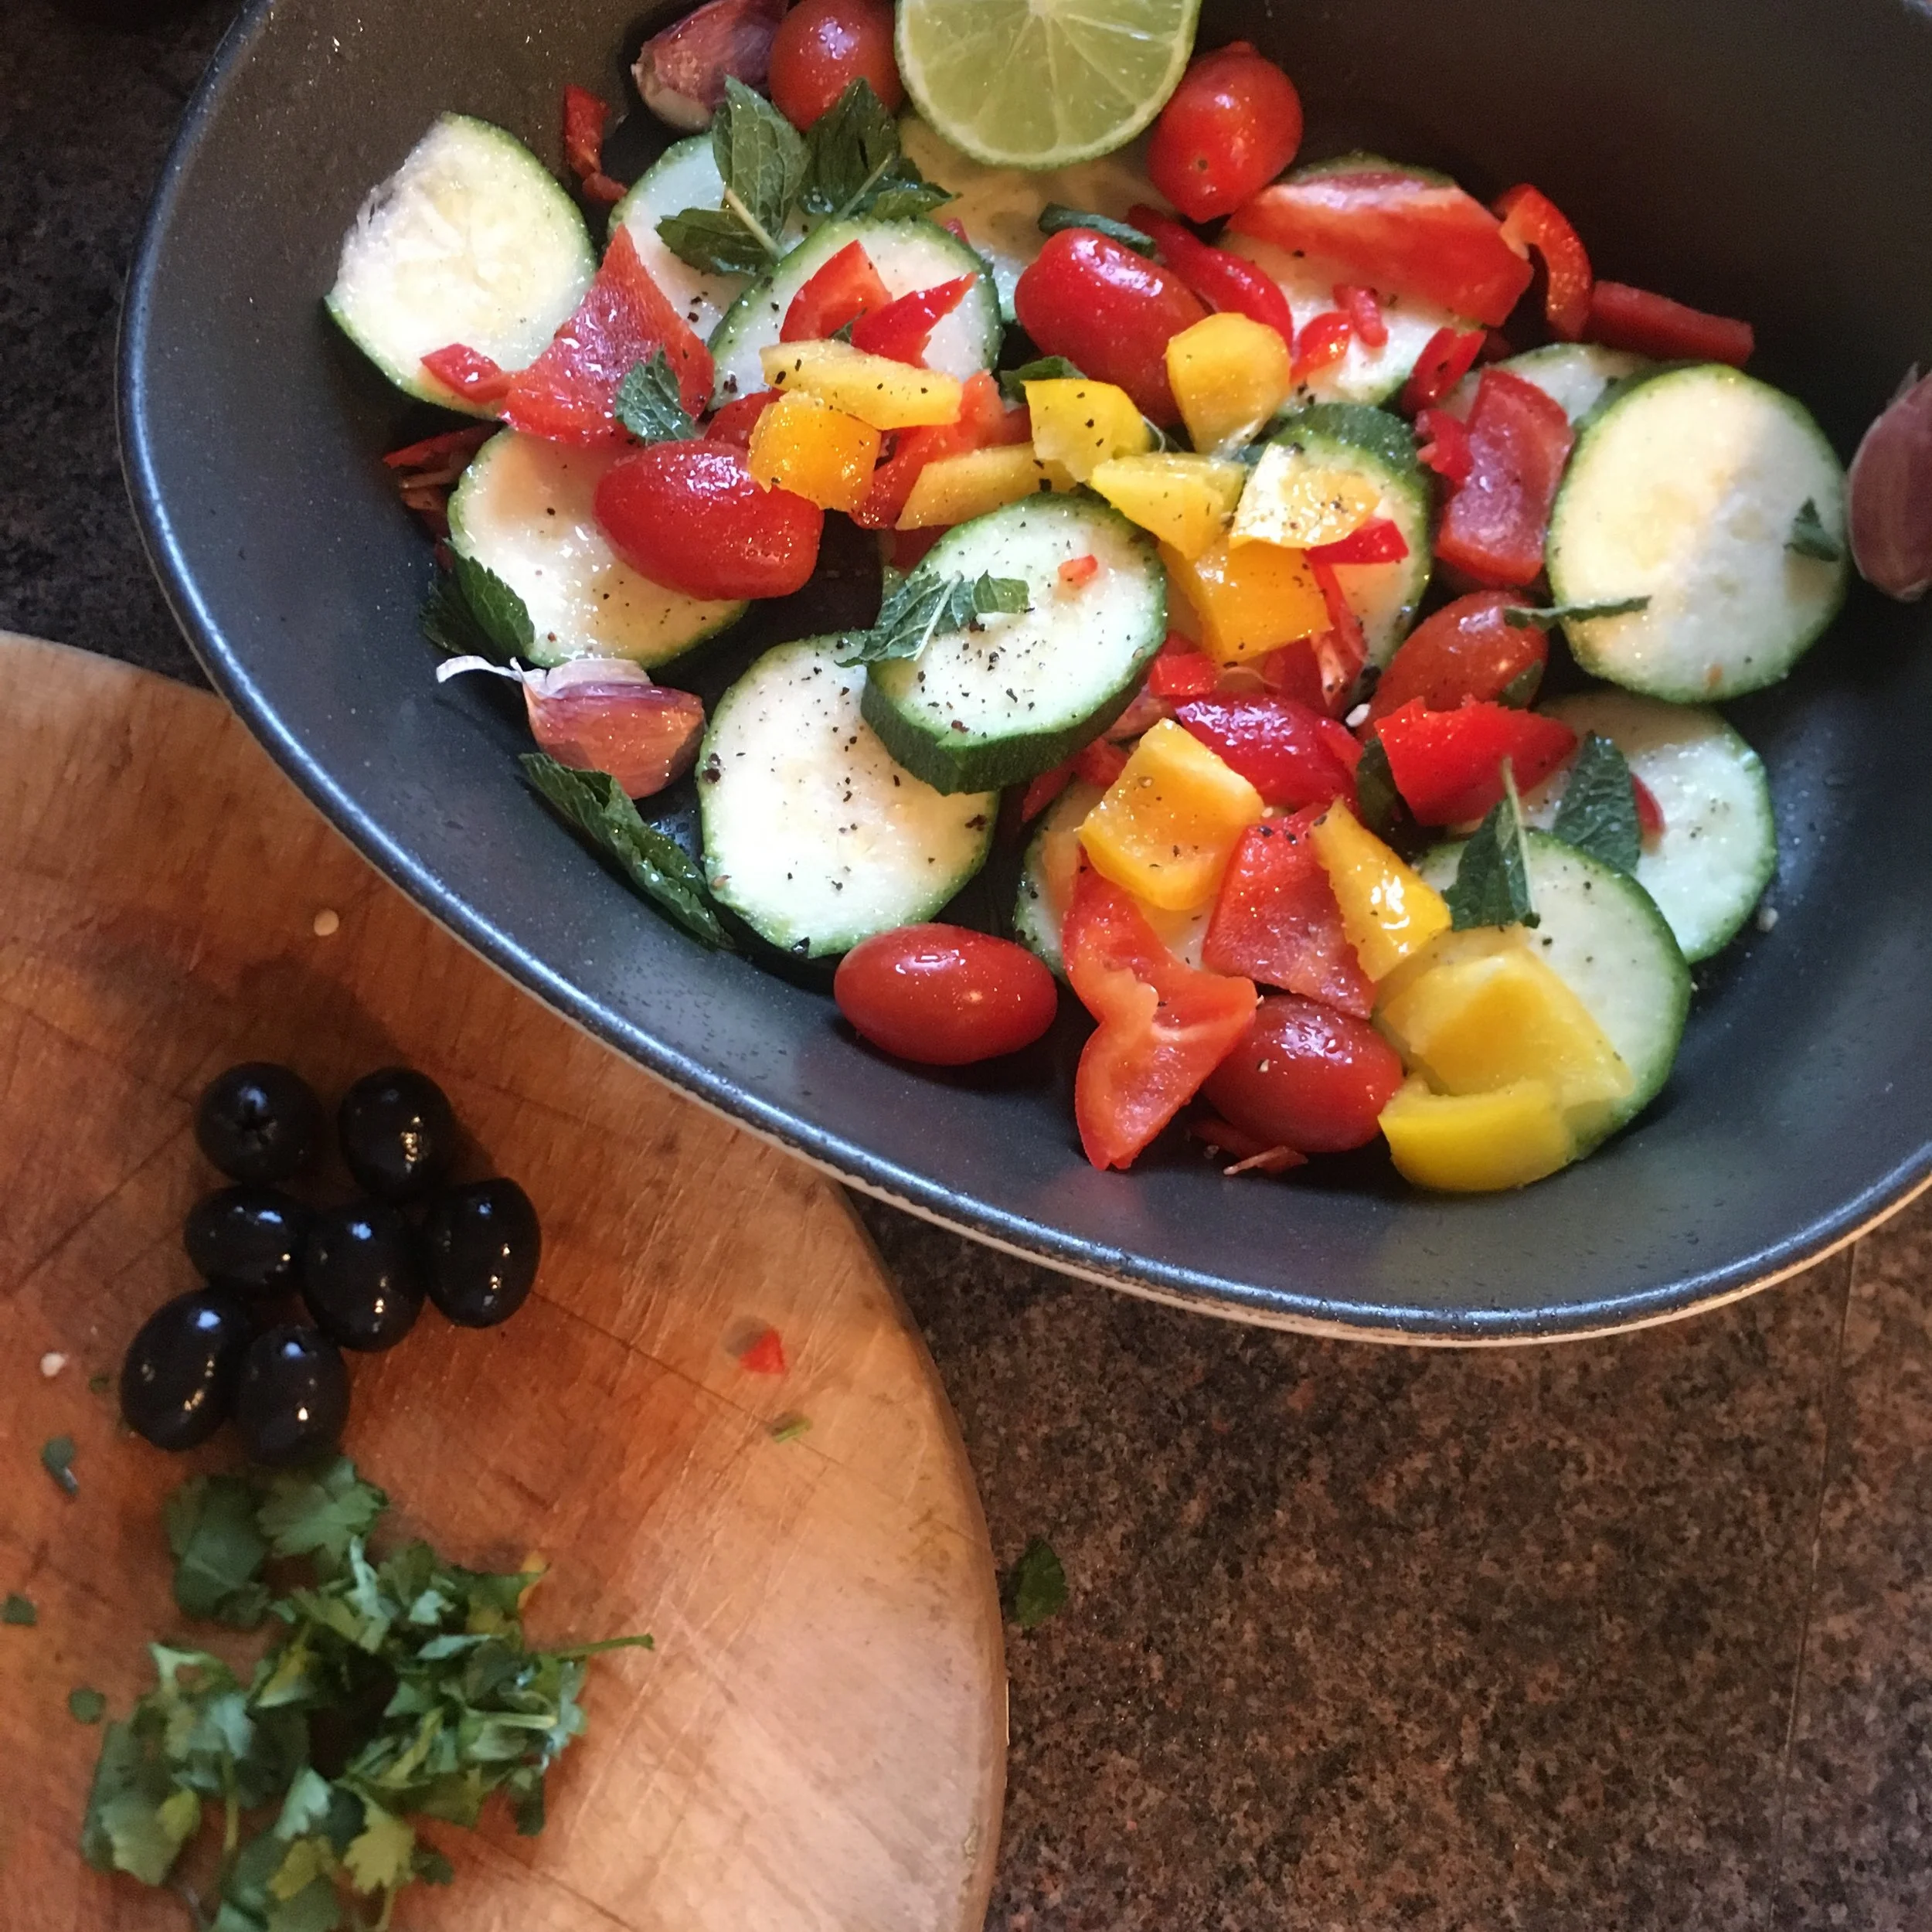
1 courgette, washed and sliced

several cherry tomatoes

some sliced red and yellow peppers

four cloves of garlic (unpeeled, just pop them in whole)

half a red chilli, diced

a couple of spring onions, chopped

some chopped fresh mint leaves (I’d kind of wanted fresh basil initially but didn’t have any)

a twist each of salt and pepper, and a little dusting of some ground cumin

a few sprays of cooking oil

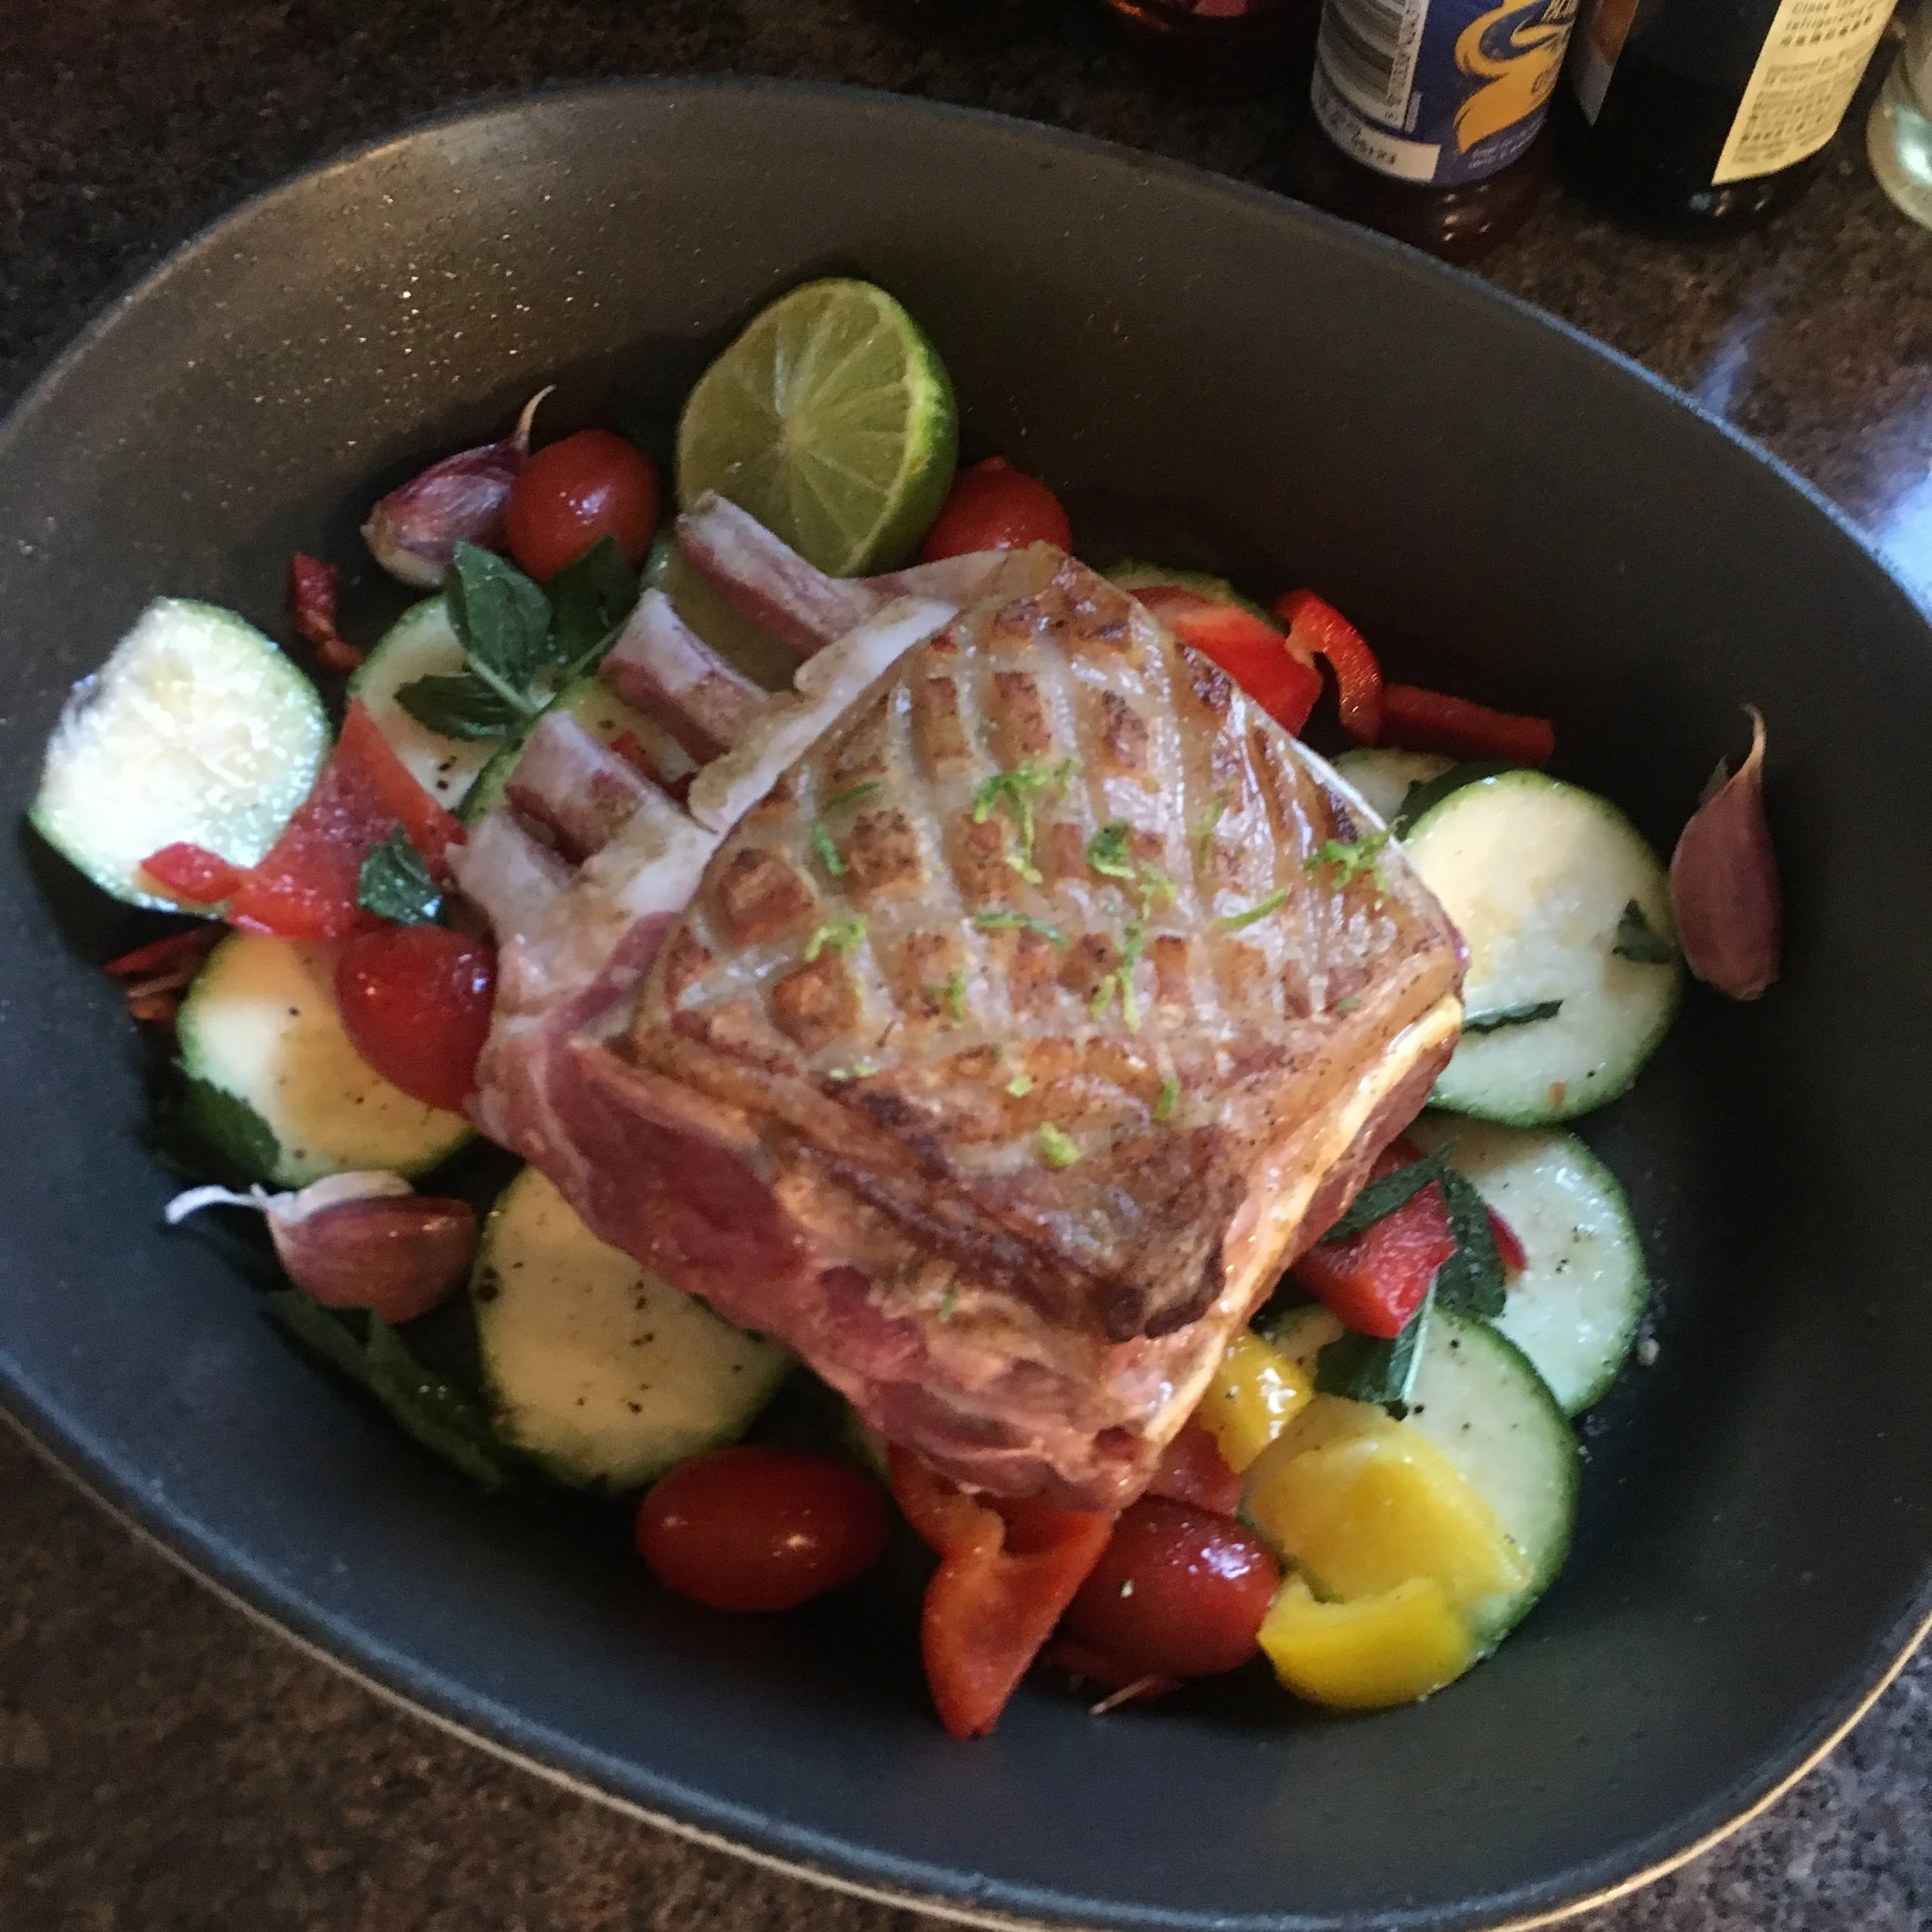
Toss it all together to mix, then arrange the lamb skin-side up on top and pop it all into the over.

Oh and a little grated lime zest on the lamb!

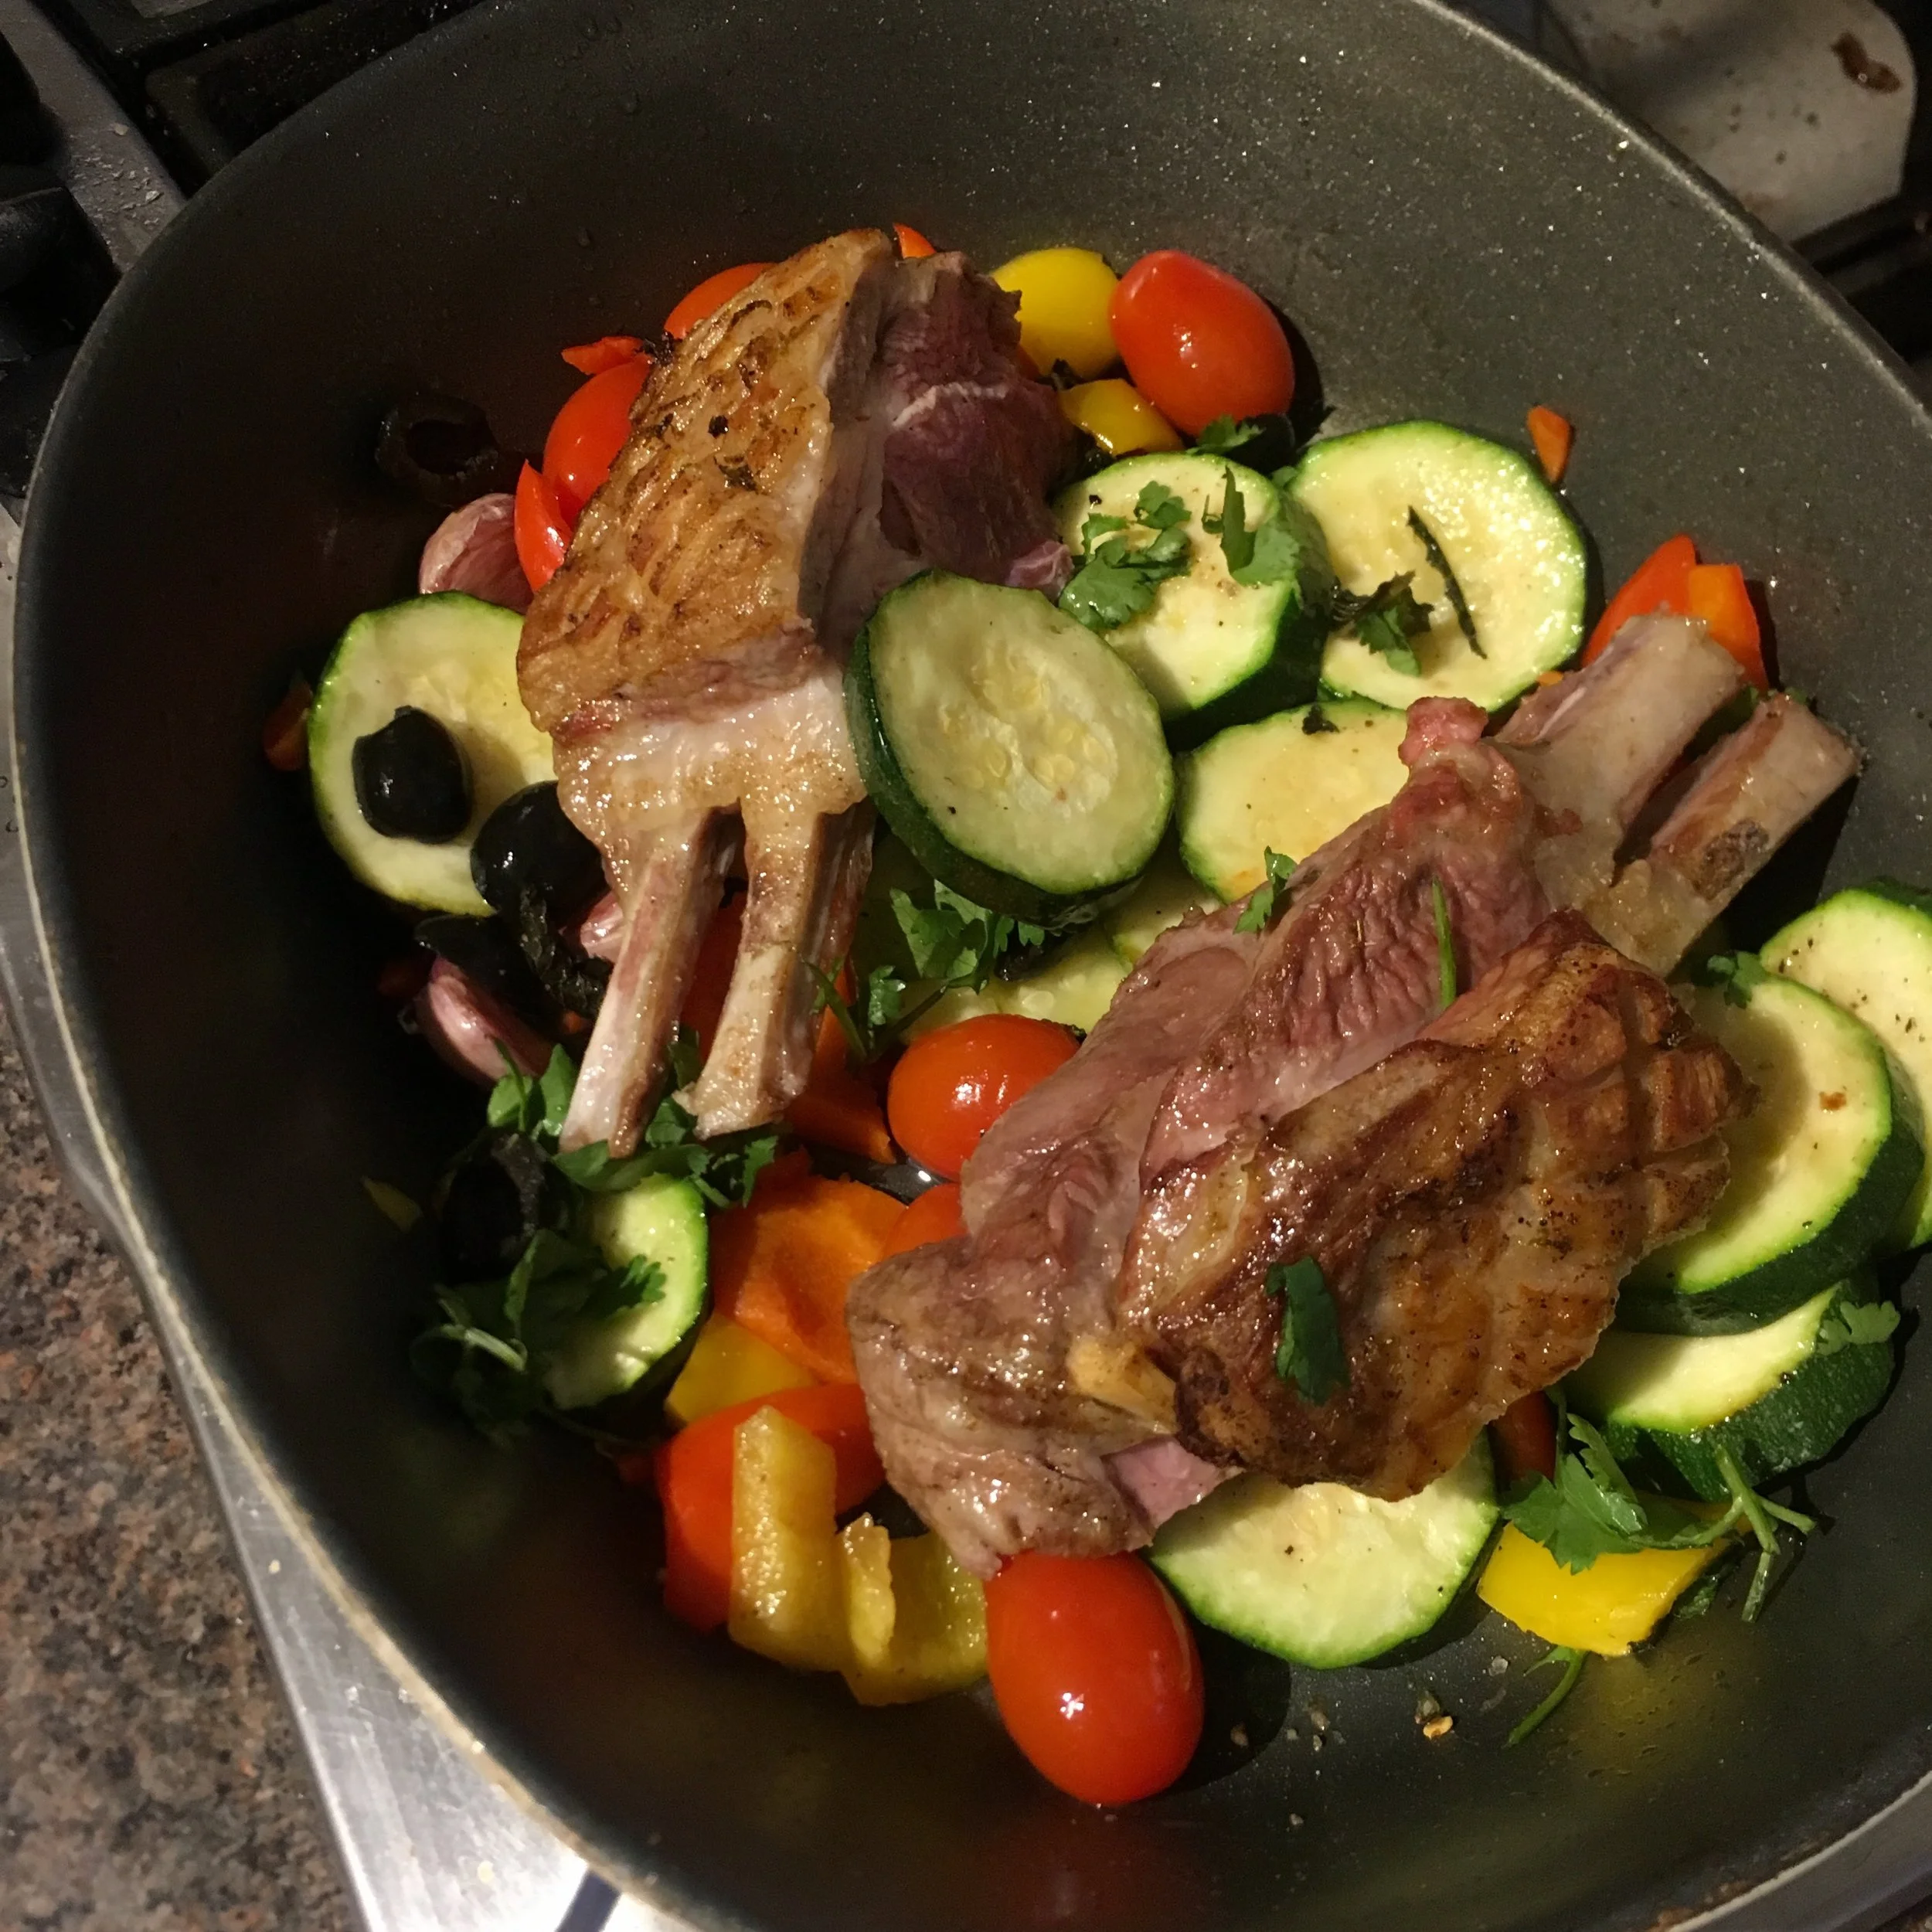
Check it after half an hour and see how it’s doing and if you want the lamb done more - I actually cut my lamb in half at this stage and decided to give it another ten minutes or so.

I also threw in some black olives and a handful of chopped coriander leaves (yup, told you the flavours were all over the place on this one!).

And … it was delicious …

I’m not sure you can really go wrong with roasted vegetables and rack of lamb, no matter what mixture of herbs you might throw in!

IMG_1365.jpeg
IMG_1367.jpeg
IMG_1368.jpeg


YOU MIGHT ALSO LIKE …

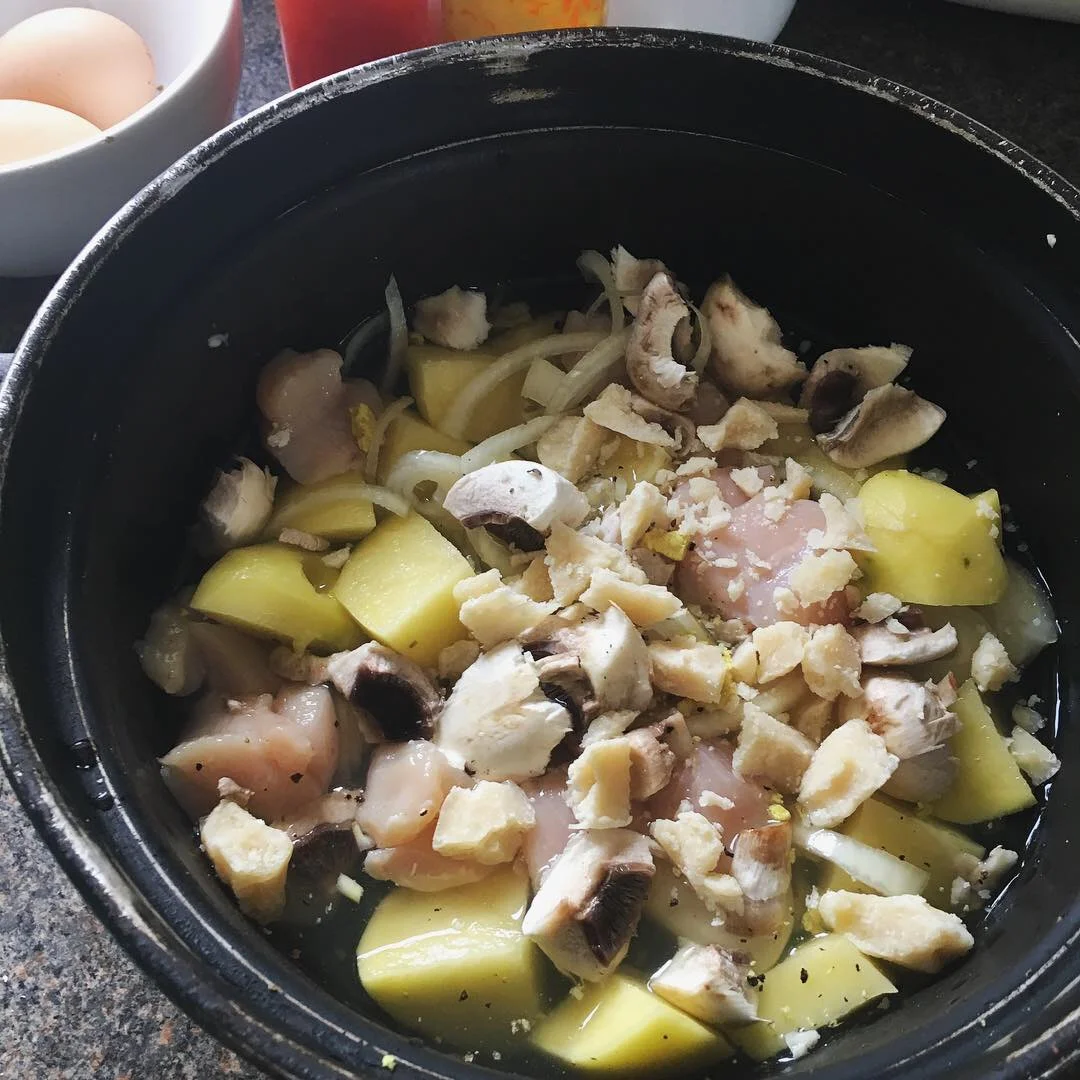
Simplest one-pot chicken + potato supper

I have been making versions of this sort-of-stew for - I think - over 20 years now.

The first time I had it was in my early twenties when I started working on magazines and we had a team dinner at a colleague’s house.

When I say ‘dinner’, I mean obviously it pretty soon descended into drunken debauchery as was entirely normal at that point (at that time of life, in London, in our first media jobs, in the 90’s!).

Our colleague hosting was our fabulously fun and inspiring manager, Emily, just a little older than us but seemed so much more grown up.

She had just been promoted to Associate Publisher, which I thought the most glamorous job title ever and she lived in a flat in Clapham with her boyfriend. They even had a dining room!

I felt I was playing at being grown up. I think we all did, including Emily.

I helped her prepare the main course and it was something so simple and yet so delicious and elegant that I remembered it to cook again.

And over the years … again and again and again.

I still think this a lovely dish for a dinner party and stand by its easy elegance.

‘Stew’ can sound stodgy - although I am a huge fan of stew (see HERE) - but this is really light and good.

Served with a green salad and something gorgeous for pudding, this means any host gets to spend time with their guests rather than in the kitchen (especially perhaps if their guests have moved on from necking shots of tequila as a starter hehe).

I can’t remember the exact quantities but it doesn’t really matter - it’s just a really easy idea that you can play with and use as much or as little as you like.

You’ll need:

chicken breasts, cut into bite-sized chunks

white potatoes, peeled and cut into chunks

dry white wine (I’m sure we used a whole bottle that first time but I’ve since used a mixture of white wine and chicken stock, so up to you)

lots (and lots and lots - this is a key ingredient, not a seasoning) of freshly grated Parmesan cheese

I also added some mushrooms this time but again, up to you

1/2 chicken stock cube, crumbled

salt and pepper

fresh parsley, to garnish

This couldn’t be easier. I use my trusty remoska, but you can make it on the stove-top or put it all into a casserole in the oven.

Just put all the ingredients into your remoska/pan/casserole and cook with a medium heat for an hour or so until done.

Check and stir regularly and add a little water if needed.

You could add a handful of spinach right at the end which would be delicious too.

Rachel Redlaw simplest one-pot chicken + potato supper

Oh, and don’t forget to season with salt and pepper towards the end of cooking, so you can really taste what the ideal seasoning is.

It’s up to you really when it’s finished cooking and is perfectly done as it’s such a personal decision - I like my potatoes in this done until they are almost falling apart, for instance, and you might like yours less well cooked.

I really hope you love this as much as I do - and cook variants of it for as long.

I think me and this dish still have many delicious years together yet to come.


YOU MIGHT ALSO LIKE …


Chicken with ginger + onions

Well, I’d had this in my head for a while and had intended to make it with white fish - a couple of pieces of cod perhaps, fried in the pan, then removed while the sauce is made.

And I do still want to make this ….

But when there’s no white fish in the shop, what to do? Make it with chicken instead!

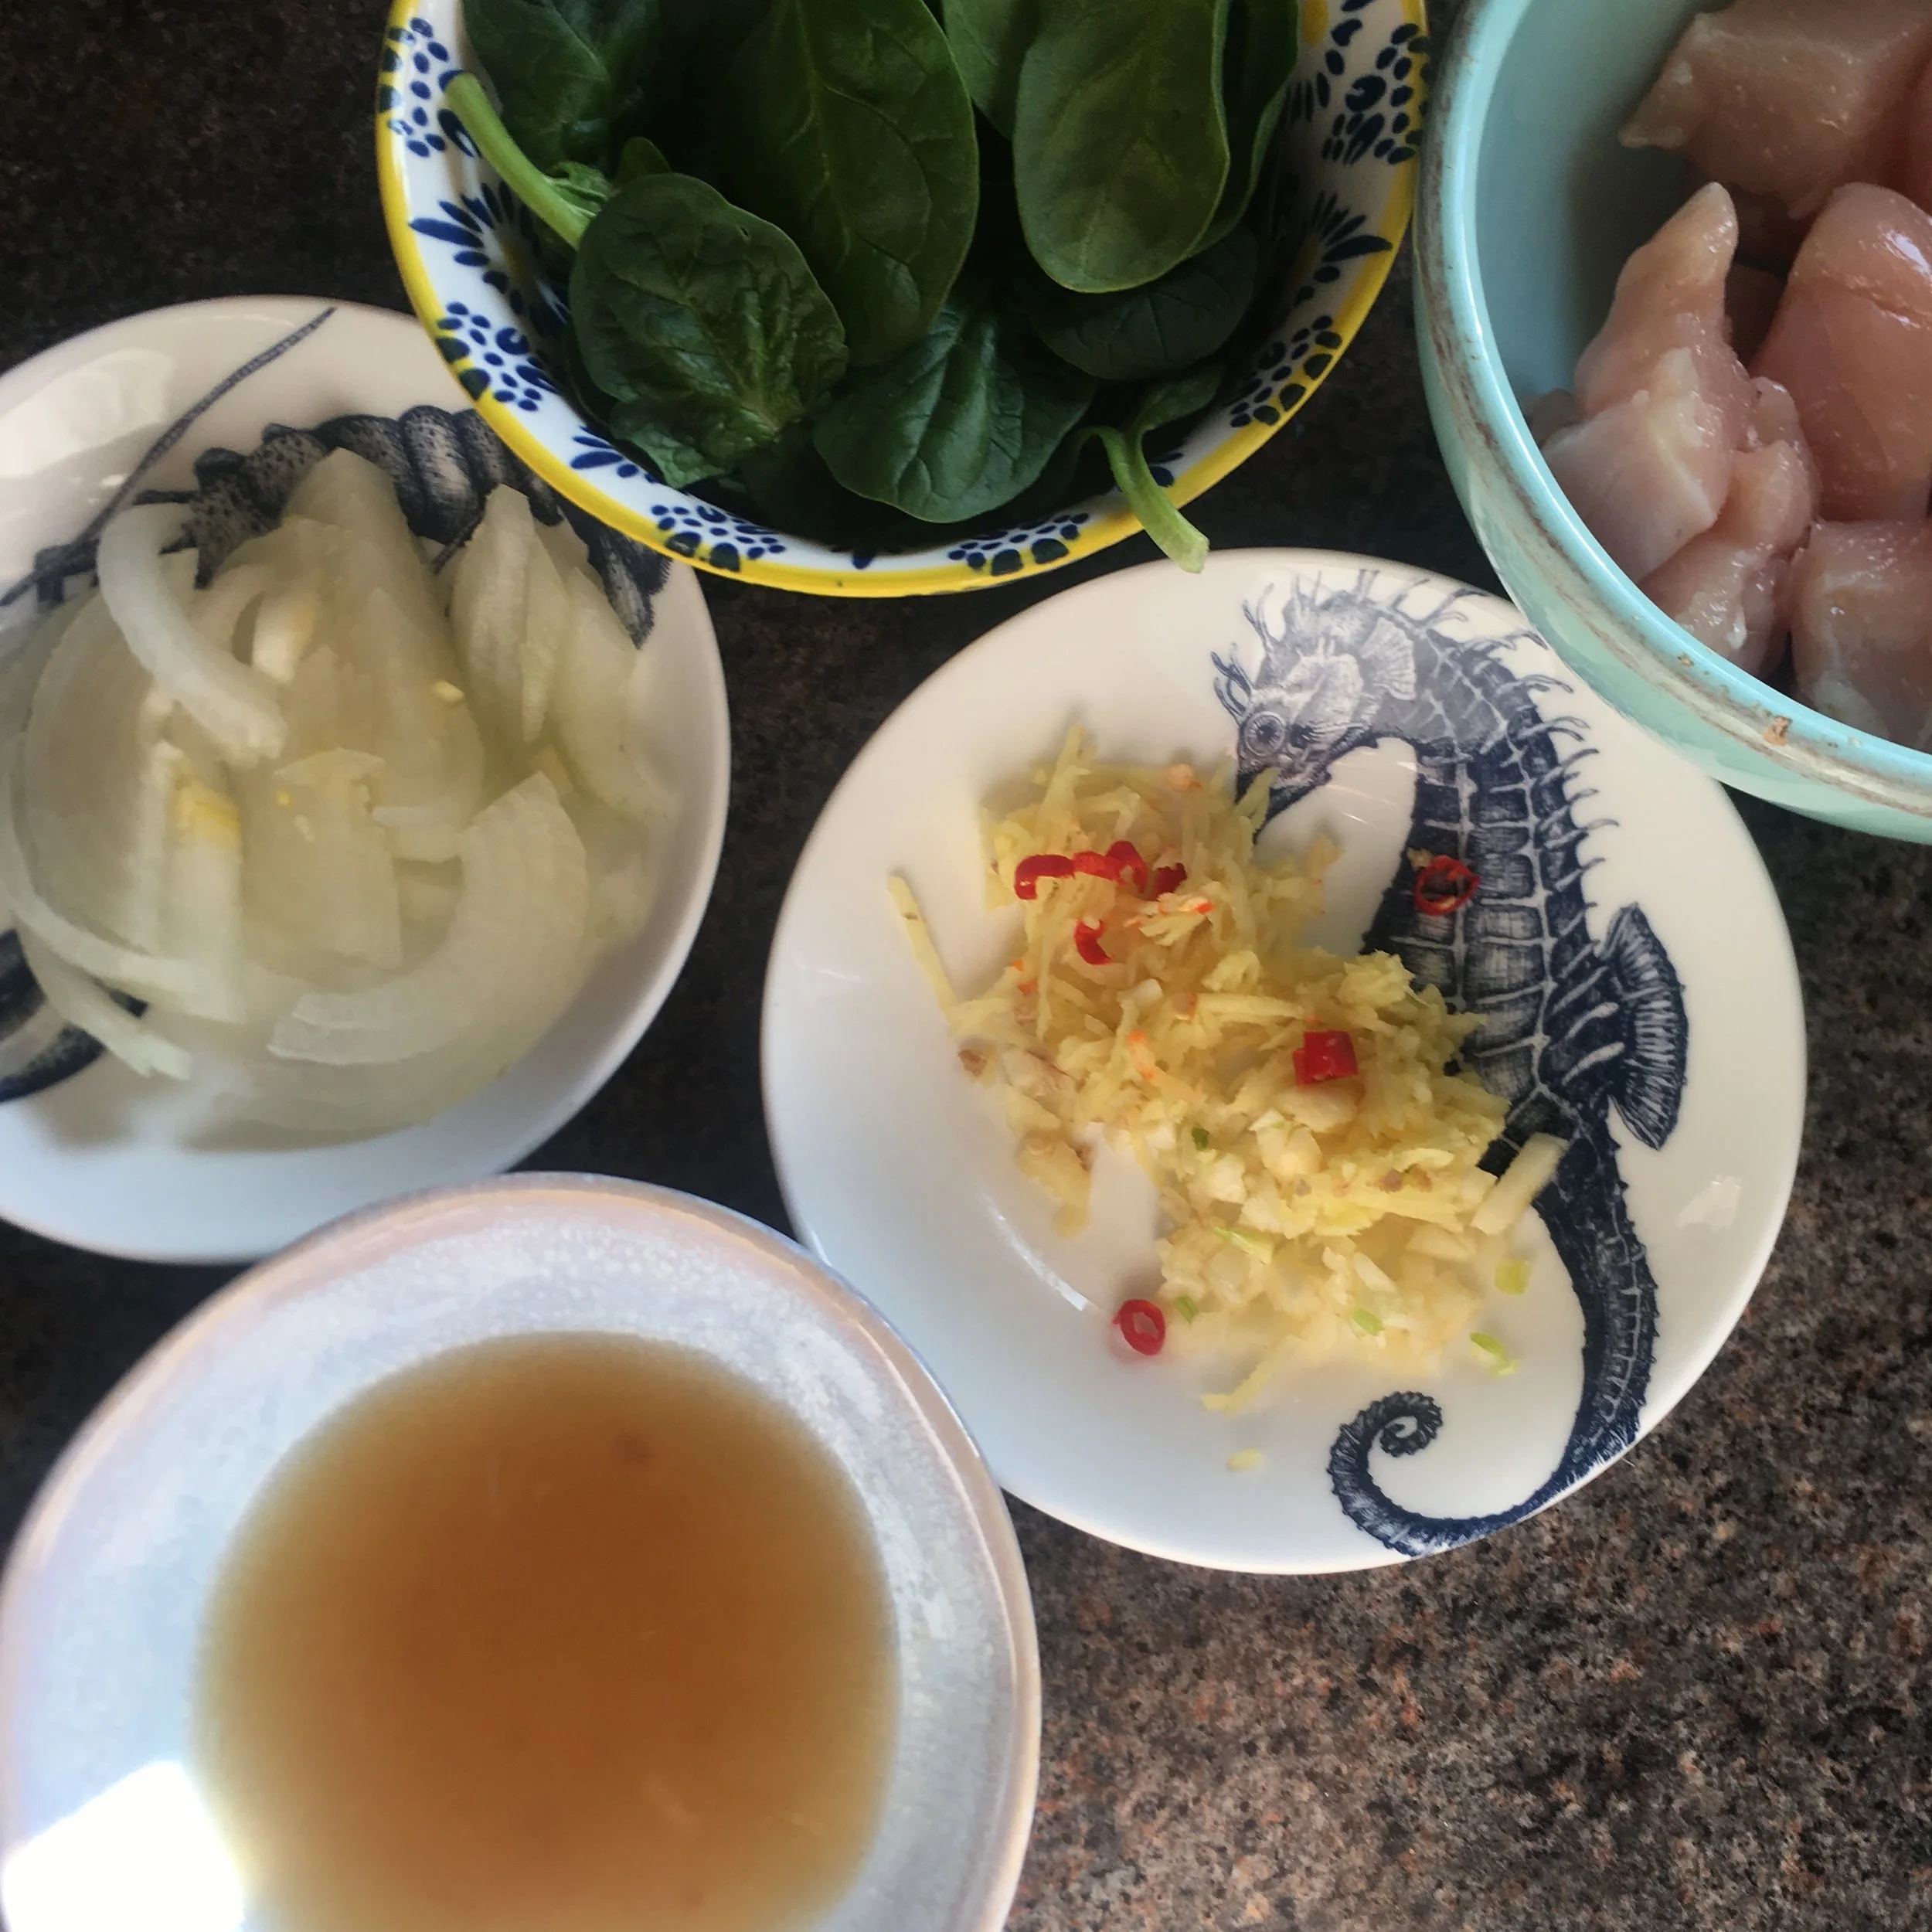
So I’ve made this twice now to test it out - once last night when I fried the chicken first in thin sort of escalopes - and then once today for lunch when I thought I’d try just cooking diced chicken in the pan and then adding the sauce ingredients to it (that’s why the uncooked chicken is in my ‘ingredients’ photo, but ignore that).

Both were good, but there’s something that just works that little bit better in cooking the chicken separately then slicing and adding to the sauce.

You could fry it, poach it, roast it, griddle it … anything really, but I think griddled looks prettiest.

Just have the chicken cooked and hot and ready to go … oh, and the rice too of course.

To make the sauce - enough for one or two people, you’ll need:

cooked hot chicken, ready to add

cooked hot rice, ready to add

cooking oil - I used light olive oil as this dish wasn’t cooked at a high temperature

2-3 teaspoons of grated fresh ginger

2 garlic cloves, peeled, squashed and minced

Rachel Redlaw chicken with ginger and onions

1 small red chilli, finely sliced (this is optional, I’m just a chilli fiend - but I think the dish would have more purity with fish instead of chicken and without the chilli - so when I do get some cod fillets I’ll be trying it like that)

2 teaspoons demerera sugar

the juice of half a juicy lime

1 tablespoon fish sauce

half a white onion, thinly sliced

a big handful of spinach leaves

fresh coriander leaves to serve, if liked

Get everything ready … the ginger, garlic and chilli (if using) in one dish, and combine the sugar, lime juice and fish sauce in another.

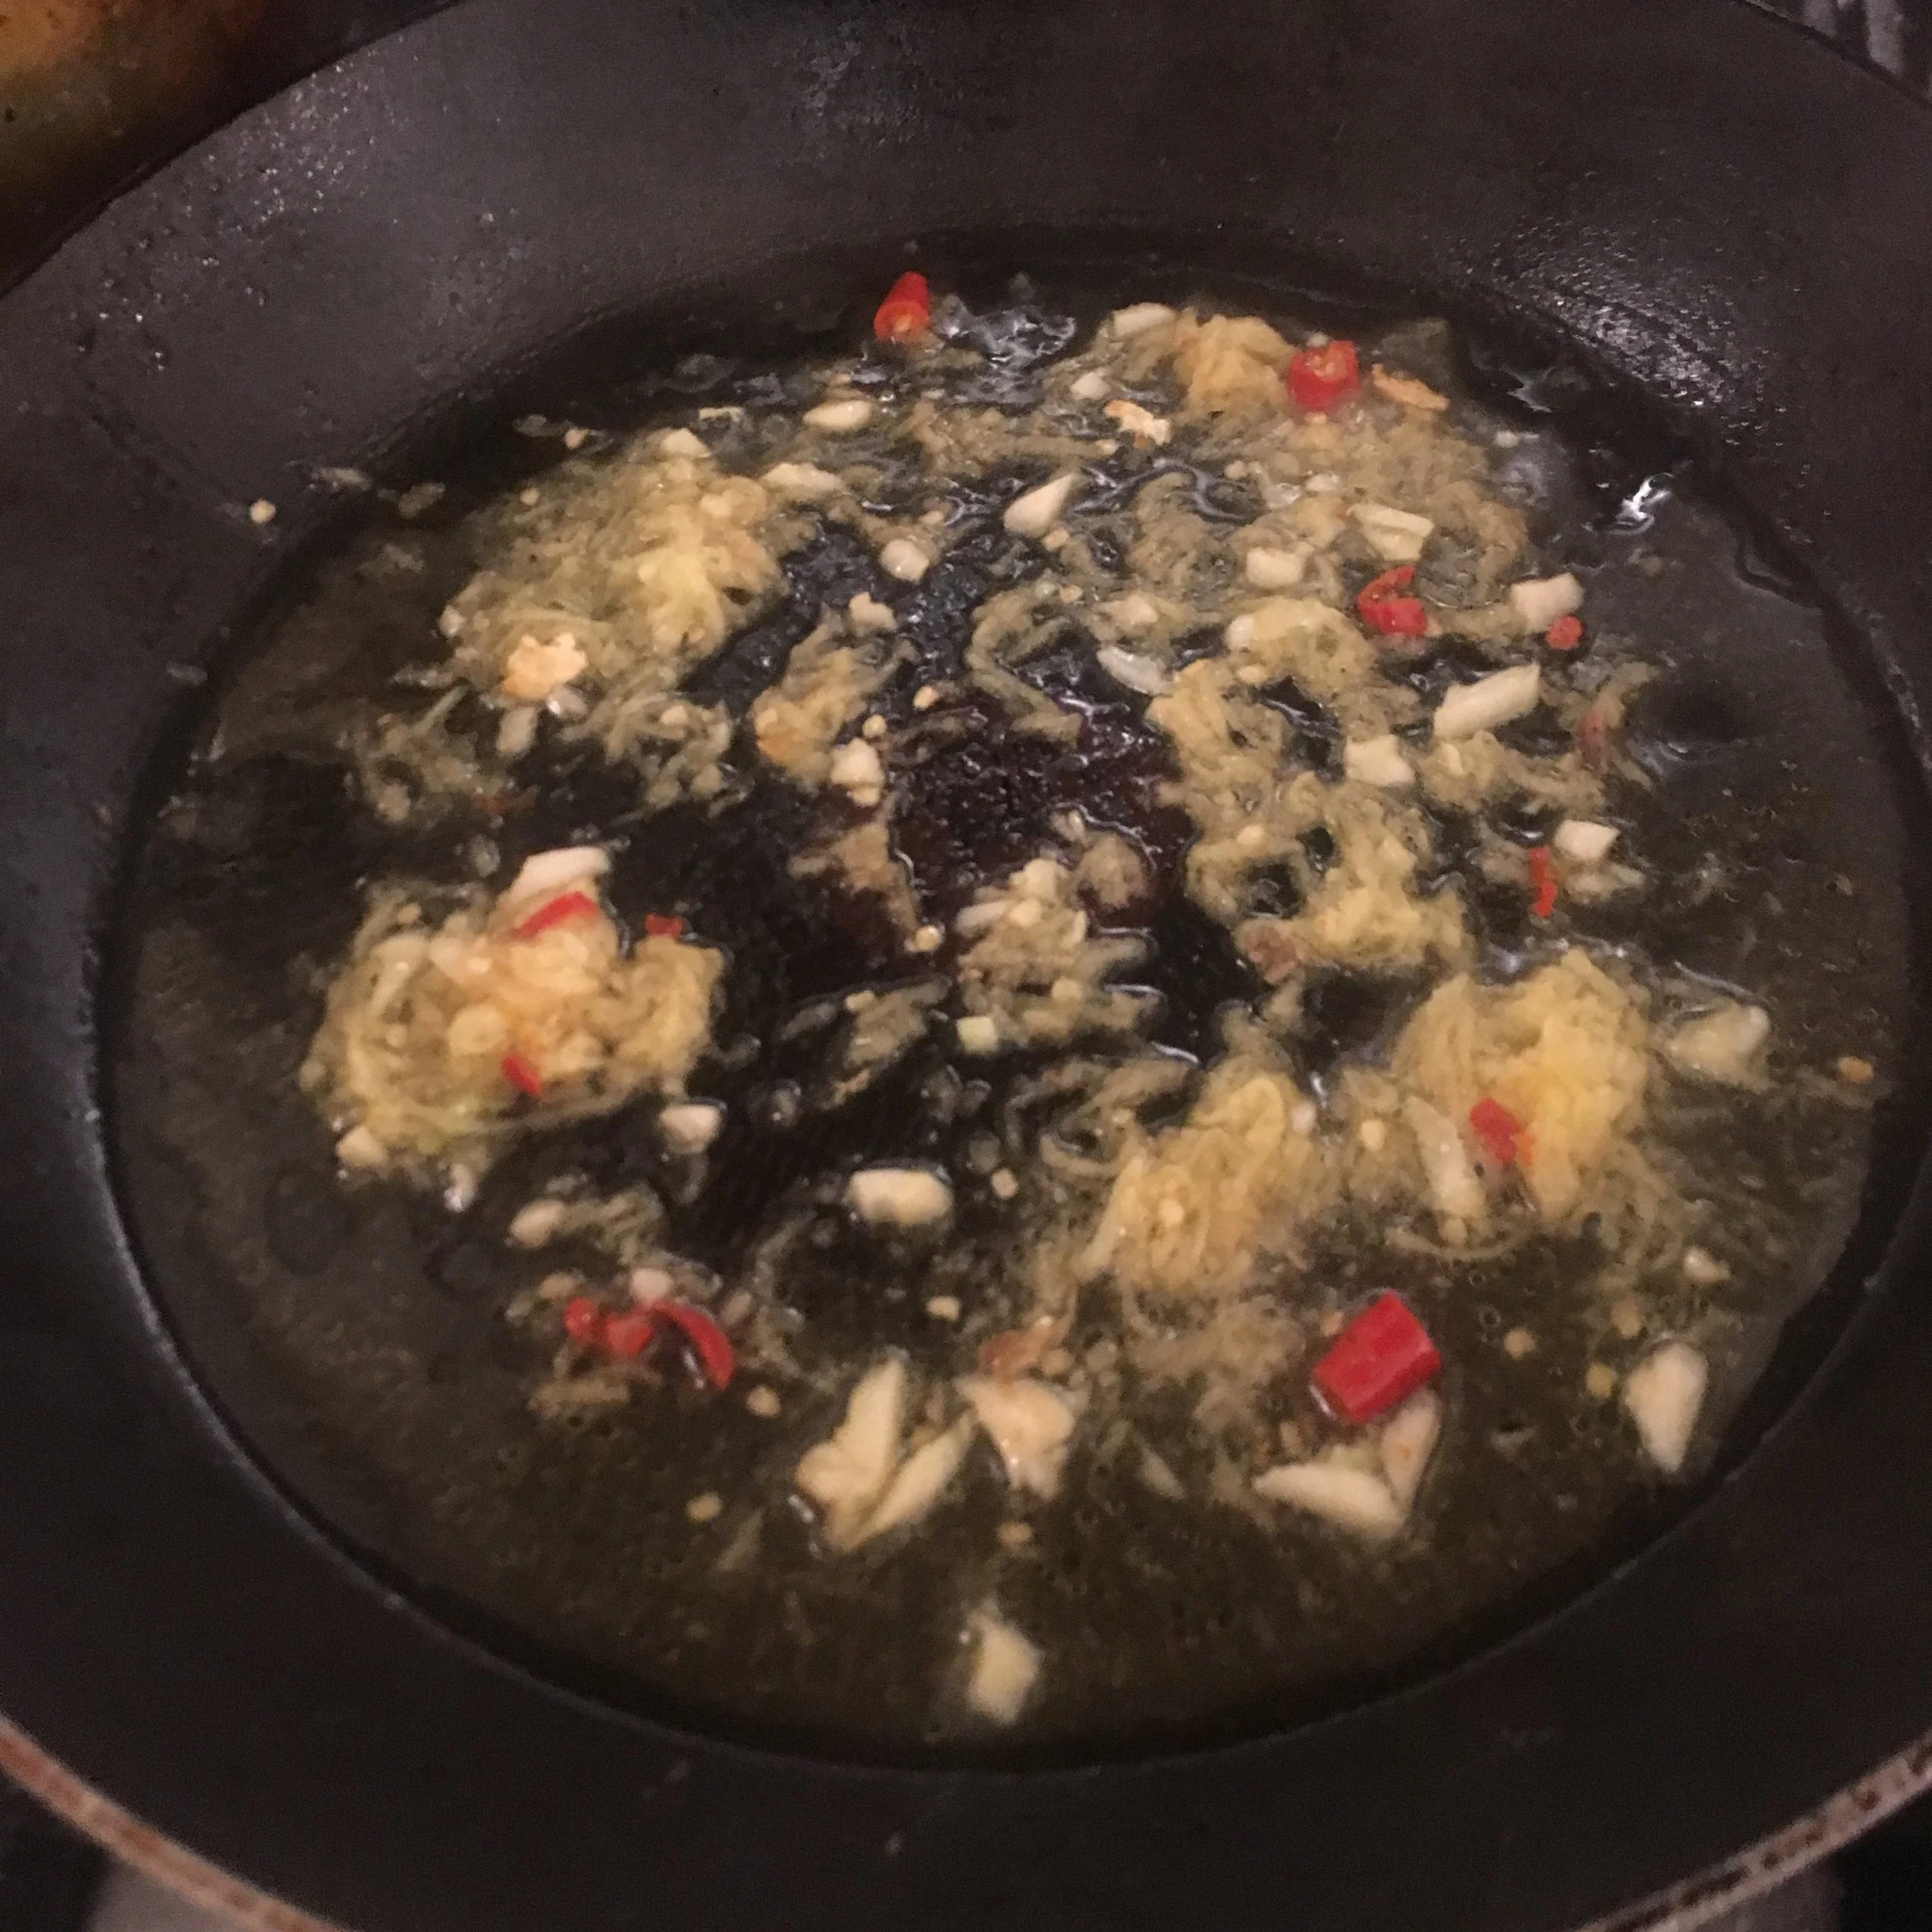
Put a good slosh of oil into a non-stick pan, probably about a tablespoon, into a non-stick frying pan and cook the aromatics over a gentle heat, stirring, for a couple of minutes - don’t let it stick, so do add a little splash of water if it needs it.

In another pan add more oil and put the onions on to fry - keep an eye on these, stirring regularly , and cook until golden - probably 5-6 minutes over a medium heat.

Add the lime juice mixture to the first pan and bring to a low simmer, and simmer for another couple of minutes - again add a little water if you prefer it to be a thinner sauce, or if it’s looking too thick or sticking at all. You want to keep it loose as it’s the sauce.

IMG_0038.JPG
Rachel Redlaw chicken with ginger and onions

Slice the hot cooked chicken into bite-sized pieces and add to the pan, then add the spinach leaves and cook for a minute to wilt.

Remove from heat and stir so it’s all completely combined and the spinach wilted.

Rachel Redlaw chicken with ginger and onions

Serve the chicken mixture with cooked rice and top with the fried onions and some chopped fresh coriander leaves, if liked.


You might also like …


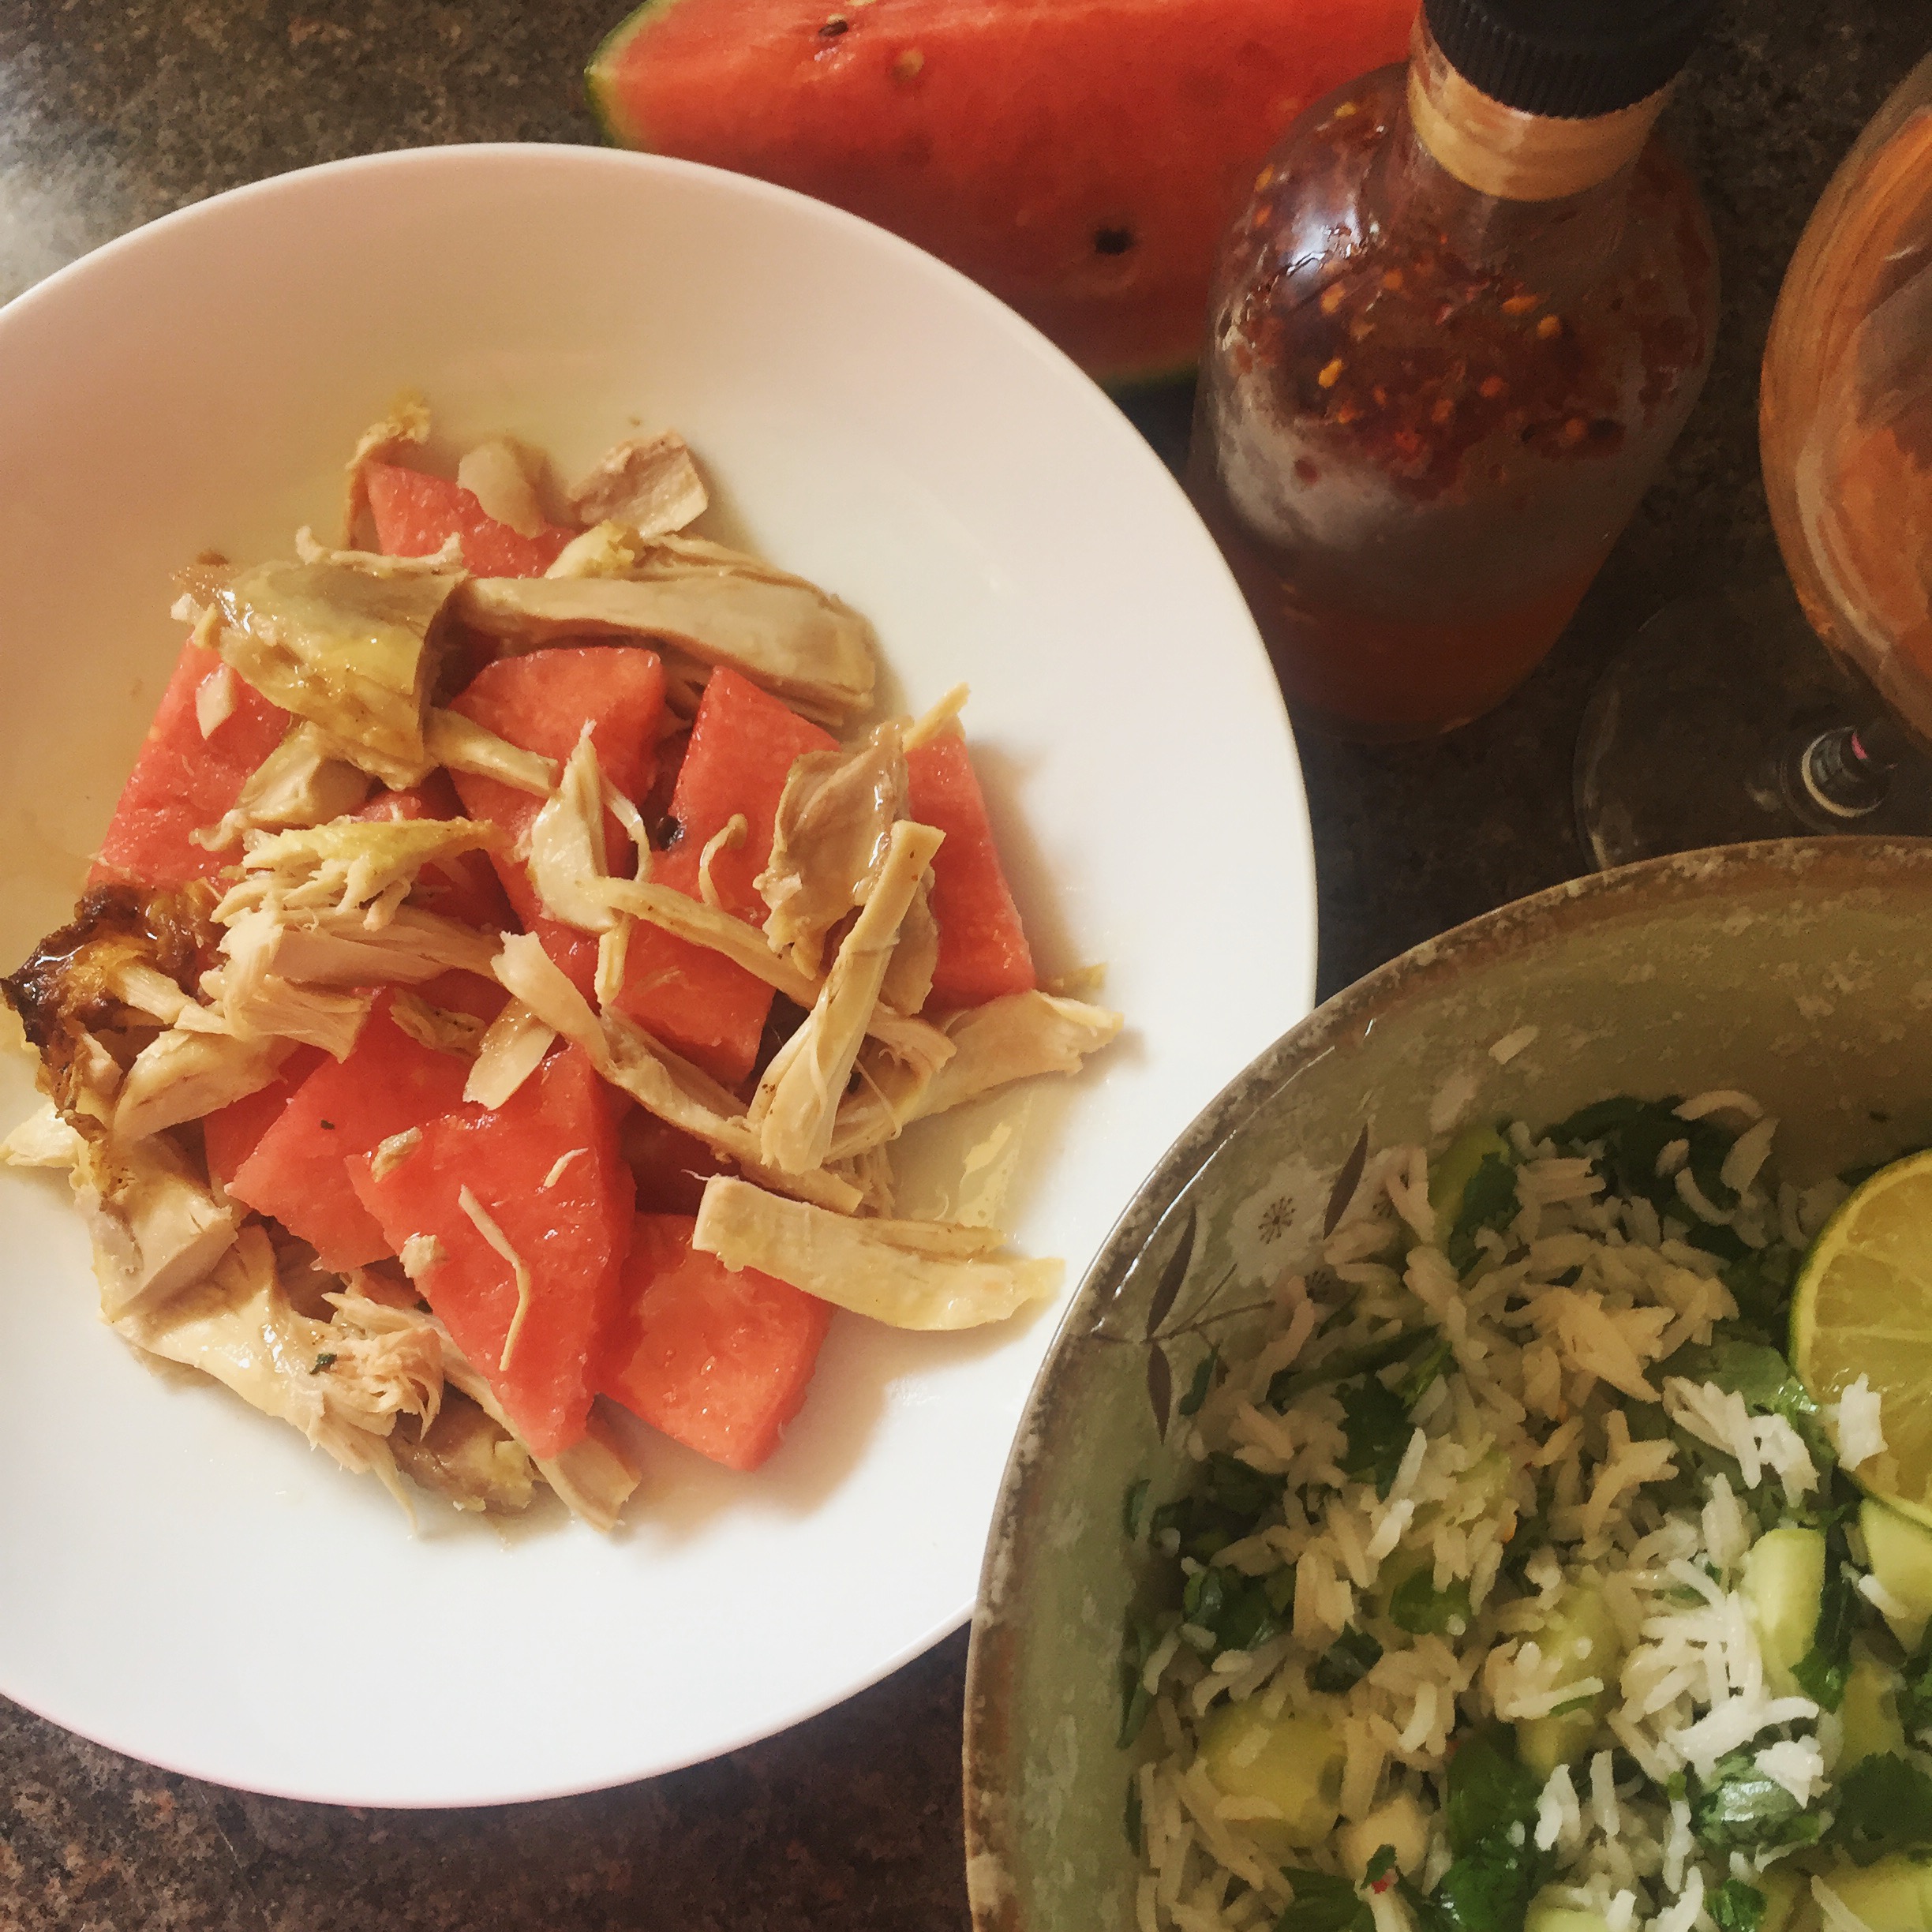
Watermelon chicken salad

Yes, I KNOW it sounds odd, but please bear with me and please TRY this!

This is so simple, and trust me, it WORKS.

So, how did it come about?

Recently, at my parents for the weekend, my step-mum (a very good cook) put together a quick lunch of salamis, cooked meats, breads and .... watermelon. It worked.

And I thought back to a couple of years ago when I made some Thai-influenced little chicken burgers for a party, and I'd added a chunk of watermelon to them in place of a bun, just a little piece of watermelon skewered with a cocktail stick on top of the burger patty.

Oh and I ALSO thought back to days in Thailand, driving through a rural area when suddenly there would be sign up for gai yang, and you could see the chickens roasting on the spit, and we'd slam on the breaks and jump out.

Where the guy would come out his house, take the chicken down, get that big cleaver out and chop it into chunks (bone included) and bag it up to give you.

Rachel Redlaw - Thai watermelon chicken salad

Where roast chicken is eaten dipped in sweet chilli sauce.

Rachel Redlaw - Thai watermelon chicken salad

So, combine it all together and you've got watermelon chicken salad.

First time I made it I cooked a roast chicken and had the chicken warm with cold watermelon chunks and a good drizzle of sweet chilli sauce, with rice salad.

Since then I've griddled a piece of chicken to mix with watermelon and Thai sweet chilli sauce.

I've been camping in France and bought cooked chicken from the supermarket to mix with the watermelon and the sweet chilli sauce (I brought this with me as haven't found French supermarkets to have the diverse range of foods I take for granted now in London).

And every time I've made it, it's been good.


YOU MIGHT ALSO LIKE ... 

Homemade tortilla wraps (+ pork / guacamole filling)

I rarely eat bread so when I do it’s got to be good!

Today I needed some flat bread, wraps, tortilla-type things for something I wanted to make.

But the ones in the shop all looked kind of insipid - plus I checked the ingredients list and it had an awful lot of things listed for something so simple.

I only want to eat real food - made from things that I actually know what they are!

And since I only needed two tortillas - it was going to be a waste buying a pack and I couldn’t face buying that plastic wrapper waste either.

I think it was a moment of laziness - that I couldn’t bothered to make them.

But looking at those added ingredients, and thinking of both the food and plastic waste ... of course I can make them!

It's not like I haven't made THESE before.

To make four, you just need:

100g plain flour

a pinch of salt

60g water

Mix the ingredients in a bowl or - as I did - in the jug I used to measure the water, and knead a little to really combine.

Leave while you make whatever it is you’re making to put in them.

Divide the dough into four and roll into balls.
Rachel Redlaw homemade tortilla wraps
dough balls.JPG
Rachel Redlaw homemade tortilla wraps

Put some more flour on the surface and use a rolling pin to make each ball into a tortilla shaped thing.

Non-stick frying pan over a medium heat and when hot add the tortilla - it’ll blister and cook in about a minute then turn and same again the other side.

Rachel Redlaw homemade tortilla wraps

And that’s it!

Super simple, real food, no waste ... 

Oh and my filling today? 

I diced some pork belly strips and fried (no added oil) in a non-stick pan with 1/2 teaspoon smoked paprika, salt and pepper, a minced clove of garlic and a splash of light soy sauce - and another of water.

Rachel Redlaw homemade tortilla wraps

I made my favourite guacamole (my friend Ruth's recipe), sliced up some lettuce, and stirred a teaspoon of chilli paste - nam prik pao - but you could use any chilli sauce - into some plain yogurt.

Heaped it all up, rolled it up, dug in ... :) 

Rachel Redlaw homemade tortilla wraps


YOU MIGHT ALSO LIKE ... 

Pork belly + noodles

Sticky, crispy pork belly, with soft noodles and lovely warm flavours - this is my favourite comfort food of the moment.

Really simple to make, and really good.

Quantities are kind of flexible so it's up to you if you want more of the pork belly or more of the noodles, or to make the sauce more of a soupier texture. Or just more of all of it of course!

I'd say maybe 2 pork belly slices per person and we want these good and dark and sticky and crispy, so add a couple of tablespoons of light soy sauce and another couple of runny honey. 

Mix it all together and then cook on a baking tray a medium oven (or in a remoska, like me), turning a few times, for 45-60 minutes. You can finish under the grill if you really want it crisped up more.

Rachel Redlaw pork belly and noodles

While the pork is cooking, prepare some dried rice noodles according to the pack instructions so they're ready to stir fry.  

I like these vermicelli rice noodles for this dish and mine took longer to soak than the packet said - I like them very soft in this dish anyway, so soaked mine in a pan of boiling water (taken off the heat the minute it comes to the boil and the noodles thrown in) for about ten minutes, then drain and rinse in cold water to stop them cooking further.

They can then just wait until the pork's done.

Also prepare the other ingredients:

1/2 onion, thinly sliced

1 garlic clove, minced

1/2 - 1 red chilli depending on your taste and how you feel 

2 or 3 tablespoons - maybe a little more - water

1/3 Knorr chicken stock cube

1 tablespoon fish sauce

2 finely sliced spring onions

fresh coriander leaves, chopped

When the pork is cooked, remove it from the baking dish and slice into bite-sized chunks - I also remove some of the fat if it's very fatty but that's just personal choice, so do whatever's going to taste best for you.

Rachel Redlaw pork belly and noodles

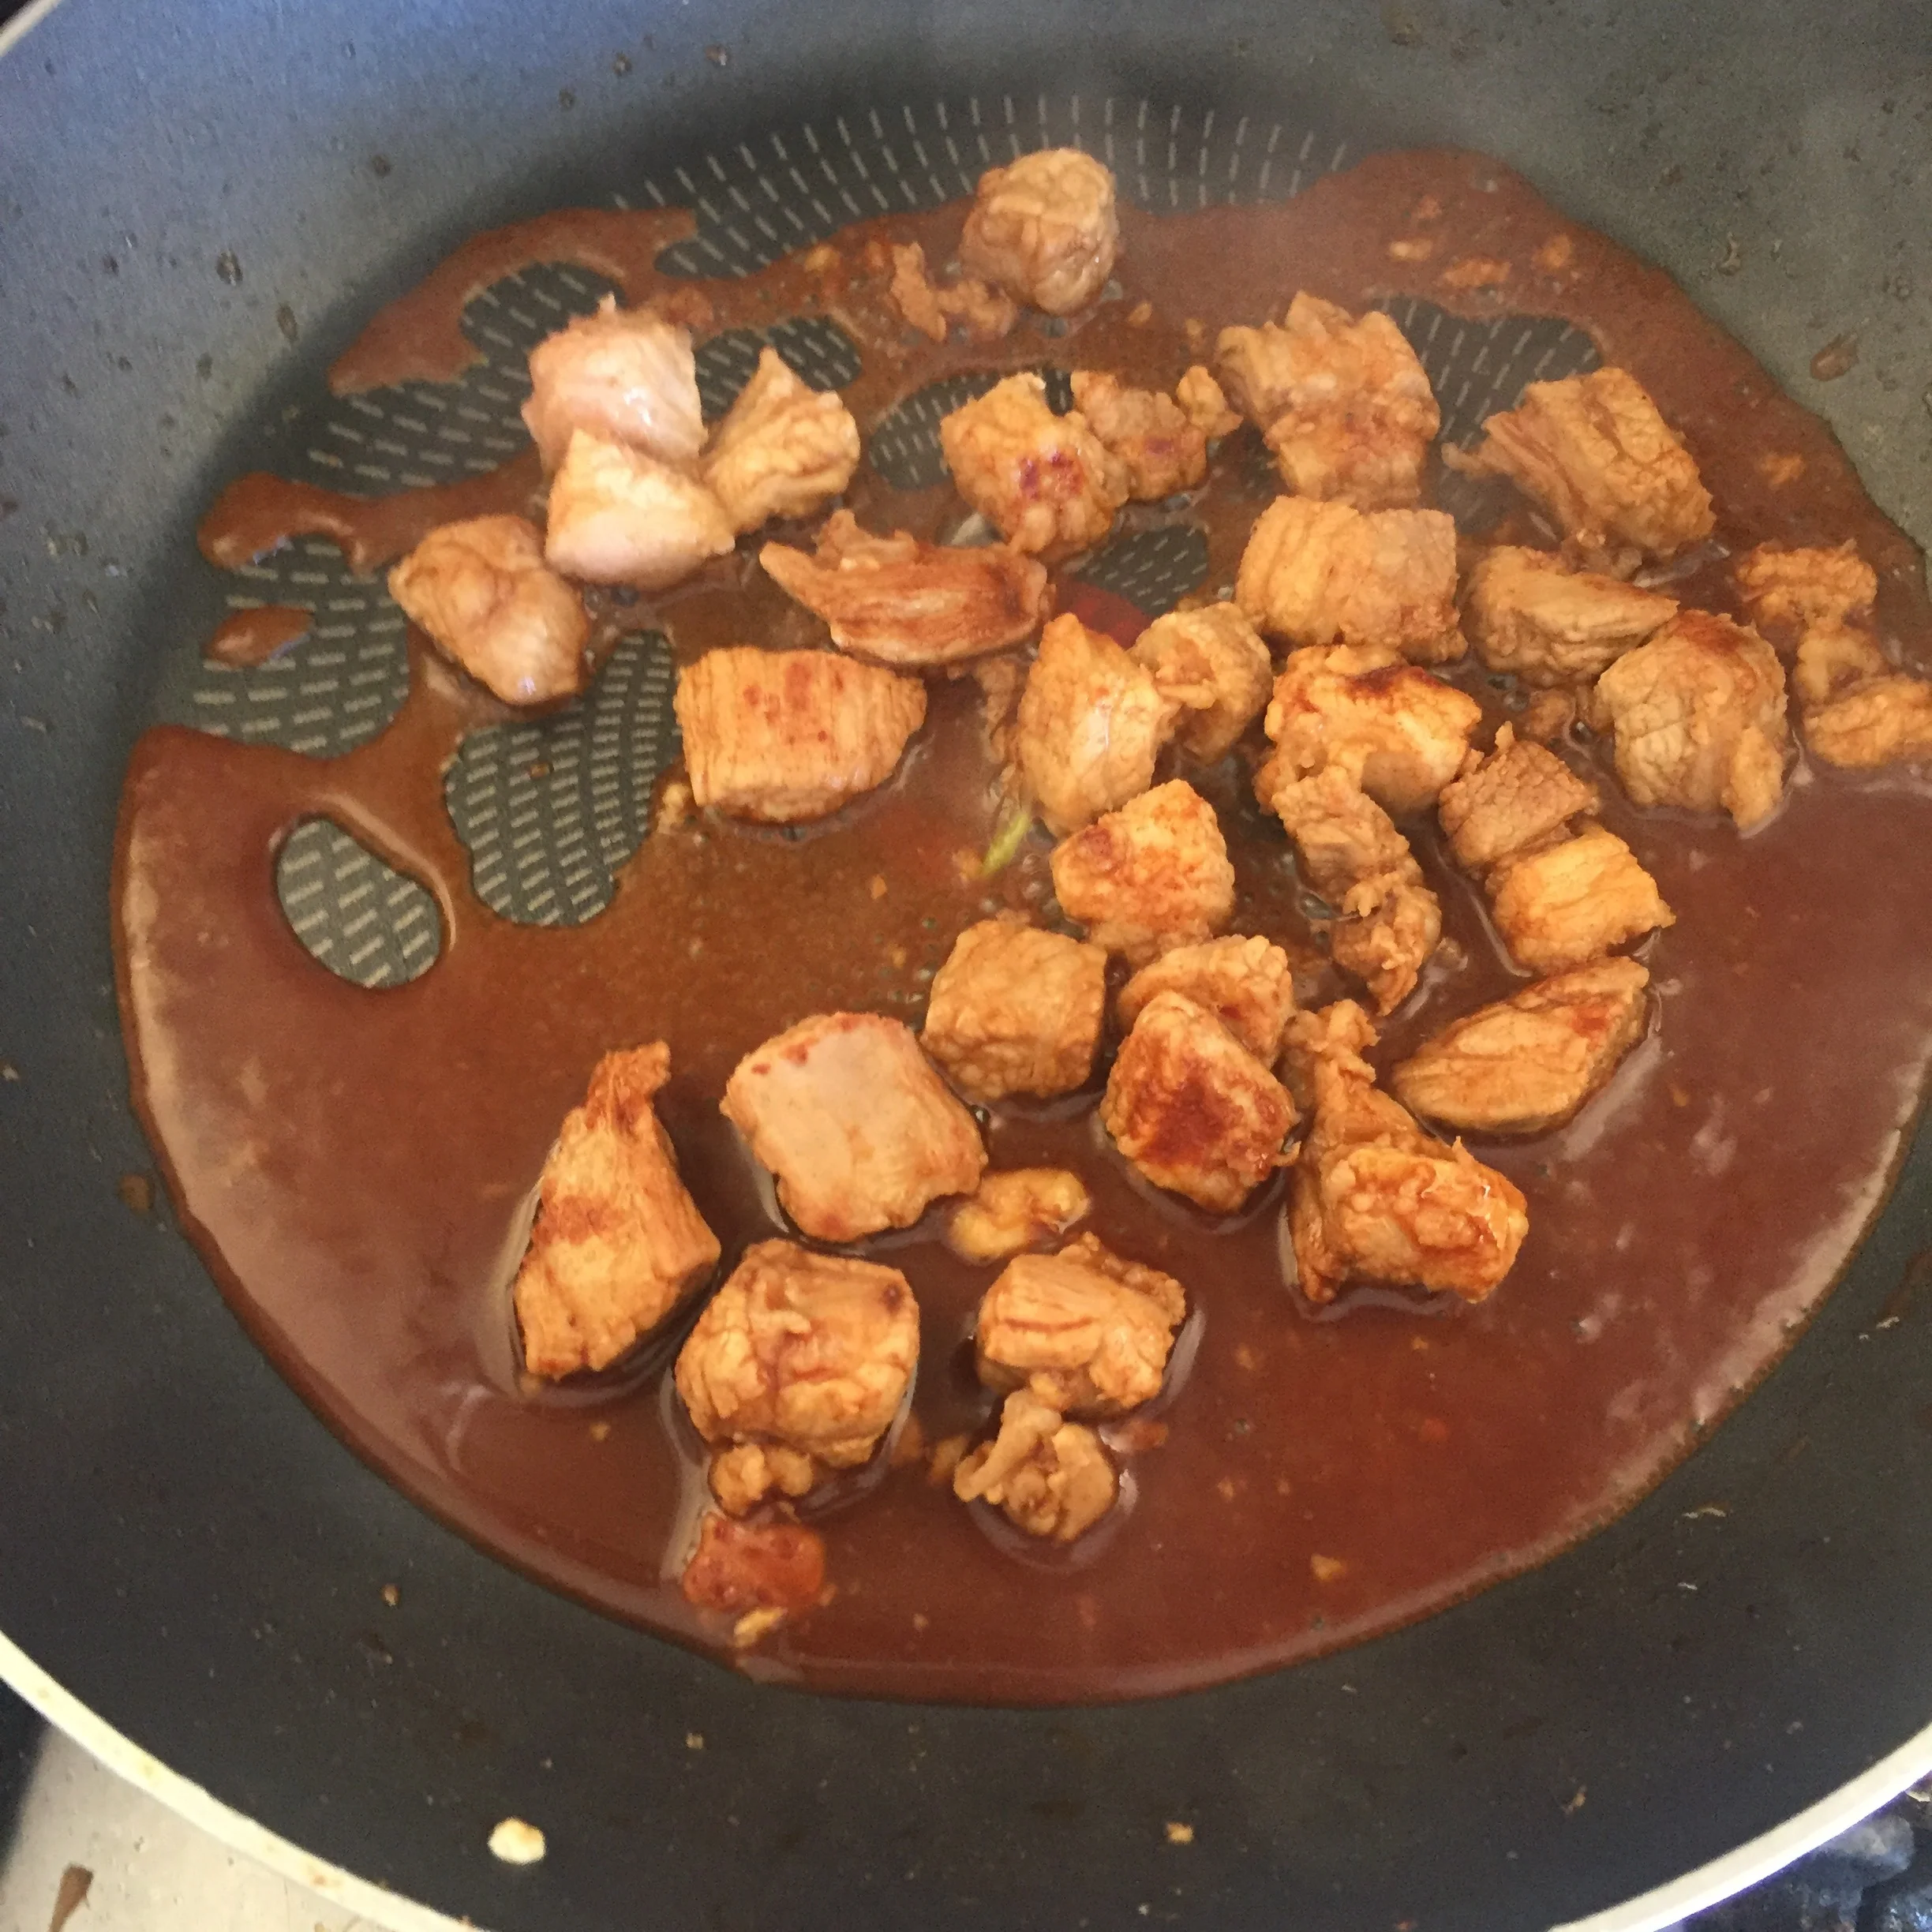
Then put a non-stick frying pan on the heat, add the tiniest amount of oil - I use a few sprays of a spray oil - and add the onion, garlic and chilli, stir frying for a couple of minutes.  Add a splash of water if it looks like it might be sticking - garlic burns really easily so keep it moving and add that splash of water if you need to.

Then add a good slosh of water, crumble in the piece of stock cube, add fish sauce and bring it all to the boil, reduce the heat and simmer for five minutes or so until the onions are soft.

Rachel Redlaw pork belly and noodles

It's entirely up to you if you want to add more or less water, to make more of a sauce or more of a dry dish.

When the onions are softening, add the noodles, and stir fry for another few minutes - again add water if you need or want to - until the noodles are hot through.

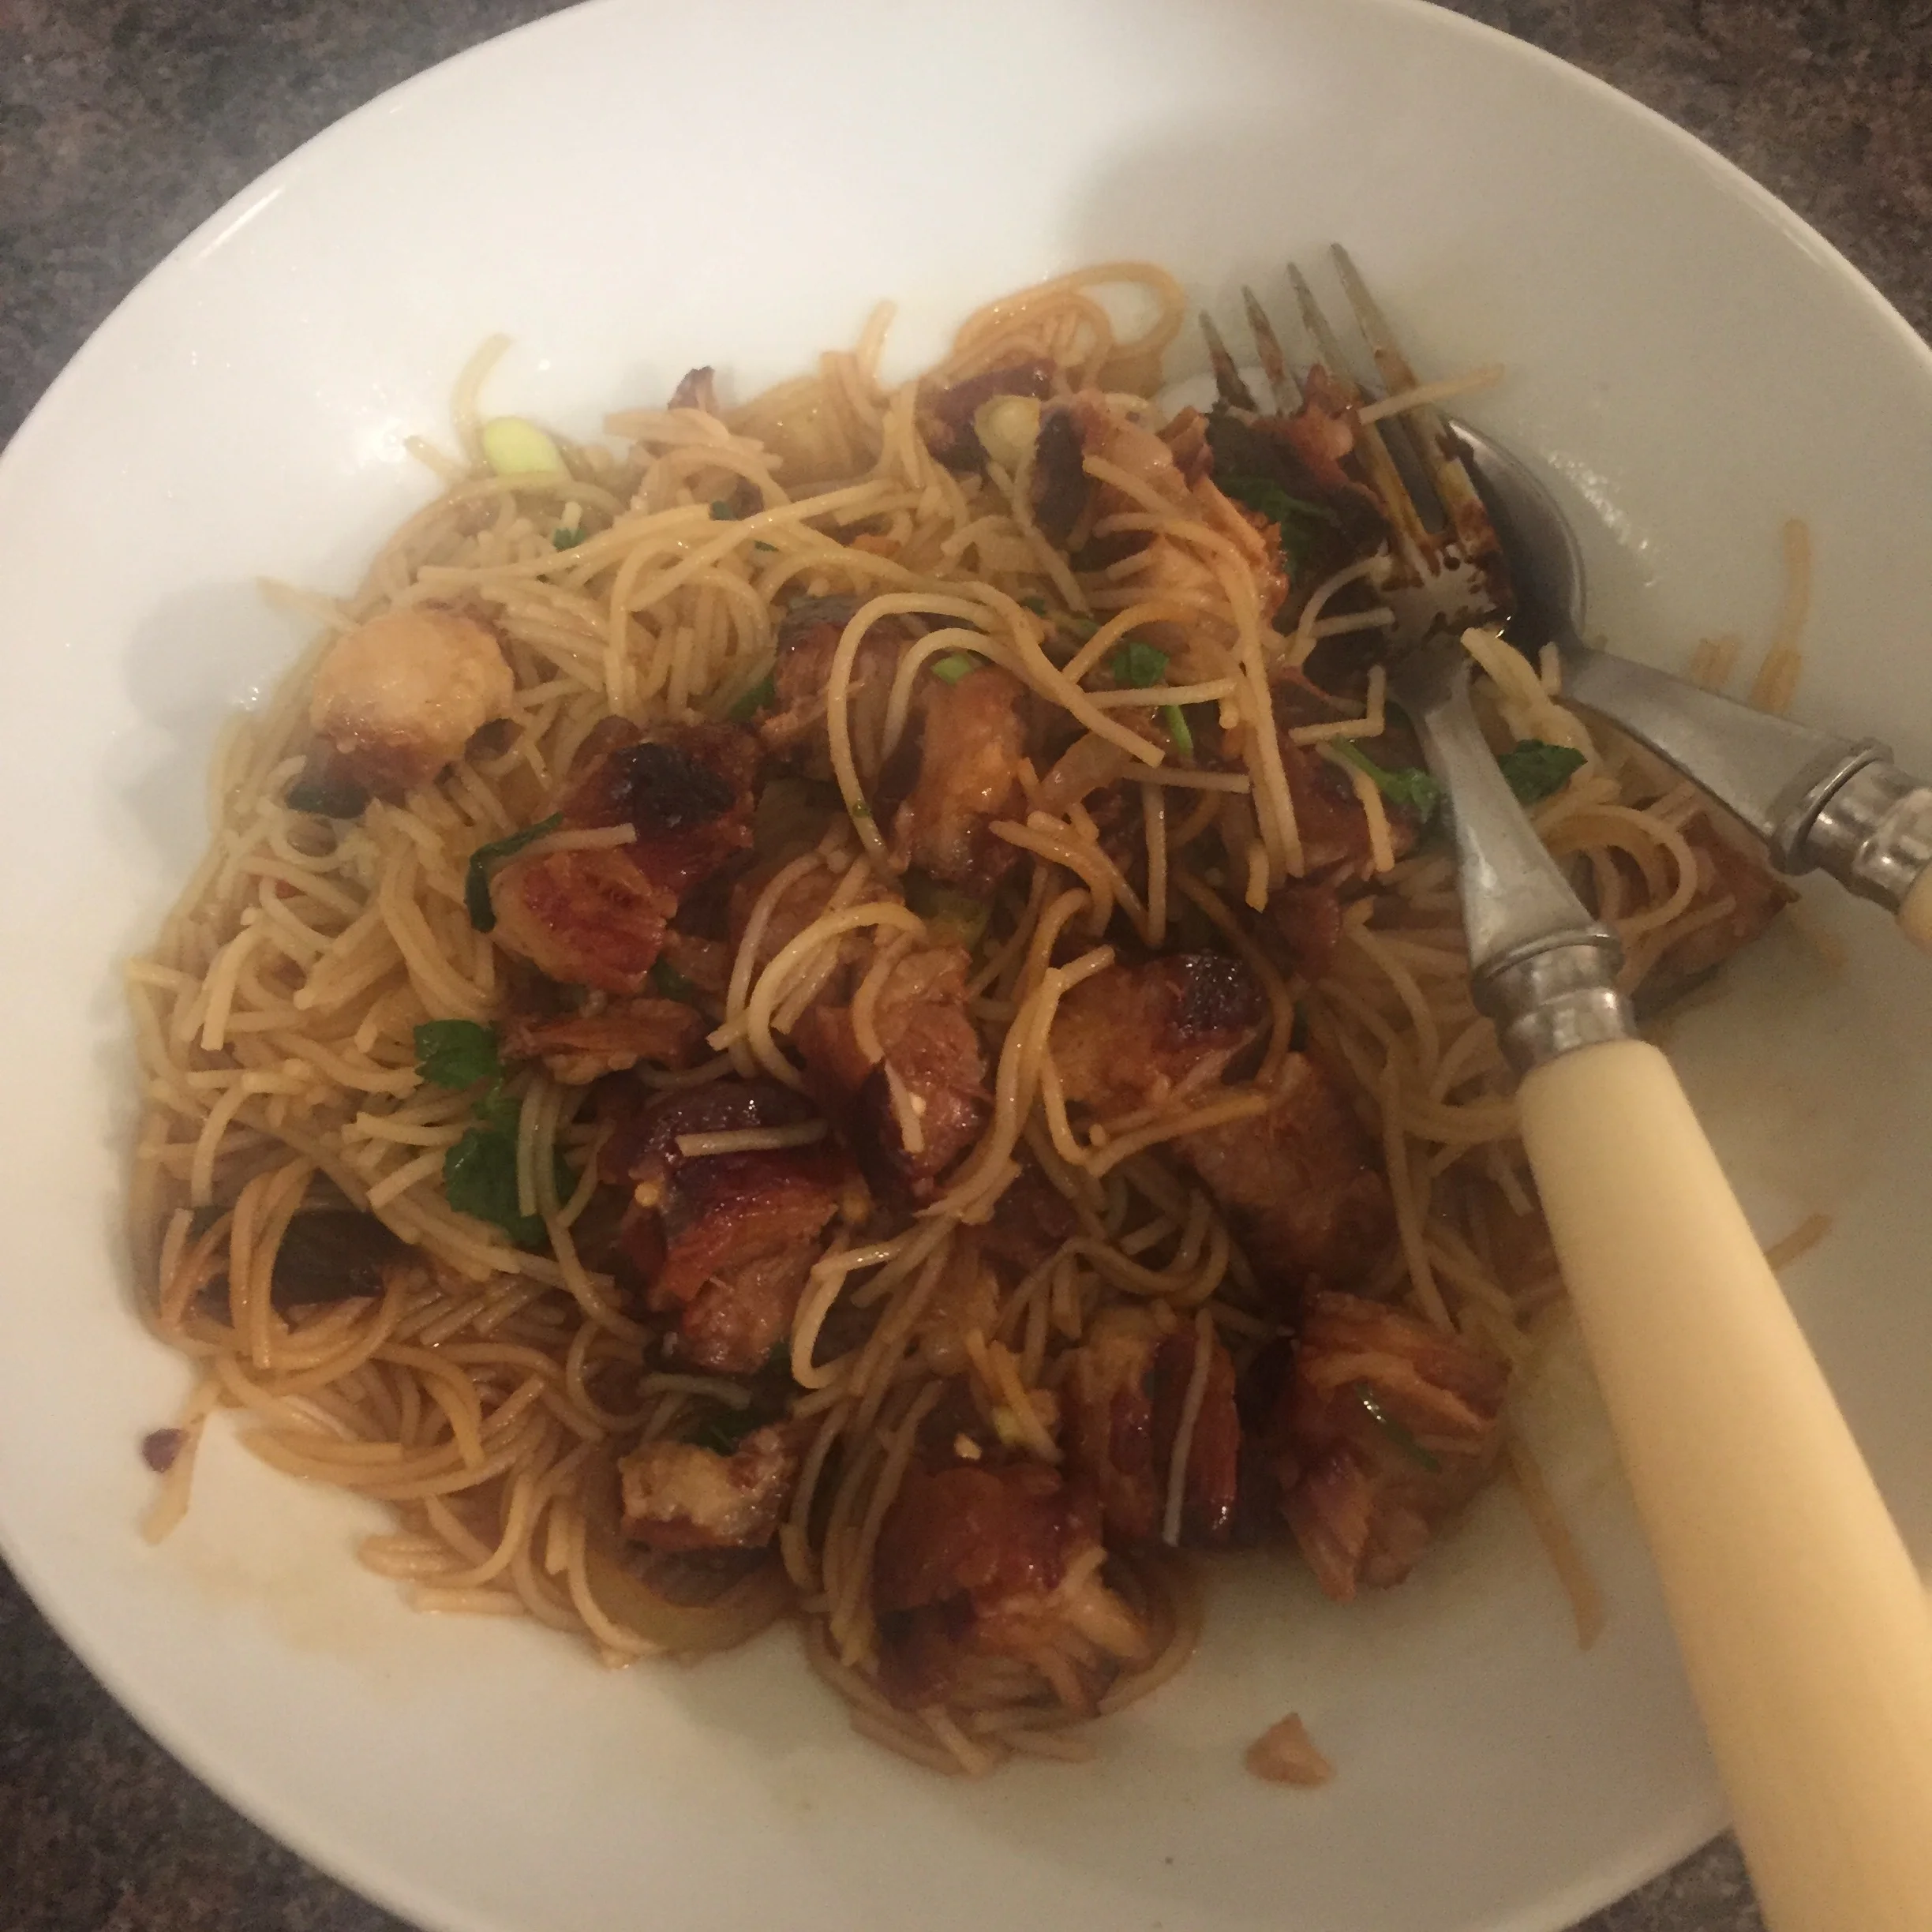
Then add the pork pieces and stir - cook for another minute or so, then add the spring onions and coriander, stir through, remove from heat and serve.

Rachel Redlaw pork belly and noodles

Finish with a sprinkling of freshly ground black pepper and - that's it!

finished.JPG

Yes it takes a little time for the pork belly to cook, but then the rest of it is just combining a few ingredients really.

Eat and enjoy .... 


YOU MIGHT ALSO LIKE ...

New fave salad dressing // rare roast beef Thai-style salad

Yep, I made my salad with rare roast beef because I was in the supermarket and this lovely piece of beef was in the marked-down pile.

I hate food waste.

I also hate not choosing meat that's free-range and/or organic, animals who had a happy life. Sometimes I have this internal tussle about whether it's 'better' to choose that poor little battery hen who's ended up in the reduced pile, it's life worth nothing in life or death .. or whether to stick by the principle that if we don't buy that stuff, well, that's the important thing, to ensure there's ever more limited demand.

It's a hard one. 

Anyway, that was a bit of an aside as on this occasion, I did buy the reduced little beef joint, and cooked it rare, as I like it.

So this is a long-winded way really of saying that this post is actually ALL about the amazing dressing ... and serve the salad with whatever you choose! 

Make a salad out of JUST those things you really love - I used to make salads stuffed with things I didn't - goodness knows why, perhaps it was habit or thinking that was what you 'had' to have.

I’ve got peppers, radish, spring onion, celery, carrot, tomatoes .... plus some sliced red chilli.

Not too much chilli either - just enough to feel it tingle - as the dressing shines and doesn’t want overpowering.

And then add some toasted flaked almonds and fresh coriander and mint leaves, chopped.

This really adds to the beautiful fresh flavours - DO add these! 

And then such a good dressing!  Here we go!

This was enough to dress a salad for two:

 the juice of one juicy lime

1 tablespoon fish sauce

2 teaspoons sugar

1 teaspoon toasted sesame oil

a piece of ginger (grated)

1/2 (or one small) garlic clove minced very fine

All just stirred together to dissolve the sugar, poured over the salad and mixed with my (clean!) hands.

Rachel Redlaw Thai salad dressing rare beef salad

Then topped with the sliced rare beef, or whatever you're choosing to have with it.

This is kind of a back-to-front salad, starting with the dressing rather than the meat or salad itself!


YOU MIGHT ALSO LIKE ...

Eating for energy // steak + broccoli

Eaten alone, these are both still great choices for energy, each being a great source of iron and of B vitamins.

But eaten together they are even more powerful - broccoli is also an excellent source of vitamin C and the body absorbs iron better when it's taken with vitamin C. 

So by adding broccoli to our steak we get maximum energy benefits.

Rachel Redlaw The Food Healer steak and broccoli

And of course, it's also just a great-tasting meal.

First I toasted some flaked almonds in a dry non-stick pan and set aside to add at the end - just for a lovely crunch on top of the broccoli and for extra healthy fats. Don't use peanuts - peanuts are legumes rather than nuts and don't have the same health benefits as nuts!

I trimmed the ends of the broccoli and then put it into a pan of boiling water which I then immediately removed from the heat and let the broccoli sit for ten minutes.

I drizzled my piece of rump steak with a little soy sauce then cooked it on a very hot griddle pan for three minutes on each side (leaving it alone during that cooking time) and then rested it while I stir-fried the broccoli n a few sprays of cooking oil in  a non-stick pan with a little red chilli and a dash of soy sauce.

Note: I like my steak medium-rare to rare so do just cook your steak the way YOU like it!

I love the simplicity of this dinner and also just that magic of how things work together - this is a perfect pairing for energy.


YOU MIGHT ALSO LIKE ...

Immune-boosting, health-giving, soul-food roast chicken

In the darkest of January days, the sleet falling outside, we need to nurture ourselves - mind, body, spirit, and of course what we choose to cook - for ourselves and for others - can also nurture that feeling.

Making something good, healthful.

Something that soothes but also that adds so much natural immune-boosting, digestion-friendly, anti-oxidents in one meal ... today, it's this roast chicken.

Roast chicken is a soul-food, a nourishing, soothing, happiness-inducing food.

There's also something about the time it takes to cook that feels right, in these slower times of year, where we hunker down a little and take a little time to cook something good.

It goes without saying but I'll say it anyway - you can't have soul food from an unhappy hen, so choose organic, free range chicken, with a happy life. A chicken's life needs to be honoured too so use every scrap - make stock when you've finished with the meat.

Using all of our ingredients - meat, fish or vegetable - and avoiding food waste is a key part of our overall health and wellness.

So, organic roast chicken for the soul. 

Every ingredient in this plays a part in providing these health benefits:

boosts the immune system

promotes heart health

anti-inflammatory (great for the joints in these winter months)

aids digestion

can help to reduce blood pressure

Every ingredient is chosen for their health benefits, and also taste benefits - which of course then also aids overall health by the pure enjoyment of our food too.

For this marinade you just need the following (super-immune-boosting) ingredients:

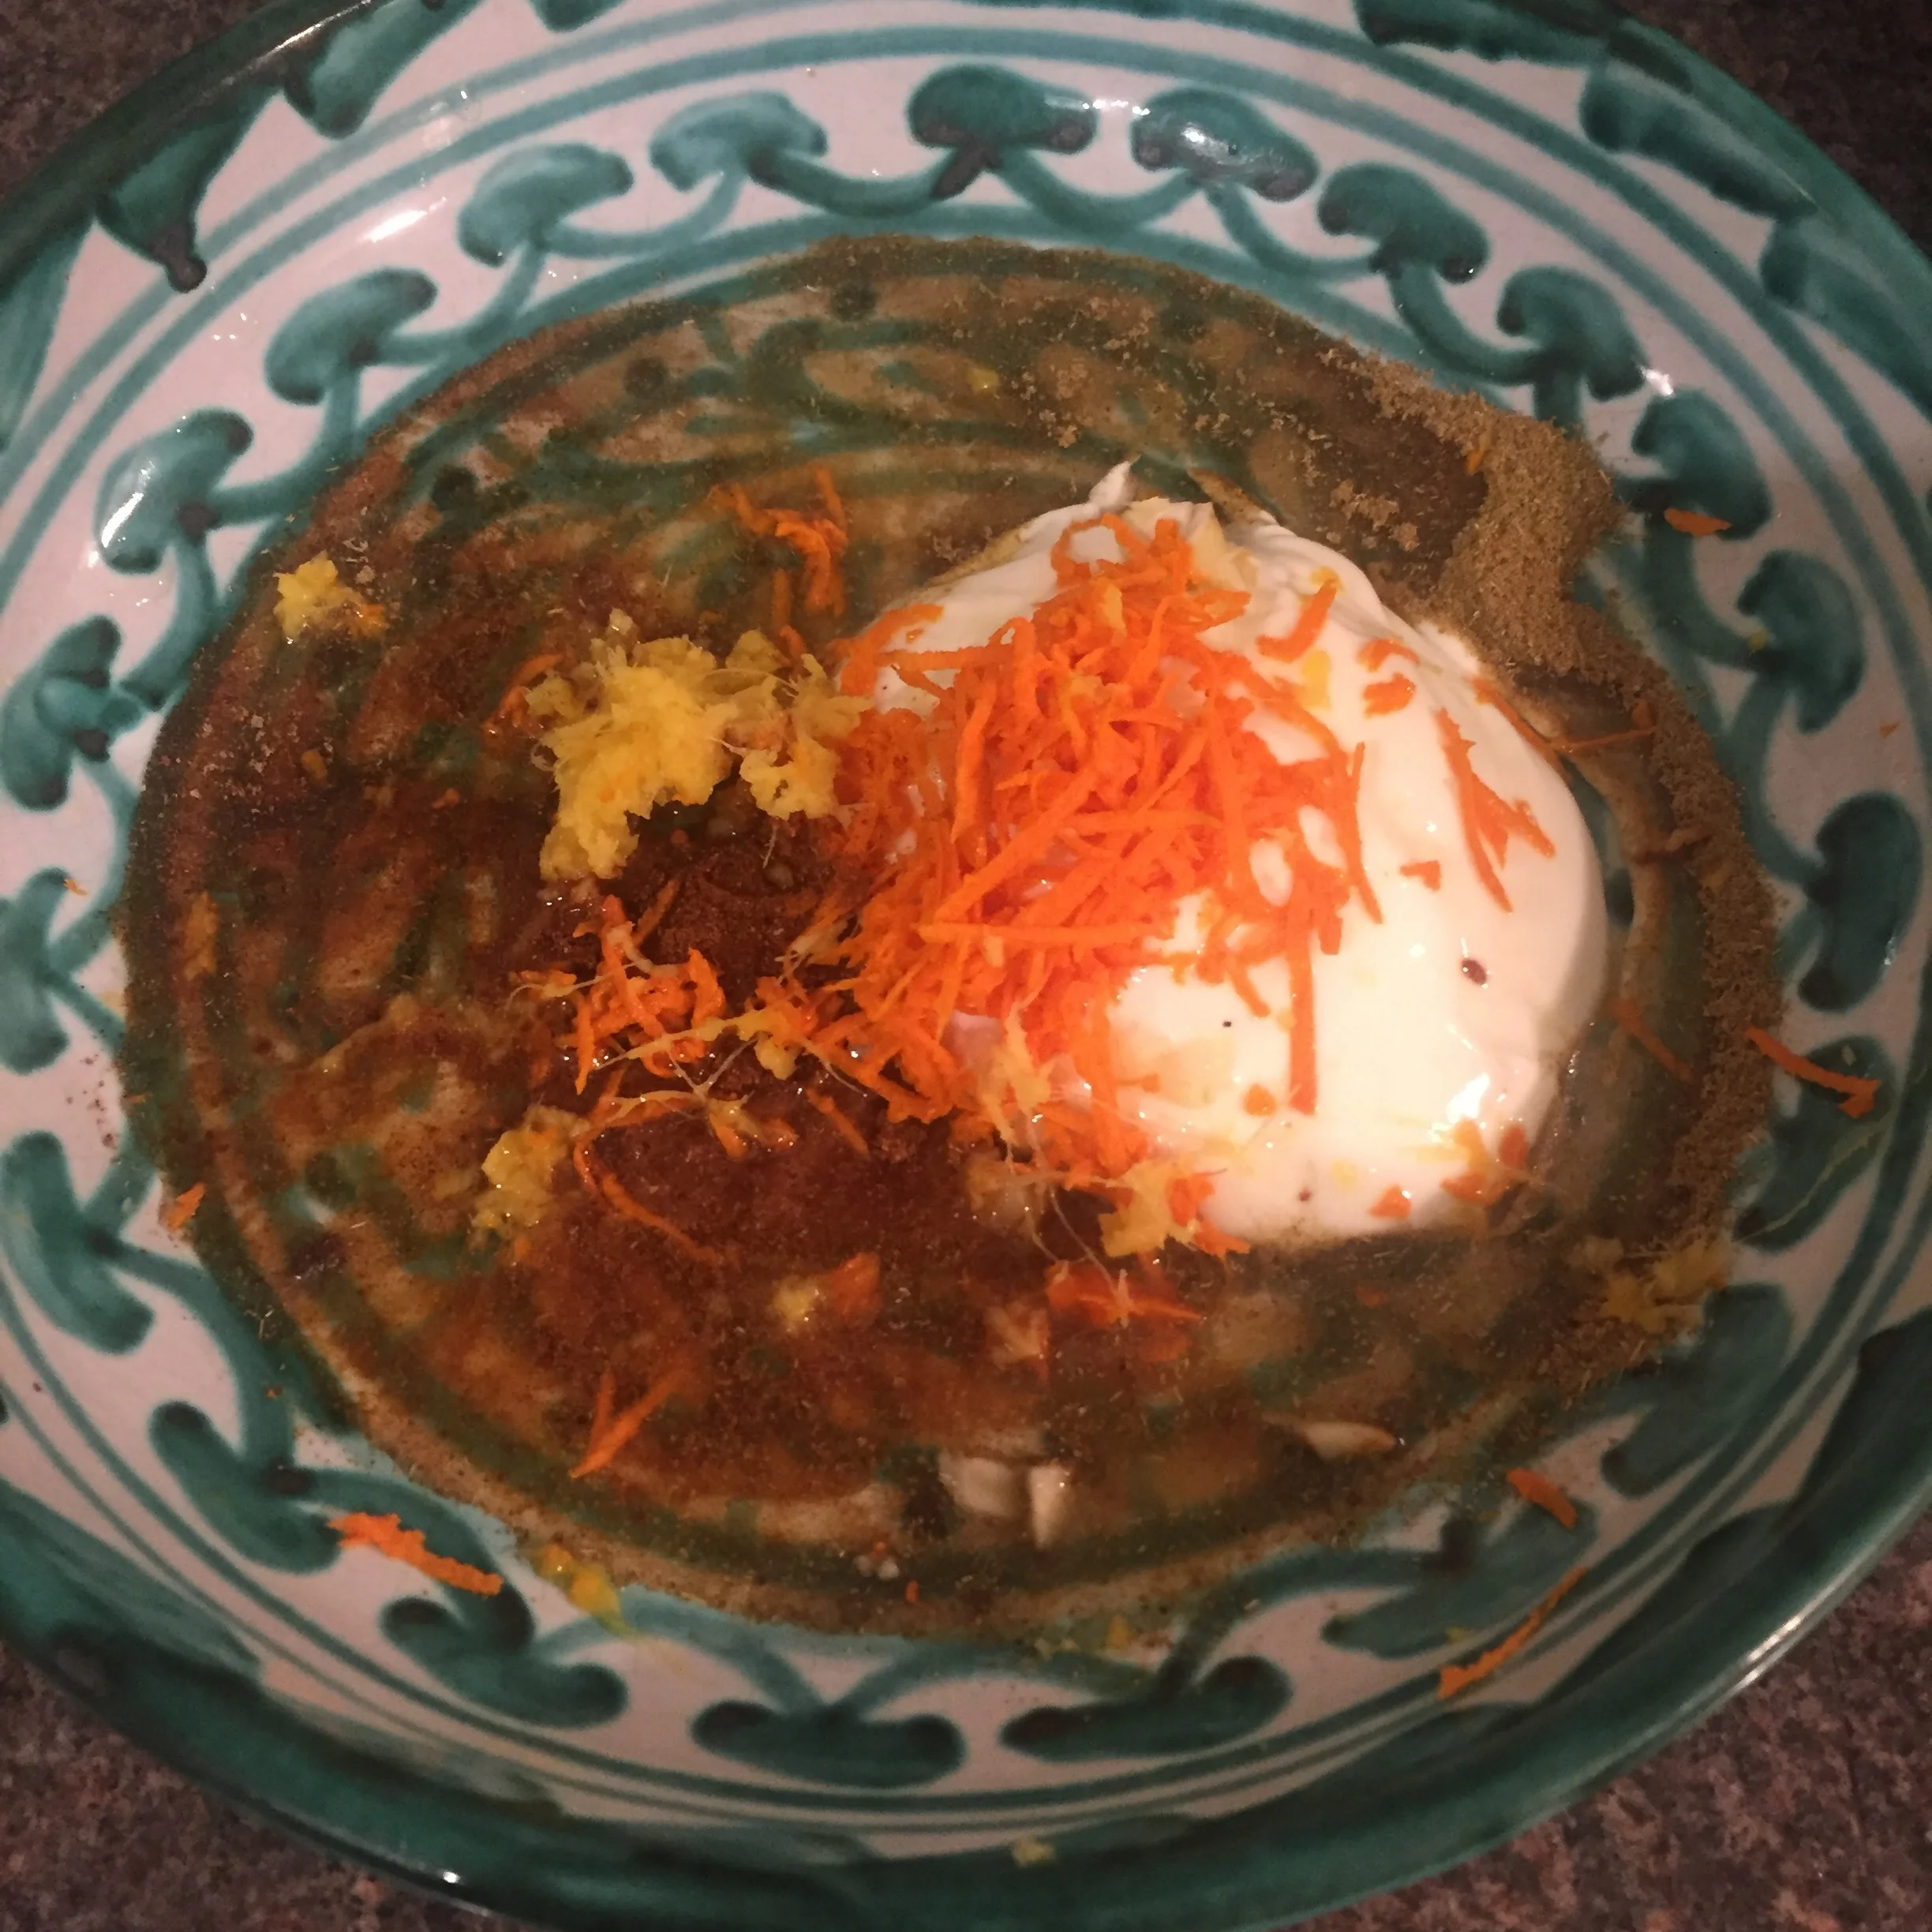
a thumb sized piece of ginger, grated

another thumb-sized piece of turmeric root, grated (if you can't find it, just add 2 teaspoons of turmeric powder)

a good big garlic clove, squashed and minced, and one garlic clove squashed and put inside the cavity of the chicken

1 lemon, half squeezed into the marinade and the other half cut into two quarters and put into the cavity

1 teaspoon ground cumin

1 teaspoon cayenne pepper

a small pot of natural yogurt, about half a cup

2 teaspoons olive oil

Mix all the marinade ingredients together and massage into the chicken - and do this with love!

We need love in our cooking and taking a couple of minutes to honour the chicken, massage in the added health-boosting marinade, will all make for something extra special.

Leave the chicken to marinade for a couple of hours or overnight and then roast.

I use my beloved remoska - it's a small electric oven - but on this occasion so small it burnt the edges of the chicken.

Rachel Redlaw The Food Healer Roast Chicken

But hey - it still reduces waste in electricity heating a huge cavernous oven for one chicken - AND that small space means it steams and cooks and remains beautifully moist.

It takes an hour and a half in the remoska, so probably similar in your oven - just make sure to test it's done and cooked through completely - the easiest way is by putting a knife into the leg and checking the juices run clear.

Rachel Redlaw The Food Healer Roast Chicken

(Note on the remoska: do look it up HERE. It's not a slow cooker, it's just a tiny, economical electric oven. The initial outlay is quite a lot, yes, but I've used mine several times a week for over 15 years now, so it does end up in cost-per-use - ha, I nearly put cost-per-wear - very economical, without even factoring in the lower electricity/gas costs).

And then just enjoy your soul-food, health-providing roast ... I like it with a rice salad full of herbs and lemon, or with traditional roast vegetables.

Use the leftovers in all the creative ways you can - HERE's some of my favourites.

Rachel Redlaw The Food Healer Roast Chicken

Make stock from the leftovers and bones.

Make the whole experience one of nurture, thoughtfulness, love, sensuality. 

Yes I do find the act of cooking healthful food for my loved ones, beautifully, mindfully ... sensual - it indulges so many senses to choose to do this.

And this is a power-punch of immune-boosting ingredients to stave off all the winter colds too.


YOU MIGHT ALSO LIKE ... 

Easiest + perfect comfort-food ... beef stew

It was cold last weekend, icy outside ... and I was wondering what would be perfect for dinner.

Not just what would be GOOD, but what would be the absolute best thing we could eat for right then.

And I suddenly just knew what it was .. .and what I wanted was something that was MORE than food and even more than 'just' nourishing, wholesome, good food.

I wanted food that also gives you a hug as you eat it, food with heritage, something a bit nostalgic, proper comfort food, food with history, food to anchor you in the season, in life, in time, in a line of all these made before, and those yet to come.

Food with soul.

And food that takes TIME.  

Time and love. 

Mostly I cook food very quickly, most of my recipes take a little preparation time sometimes, but are usually very quick to cook.

Last weekend, I WANTED it to take time, but still be simple.

Simple ingredients, tried-and-tested flavours, hours of cooking time to fill the house with incredibly evocative, gorgeous, nourishing smells too.


It had to be a stew, a classic stew. OK, not completely classic as I was just using what I had so I did some slightly unusual substitutions eg oyster mushrooms instead of using button mushrooms but hey, still a mushroom, right?

What I really wanted was to make boeuf bourguignon - but I also didn't want to go out in the cold and I didn't have a few of the ingredients.

I'll be making it soon though and will post a recipe then.

So, beef stew it was ... with a nod to the boeuf bourguignon with the late addition of sauteed mushrooms and bacon.

Oh and I'm not even entering the debate about the 'perfect' cut of beef ... use whatever you like!

Today I just ran to the shop and got this pack of braising beef I think it was and that's fine by me. I'm sure there are nuances of flavour but personally, when I want a home-cooked beef stew and it's going to be cooking for some time, it all tastes good to me at the end.

If I'd gone with making the boeuf bourguignon,  I wouldn't have put potatoes in it - I ADORE the bourguignon with mashed potato.

I especially like roasting potatoes in their skins then scooping out the flesh and mashing with butter, salt and pepper, for the mash.

I think it's also a classic accompaniment to serve bourguignon with egg noodles, or a flat ribbon pasta, but ... I like mine best with mash.

But anyway, that's for another day - and another day soon, I think.


For now, back to simplest beef stew - made even more simple by just cooking the potato in the stew. 

I was very vague with quantities - it's really just what looks enough to feed however many you're feeding ... 

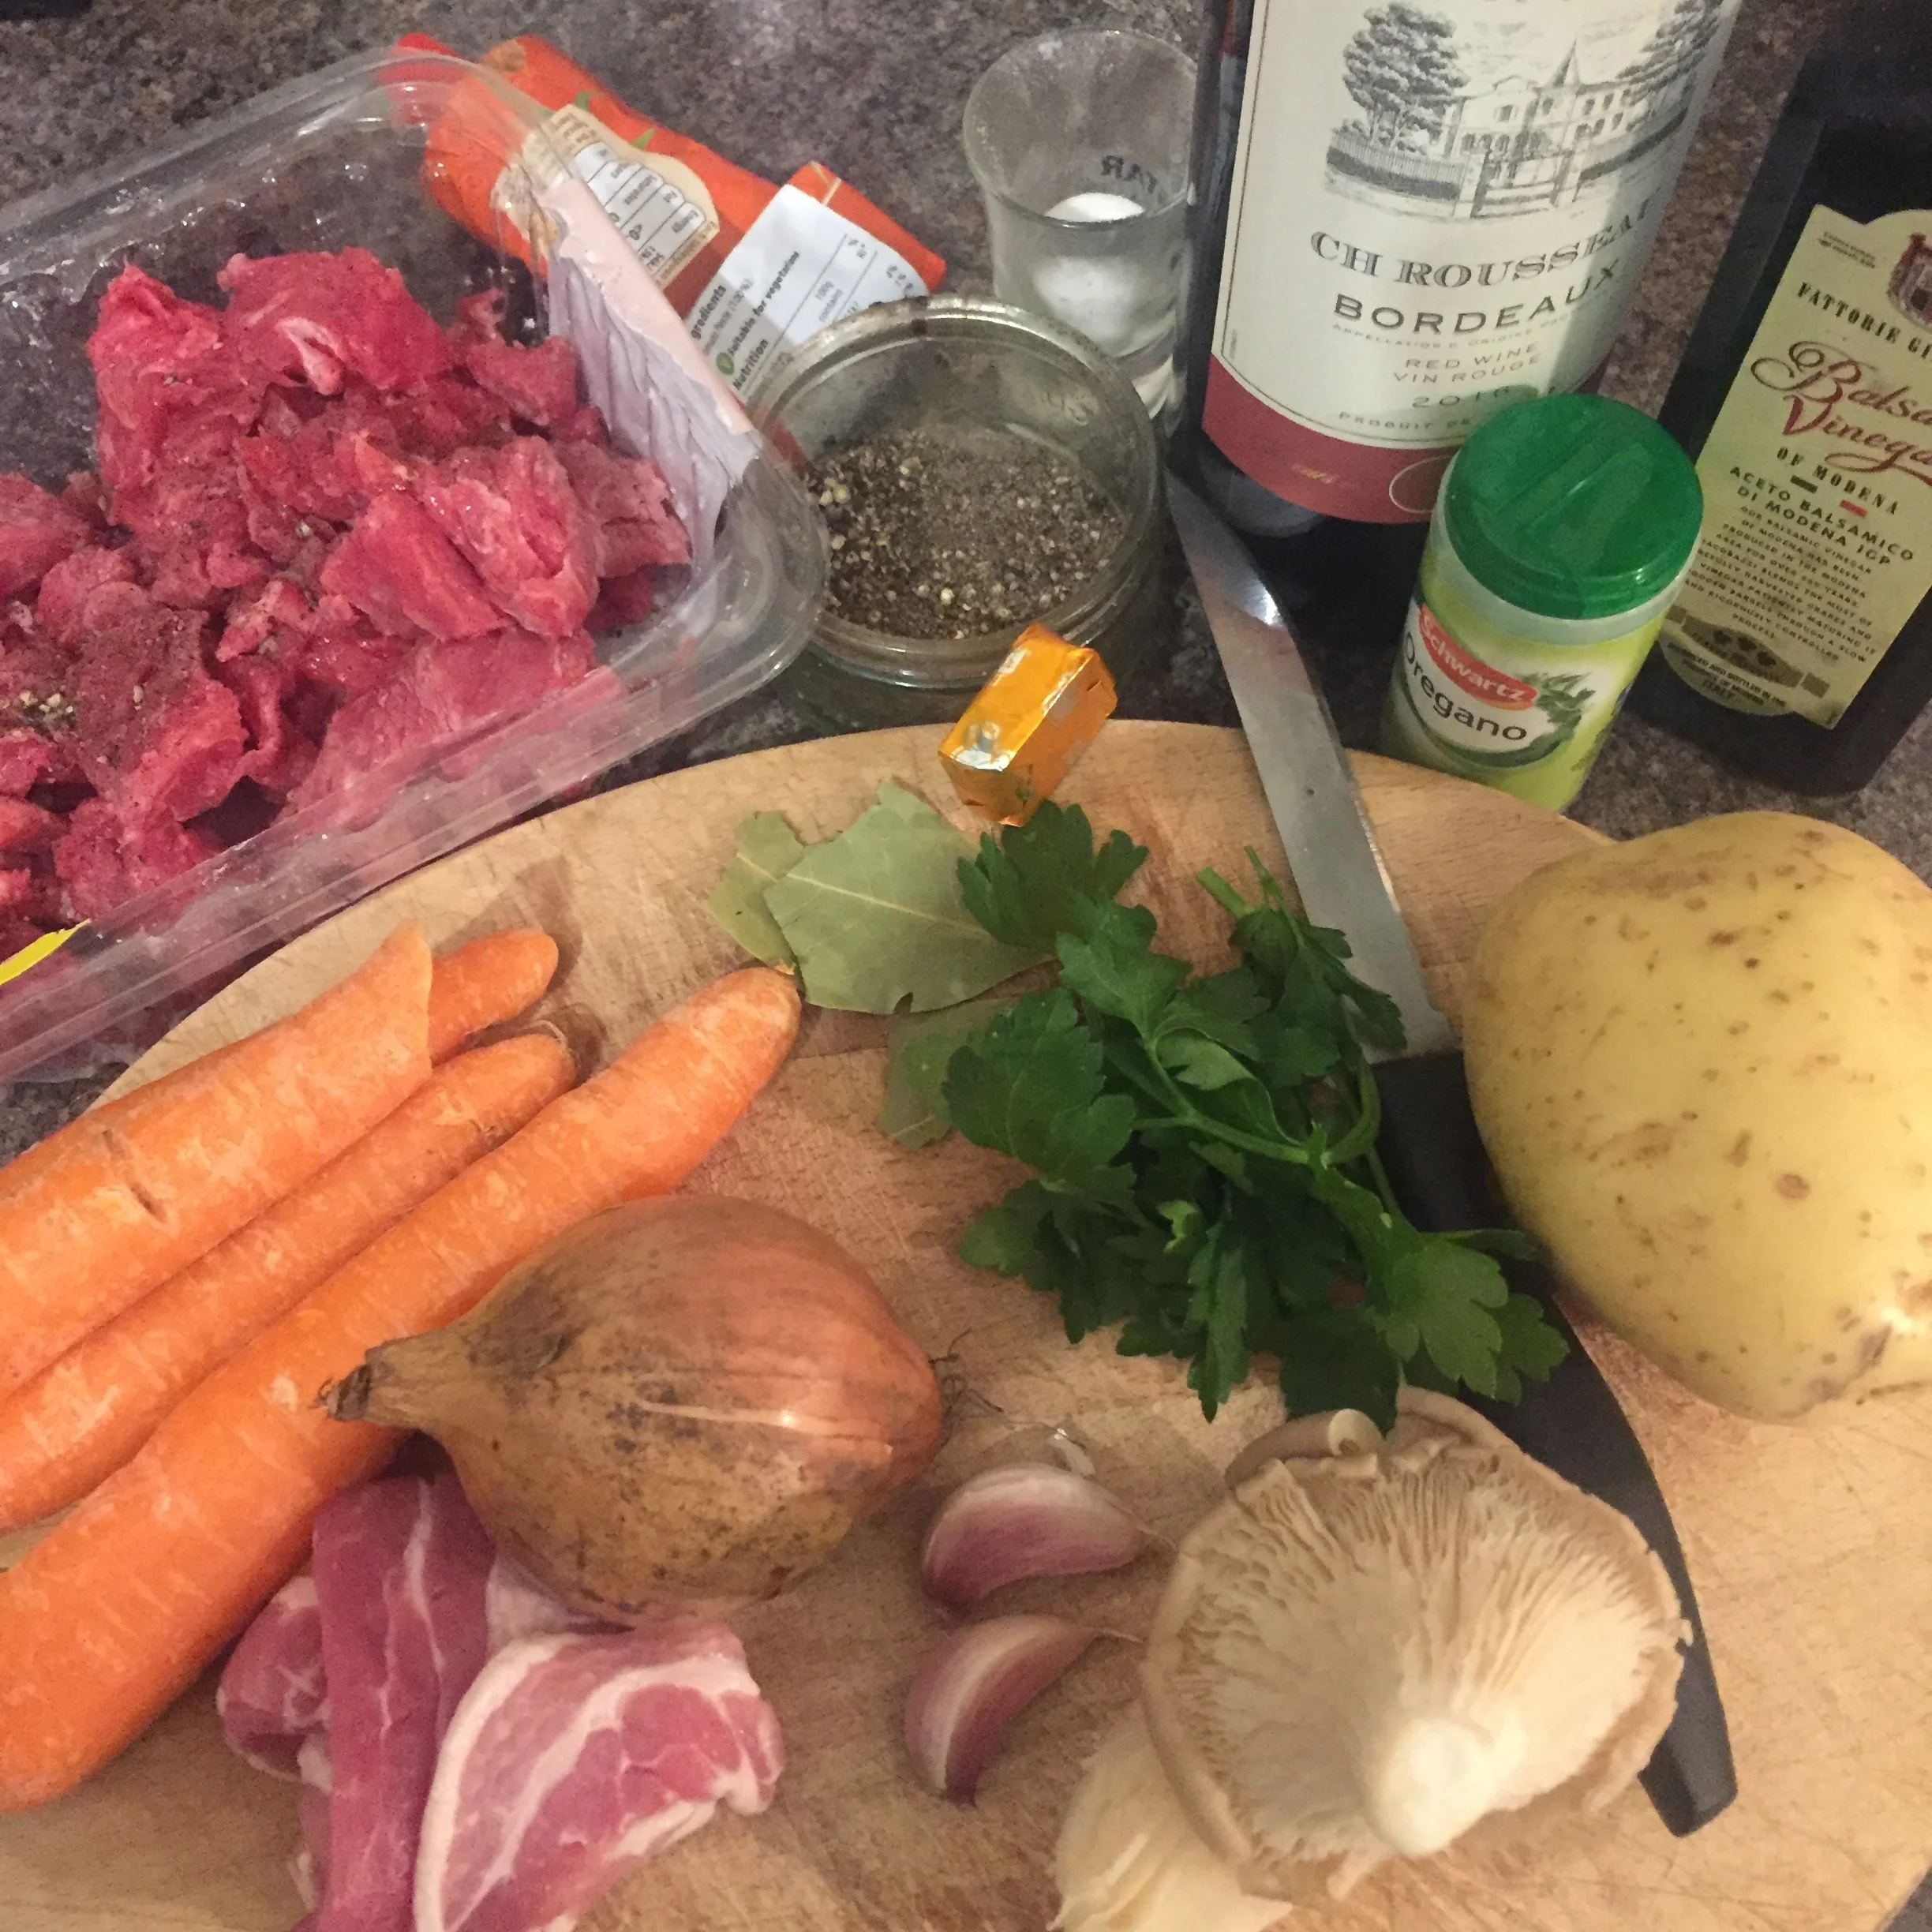
I cooked for two (a greedy and stew-loving two) and used: 

400g braising beef, or stewing steak, or other cut of beef, cut into chunks and sprinkled with salt and pepper

cooking oil

1 tablespoon balsamic vinegar

1 onion, peeled and cut into chunks

2 cloves garlic, peeled and finely minced

1 tablespoon plain flour

1/2 bottle red wine

2 tablespoons tomato puree

1-2 bay leaves

1 teaspoon dried thyme or oregano

a chicken or beef stock cube plus hot water to fill the casserole

2 potatoes, peeled and chopped into bite-size pieces

a few carrots, peeled and chopped into bite-size pieces

a handful of mushrooms, preferably button mushrooms but any will do (I have oyster mushrooms as that was what was in the fridge and needed using up)

a couple of rashers of streaky bacon, chopped

salt and pepper to season

fresh parsley to serve


Rachel Redlaw beef stew

Get all the ingredients prepared before you start, just so it's then super easy - and all you need is time, love and patience (especially once those smells start coming out of the oven).

If you're using a lovely proper casserole dish (I really must get one) that you can first use on the hob and then transfer to the oven, then of course, do use that.

If like me, you don't (yet) have one, we'll use a saucepan to start and then transfer to an ovenproof dish with a lid (or you could use foil).


Put the pan on the hob with a good glug of cooking oil and add the beef pieces, turning often until browned all over.

You may need to do this in a couple of batches as they need space - otherwise they'll steam and stick to each other.

And yes, it will get a bit sticky and gnarly there in the bottom of the pan - keep stirring and don't worry about it.  Also don't worry if they're not totally browned - mostly is plenty good enough.

Remove the beef and put into a bowl.

Put the balsamic vinegar (this helps loosen those stuck bits) in next, together with the onion and garlic and cook over a low heat until the onion softens.

It'll take five minutes or so and add more oil and/or a splash of water as needed to keep the garlic from burning.

It's not pretty, it does stick, the pan will need soaking afterwards - don't worry!

When the onions are softened but not browned, tip the beef back into the pan and add the flour, stirring all the time.

Once all combined, add the wine, the tomato puree, the herbs and the stock cube, stirring all the time, and then top up with some water.

Bring to a simmer and add the potatoes and carrots - this will probably decrease the heat, so bring back to a simmer and then - if using a different pan for the oven, transfer into the ovenproof pan.

Rachel Redlaw beef stew

Put a lid on the ovenproof pan or your casserole dish and put into the oven.

Cook for 1.5 hours, remove from oven, stir and season to taste, and return for another 30 minutes.

While this is cooking, saute the bacon pieces in a pan, and then the mushrooms in the same pan in the lovely bacon juices.

Remove the casserole from the oven and stir in the bacon and mushrooms, and sprinkle with chopped parsley.

Utterly delicious and somehow I always feel anchored, grounded somehow (maybe it's those root vegetables) - part of all life, of families, of history ... when I eat a good stew. 

Rachel Redlaw beef stew


YOU MIGHT ALSO LIKE ...

'Weeping tiger' steak

The ONLY hard part about this lovely easy dish is finding fresh green peppercorns - I get them from my local Thai supermarket but I haven't seen them in the usual supermarkets.

This is a shame and a reason I haven't posted this recipe before because I really try to ensure you don't need any specialist ingredients to make my recipes.

This one, I'm afraid you do ... HOWEVER, they do seem to be pretty much readily available to buy online (at least here in the UK).

Although, to be honest, if you can't get them - then just make it without them! Yes it's going to have a bit of a different flavour, but I've made it a few times and it's still a good dish in its own right.

I made this just with one steak, for myself, for lunch.

I've made it before though using an incredible piece of beef fillet for a friend's party - with pro-rata'd up marinade of course.

Don't worry too much about the exact quantities of ingredients - to be honest it all tastes good!

But what I did today, for my lunch was to take (in addition to a steak - your choice of cut and size):

1 clove garlic, squashed with the flat of a knife

Some of the stalks chopped off near the bottom of a bunch of coriander, plus a few coriander leaves (plus another handful to garnish before serving)

A couple of sprigs - maybe 2 teaspoons-worth - of fresh green peppercorns

2 teaspoons fish sauce

2 teaspoons light soy sauce

1 teaspoon sugar

Oh, and I made a sauce to spoon over the cooked steak too and THAT was simply made with:

The juice of one lime

1 teaspoon sugar (or 1/2 teaspoon sugar + 1 teaspoon sweet chilli sauce)

1 teaspoon fish sauce

1/2 teaspoon dried chilli flakes

So first, put the garlic clove plus the chopped coriander stalks and a few leaves into a mortar and pound to a sort of paste/gloop with the pestle.

Stir in the peppercorns, fish sauce and soy sauce and then keep stirring in the sugar so it dissolves.

Rub the mixture over the steak and leave to marinade for half an hour or so.

Rachel Redlaw weeping tiger steak

Make the sauce by combining the lime juice, sugar, fish sauce and chilli flakes and stir to dissolve the sugar. If I'd had some sweet chilli sauce (must make some!) I'd have added a teaspoon of that too but only used 1/2 teaspoon of sugar.

 
Rachel Redlaw weeping tiger steak
 

If you're going to have it with rice, make the rice now so it's ready to go.

I wanted a lighter lunch so just prepped some vegetables which I quickly stir-fried after the steak and cooked and while it was resting.

When the steak's finished marinating cook it to your liking on a grill or griddle then rest it for a few minutes. I scooped up all the green peppercorns that had fallen down into the dips in the griddle and added to the steak (of course!).

Slice and serve with rice or vegetables and spoon over some of the sauce.

Sprinkle some coriander leaves over it all to garnish.

Rachel Redlaw weeping tiger steak


YOU MIGHT ALSO LIKE ...