Condiments and sauces

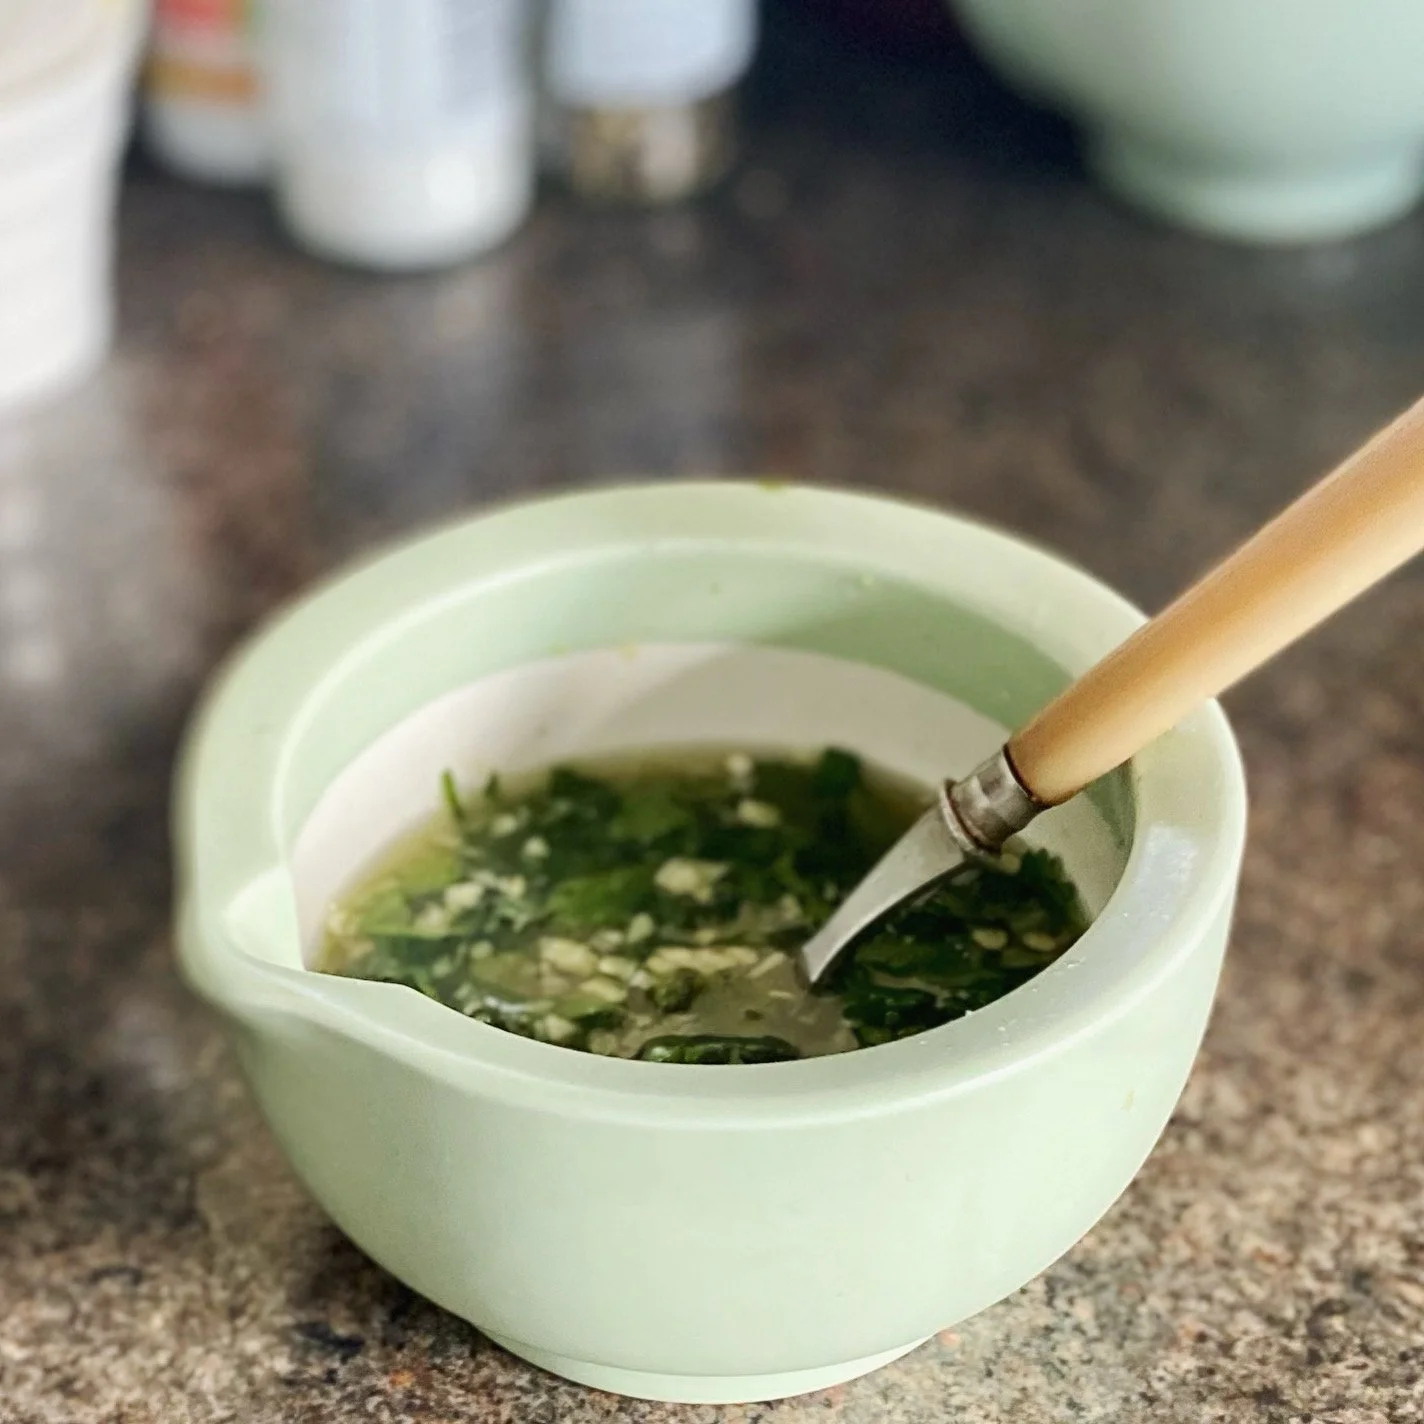
Green chilli dipping sauce

Perfect for barbecued prawns, or beautiful griddled whole squid.

Or perhaps some pan-fried sea bass with crispy skin (cook in a hot pan with a little oil for four minutes skin side down, turn and cook for two-three minutes then back skin side down for another one to two).

Any seafood really! ๐Ÿค ๐Ÿฆ‘ ๐ŸŸ ๐Ÿฆ

This is really spicy and sour and delicious and will keep in a jar in the fridge for about a week.

2-3 bird eye green chillies (you can use red I just wanted a green sauce) - chopped

1-2 cloves of garlic, peeled and chopped

3 tablespoons fish sauce

The juice of 3 juicy limes

1.5 tablespoons caster sugar (or granulated white sugar is fine it just doesnโ€™t dissolve as quickly)

small handful of fresh chopped coriander leaves (sometimes I add a few chopped mint leaves too)

Put the chillies and garlic into a mortar and pound with the pestle to muddle and mush them somewhat together.

Remember that youโ€™re going to be eating this raw so make sure the pieces are chopped quite small.

Add the fish sauce and lime juice and water and stir in.

Then add the sugar and stir until the sugar has dissolved. Throw in the coriander and mix it in.

Taste and see if you want to adjust any of the flavours to get the perfect balance of spicy, sour, sweet and salty for you.

Drizzle a little over the seafood to serve and leave for people to add more to their own taste ๐ŸŒถ ๐ŸŒฟ


YOU MIGHT ALSO LIKE โ€ฆ

Thai green curry turkey burgers

This is one of those thatโ€™s more an idea than a recipe as such.

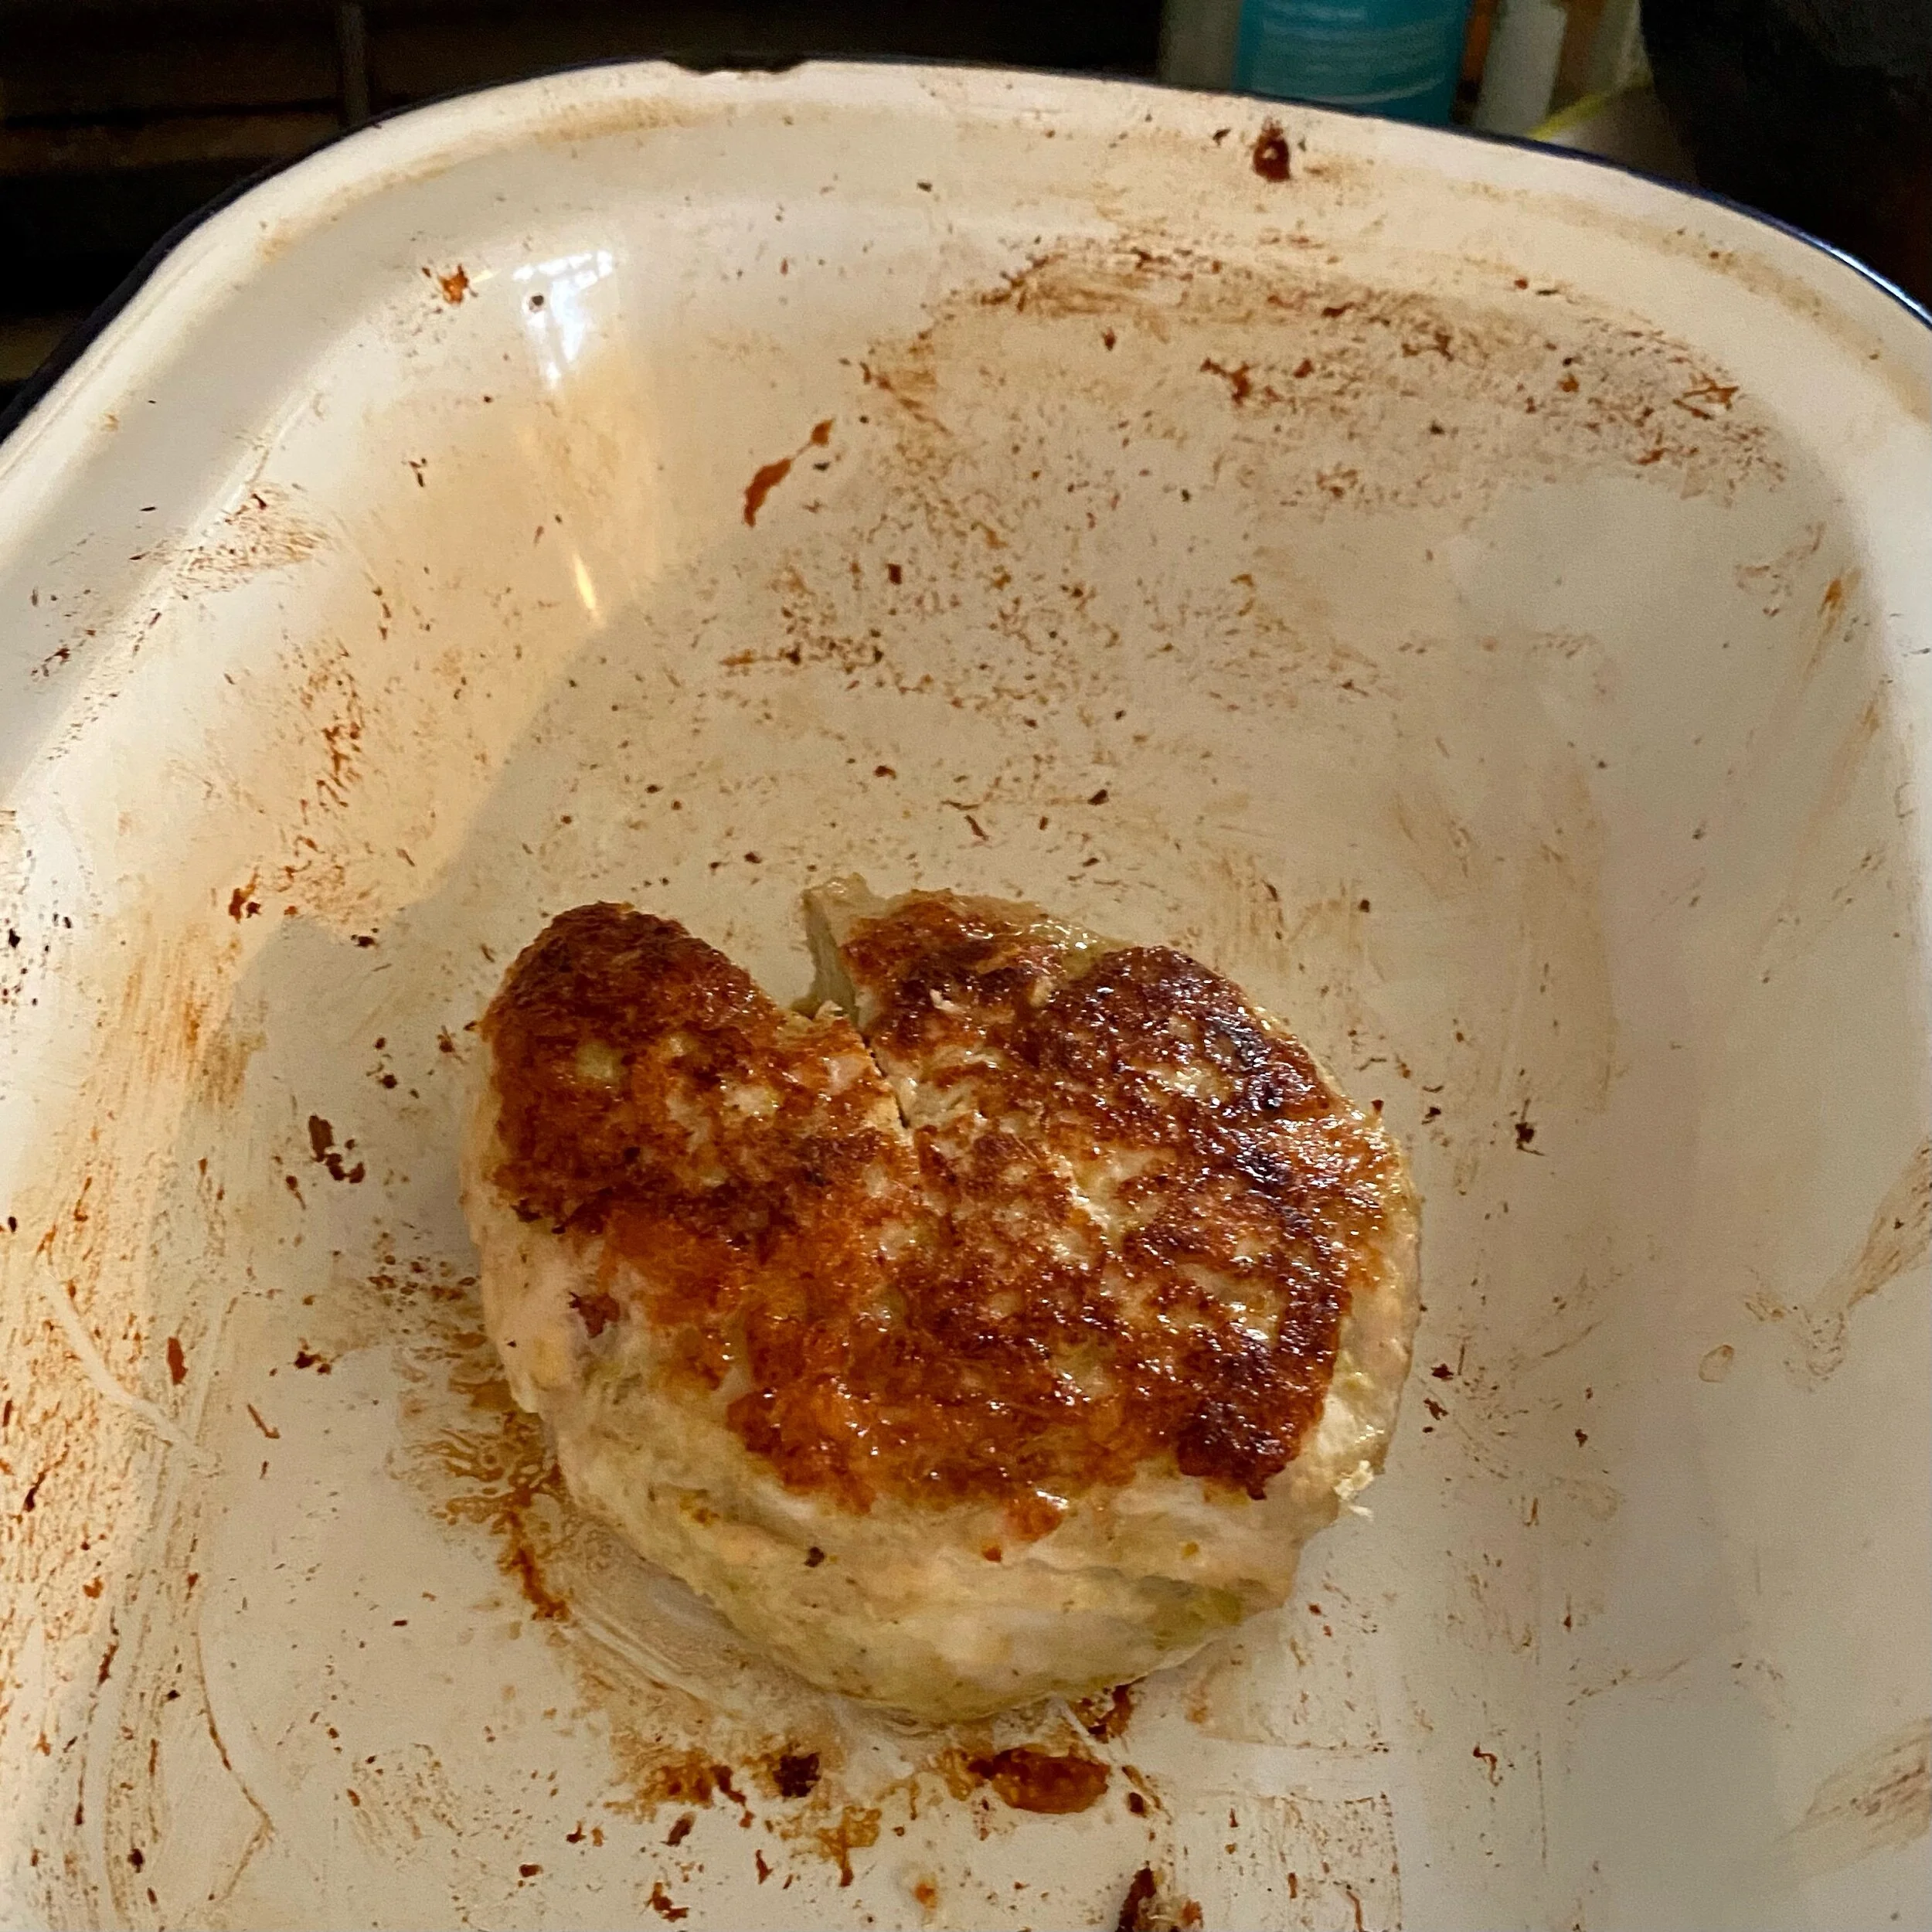
I literally just scrunched up maybe 100g or so of turkey mince with a good teaspoon of my favourite green curry paste and a squeeze of lime.

Browned on both sides in some hot oil in a non-stick pan and then cooked for 10 minutes or so in a medium oven.

Cโ€™est ca.

Literally that was it.

IMG_1261.jpeg
IMG_1264.jpeg

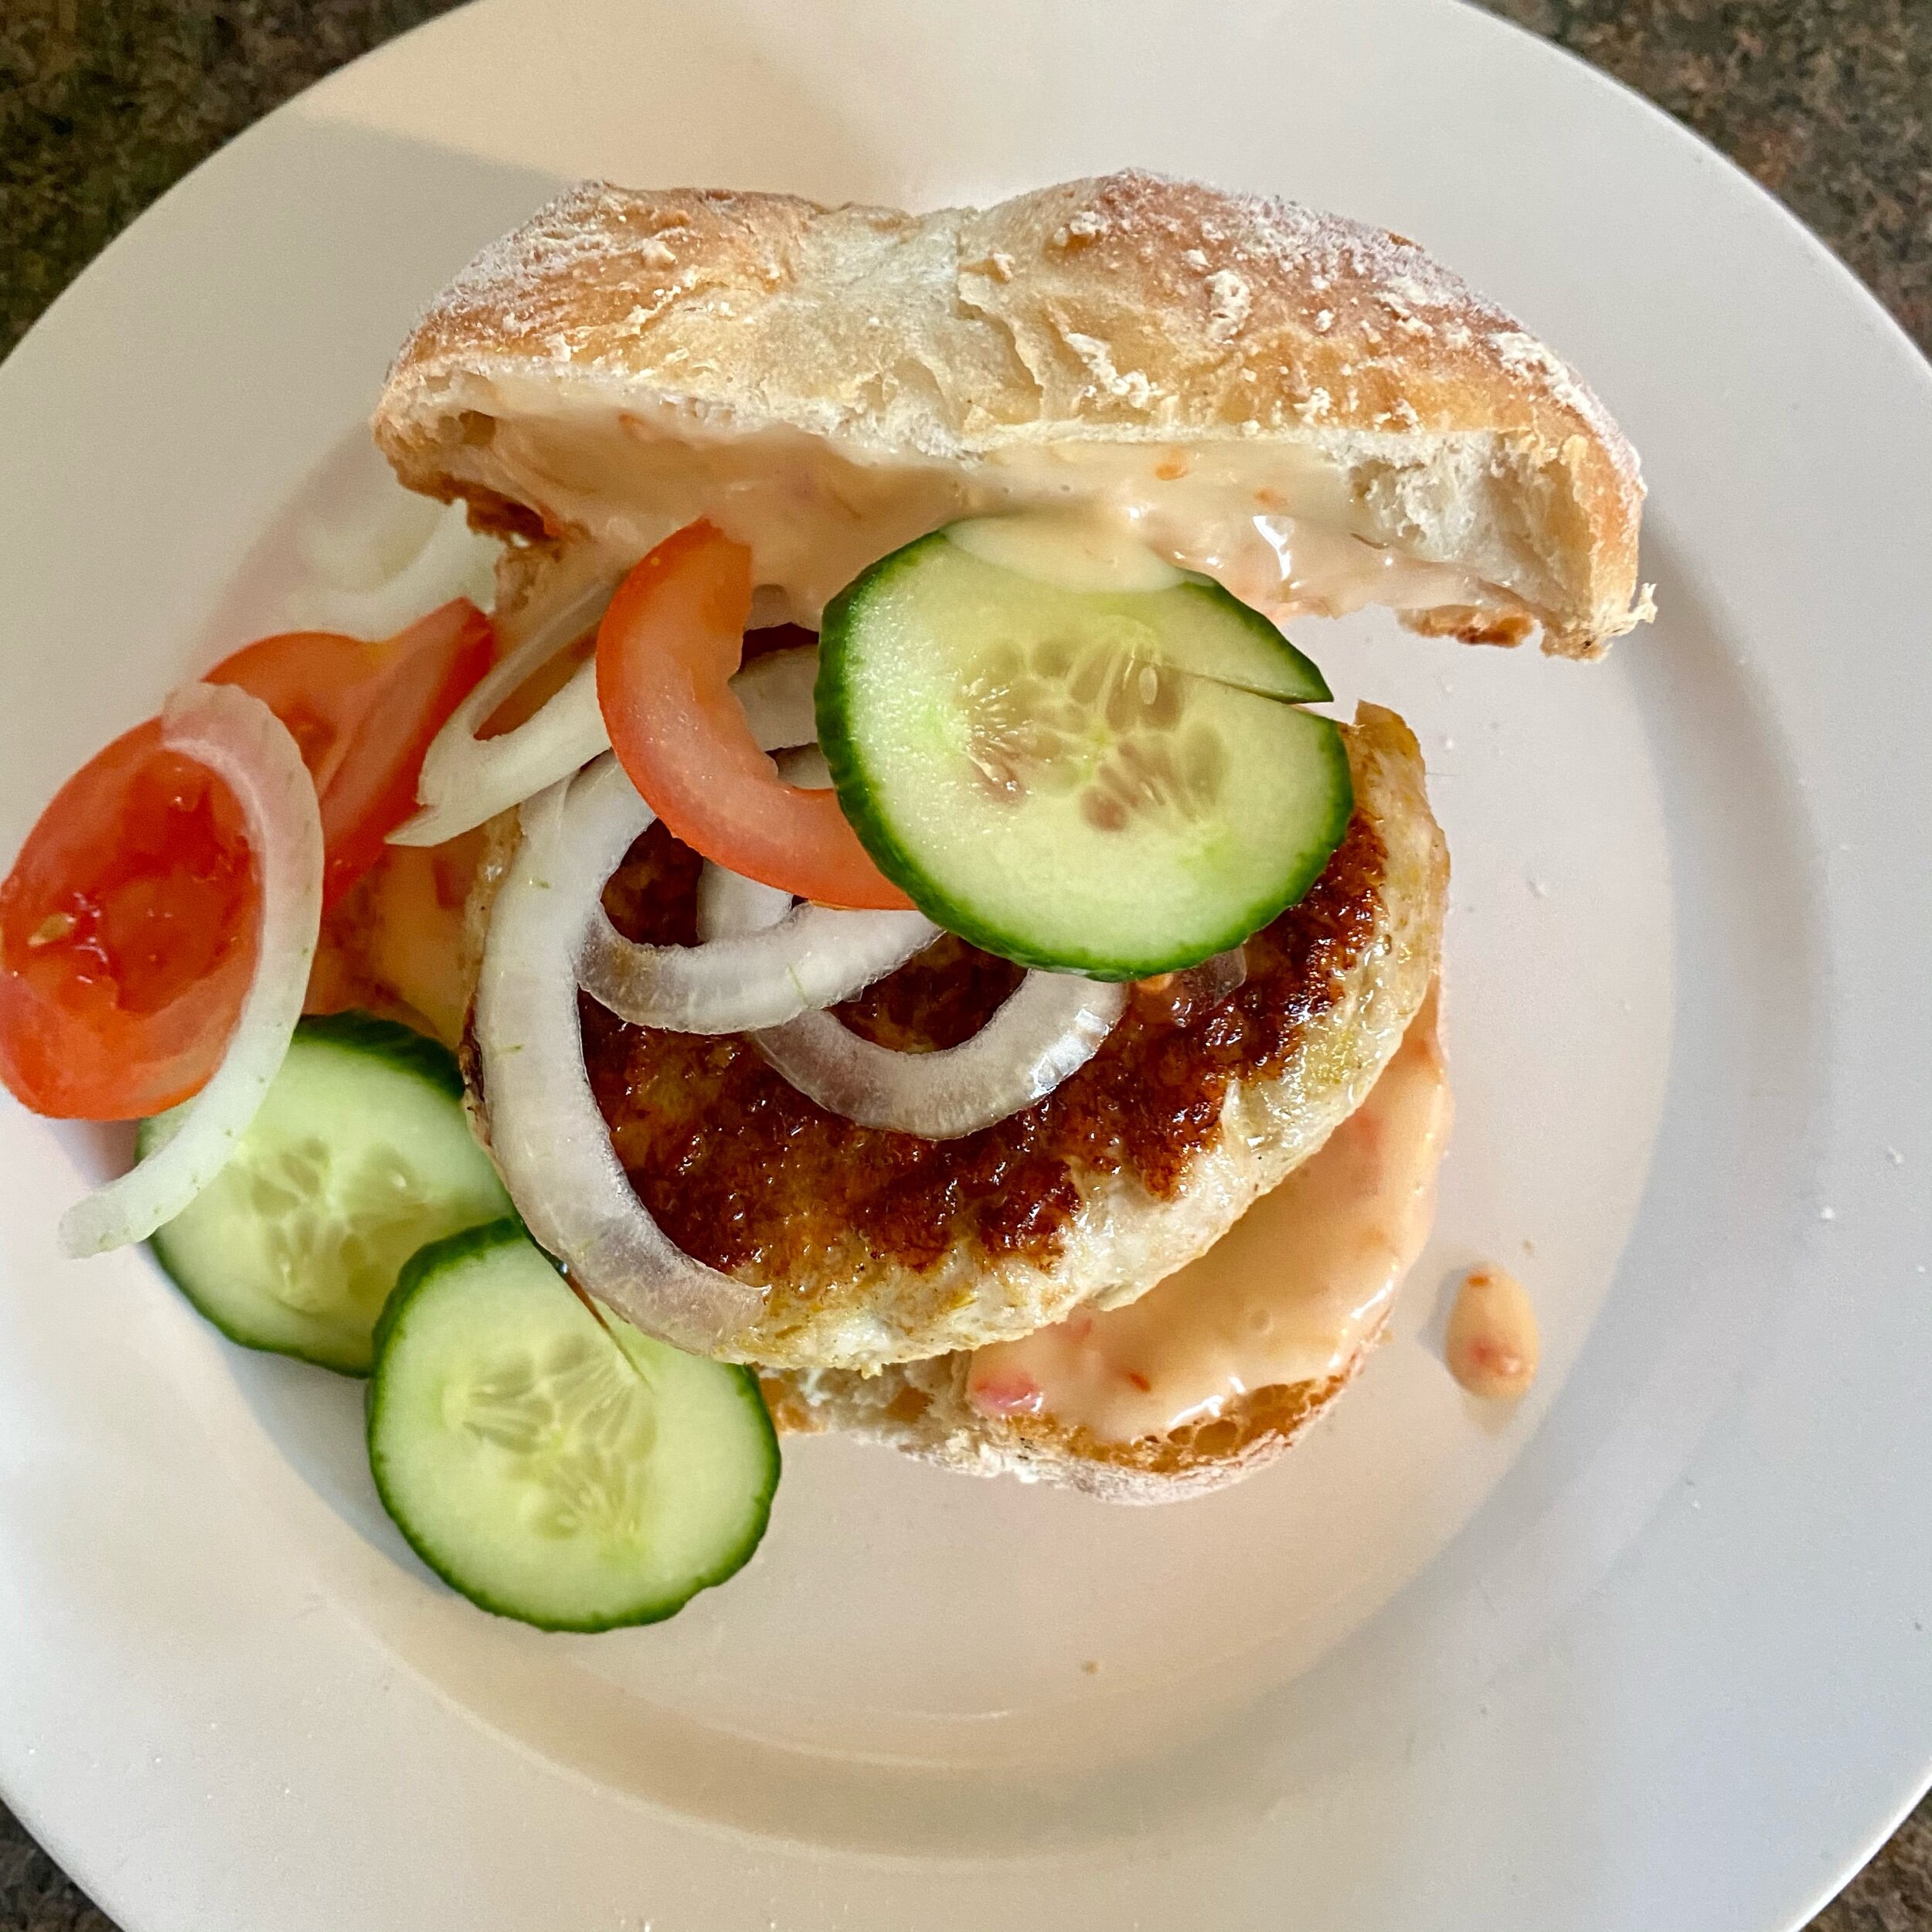
Oh hold on, I did make a sweet chilli lime mayo though to go with it.

A big spoon of a good shop-bought mayo (or make your own of course) plus a spoonful or so of Thai sweet chilli sauce.

Again shop-bought or make your own as you choose. Plus a good squeeze of fresh lime.

Taste, taste, taste and adjust as needed.

The first time I made these burgers I had them with leftover Burmese cabbage (but made with sprouts in keeping with the kind of Christmassy turkey theme).

And then I had them next with cucumber and tomato and onion and it did feel fresher and more tasty to me.

But again, all up to you!

Make them as you like and have them with what you like.

I really liked these and will be having again.

C82DCAE7-5487-4DEC-84A3-BD66CAE8E8F9.jpeg
IMG_1266.jpeg


YOU MIGHT ALSO LIKE โ€ฆ

Courgette leek salad with (possibly) the best dressing ever

This oneโ€™s firmly based on a recipe from one of my favourite cookbooks, The French Women Donโ€™t Get Fat Cookbook by Mireille Guiliano.

I love her writing and her recipes but I do usually change them up just a little bit, as with most recipes, as here.

This is the most beautifully simple dish that would be an utterly elegant side dish but Iโ€™m on a focused lose-the-lockfown-weight THING so I had this for lunch.

And Iโ€™ll be having it again soon. It was DELICIOUS.

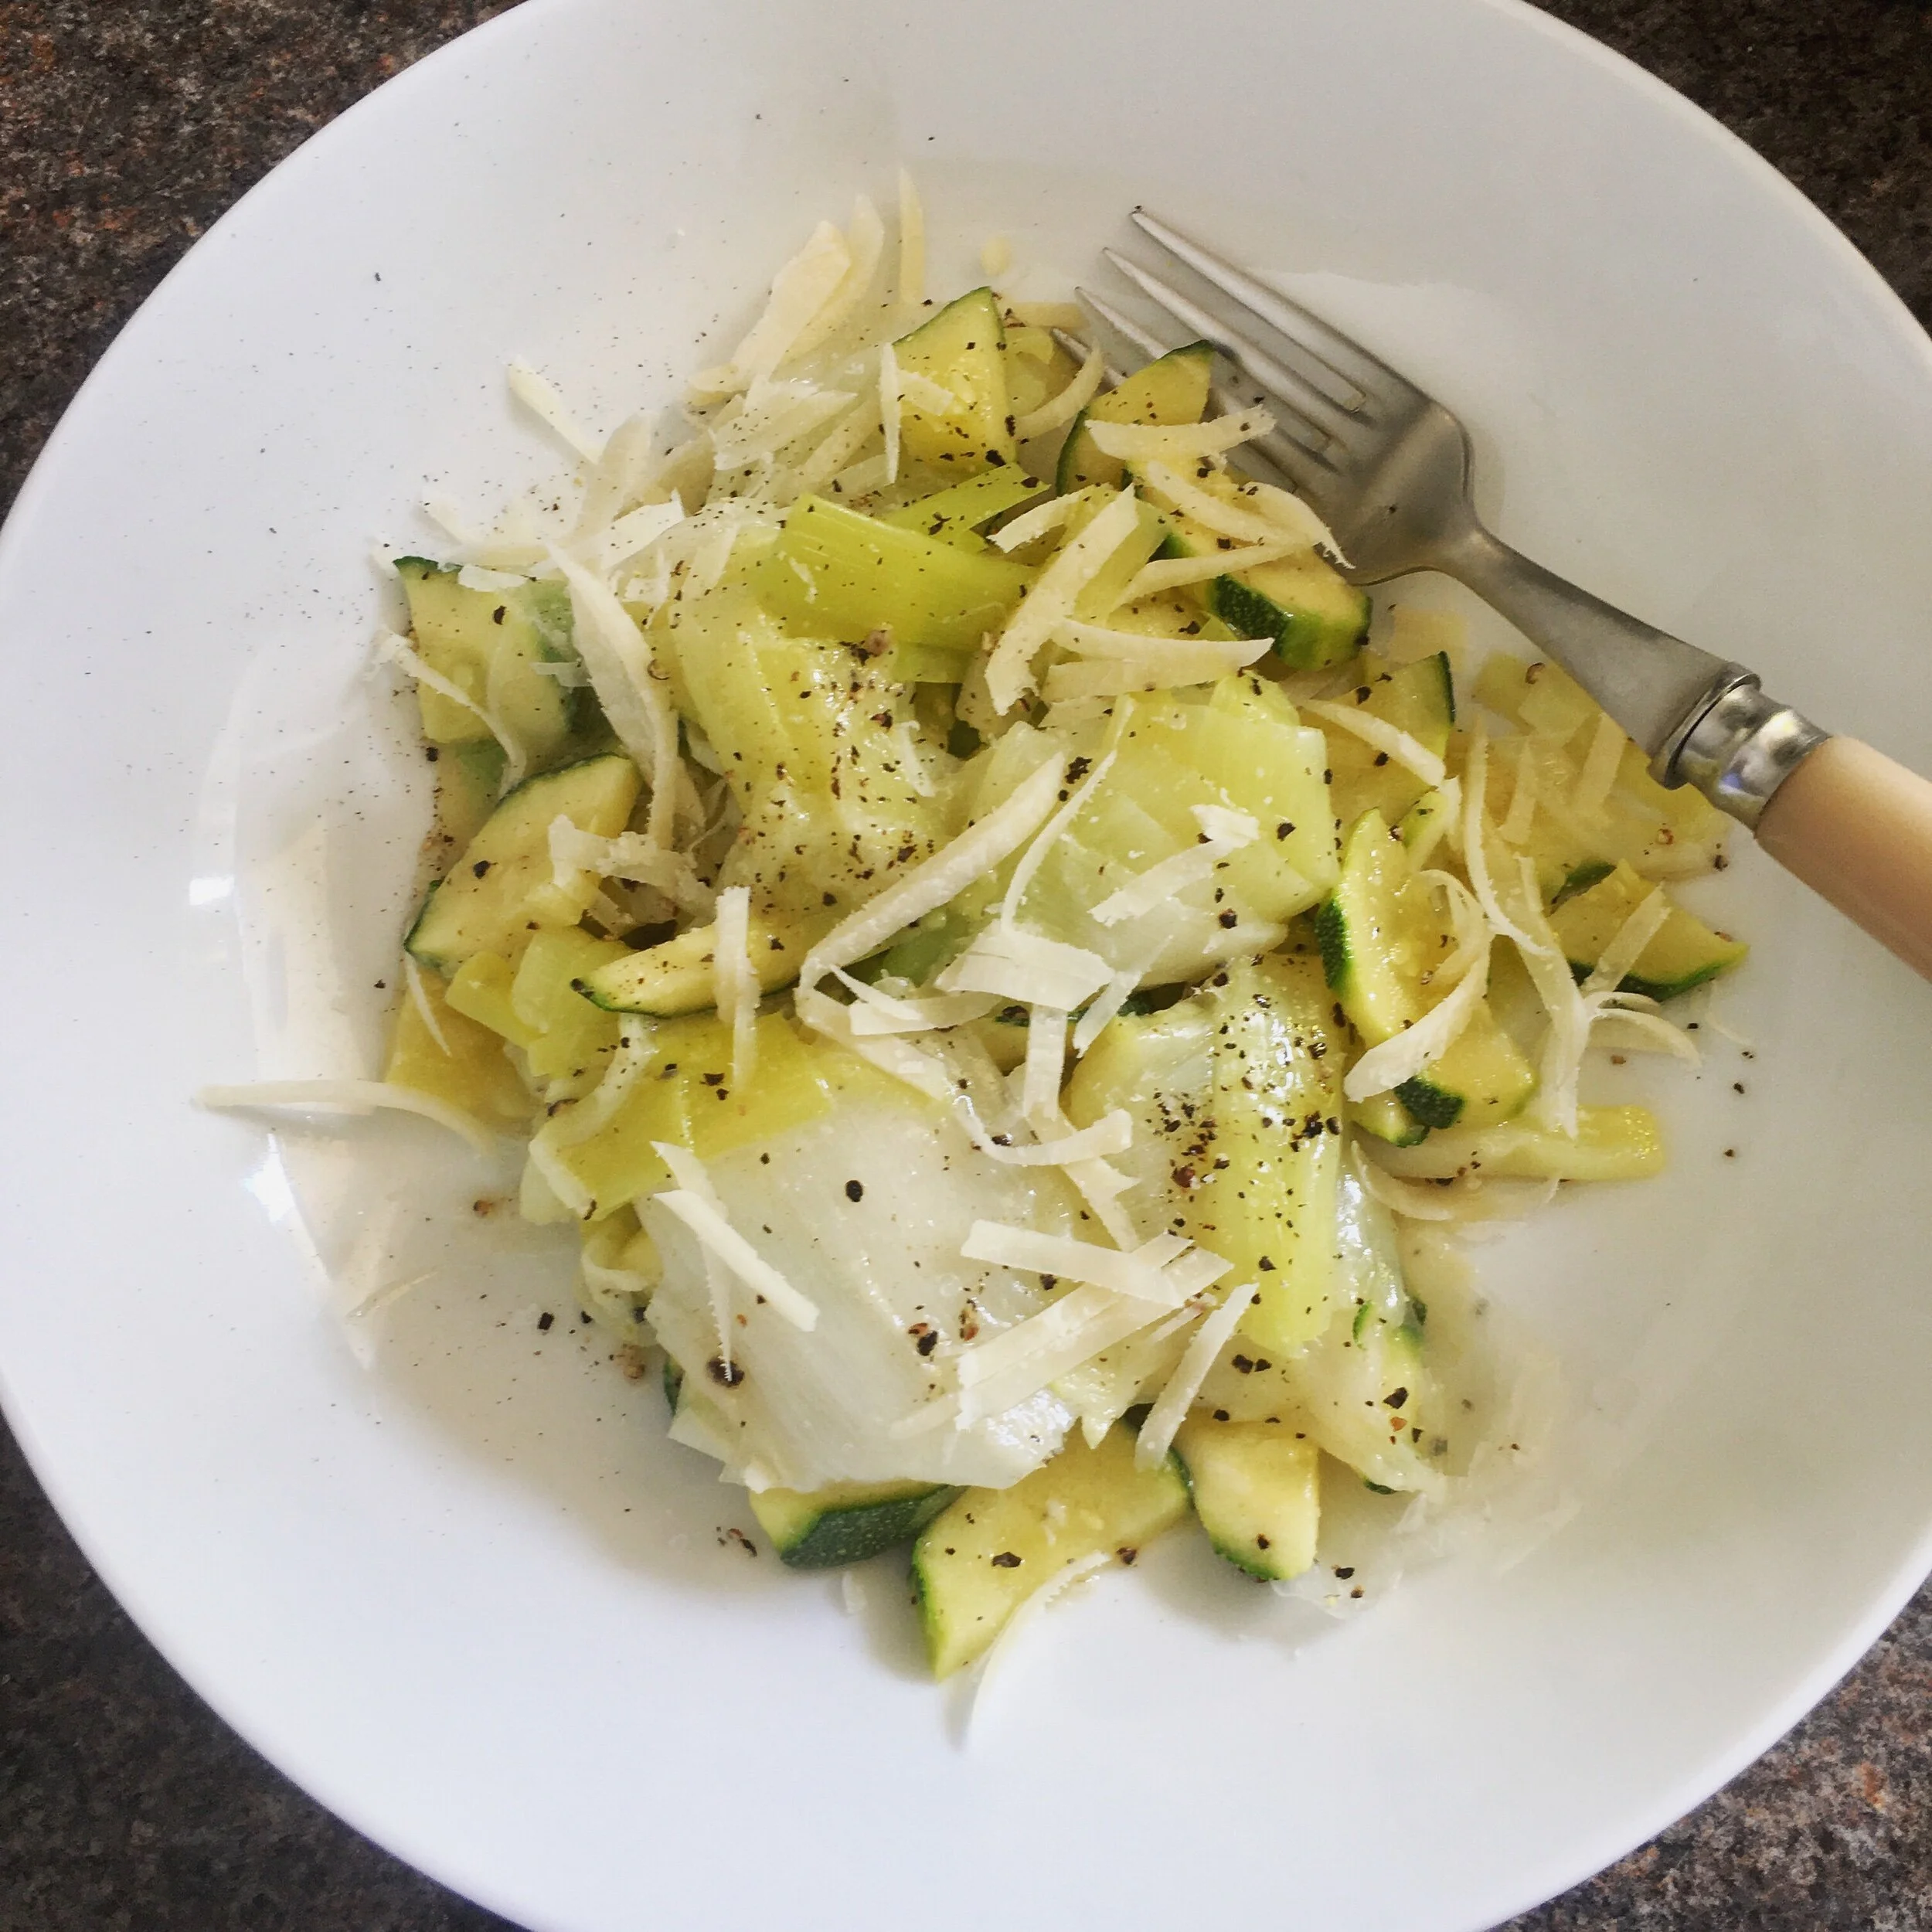
The dressing makes enough for two so I have my second portion (this image) in the fridge ready for tomorrowโ€™s amazing salad lunch idea (that I have already).

Honey, mustard, olive oil, lemony dressing = AMAZING.


To make it the way I did and to make a glorious, sunshine, light, gorgeous, healthy lunch for one, youโ€™ll need:

FOR THE SALAD

2 leeks, cleaned, any tough outer layers removed, most of the green part cut off (use in soup another time) and the white piece remaining cut into a few smaller pieces

1 courgette, washed, peeled if you prefer, cut horizontally into slices and then these halved again

FOR THE DRESSING

2 tsp Dijon mustard

2 tsp runny honey

2 tablespoons olive oil

2 tablespoons freshly squeezed lemon juice

FOR THE MAKING IT ALL AMAZING

salt and pepper

fresh parmesan cheese, grated into little slices


Bring a big pan of salted water to the boil, throw in the leeks and boil on a fairly gentle boil for five minutes.

Add the courgettes, bring it back to the boil and give it another two minutes.

Drain and leave to cool.

Make the dressing while the vegetables cool by mixing all the dressing ingredients together in a bowl (to be honest, I started eating it straight from the bowl with a spoon). Obviously taste and adjust the quantities so itโ€™s exactly right for you.

When the vegetables are cool, tip into a bowl and season with salt and pepper to your liking.

Toss and add some of the dressing and toss again.

Taste again!

Crumble or peel or grate on some parmesan cheese.

When itโ€™s perfect, just pile it all up and dig in โ€ฆ. this is SO SO GOOD.

966A7823-599A-4FA9-A8EF-0F8029D26174.jpeg
Adjustments.jpeg


YOU MIGHT ALSO LIKE โ€ฆ

Super simple jerk sauce / jerk chicken

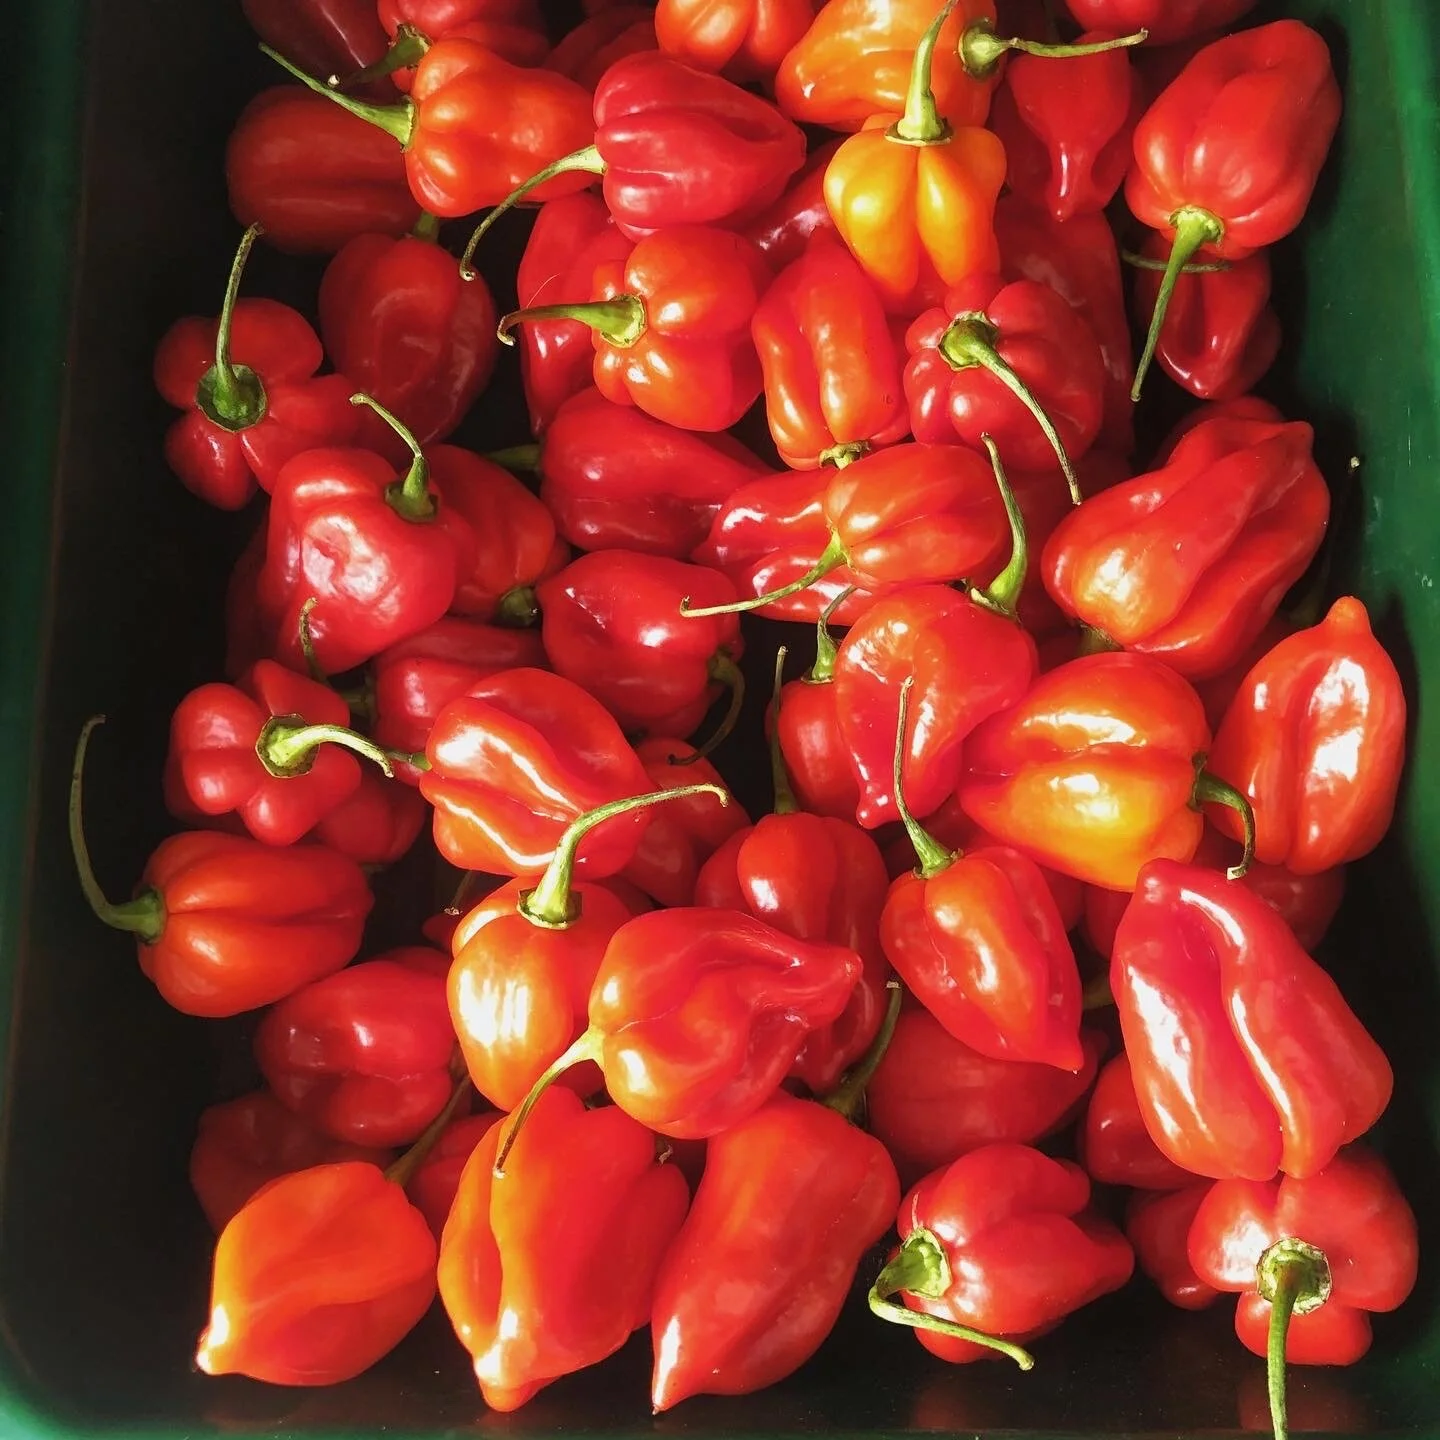
Oh my goodness look at these scotch bonnet chillies! I love scotch bonnets - theyโ€™re properly spicy but also have that lovely fruity tanginess to them.

This photo is one a friend sent me of the beautiful display at her local shop - and then sent me five chillies in the post (this was written in lockdown times, should you be reading it later) as we canโ€™t meet up right now.

So I made jerk chicken and this simple jerk sauce is so easy and delicious I wanted to share it and you could use it with fish or vegetables too.

I confess I have absolutely no idea how authentic or not this is - itโ€™s a simplified version of the one from Jamie Oliverโ€™s 30-minute meals book (which I LOVE by the way - I donโ€™t try to cook them in 30 minutes but thereโ€™s lots of great ideas there that I have taken inspiration from).

There are two ingredients here that might be a little harder to get but that to me you absolutely have to have โ€ฆ and thatโ€™s the scotch bonnet chillies (rather than using any other variety) and the golden rum. DO track โ€˜em down because I think theyโ€™re what makes this dish just so good.

9D0A2241-CA06-4515-BED7-050AE81503BC.jpeg
Adjustments.jpeg

So โ€ฆ ingredients - and this will be enough for either two or four I think, just one has more sauce but you can play around with it of course and just make what looks good to you.

1 scotch bonnet chilli, diced

2 spring onions, sliced

2 fat (or more smaller) cloves of garlic, peeled and chopped

1 heaped teaspoon Allspice

1 big tablespoon runny honey

6 tablespoons golden rum

6 tablespoons white wine vinegar or scant ones of white malt vinegar as I used


And then you just blend it all up to make a sauce, literally, thatโ€™s it.

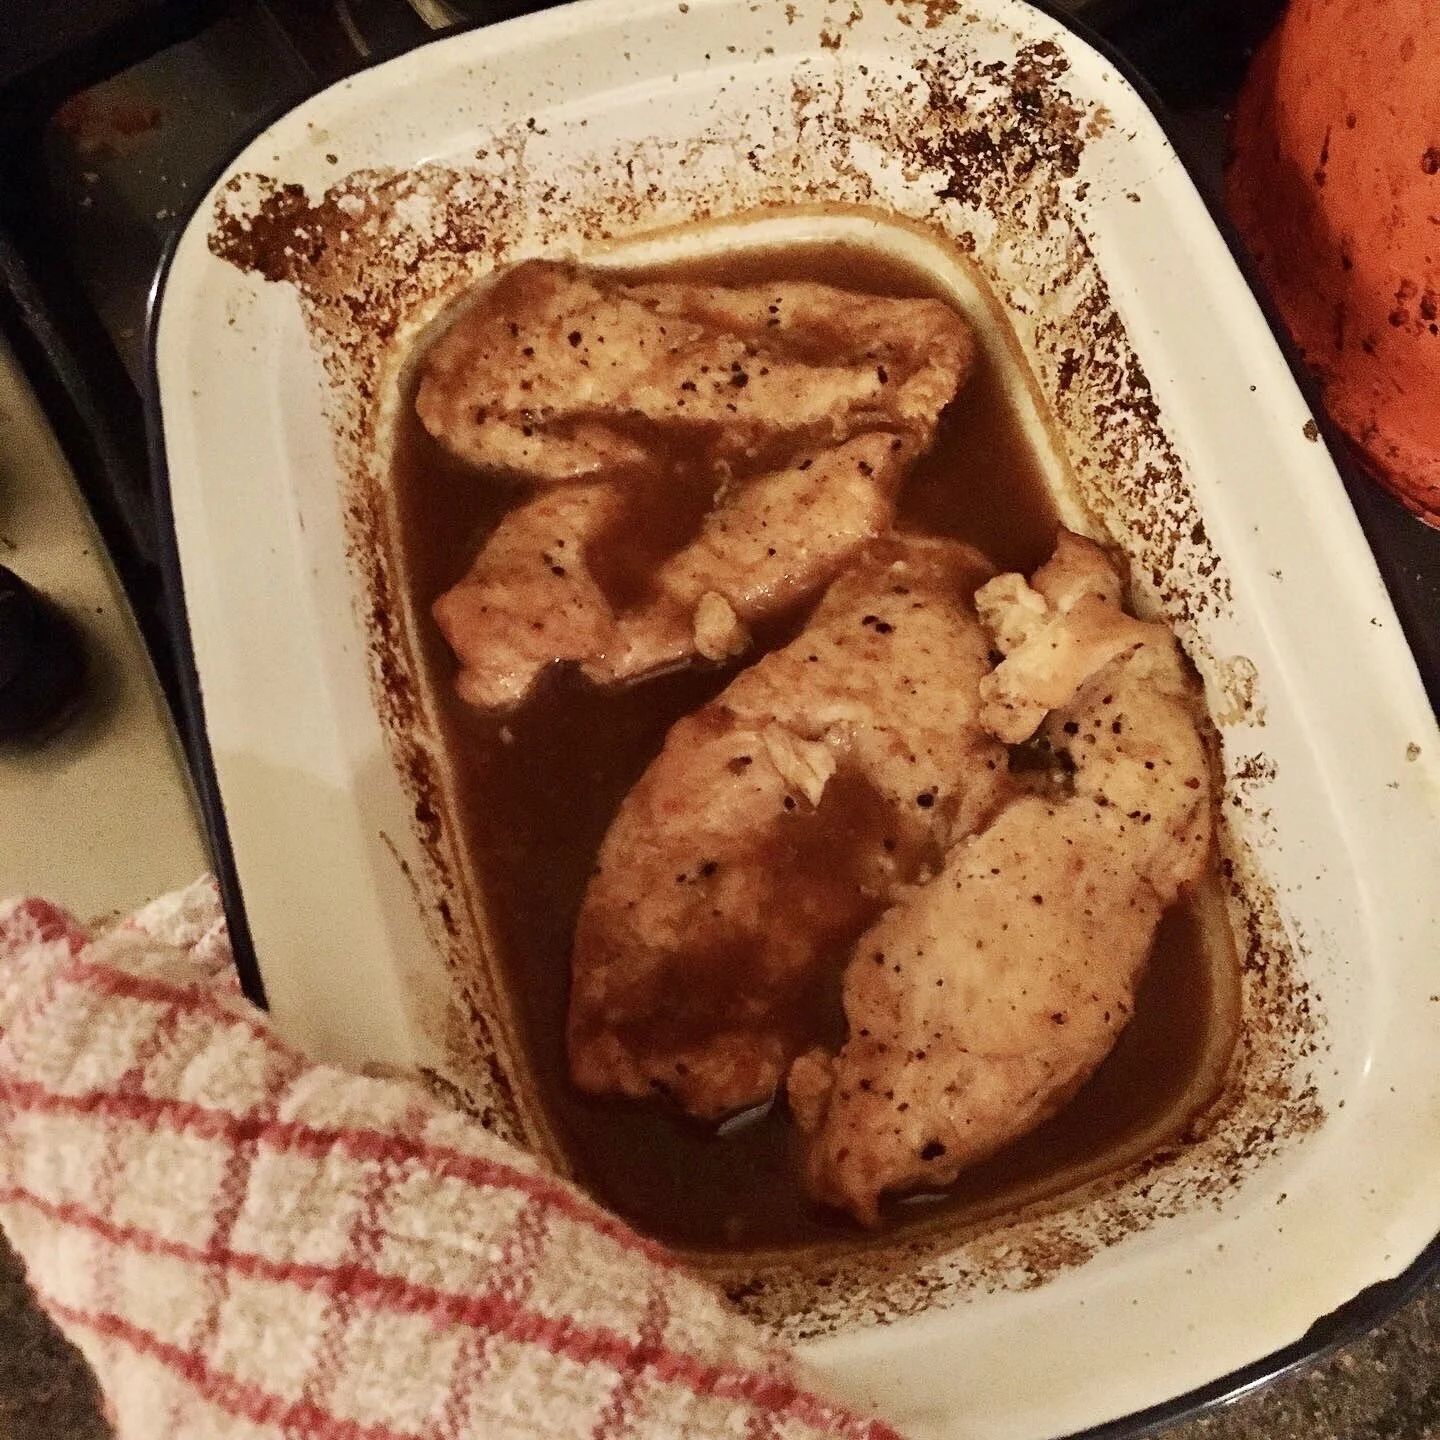
I like to slice the chicken breasts in half to make them thinner, leaving them joined at one end, and ideally with skin-on, but I only had skinless so thatโ€™s what I used.

I season them and massage in olive oil and cook on the griddle (or in a non-stick pan) for a few minutes until golden each side. If your chicken has skin then start with the skin side down.

Then pour the sauce into an oven dish and lay the chicken on top and cook in a medium oven for maybe 20 minutes turning once halfway.

Iโ€™d also add fresh thyme and rosemary too now but have to confess I was just too lazy to down to the garden to get any! I will do next time and will add another picture - itโ€™ll look much prettier and definitely worth adding for the extra flavour, but I still really love it just as it is.

Rachel Redlaw simplest jerk chicken

Check if the chicken is done, cook a little longer if needed.

Serve with rice and salad. Garnish with fresh chopped coriander if you have any and if you like it.

Iโ€™ve realised writing this up that I was missing a lot of things that would make it even better, but hey it was still good โ€ฆ and very, very simple โ€ฆ and that counts for a lot for me.


YOU MIGHT ALSO LIKE โ€ฆ

Beautiful simple tomato sauce

Thereโ€™s something that right now feels very comforting about taking a while over something and also about making something really simple to eat.

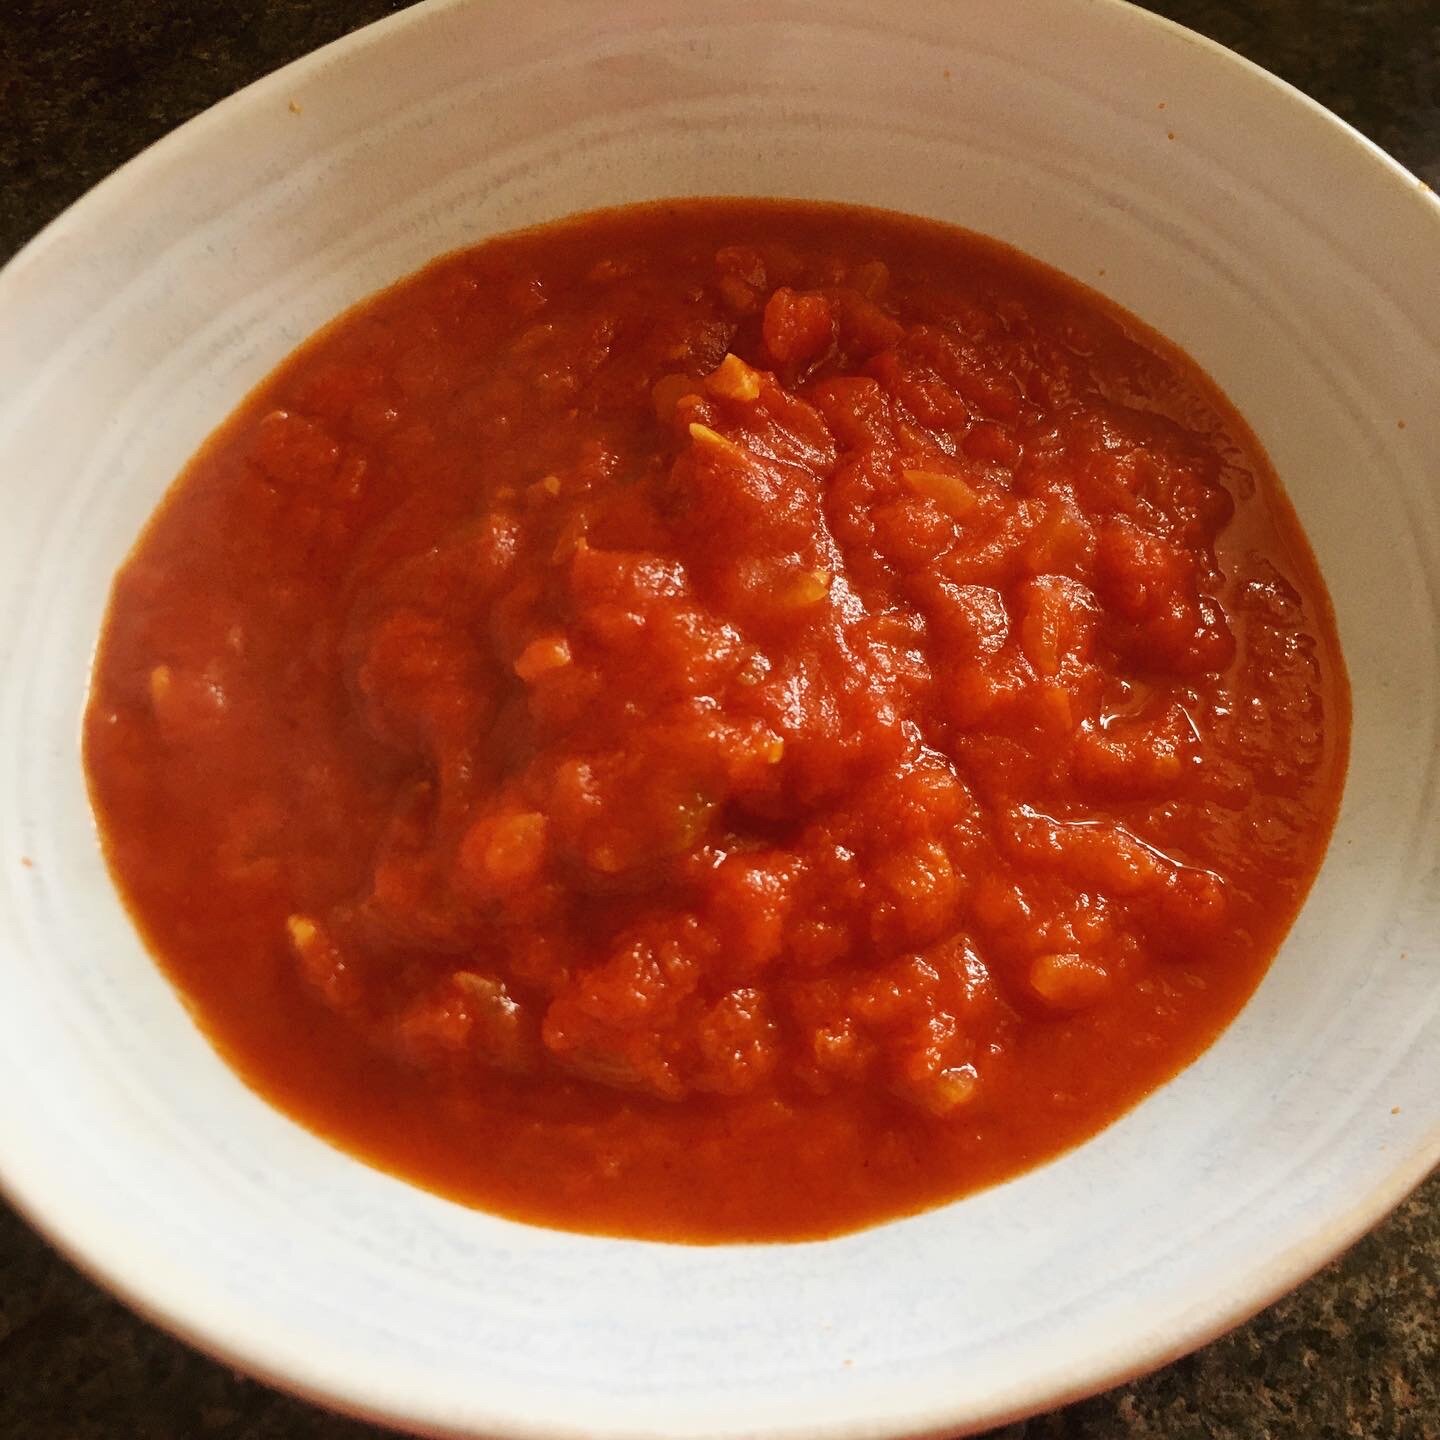
This is the easiest tomato sauce but what makes it beautiful is giving it that time to simmer.

Itโ€™s not just heating up a tin of tomatoes, itโ€™s allowing those tomatoes to release flavour and create texture and just become something so much more delicious that you might think this would be.

I made enough for two portions so just double up to make enough for four - and actually thatโ€™s probably even easier and itโ€™ll keep in the fridge for a couple of days, so when I make it again thatโ€™s what Iโ€™ll be doing.

But today, what I used was:

A good slosh of olive oil - maybe a tablespoon or so

1/2 onion, peeled and finely chopped

1 clove garlic, peeled and finely chopped

1 tin of chopped tomatoes

salt and black pepper

basil leaves would be lovely if you have them (I didnโ€™t)

Put a non-stick deep frying pan or a saucepan over a low heat, add the olive oil and then the chopped onion and garlic.

Fry very gently until translucent - itโ€™ll take longer than you think - if the garlic looks like itโ€™s burning add a little more oil or a tiny splash of water.

Then tip in the tomatoes.

When itโ€™s empty, pour water into the tin, give it a good slosh around to get the last bits of tomato and add half a tin of water to the pan.

Add salt and some freshly ground black pepper - and donโ€™t be shy about it, this sauce needs these seasonings!

Bring to the boil then reduce heat so itโ€™s just on the very gentlest simmer - and cook, covered, for half an hour, checking in on it and stirring now and then.

If you have fresh basil, throw in a few torn leaves right at the end.

And thatโ€™s it. It was so good I was literally standing eating it off a spoon straight from the pan.

I donโ€™t need to tell you what to use this for - pastas and pizzas or on toast, or anything really - including these super-simple-fast tortilla/wrap โ€˜pizzasโ€™.

I donโ€™t really know why but right now in these very difficult and uncertain times, making (and eating) this made me feel more grounded so that in itself was just a very good thing for me to have done today - and I hope it does for you too.

FF990687-6C74-4301-93A2-40F5CA7AF266.jpeg


YOU MIGHT ALSO LIKE โ€ฆ

Thai green (and red) curry sauce

For my recent family birthday lunch I cooked for ten, I was thinking of a kind of Thai twist on a Sunday roast.

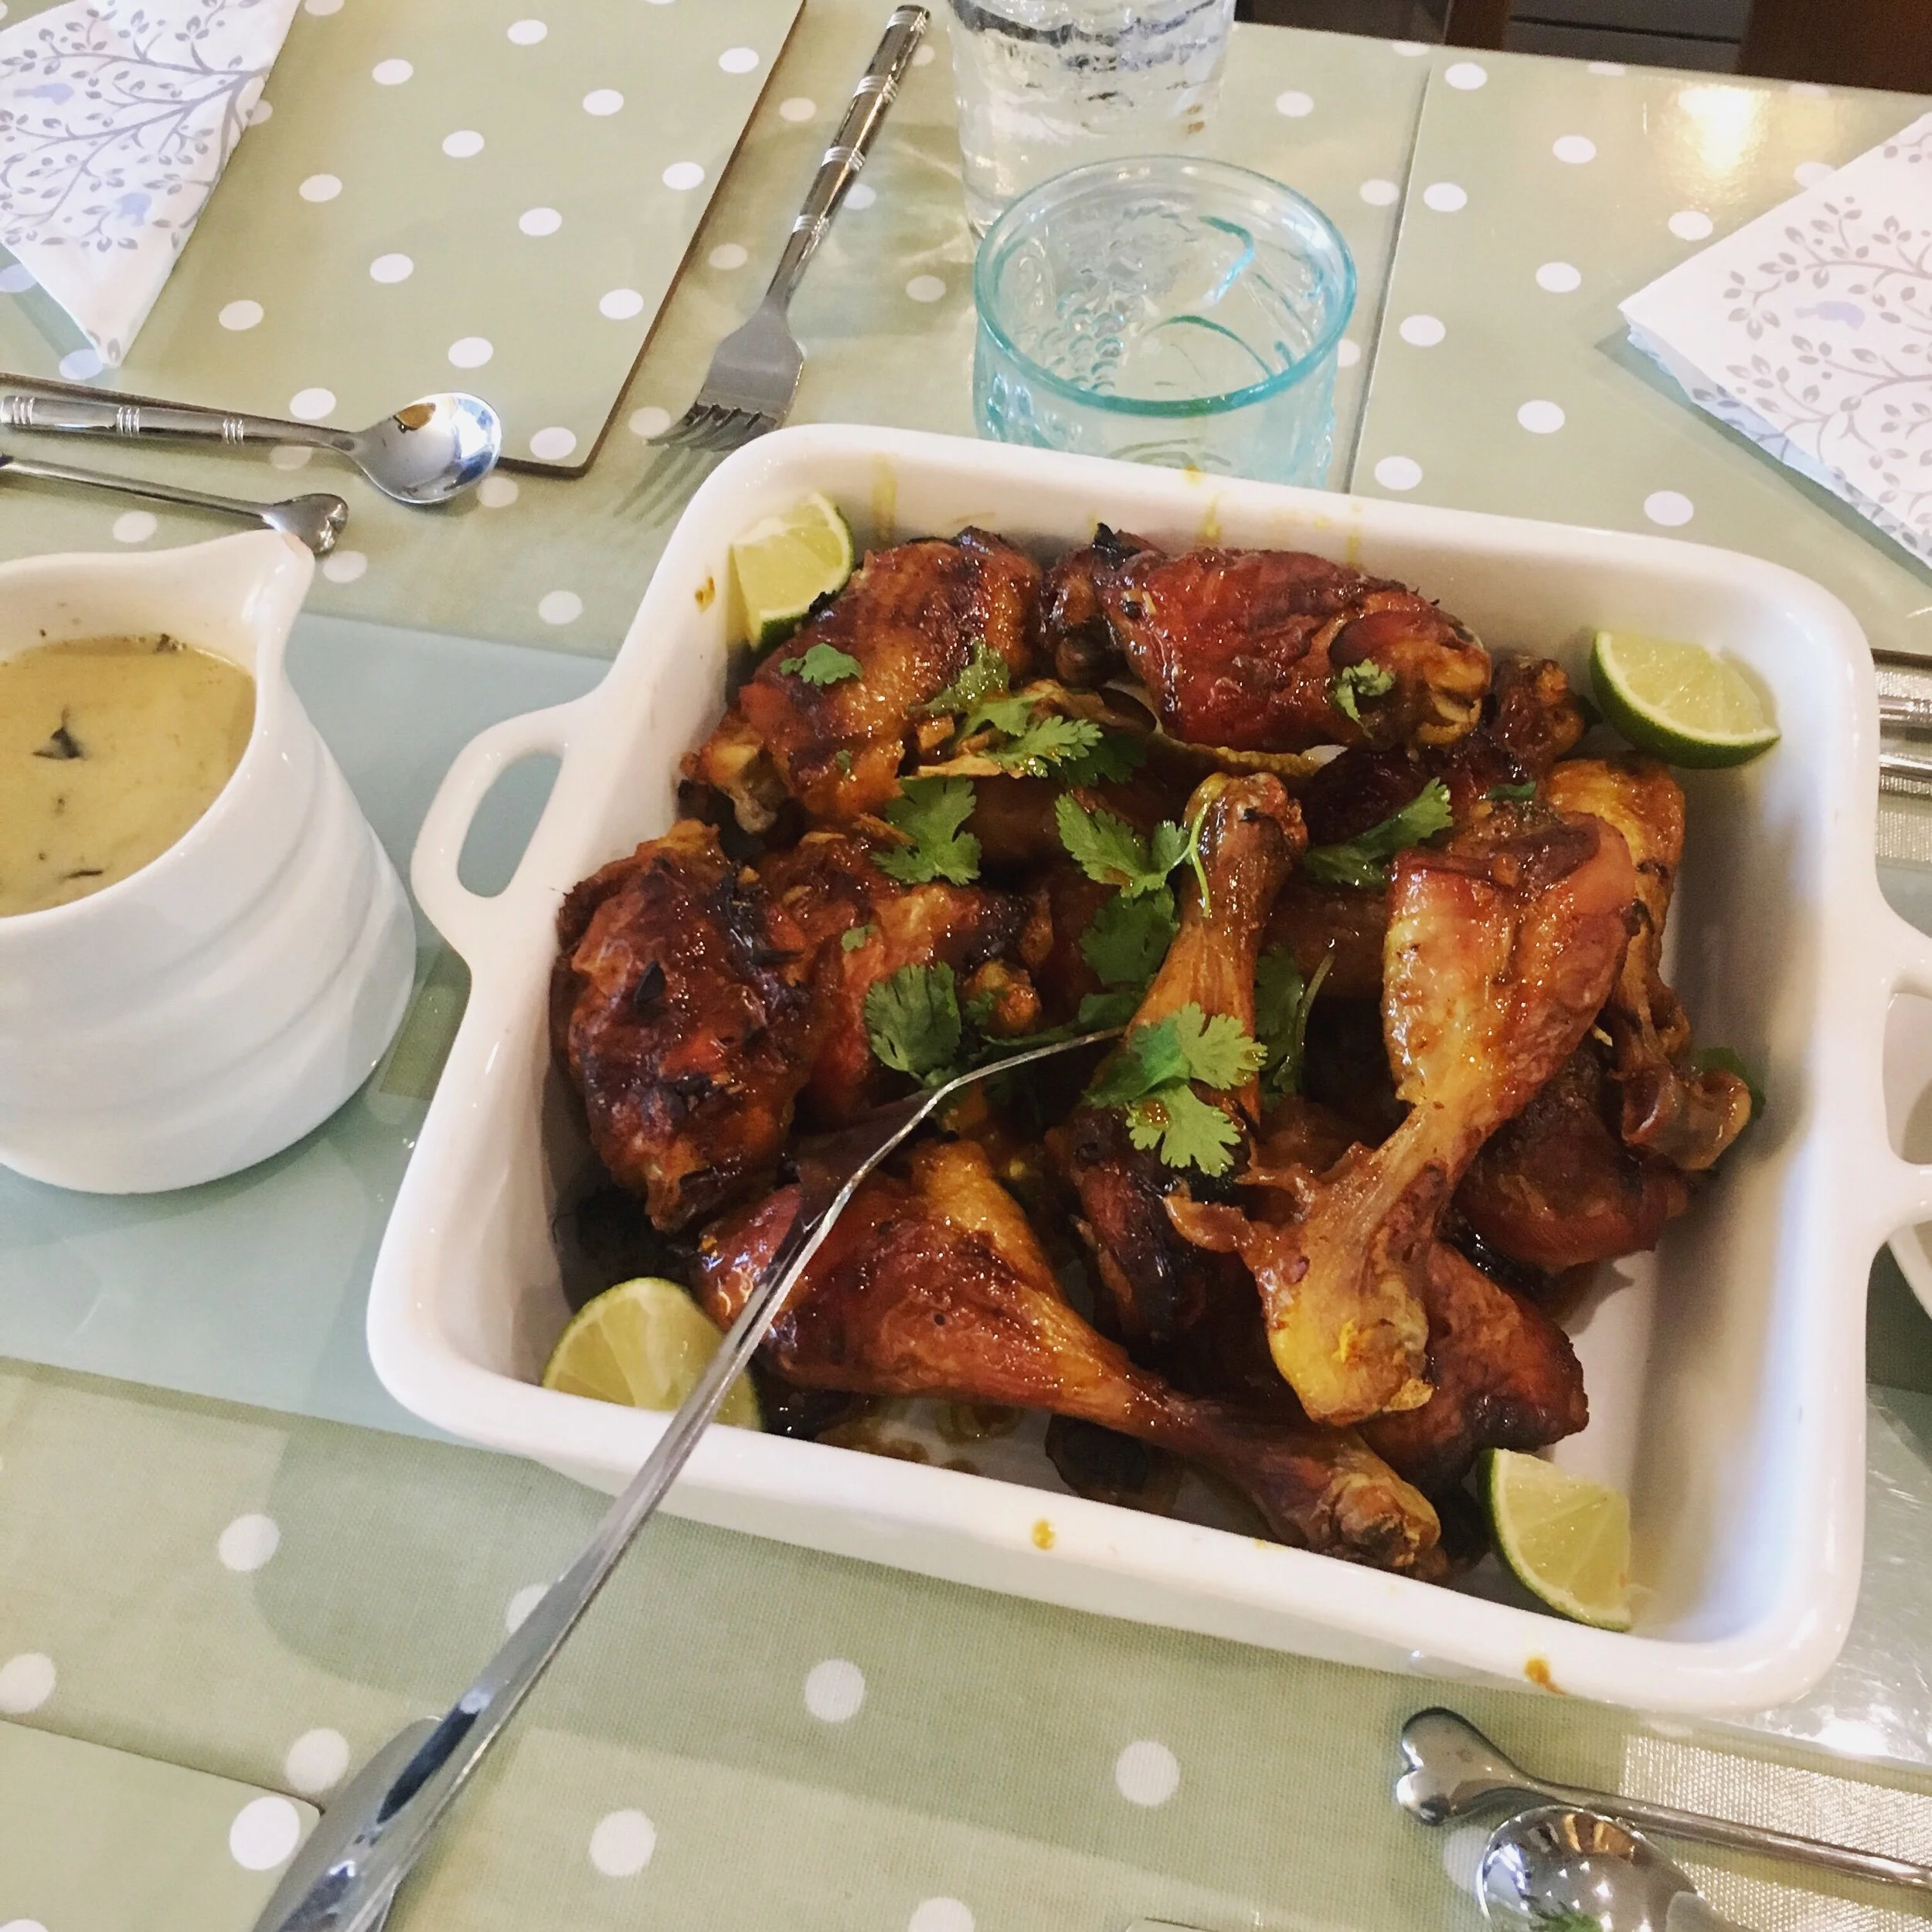
We had these Thai-inspired baked chicken pieces, roast beef in a marinade of coriander stalks, green peppercorns, and more good things.

Plus roasted crushed new potatoes with ginger, garlic, chilli and spring onions, as well as a big vegetable stir fry with oyster sauce.

And I wanted, of course, a โ€˜gravyโ€™, to go with it all so made a Thai green curry sauce - and it was so good, especially over the chicken and potatoes. YUM.

Back home in London I decided I should test it again before sharing the recipe but realised I had left the green curry paste in Norfolk.

AHA! Yep, itโ€™s super-simple because I use a ready-made curry paste.

And I have to say that I always have as when I lived in Thailand, no one made their own pastes, we all just got them freshly made from the market. So just get a good brand and donโ€™t feel any pressure to make your own. Hey, most Thai people (to my knowledge) donโ€™t!

Mae Ploy Thai Green Curry paste

Mae Ploy is my favourite brand and I get it from my local Thai supermarket as itโ€™s on at a better price than Sainsburyโ€™s, who also stock it.

OK, letโ€™s get making this sauce then.

Ah, what I meant to say before I went off on a bit of a tangent was that as I didnโ€™t have any green curry paste, I had to make a red curry sauce.

Now traditionally, green curry is made with seafood or chicken. Red curry with pork, or duck, or maybe even beef.

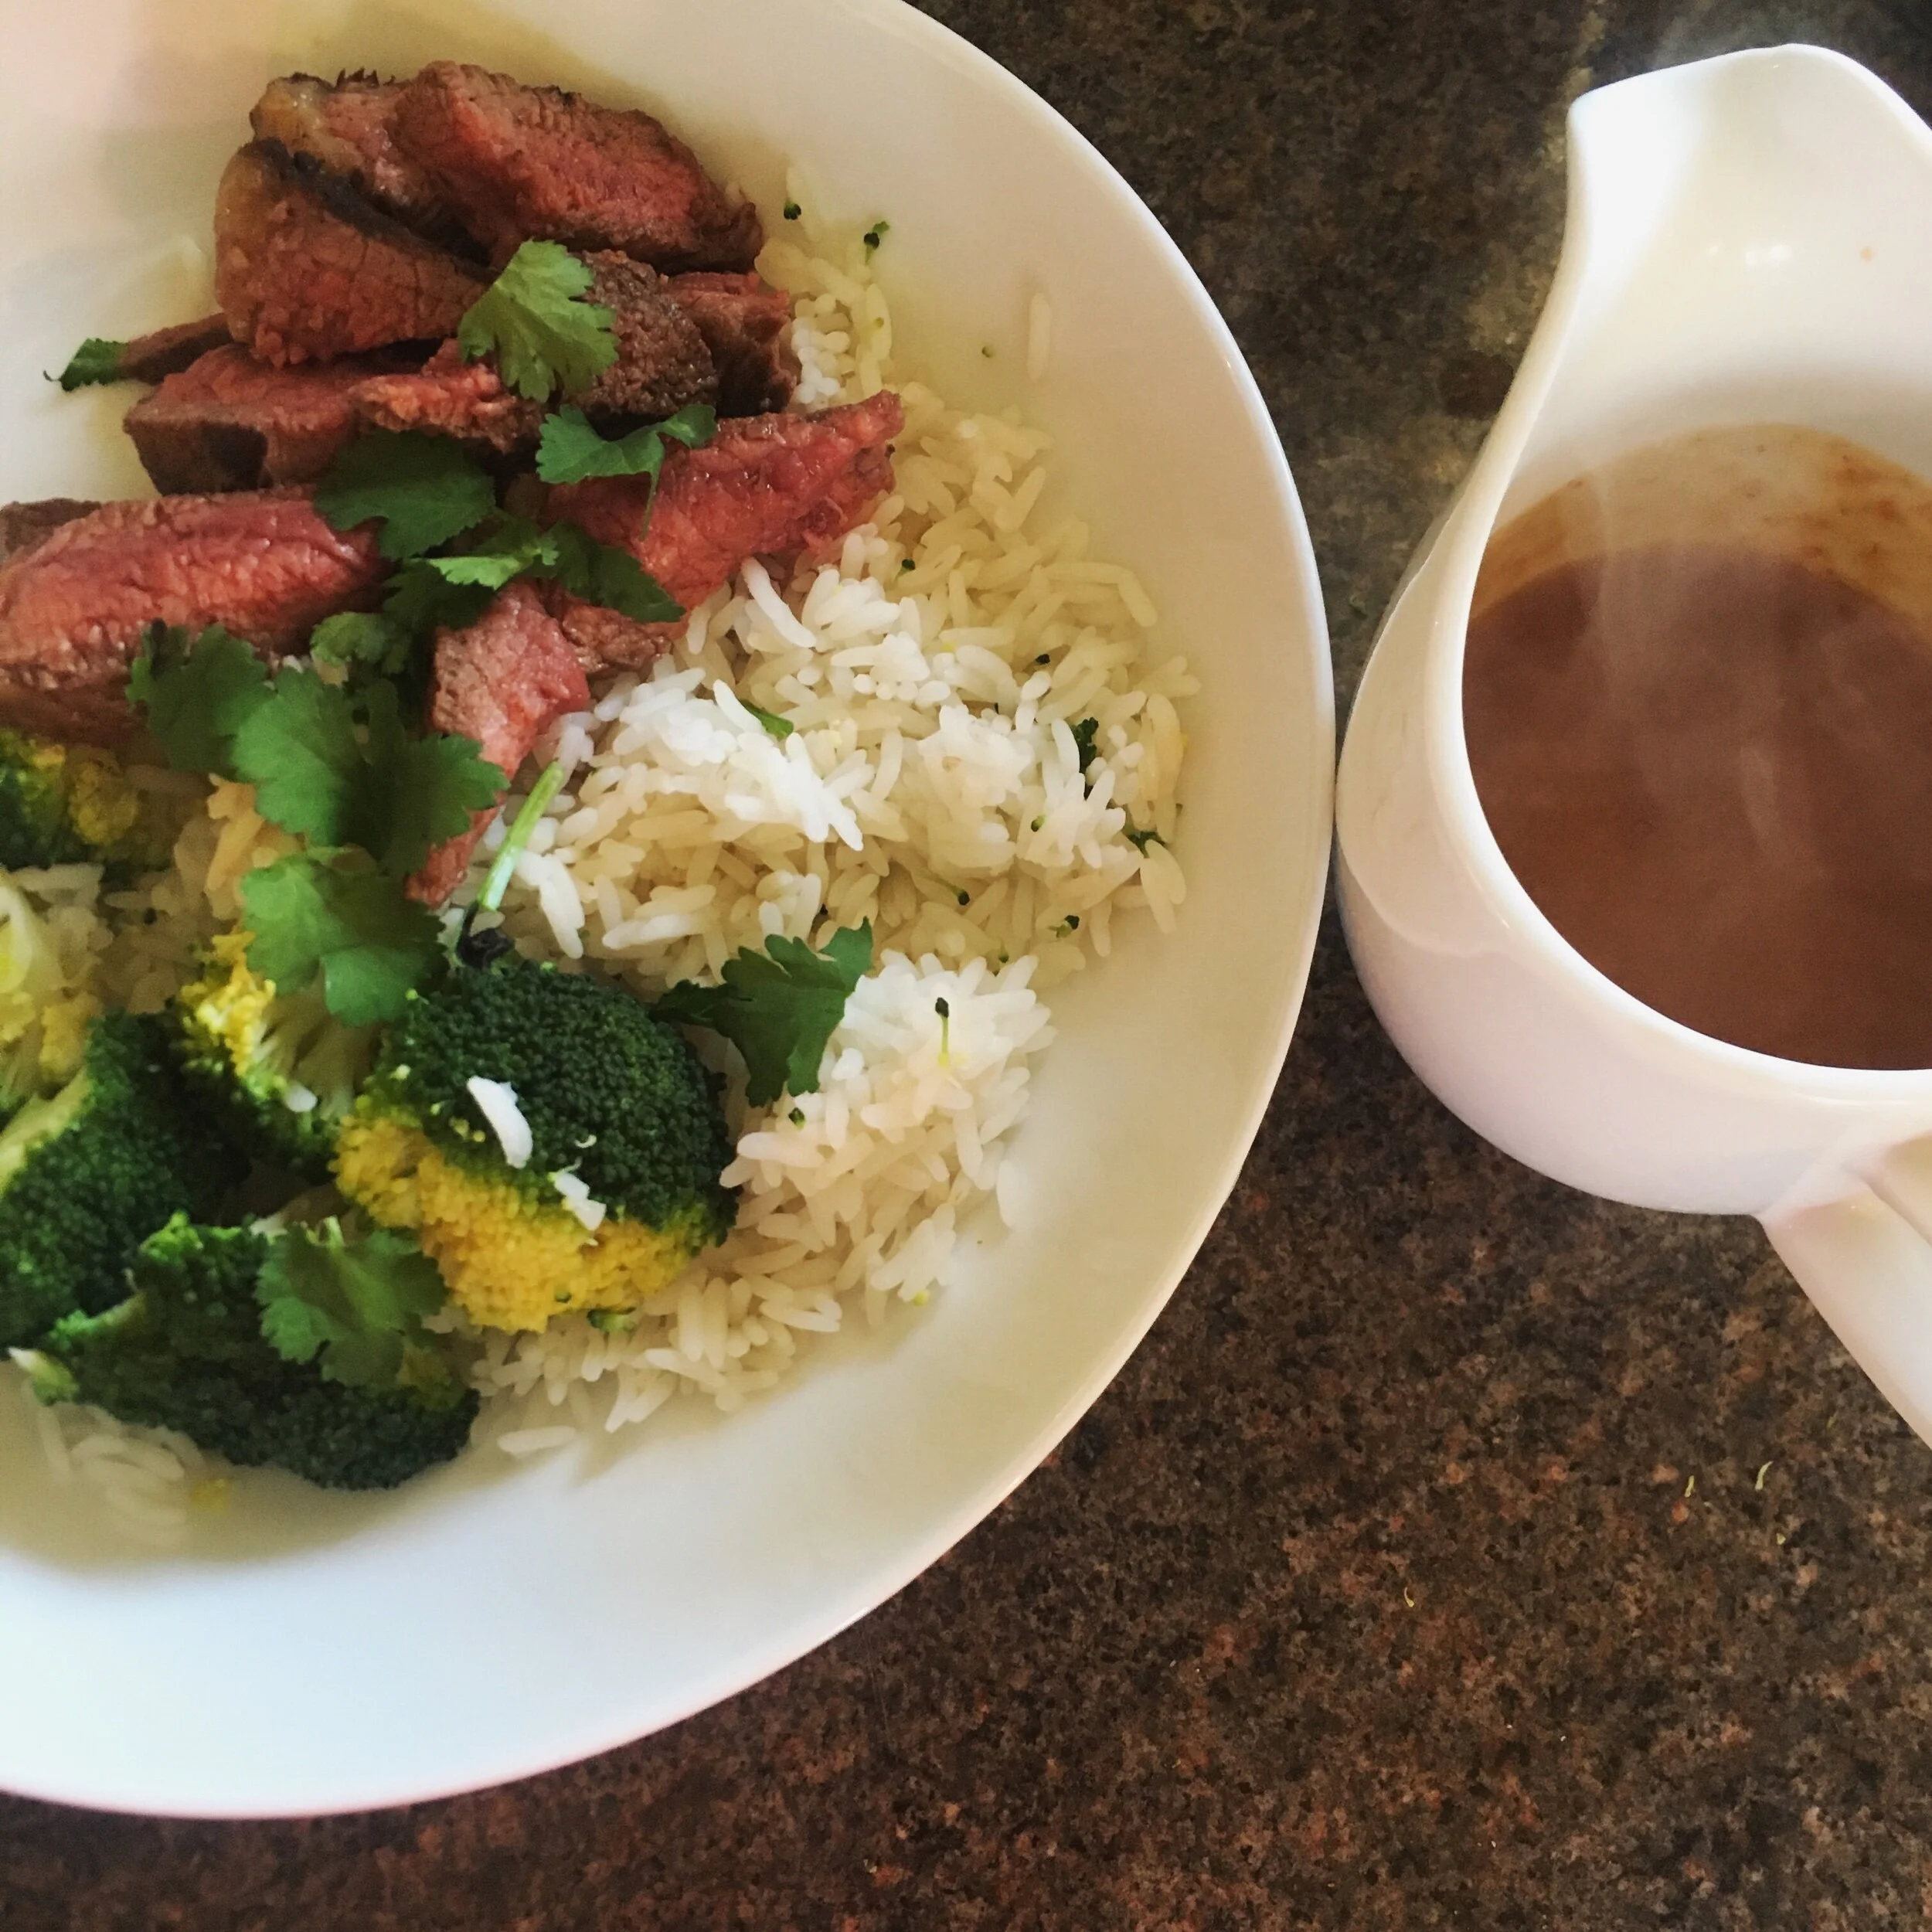
So when I made my red curry sauce, it was to pour over sliced steak, rice and broccoli - and it was so good.

Honestly this sauce is so quick and easy, and just gives a little twist to your roast, or is beautiful to have with rice and vegetables, or just a big plate of veggies, or really with any meat, fish or vegetables that need a little zhuzh-ing up (is that how you spell it?!).

For my birthday lunch I made double the quantity Iโ€™m sharing here, but I think this is enough for about four, so that seems a good amount to start with and of course itโ€™s easy to scale up if youโ€™re cooking for more too.


Youโ€™ll need:

1 tin coconut milk (full fat, donโ€™t get that reduced fat stuff)

1 heaped tablespoon good Thai curry paste

1 tablespoon light soy sauce

a good dash of fish sauce

2 teaspoons demerera sugar

the juice of one juicy lime

Thai sweet basil (horopha) if you can get it


Pour the coconut milk into a saucepan, add the curry paste, and bring the coconut milk to a simmer, stirring often to combine in the paste.

When itโ€™s simmering, add the soy and fish sauces, the sugar and the lime juice and simmer for six minute or so.

Taste and see if you need to add anything more - perhaps another dash of fish sauce, a squeeze of lime, or a little more sugar.

If you have Thai sweet basil, add a small handful of leaves now, remove from heat and stir to combine in.

And thatโ€™s it! So simple and really good.

I hope you try this one - and that you try serving it with EVERYTHING!

Let me know how you go and what you thought.

Send me a message on instagram and Iโ€™d also love to see your pictures if you post them so do tag me! @rachelredlaw

B89976CD-BFAA-4FF6-9684-1897B97A91D4.jpeg
CCBF162F-64C3-4FF0-A770-FCA6B8A78557.jpeg


Green chilli paste

After eating a very delicious garlic chilli chicken curry out on Friday night, last night I made my own version for the first time.

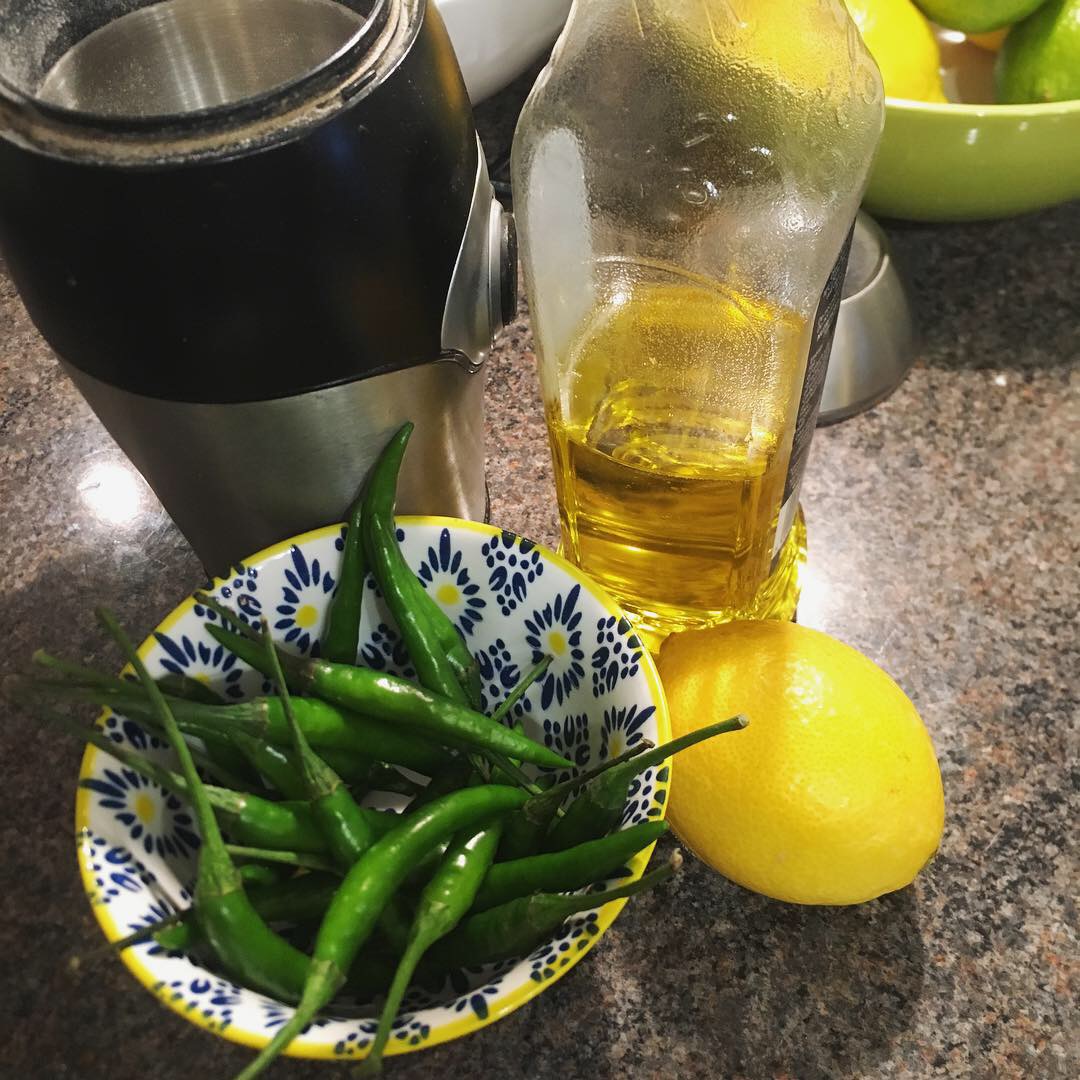
Starting with making a green chilli paste ... I donโ€™t have a small blender so thought Iโ€™d try using my spice/coffee grinder and it worked perfectly.

Youโ€™ll need:

20 or so thin green chillies

a good glug of olive oil

salt

the juice of half a lemon

Take the stalks off the chillies and blend/grind, then add olive oil, a good ground or two of salt and the juice of half a lemon and grind/blend again.

This will keep for a week or so in a jar in the fridge.

Rachel Redlaw green chilli paste

Iโ€™ll be adding recipes to use the green chilli paste in as I make them!

I did make a garlic chilli chicken curry last night but have a couple of ideas I want to try out with it before sharing the recipe.


YOU MIGHT ALSO LIKE โ€ฆ


VIETNAMESE (STYLE) DIPPING SAUCE / NUOC CHAM

A kind of nuoc cham - the Vietnamese dipping sauce .... (aside - and I REALLY must visit Vietnam one day soon!).

I like to make just a little fresh but you could make more and keep it in an airtight jar in the fridge for a week or so.

For this amount - which is going to be perfect for lunch - I used:

1 juicy lime
1 tablespoon fish sauce
1 birds eye chilli, finely chopped (Iโ€™d wanted red but only had green so green it is)
1 small cloves of garlic, peeled and minced
2 teaspoons sugar
1/2 teaspoon Sri Racha sauce

Combine and stir to dissolve the sugar and then taste taste taste to see if it needs more lime or more fish sauce or a little more sugar.

Rachel Redlaw Nuoc Cham Vietnamese style dipping sauce

Trust your own palate and what tastes good to you - this is lovely and tangy and hot and sour and a little sweet too.


YOU MIGHT ALSO LIKE ... 

Creamy yogurt lemon mustard dressing

OK, World-Cup-obsessed means simple dinners - tonight shop bought fishcakes (they sound delicious too - cod and chorizo).

I was thinking Iโ€™d just squeeze lemon juice over the salad but suddenly decided to experiment to make a creamy yogurt lemon mustard dressing.

This was enough for two:

Half a big juicy lemon
1/2 tsp sugar
1/2tsp salt (I have this lovely lemon thyme Cornish sea salt but normal salt is fine!)
1 tablespoon vinegar - white wine vinegar would be ideal but I only had white malt vinegar so used that
1 tablespoon light olive oil (virgin olive oil would have too strong a flavour for me)
A good grind of black pepper
1 tsp Dijon mustard
4 tablespoons plain yogurt - just natural or Greek would be lovely
1/2 or a tiny clove of garlic, minced


Then just stir or whisk it all together - taste and adjust as needed!

Rachel Redlaw creamy yogurt lemon mustard salad dressing

Does it need a little more lemon? Yogurt? Seasoning?

Up to you!

I'll be making this again .... I think it would also be lovely over some simple grilled fish.


YOU MIGHT ALSO LIKE ...

Homemade tortilla wraps (+ pork / guacamole filling)

I rarely eat bread so when I do itโ€™s got to be good!

Today I needed some flat bread, wraps, tortilla-type things for something I wanted to make.

But the ones in the shop all looked kind of insipid - plus I checked the ingredients list and it had an awful lot of things listed for something so simple.

I only want to eat real food - made from things that I actually know what they are!

And since I only needed two tortillas - it was going to be a waste buying a pack and I couldnโ€™t face buying that plastic wrapper waste either.

I think it was a moment of laziness - that I couldnโ€™t bothered to make them.

But looking at those added ingredients, and thinking of both the food and plastic waste ... of course I can make them!

It's not like I haven't made THESE before.

To make four, you just need:

100g plain flour

a pinch of salt

60g water

Mix the ingredients in a bowl or - as I did - in the jug I used to measure the water, and knead a little to really combine.

Leave while you make whatever it is youโ€™re making to put in them.

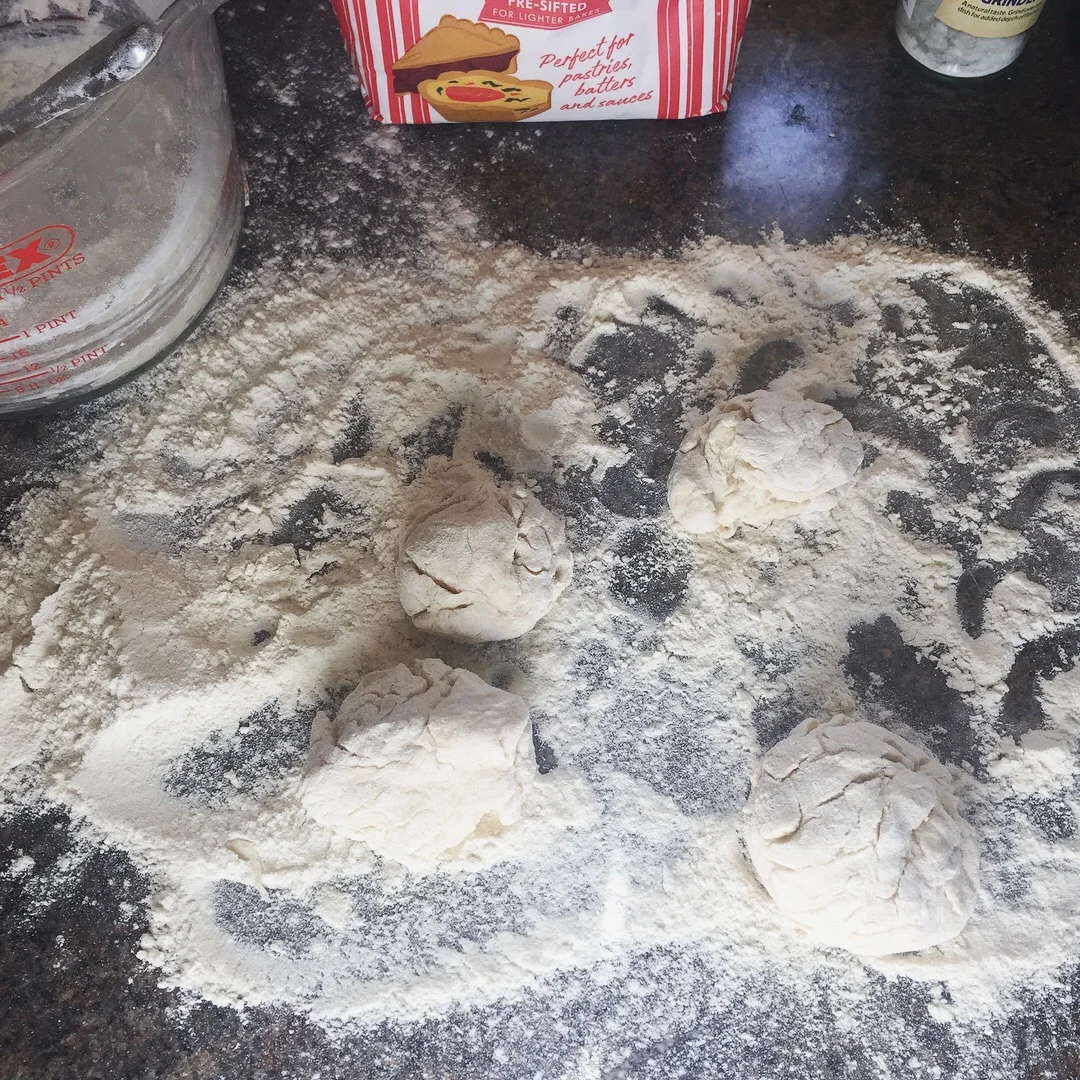
Divide the dough into four and roll into balls.

Rachel Redlaw homemade tortilla wraps
dough balls.JPG
Rachel Redlaw homemade tortilla wraps

Put some more flour on the surface and use a rolling pin to make each ball into a tortilla shaped thing.

Non-stick frying pan over a medium heat and when hot add the tortilla - itโ€™ll blister and cook in about a minute then turn and same again the other side.

Rachel Redlaw homemade tortilla wraps

And thatโ€™s it!

Super simple, real food, no waste ... 

Oh and my filling today? 

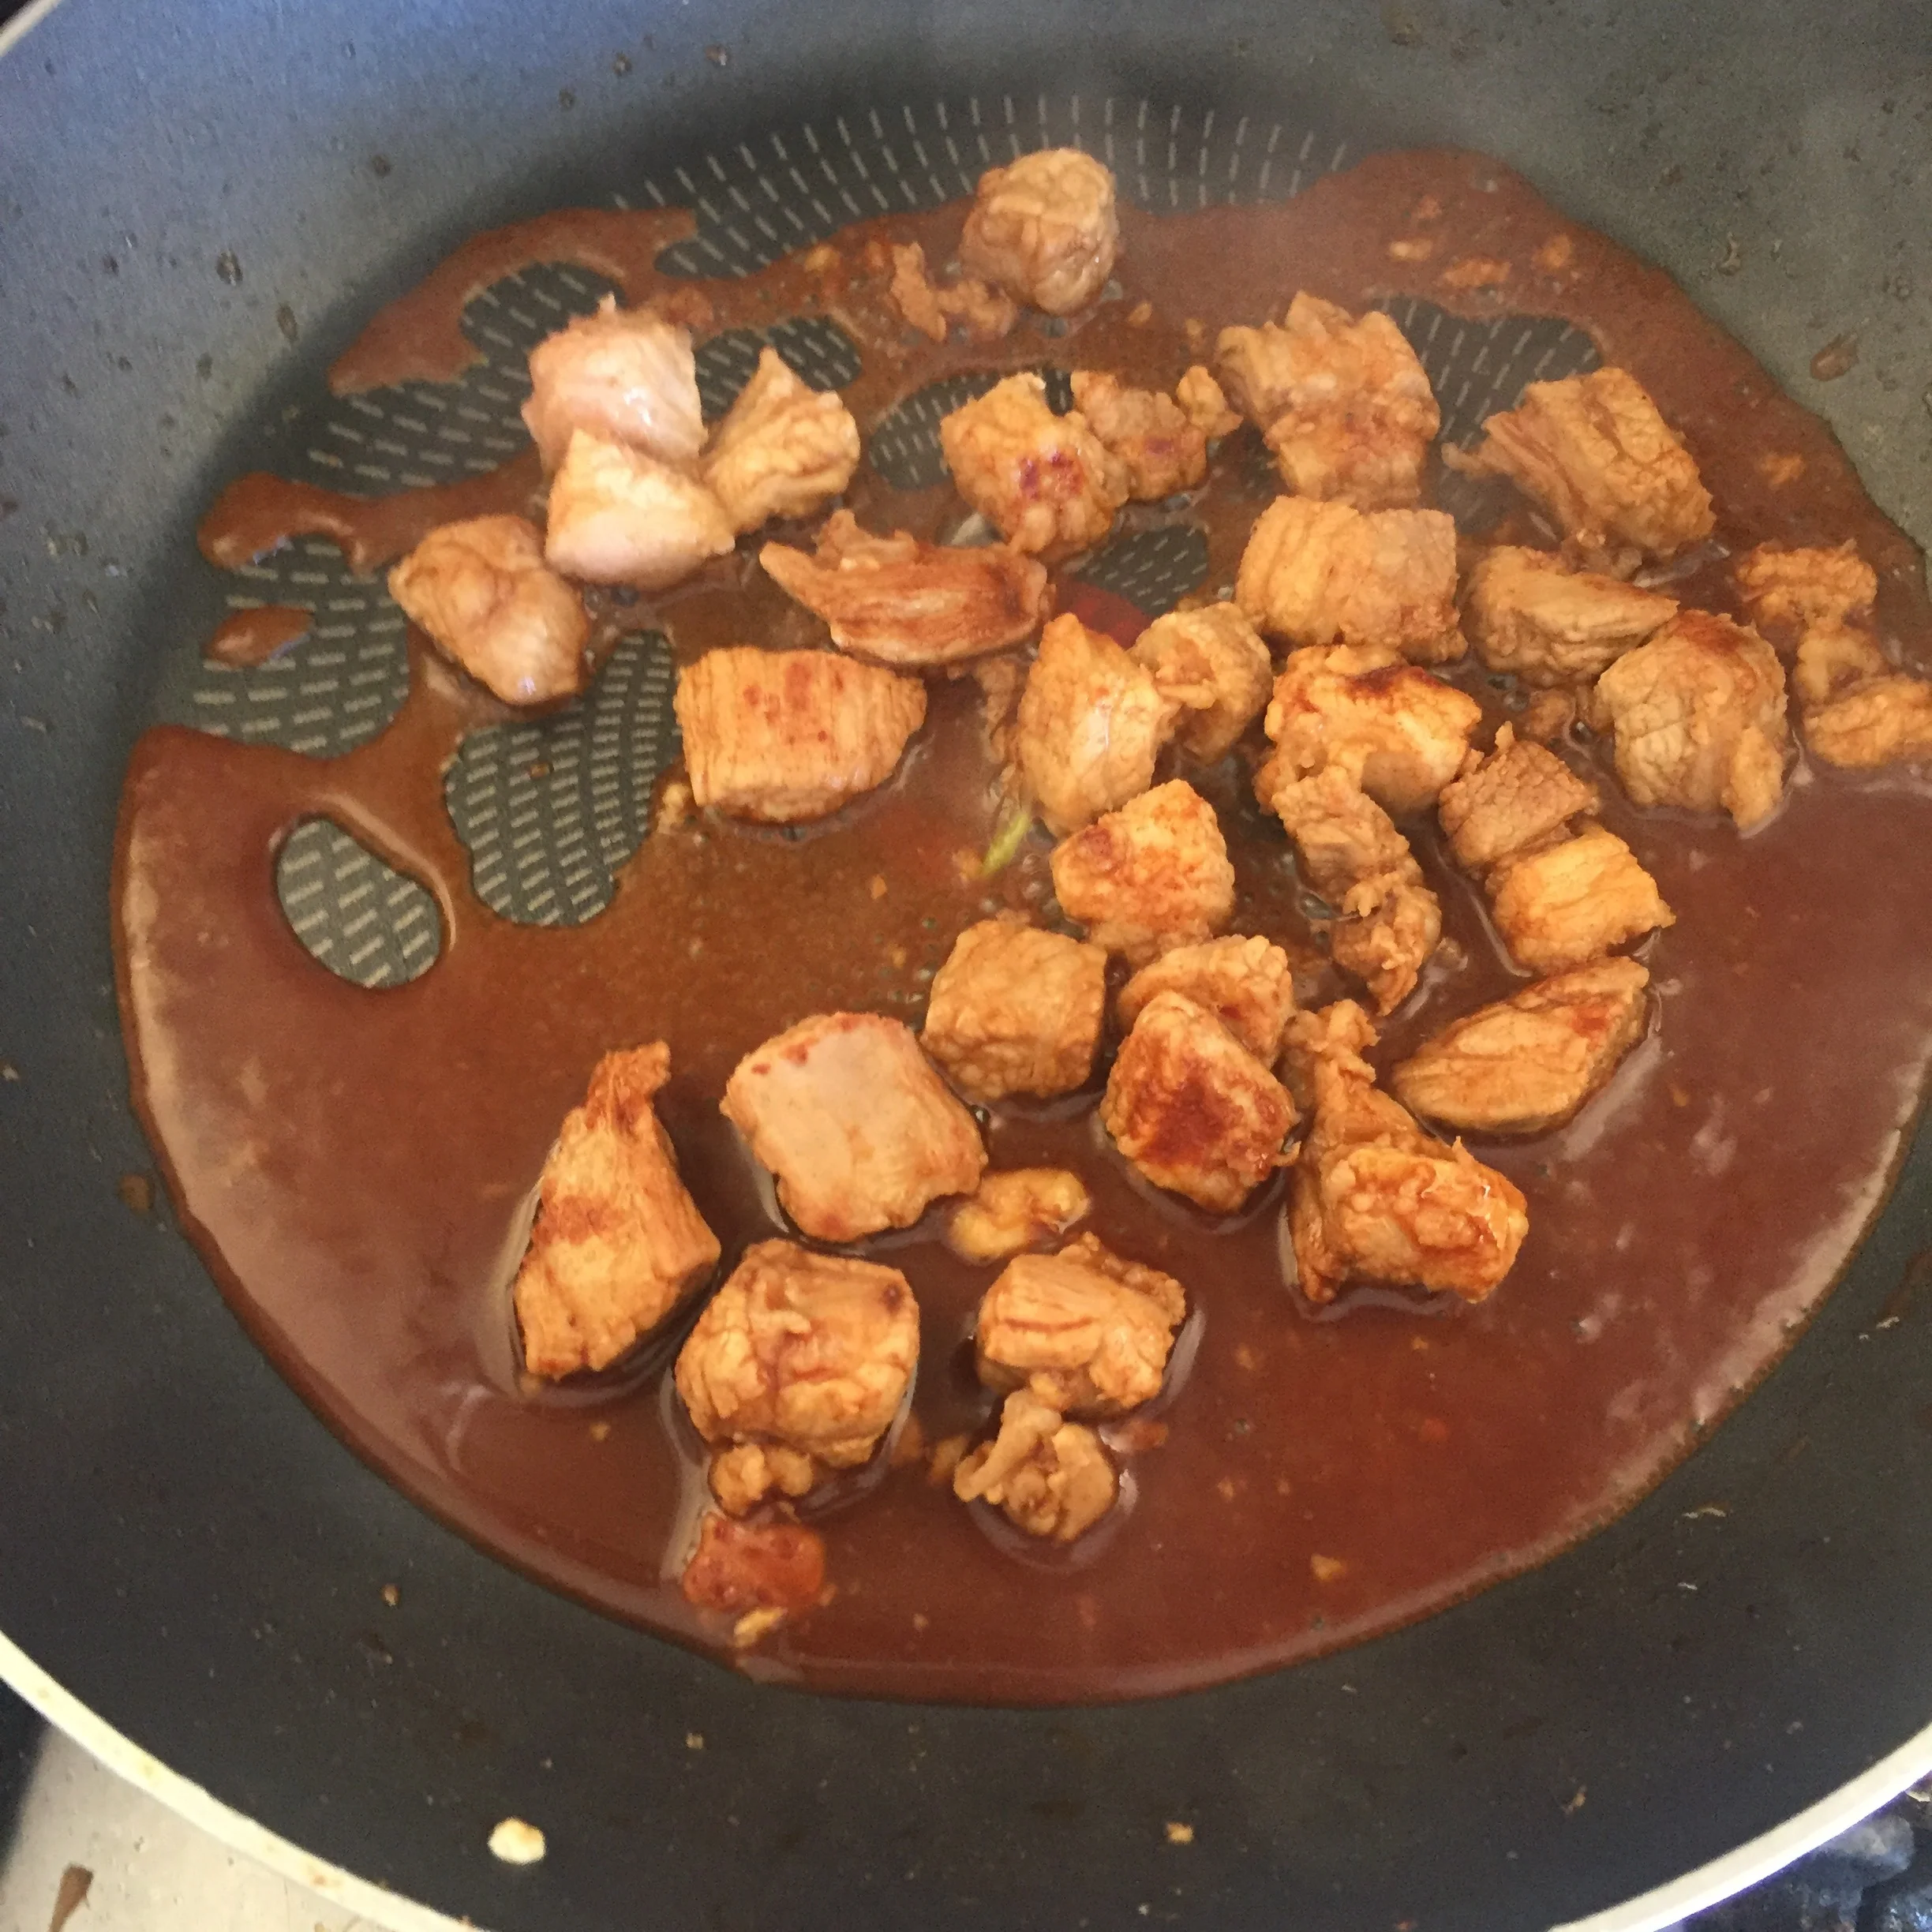
I diced some pork belly strips and fried (no added oil) in a non-stick pan with 1/2 teaspoon smoked paprika, salt and pepper, a minced clove of garlic and a splash of light soy sauce - and another of water.

Rachel Redlaw homemade tortilla wraps

I made my favourite guacamole (my friend Ruth's recipe), sliced up some lettuce, and stirred a teaspoon of chilli paste - nam prik pao - but you could use any chilli sauce - into some plain yogurt.

Heaped it all up, rolled it up, dug in ... :) 

Rachel Redlaw homemade tortilla wraps


YOU MIGHT ALSO LIKE ... 

Thai crispy fried garlic

Well, pretty much most Thai recipes call for garlic ... most start by saying, 'fry the garlic until it smells good ...'

And this yummy crispy fried garlic is used as a topping, added often to noodle soups or perhaps some fried rice, or onto steamed vegetables, but honestly, it's good on so many things! 

Add to eggs, to pizza, to pasta ... anything that could do with a bit of nutty, crunchy, garlicky goodness.

A jar will last several days, maybe a week (I'll double check this with my own and come back and be less vague) at room temperature - if you put it in the fridge, the oil's going to solidify.

It's so easy too - to make a jar you'll need just a cup of cooking oil (something without a flavour of it's own so don't use olive oil, use rapeseed, grapeseed or sunflower) and a bulb of garlic.

I like to use this big flat knife as it makes it so easy to cut the ends off the garlic bulb and then flatten the cloves, which releases the skins, and then just chop into small pieces.

Rachel Redlaw Thai crispy fried garlic
Rachel Redlaw Thai fried crispy garlic

If you have Thai garlic (my local Thai supermarket sells it) you'll notice the cloves are much smaller than our usual garlic and the papery skins much lighter - so you could just throw the skins in too as they'll crisp up and look lovely and are fine to eat (and easy to pick out if you don't want to).

Anyway, back to our crispy fried garlic.

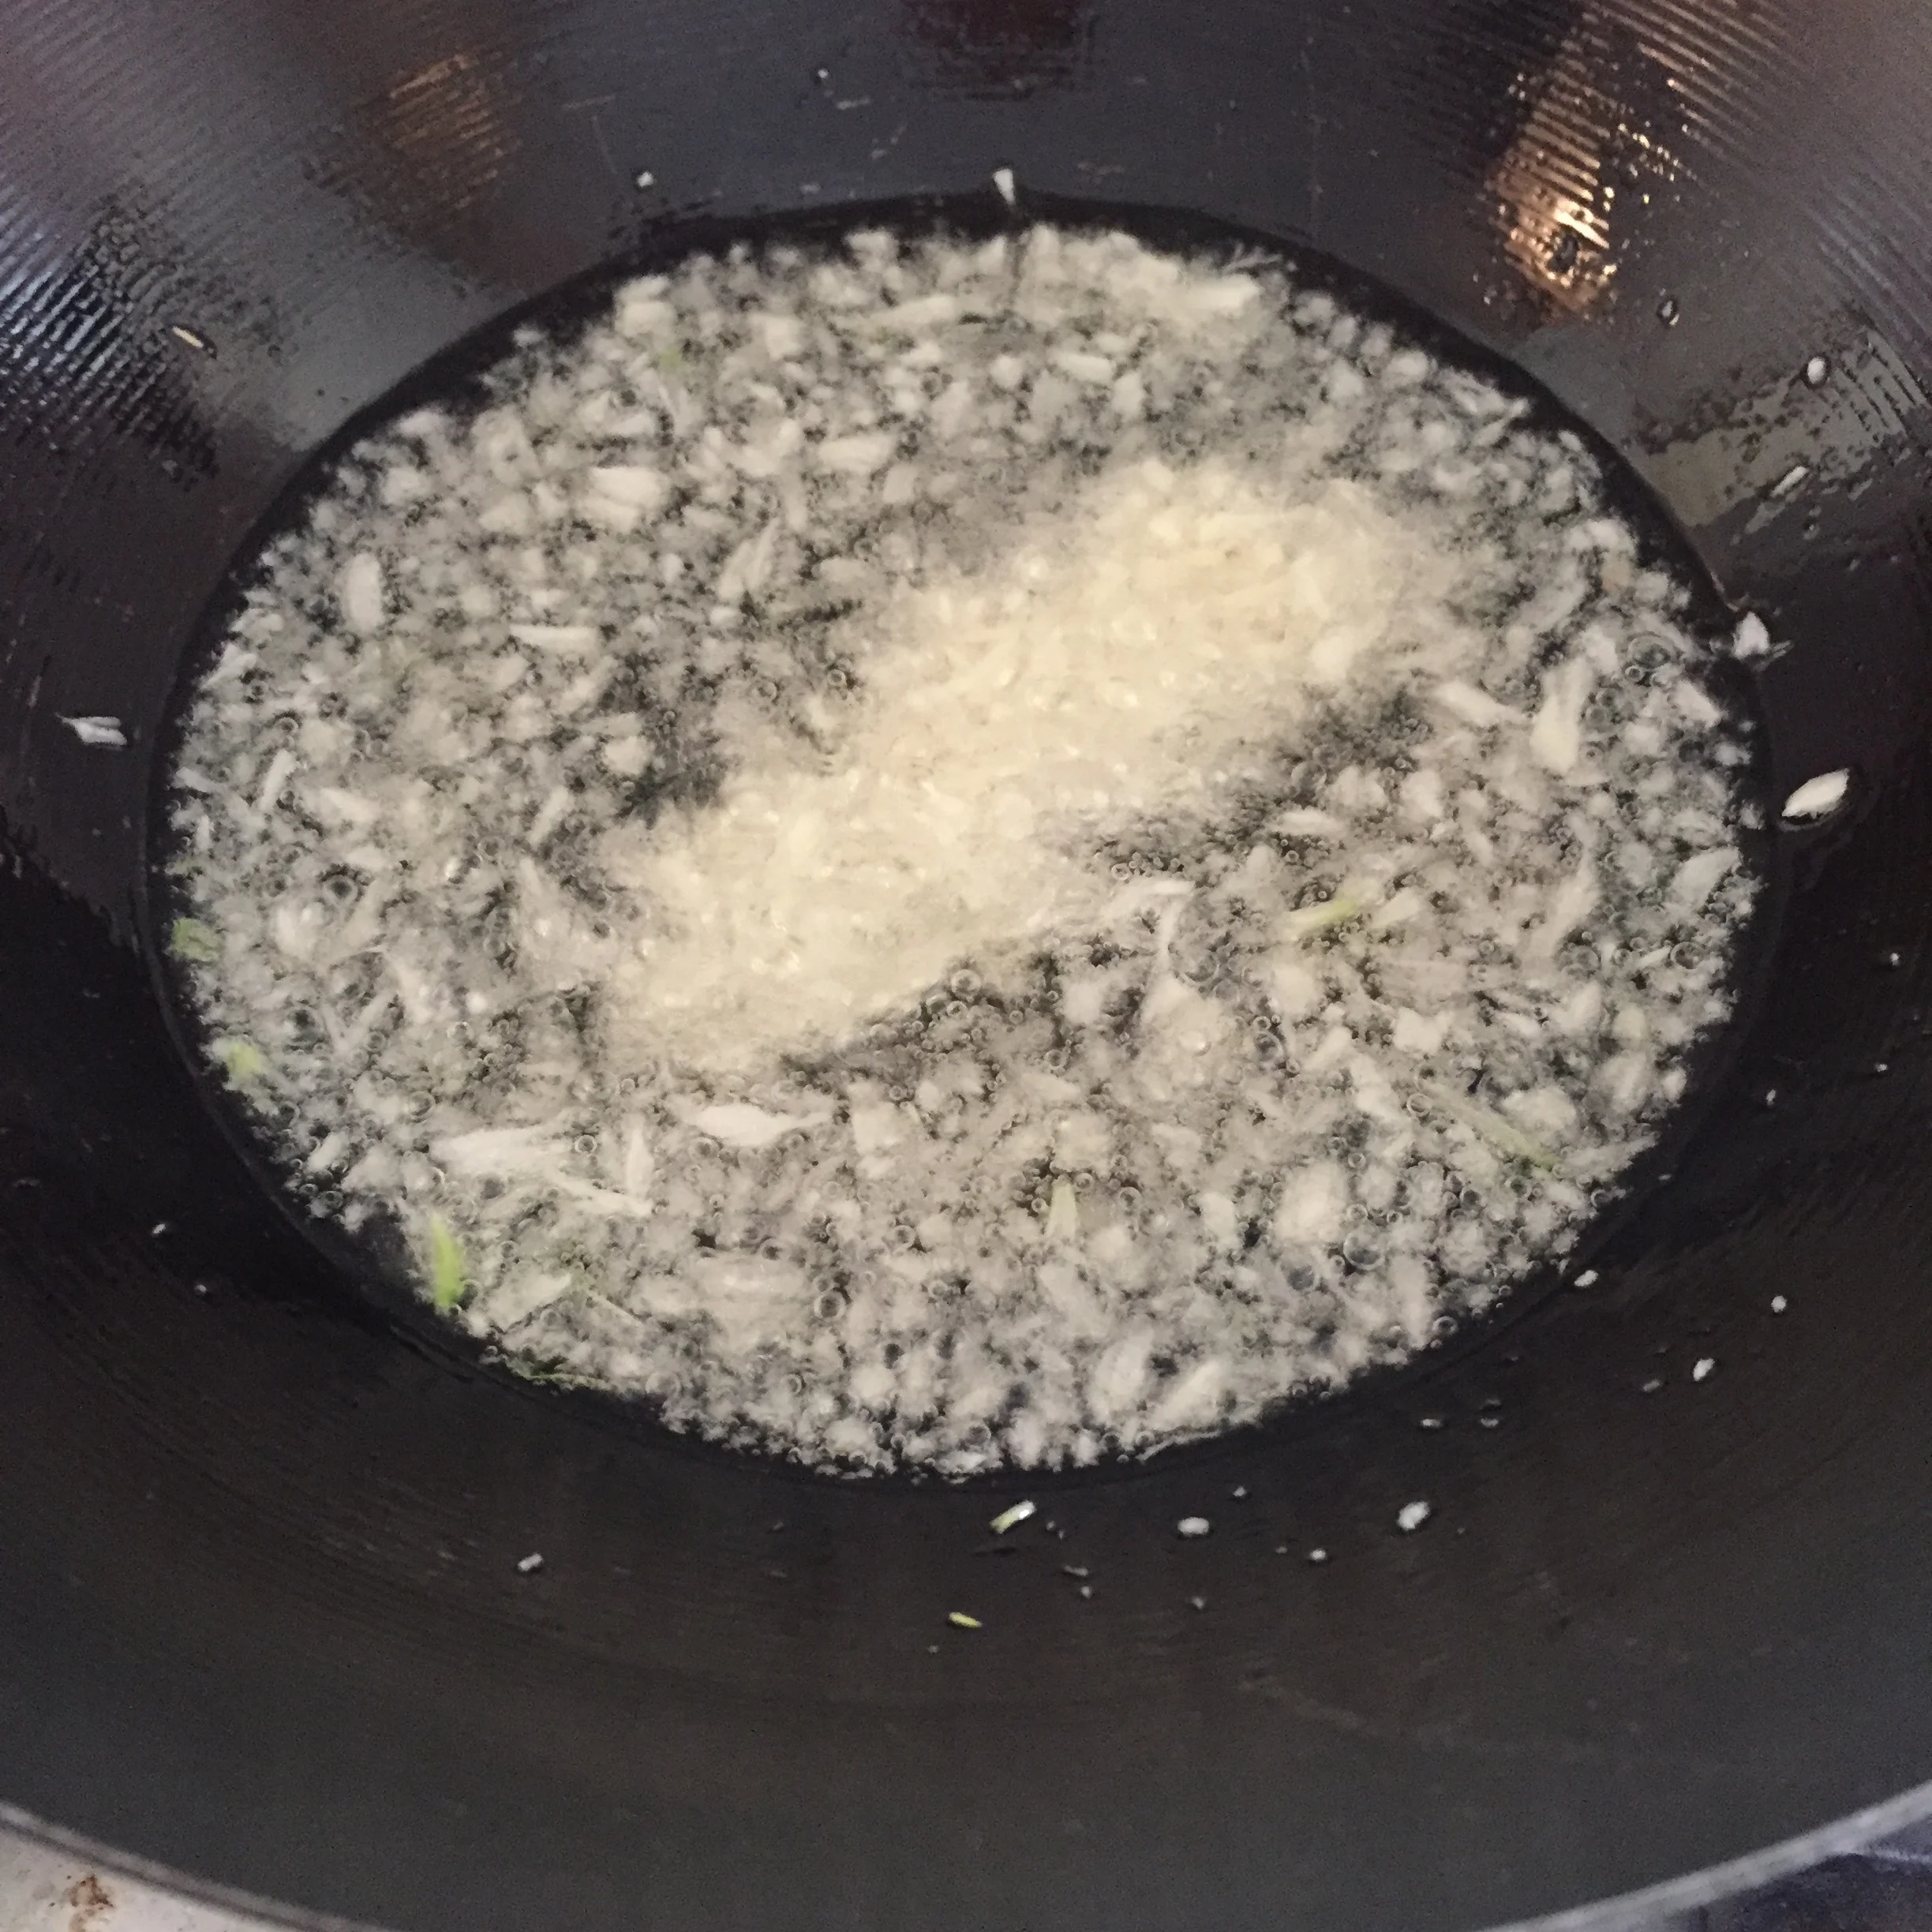
Put the pan on over a low heat and add the oil. Unlike when we usually stir fry and heat the oil first, for this recipe put the garlic straight in.

If you heat the oil first the garlic is going to burn.

Keep stirring the garlic in the oil over a low heat and after about a minute you'll see the oil begin to sizzle.

Keep stirring!

Don't leave this unattended because well, A ... boiling oil can be dangerous and B ... the garlic will still burn easily.

You need to catch it the moment it turns a nutty brown - probably after about four minutes or four and a half minutes - so just keep an eye on it.

Rachel Redlaw Thai fried crispy garlic

Immediately remove from heat as it'll continue cooking in the hot oil even as it cools.

And when cooled a little pour into a jar (you may need to pour into a jug first), seal and then it's ready to keep and use.

Having made some this morning, I'm adding crispy fried garlic to add some pizzazz to my simple chicken and noodle lunch.

YUMMMMMMMMM.

Rachel Redlaw Thai fried crispy garlic


YOU MIGHT ALSO LIKE ...

Spicy mango chutney

What better way to feel at one with this season than by using all the abundance of fruit and vegetables and pickling, preserving, making jam, my favourite brown (plum) sauce, or chutneys.

OK, so these mangoes weren't exactly grown locally, but I use and love mango chutney more than any other - so that's what I'm making.

And the apples at least were straight from my parents' orchard, so I'm not entirely missing the point of seasonal eating!

This recipe is very much based on that of one of my very favourite food writers, Diana Henry, and taken from her wonderful book, Salt Sugar Smoke .... I just simplified (to me) the quantities as I don't like weighing things and changed the spices a bit - just due to personal preference!

So, to make approximately 3 jars of delicious and easy spicy mango chutney, I used:

2 medium-sized onions, finely chopped

400ml white malt vinegar

2 red birds eye chillies, very finely chopped - I keep the seeds in (you can use more or less chillies of course to suit your taste)

1 green chilli, very finely chopped

2 tsp black mustard seeds

3 mangoes (around 1lb each), peeled and the flesh diced (I can't stone mangoes so just slice around the stone and then cut the pieces of mango into smaller pieces)

2 smallish (or 1 large) apple, peeled, cored and chopped into small pieces (a tart cooking apple would be good, but I used eating apples)

1 lb granulated sugar

Fresh ginger, grated, approx 2 teaspoons

1 teaspoon ground coriander

1 teaspoon ground cumin

grated zest and juice of 1 juicy lime (or 2 less juicy of course)

Rachel Redlaw mango chutney

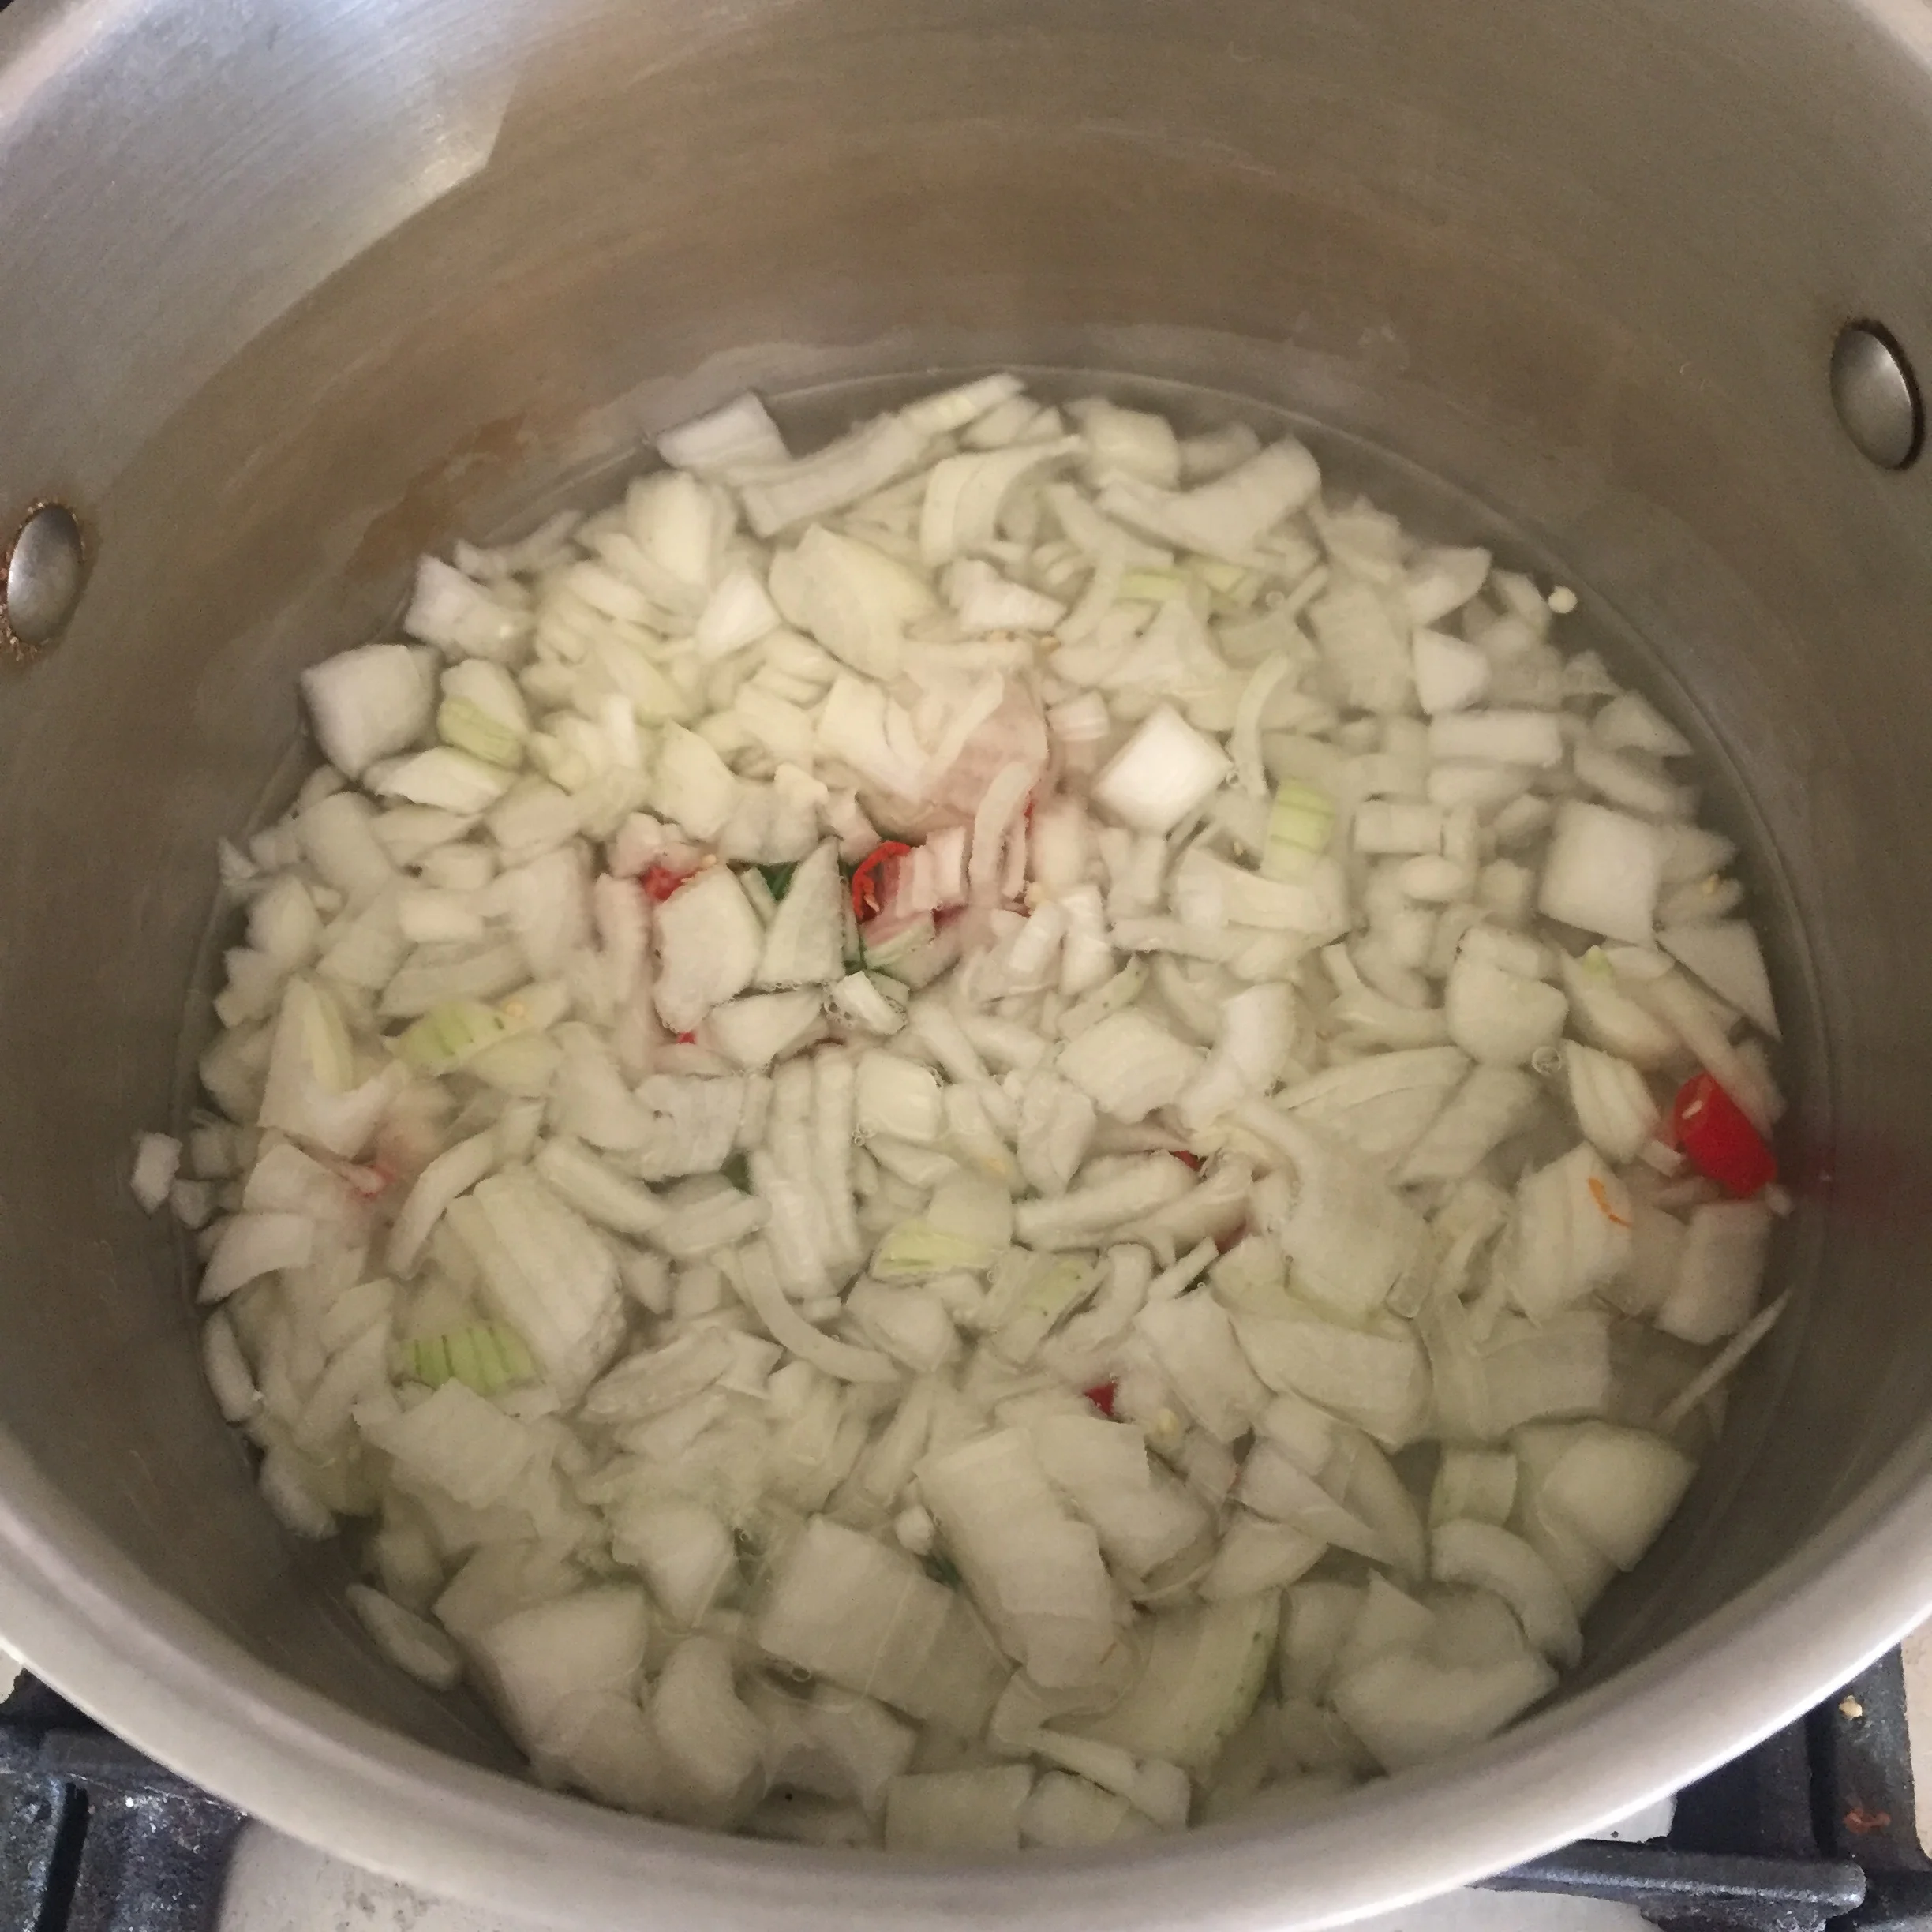
Into a large pan go the onions, vinegar and chillies - bring to the boil and then simmer for 10 minutes, when the onions will have started to soften.

Toast the mustard seeds - just put them into a dry frying pan and as soon as they start to pop remove them from the heat.

Add the mangoes, apples and mustard seeds to the pan and simmer for another 10 minutes when the fruit will have started to soften.

Rachel Redlaw mango chutney

Tip in the ginger, coriander, cumim and lime zest and then slowly bring it all to the boil, stirring to help the sugar dissolve.

Reduce the heat if need be to a simmer and cook until it's yummy and thick and jammy.  

It'll take 30-45 minutes and do keep stirring regularly as it'll stick to the bottom if not!

Rachel Redlaw mango chutney

When it's done, squeeze in the lime juice, stir and remove from heat.

While it's still hot put the chutney into warm, dry, sterilised jars, cover with waxed paper discs (confession - I don't have any so I don't do this - also it never hangs around long enough in this house!) and seal with a lid.

It'll keep for AGES too - up to a year - but, as I  said - not in this house it doesn't! 

We tried it immediately for dinner the same night as it was made - with chicken jalfrezi and some carrot salad in place of rice (shredded carrot with a big squeeze of fresh lemon and topped with toasted flaked almonds).

And you can also use it in this recipe for sardine or mushroom mango chutney curry.

Rachel Redlaw mango chutney


YOU MIGHT ALSO LIKE ...

ย 

ย 

Plum sauce (it's home-made brown sauce)

Ah, now I KNOW it's autumn.

Every year we make plum sauce in my family.

The vinegar smell permeates throughout the house.

The bottles stashed away in larders and cupboards for the year ahead. 

The best 'brown' sauce you can get (in my opinion).

The plums are in season right now, and if you have plum trees, you'll probably have a glut of them you're not sure what to do with ... here's the answer! 

This is an old family recipe. The measurements are imperial ... one day I'll get round to doing a conversion and add it here but in the meantime you'll have to do your own I'm afraid!

But DO make it - like most pickles and chutneys it's time you need, not cooking ability (you just need chopping ability) ... oh and a blender or food processor (or willingness to stand over a sieve for a while).

Let's do it!

I LOVE this sauce and in all honesty, I haven't met someone yet who doesn't like it.

You'll need:

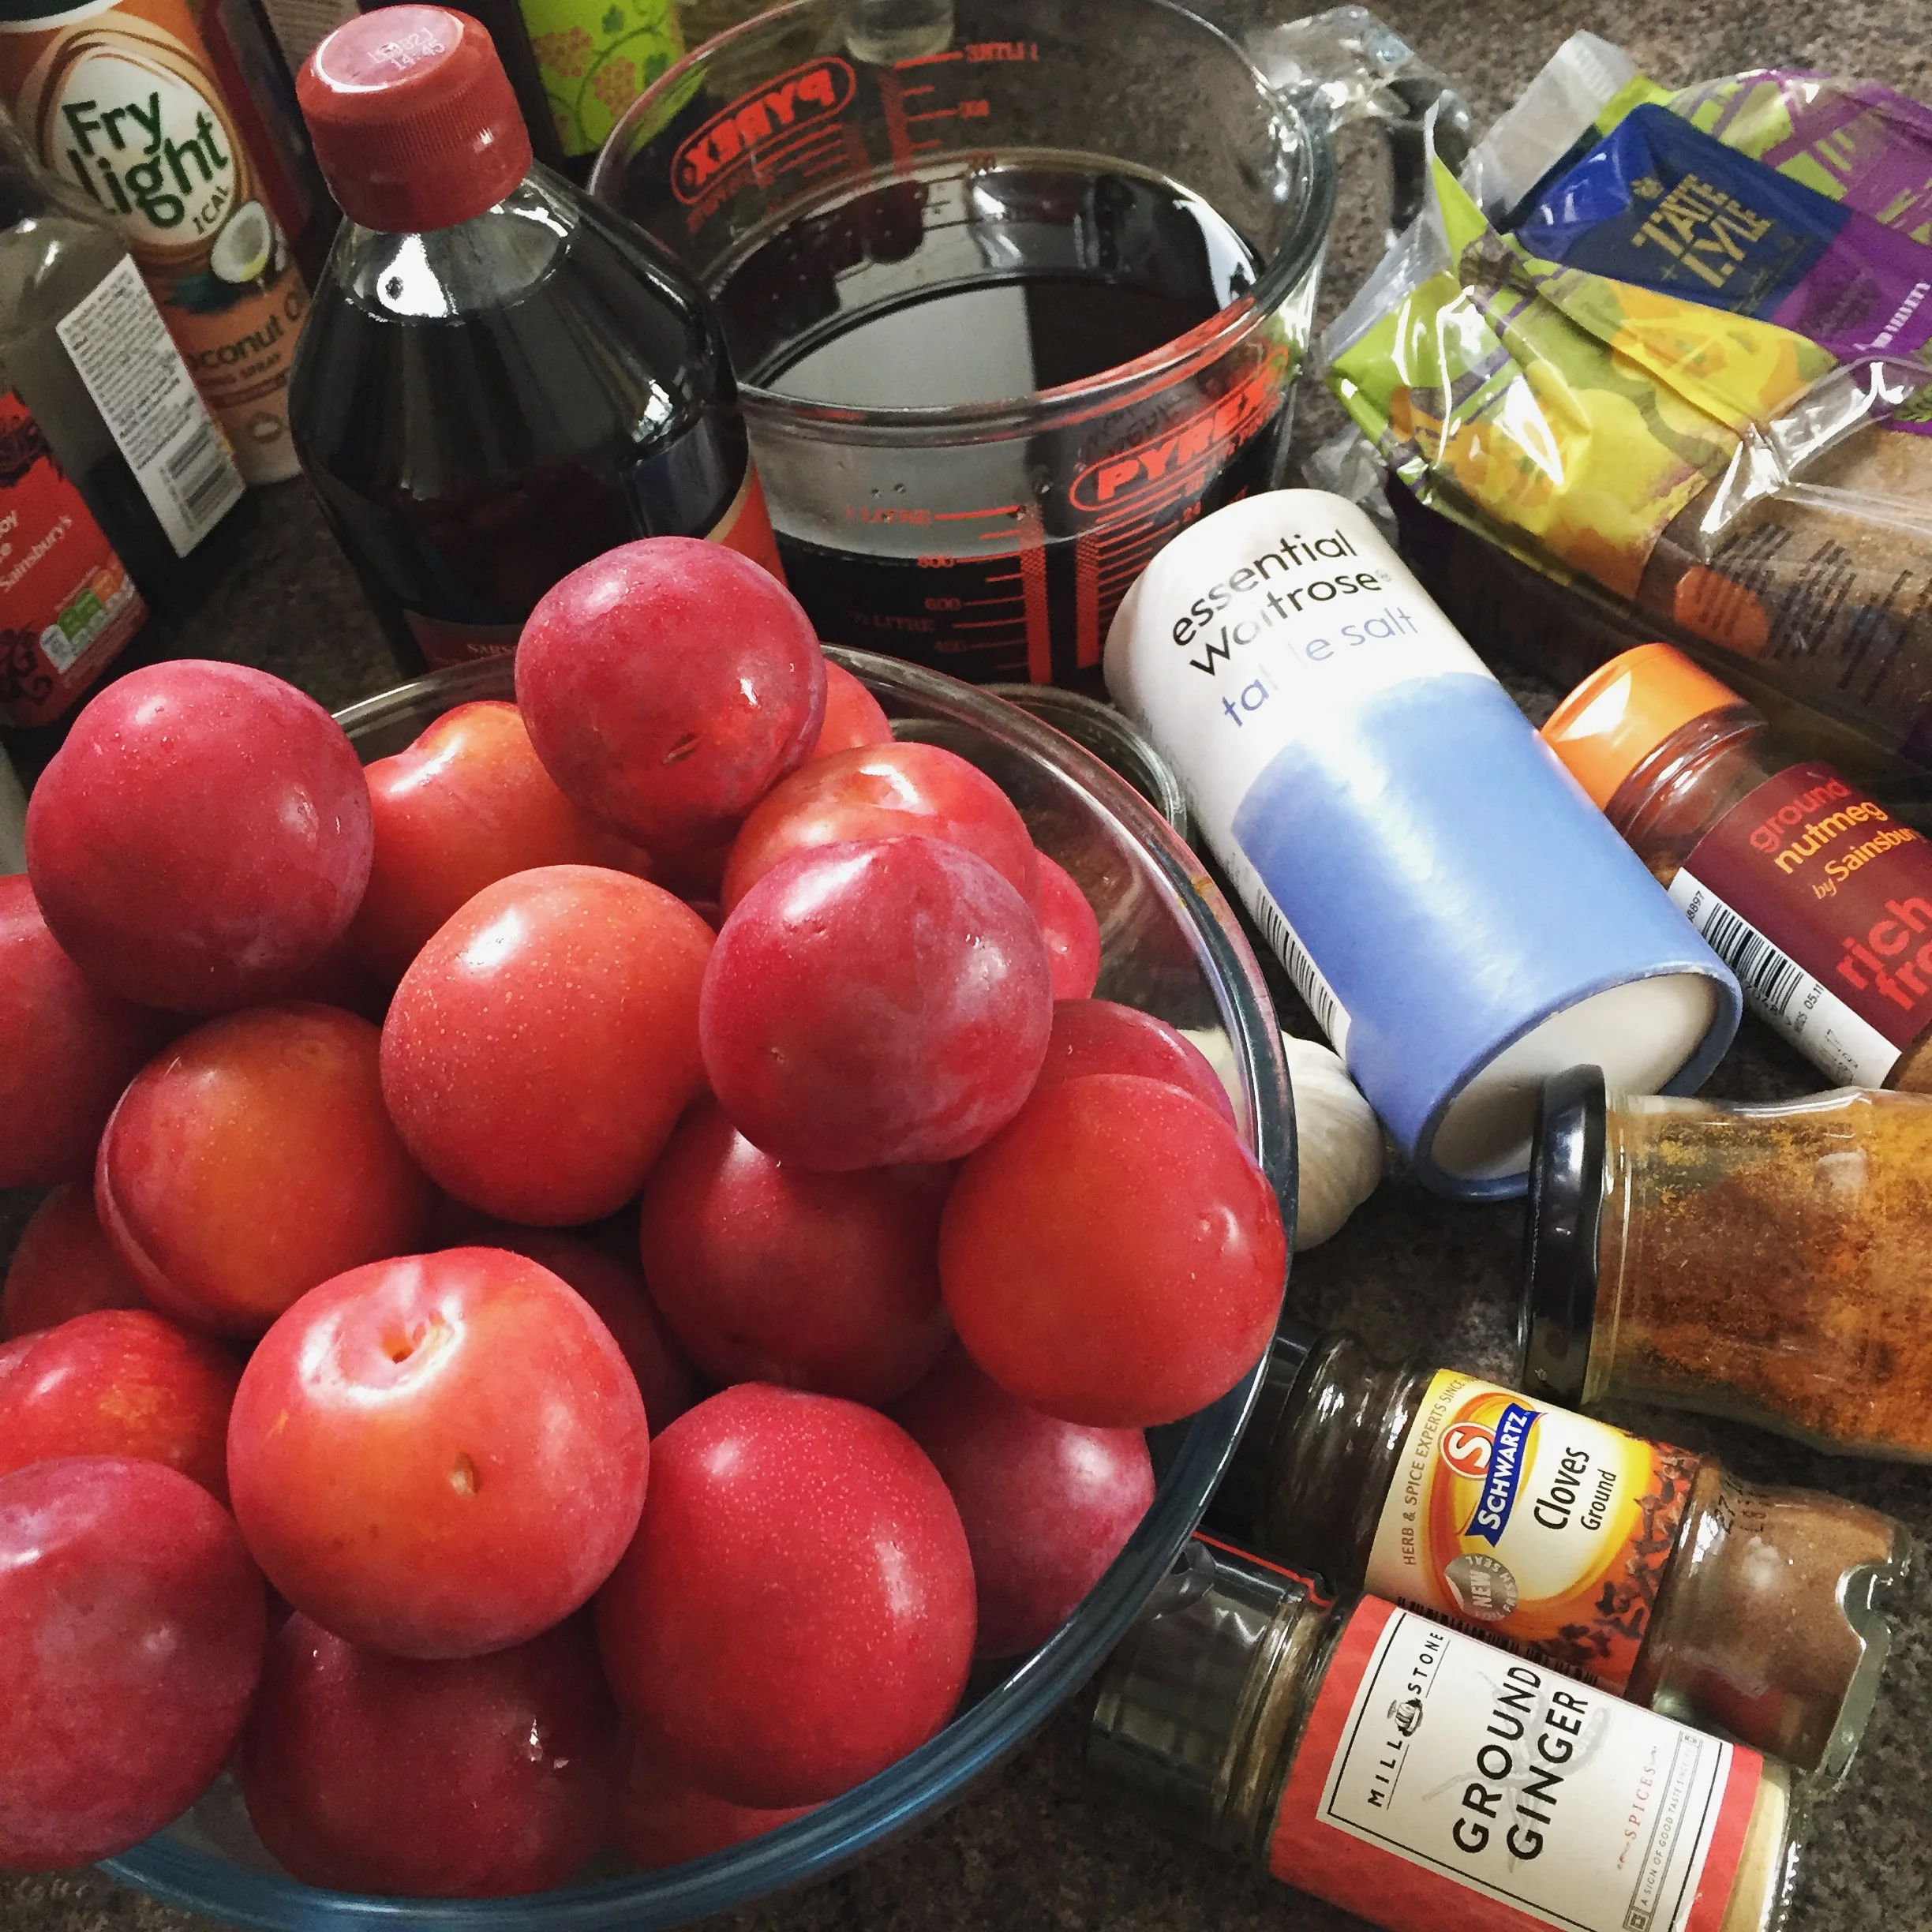
6lb plums

3 pints malt vinegar (yup the cheap brown stuff)

2 lbs dark brown sugar

2 tsp ground cloves

2 tsp black pepper

1 tsp mace (I didn't have any so used ground nutmeg)

6 tsp salt

2 tsp cayenne pepper

2 tsp ground ginger

6 nice fat cloves of garlic (peeled and squashed - no need to chop)

Halve (or quarter or whatever it takes to remove the stones) and de-stone the plums - and get all the ingredients ready.

Rachel Redlaw plum sauce

Put into an enormous saucepan or preserving pan with all the rest of the ingredients.

Bring to a boil and simmer for 2 - 2.5 hours (check it after 2 hours - I tend to stop at 2.25).

Rachel Redlaw plum sauce

It will reduce a lot - keep stirring it so it doesn't stick.

Rachel Redlaw plum sauce

Cool a little and then liquidise in a blender, food processor or with a sieve.

When cool put into a jug to pour into jars or bottles.

Rachel Redlaw plum sauce

It keeps for AGES ... just in the larder or in a cupboard (just keep it in the dark not in direct sunlight).

I'm excited to share this one - it's been one we've kept in the family for years and years but it feels right to share so I hope you make it and love it too.

And even pass it down through your own family ...


YOU MIGHT ALSO LIKE ... 

Delicious, different & easy NYE cocktail party ideas

I have SO many recipes and ideas for things that are easy and delicious to make for a party that I thought it would be useful to do a quick round-up now just ahead of New Year's Eve.

These are not only easy and delicious but will be something a little bit different to normal canape fare - and I also believe that by this stage in festive proceedings, most people are more than ready for some fresh flavours and spice after a few days of rich - but bland - food.

Here's two of my favourite cocktail recipes: 

Lemon prosecco punch and lemon vodka sours (yes I like lemon and citrus flavours!).

And my very favourite snack to have ready and warm when guests arrive is spicy cashew nuts.

Raachel Redlaw spicy cashew nuts

Really easy to prepare ahead - chop and slice everything and then just fry before serving warm - is this larb gai.  It's a spicy warm salad and if you serve small portions in little gem lettuce leaf 'cups' it's a fresh and different canape.

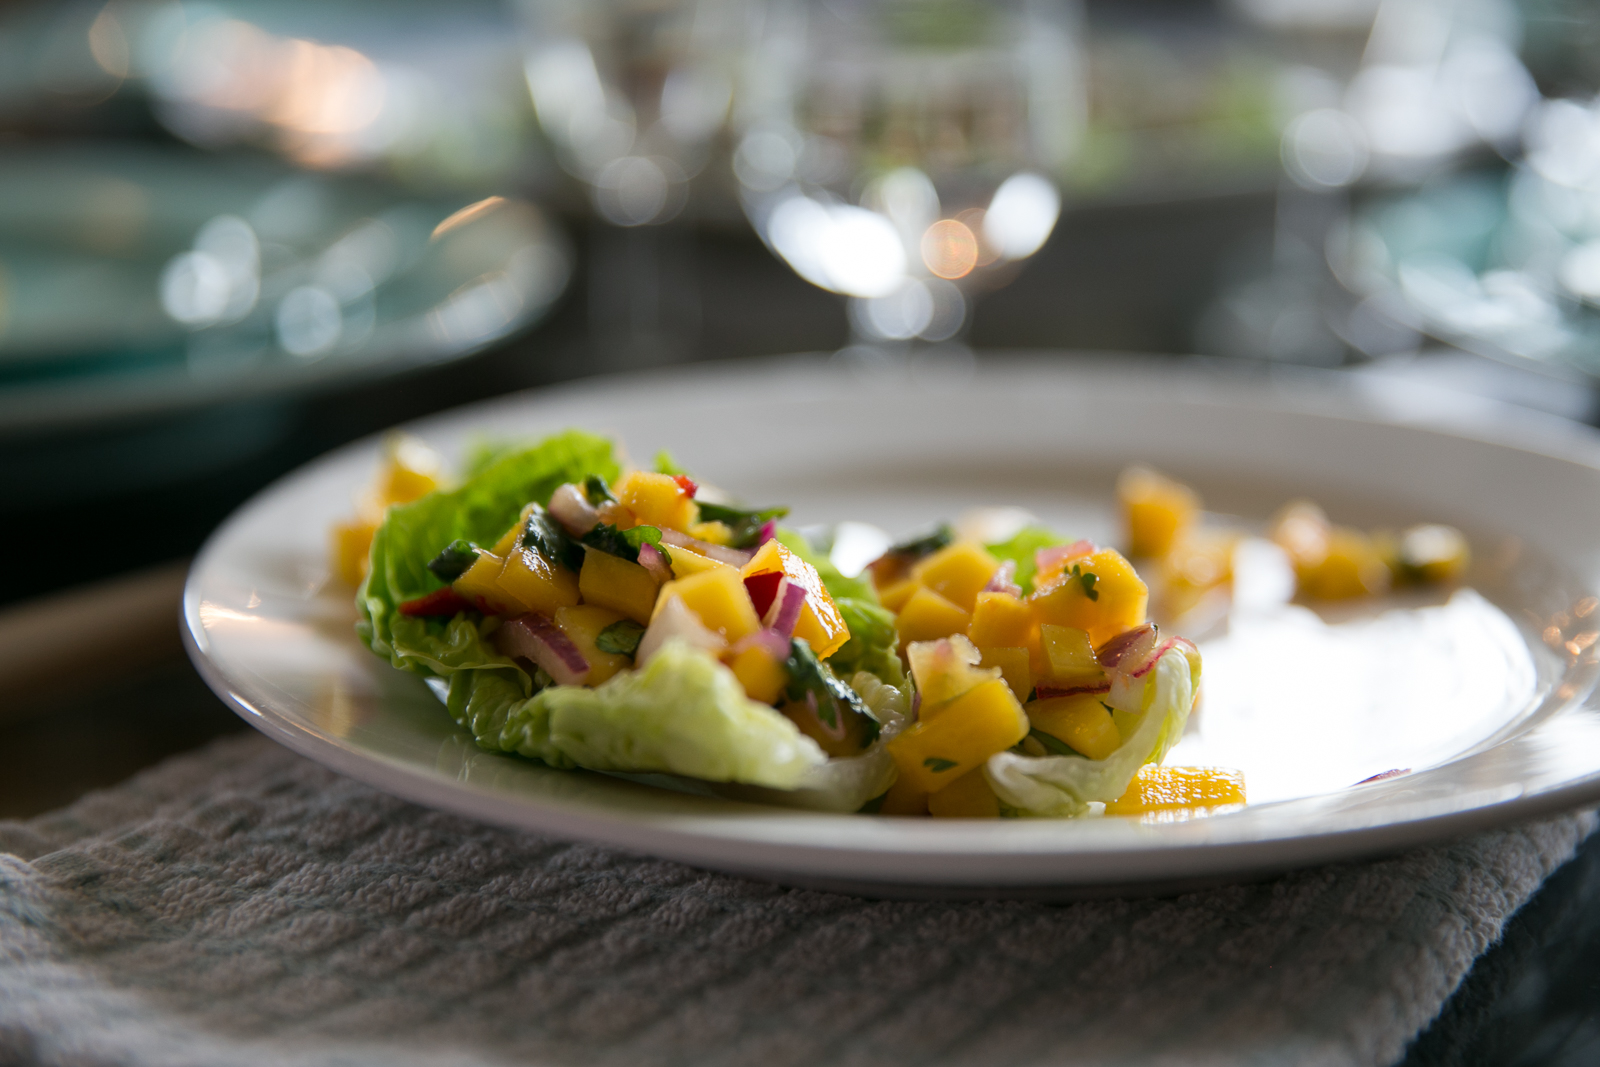
A really nice veggie version are these mango, chilli and lime cups.  Just make sure to only prepare an hour before serving so they don't go mushy! 

Rachel Redlaw larb gai spicy salad
Rachel Redlaw mango salad

These pork and prawn balls are a guaranteed winner! Serve just two on a cocktail stick and with a dipping sauce - honestly, everyone loves them! 

Rachel Redlaw pork and prawn balls
Rachel Redlaw cucumber dipping sauce

No Name are delicious vegetable fritters - make ahead of time and then just fry before serving with a sweet chilli sauce

 
Rachel Redlaw No Name vegetable fritters
 

And I love chicken or pork stir fried with garlic and served (again) on little lettuce leaves.  Really tasty and different! 

Rachel Redlaw pad gratiem

Oops! Can't believe I nearly forgot these pork and prawn sesame toasts! Classic - and easy to prepare ahead and then fry just before serving with a little soy sauce for dipping.

Another winner! 

Rachel Redlaw pork and prawn sesame toasts

And to end ... how about these little balls of deliciousness, pimped up however takes your fancy?!

Rachel Redlaw bits of deliciousness

But the main thing is to host a party with love and spirit - so I'm sure your guests (and you) will have a great time no matter if you just put out bowls of crisps!

If you do try any of my recipes, I'd love to hear if you and your guests liked them so please comment below or come over and chat at my FB page.


YOU MIGHT ALSO LIKE ...

Simplest jam

Saturday was hot, beautifully sun-bathingly hot.

And I really needed a good blast of Vit D and to take in some sun-goodness and re-charge those empty batteries so I loved it.

But the forecast was for rain on Sunday so I thought I'd better get blackberry-picking before the rain got to them.  And they are pretty much perfect right now and the bushes are full of berries although - as always (why is this?) - it feels that the most perfect ones are just out of reach.  

Returned home with scratched legs, sunburnt shoulders and a tub of lovely ripe blackberries. 

Rachel Walder simplest blackberry and apple jam

It was much too hot to even think about cooking yesterday - plus the sunshine and my roof were calling me back - so the blackberries oozed in the weighing scales overnight waiting for the rainy hours on Sunday before they were made into jam.

And this is the easiest jam recipe ever!

Use any fruit really - peaches, nectarines, plums, all berries, apples, and combinations of them all. I've heard that less ripe fruit sets better but to be honest I just use what there is when I notice there's fruit that needs picking.

First, put a saucer in the fridge as you want it cold for testing when the jam is set.

You'll also need to get your jam jars sterilised - either use them hot straight from the dishwasher for those who have dishwashers, or if you don't (like me), wash them in hot water and put in a very very low oven (I used Gas Mark 1) for about 15 minutes.

Then it's onto the jam making. 

Weigh the fruit and put it in a preserving pan or stainless steel saucepan with an equal quantity of sugar.  

Rachel Walder simplest blackberry and apple jam

I decided to add a couple of apples that I brought back from my dad's garden last weekend, but didn't then add any more sugar too - there's quite enough in there already I think!

Put the pan over a very low heat and heat gently, stirring now and then, until the sugar has dissolved. 

Rachel Walder simplest blackberry and apple jam

Turn up the heat and boil fairy rapidly, for 20-30 minutes.

Stir occasionally and also skim off some of the foam that appears at the start of the boiling time.

Rachel Walder simplest blackberry and apple jam

Test after 20 minutes by dropping a teaspoon of the boiling jam onto the saucer that you have in the fridge and after perhaps 30 seconds it will be setting and a sort of 'skin' wrinkle across the top of the jam blob. 

If it's not quite ready, put the saucer back in the fridge, continue boiling the jam and try again in a couple of minutes.

Rachel Walder simplest blackberry and apple jam

To be honest, I'm not all that good at judging this and often leave it just a little too long and it sets quite hard.  But it still tastes good.  This time I decided it was ready after 25 minutes. 

If you have any tips for getting this part right every time, I'd love to hear them so please comment and share! 

Pour the jam into the hot jars straight away - I transferred it to a pyrex measuring jug first but still managed to spill a little. 

 
Rachel Walder simplest blackberry and apple jam
 

One and three quarter jars filled, and a few hours later when it was cool, a slice of toast and jam to test of course (with a cup of tea - and I very very very rarely drink tea - it was nice). 

Rachel Walder simplest blackberry and apple jam


YOU MIGHT ALSO LIKE ... 


Cucumber dipping sauce

A really lovely sweet-spicy dipping sauce, perfect for serving with Thai fishcakes or these fried prawn balls, or anything else you like!

Easy too; all you need to make a bowl is:

one red chilli (a normal milder one not a bird eye chilli)

white granulated sugar

white or rice vinegar

salt

cucumber

coriander leaves (optional)

crushed peanuts to garnish (optional - I didn't have any today but they are good)

The Tiniest Thai Rachel Walder cucumber dipping sauce

So ... chop the chilli finely.

The Tiniest Thai Rachel Walder cucumber dipping sauce

Then put 3/4 cup of sugar into a saucepan ...

The Tiniest Thai Rachel Walder cucumber dipping sauce

... along with 1/2 cup white or rice vinegar ... and the chopped chillies plus a tiny pinch of salt.

The Tiniest Thai Rachel Walder cucumber dipping sauce

Bring very slowly to the boil - it'll take a good five minutes - and then boil on a medium boil for three - four minutes.

The Tiniest Thai Rachel Walder cucumber dipping sauce

Take off the heat and cool.  You can now keep this in the fridge for a week or so until using if you're not eating it right away.

The Tiniest Thai Rachel Walder cucumber dipping sauce

If you ARE using now then, while the sauce cools, peel a chunk of cucumber, remove the seeds with a teaspoon and dice the flesh.

The Tiniest Thai Rachel Walder cucumber dipping sauce

And also prepare a small handful of coriander leaves to garnish.  If you have peanuts then do crush a few as they're great to add as well.

When you're ready to serve, pour the sauce into a bowl and top with the cucumber, peanuts (if using) and coriander leaves (if using).

The Tiniest Thai Rachel Walder cucumber dipping sauce

It's so good a guest at a recent Tiniest Thai supperclub was eating it straight from a spoon!


YOU MIGHT ALSO LIKE ...


Thai salted eggs - kai kaem

Exciting! I made these last year - something that I'd never made before and not sure I'd ever eaten before - and it took 30 days' patience until they were ready to try.

Salted eggs. Originally brined as a preserving method, they have a salty white and a rich yolk and are boiled before being used in recipes or cooked to have with rice or congee.  You can just cook them with the rice for the last few minutes in the saucepan or in a rice cooker - sounds like the simplest meal ever to me and I can't wait to try it.

I have to say there wasn't anything immediately appealing to me about 'salted eggs' until I applied a little logic - which is that I love eggs and I always always put salt on them.  But the main reason I'm making these is because there are so many delicious sounding recipes that call for them.

My friend Kevin, who is fluent in Thai (both spoken and written) recently volunteered (and I bet he'll soon wish he hadn't) to translate some recipes for me from a Thai cookbook.  He sent me the translated  list of contents to choose something from.

I was going to start with the Fish Stomach recipe (still intend to give this a go at some point) but decided on 'squid fried with salted egg on rice', not realising that the salted egg was an ingredient in itself.  However instead of setting off for the Thai supermarket to get some I thought I'd investigate making salted eggs at home.

Once made, I'll be cooking the fried squid dish as well as trying cooking my salted eggs in the rice cooker, and I want to make a spicy sour salad with them too.

You'll need:

1-2 cups of water depending on the size of your jar

1/4 cup of salt

a piece of star anise

3-6 duck eggs preferably as the yolks are bigger and richer or chicken eggs like me (too impatient to wait to get to a bigger shop for duck eggs I bought chicken eggs from the corner shop this evening)

a jar in which the eggs should fit quite snugly

ย 

Put the water, salt and star anise in a saucepan and bring to the boil.

When boiling stir until the salt has fully dissolved and then immediately remove from the heat and cool completely.

ย 

Rinse the eggs and pat dry with a tea towel ...

ย 

... and check for cracks (don't use cracked ones) before putting them carefully into the jar.

ย 

Pour the cold brine over the eggs. They all need to be submerged in the liquid so if any float above the surface a good trick is to put some water in a sandwich or freezer bag and lay this on top to push the eggs under the brine. I actually didn't have quite enough water so just topped up the last inch with tap water (hope this works ok).

Put a lid on the jar and store at room temperature.

Leave for 30 days, then remove and keep in the fridge until using. 


YOU MIGHT ALSO LIKE ...


2 great condiments to liven up vegetables ...

... and the best 'Zen lunch' guaranteed to do the same for me.

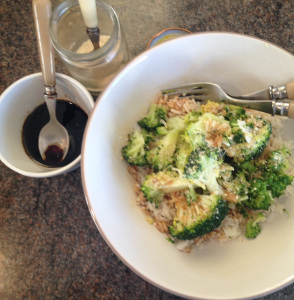
A lovely toasty sesame salt to sprinkle over plain rice, green vegetables, roast chicken and more. And a really good easy soy and sesame sauce that is great on plain steamed veg.

First, the sesame salt, which will keep for a week or two in an airtight container.

All you need is:

3 tablespoons sesame seeds

1/2 teaspoon salt

The Tiniest Thai Rachel Walder condiments for veg

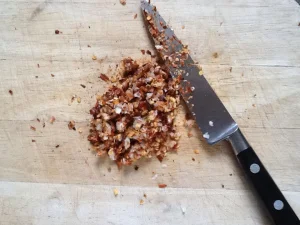
Heat a frying pan over a medium-low heat, add the sesame seeds and salt and toast until golden brown, stirring or shaking the pan constantly. It will take maybe five minutes.

The Tiniest Thai Rachel Walder condiments for veg

If you've got more time, the flavour will be even better drawn out more slowly, toasted over a very low heat for perhaps 10-15 minutes.

Once toasted, crush in a mortar or grind in a spice mill and transfer to a jar.

The Tiniest Thai Rachel Walder condiments for veg

The lovely soy and sesame sauce is even easier and you need just these few store cupboard ingredients:

2 tablespoons dark soy sauce (if you only have light soy then stir in a teaspoon of brown sugar to dissolve before using)

1 teaspoon fish sauce

1/2 teaspoon toasted sesame oil

4 teaspoons white or rice vinegar

The Tiniest Thai Rachel Walder condiments for veg

Mix it all together in a bowl. Any left over will keep covered in the fridge for a few days.

And then - for me today - it all comes together in one restorative, soothing 'Zen lunch' of steamed rice and broccoli with the sauce spooned over and topped with some sesame salt.

All is well.

The Tiniest Thai Rachel Walder condiments for veg


YOU MIGHT ALSO LIKE ...


Chilli paste in oil - nam prik pao

So good and so versatile - if you like Thai cooking you've probably got a jar of nam prik pao somewhere already.  It's both a cooking ingredient and a condiment. It's used in soups including tom yum, and you can add a small spoonful into all sorts of soups, stir fries and curries or stir it into a fried rice or noodle dish. Once you start using it, you'll be adding this to everything ... shepherd's pie, cheese on toast, who knows?

I have just had a quick snack of some plain rice with a teaspoon of chilli paste stirred through it and that on its own tasted great. For a very quick lunch or supper it works even better with a fried egg on top.

Or instead of plain rice, a quick mushroom fried rice with chilli paste and an egg! Yum!

The Tiniest Thai Rachel Walder chilli paste in oil

This isn't a true nam prik pao which is made from roasted chillies and takes hours and hours to make; its a much simpler chilli paste in oil.  It doesn't have the subtlety and depth of flavour of a true roasted version, but it's easy to make and certainly easy to use.

These quantities made half a small jar ... but a little goes a long way! In a covered jar it will keep  in the fridge for a few months.

The Tiniest Thai Rachel Walder chilli paste in oil

3-4 tbsp vegetable cooking oil

3-4 cloves garlic depending on size, chopped

2 shallots or 1/4 white onion, finely chopped

2 tbsp crushed dried red chillies

1 tbsp cayenne pepper or chilli powder

3 tbsp fish sauce (or 2 of fish sauce and one teaspoon of shrimp paste)

3 tbsp light brown sugar

juice of one lime

2 tbsp water

Heat the oil in a frying pan over a medium heat and then fry the onions and garlic until light brown and on the edge of going crispy. Remove the onions and garlic from the pan into a separate dish and turn the heat off but leave the oil in the pan.

Mix all the other ingredients together in a pestle and mortar.

The Tiniest Thai Rachel Walder chilli paste in oil

Then add the onions and garlic, pounding together (but gently) to break down the garlic and onion as much as possible. It won't combine perfectly and you will still have separate bits of onions, but it combines the flavours.

The Tiniest Thai Rachel Walder chilli paste in oil

Put the frying pan back on a low heat and then add the chilli mixture. Simmer for 3-4 minutes and then taste - add more water if it is too thin, more oil if you want it more oily and taste it too for flavour.  I added another tablespoon of sugar and half a tablespoon of fish sauce at this stage. (My next jar, made since this post, I added just a splash of water and half a tablespoon of fish sauce - you really need to taste, taste and taste again!).

The Tiniest Thai Rachel Walder chilli paste in oil

Simmer for a further 3-4 minutes until the paste is caramelised, dark and glossy-looking.

The Tiniest Thai Rachel Walder chilli paste in oil

Cool enough to pour into a jar then cool completely before sealing and storing in the fridge.

Rachel Redlaw chilli paste in oil nam prik pao

Did you make this? And what did you then make with it? Let me know ...


YOU MIGHT ALSO LIKE ...

Sweet hot Thai chilli sauce

I'm off to see a friend's new flat this afternoon and want to take a little housewarming present.

This quick and easy sweet chilli sauce will be perfect - I think almost everyone likes it and it's good to have a jar in the fridge to liven up grilled fish or chicken, or to serve with spring rolls, or have with poached eggs - or just about anything, to be honest!

There's plenty of time to make a quick batch which can then cool down while I get ready to go out ...

A note about measurements.  Where I've used a tablespoon, it is a measured 15ml tablespoon.  It can be easy to put in too much cornflour mixture so err on the side of caution and add a little more water if it looks very cloudy when you tip it into the pan and doesn't disperse when stirred in.  The cup I used holds 300ml water, but I judged the fractionals by eye so the liquid volumes weren't precisely measured.

To make a couple of jars or, like me, one bottle as a gift and a bowl for your own fridge, you'll need:

The Tiniest Thai Rachel Walder sweet chilli sauce

1 teaspoon salt, ideally coarse

2-3 garlic cloves, minced

1/2-1 tablespoon dried crushed chillies (a full tablespoon is quite spicy)

3/4 cup distilled white vinegar (or rice vinegar)

1 and 1/4 cups white sugar

a splash of water (probably 1-2 tablespoons)

1 scant tablespoon cornflour dissolved in 2 tablespoons water

First, crush together the salt, garlic and chilli flakes, then add to a medium sized pan with the vinegar, sugar and water.

The Tiniest Thai Rachel Walder sweet chilli sauce

Bring to a boil and boil steadily for about 10 minutes, stirring frequently.

The Tiniest Thai Rachel Walder sweet chilli sauce

Reduce the heat and stir in the cornflour mixture, then cook for a further three-four minutes.

The Tiniest Thai Rachel Walder sweet chilli sauce

Remove from the heat and pour into a heat proof bowl.

The Tiniest Thai Rachel Walder sweet chilli sauce

You can just cover this tightly when it's cool and keep in the fridge or, after a few minutes when it's cooled slightly, transfer to your chosen bottles, jars or dishes.

The Tiniest Thai Rachel Walder sweet chilli sauce

It will keep for about two weeks stored in an airtight container in the fridge.

Hope you like this recipe - let me know what you think.

NOTE: last time I made this it went really thick, and I've no idea why! However, I put the bottle to stand in some hot water for a few minutes and it then became thinner and pourable again. 


YOU MIGHT ALSO LIKE ...