Cheese + chilli omelette


I love this combination of strong cheddar cheese, spring onions, green chillies and garlic.

Mixed with butter it makes the perfect cheese on toast with added kick.

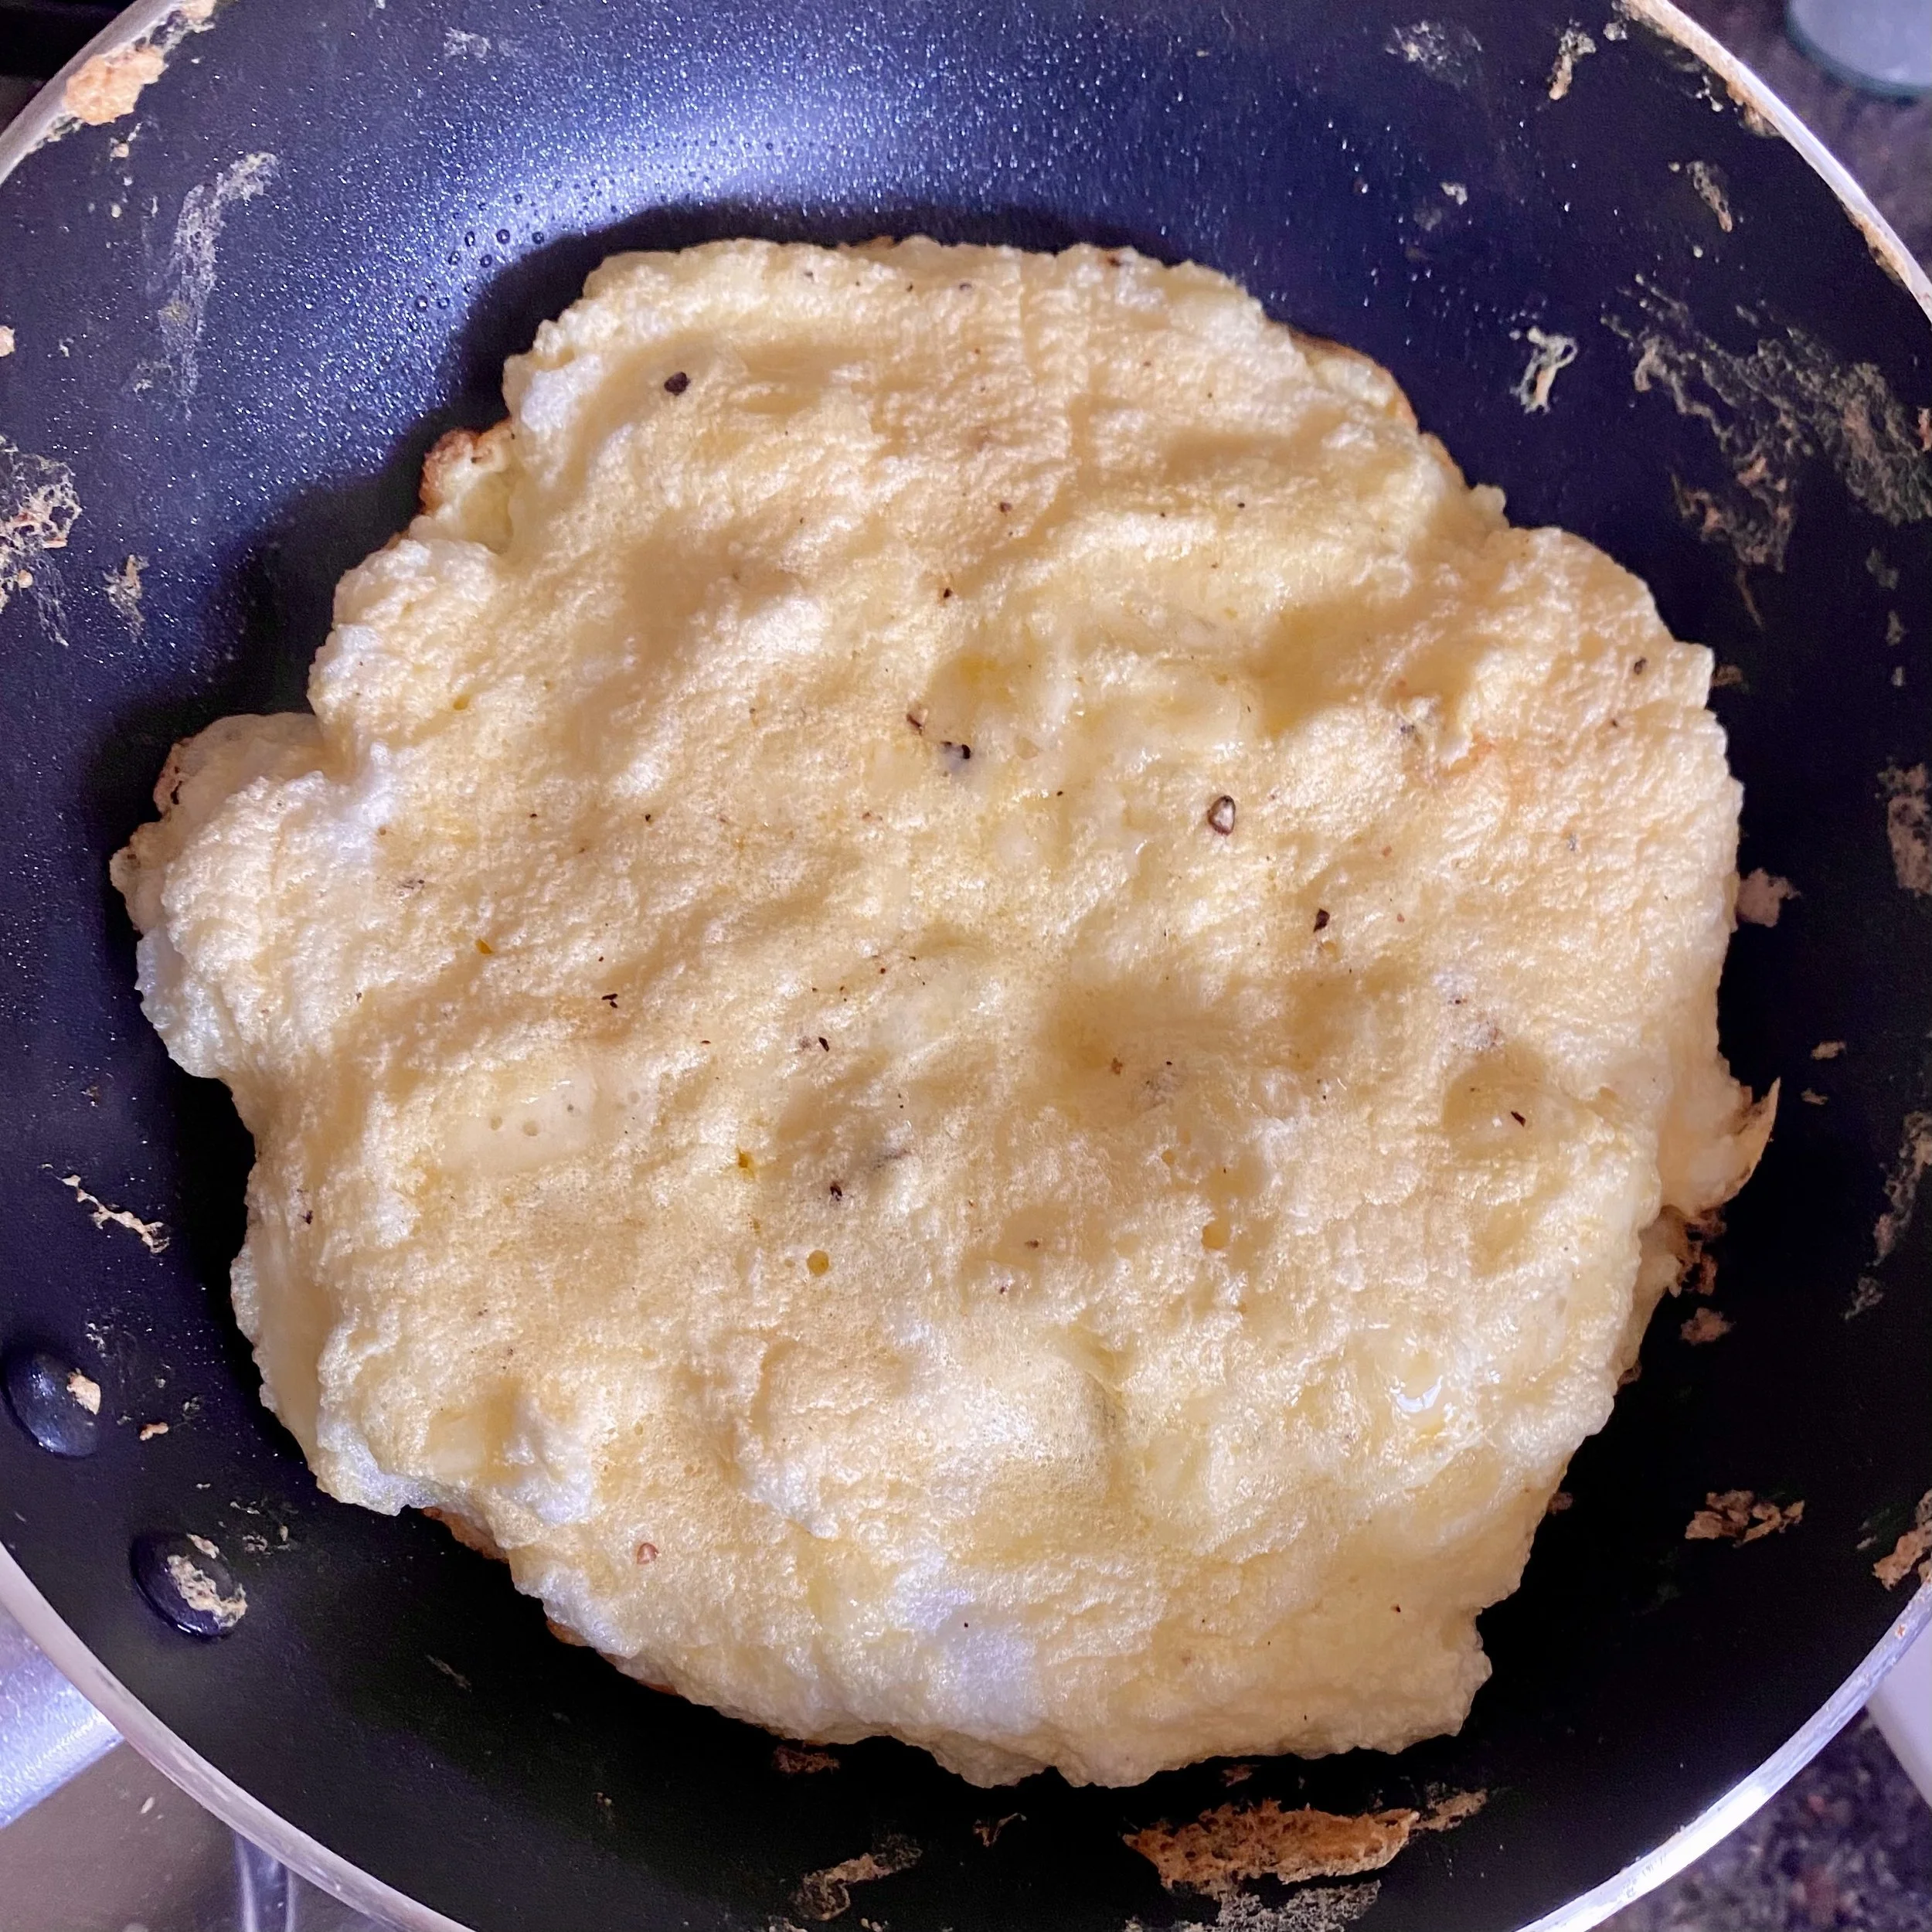
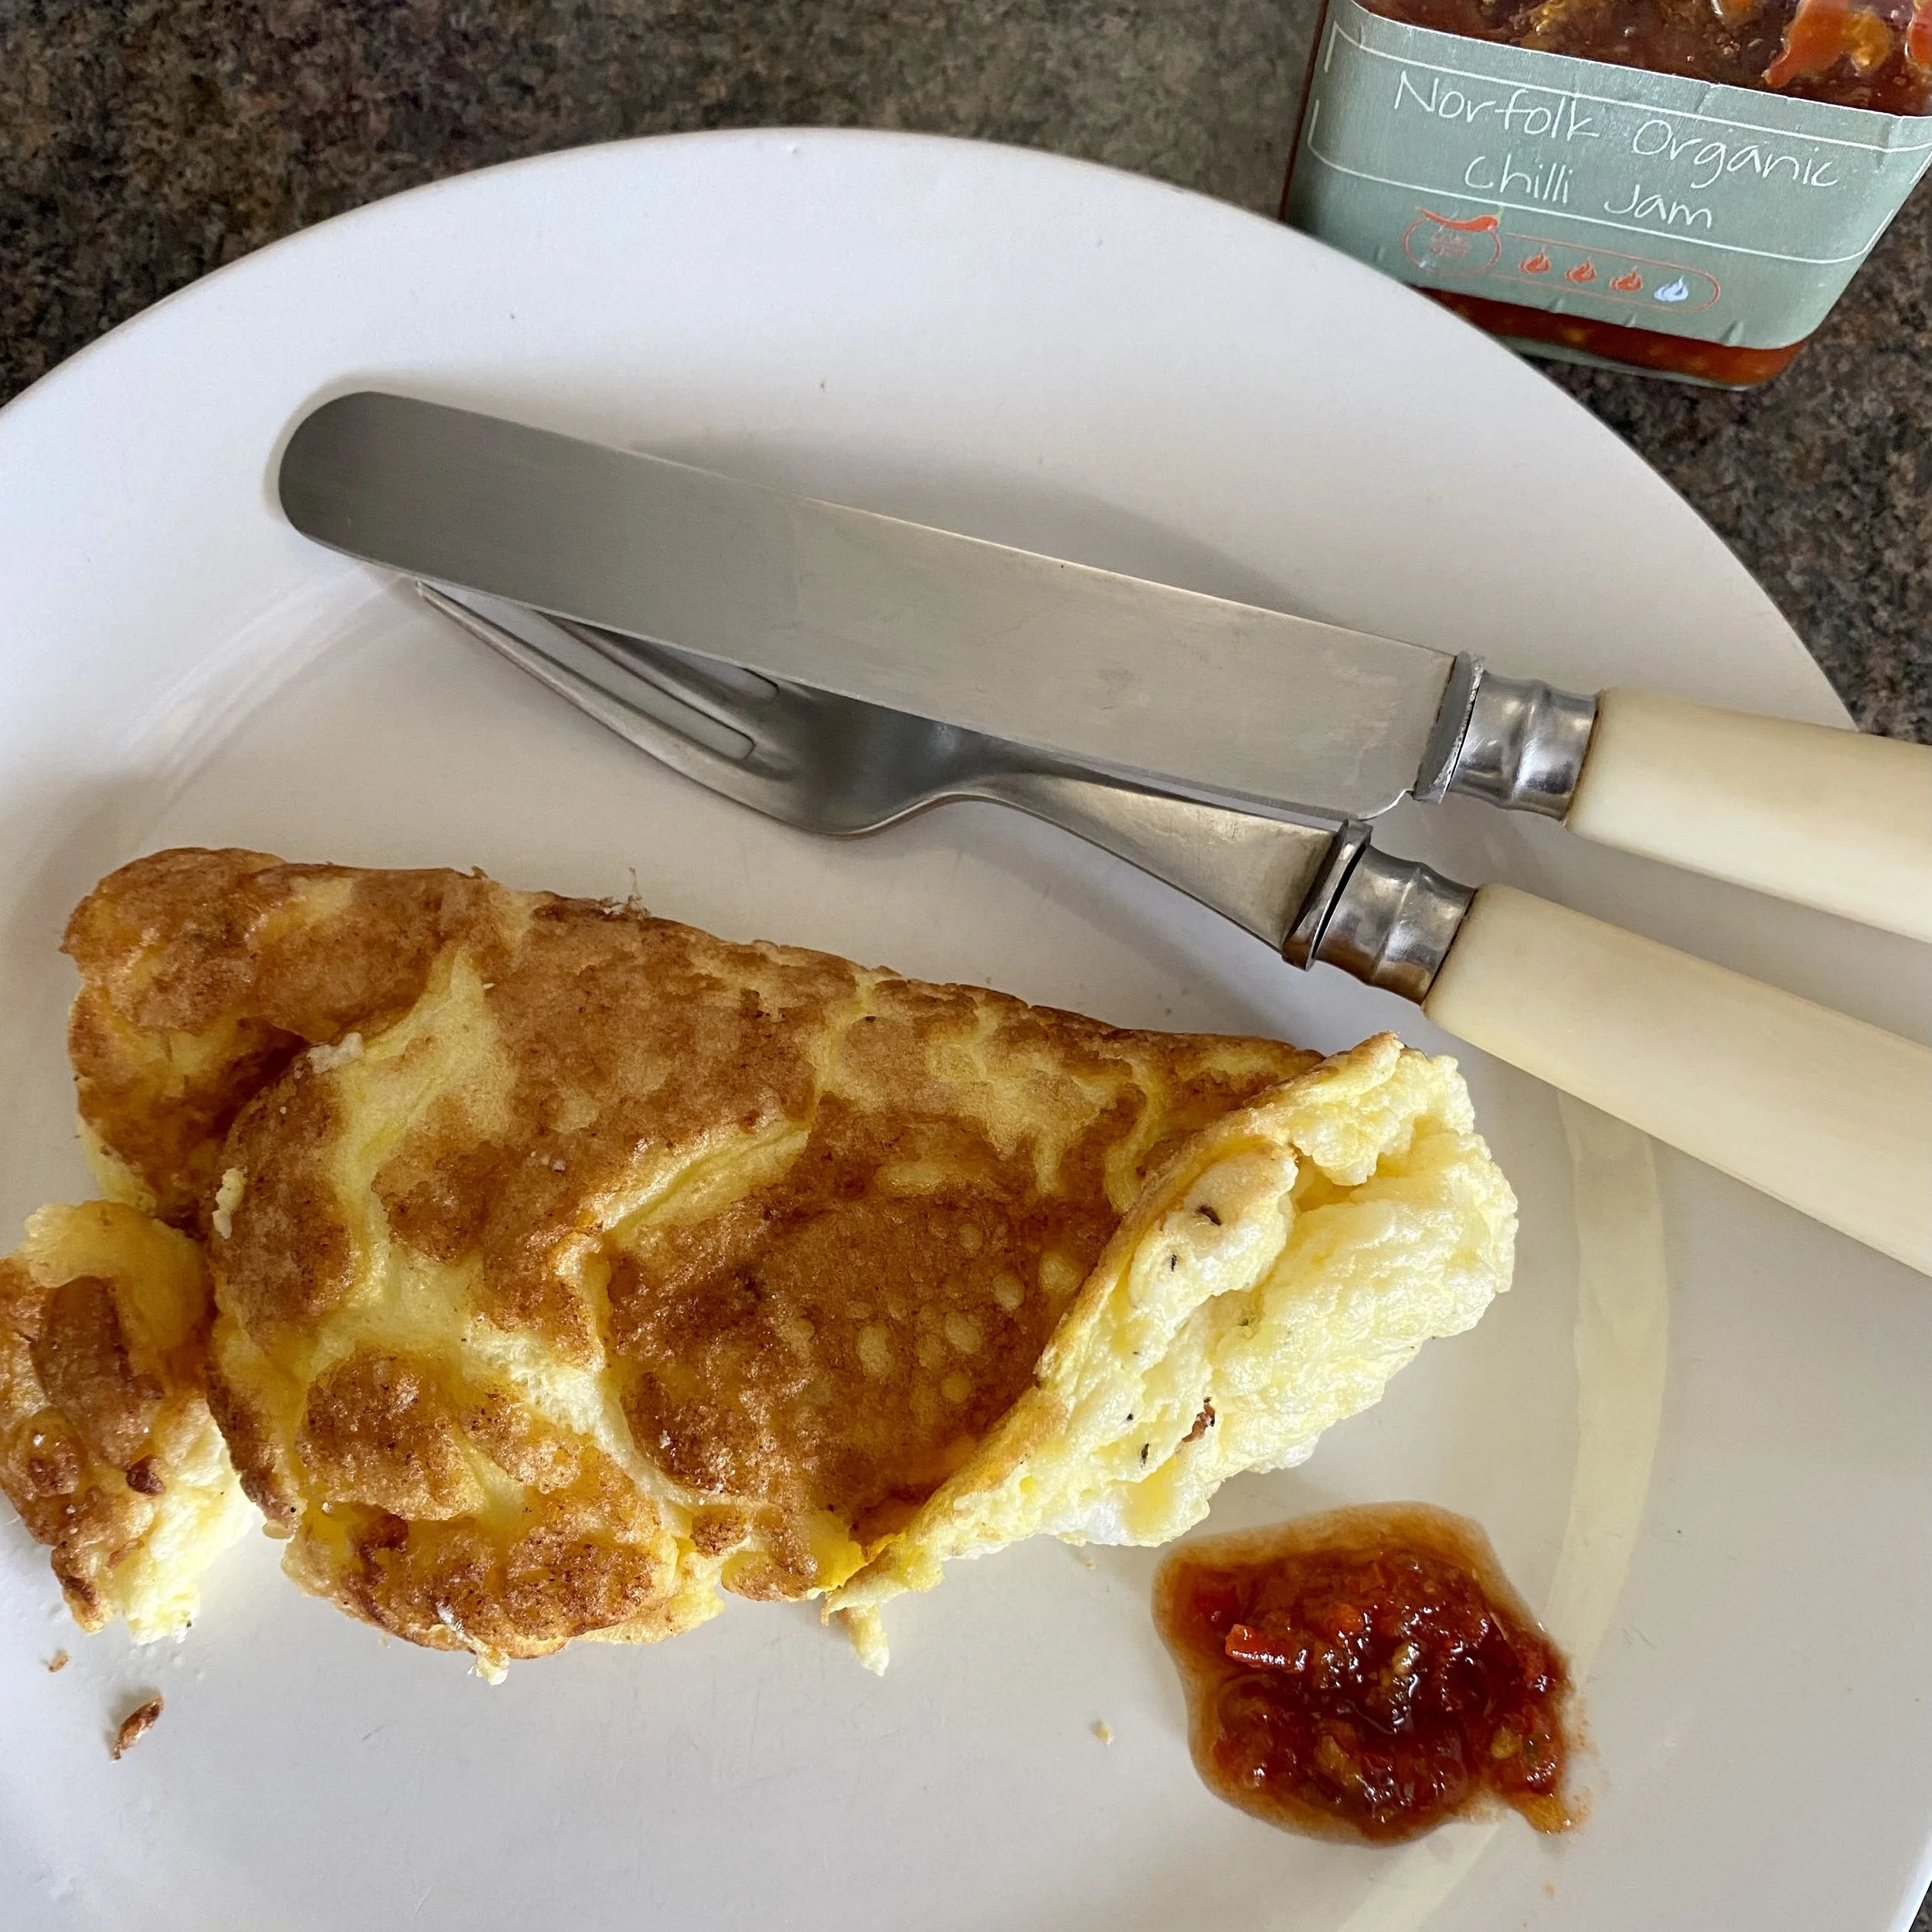
And today I made it into a Thai-style omelette. By which I mean browned and fluffy and completely cooked through (unlike a classic French omelette for instance).

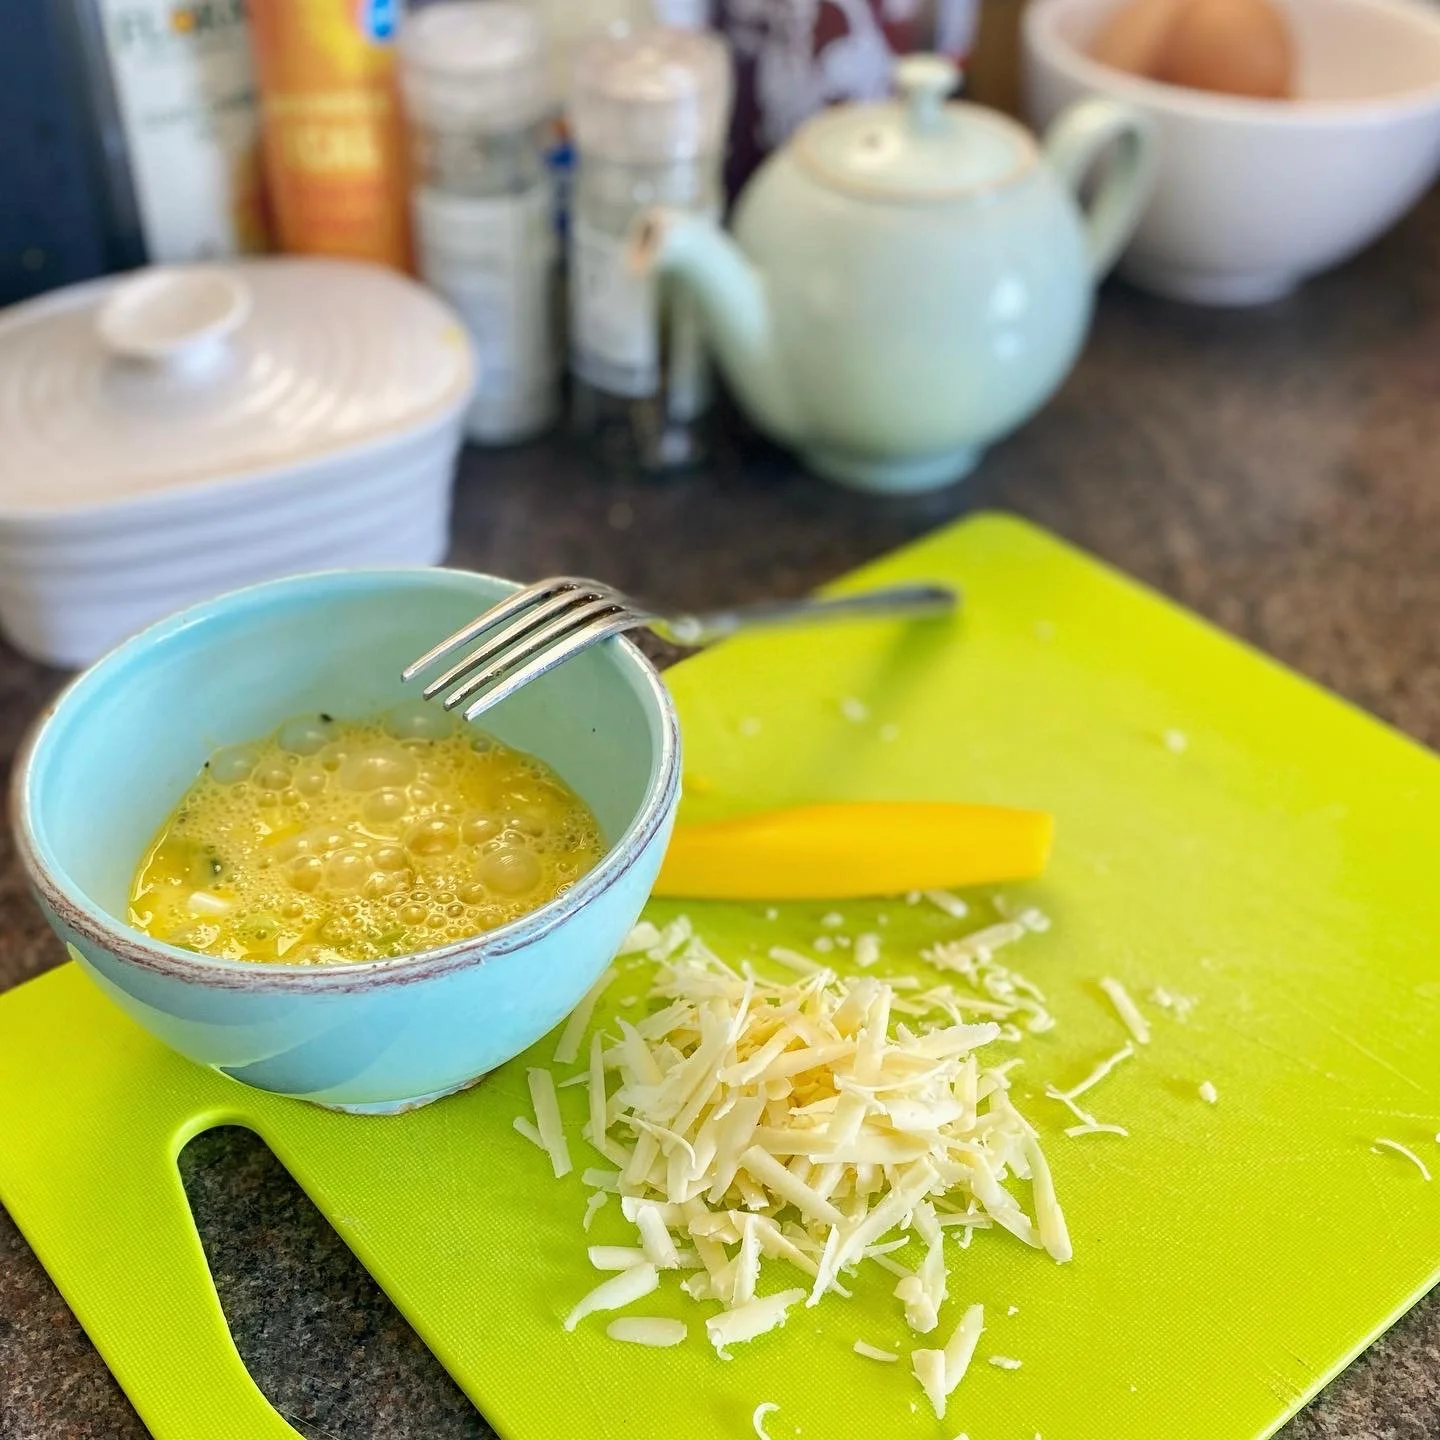
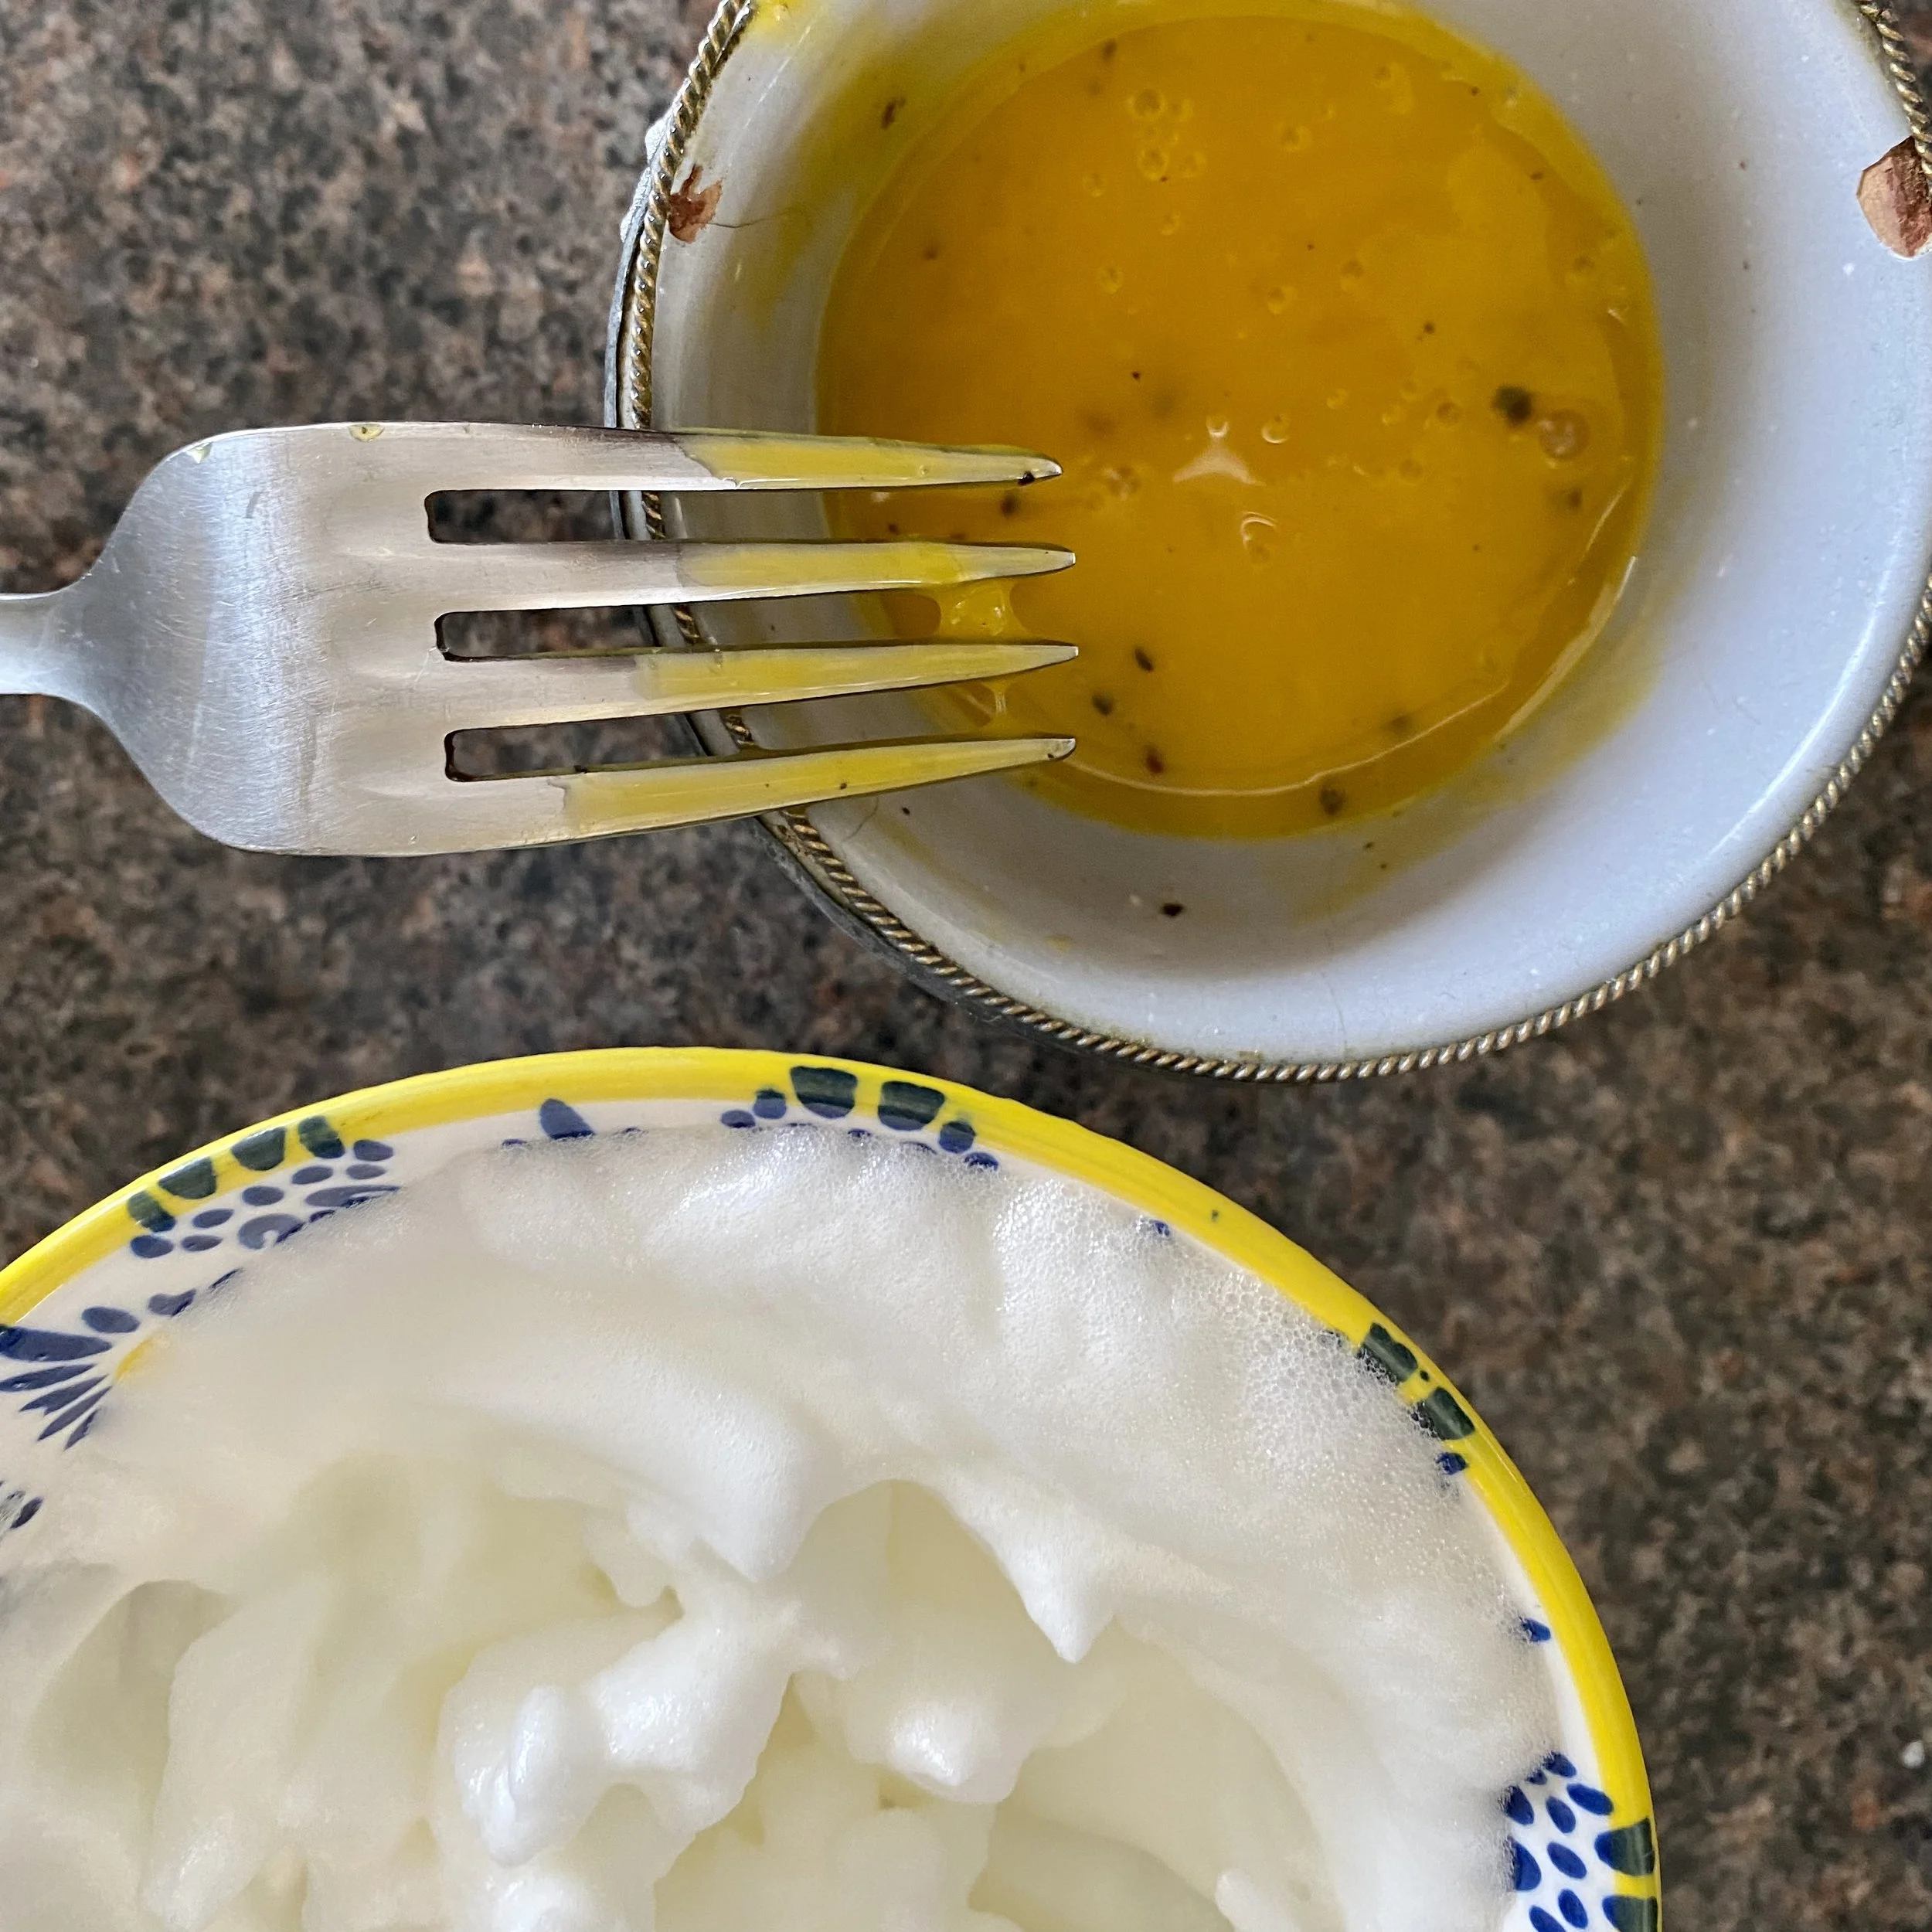
2 eggs in a bowl with
1-2 green chillies, sliced
I small clove of garlic, peeled and chopped
1-2 spring onions, sliced
A dash of fish sauce or a pinch of salt

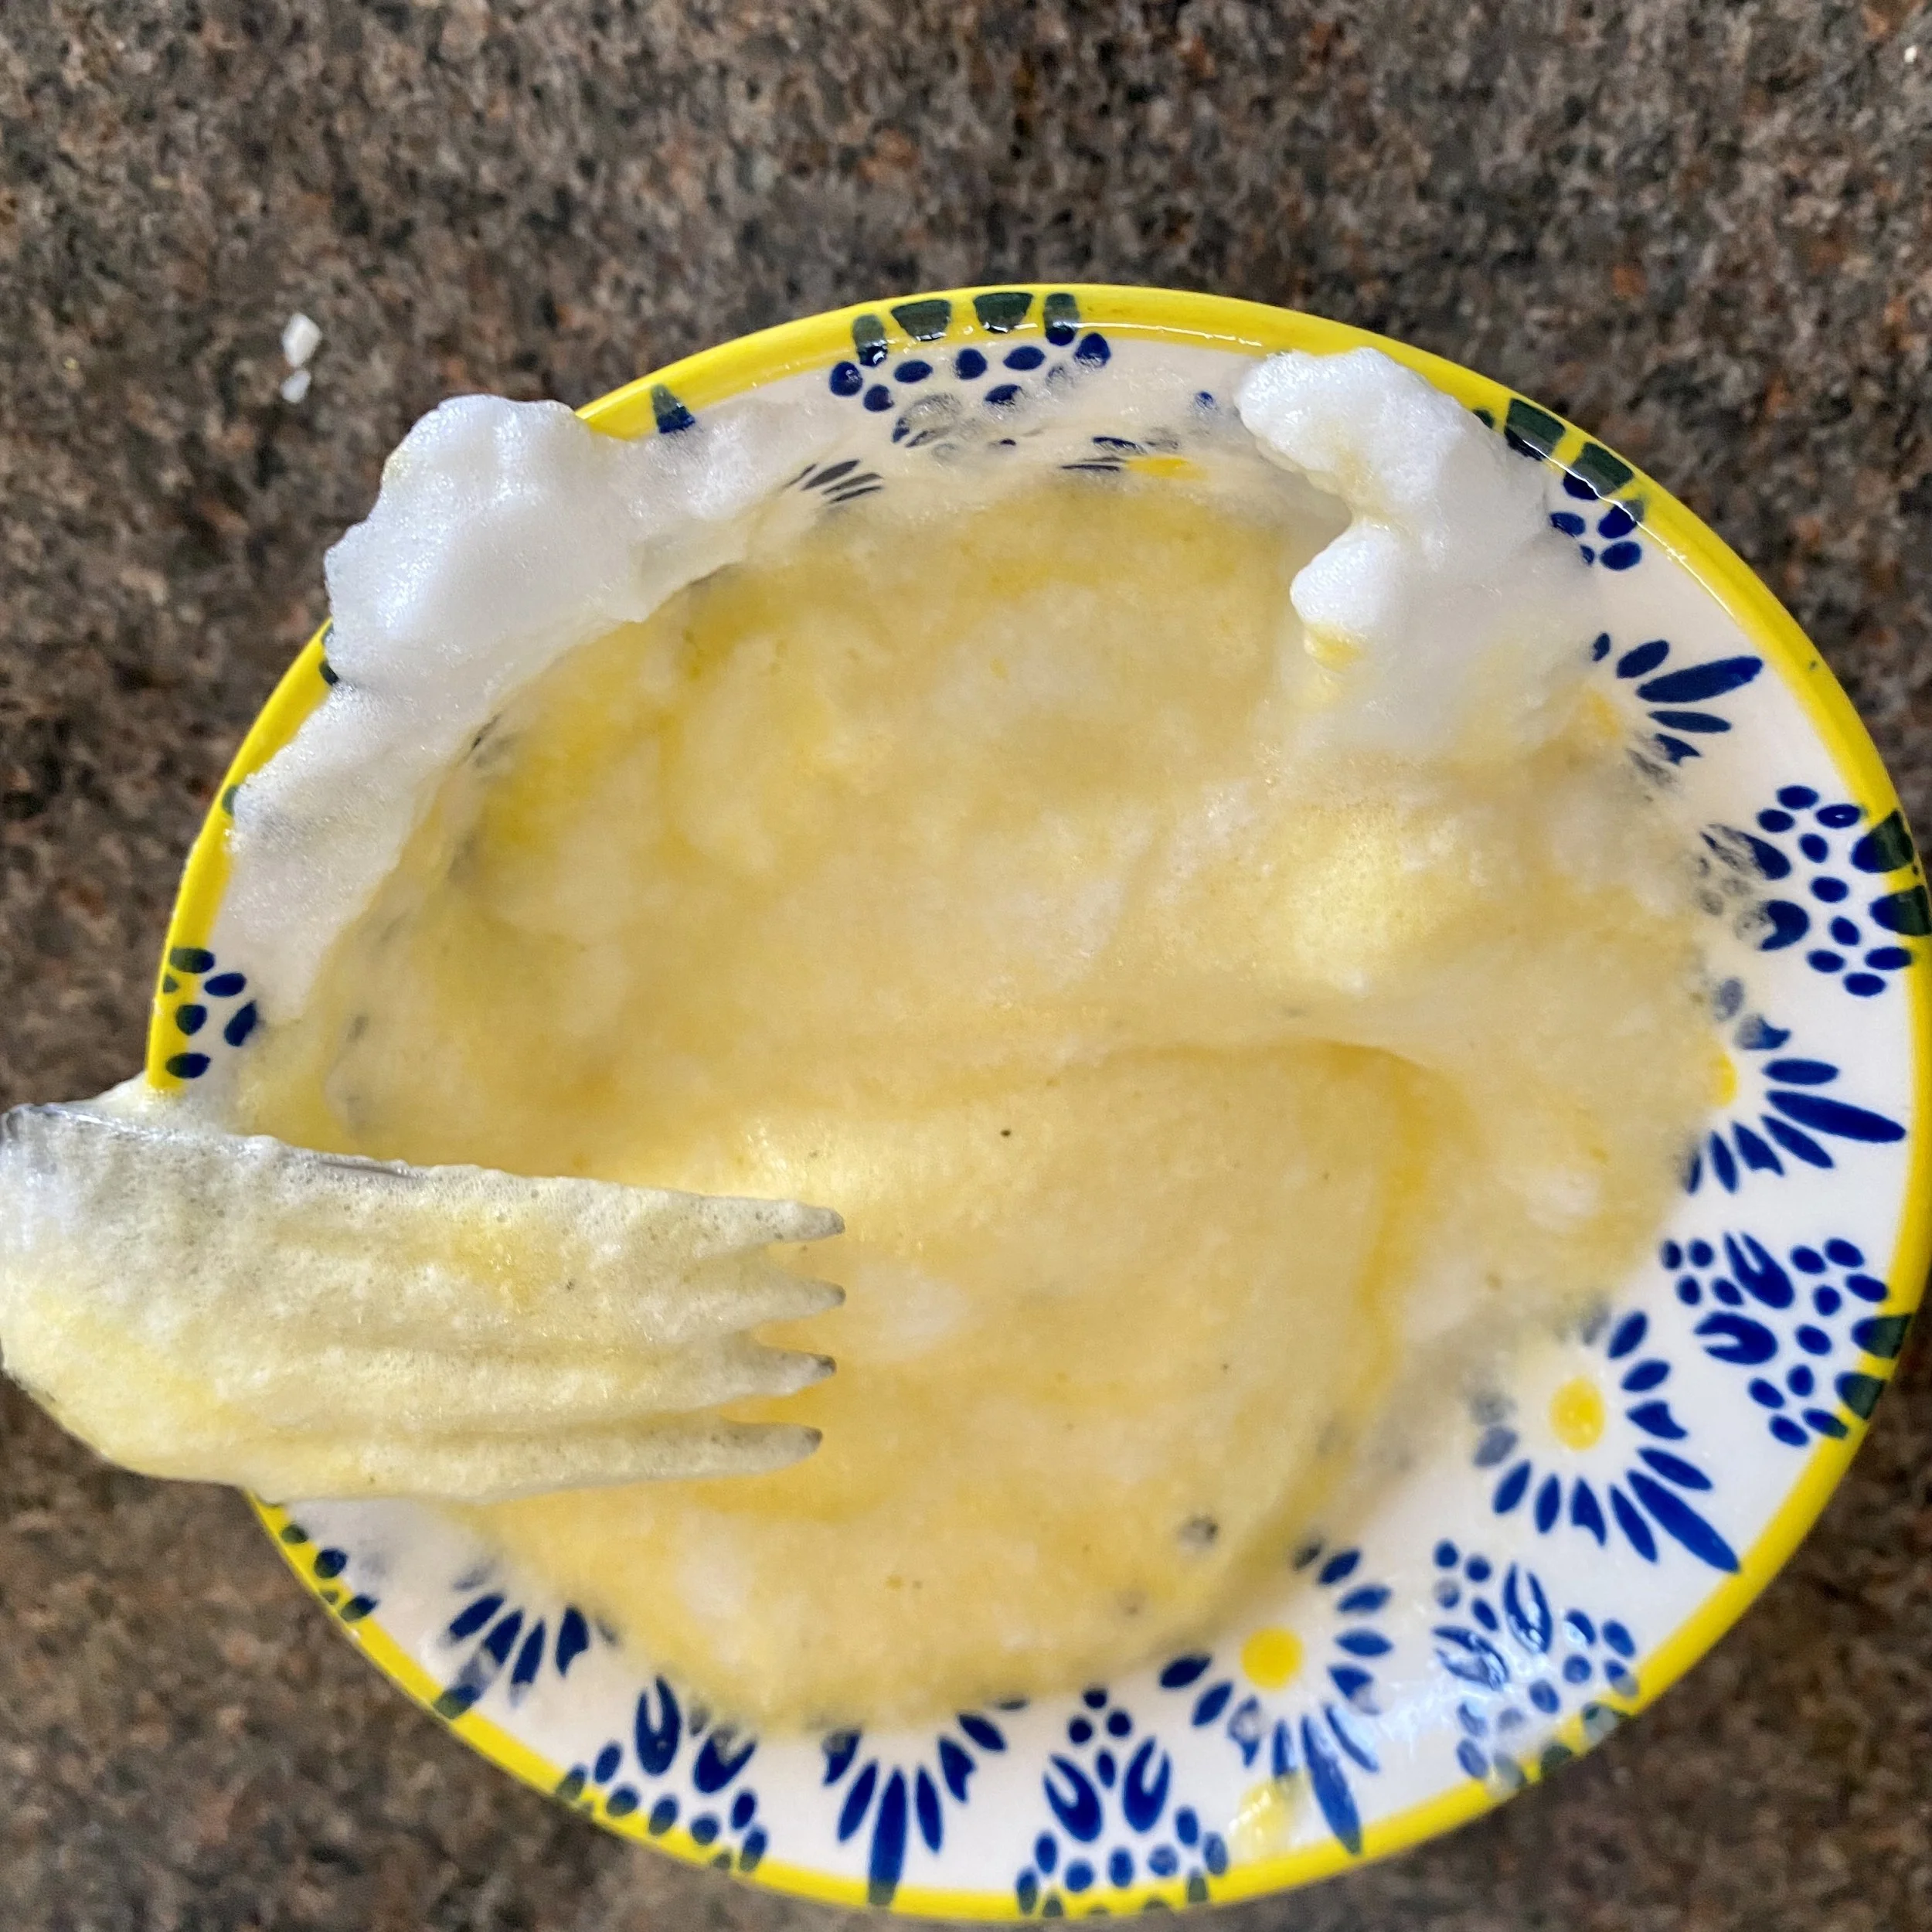
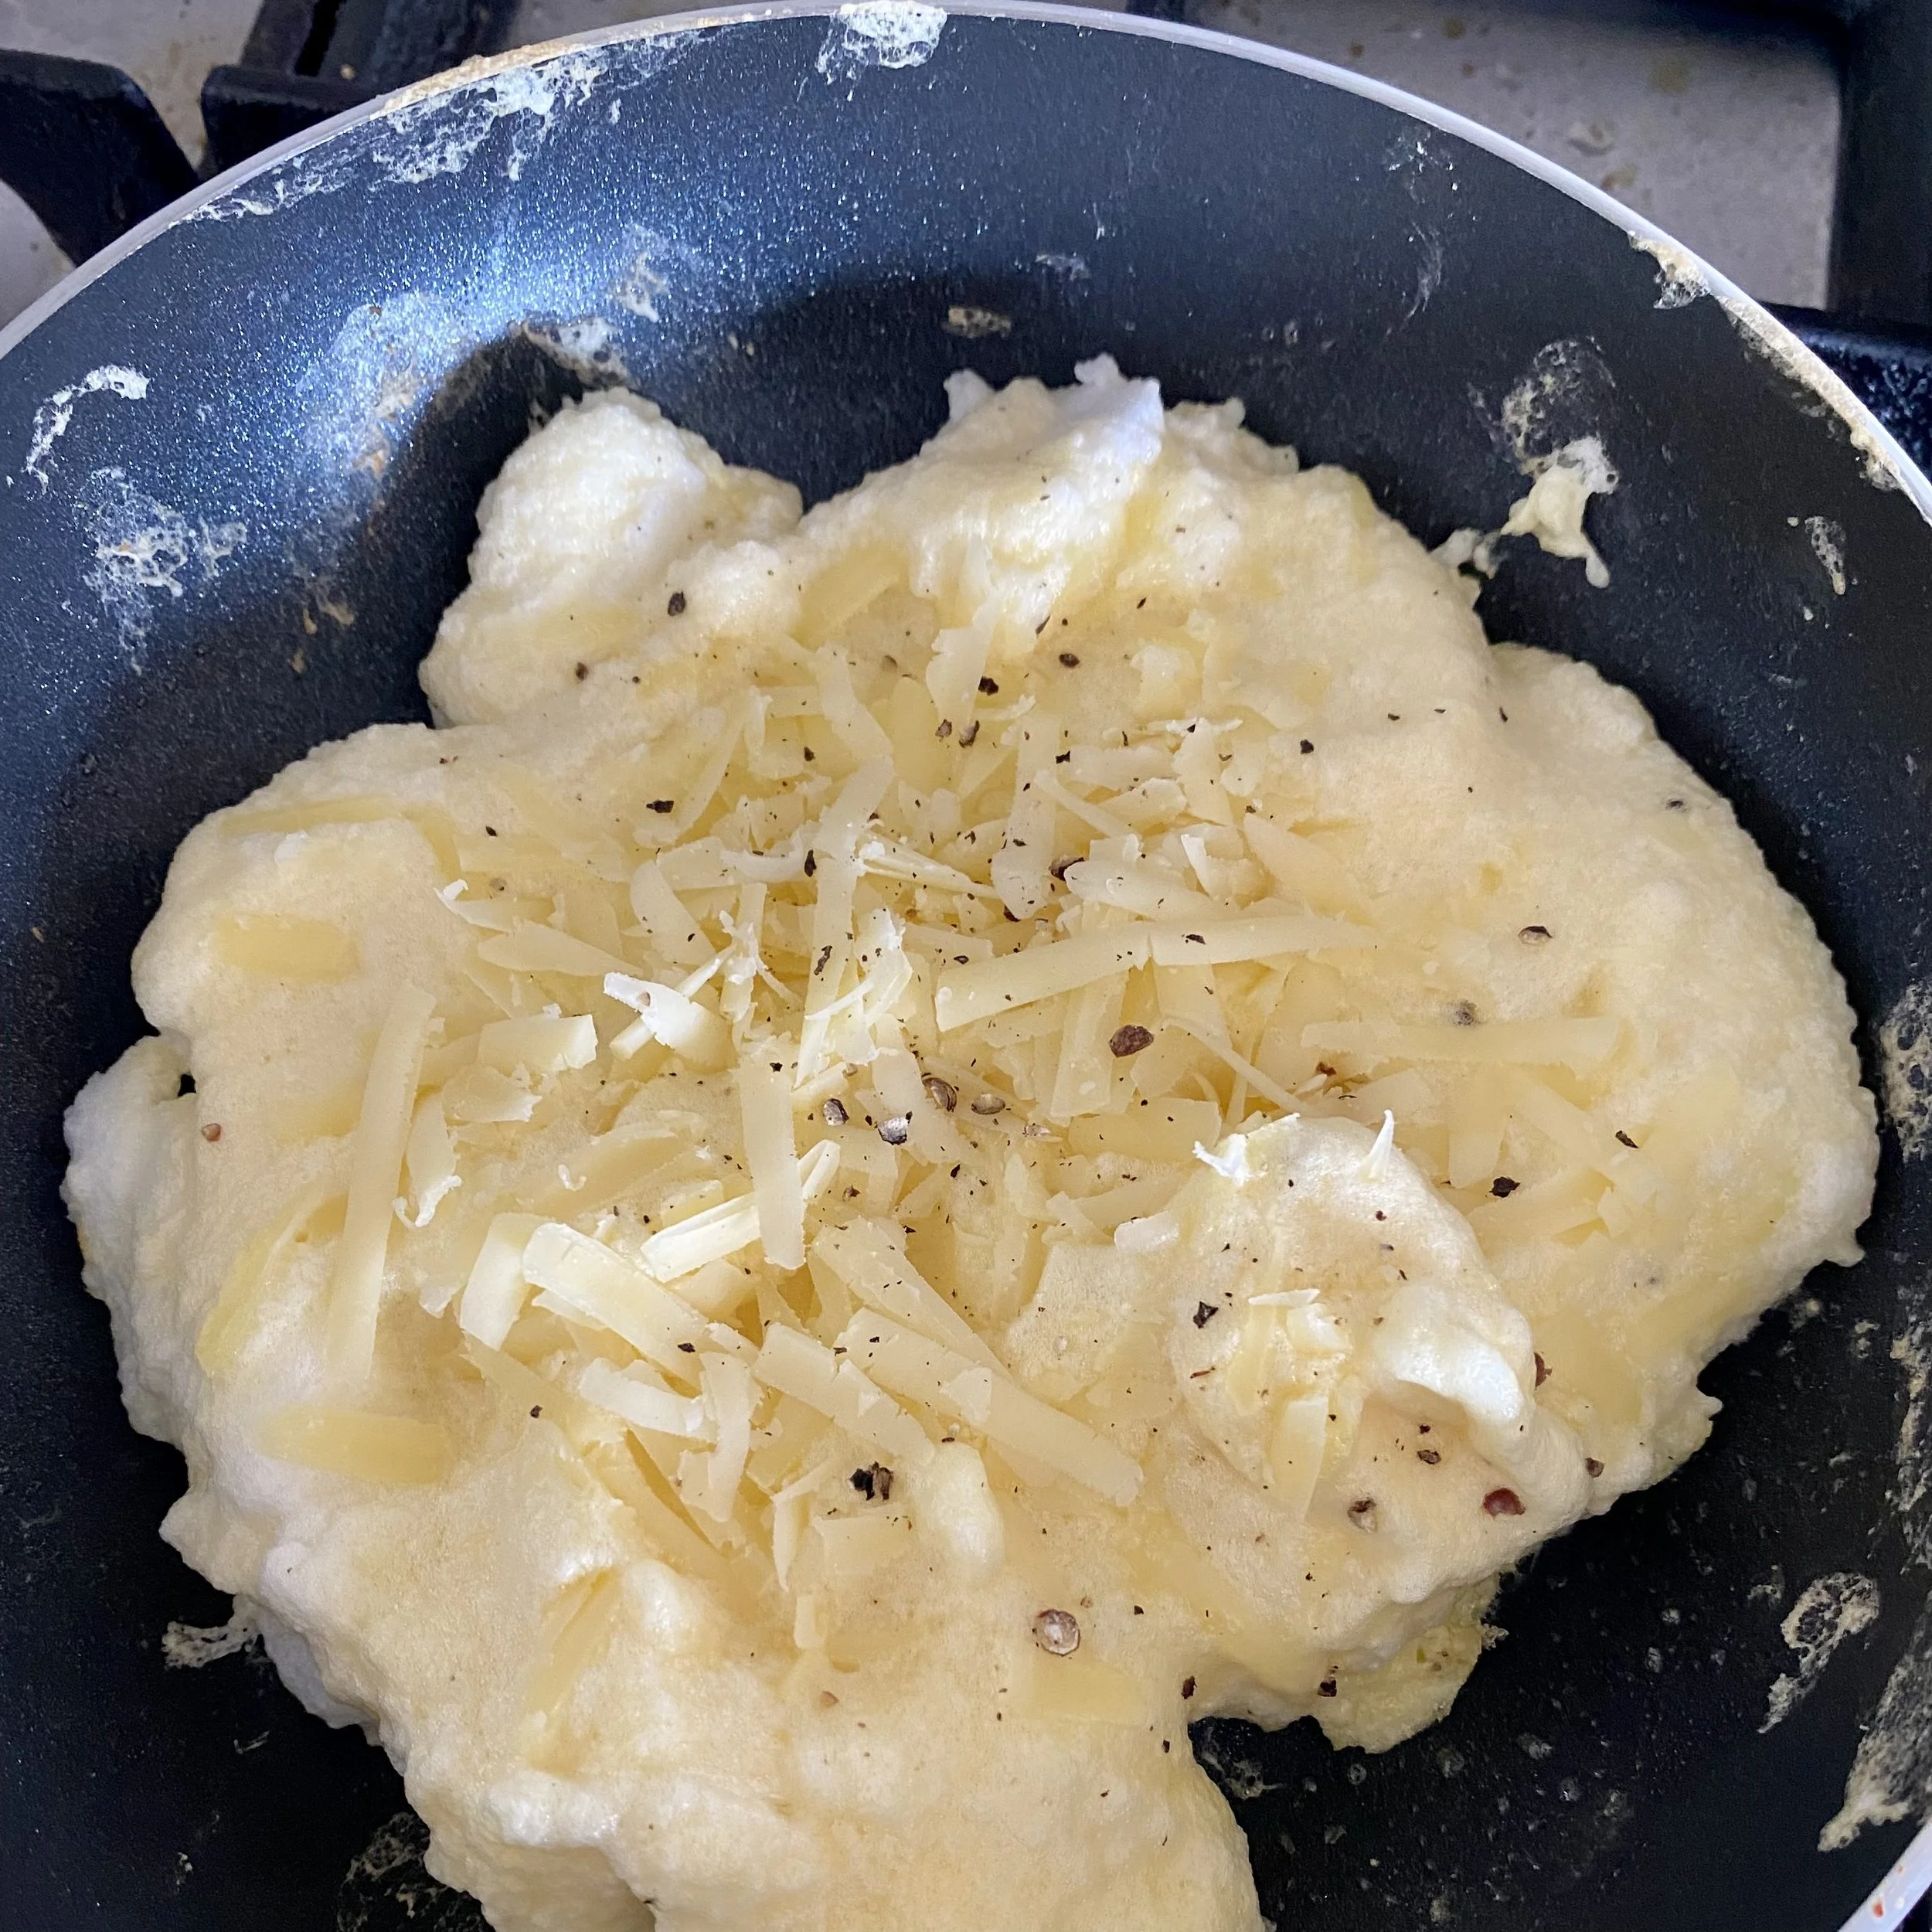
Beat together, getting lots of air in and then add a handful of grated cheddar.

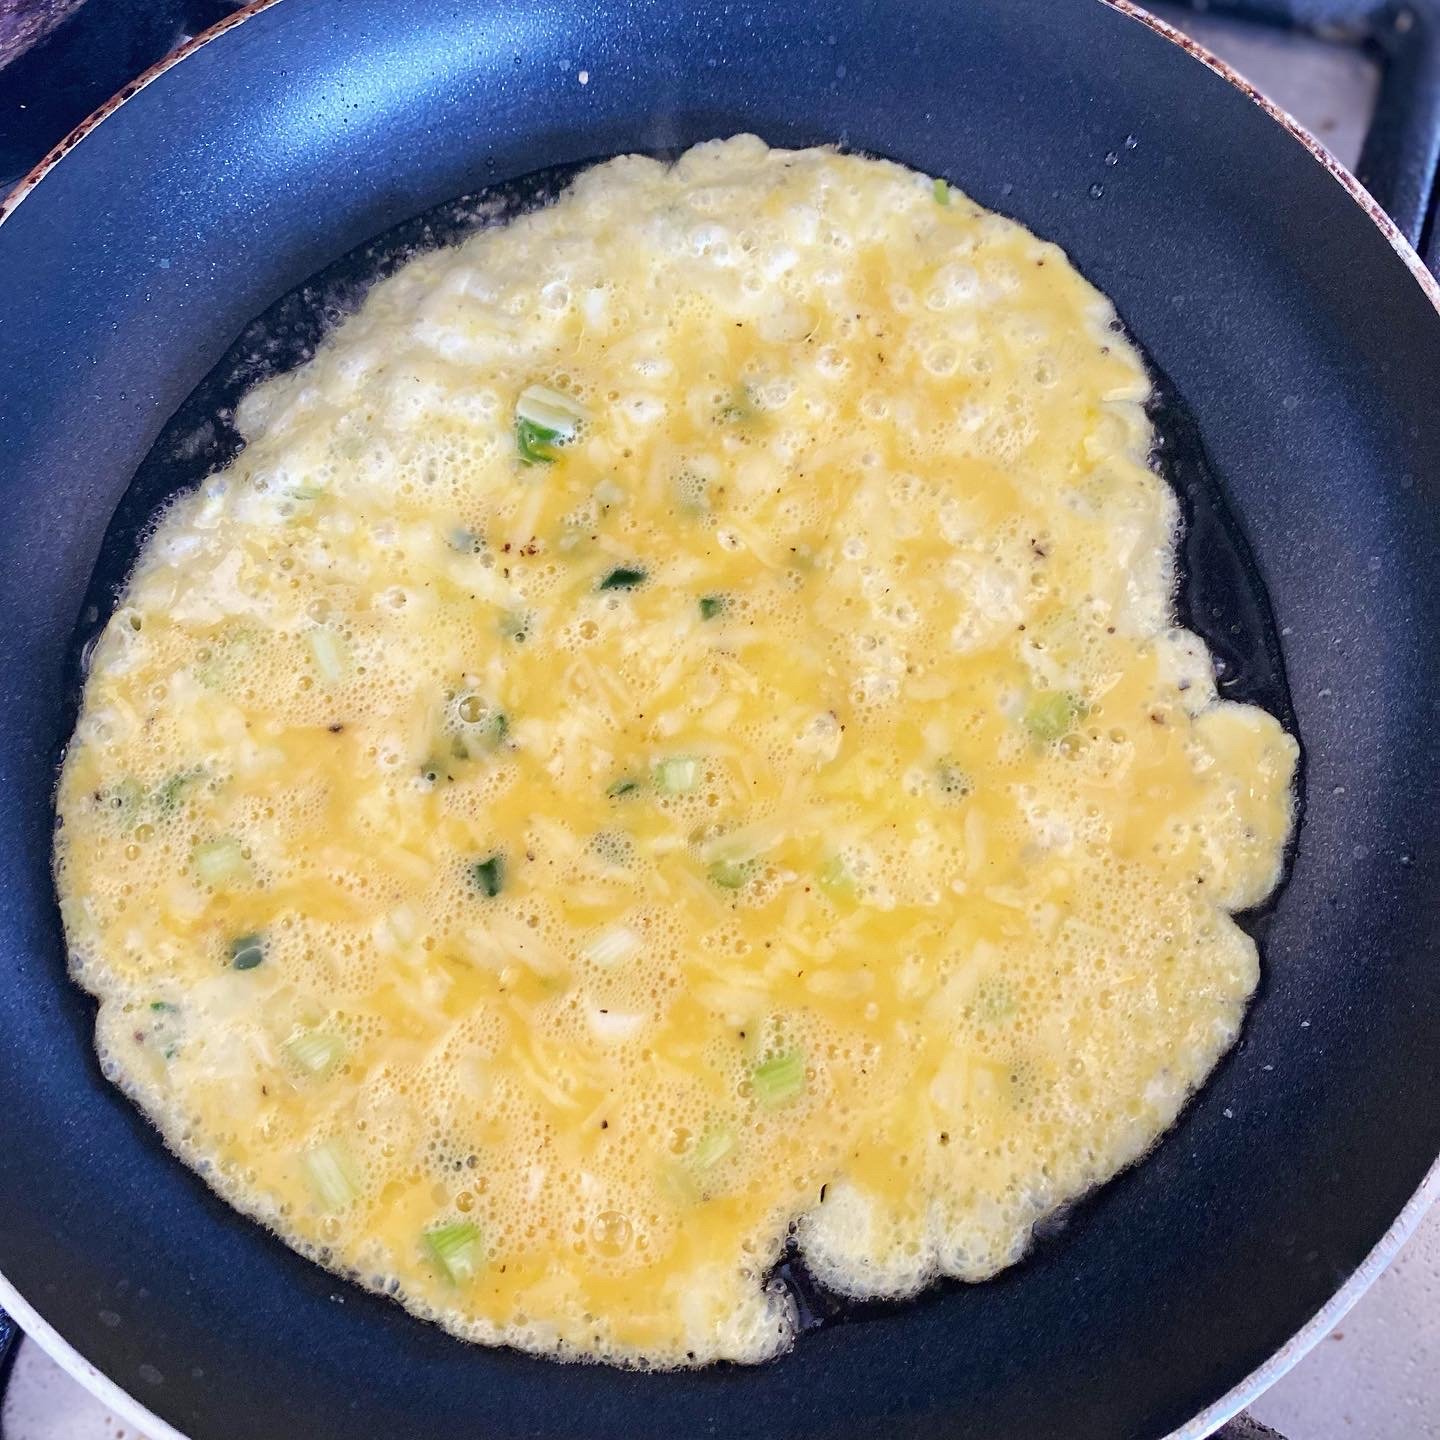
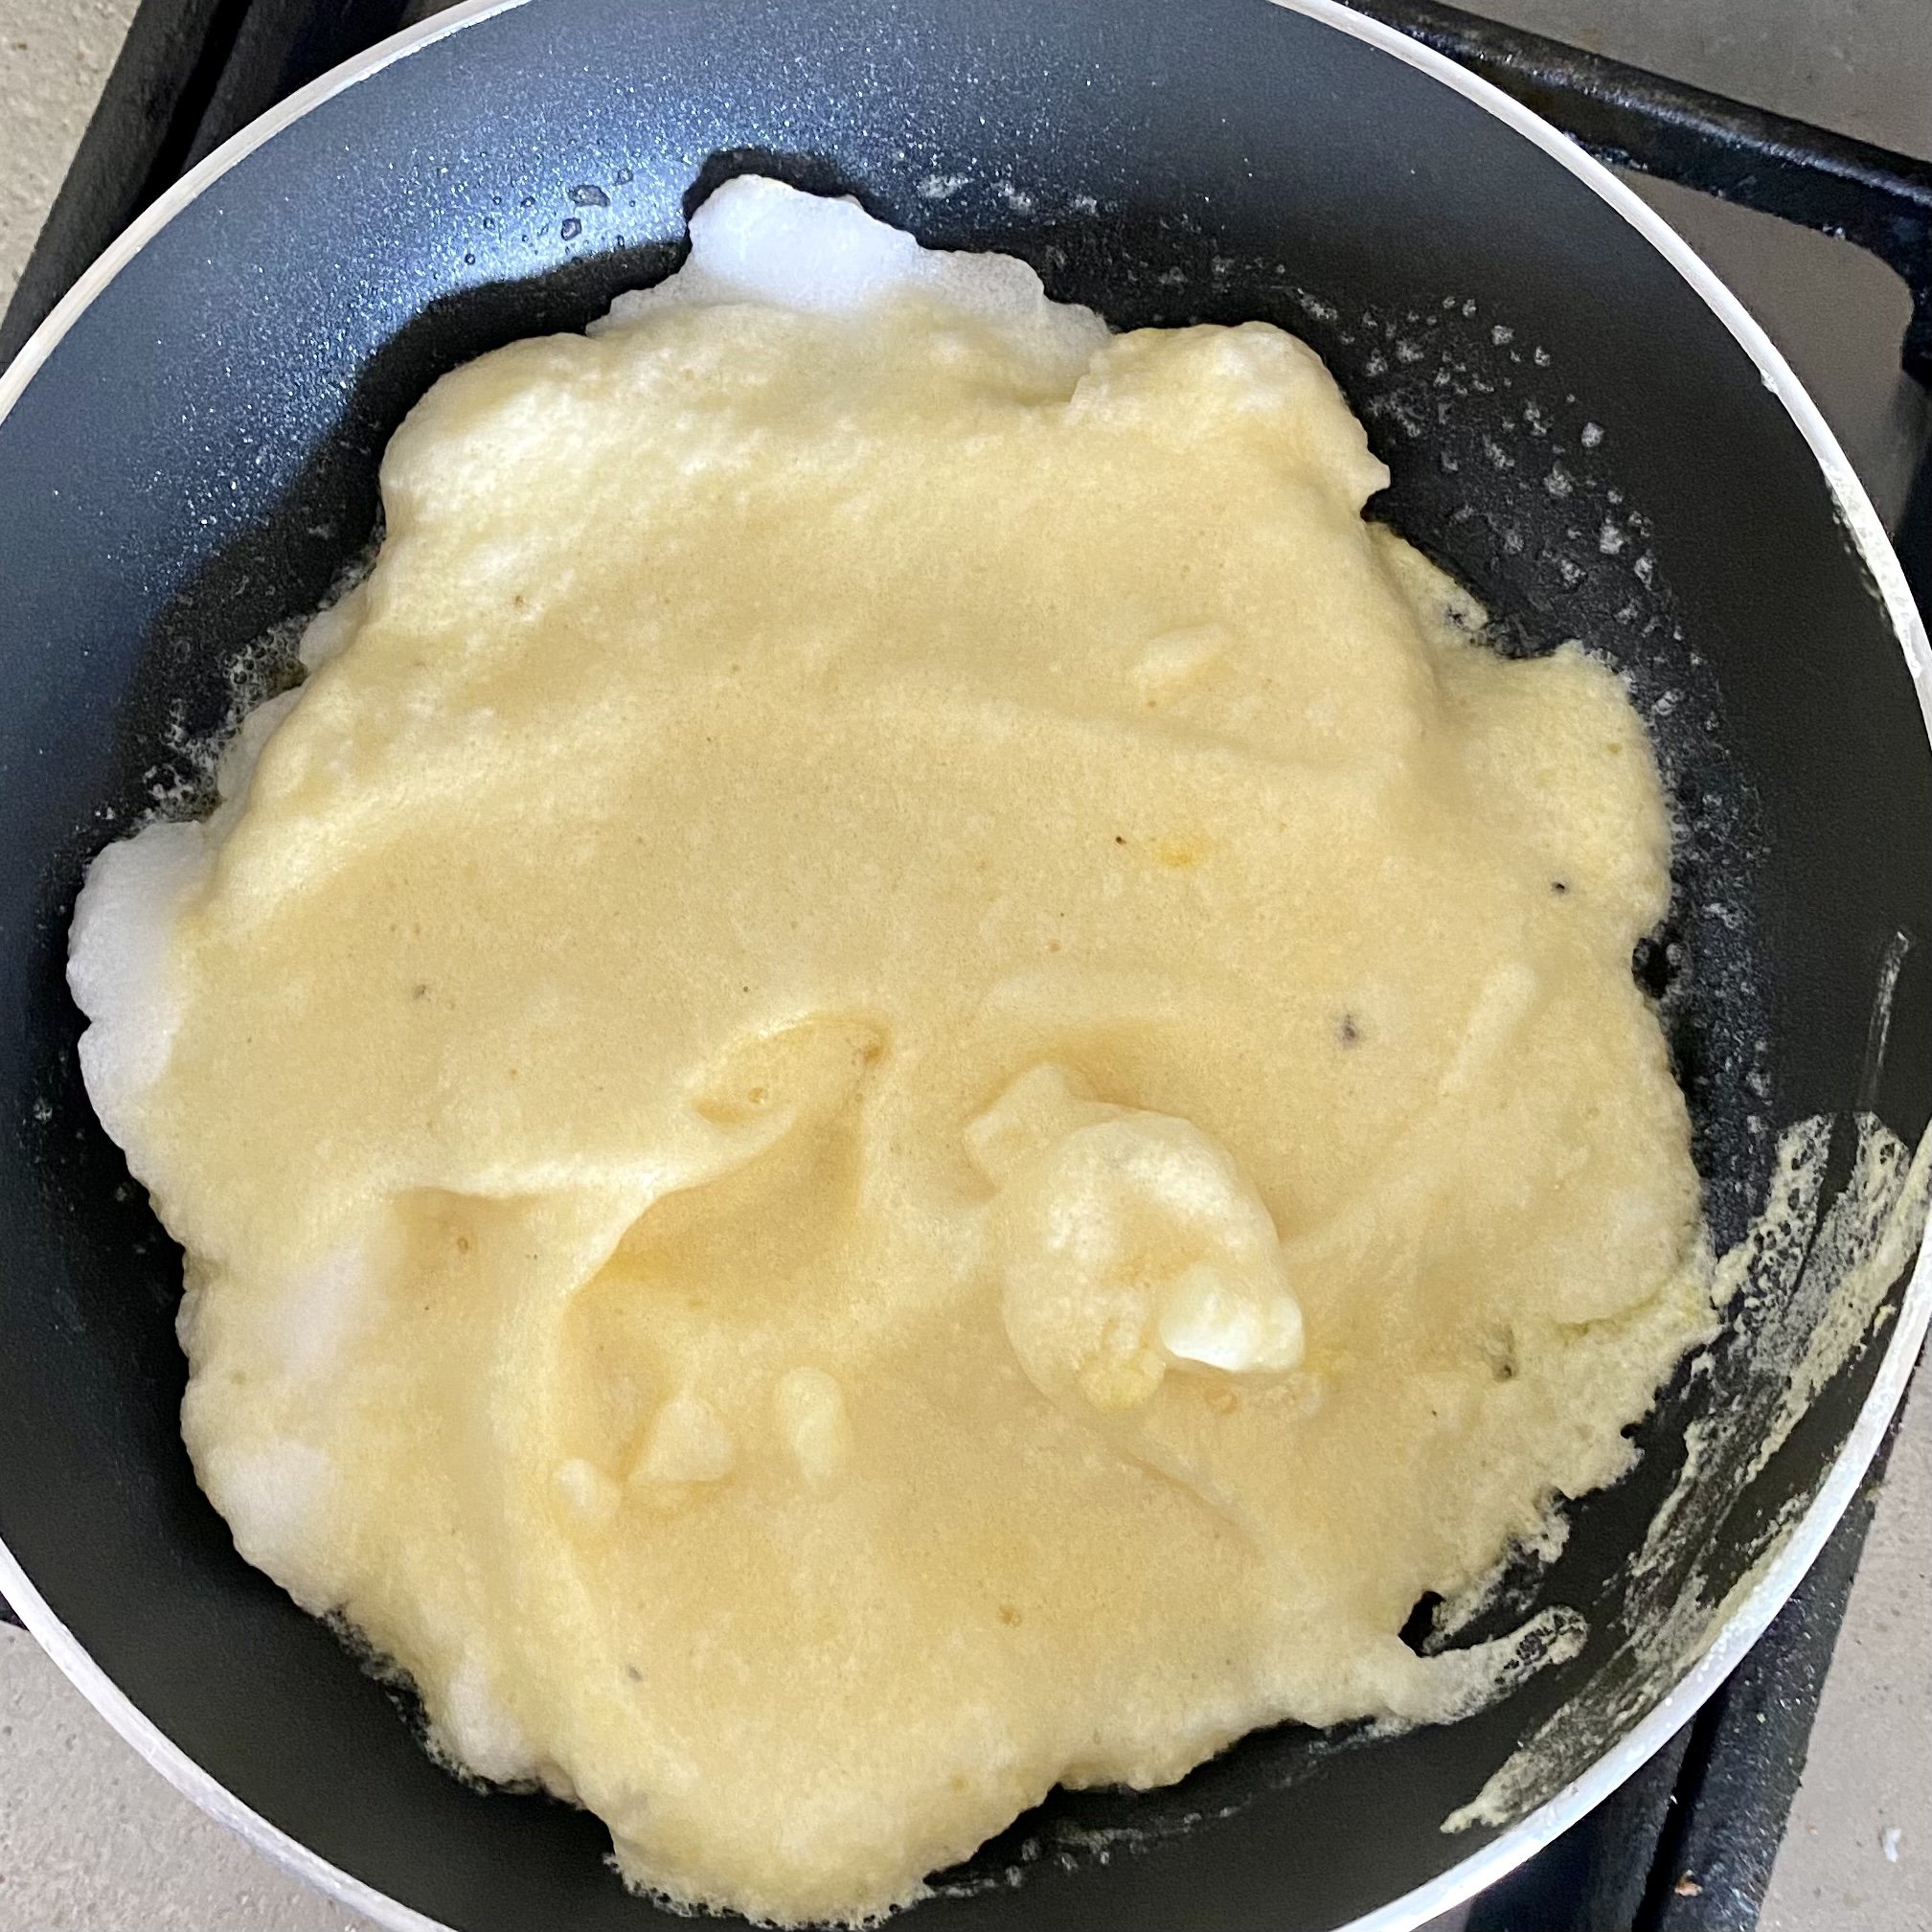
Get the pan hot then add 1-2 tablespoons oil and when that is hot tip in the egg mixture.

It will sizzle and the edges start to curl!

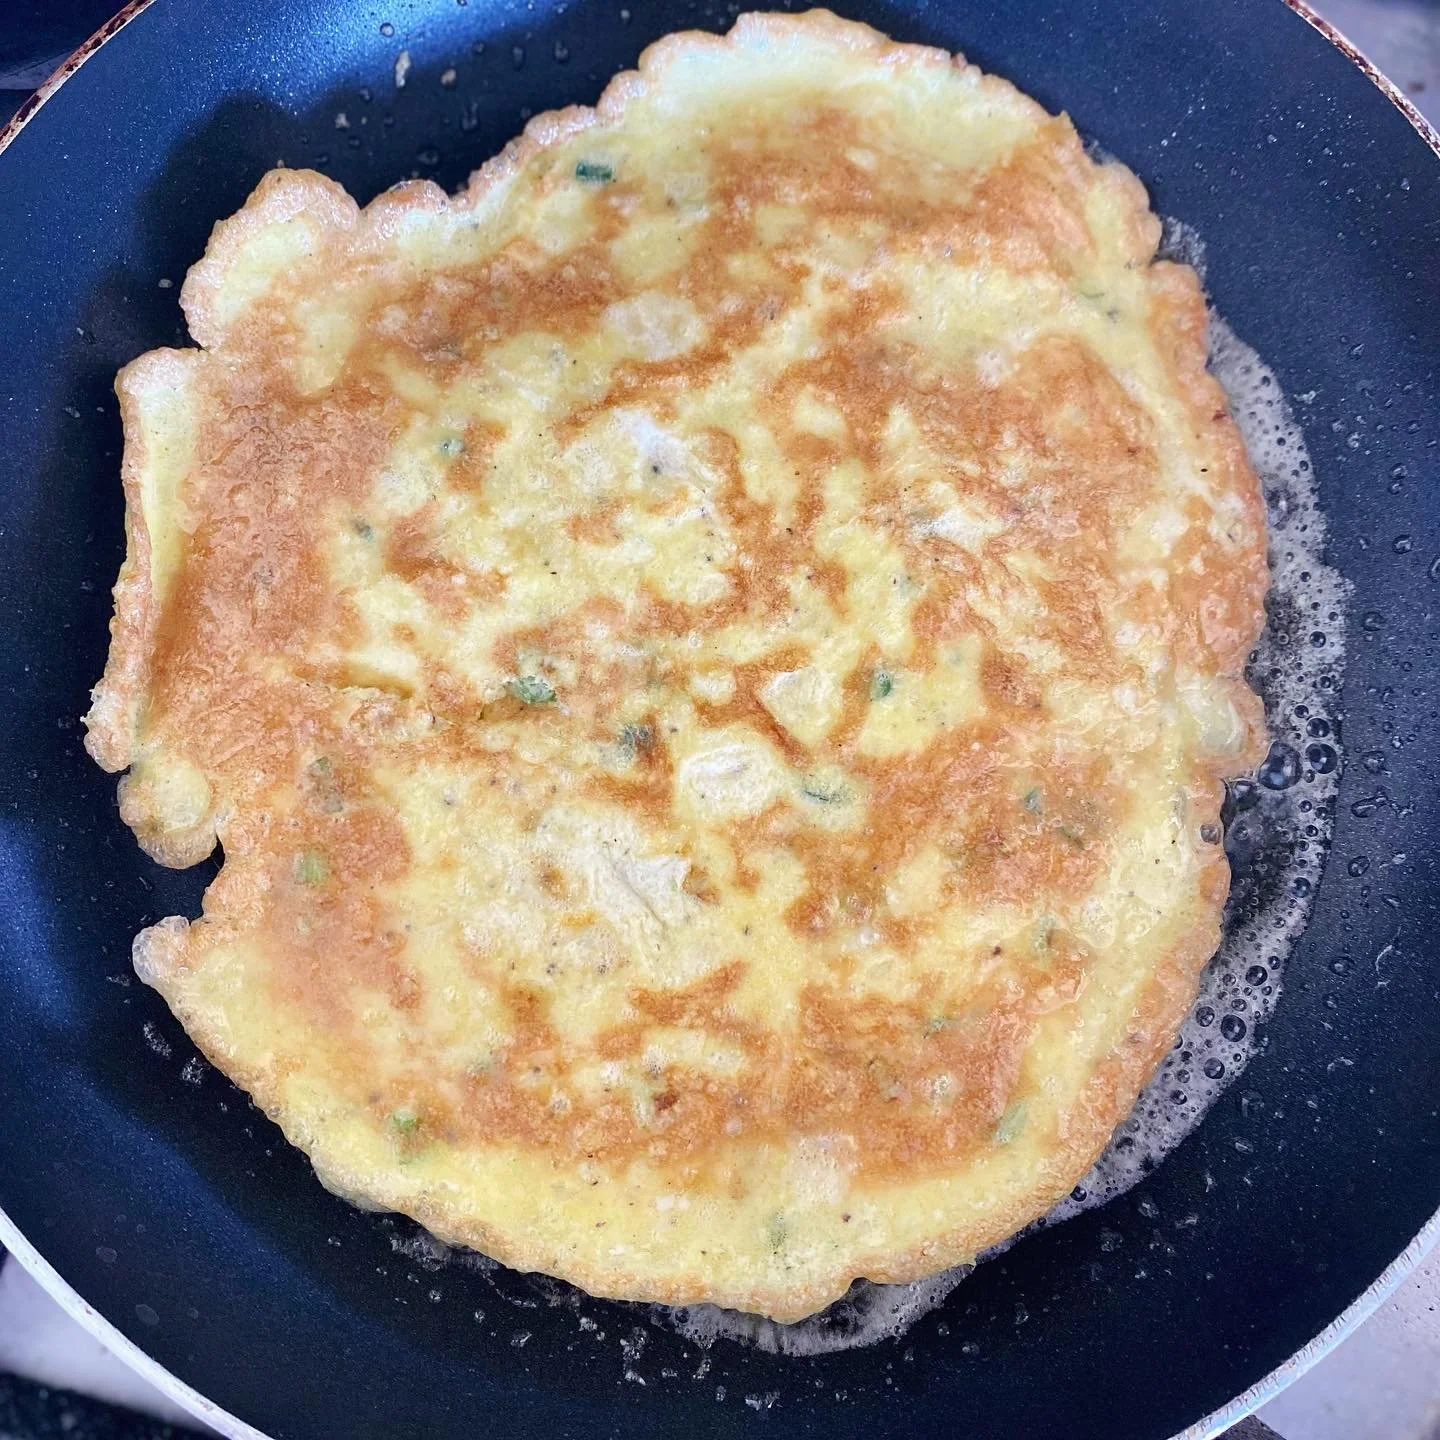
Cook for a couple of minutes on a high heat so the underside is browned then turn and repeat.

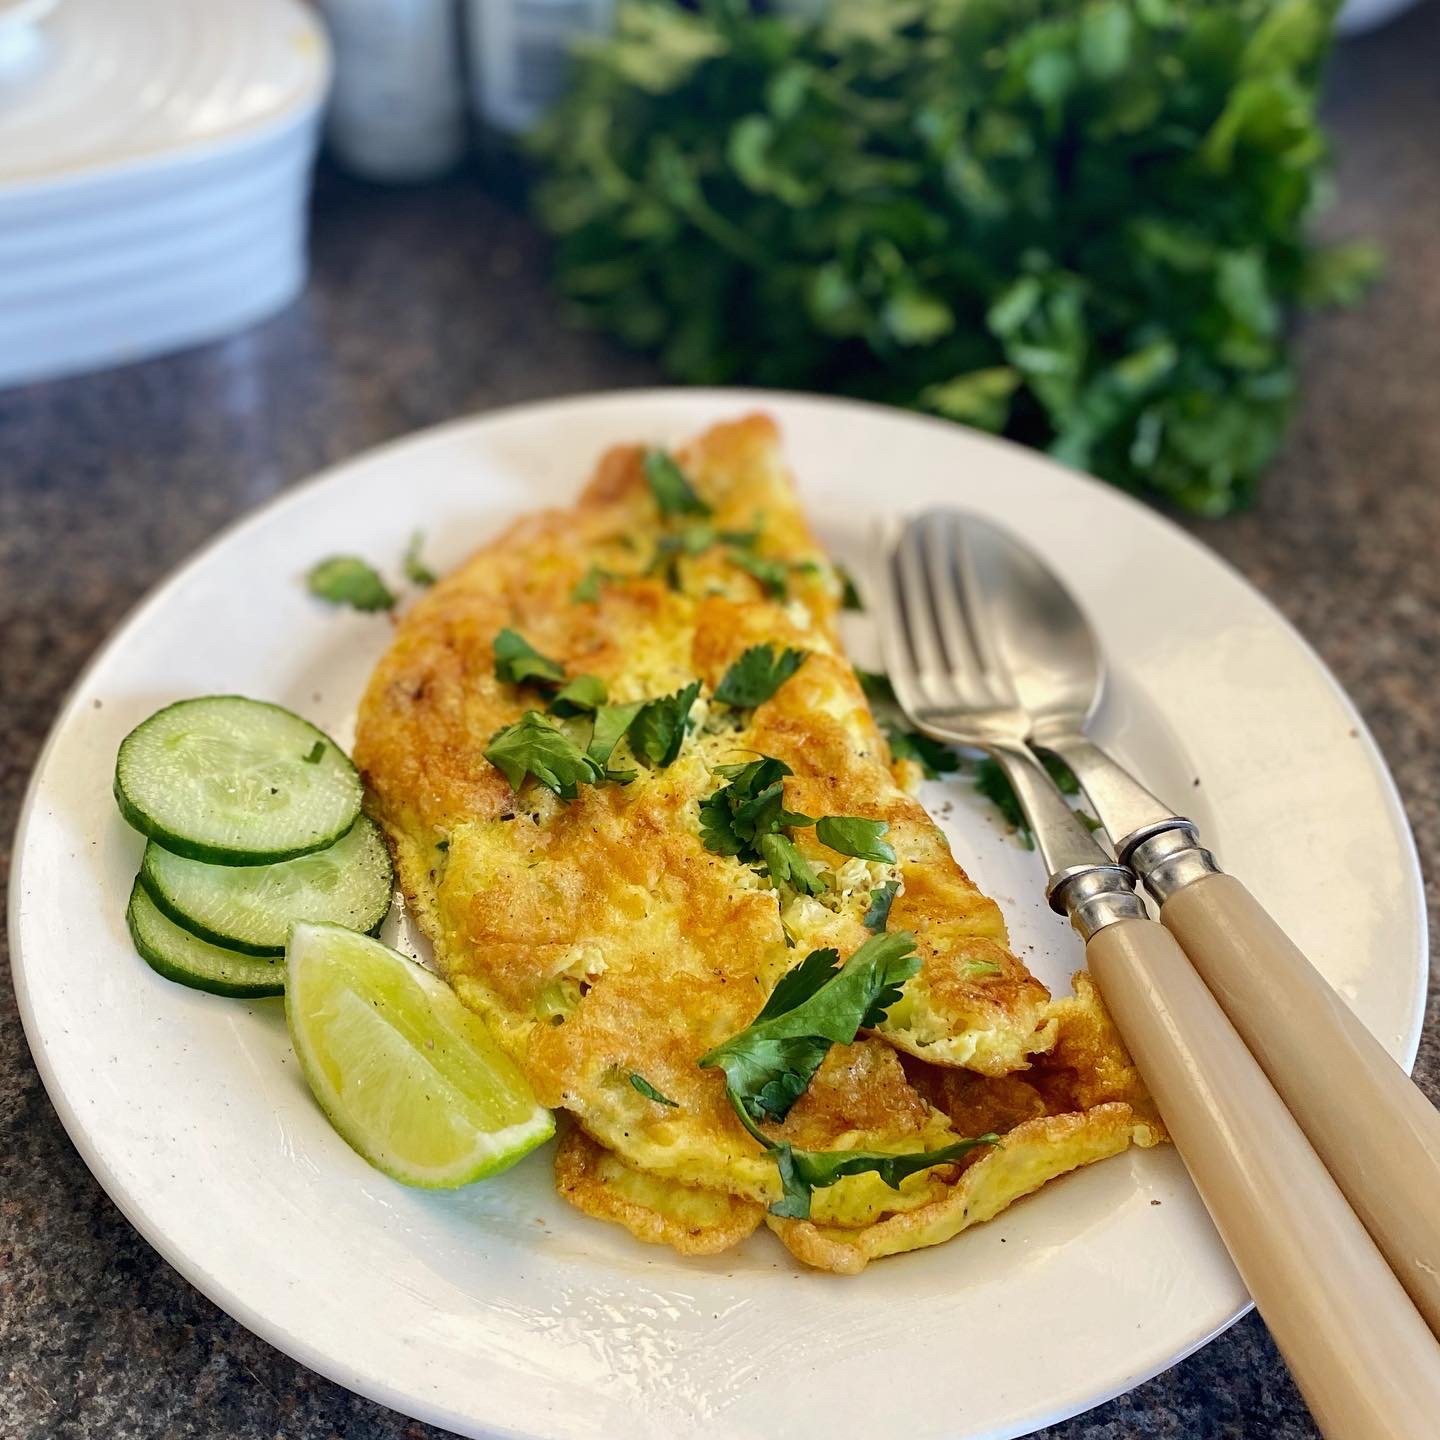
Turn out onto a plate, sprinkle with coriander leaves if liked and some freshly ground black pepper if liked and garnish with some slices of cucumber and a wedge of lime to squeeze over.

Maybe serve with Sriracha Sauce if you have some.

If you want something more substantial, have it with rice.


YOU MIGHT ALSO LIKE …

Green chilli dipping sauce

Perfect for barbecued prawns, or beautiful griddled whole squid.

Or perhaps some pan-fried sea bass with crispy skin (cook in a hot pan with a little oil for four minutes skin side down, turn and cook for two-three minutes then back skin side down for another one to two).

Any seafood really! 🍤 🦑 🐟 🦐

This is really spicy and sour and delicious and will keep in a jar in the fridge for about a week.

2-3 bird eye green chillies (you can use red I just wanted a green sauce) - chopped

1-2 cloves of garlic, peeled and chopped

3 tablespoons fish sauce

The juice of 3 juicy limes

1.5 tablespoons caster sugar (or granulated white sugar is fine it just doesn’t dissolve as quickly)

small handful of fresh chopped coriander leaves (sometimes I add a few chopped mint leaves too)

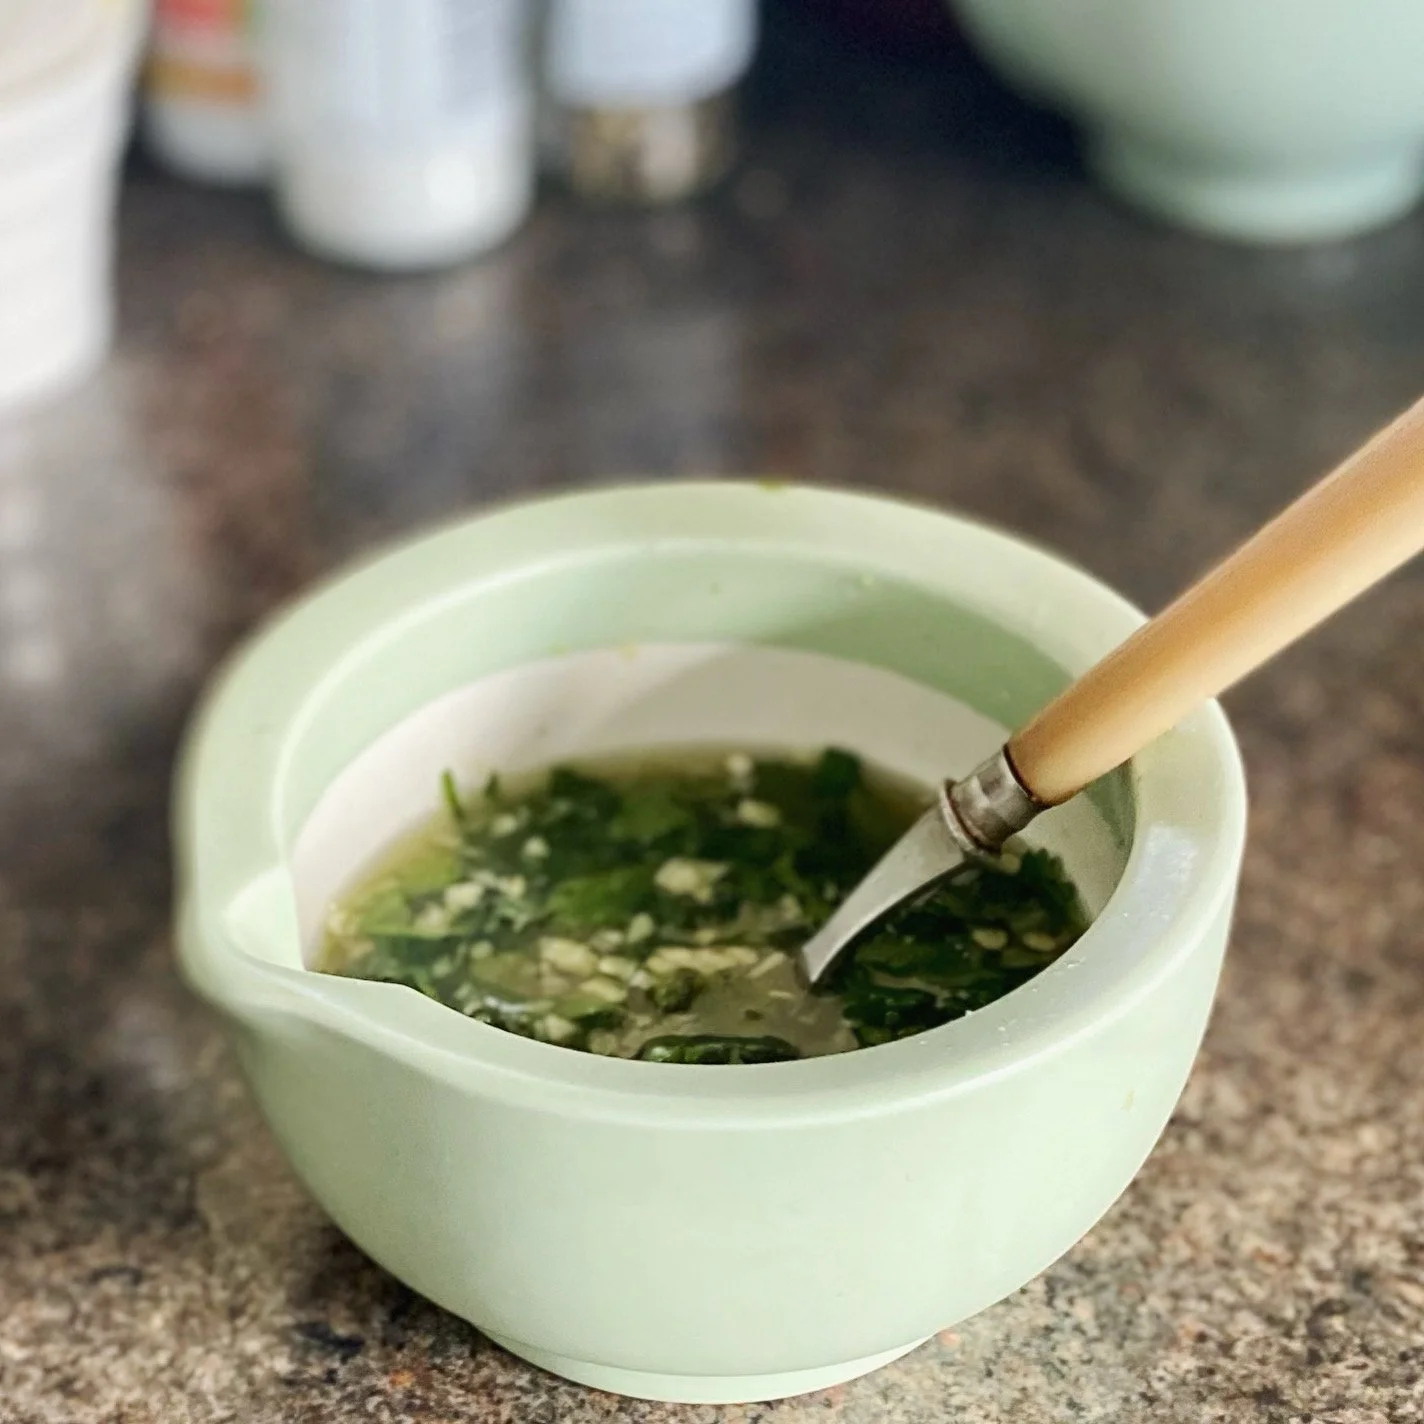
Put the chillies and garlic into a mortar and pound with the pestle to muddle and mush them somewhat together.

Remember that you’re going to be eating this raw so make sure the pieces are chopped quite small.

Add the fish sauce and lime juice and water and stir in.

Then add the sugar and stir until the sugar has dissolved. Throw in the coriander and mix it in.

Taste and see if you want to adjust any of the flavours to get the perfect balance of spicy, sour, sweet and salty for you.

Drizzle a little over the seafood to serve and leave for people to add more to their own taste 🌶 🌿


YOU MIGHT ALSO LIKE …

Luxurious spicy sour Thai seafood salad

What happened was that the grocery shopping arrived and one thing I always have is frozen seafood in the freezer.

Usually whole (cleaned, gutted) squid, big raw prawns and some scallops. Er, right now, the freezer box is so full of ice I can’t even get at the squid. And yes, I actually have a small under-counter fridge with just a freezer box at the top. I like that it’s under the counter and looks neat in the kitchen and also I don’t like to store (hoard) too much food so it works for me. Unless the freezer box is totally iced closed of course.

The newly arrived bags of frozen prawns and scallops were not going to wait for the freezer to defrost either!

I used some of them for an unexpectedly luxurious lunch for a normal Thursday, making them into a quick stir fry with gorgeous chorizo, a little chilli and a little spring onion and had it with rice.

I then poached all the rest by bringing a pan of water to the boil with a crumbled stock cube and some slices of fresh ginger, added the seafood (defrosted by then) and simmering very very gently for 3-4 minutes. Cool and it’ll keep in the fridge for 2-3 days.

OK, it’s not the prettiest way to use seafood but I definitely didn’t want to waste it.

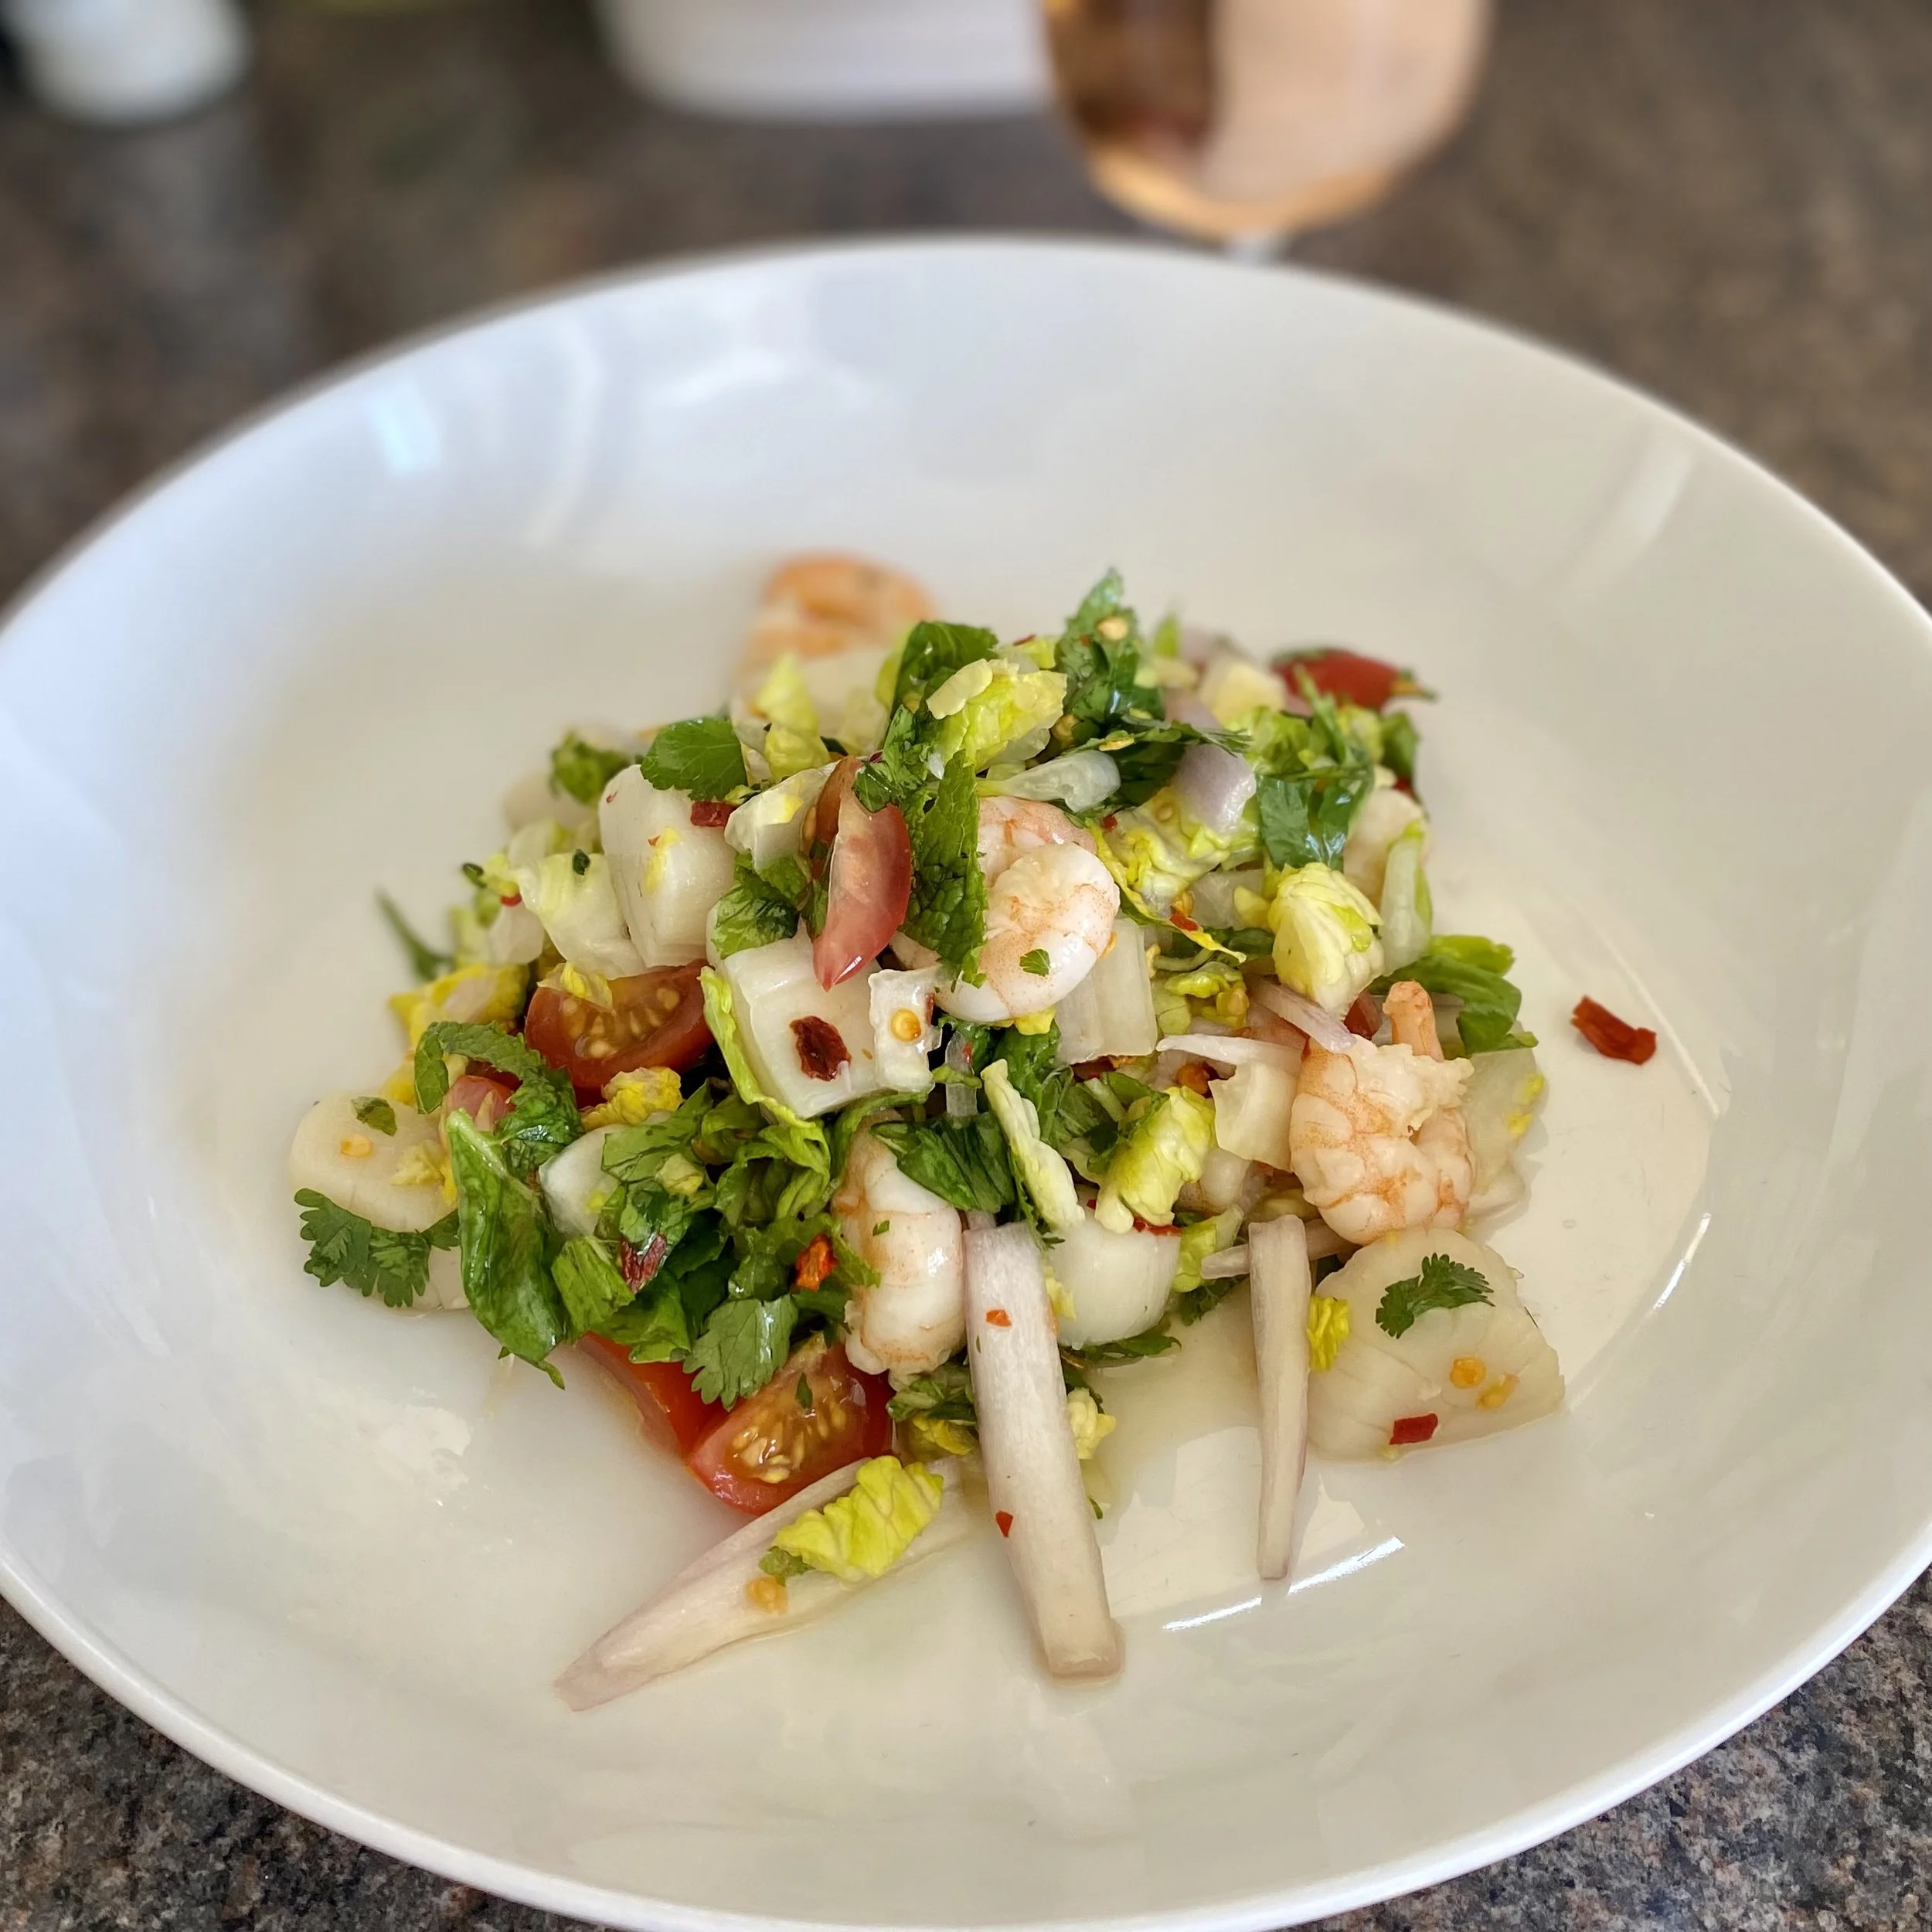
Friday was therefore another unexpectedly luxurious lunchtime treat of a Thai seafood salad, or yum talay.

To make a deliciously indulgent, summery salad for one, you’ll need:

the juice of one juicy lime

1 tablespoon fish sauce

1/2-1 teaspoon sugar (granulated or castor)

1/4-1/2 teaspoon dried chilli flakes

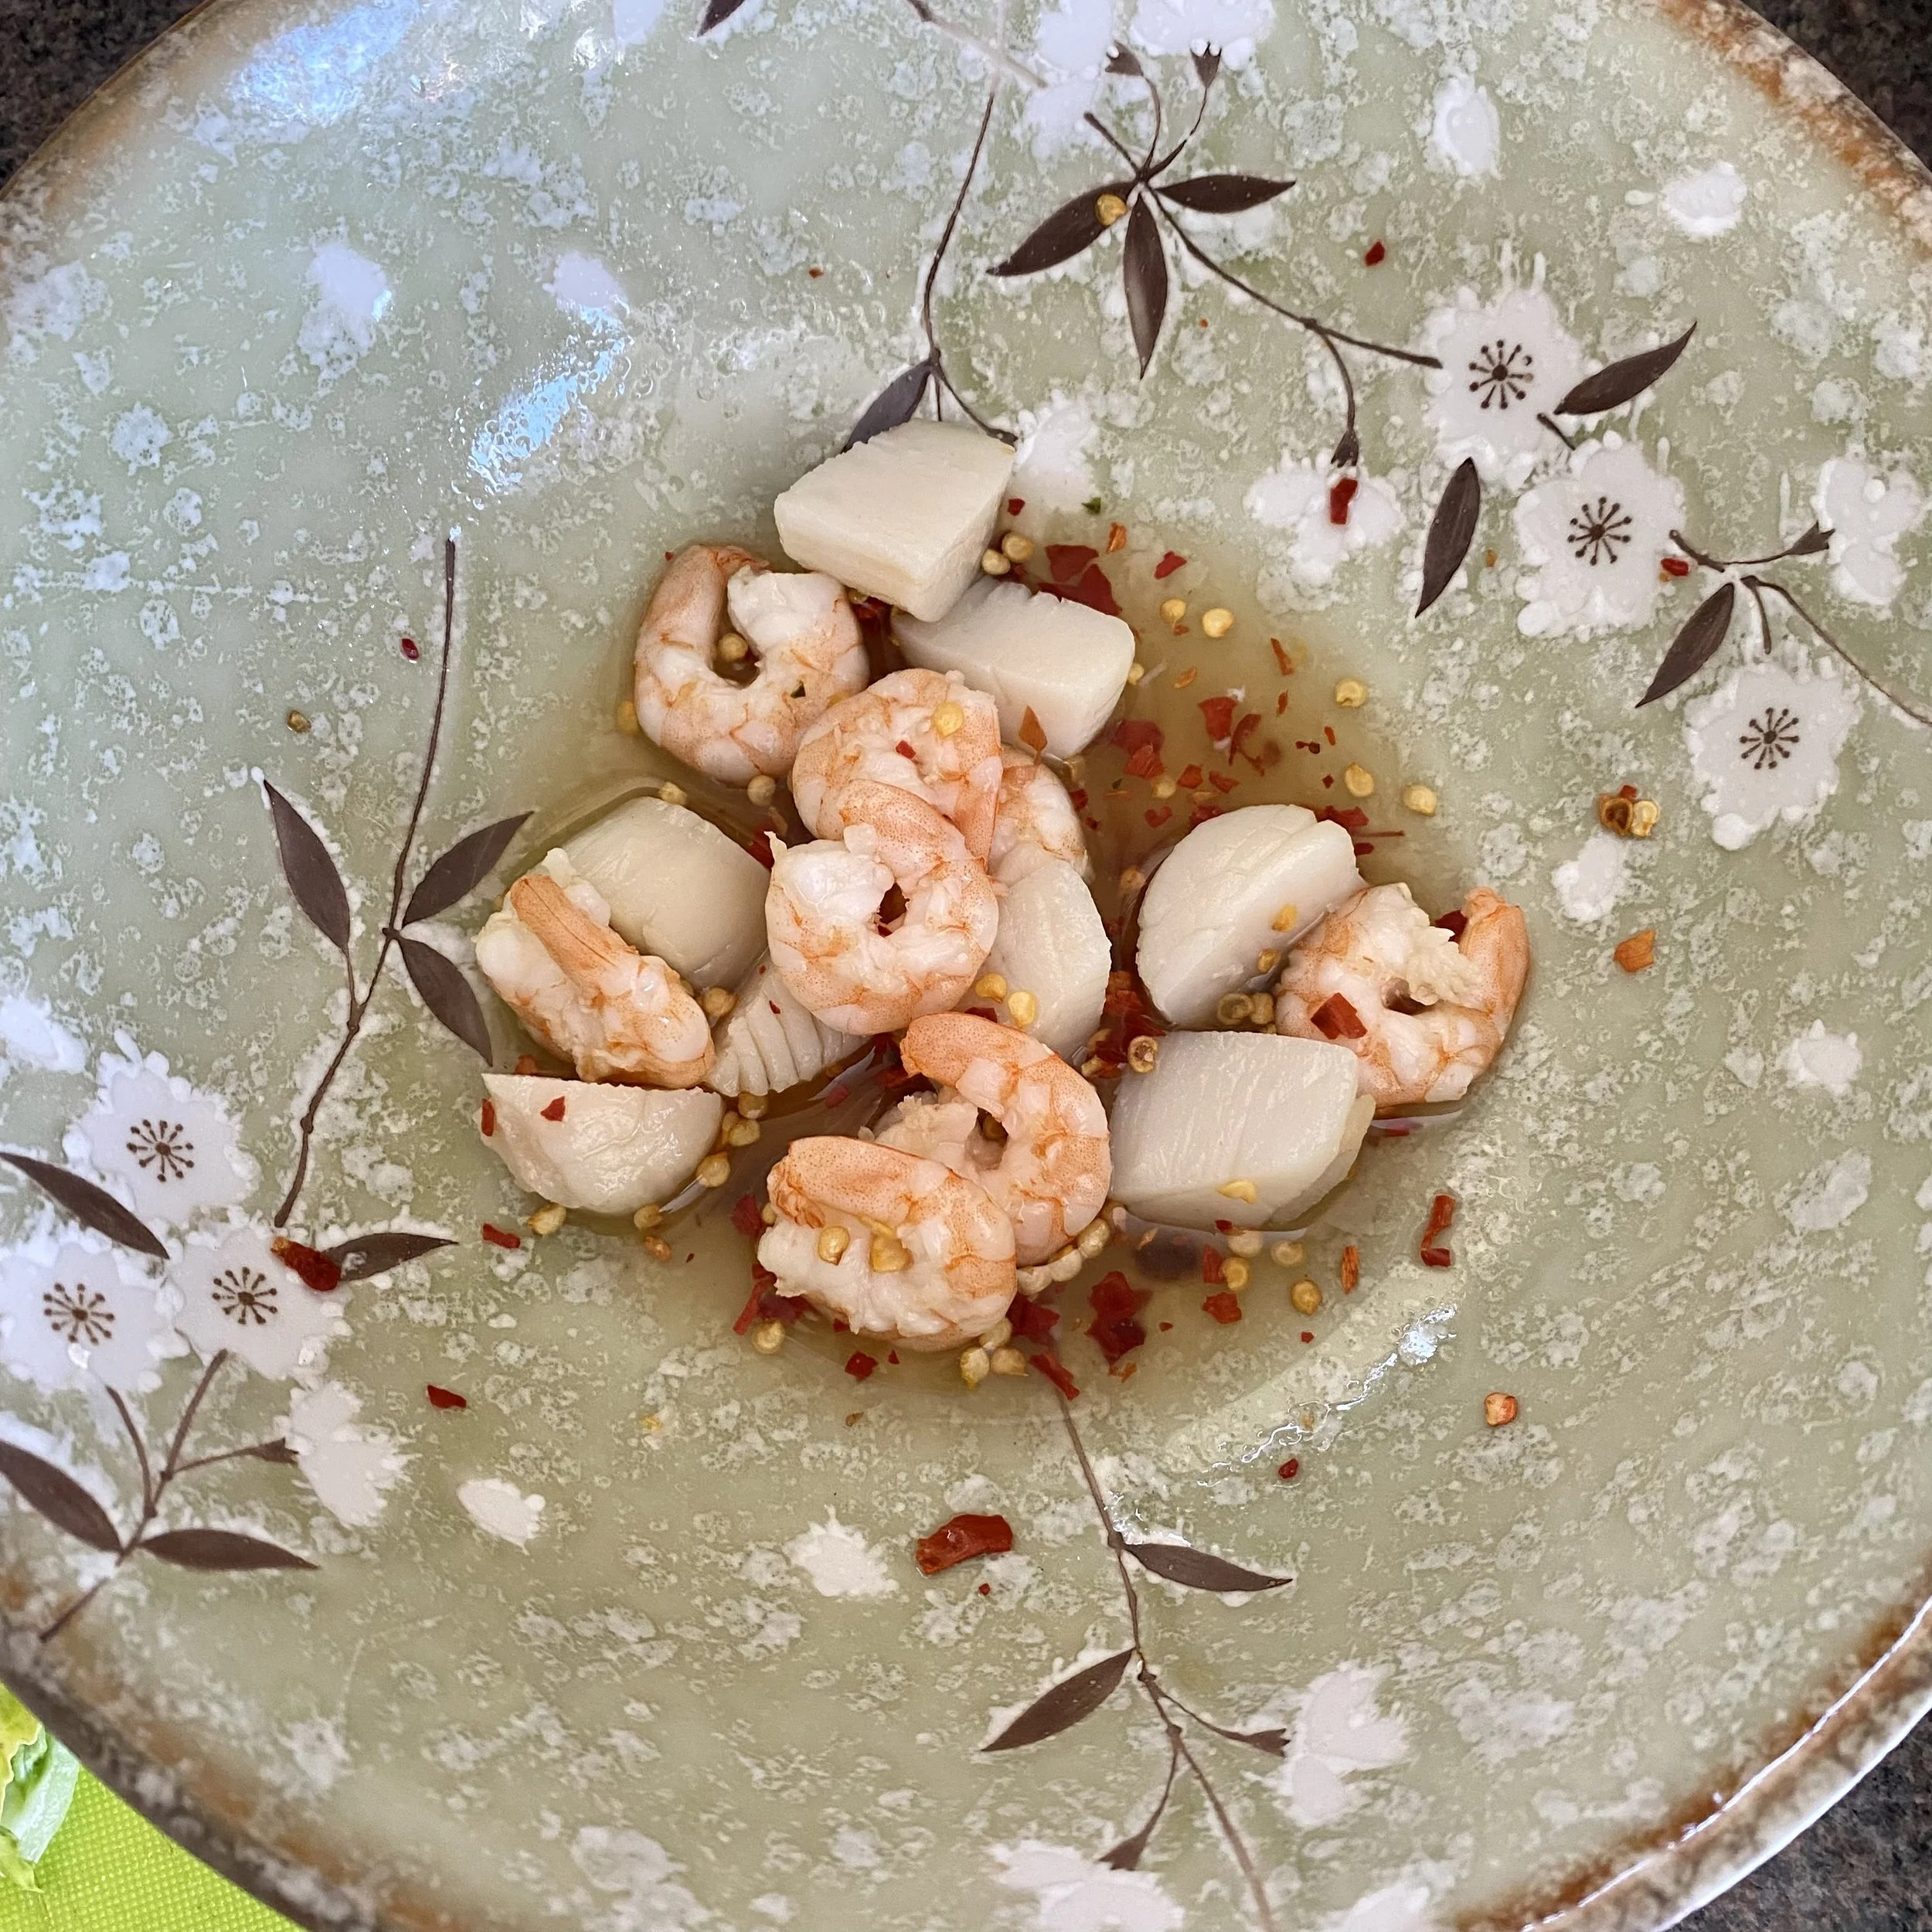
cooked seafood - whatever and how much you choose. I have prawns and scallops

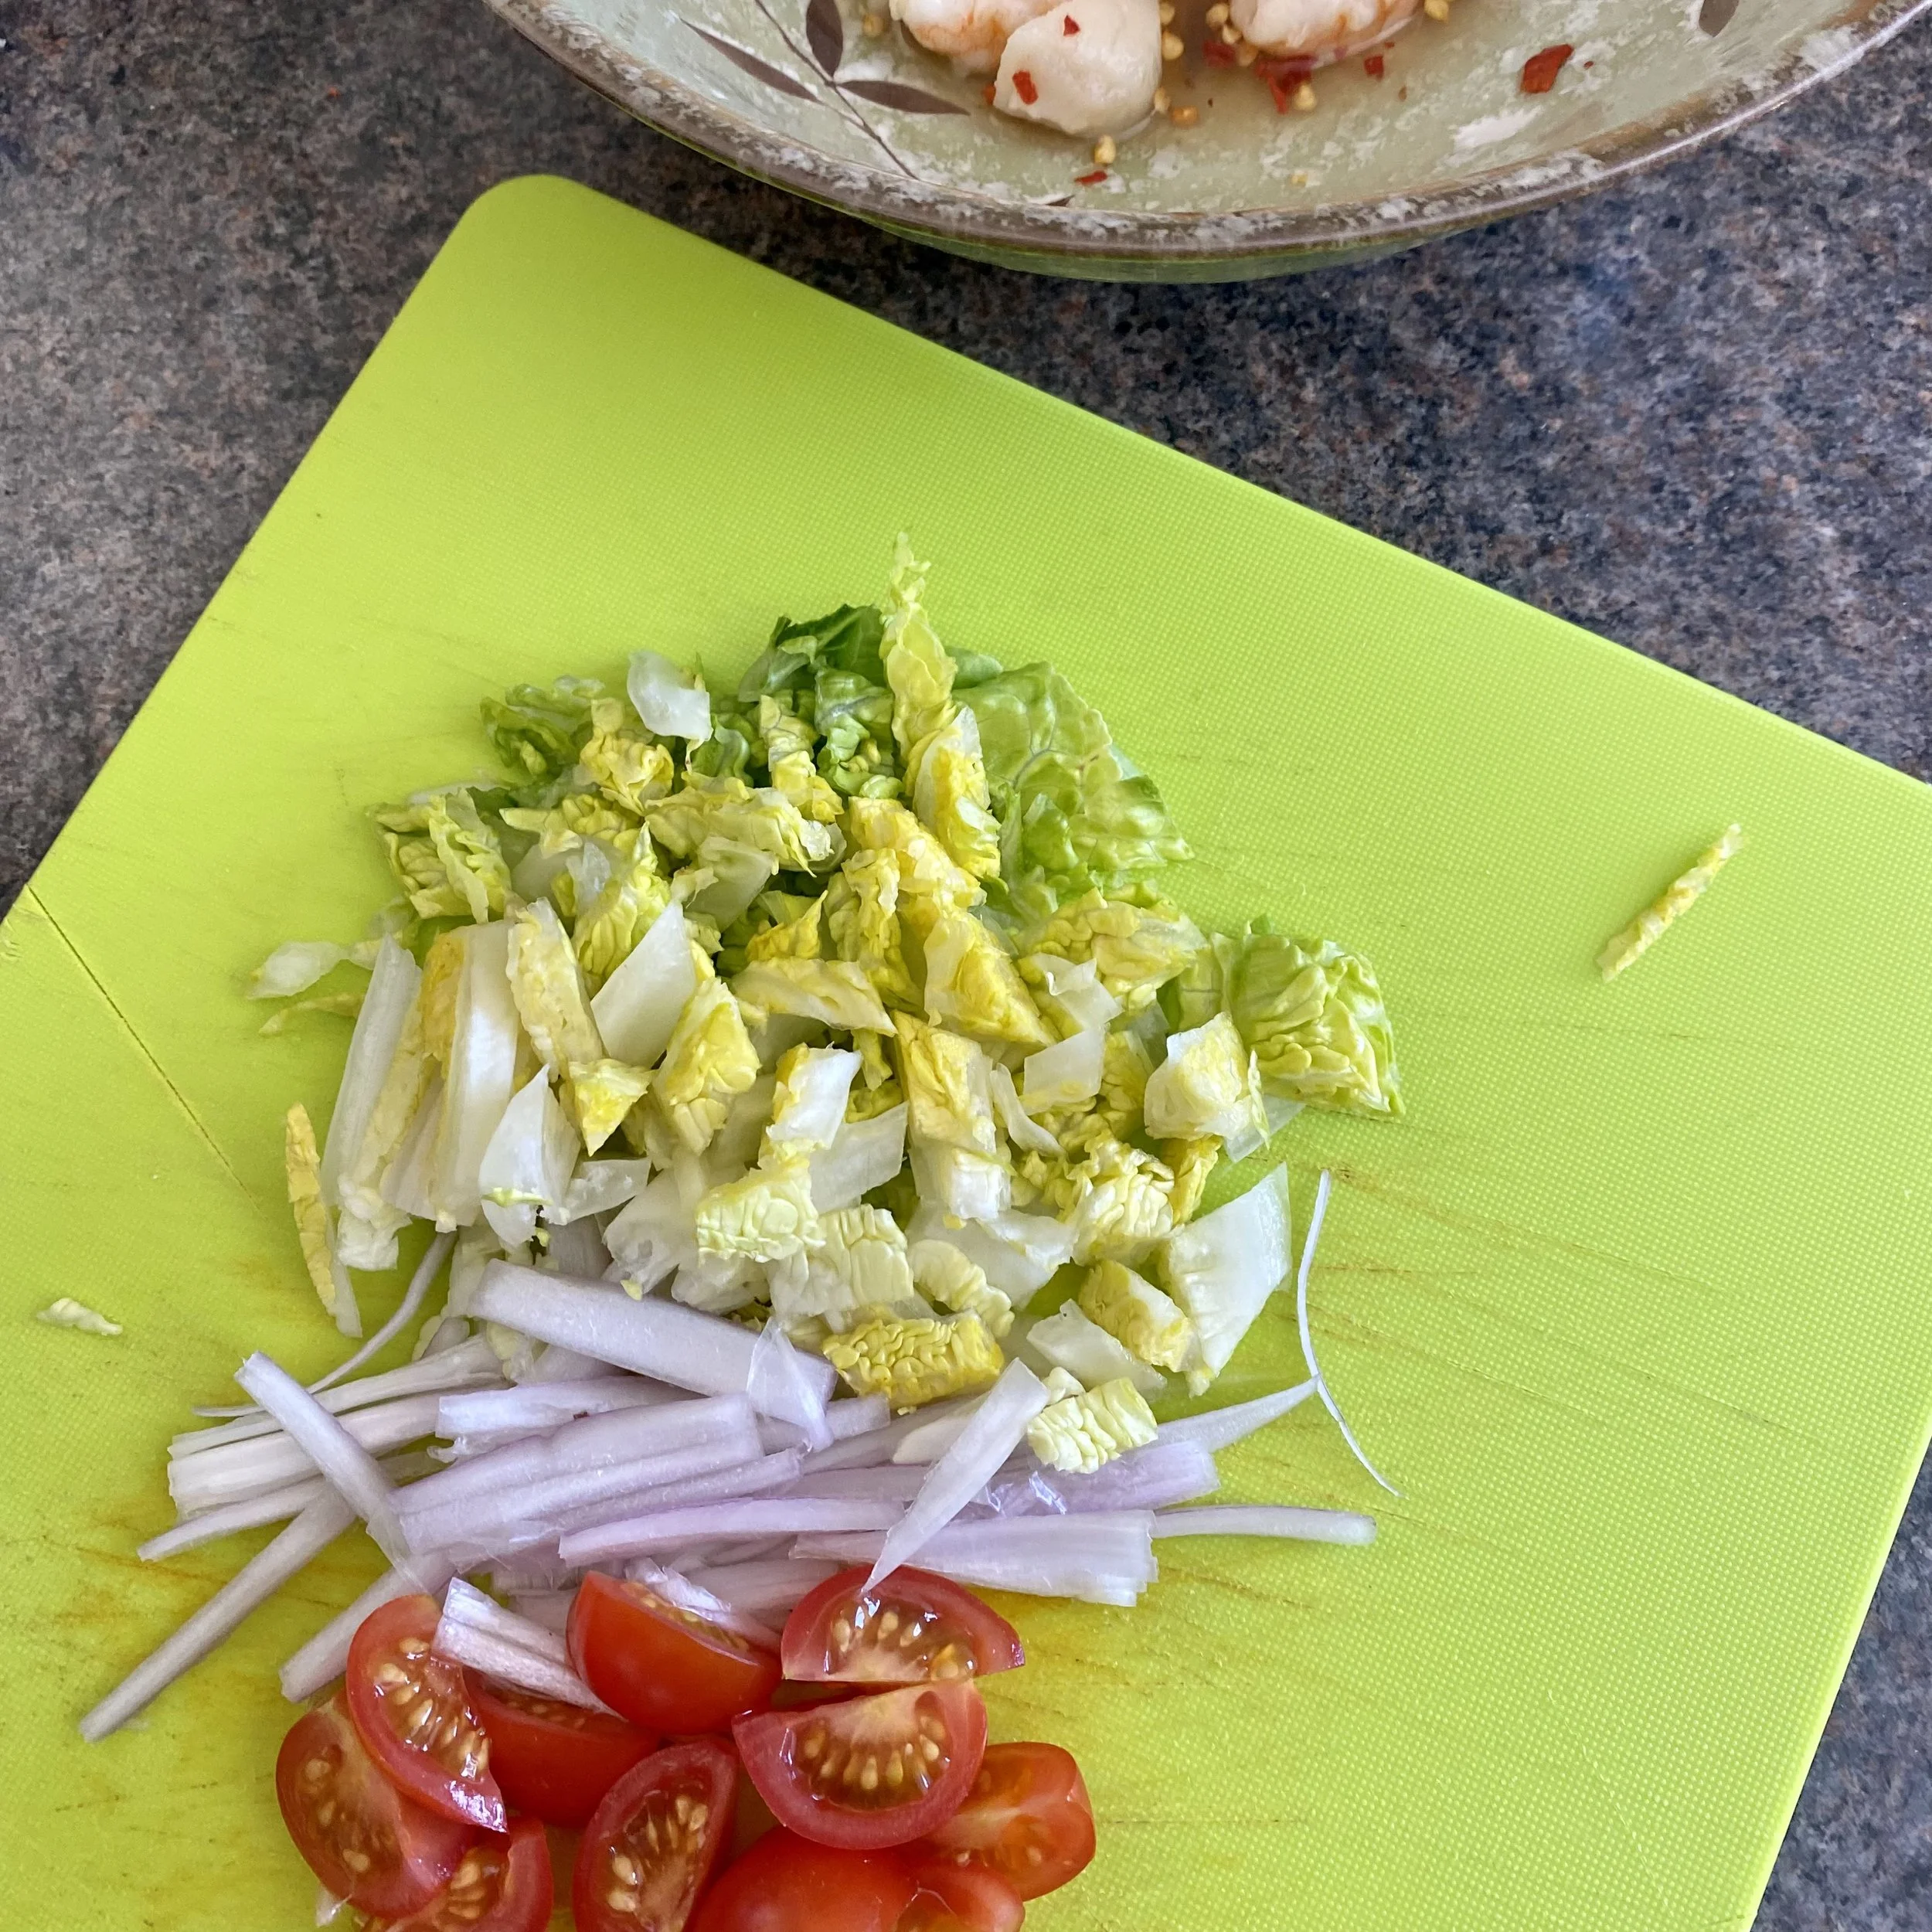
lettuce (I used little gem), cut in half and shredded

a few cherry tomatoes, quartered

a shallot, peeled and sliced into nice long slices, not diced

fresh herbs (optional) - whatever you have and like. I had coriander, mint and basil

Mix all of the dressing ingredients together (lime juice, fish sauce, sugar, chilli flakes) in a large bowl and stir to dissolve the sugar. Taste and add more of any of the ingredients to make it perfect for you.

Add the cooked seafood straight into the dressing and then the lettuce, tomatoes and shallots.

Mix it all together - you can use a spoon if you prefer but I like to use my (clean) hands to slightly massage it all in.

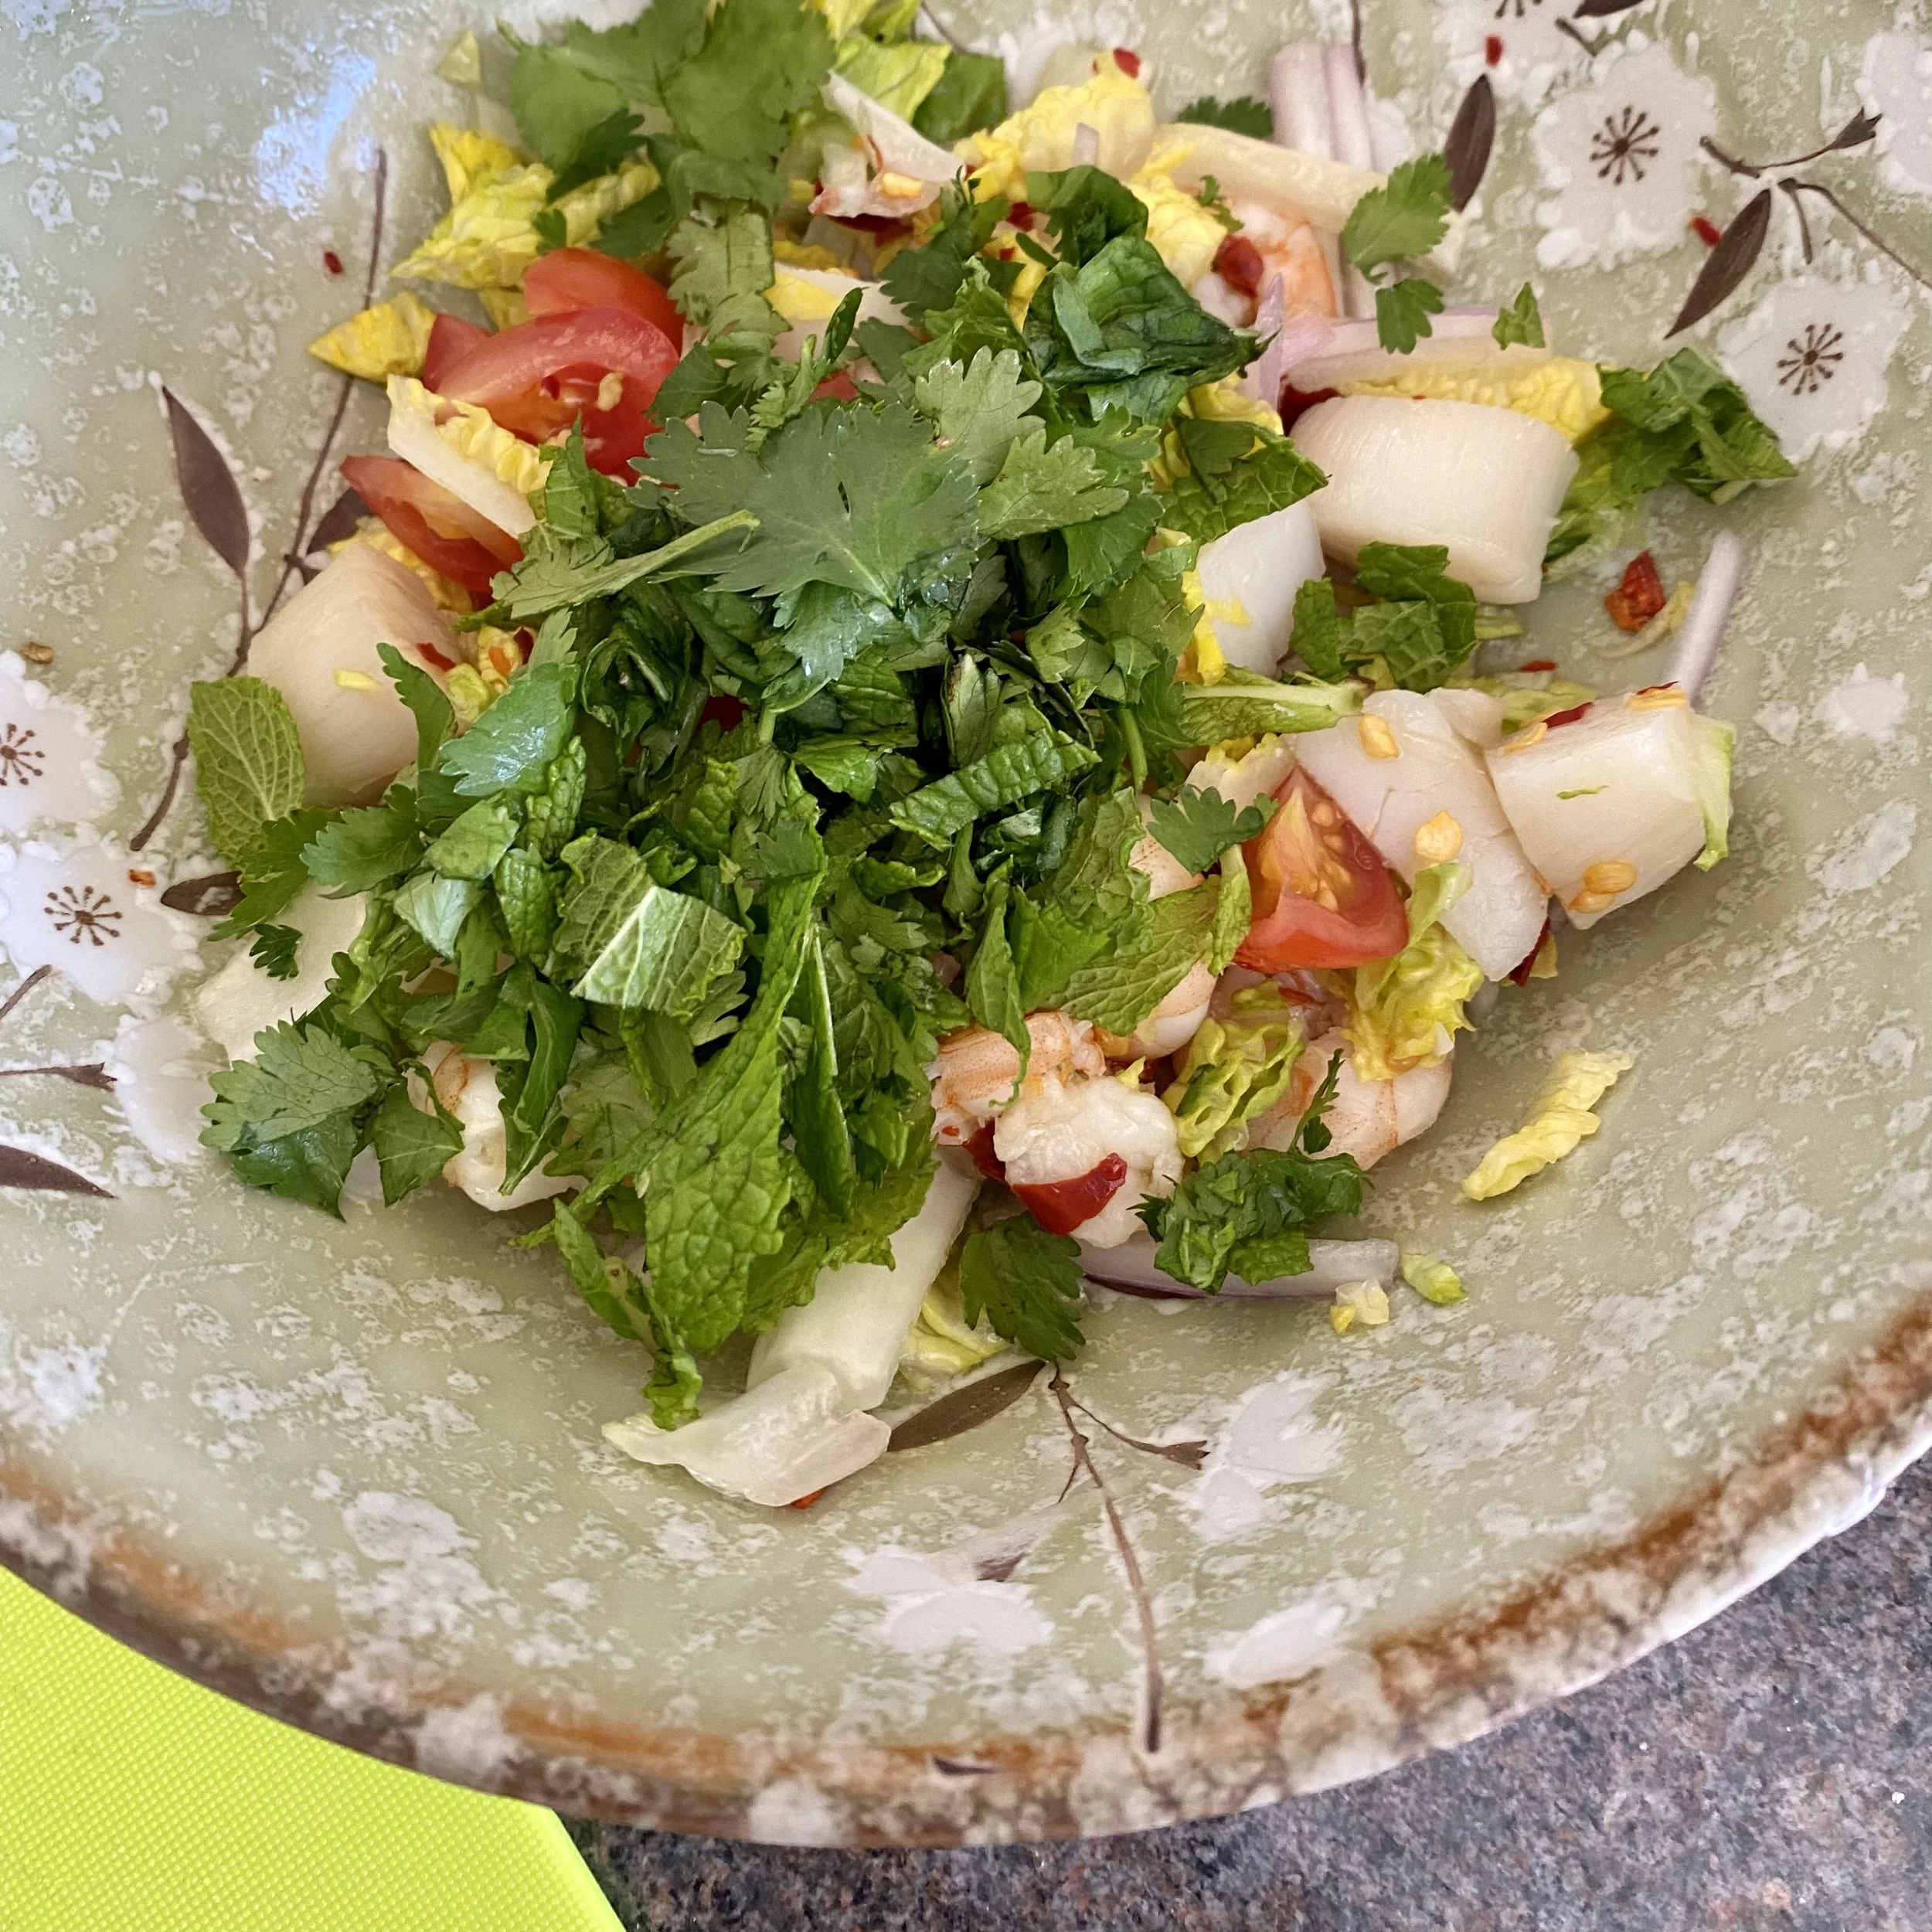
Add the fresh herbs, if using, and mix again.

Pile onto a plate and eat.

Perhaps have a glass of rosé with it if it’s sunny and you fancy it!


YOU MIGHT ALSO LIKE …

Thai Isaan-style sausage salad - sai krok isan

You know when you just know what exactly it is you want to eat?

And that just makes everything so much easier.

I hate making wrong food choices. So usually when I know exactly what I want, well that’s good.

Except perhaps when what you really (really) want is sai krop isan … a beautiful sour fermented sausage street food from north eastern Thailand …

BUT … ! Hold on!

I made this. And it was so good. All from store-cupboard stuff and some pork sausages.

A real cheat’s version, yep.

But really good in its own right too.

Note that the ingredients need cooked rice, so maybe make some extra one evening so you can have this for lunch the next day, or cook the rice first anyway so that you have it ready to make the new sausages.


For a light lunch for two you’ll need …

2 or 3 pork sausages, plain or Cumberland

one garlic clove, peeled and finely chopped

1 tablespoon light soy sauce

a good pinch of salt

a teaspoon of ground coriander

1/2 teaspoon white pepper if you have it

a tablespoon or two of cooked rice

plain flour

cooking oil

lettuce, cucumber, spring onions, sliced chillies and lime juice to serve


Get all the ingredients together and squeeze the sausagemeat from the sausages, just cutting the casings (and discarding), squeezing it out and then mixing with the garlic, soy sauce, salt, ground coriander and white pepper.

Mix it all up and add the cooked rice, and mix again and make into a ball.

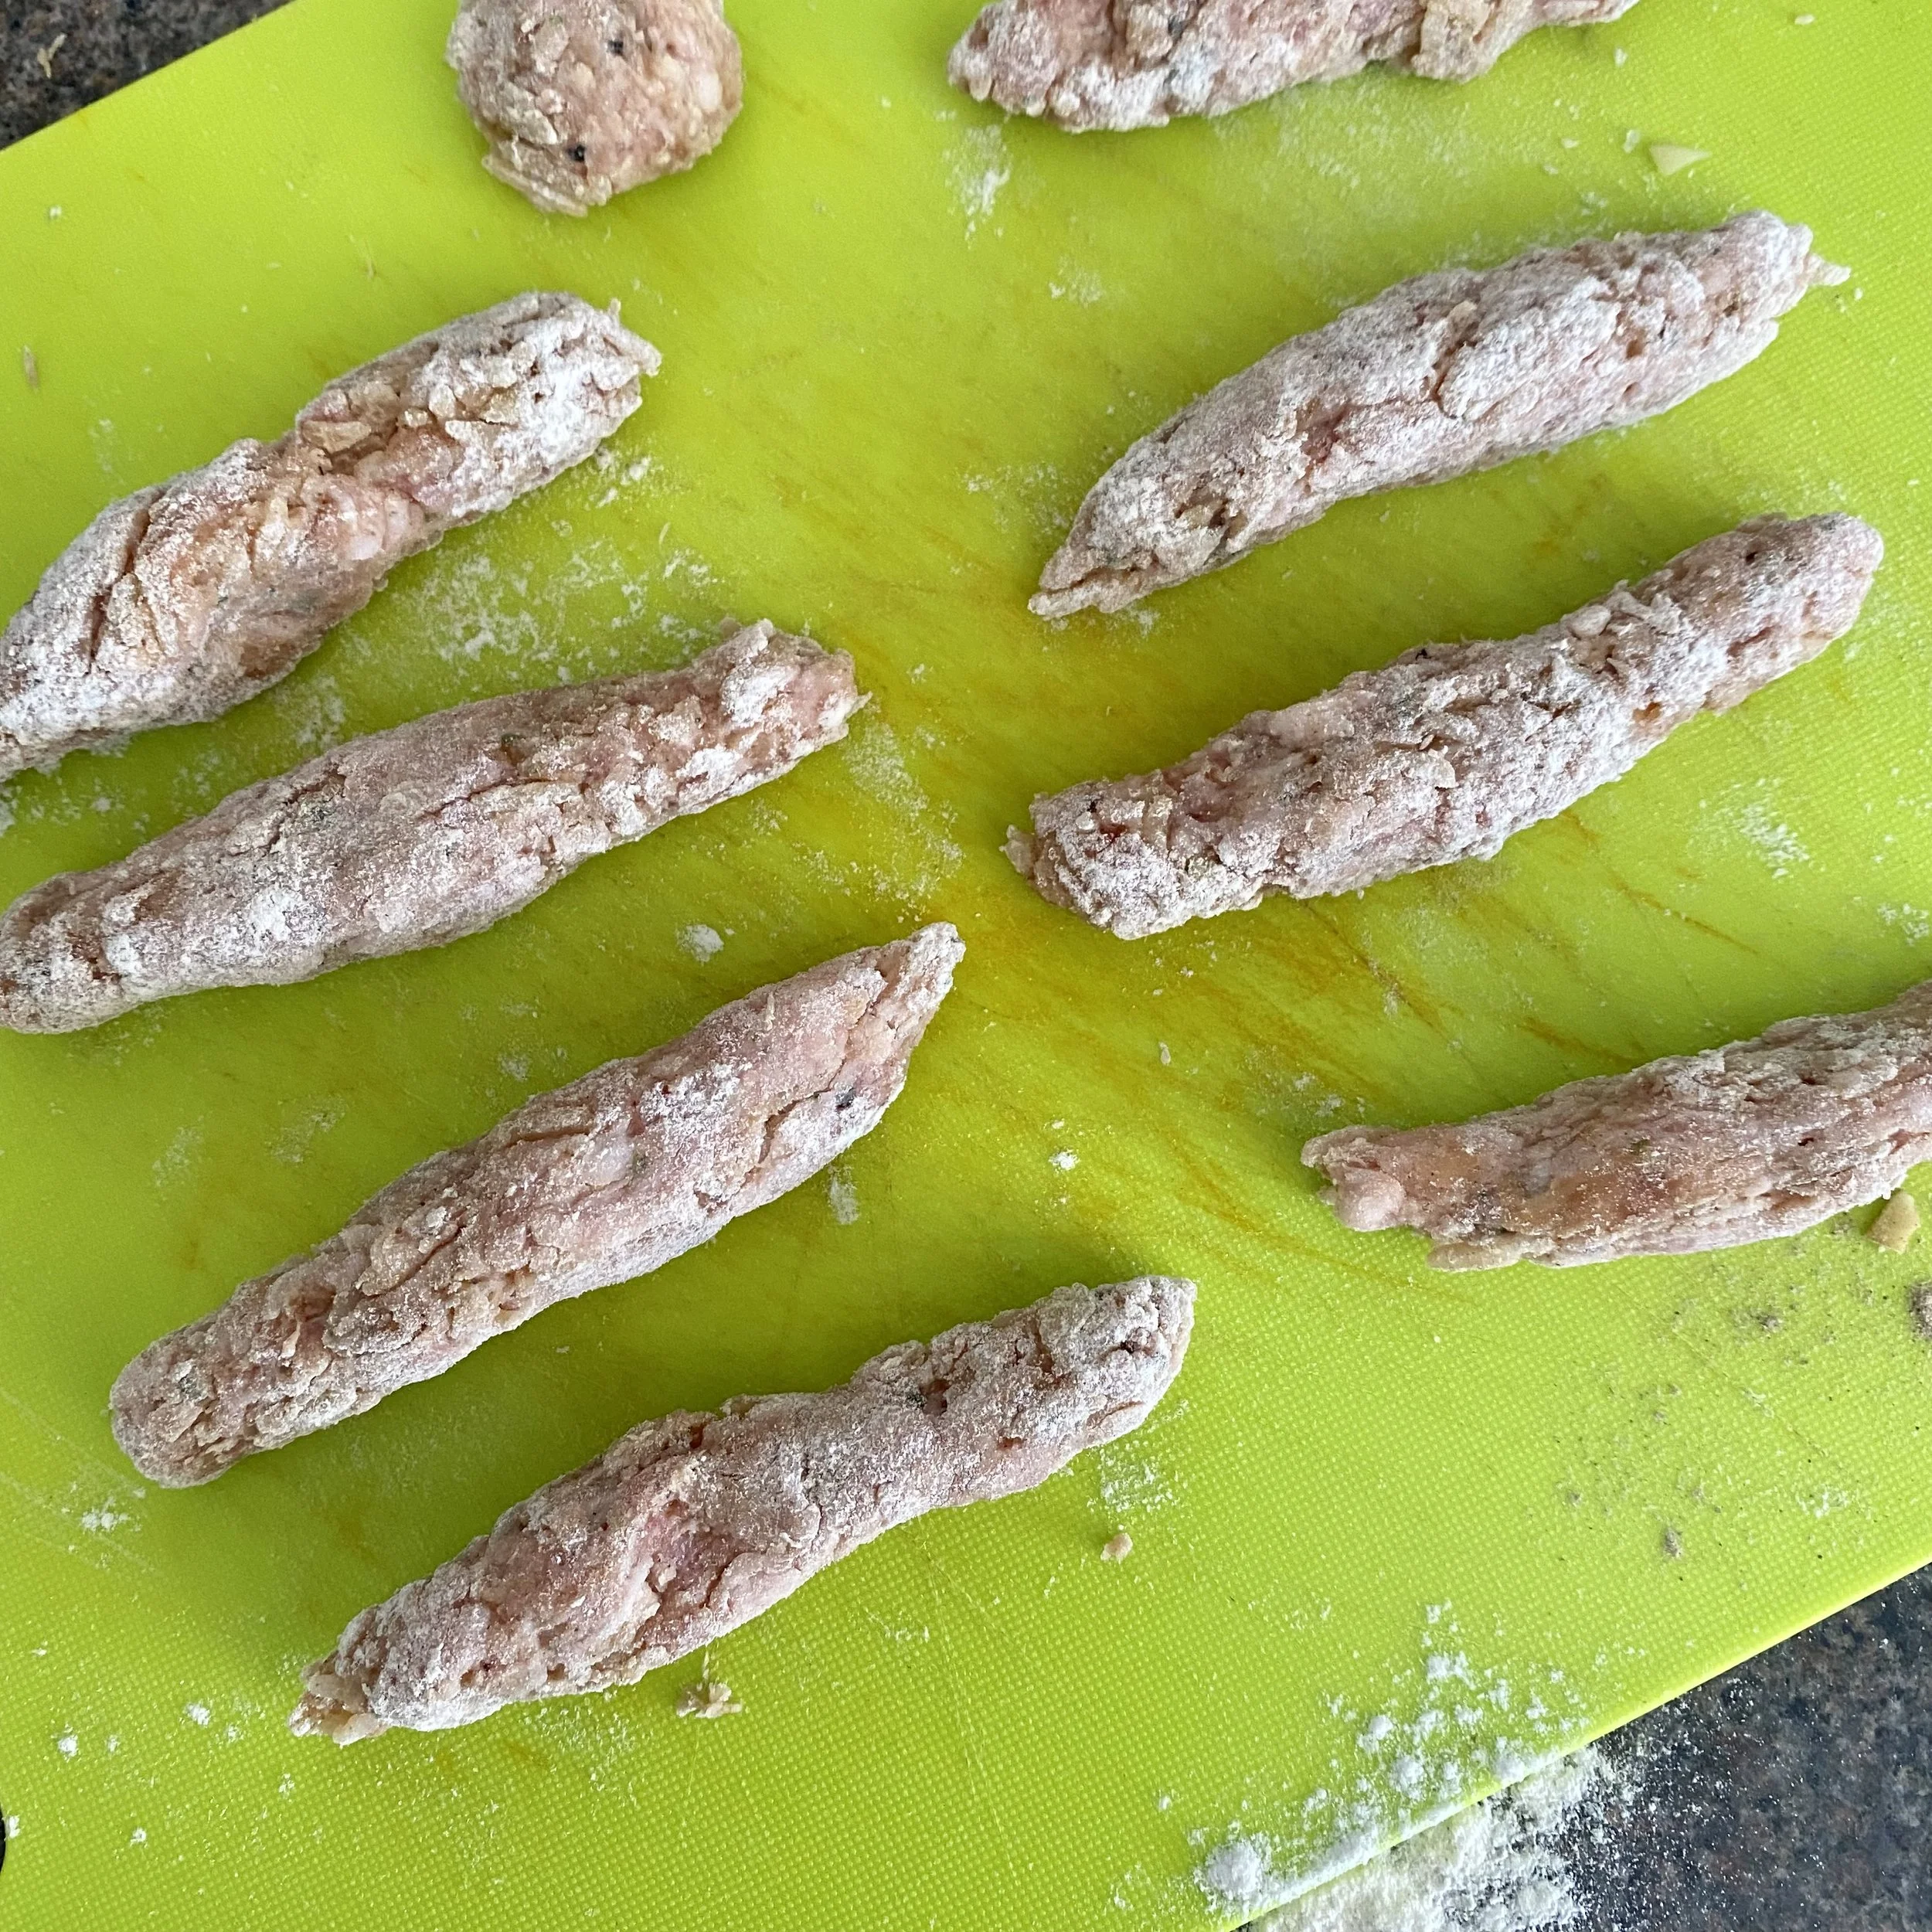
Dredge with plain flour so you’re ready to start making the brand new sausages.

Pull off pieces of the mixture and roll in your hands to make new little sausages.

Put a non-stick pan over a medium heat, add cooking oil and when hot add the sausages.

Cook for around eight minutes in total, turning every two minutes or so.

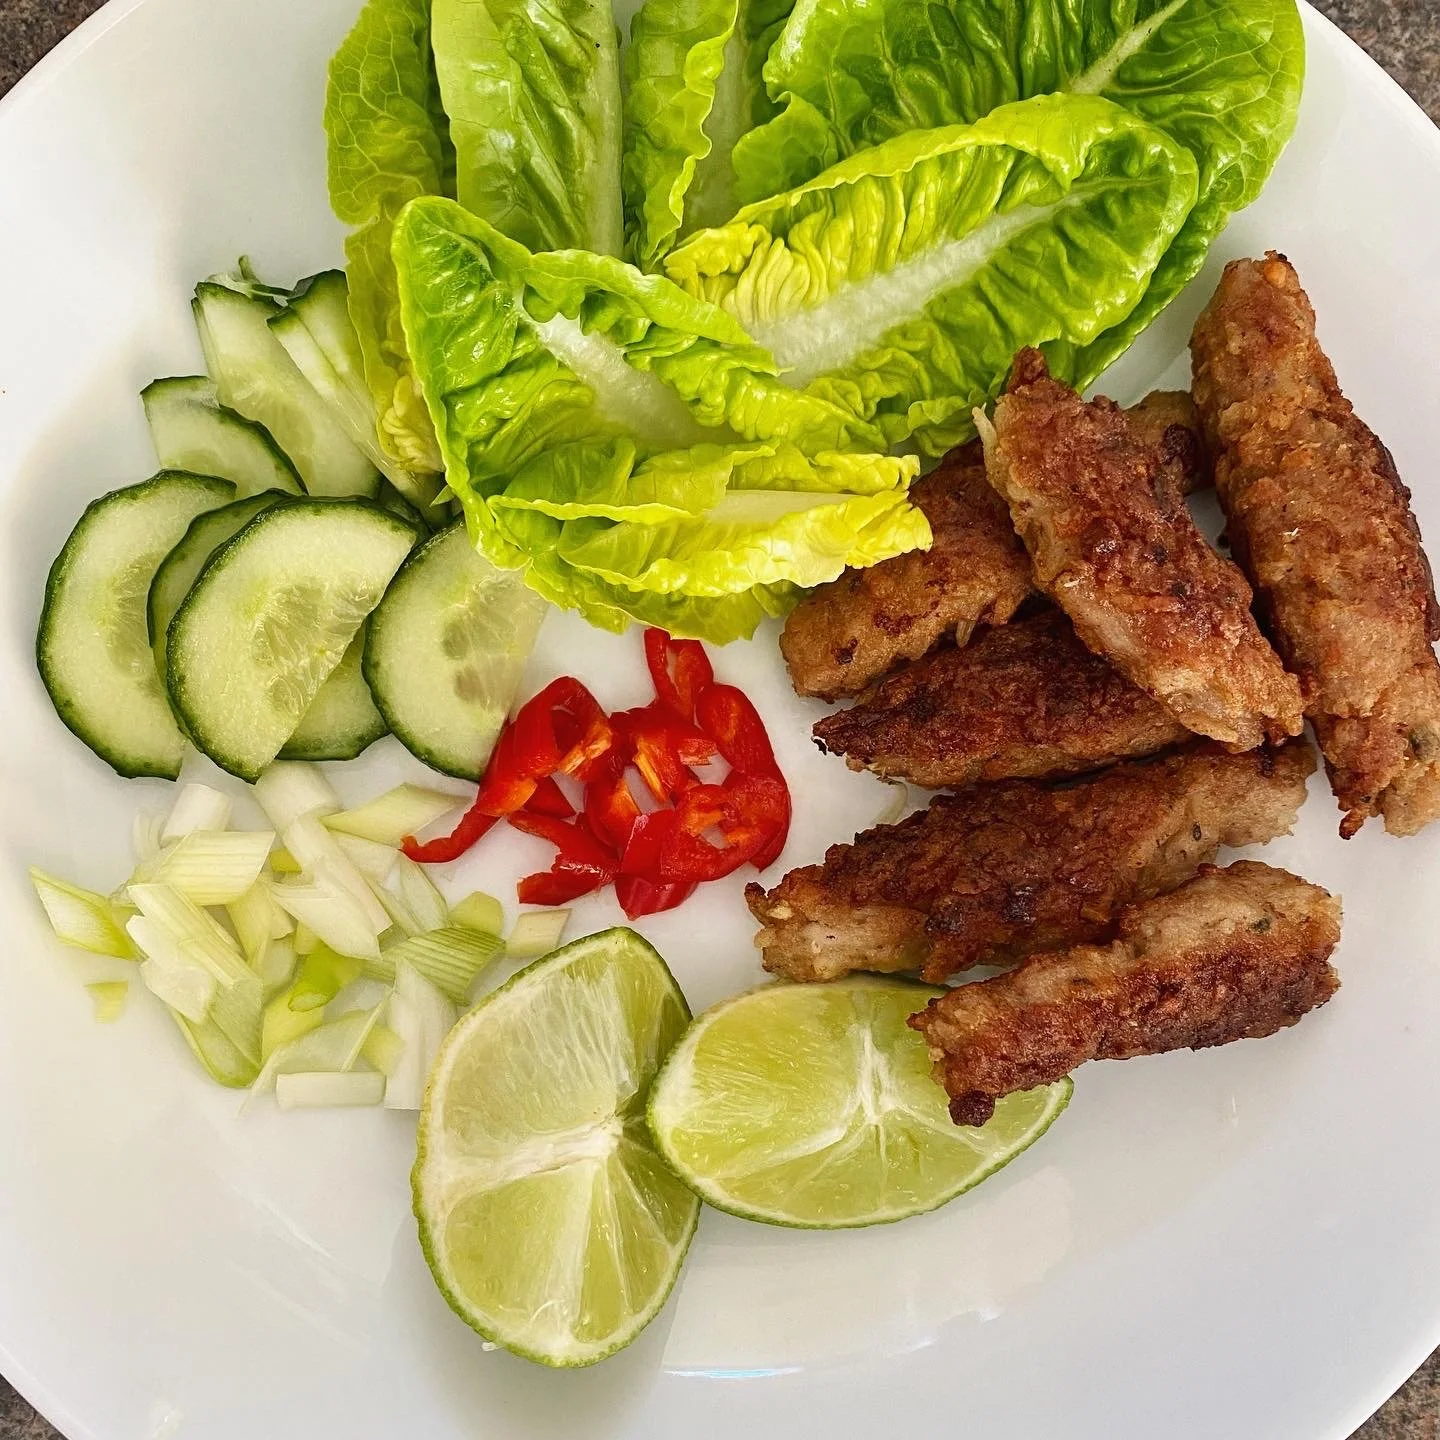
When brown and a little bit crispy they are perfect and ready.

(Try not to eat them all straight from the pan even though I know how tempting it is).

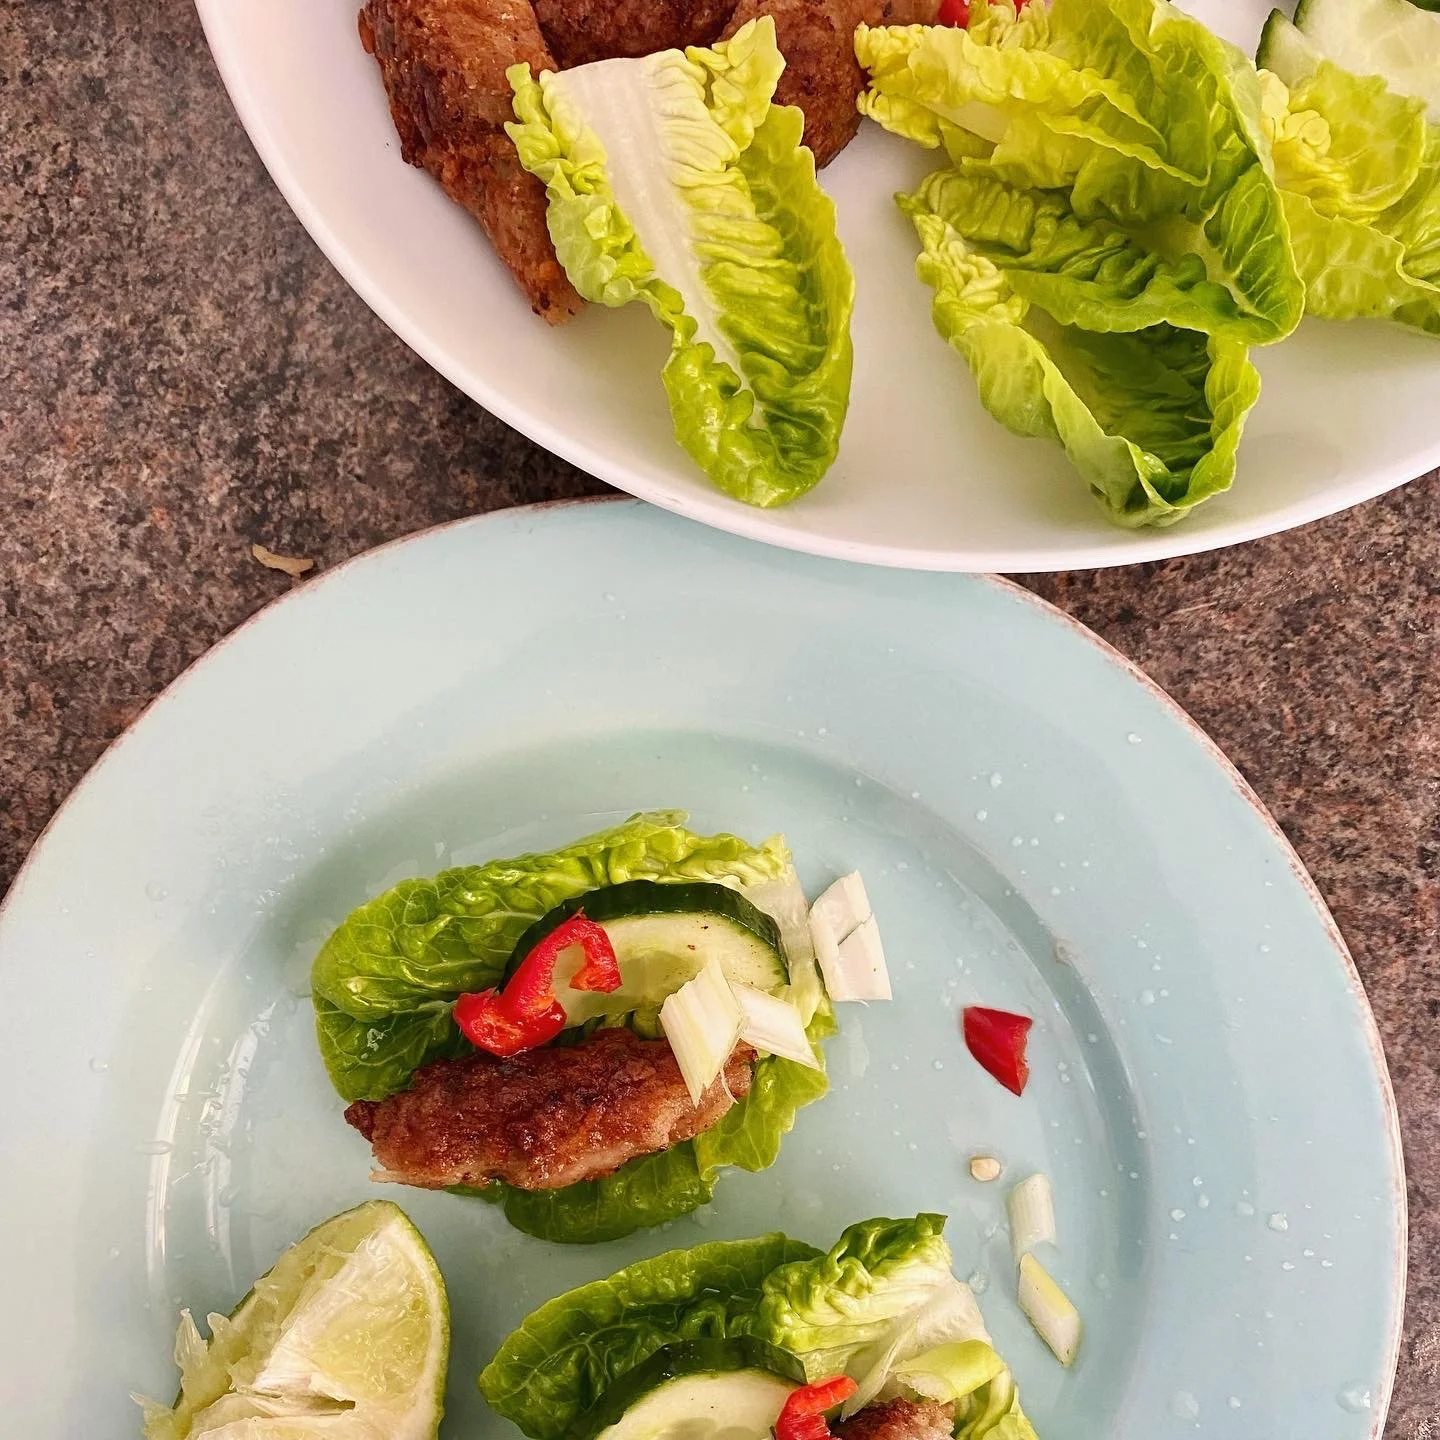
Eat wrapped in lettuce leaves, with perhaps also some cucumber, spring onions, some sliced chillies and a good squeeze of lime.

Really easy, perfect light lunch or dinner.

I hope you like them.


YOU MIGHT ALSO LIKE …

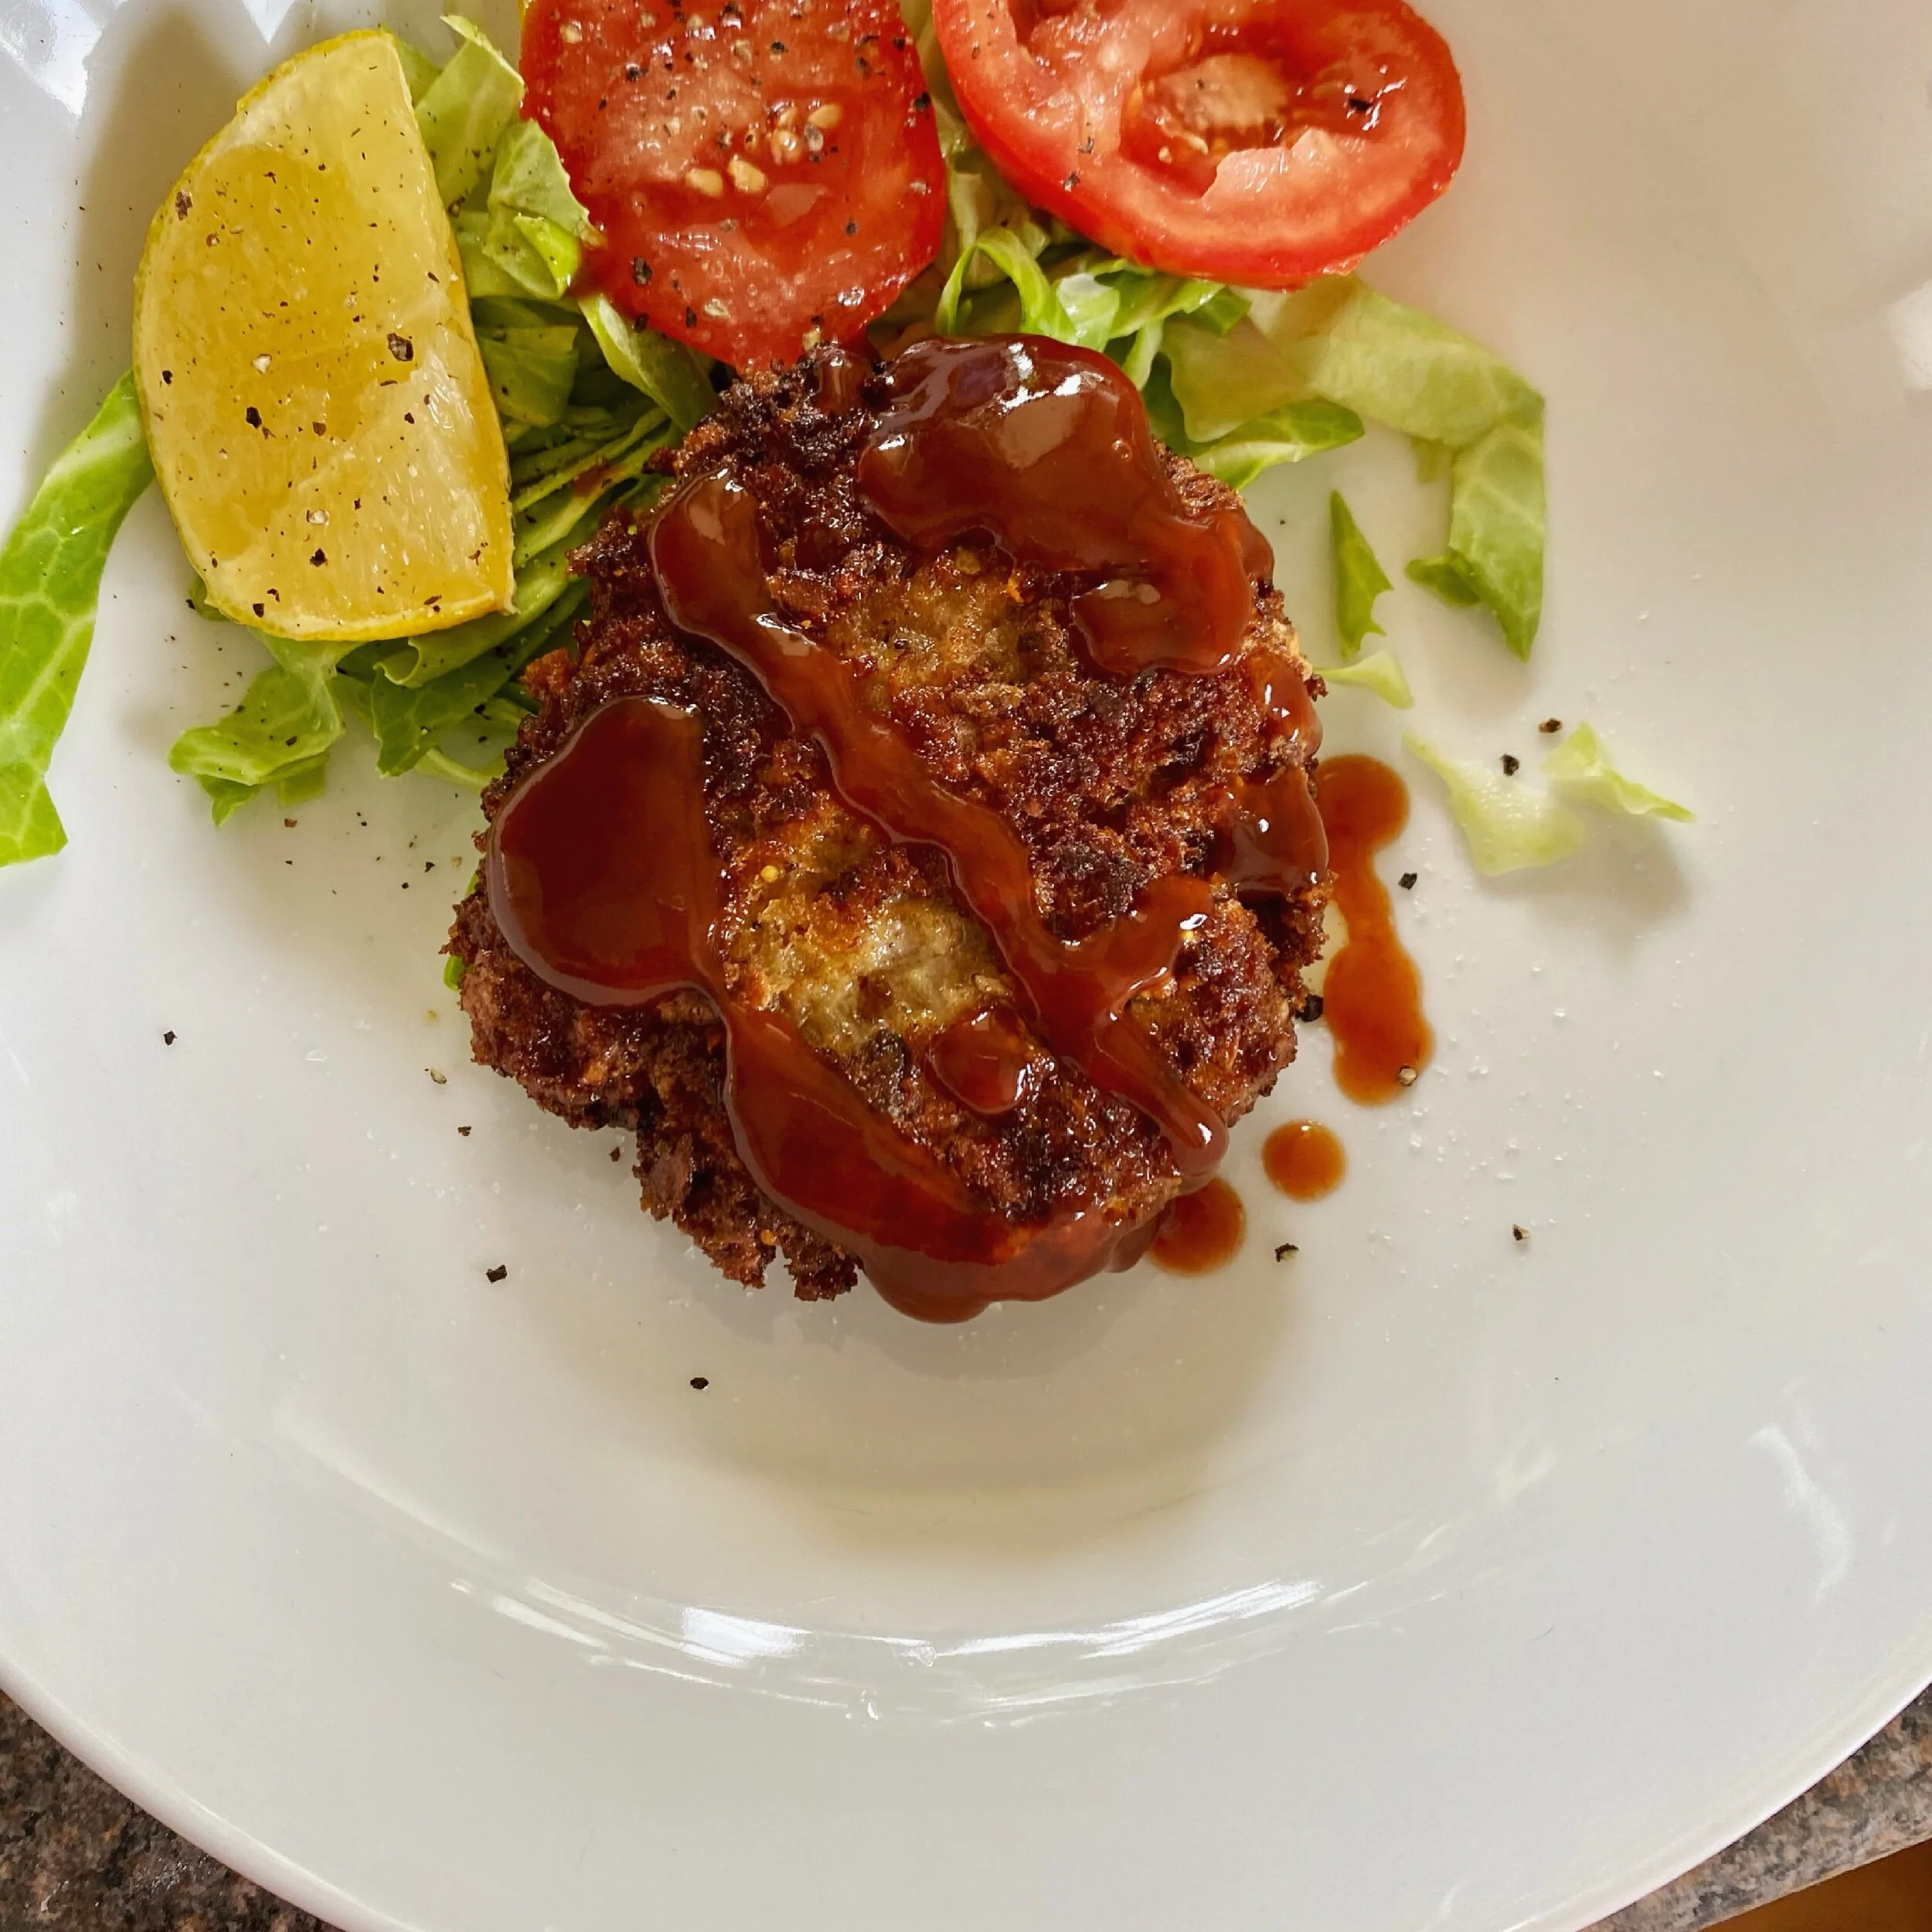
Midnight Diner's minced meat cutlet / menchi katsu

I watch little television but I am obsessed with Midnight Diner on Netflix. I recently discovered that it was released for viewing in a different order to when they were made so I’ve actually stumbled across a series I didn’t even know what there.

SUCH a great surprise and such a treat to get to binge-watch a whole new-to-me ten episodes!

I love everything about it. I love it so much I watch the intro every time. I love that each episode is short (I have the attention span of a gnat). I love the little stories, and connections.

Sometimes I also make the recipe from the episode - previously I made the chicken fried rice stuffed omelette, omurice. I’m tempted to go back right back to the start (in the correct order this time and make everything). Now that might be a good project!

Sometimes I can laugh, cry and then make a new recipe as with episode 1 of season 3.

As soon as I saw the minced meat cutlets I wanted to try them.

They’re so easy, really good with a lovely crunch and would perfect for kids too - a really good family dinner. And they’re kind of fun to make as well with the mixing and then the dipping etc.


To make four cutlets you’ll need:

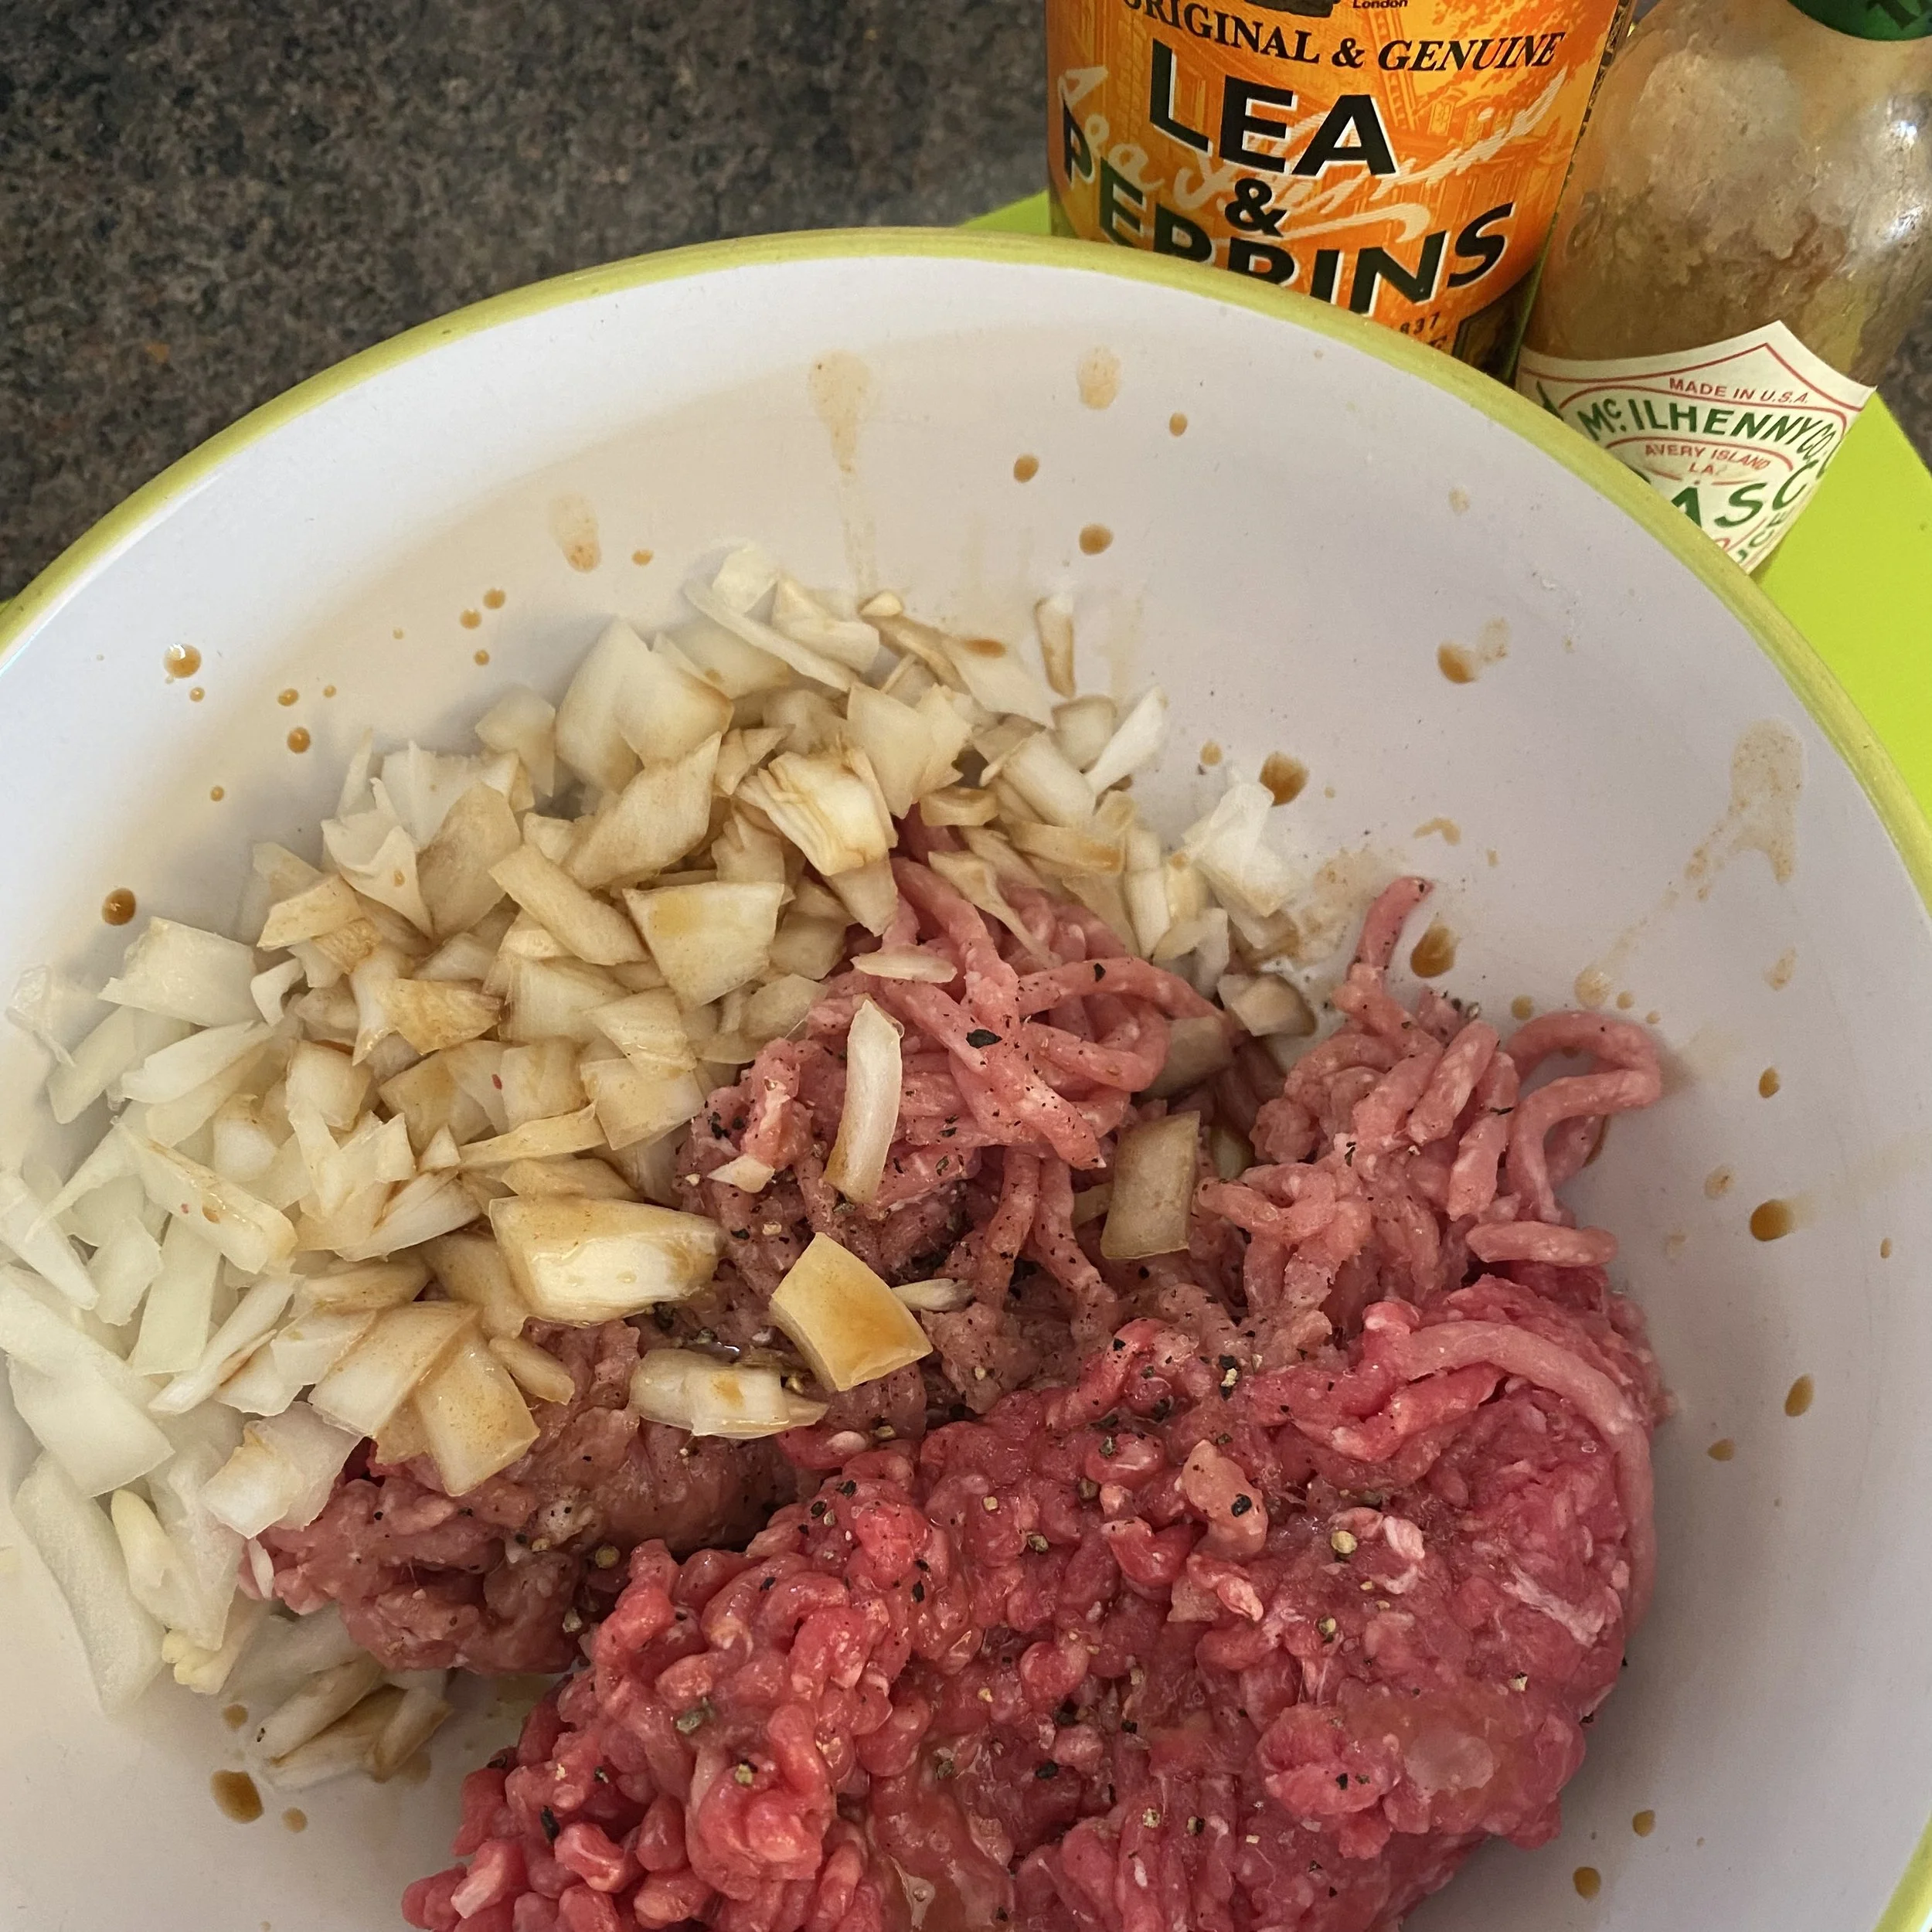
approx 125g each of pork mince and beef mince

1/4 white onion, finely chopped

Worcestershire sauce and/or tabasco (both optional)

salt and pepper

breadcrumbs

1 egg, beaten

plain flour

cooking oil

You could use just beef mince or just pork mince but the mixture works really well and I read yesterday that in Japan you can actually buy a pack of it ready minced!

I’ve put the quantities as roughly 125g of each but that’s not exact and if it’s easier, it’s probably around a handful of each. Also, I didn’t weigh mine out - I had a 500g pack of each mince so just by eye halved it and then halved again, ie used a quarter.

I was trying to make that simple but think I’ve actually made it sound complicated! It’s honestly not!

Mix the minces with the chopped onion, some salt and pepper and a dash or two each of Worcestershire sauce and Tabasco - if liked. If not, just leave them out. Really squish and mix it all together - I find it easiest to use my hands but I know some people don’t like touching meat so of course you can use spoons or something.

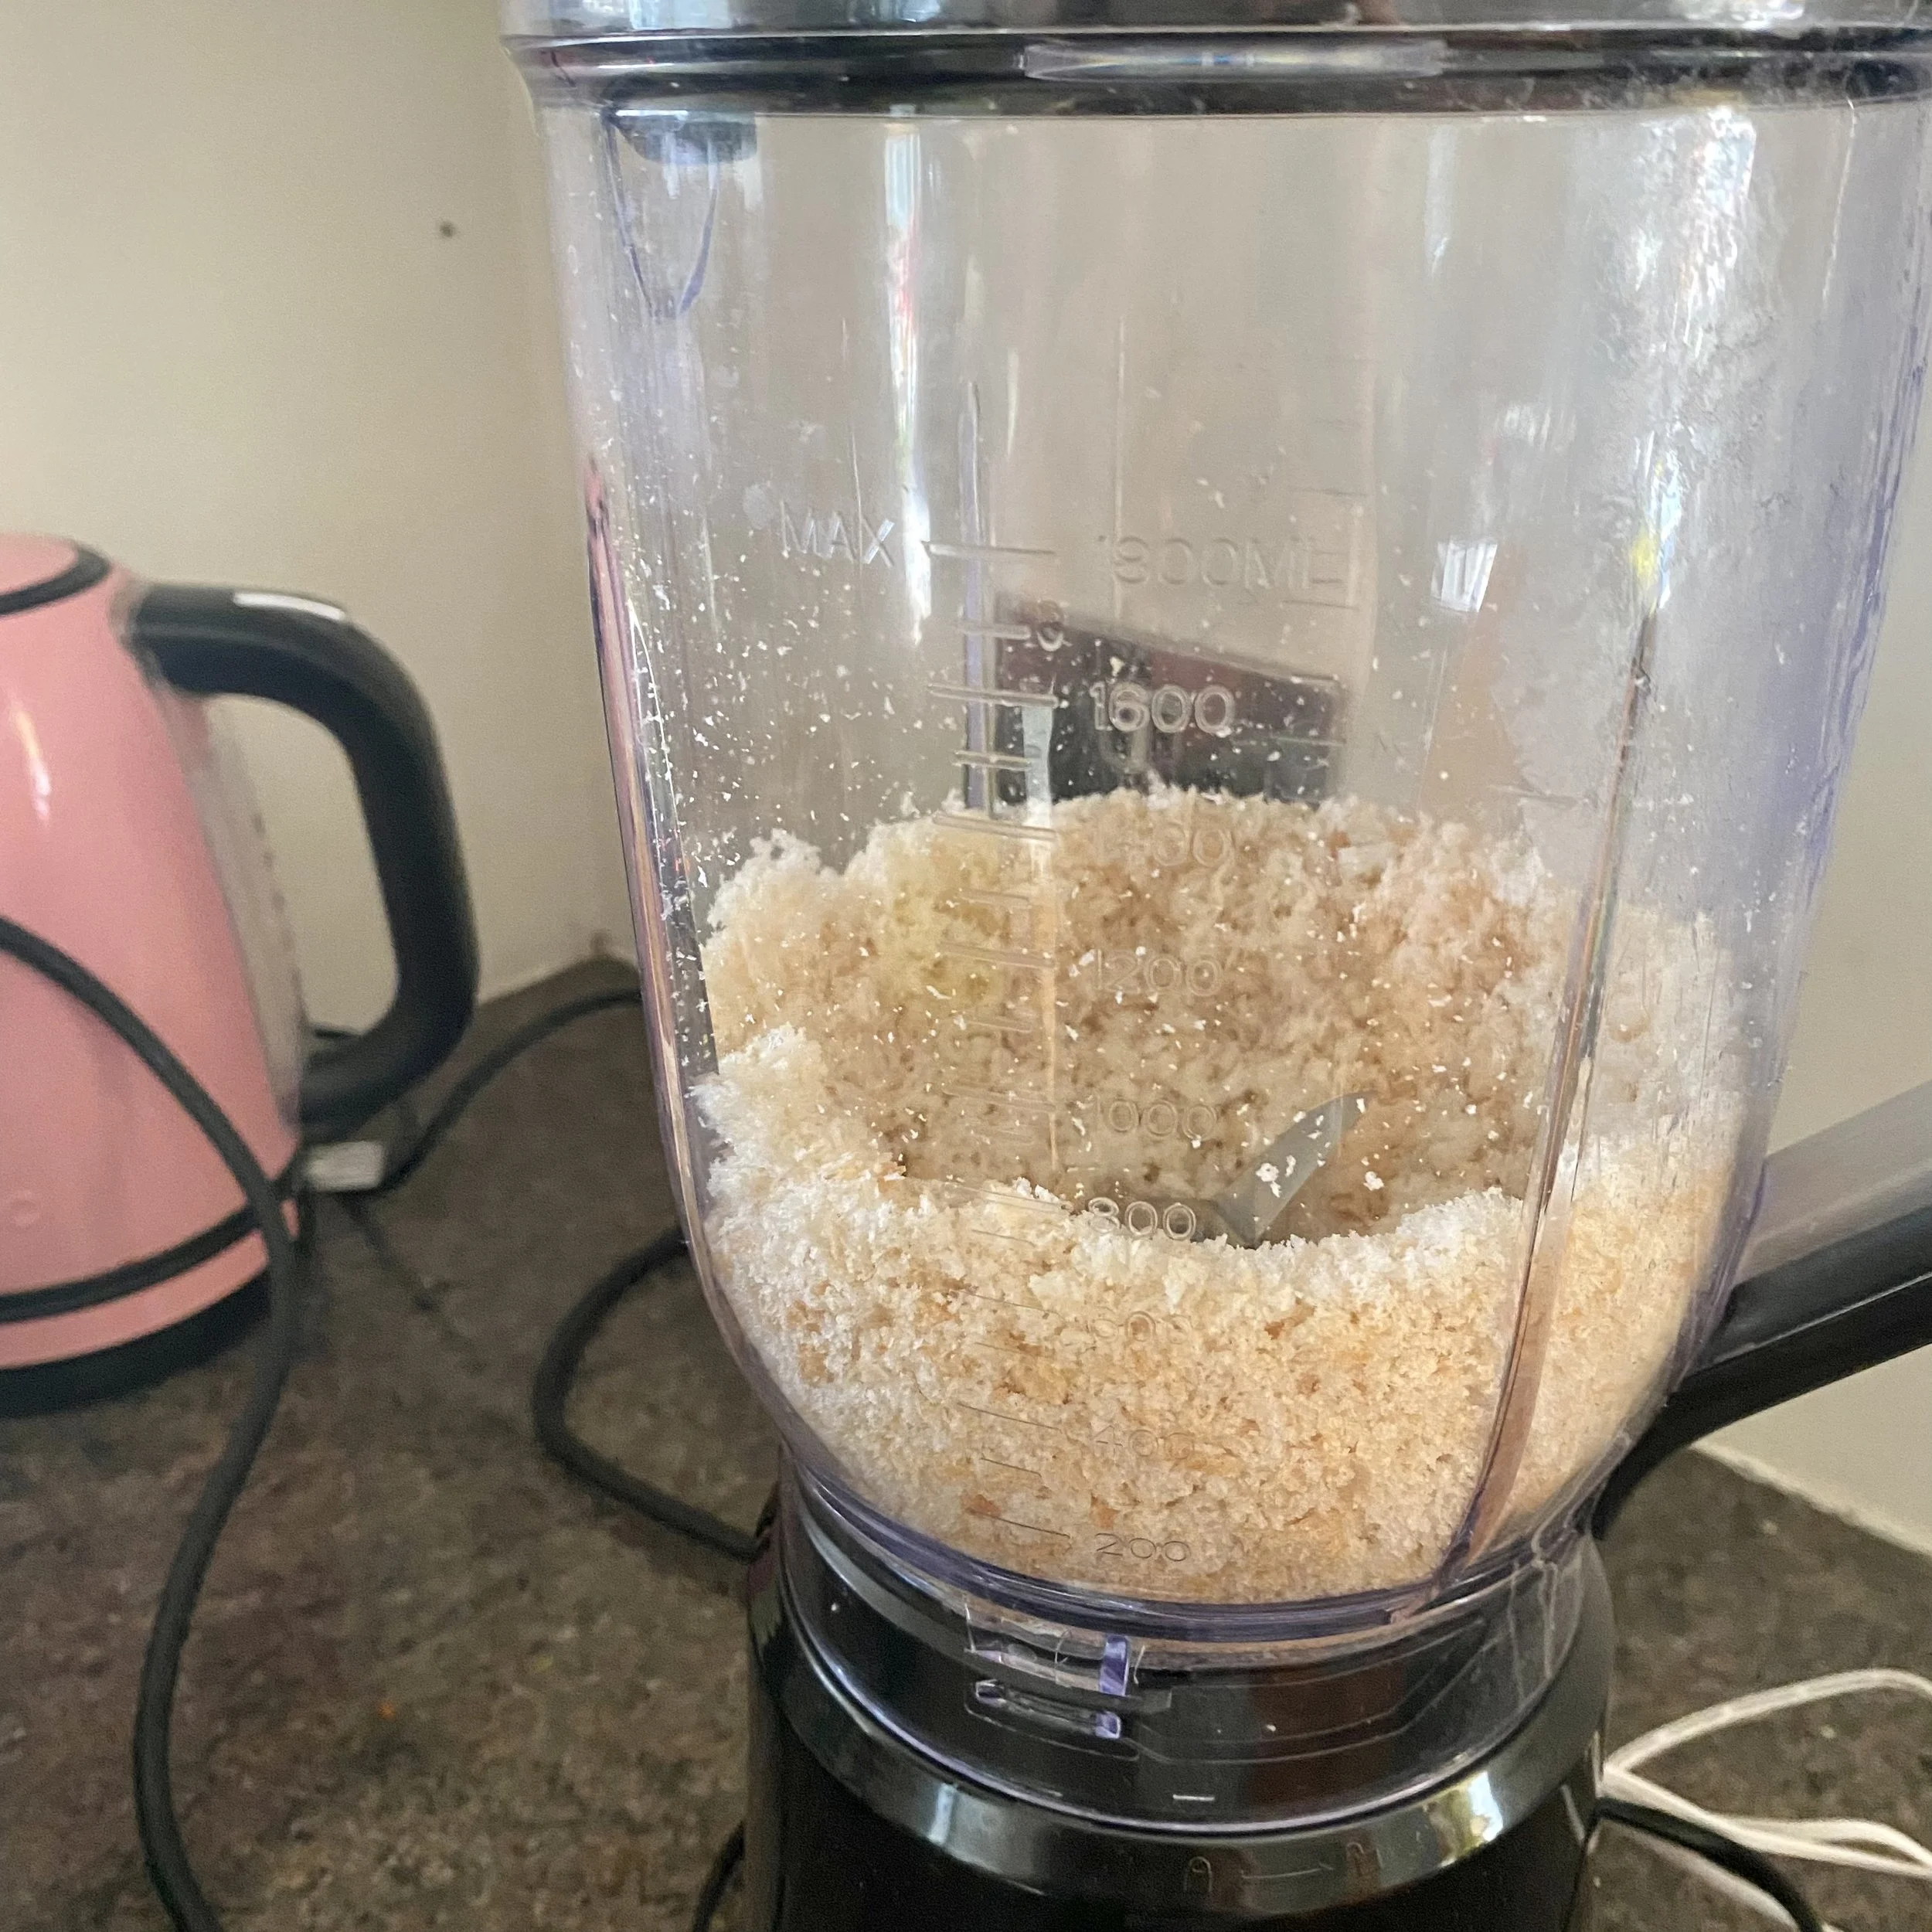
You can buy breadcrumbs or just whizz up a couple of slices or a hunk of bread in the blender or food processor.

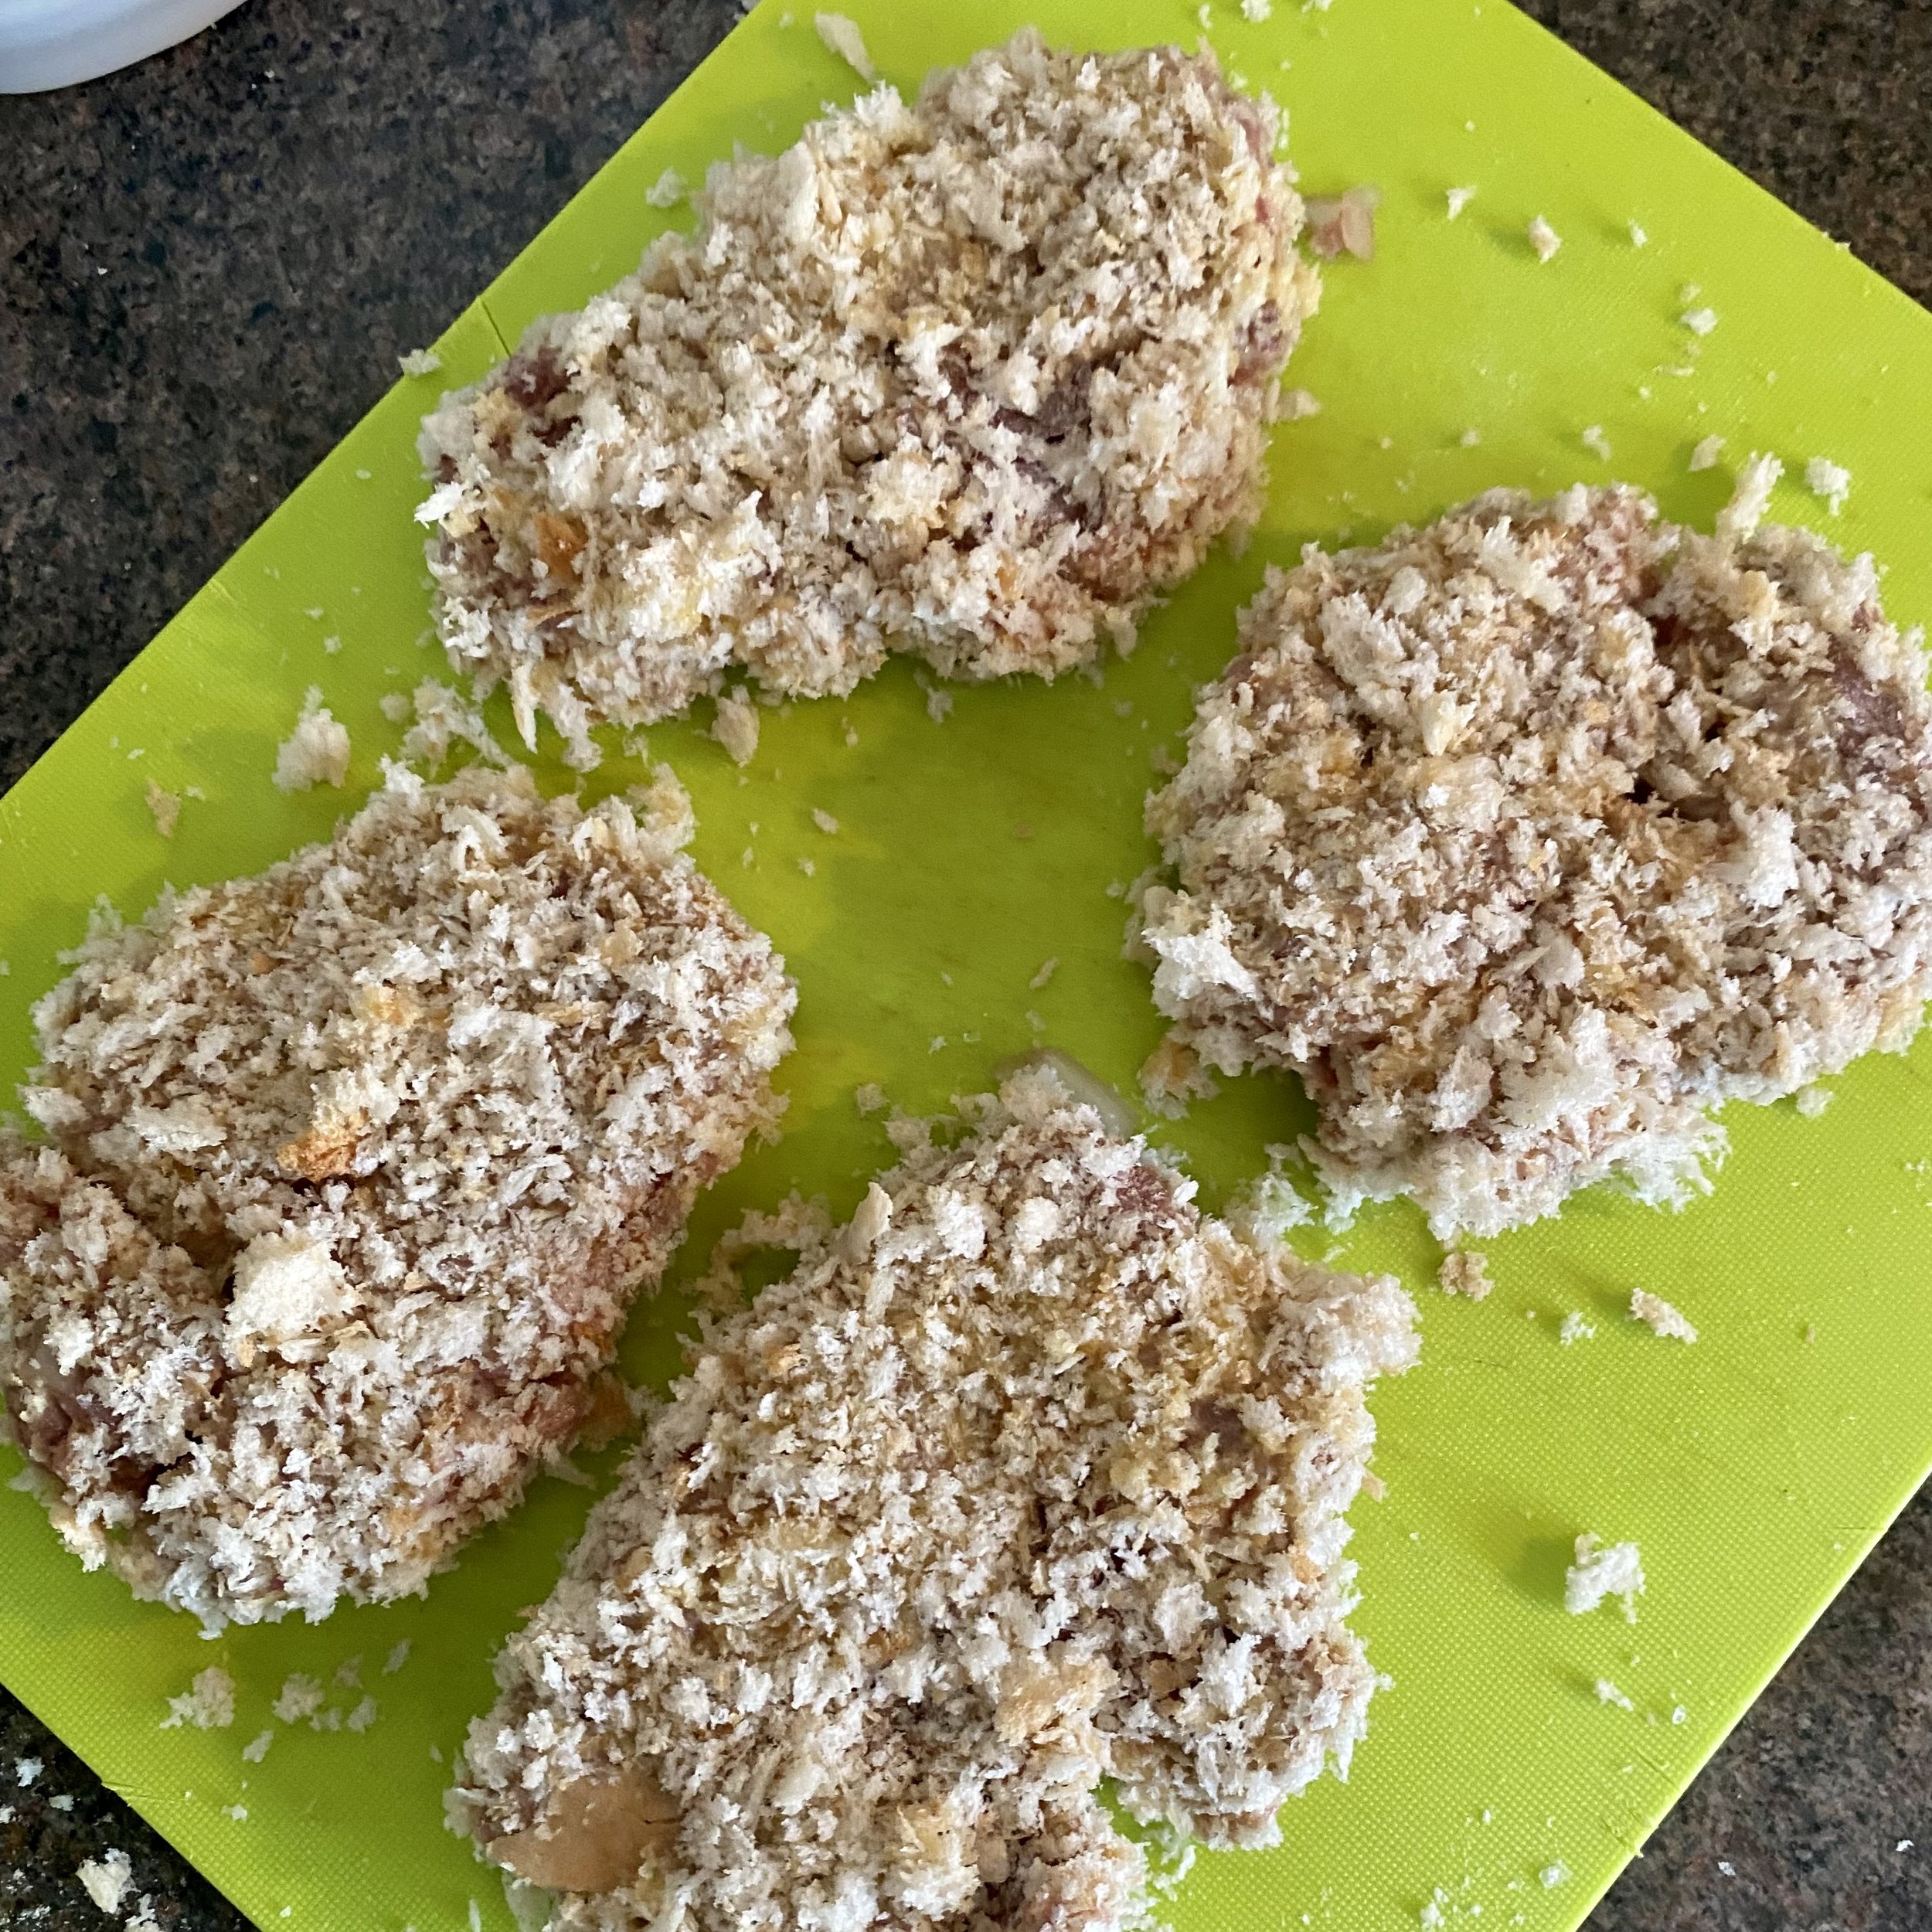
And then get the dipping bowls ready: one with the breadcrumbs, one with a beaten egg and one with some plain flour.

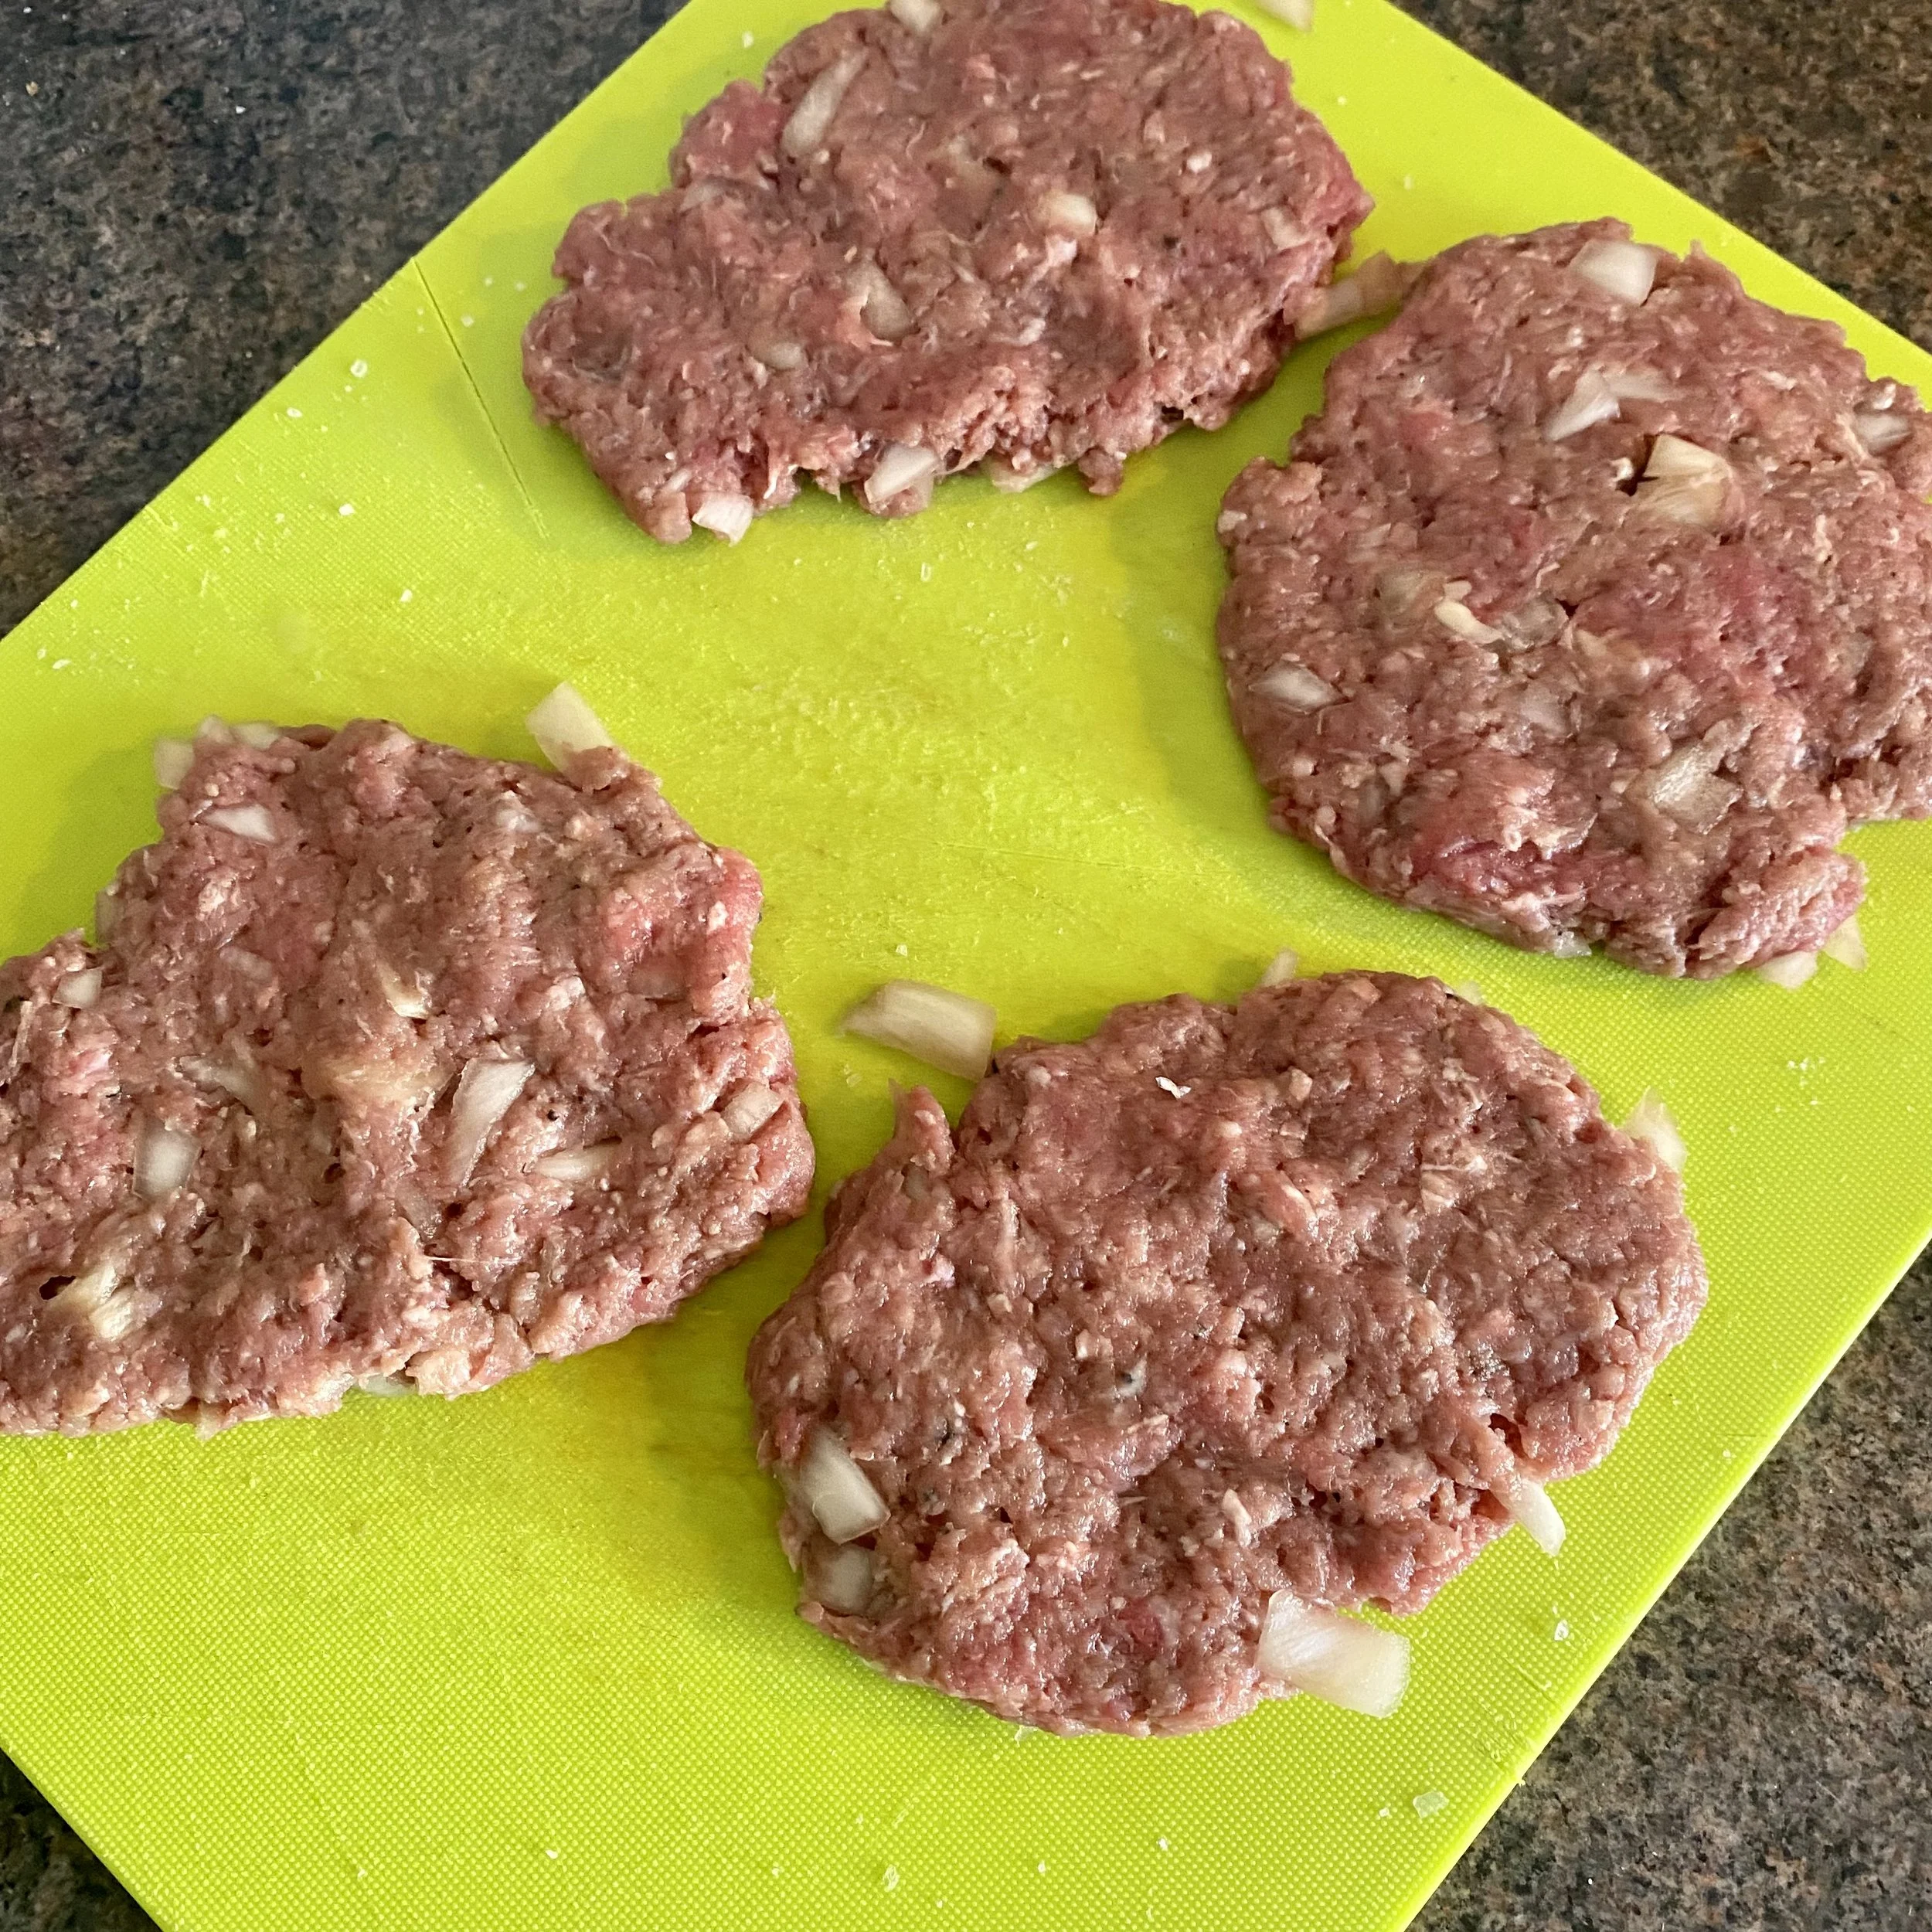
Divide the meat mixture into four, roll each into a ball and flatten out.

Then dip each first into the flour, then into the egg and then into the breadcrumbs.

Ooh just before we cook the cutlets let’s talk quickly about what to serve them with. I understand that traditionally it’s with tonkatsu sauce, which you can buy, or quickly make by mixing:

1 tablespoon ketchup

2 teaspoons Worcestershire sauce

1 teaspoon oyster sauce

1 teaspoon sugar

Stir it all together and taste - add more of anything to get the flavour as you like it.

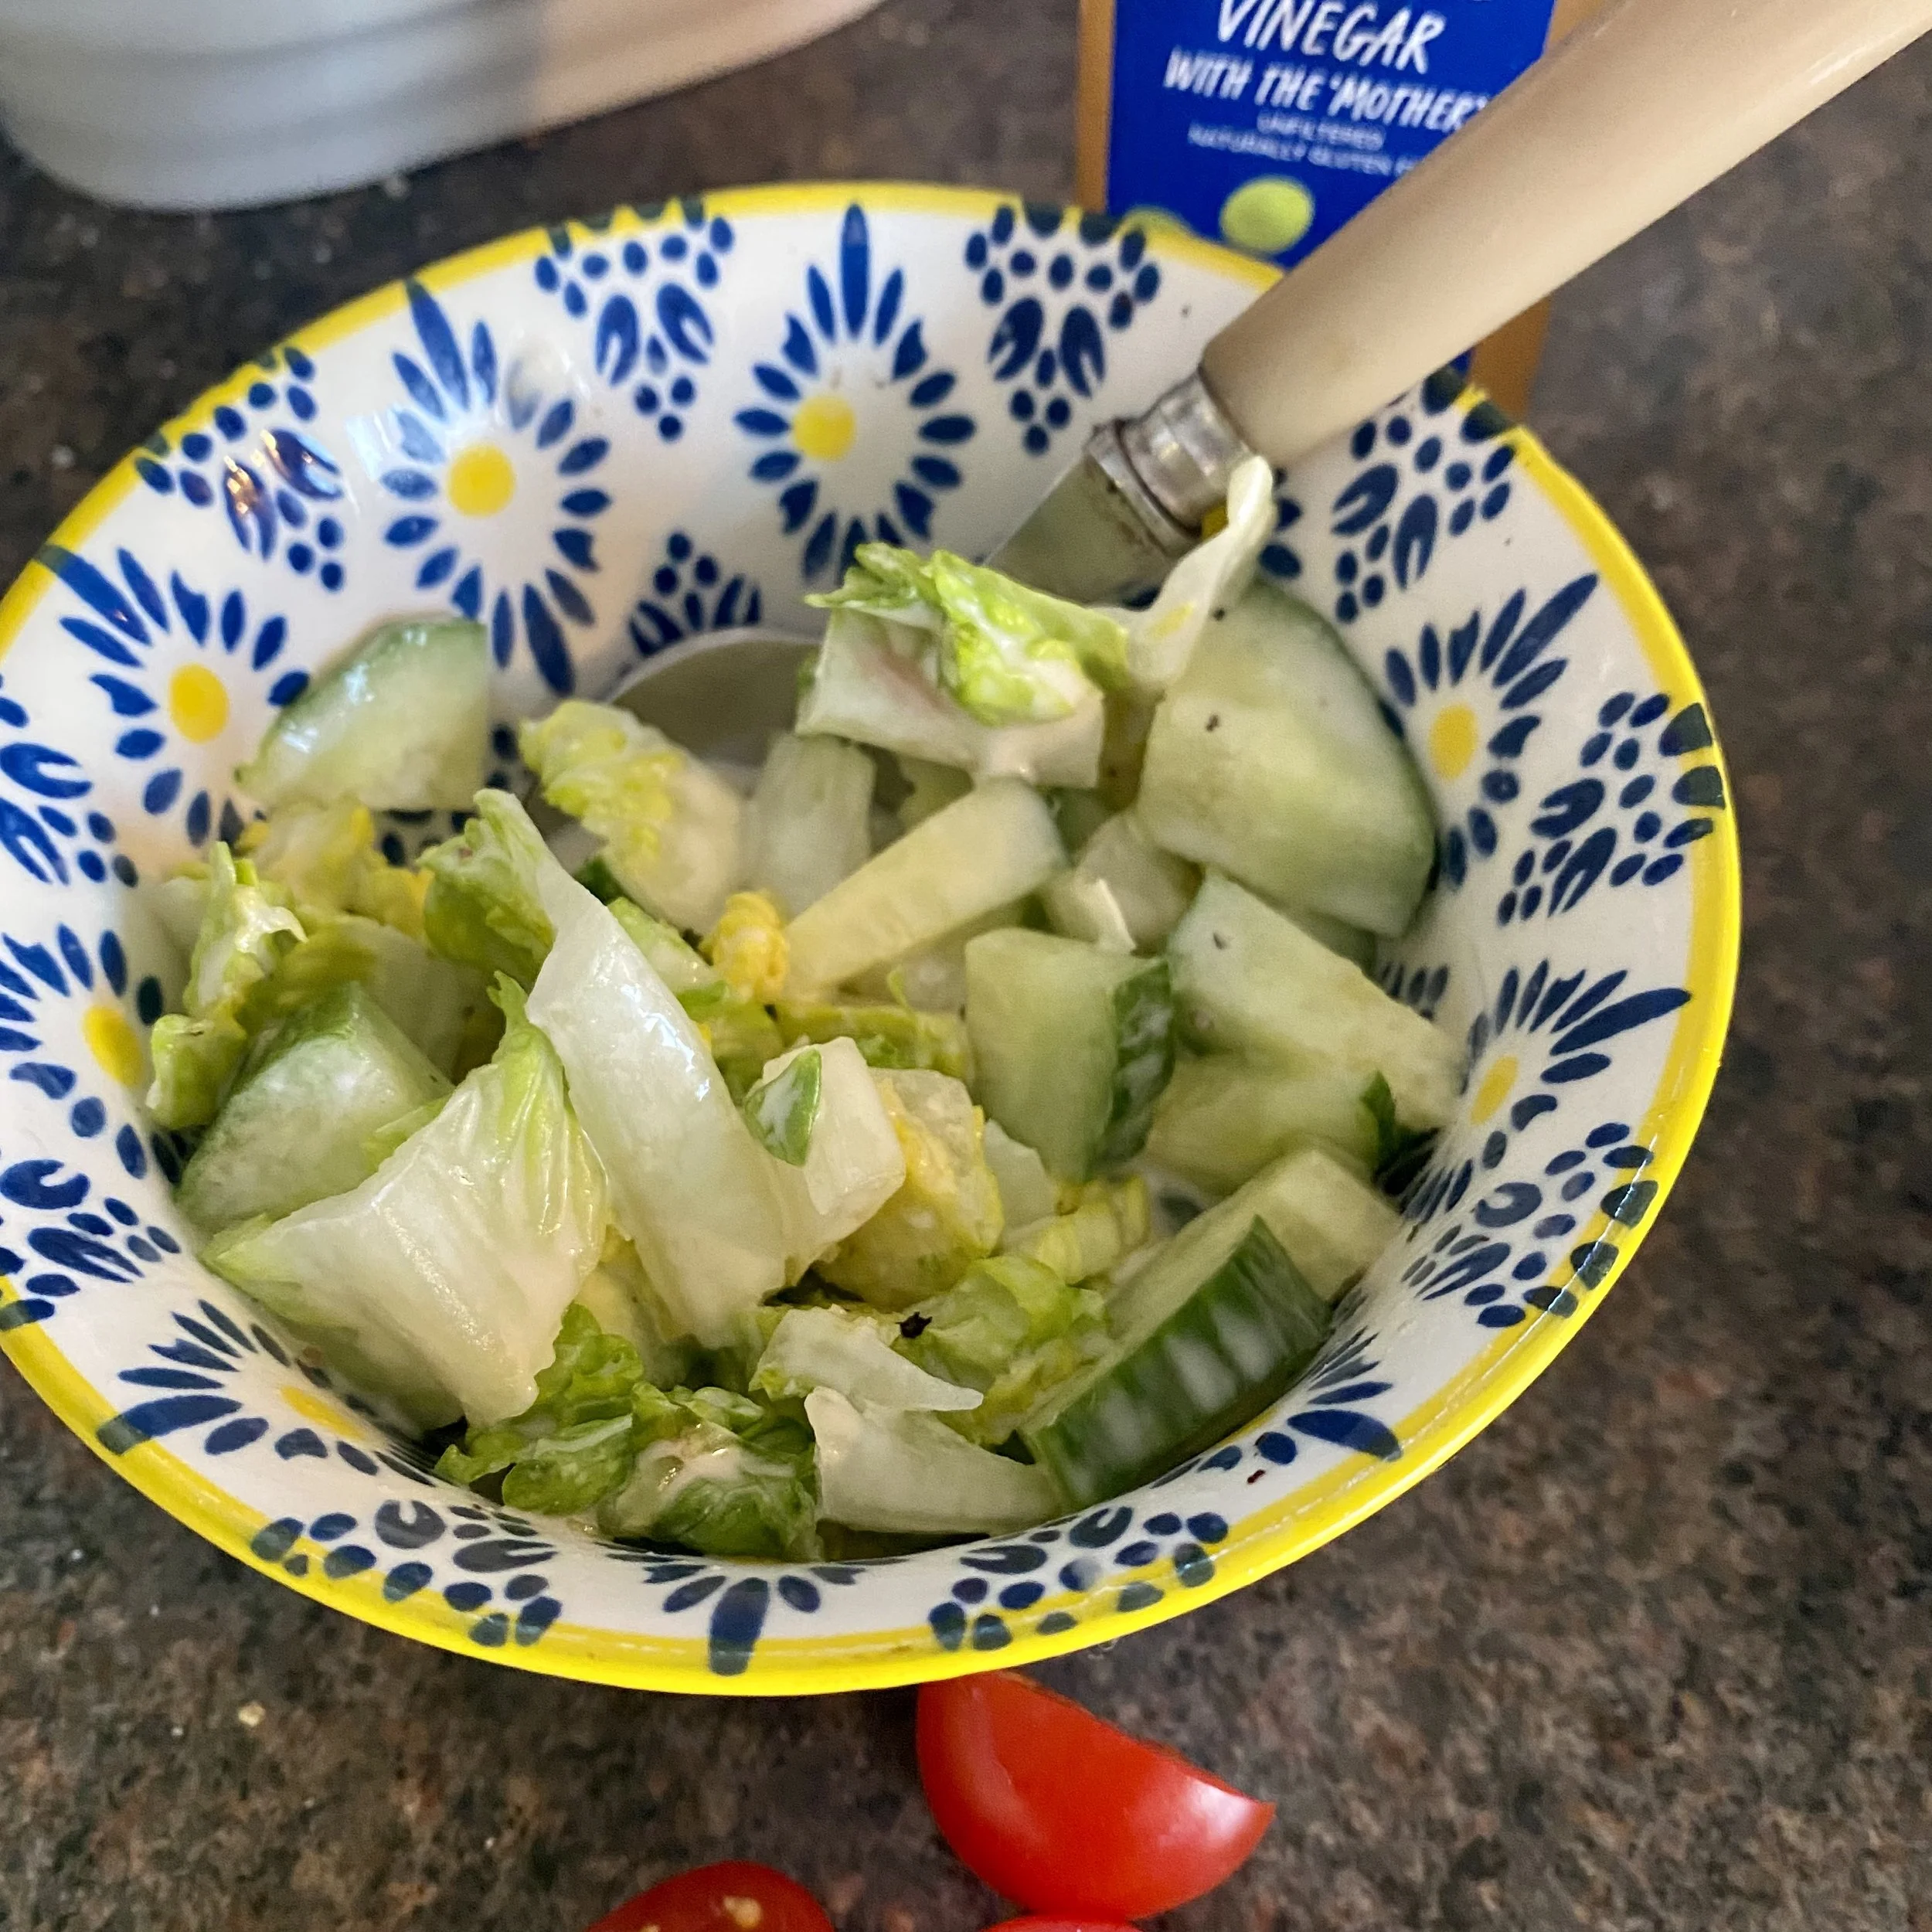
I also really like this with tartar sauce. I make a sort of very simple version just mixing mayonnaise with white wine vinegar.

Today I added some chopped lettuce and cucumber straight into this dressing to coat it all evenly so the salad was already dressed before adding to the plate.

OK, back to the cutlets.

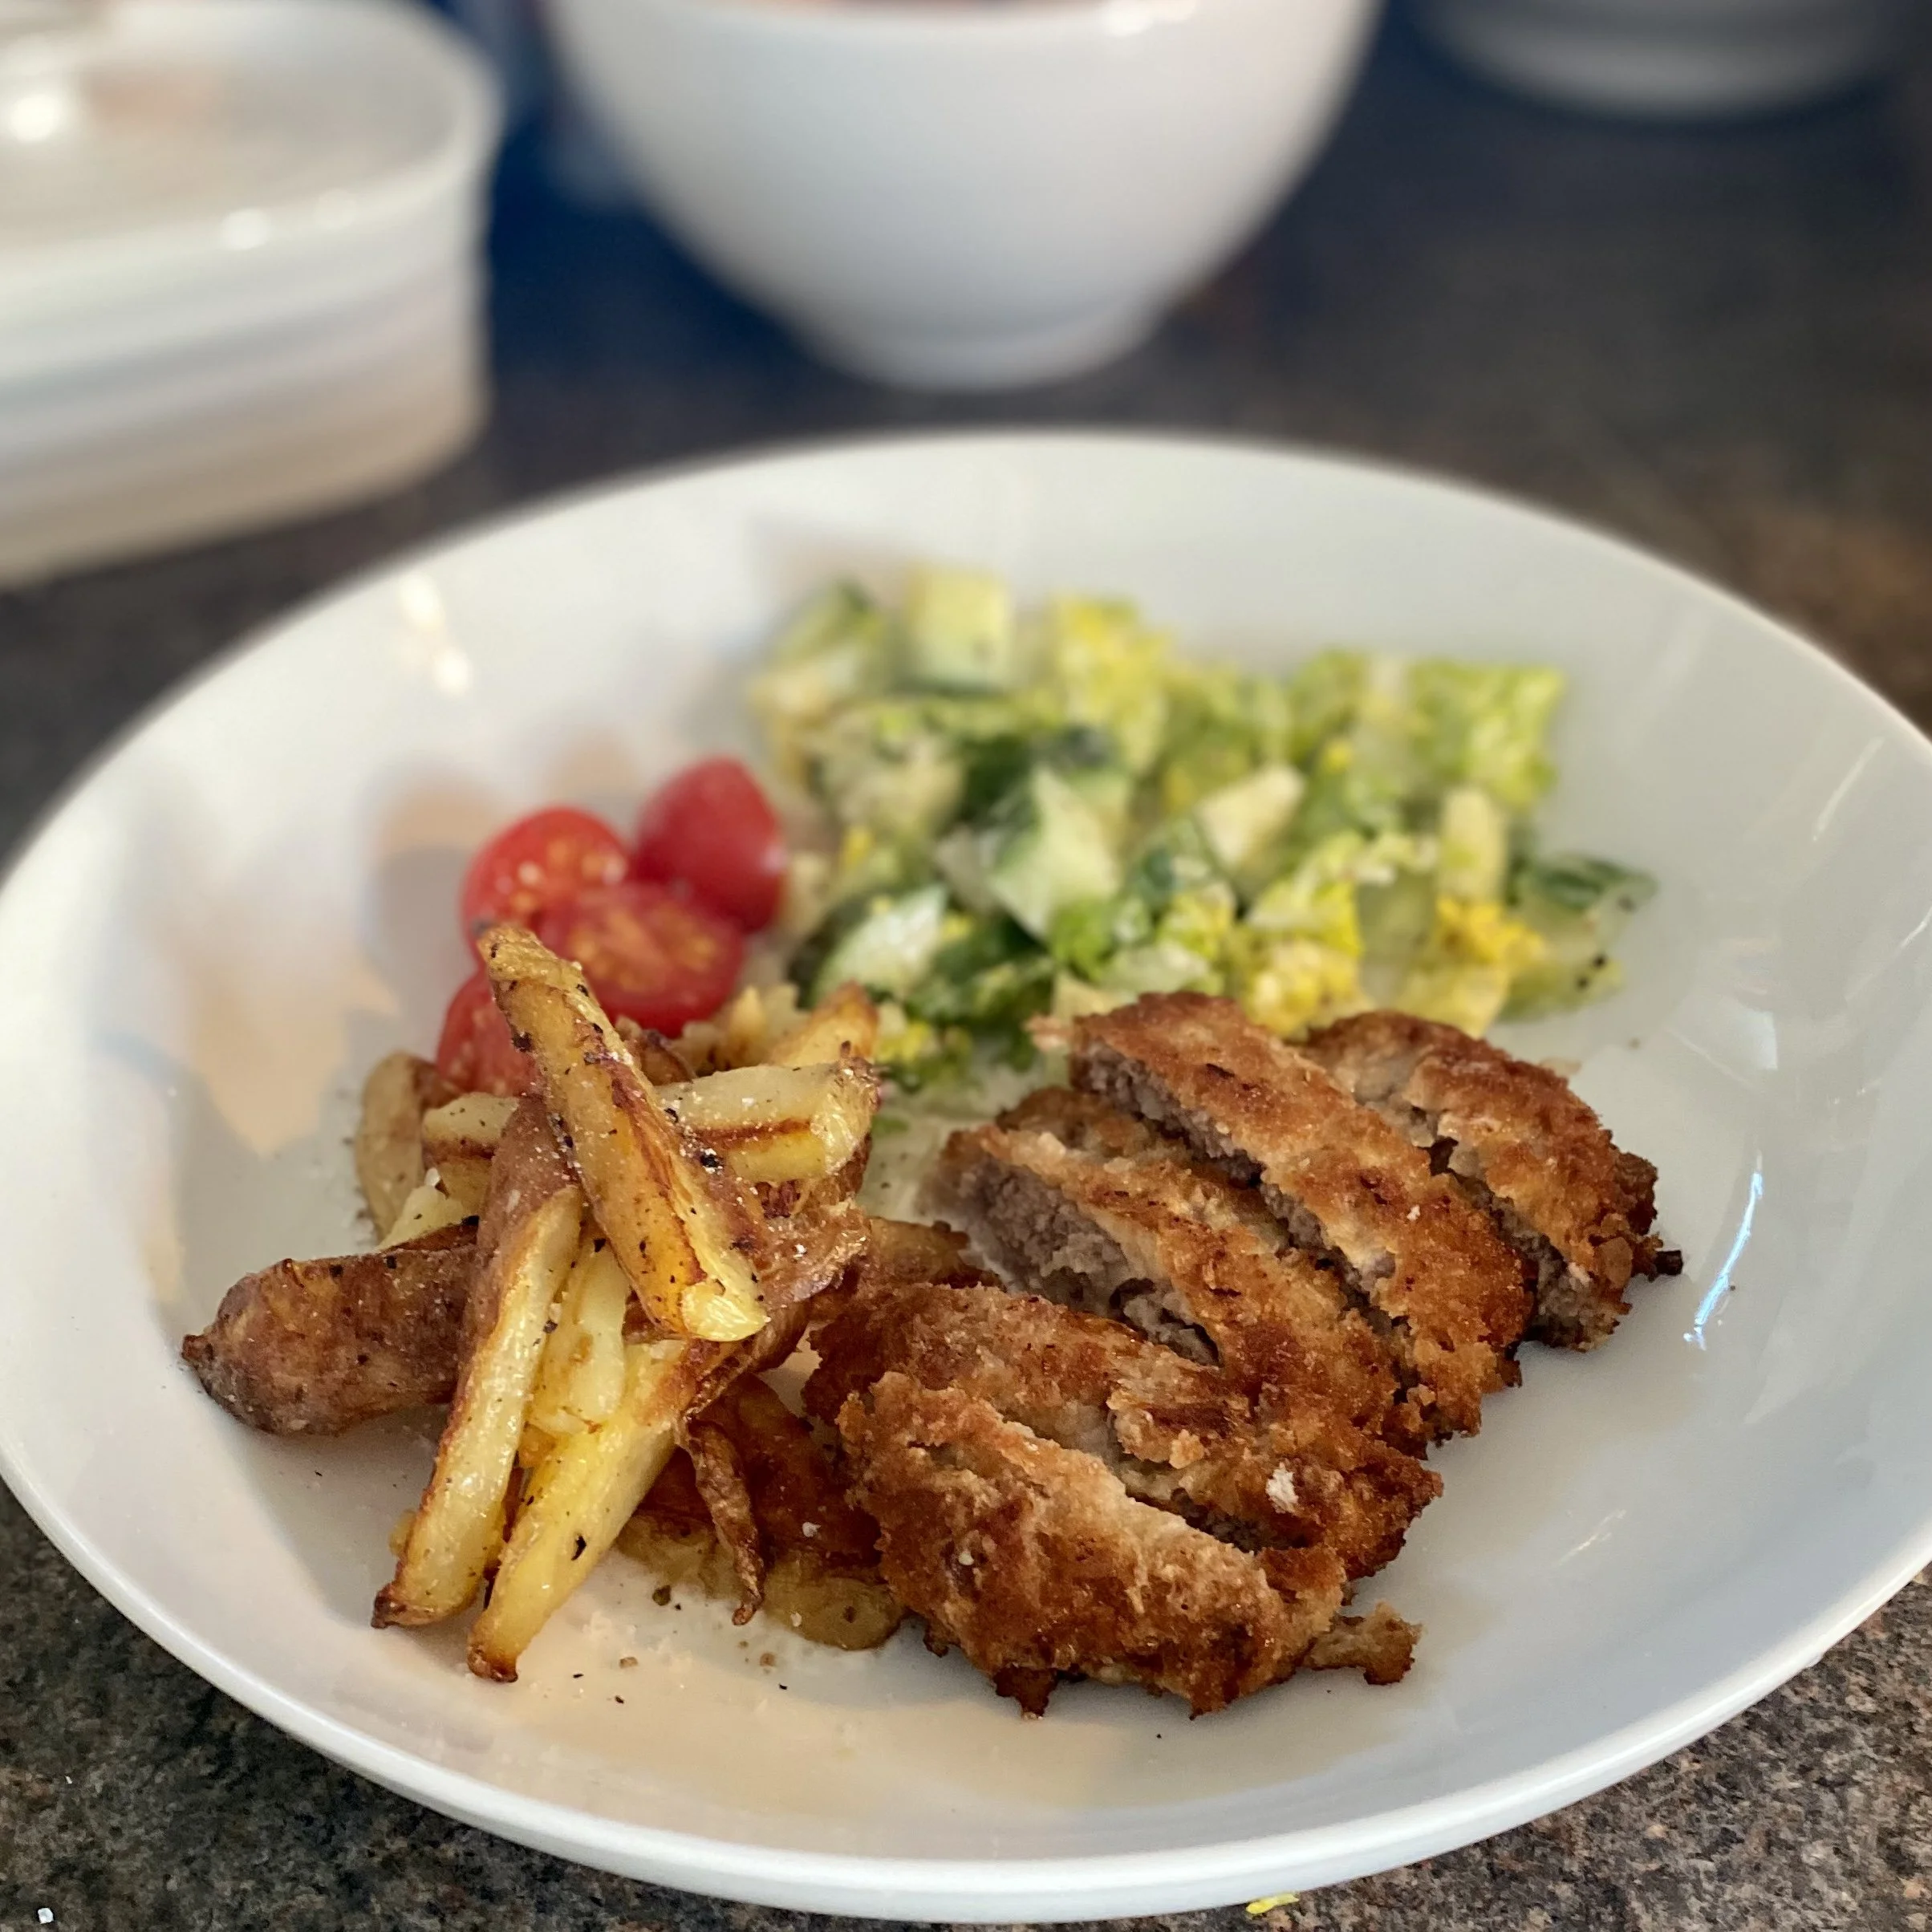
Put a non-stick pan over a medium heat and add quite a lot of oil. When a breadcrumb dropped into the hot oil sizzles, add the cutlets and cook for three minutes each side, maybe four if your cutlets are thicker.

Serve drizzled with tonkatsu sauce with finely chopped cabbage and some sliced tomato on the side.

Or have with tartar sauce, salad and chips.

Or have in a bread roll like a crunchy burger.

Or whatever else you think would be good.

I mean really these are so good you could just eat them on their own.


YOU MIGHT ALSO LIKE …

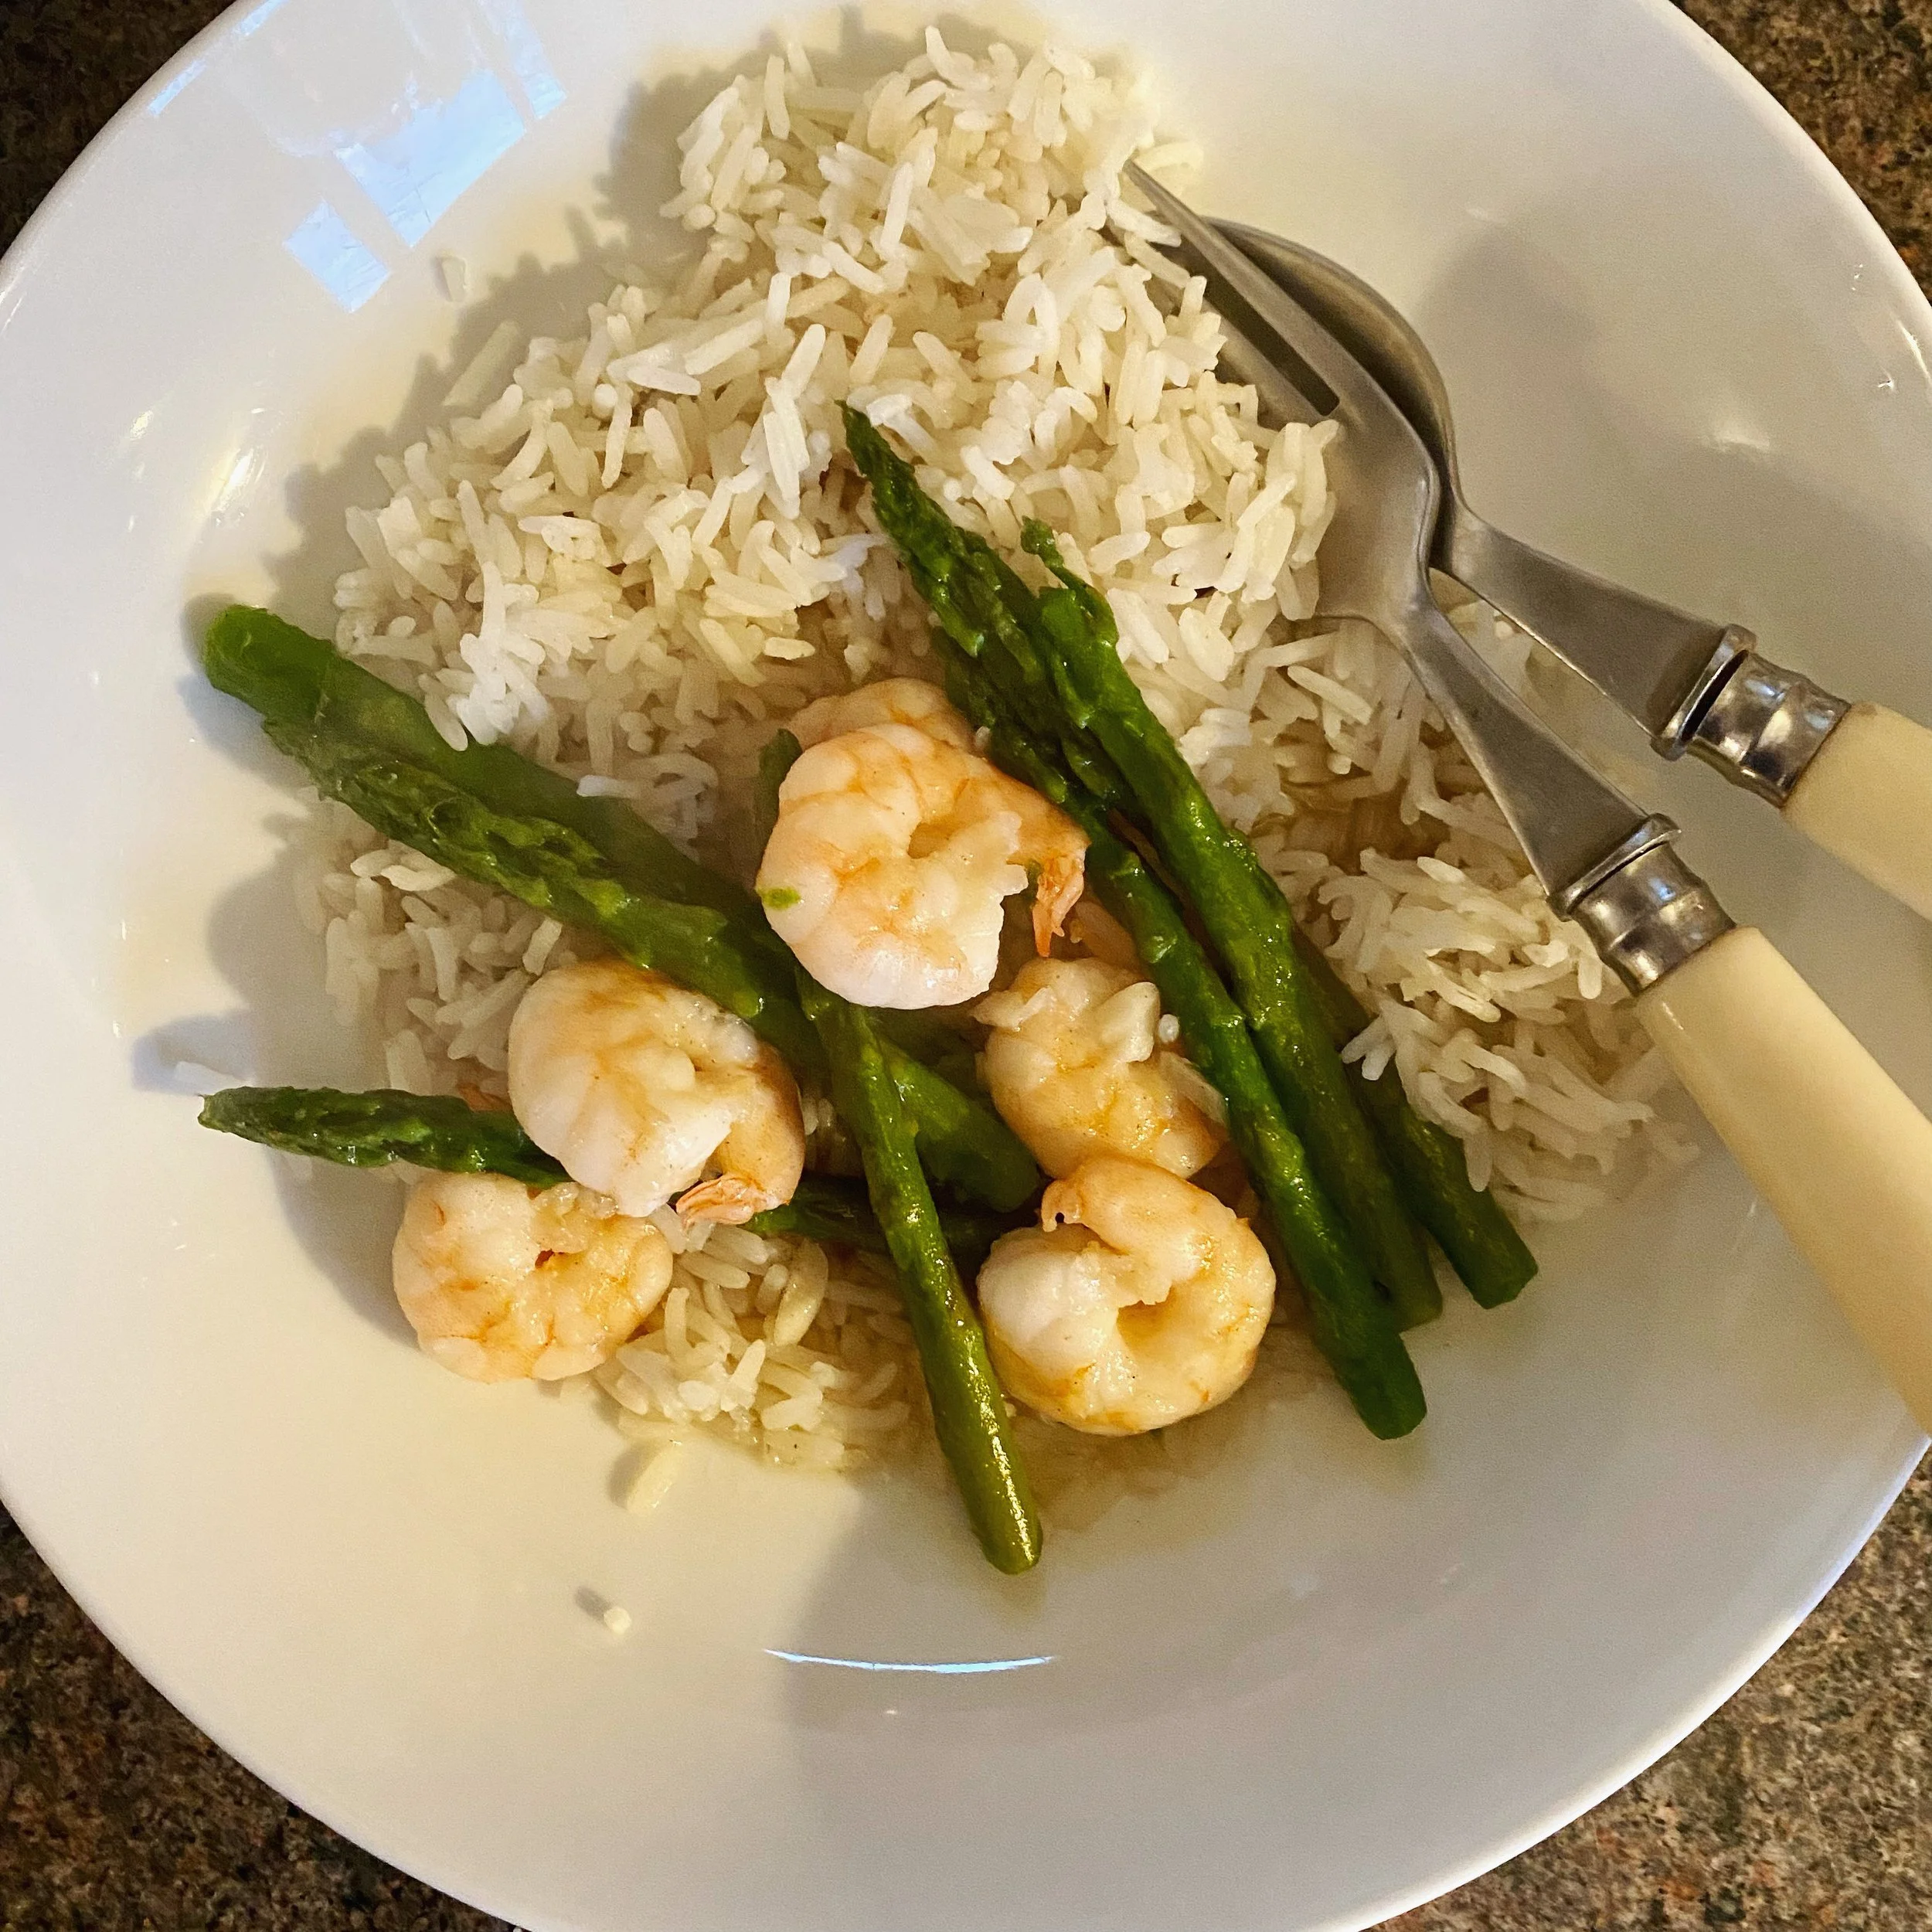
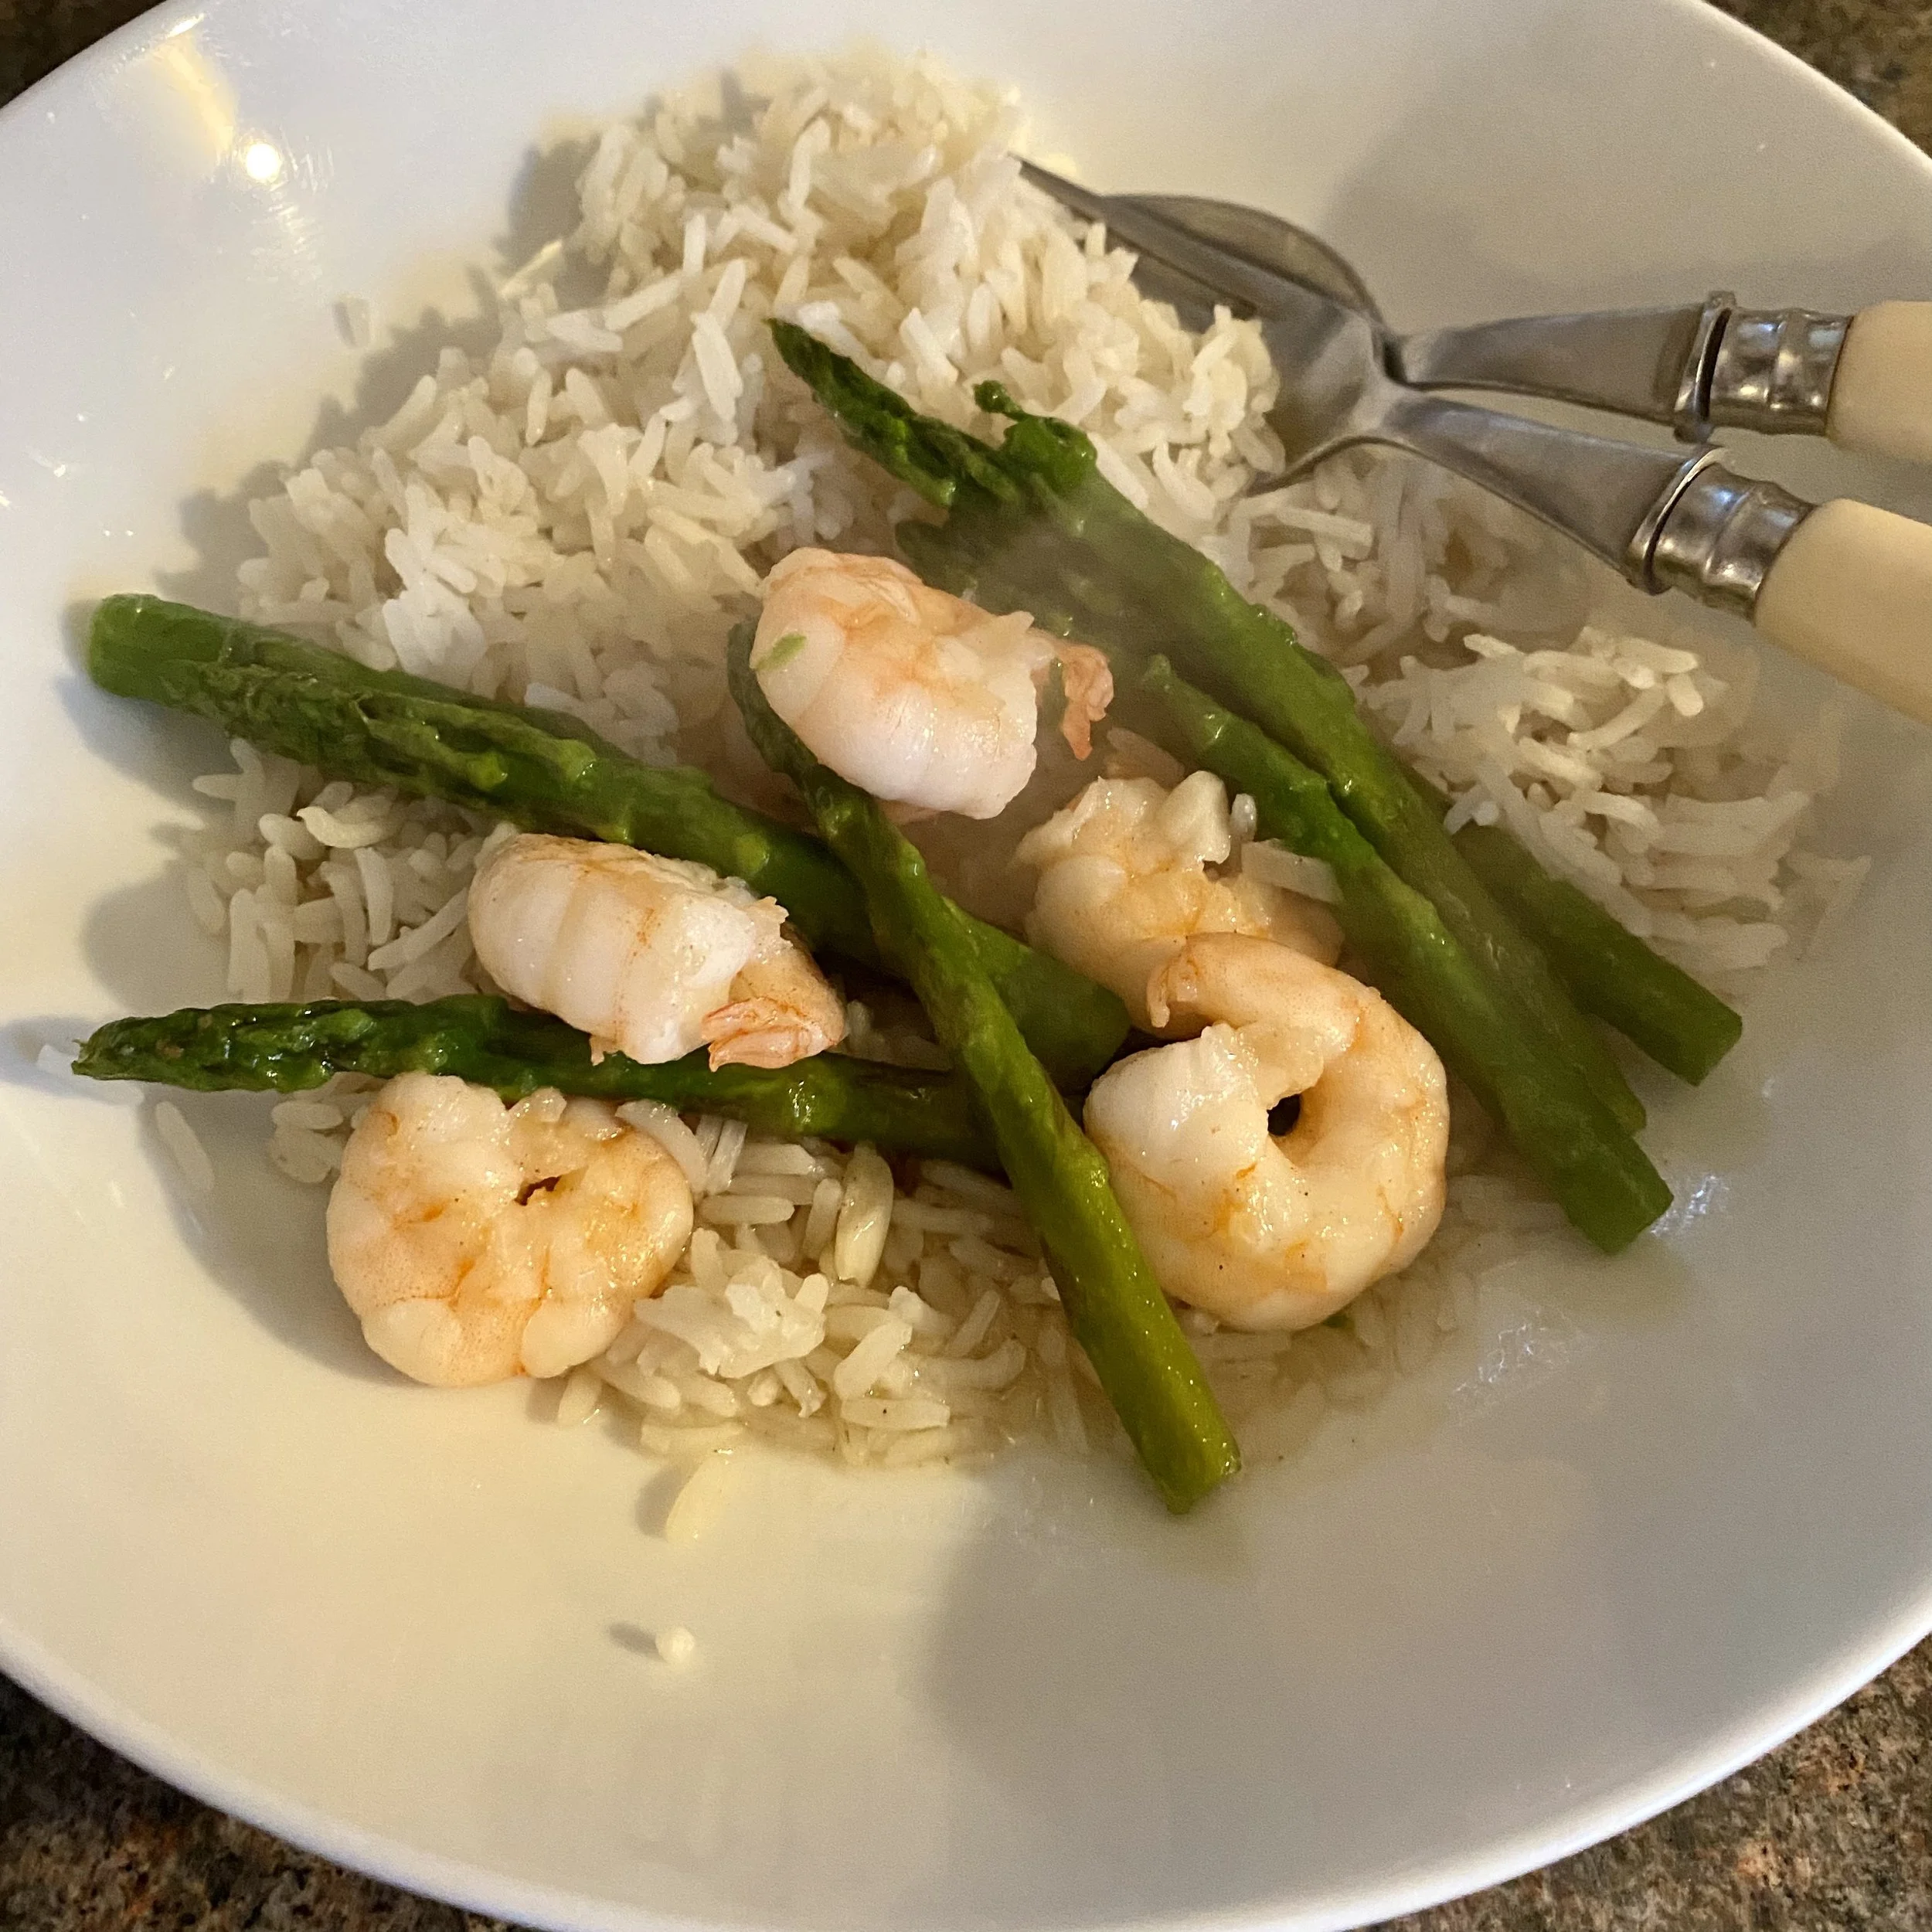
Prawn + asparagus stir fry

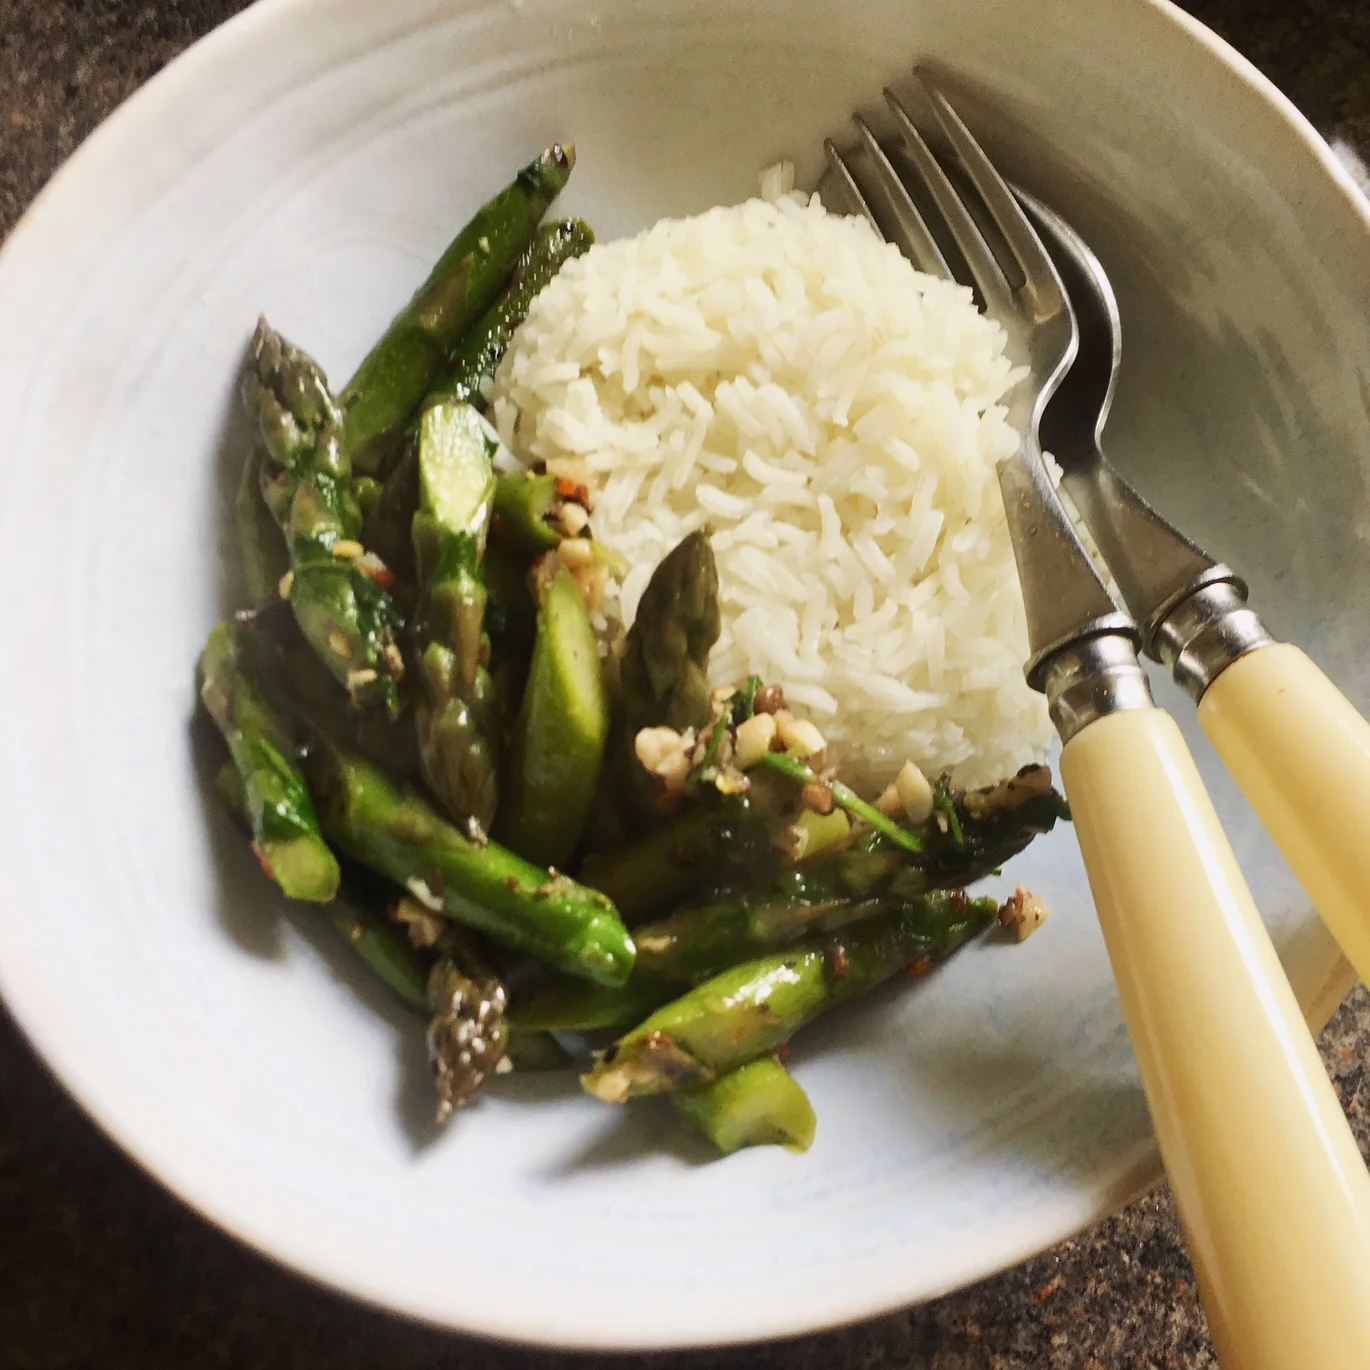
It might not look much but it’s the simplest, sweetest little stir fry that’s super quick after a long day … when you also really want to eat something that feels like it’s nourishing you too.

I have a bad cheese on toast habit when it’s been a long day and I need something quick but this feels a billion times better to me and doesn’t take really that much longer.


For this quick stir-fry for one, you’ll need:

2-3 tablespoons dry basmati (or jasmine rice)

some asparagus tips or green beans

1-2 cloves of garlic, depending on their size and your taste

raw prawns, as many as you like

cooking oil - something like rapeseed or grapeseed or sunflower

2 teaspoons or so fish sauce

2 teaspoons or so white sugar

white pepper (or black pepper if you don’t have white)


Boil water with a pinch of salt, throw in basmati rice, medium boil for five mins and then add asparagus tips or maybe green beans for three mins more.

Drain quickly leaving a little hot water in the pan. Put the sieve back over the pan and quickly again a lid on top of the pan. Leave to steam while you make the stir fry.

Crush peel and chop 1-2 cloves of garlic and de-vein however many raw prawns you want.

Put a non-stick pan over a medium heat, add oil and the garlic.

Fry for a few seconds stirring until it smells amazing but doesn’t colour.

Add the prawns and stir all the time until they are pink - add a little splash of water if the garlic looks like burning or sticking.

Add the cooked asparagus or beans then two teaspoons each of fish sauce and sugar and water plus a shake of white pepper. Add a little more water if you want more of a sauce and bubble up for a minute or two.

Fluff the rice with a fork and serve with the prawn stir fry.


YOU MIGHT ALSO LIKE …

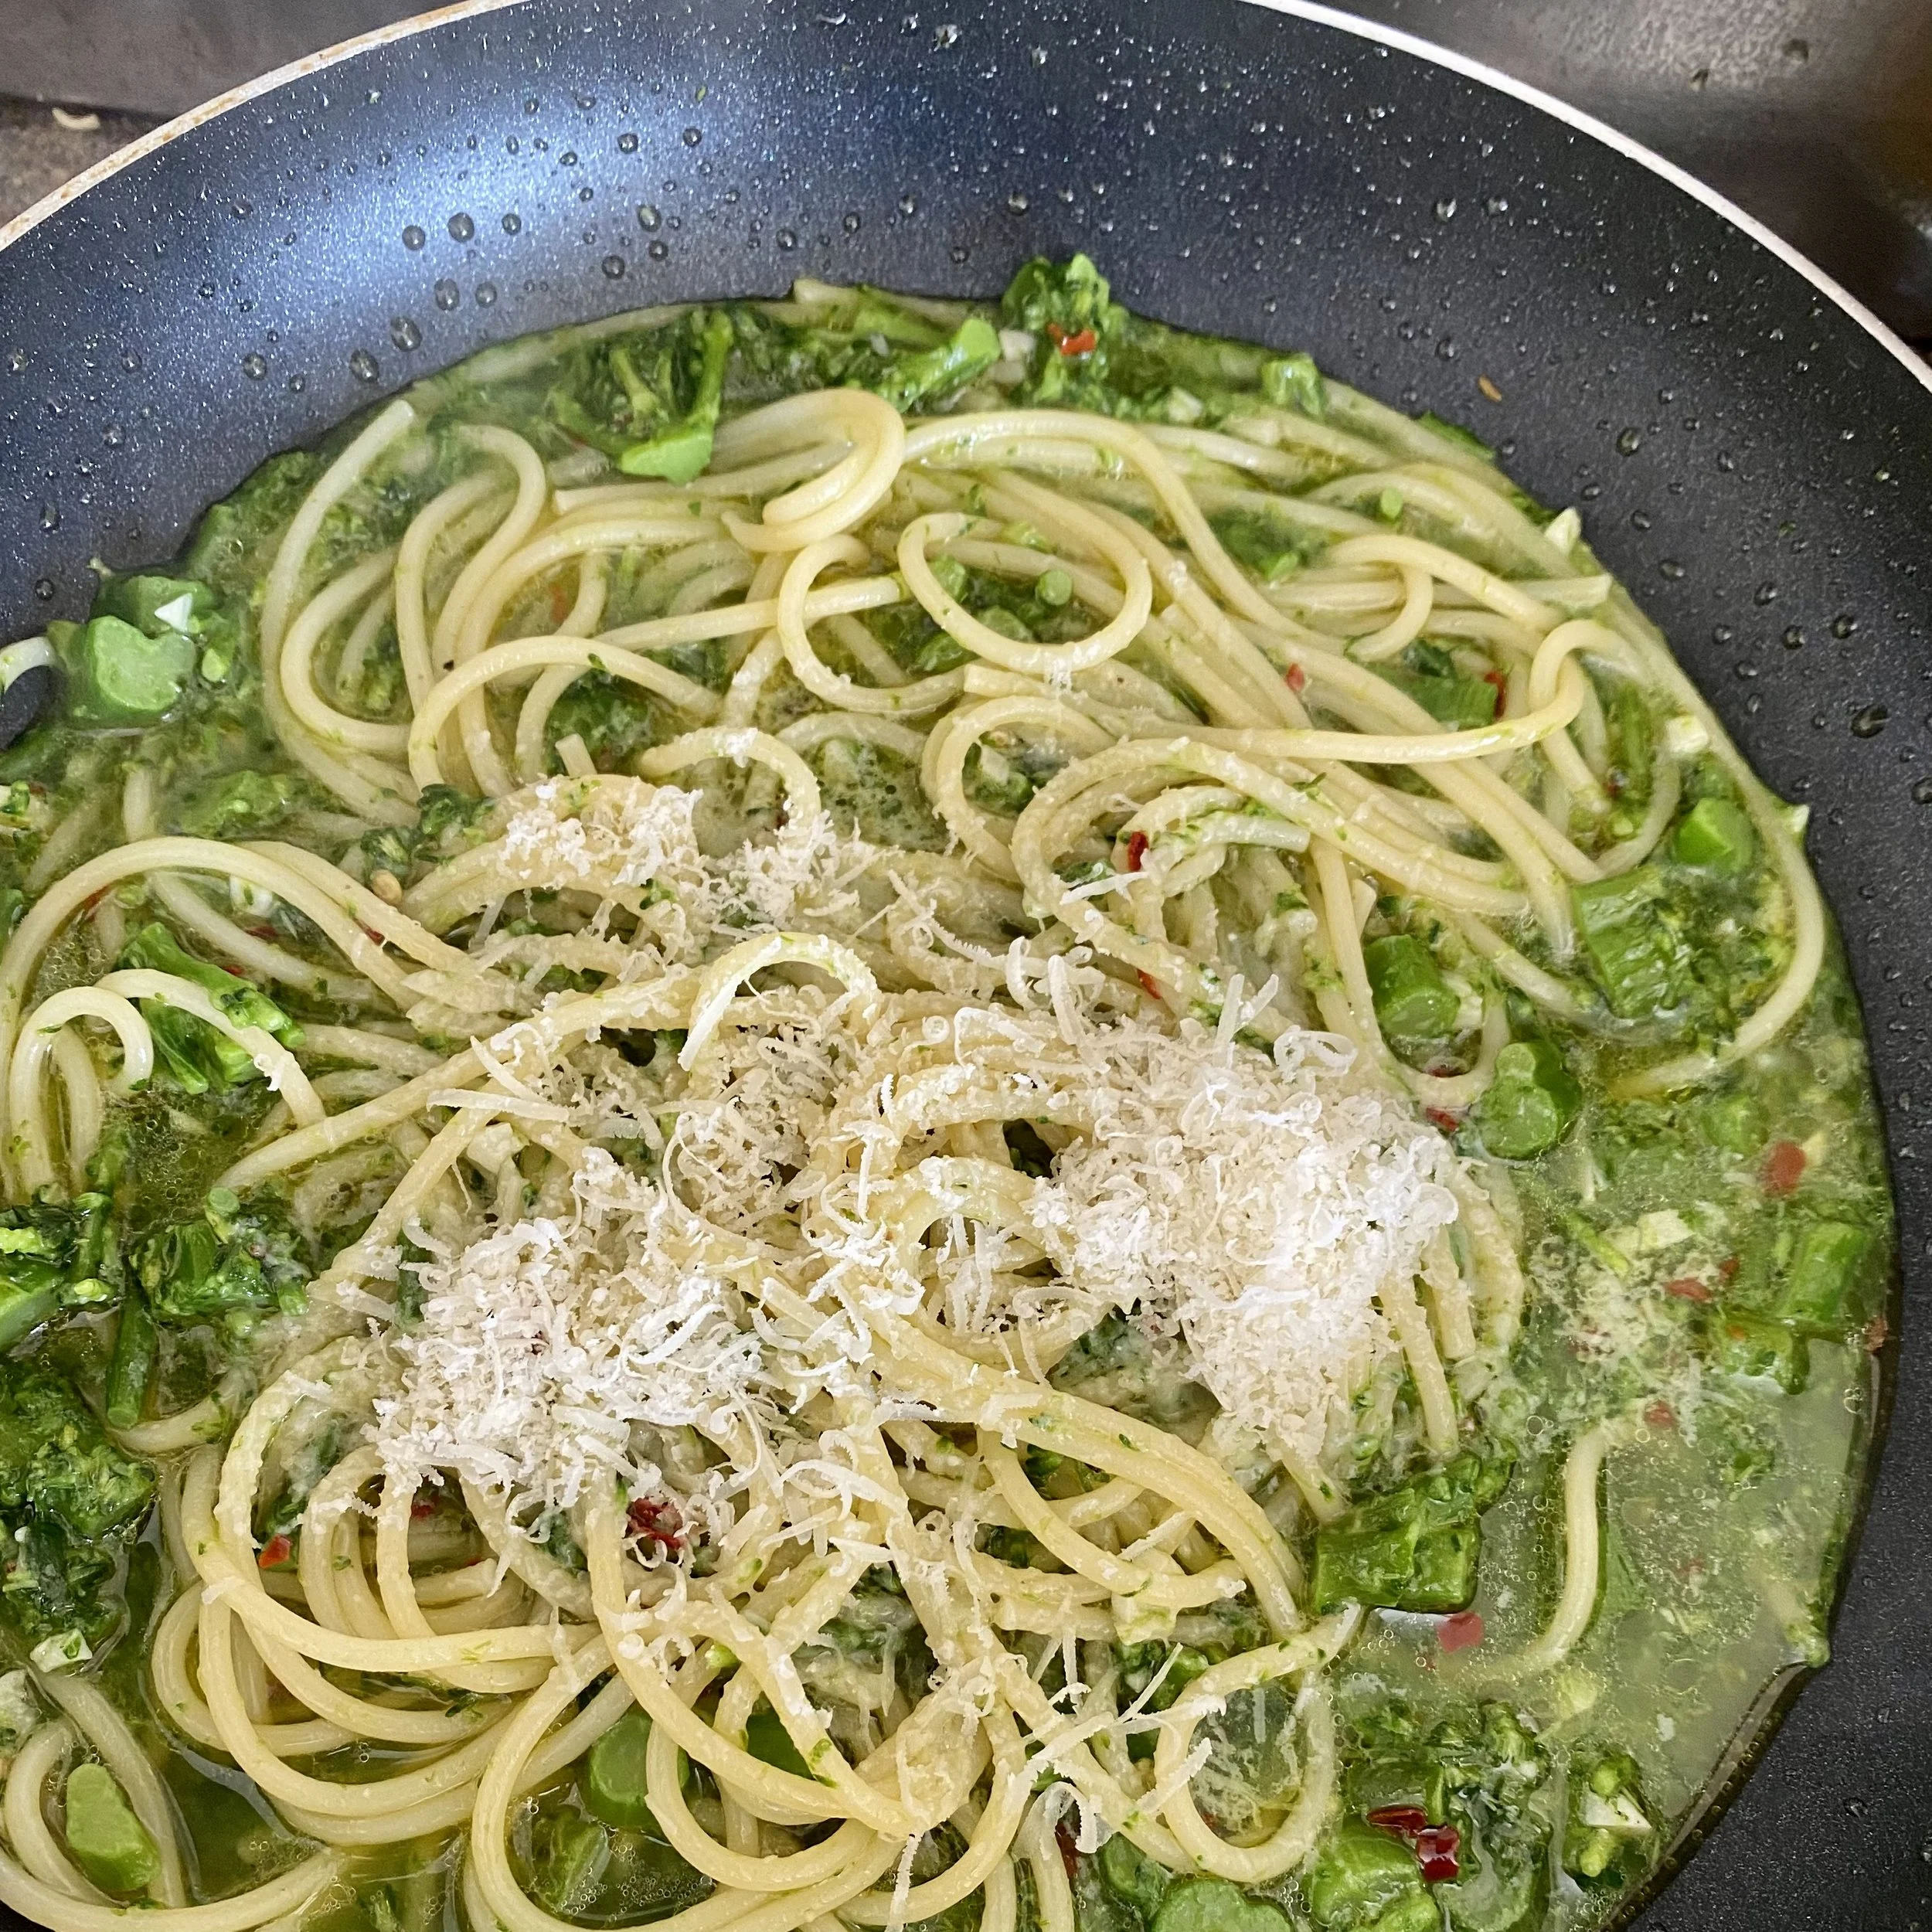
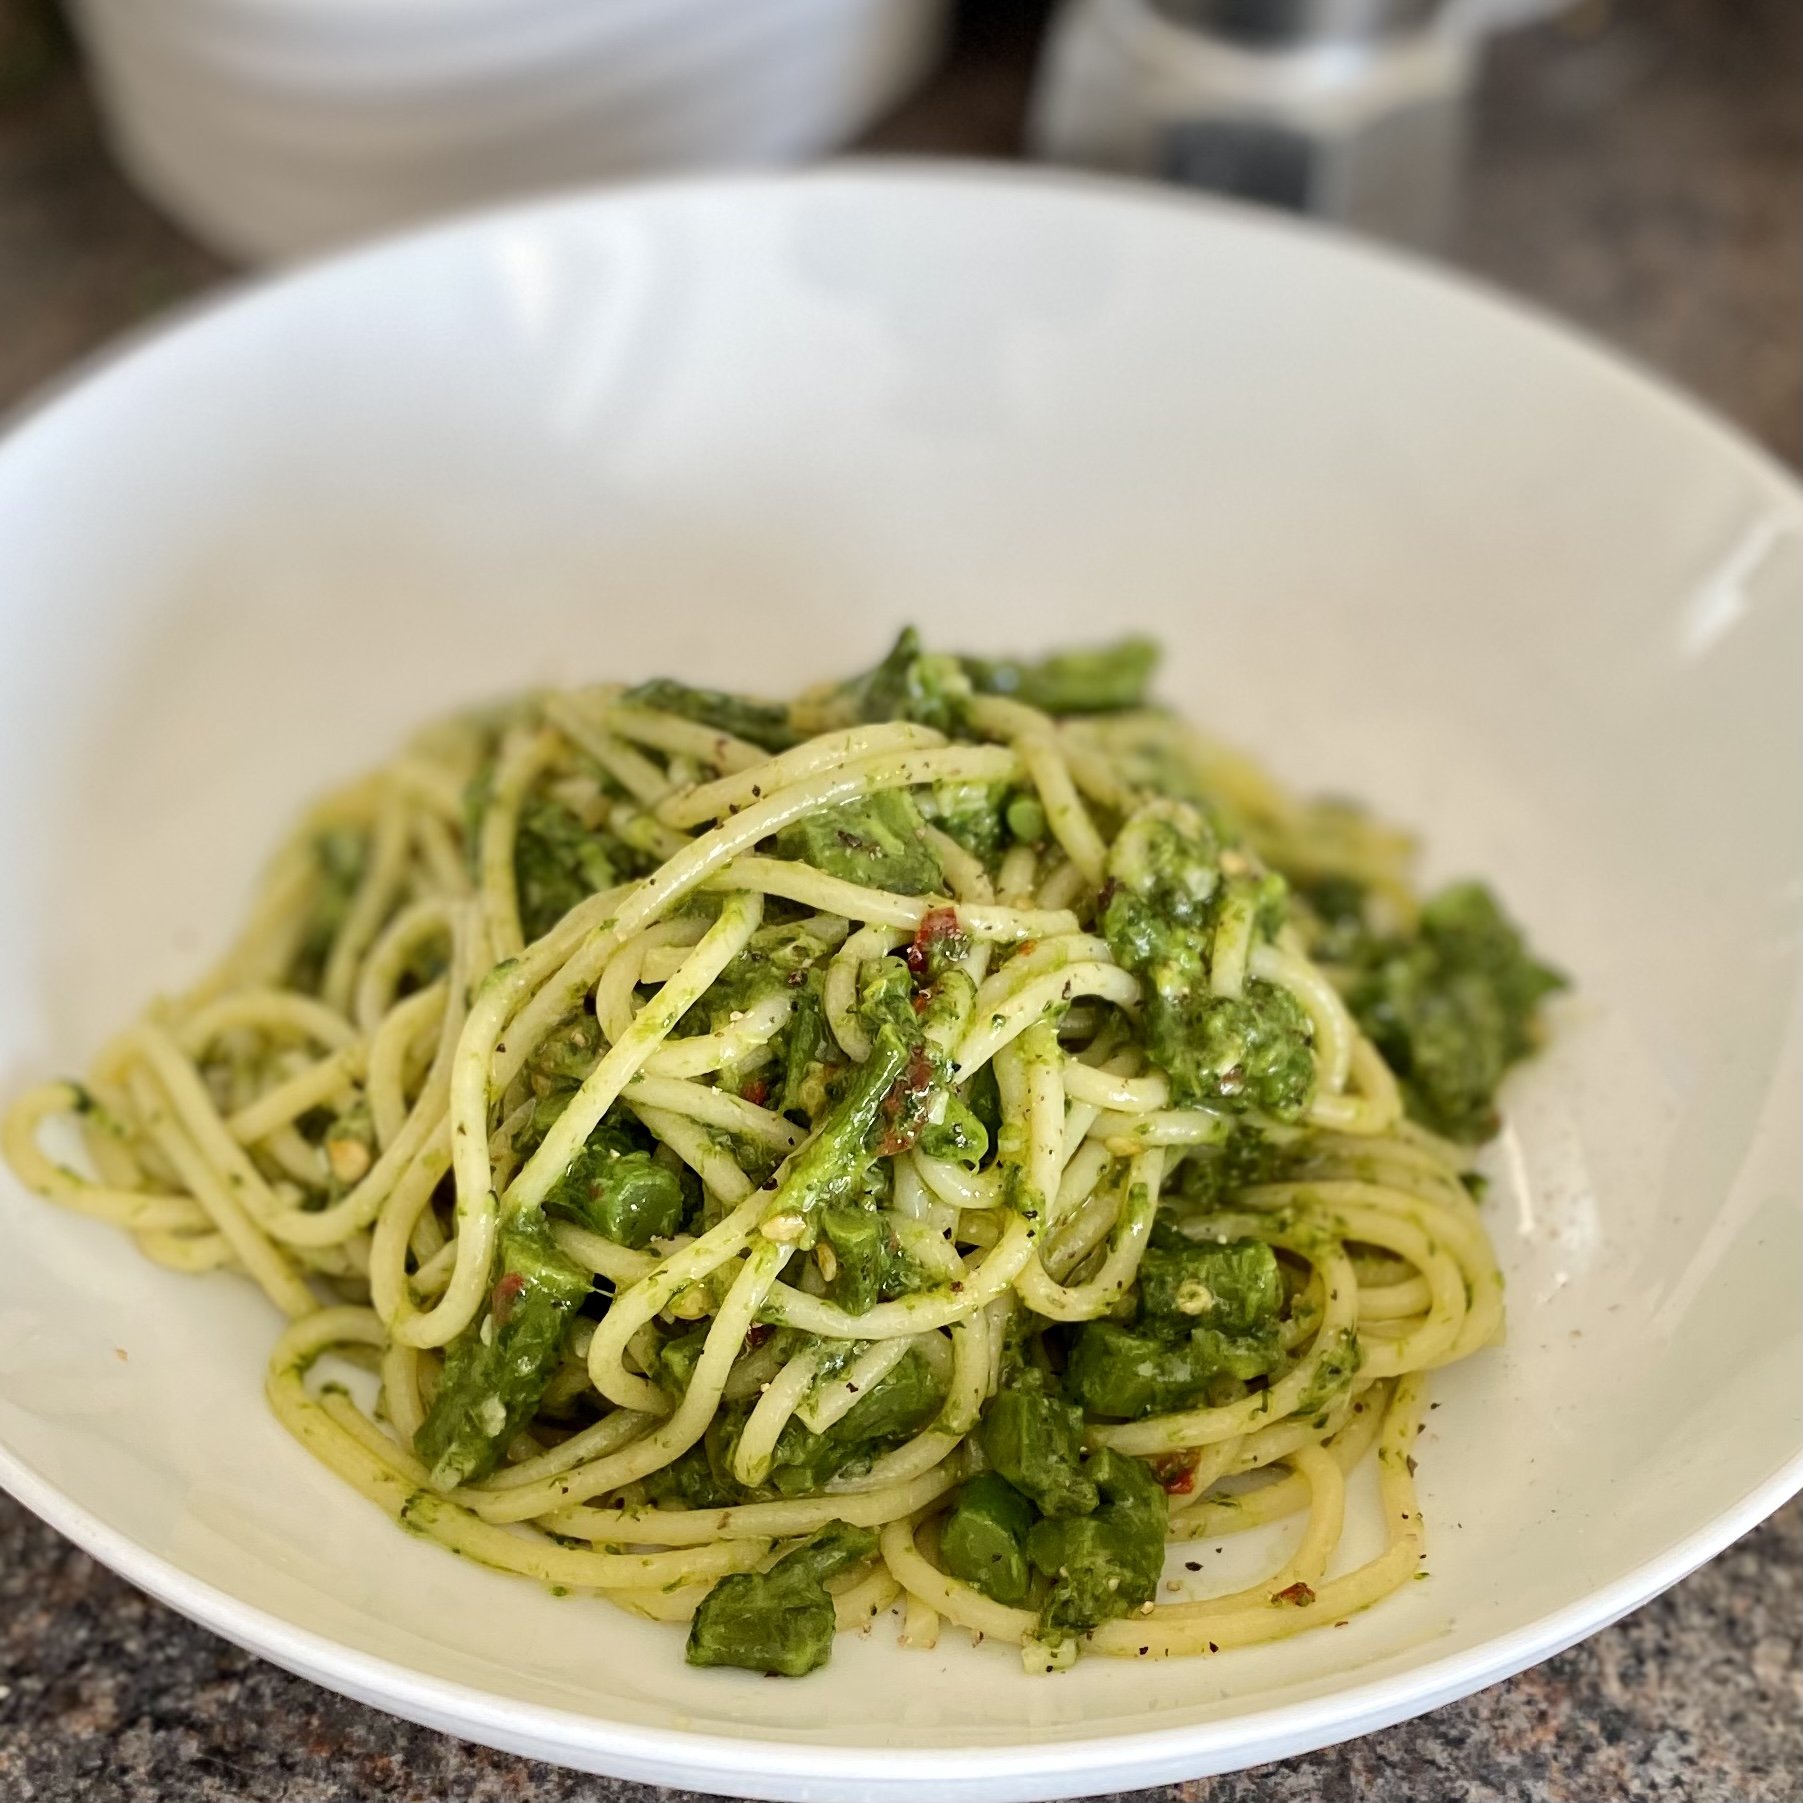
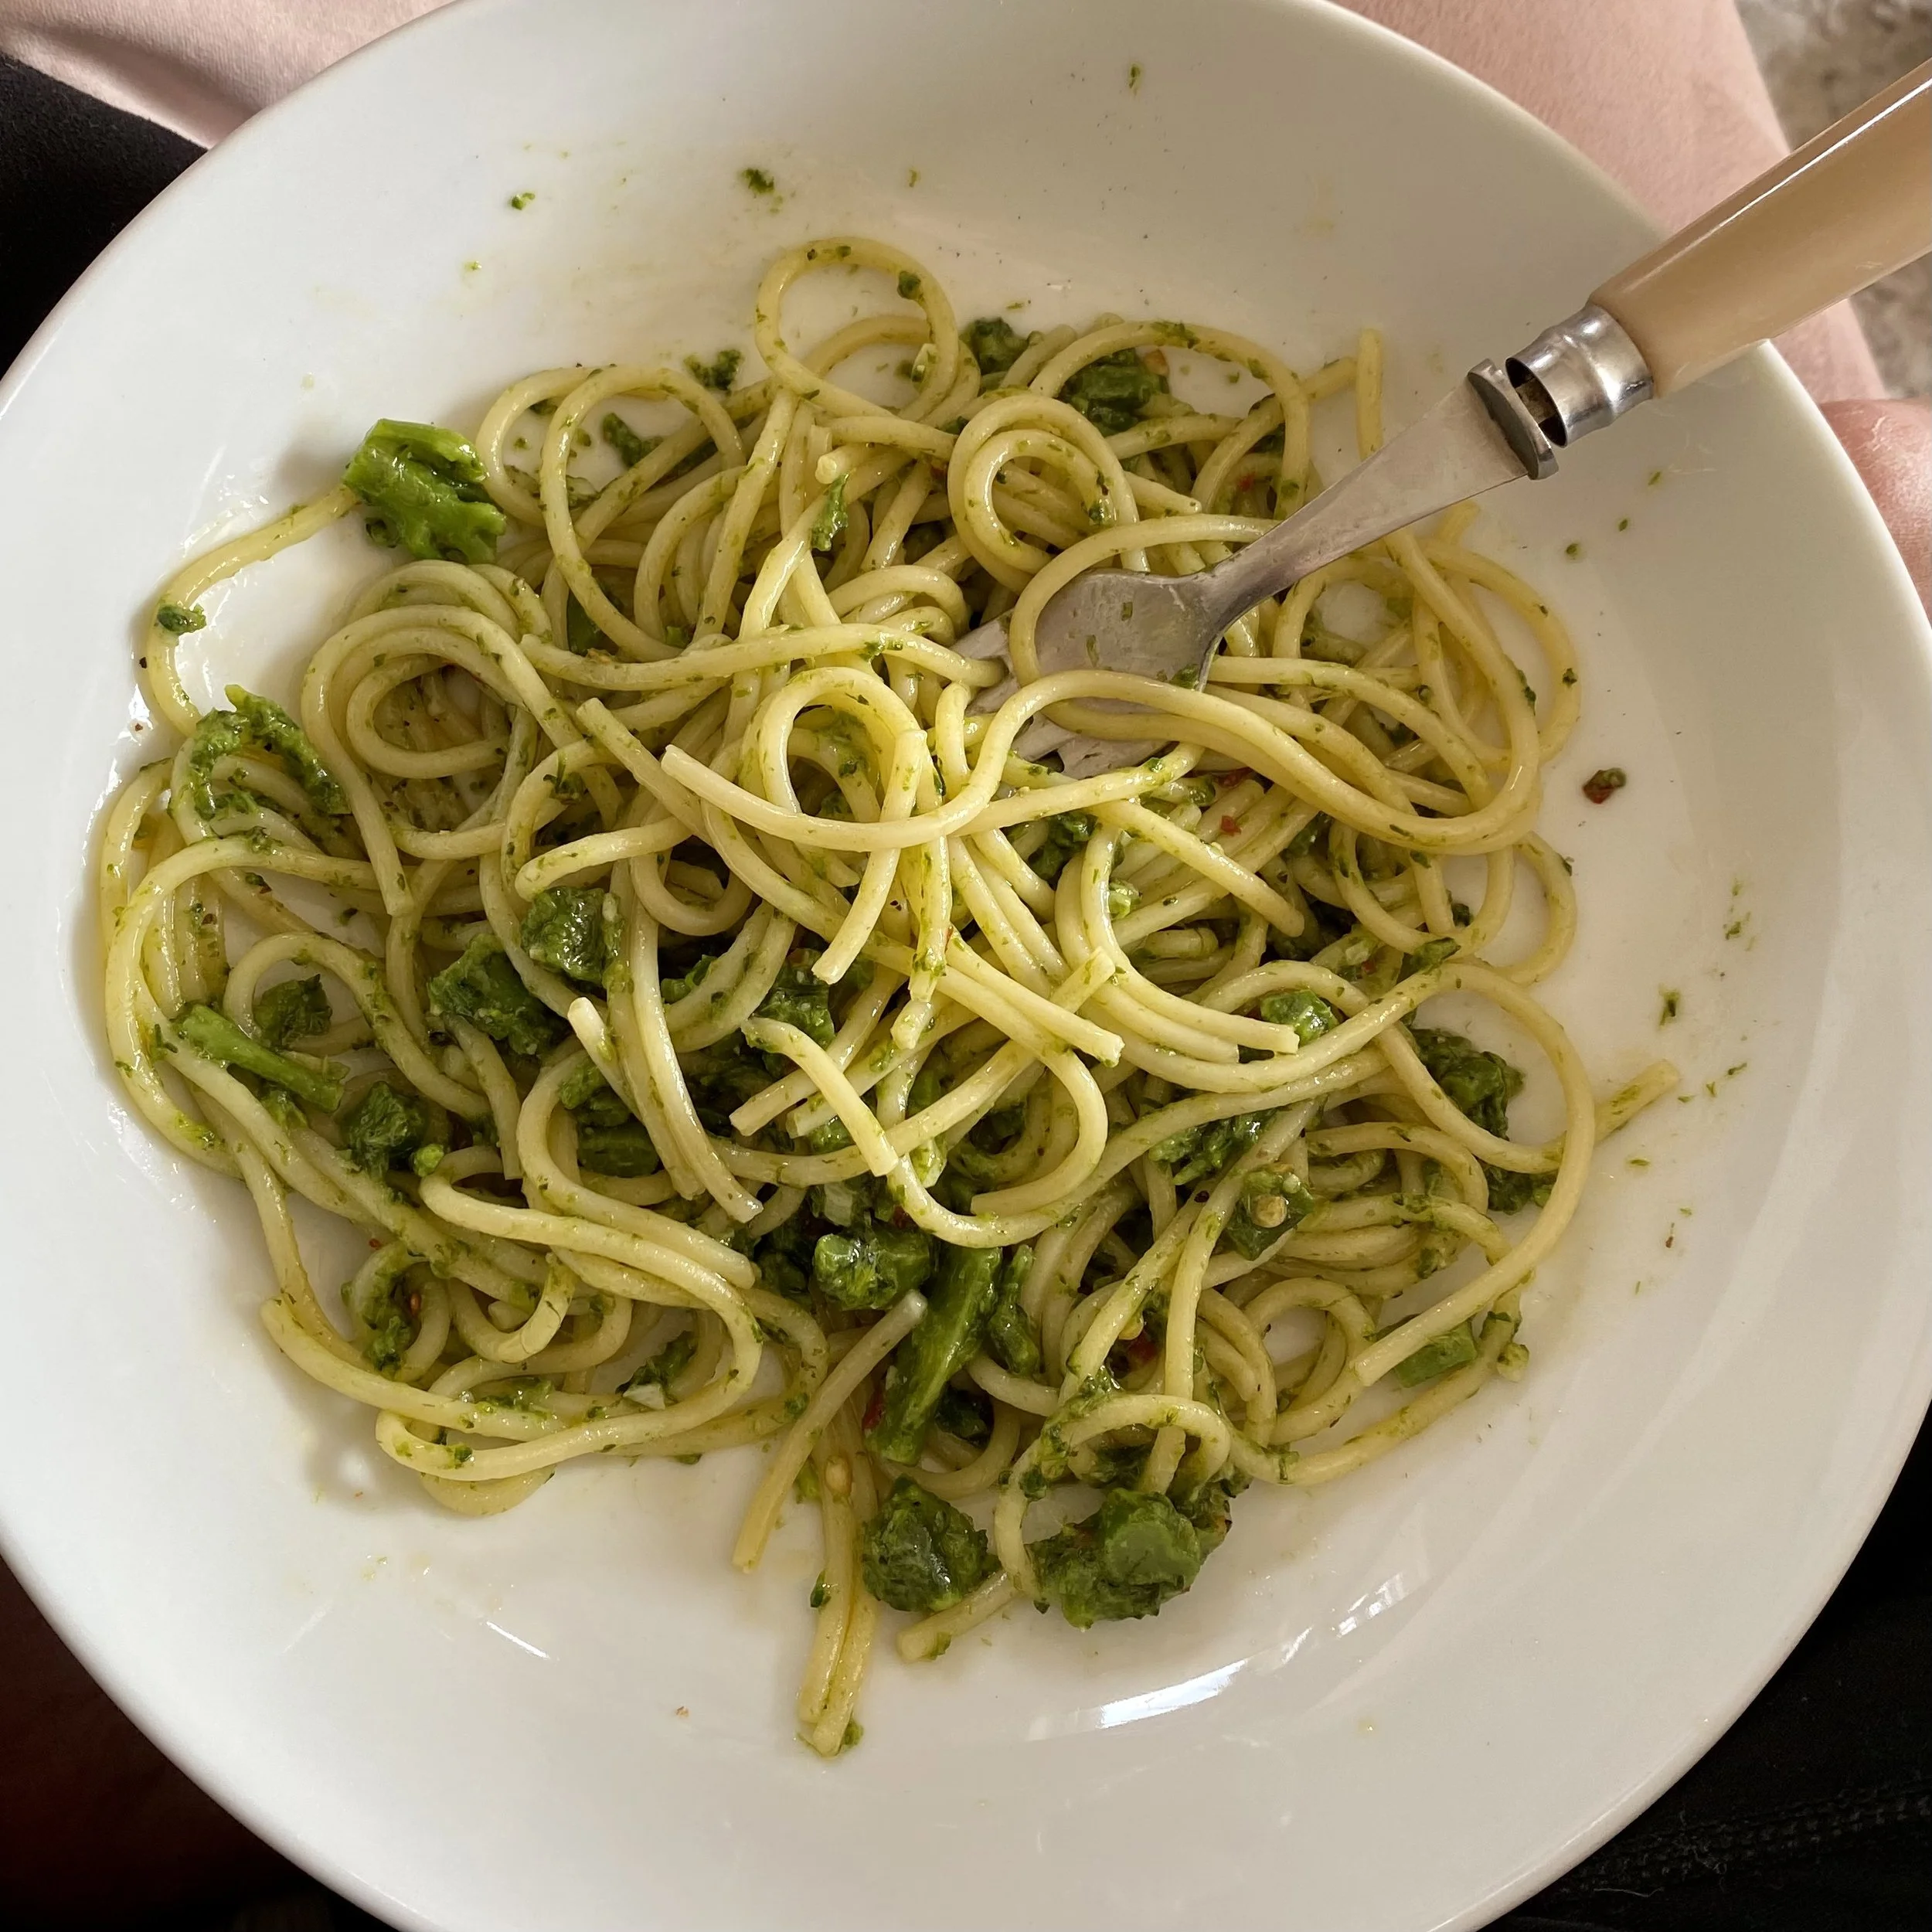
Spaghetti + broccoli

Sounds dull, doesn’t it? But it’s really, really not. It’s creamy and delicious and also full of goodness and I’ve eaten it two days in a row now.

I made a big bowl of this for lunch the other day to celebrate the beginning of Spring but it would of course also be perfect for a simple supper.

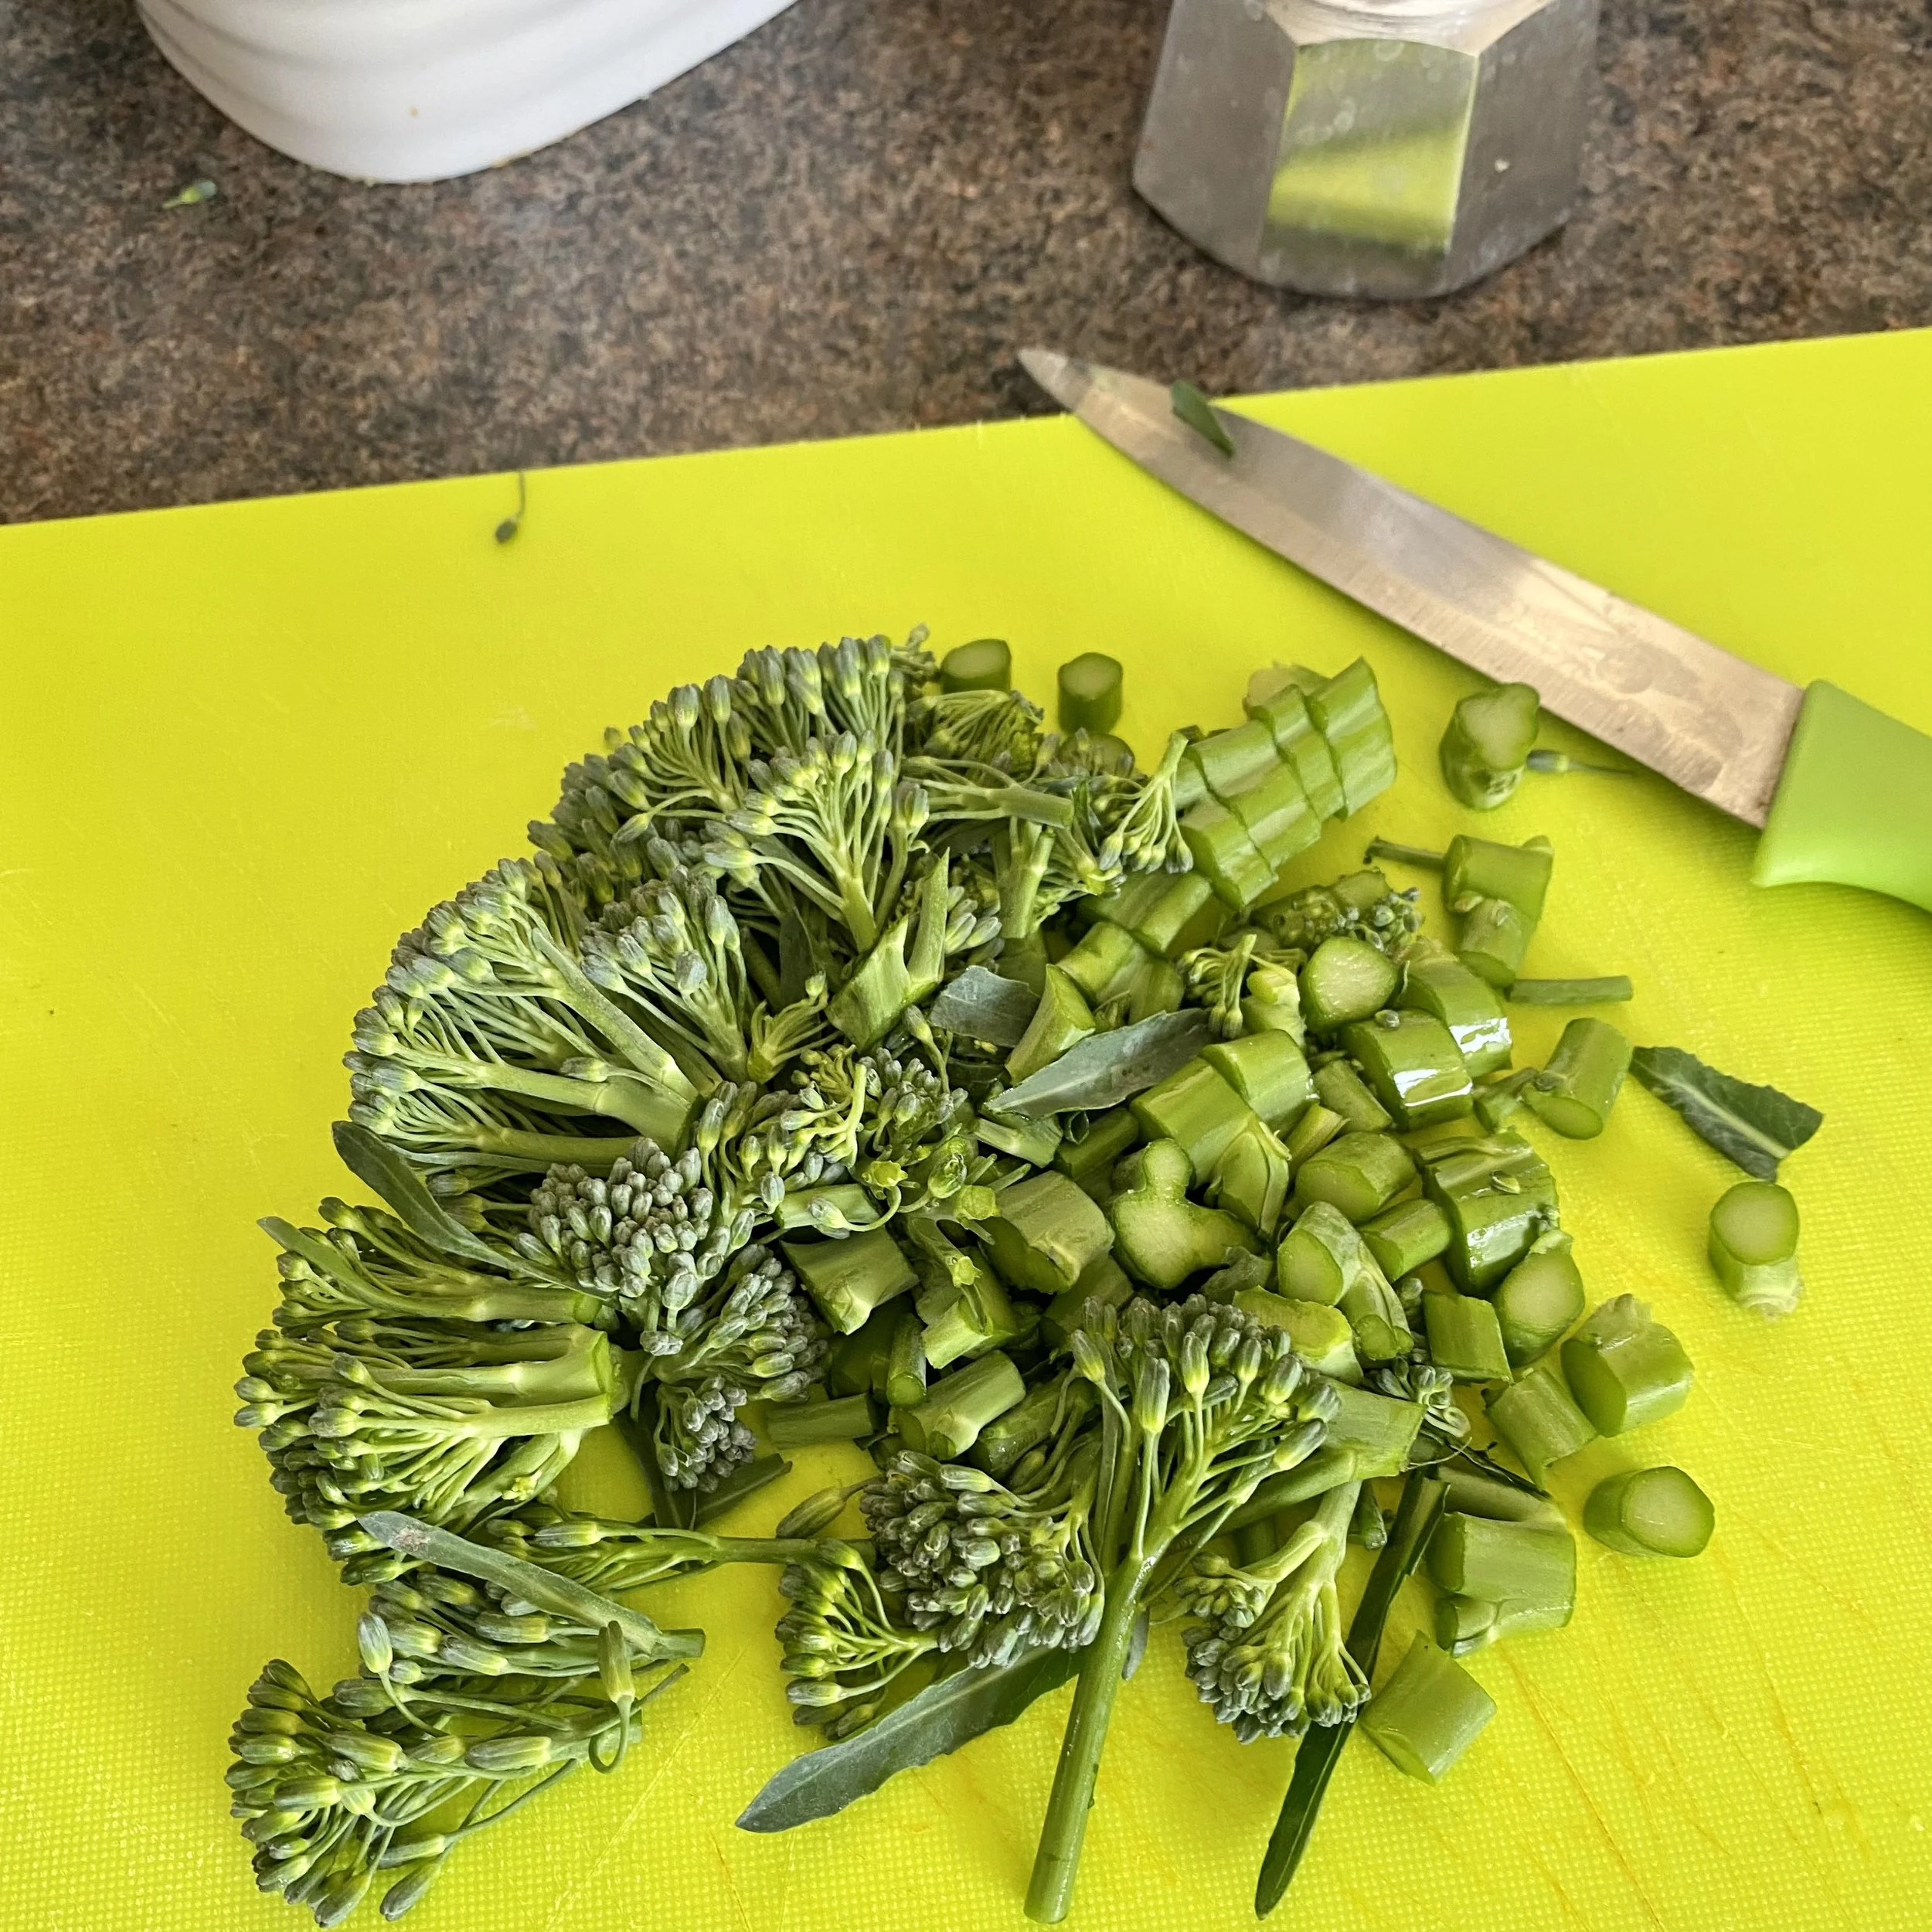
OK, the broccoli also looks weirdly kind of fluorescent against the lime green chopping board! I’ll take some new pics next time I make it.


To make lunch (or dinner) for one you’ll need:

about 100g of broccoli, chopped

one clove of garlic, peeled and finely chopped

handful of spaghetti (about 100g)

salt and black pepper

dried chilli flakes (if liked)

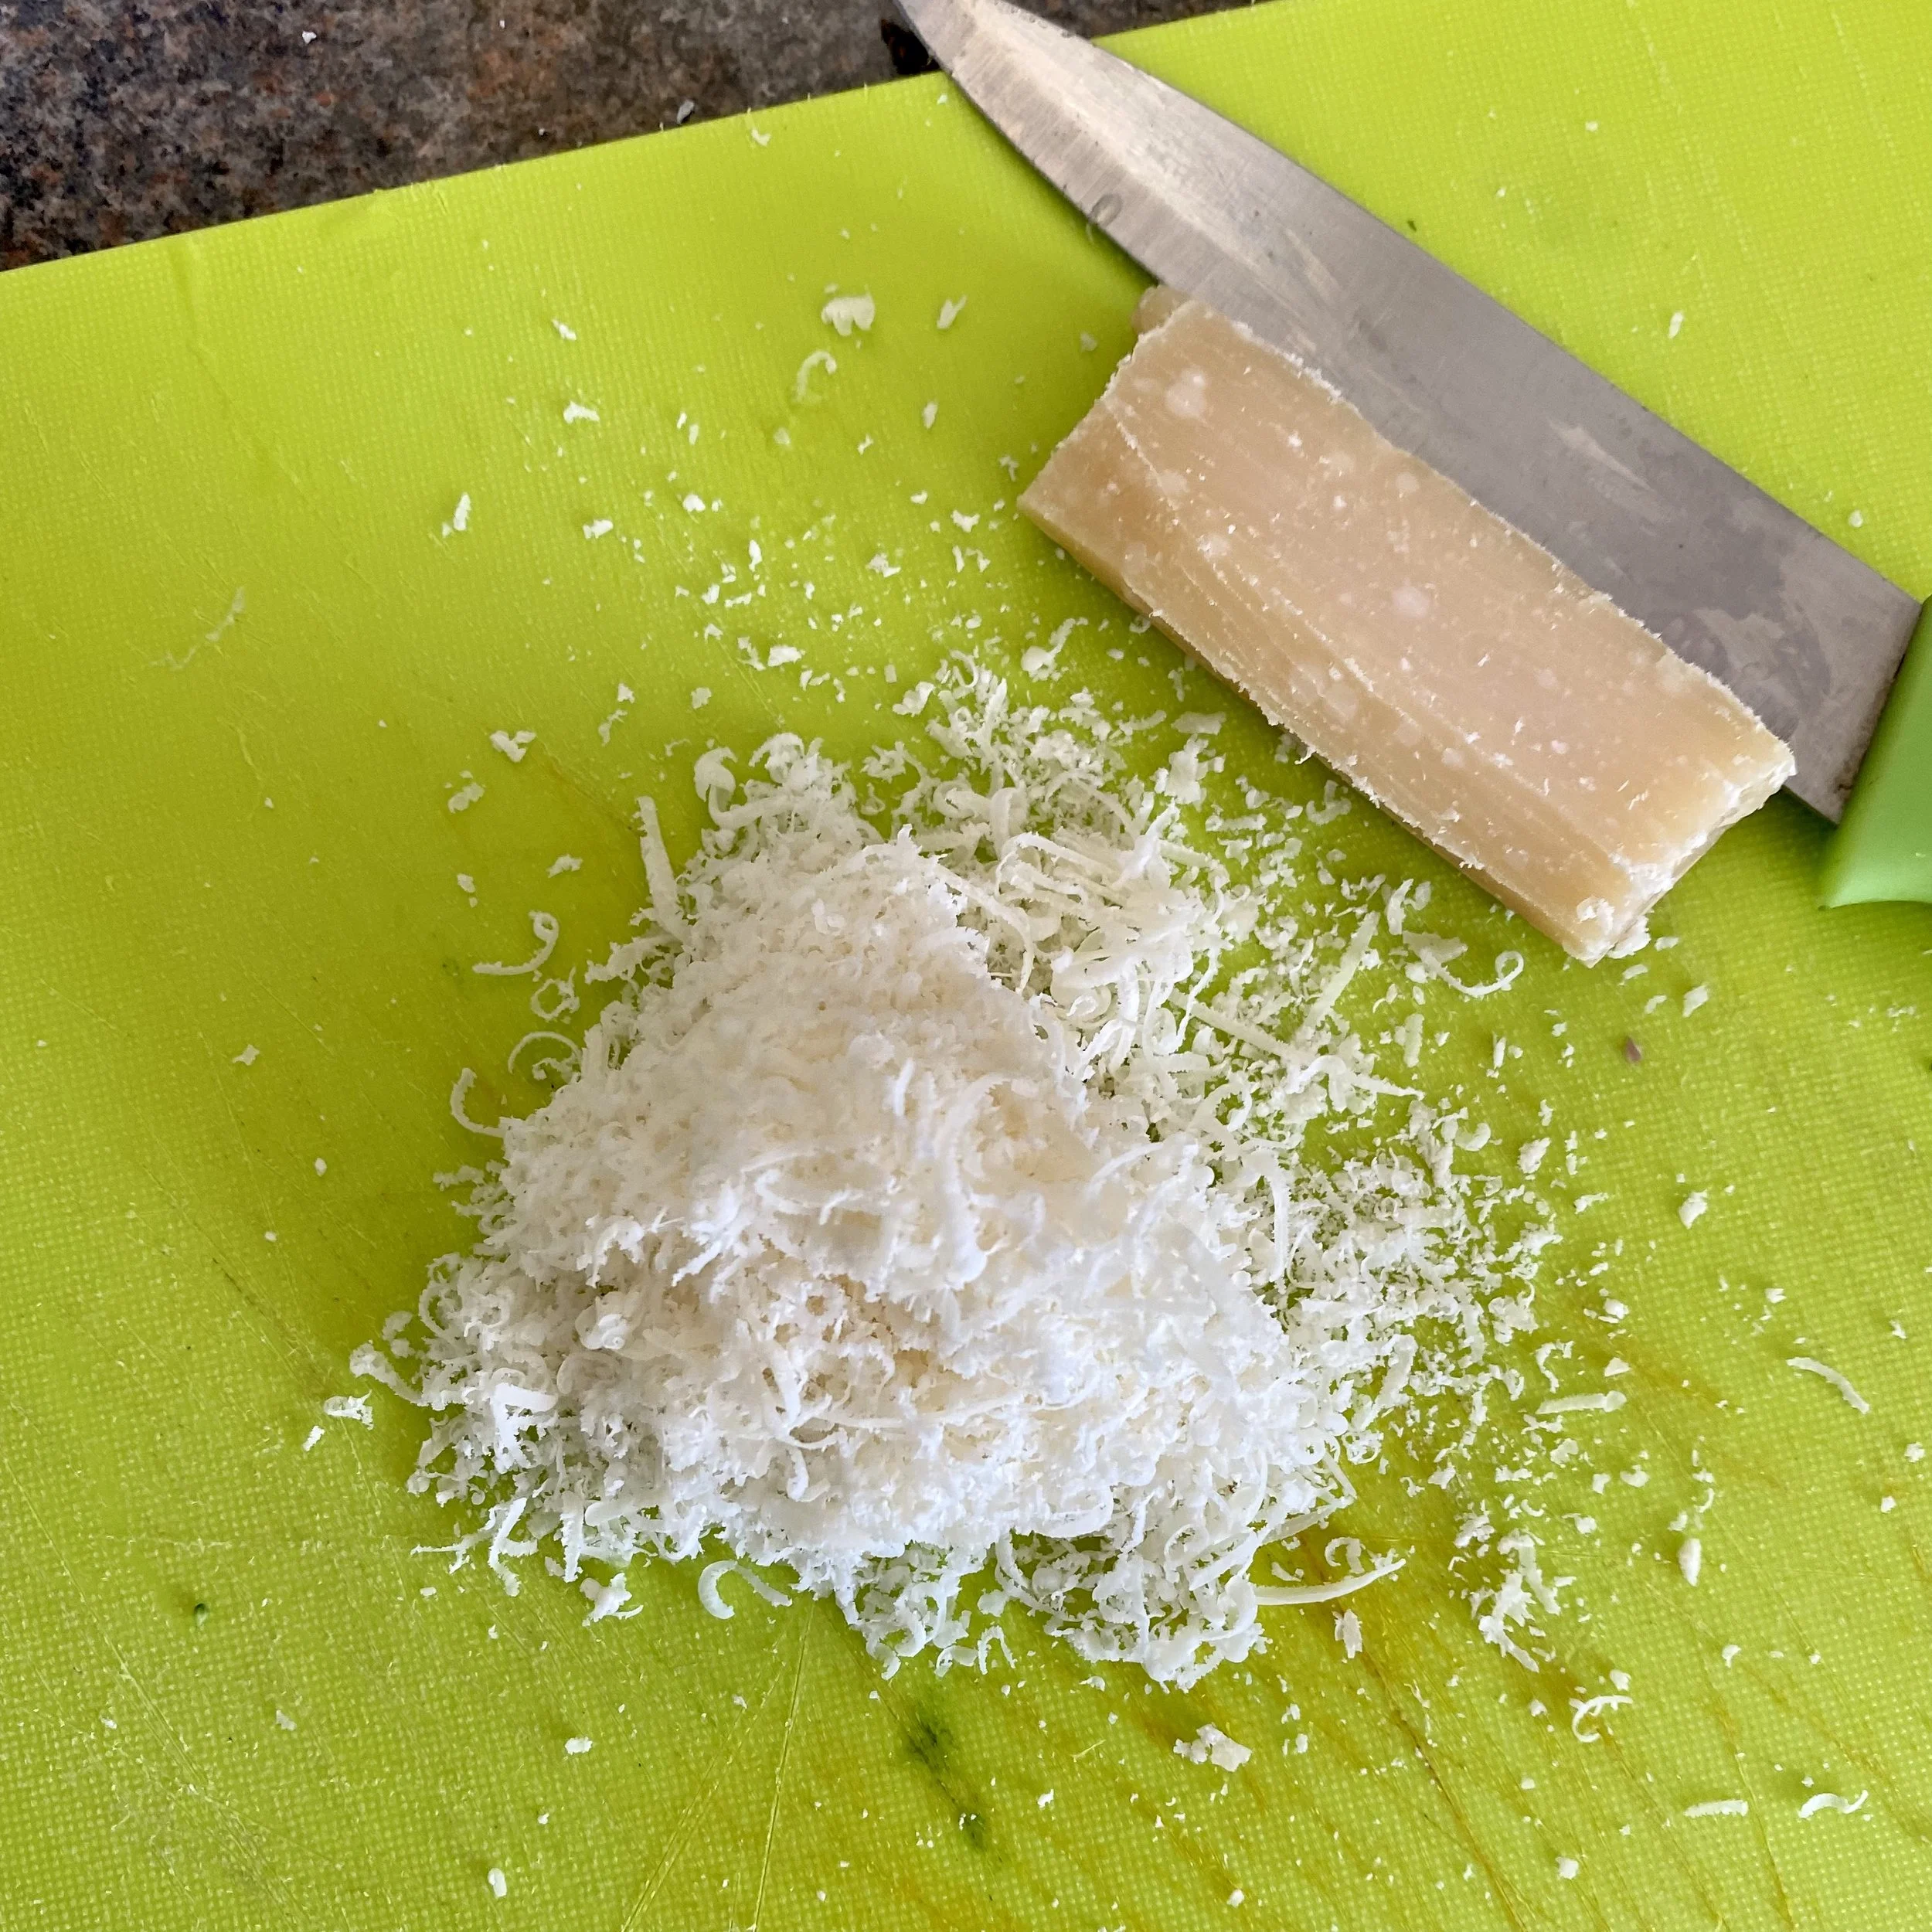
Parmesan or Pecorino cheese, grated

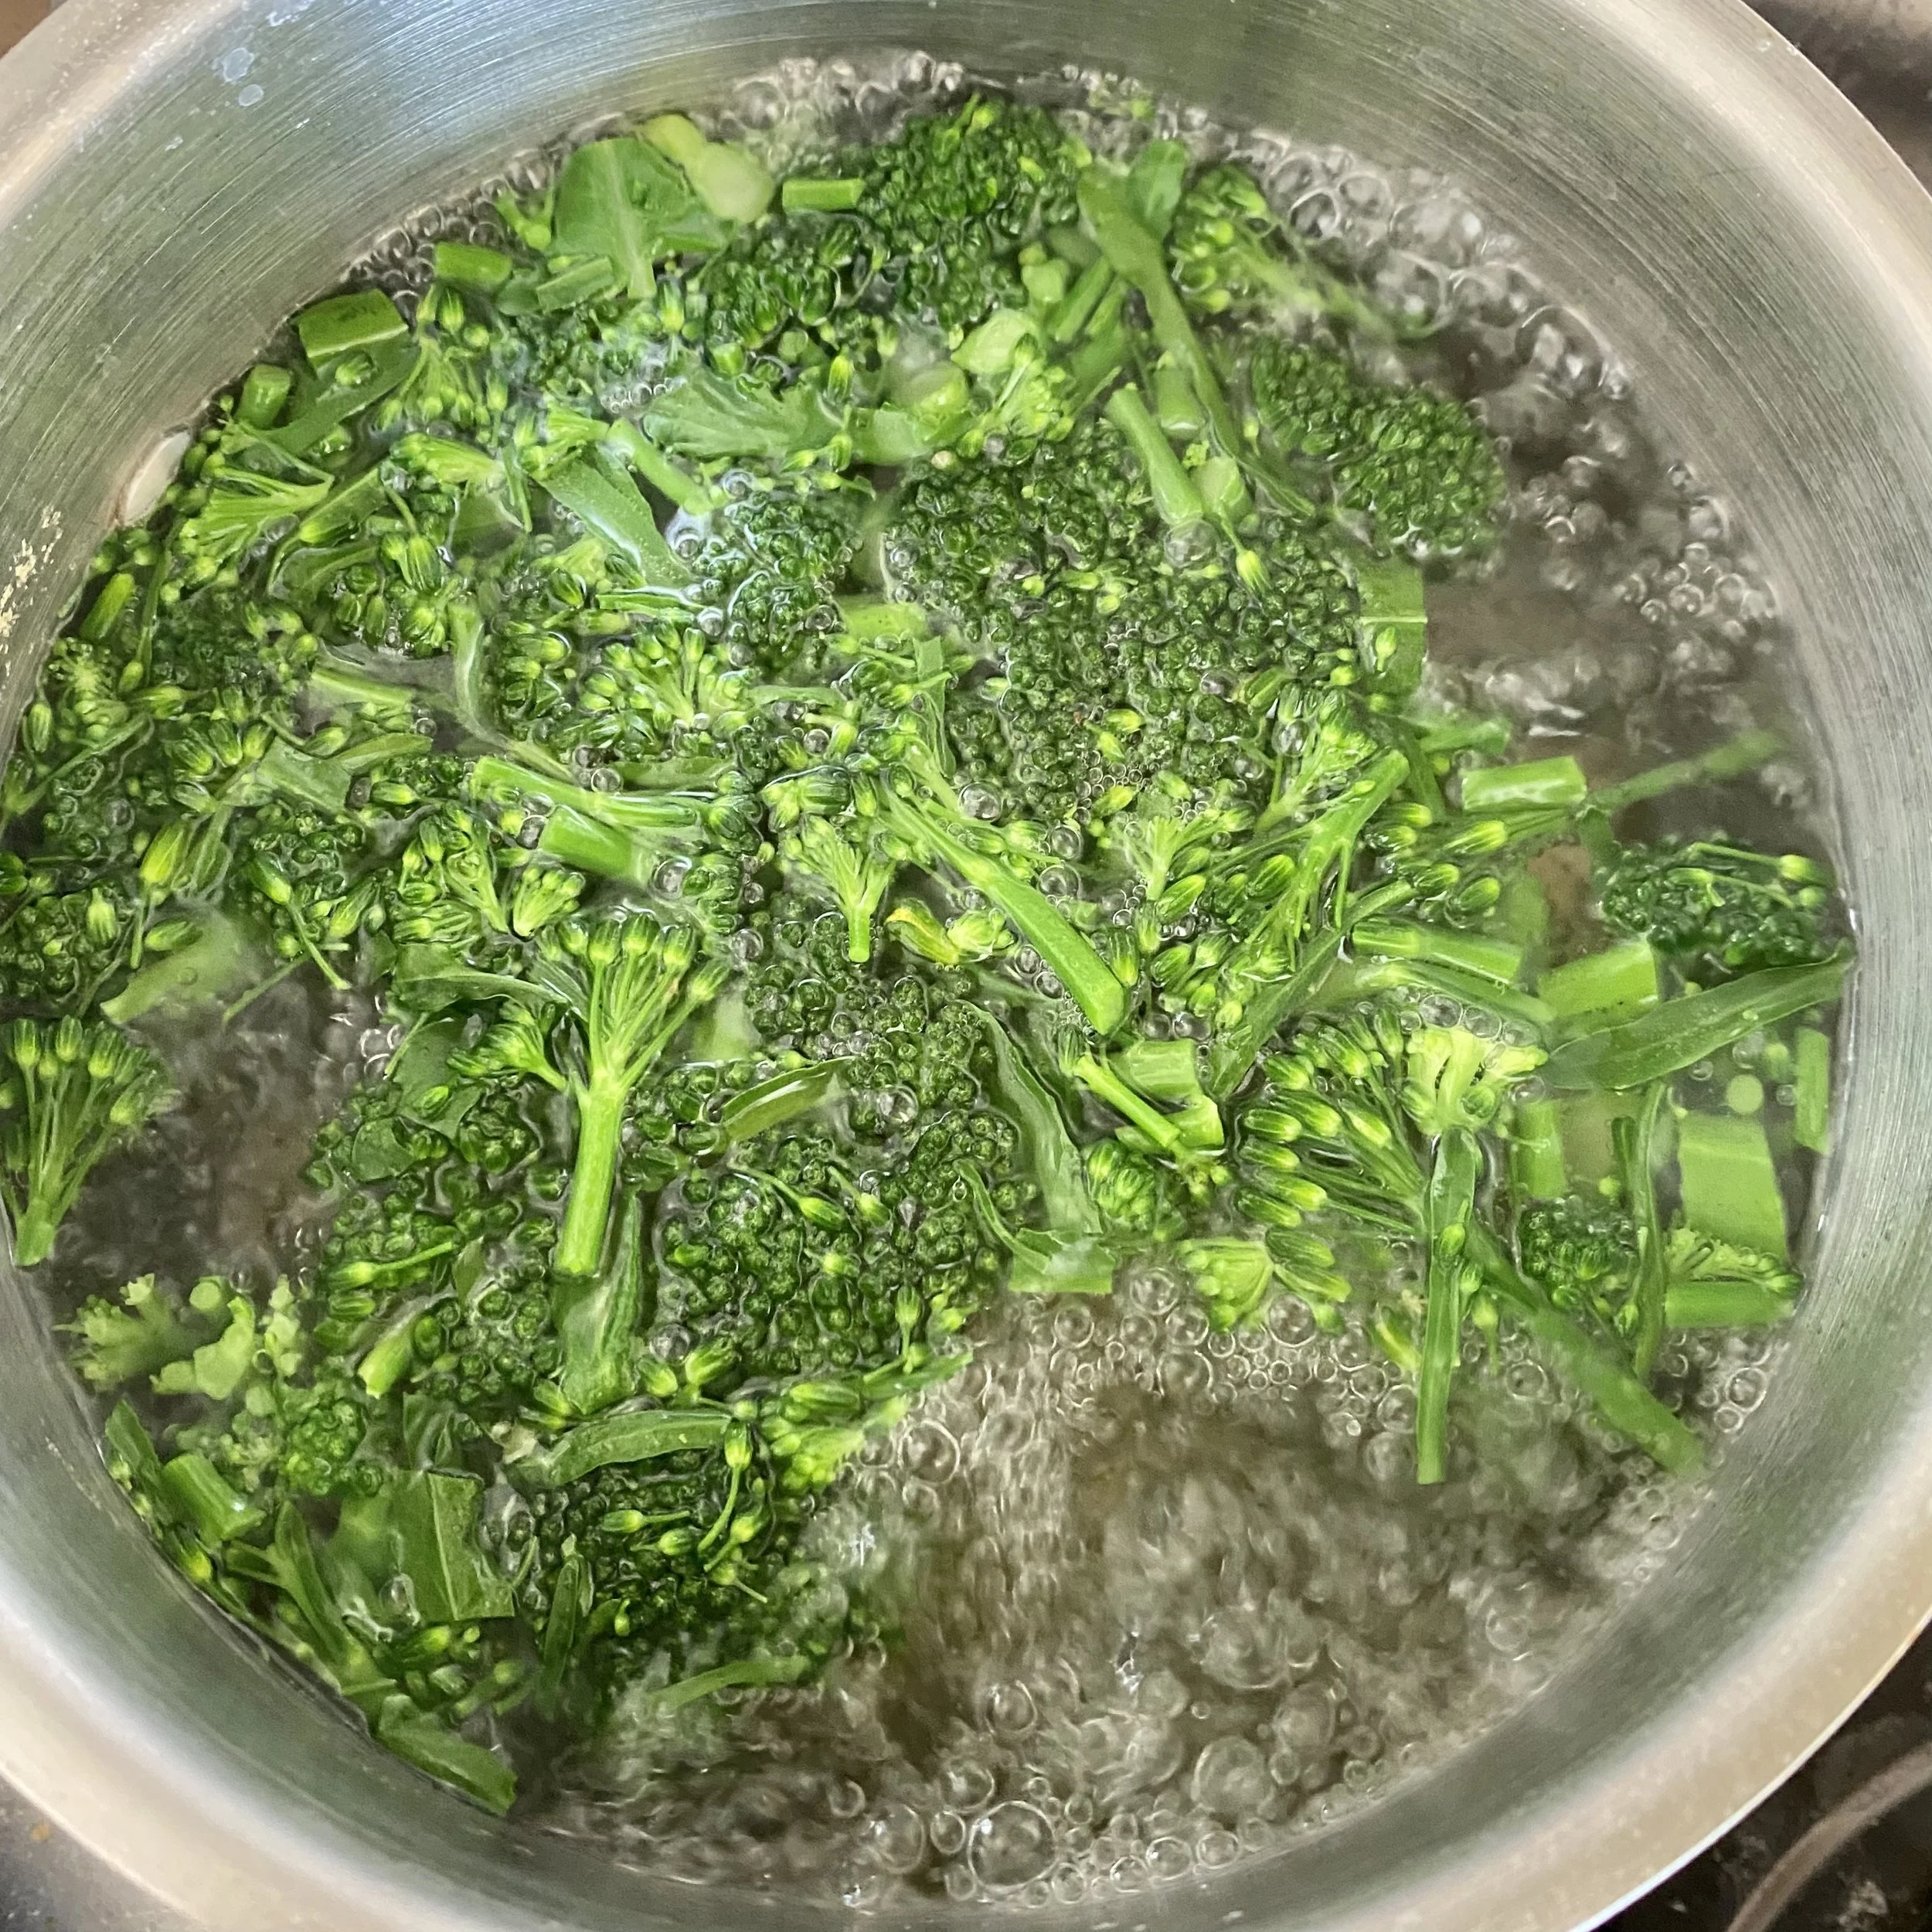
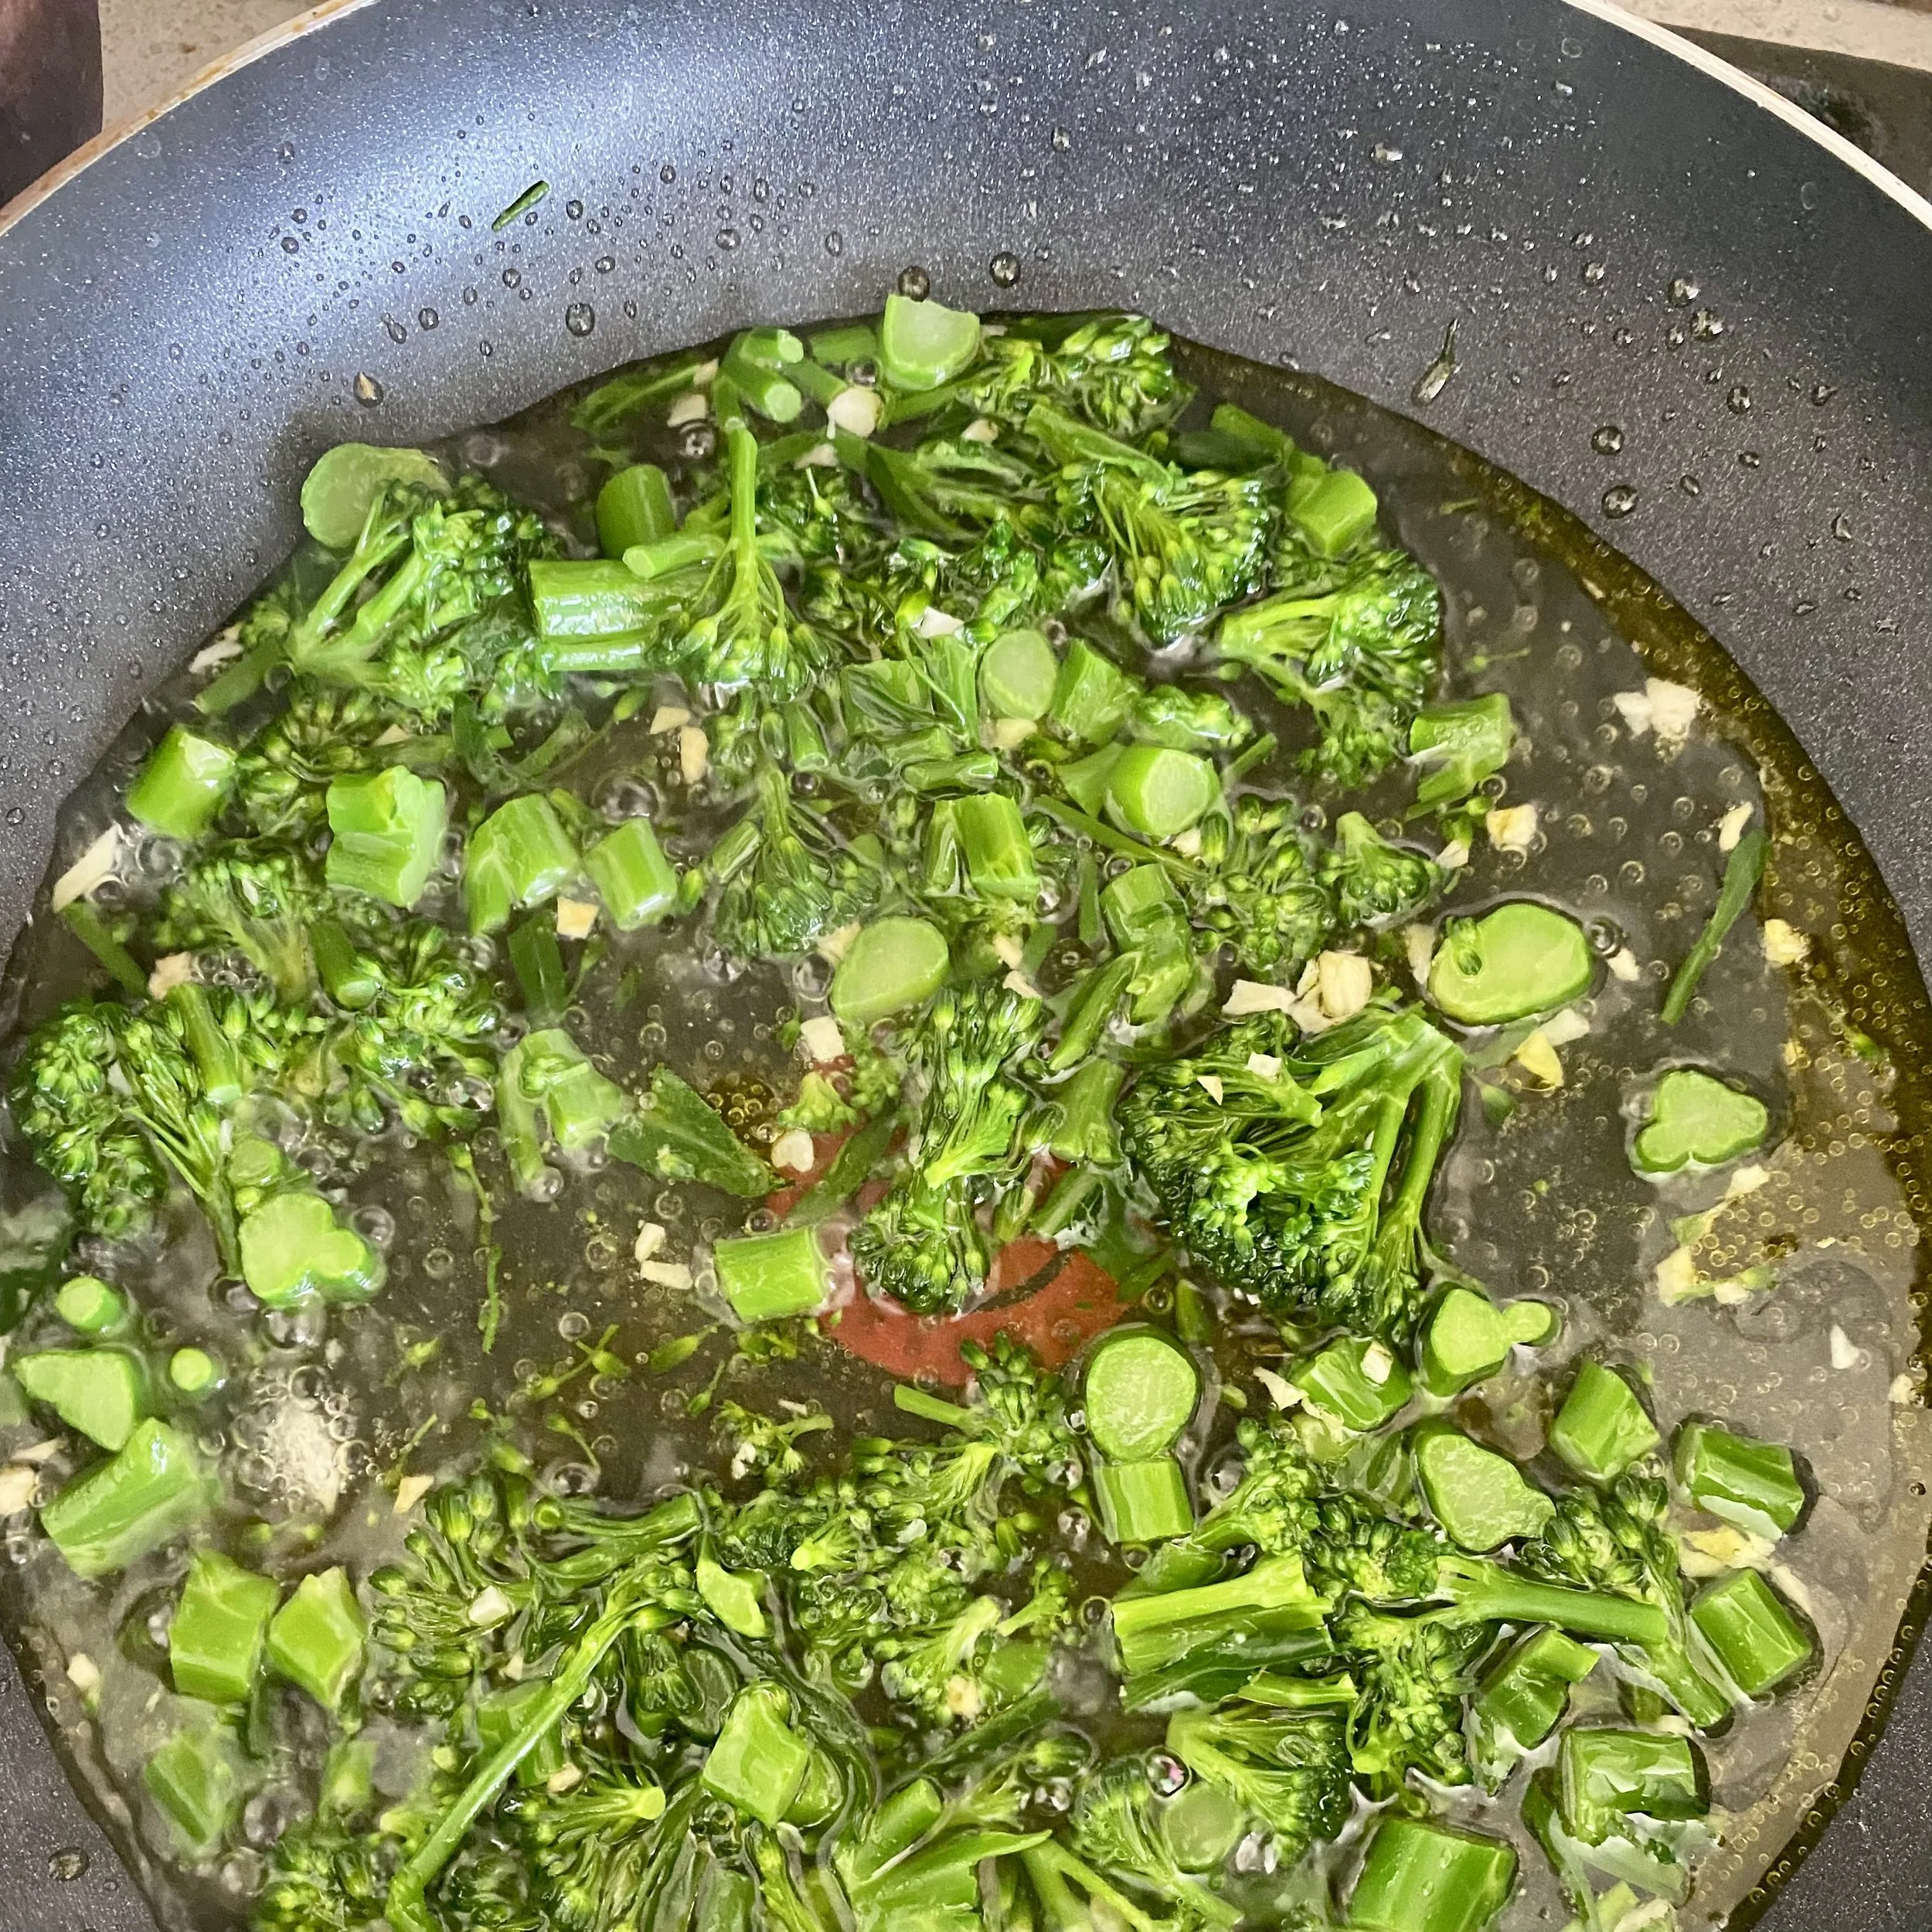
Put a pan of water with a big pinch of salt over the heat and cover. While it’s coming to the boil chop the broccoli and when the water’s boiling, add the broccoli and boil on a medium heat for about four minutes.

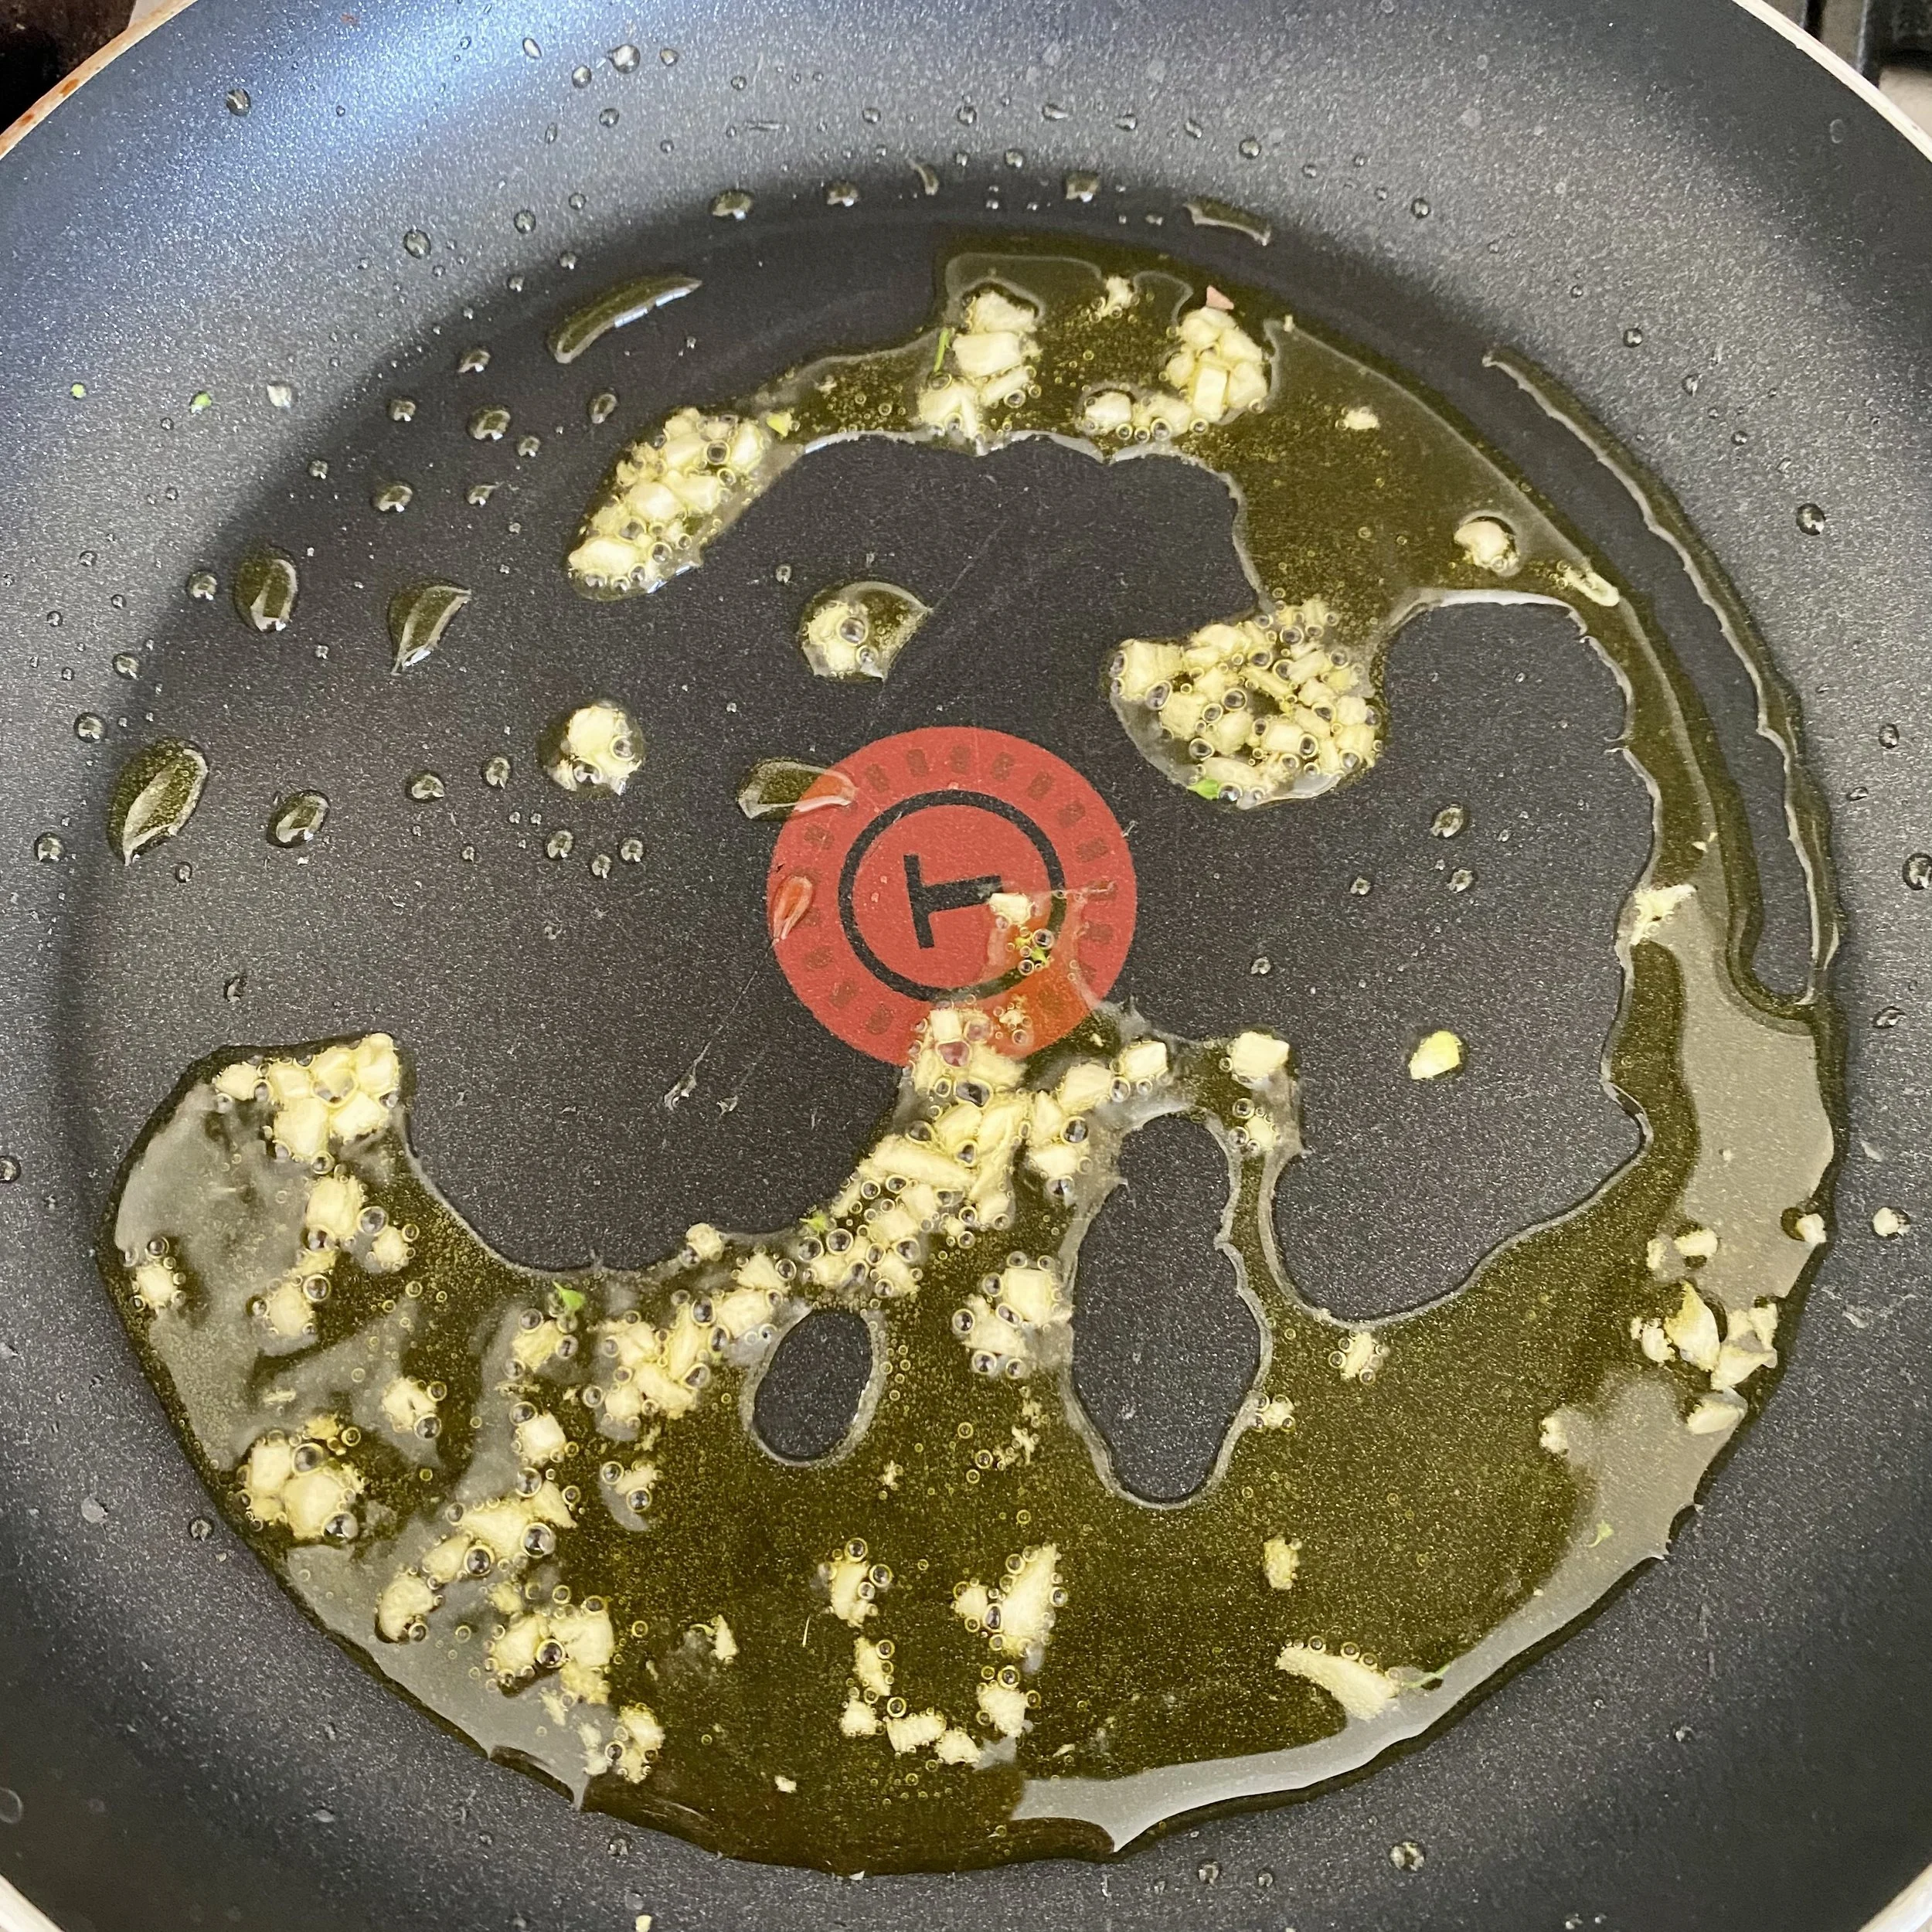
And while that’s cooking, add a good slosh of olive oil, perhaps a tablespoon, to a non-stick pan and fry the garlic very gently, stirring often. Add a little splash of water from the pasta pan if it even thinks about sticking/burning.

When the broccoli has cooked, remove it from the pan with a slotted spoon and add to the frying pan with a ladle more of the pasta water so it can continue simmering.

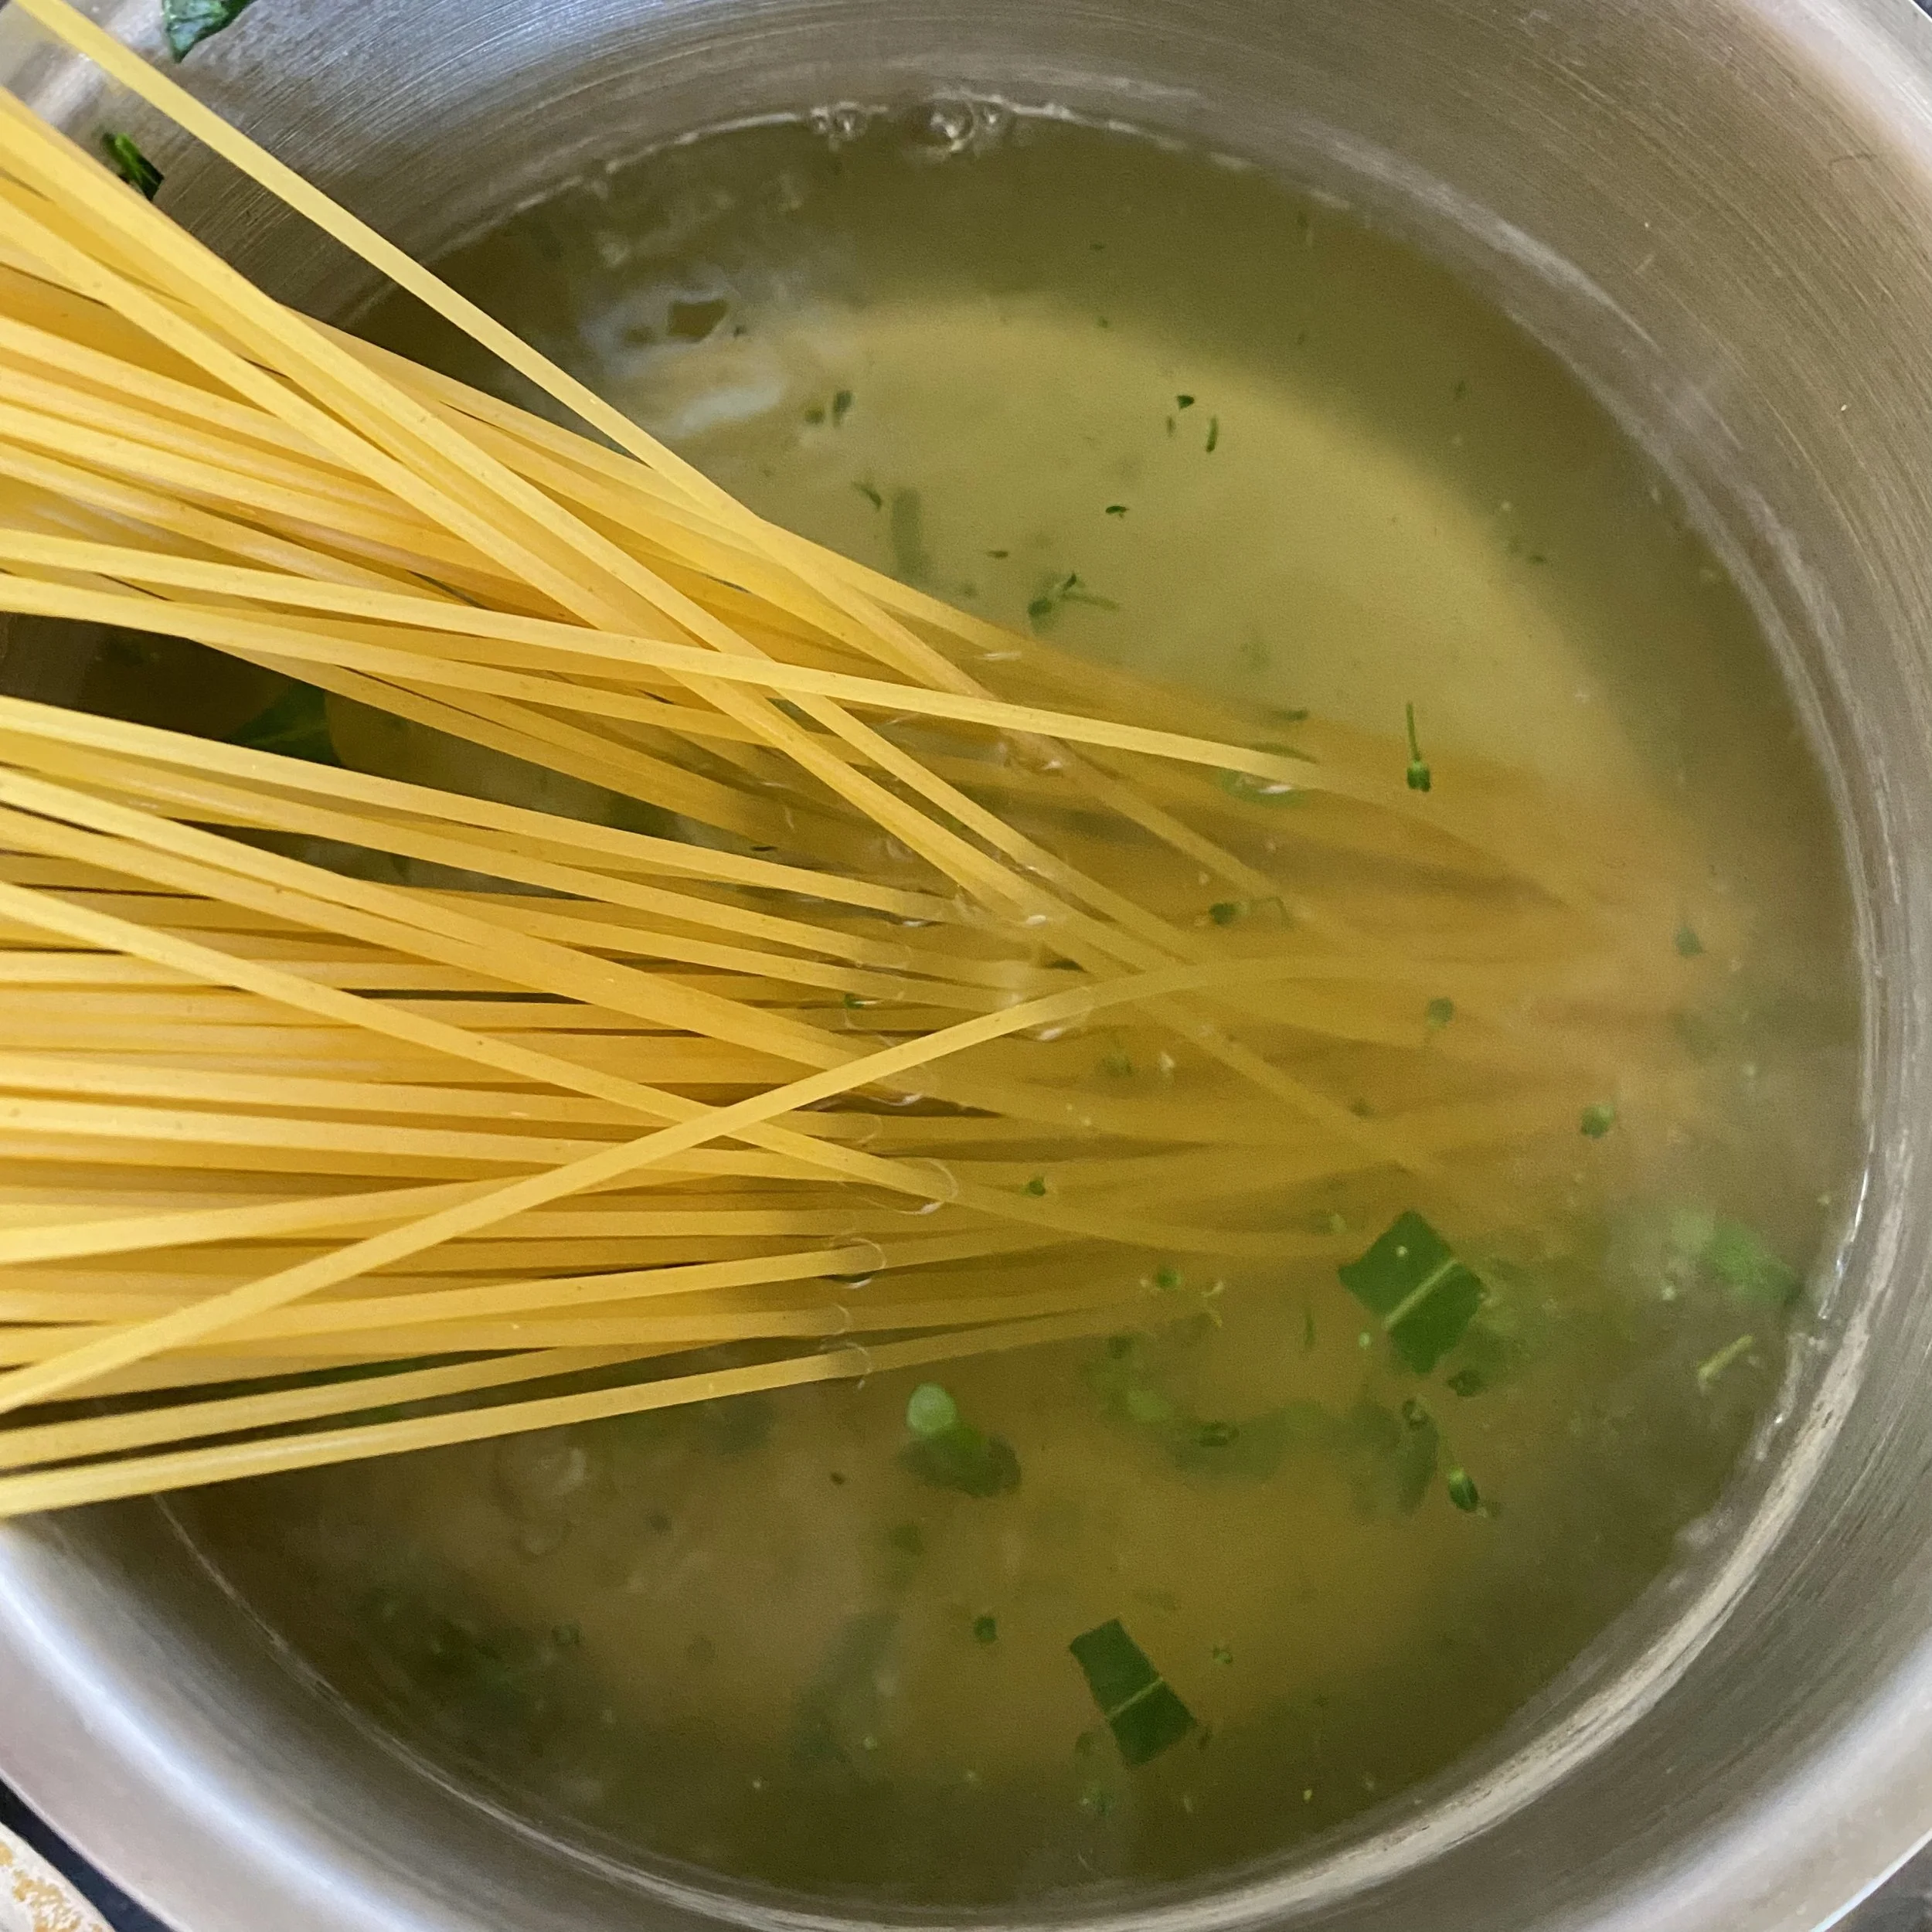
Put the spaghetti into the same pan of water that the broccoli was in - it’ll only add more flavour and goodness to cook in the vegetable water. Cook according to pack instructions or to your taste - I did mine on a medium boil for eight minutes.

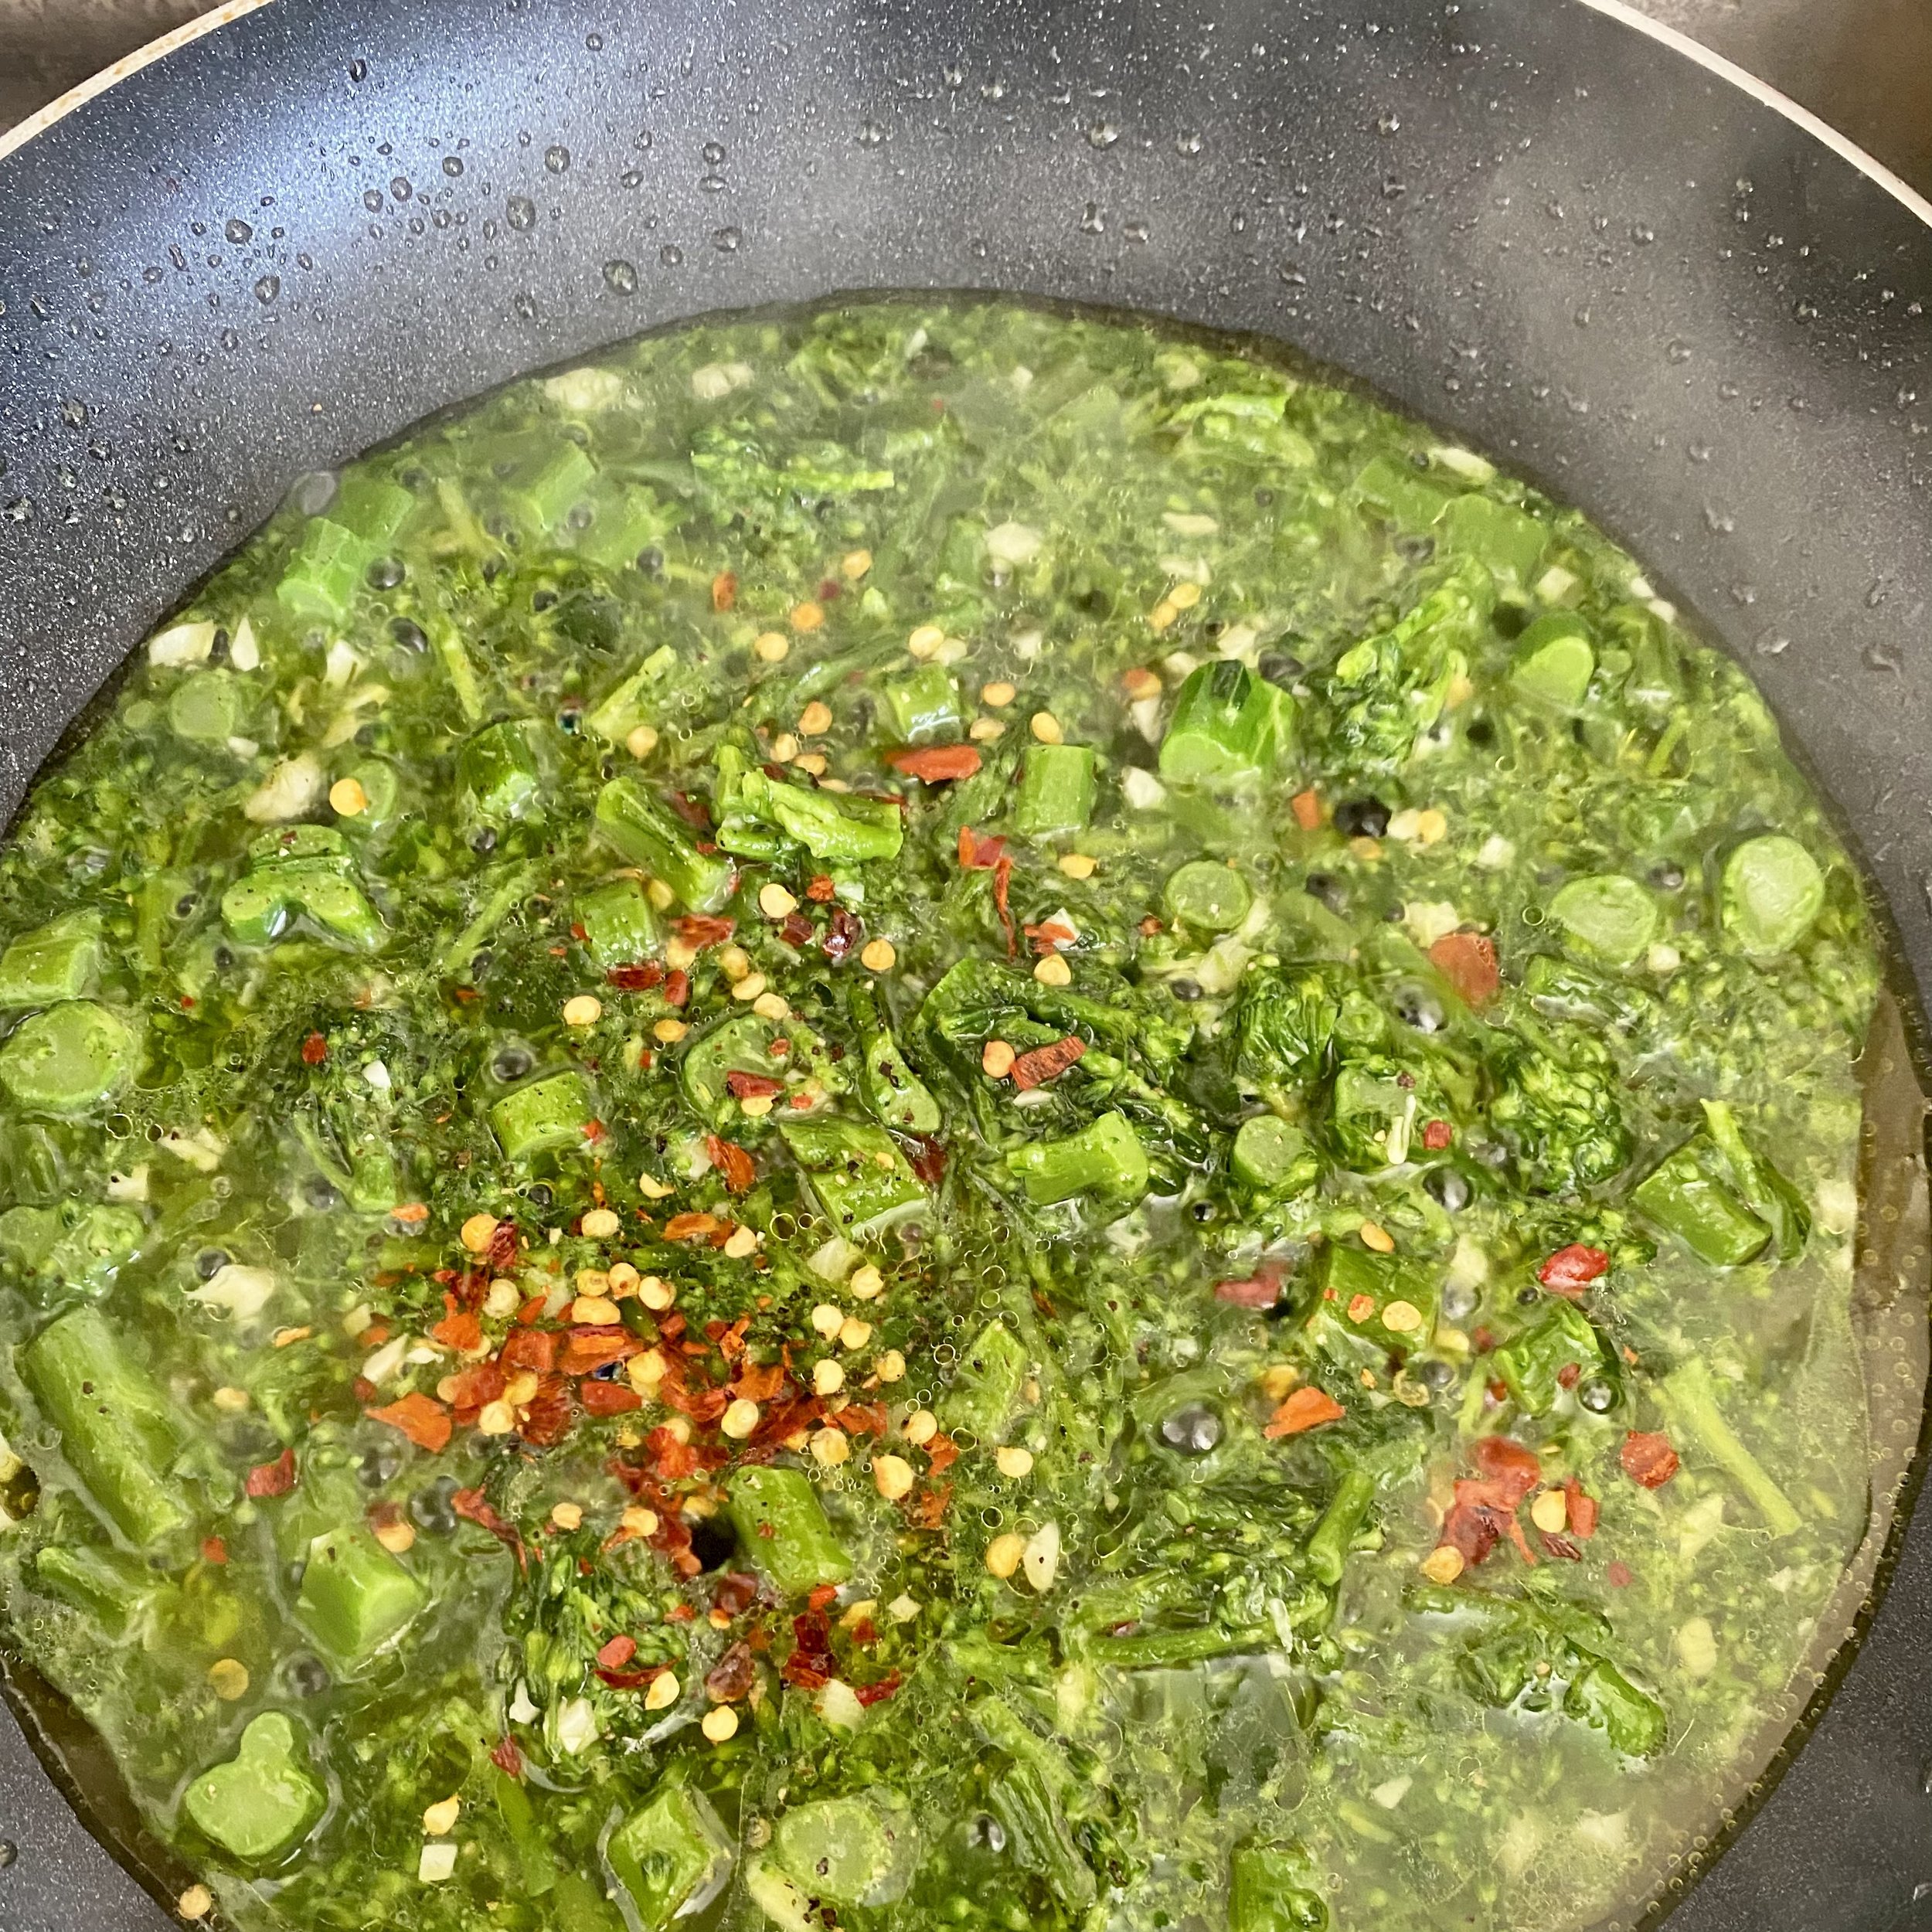
Keep stirring the simmering broccoli and it’s going to get really nice and soft. After about five minutes season with salt and pepper - and some dried chilli flakes if liked. Also add about half the cheese and stir in .

Drain the pasta when ready and add to the pan - make sure to reserve a little more of the cooking water in case you want to loosen your sauce any more. Stir, add the rest of the cheese and cook for another minute or two.

Taste and adjust the seasoning if needed and voila.

Creamy delicious nutritious broccoli spaghetti.


YOU MIGHT ALSO LIKE …

Fluffy one-egg omelette

It’s only called a one-egg omelette as that’s what I made … it could quite as easily be adapted to be a two- or three-egg omelette if you prefer, of course.

Until recently I hadn’t even thought about fluffy omelettes, but when I was about 13 or 14 years old, my friend Emma and I were obsessed with them!

I have no idea why but we had a phase of making them all the time. Whoever’s house we were at after school we’d be raiding the egg bowl and seeing what there was in the fridge in the way of cheese and/or ham or whatever that we could add to make our perfect cloud-like omelettes.

I liked it best if we were at Emma’s house as she had ponies we could go and visit in the stables afterwards.

Anyway, the omelette.

The ‘secret’ of a fluffy omelette is simple: just separate the white from the yolk and whisk up the white until it’s stiff and almost forming peaks (as cookery books always say. This always makes me wonder who first came up with the analogy of peaks, as it does when I read - or write - about a thumb-sized piece of ginger).

I whisk the whites with an electric whisk now but back when I was a teenager we did that work by hand, passing the bowl back and forth to swap as our arms got tired).

Remember that when separating yolks and whites that you absolutely can’t have any of the yolk in the white, not a single drop, or the whites won’t ever whisk into those peaks.

if you do - as I did with my first attempt today - end up with a little yolk in the white you’re just going to have to put them back into a bowl together to use tomorrow in a non -fluffy omelette instead (or for scrambled eggs or something else of course).


So … for this omelette I used:

1 egg, white and yolk separated

Salt and pepper

a knob of butter (oh there’s another of those cooking analogies!)

grated cheddar cheese but any cheese or ham or cooked vegetables like tomatoes or mushrooms would work well

something to serve alongside if liked - I have chilli jam but so many sauces would be really good.

Also you could have this with a good hunk of bread and butter together with a salad if you wanted something a bit more substantial.


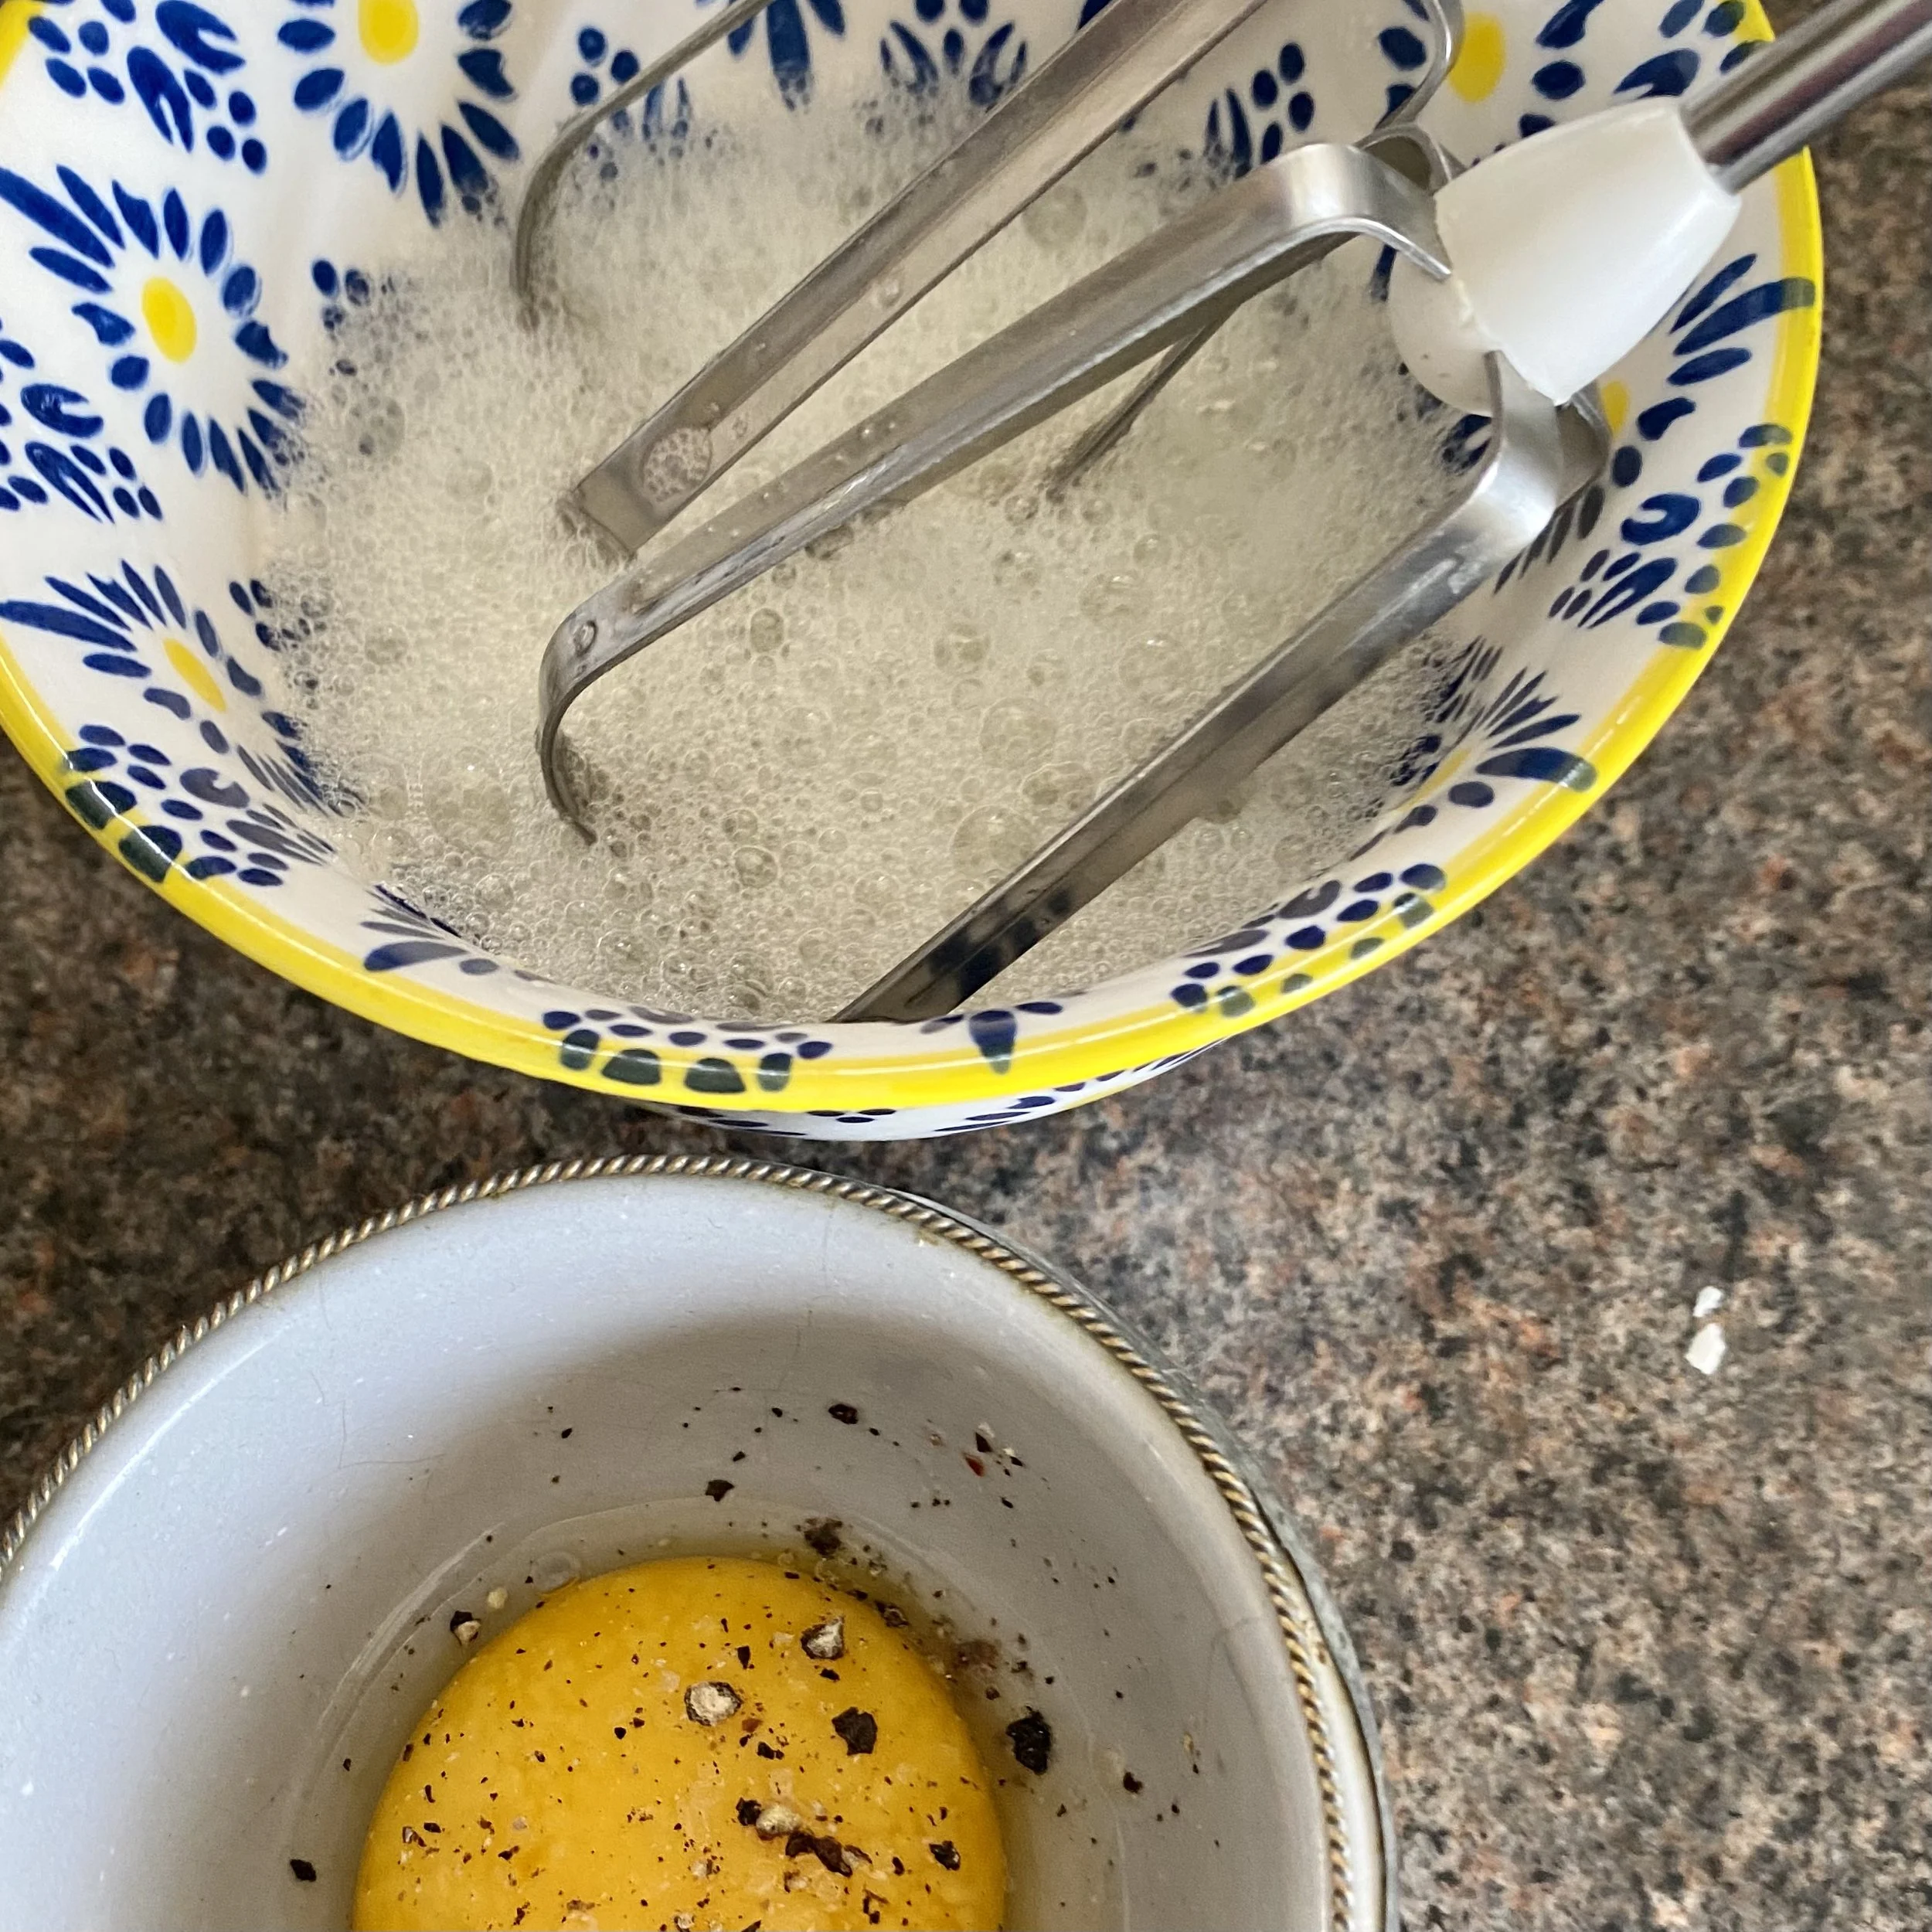
Add a little salt and pepper to the egg yolk and whisk with a fork until is combined.

Next whisk the whites either by hand or - much more easily - with an electric whisk until they have come together in little mountain ranges - or peaks if you prefer.

Stir the yolk mixture into the whites mixture and stir gently to combine, not adding too much air to deflate the whites.

Put a non-stick pan over a medium heat and add a knob of butter or a little slosh of olive oil if you prefer.

When it’s hot, add the egg mixture and smooth into the pan.

After a few seconds, grate some cheese over the omelette or add in your cooked veg or meat or ham. I added a little more black pepper too.

Let it cook on a medium heat for maybe 2-3 minutes but keep checking in on lifting the edges - as if it burns, it will do so fast, so keep on top of it -and lift under the edges as well to see how it’s browning underneath.

Then take the pan off the heat and place under a hot grill. Leave the top to cook for a minute - perhaps a few seconds more but it won’t need more than that.

Remove pan from under the grill and flip half of the omelette over the other half.

Serve immediately with a sauce or sauces and/or with bread and salad.

When Emma and I made these- I’ve literally just remembered that we were also mad about chives at that time and always running to the garden to get some either to add to the cheese filling or to snip onto the top to make it look pretty.

I wish I’d added some chives to mine too! When I next make it I will.


YOU MIGHT ALSO LIKE …

Pasta with ‘posh pesto’

My friend Gemma made a huge bowl of this insanely delicious pasta with - as she called it - ‘posh pesto’ for our book club the other night.

A few things …. firstly our book club is really a ‘food and wine club’ with added (optional) book! It’s so much fun, always always a great night. The host chooses the book and we then all eat and drink and try to remember to discuss the book at some point in the evening.

If you’re interested, Gemma's book choice was as good as her food - it’s also very short and can be read in one sitting. It’s The Yellow Wallpaper and I’m just going to copy and paste from one of the editions available on Amazon UK:

THE YELLOW WALLPAPER is a story by the American writer Charlotte Perkins Gilman, first published in January 1892 in The New England Magazine. It is regarded as an important early work of American feminist literature, illustrating attitudes in the 19th century toward women's health, both physical and mental.

I think we talked about this book more than we’ve talked about any book yet!


Back to the pasta though … we had it that night with tagliatelle but I’ve since made it twice with spaghetti.

If you’d like the original recipe, you can find it HERE.

I have to say I loved it so much I asked for the recipe whilst still eating my first bowlful!


To make this the way I did for two people, you’ll need:

200g spaghetti (every time I make spaghetti I weigh it by how it feels in my hand, I never trust it but when I then weigh it to check it is always EXACTLY the right amount!)

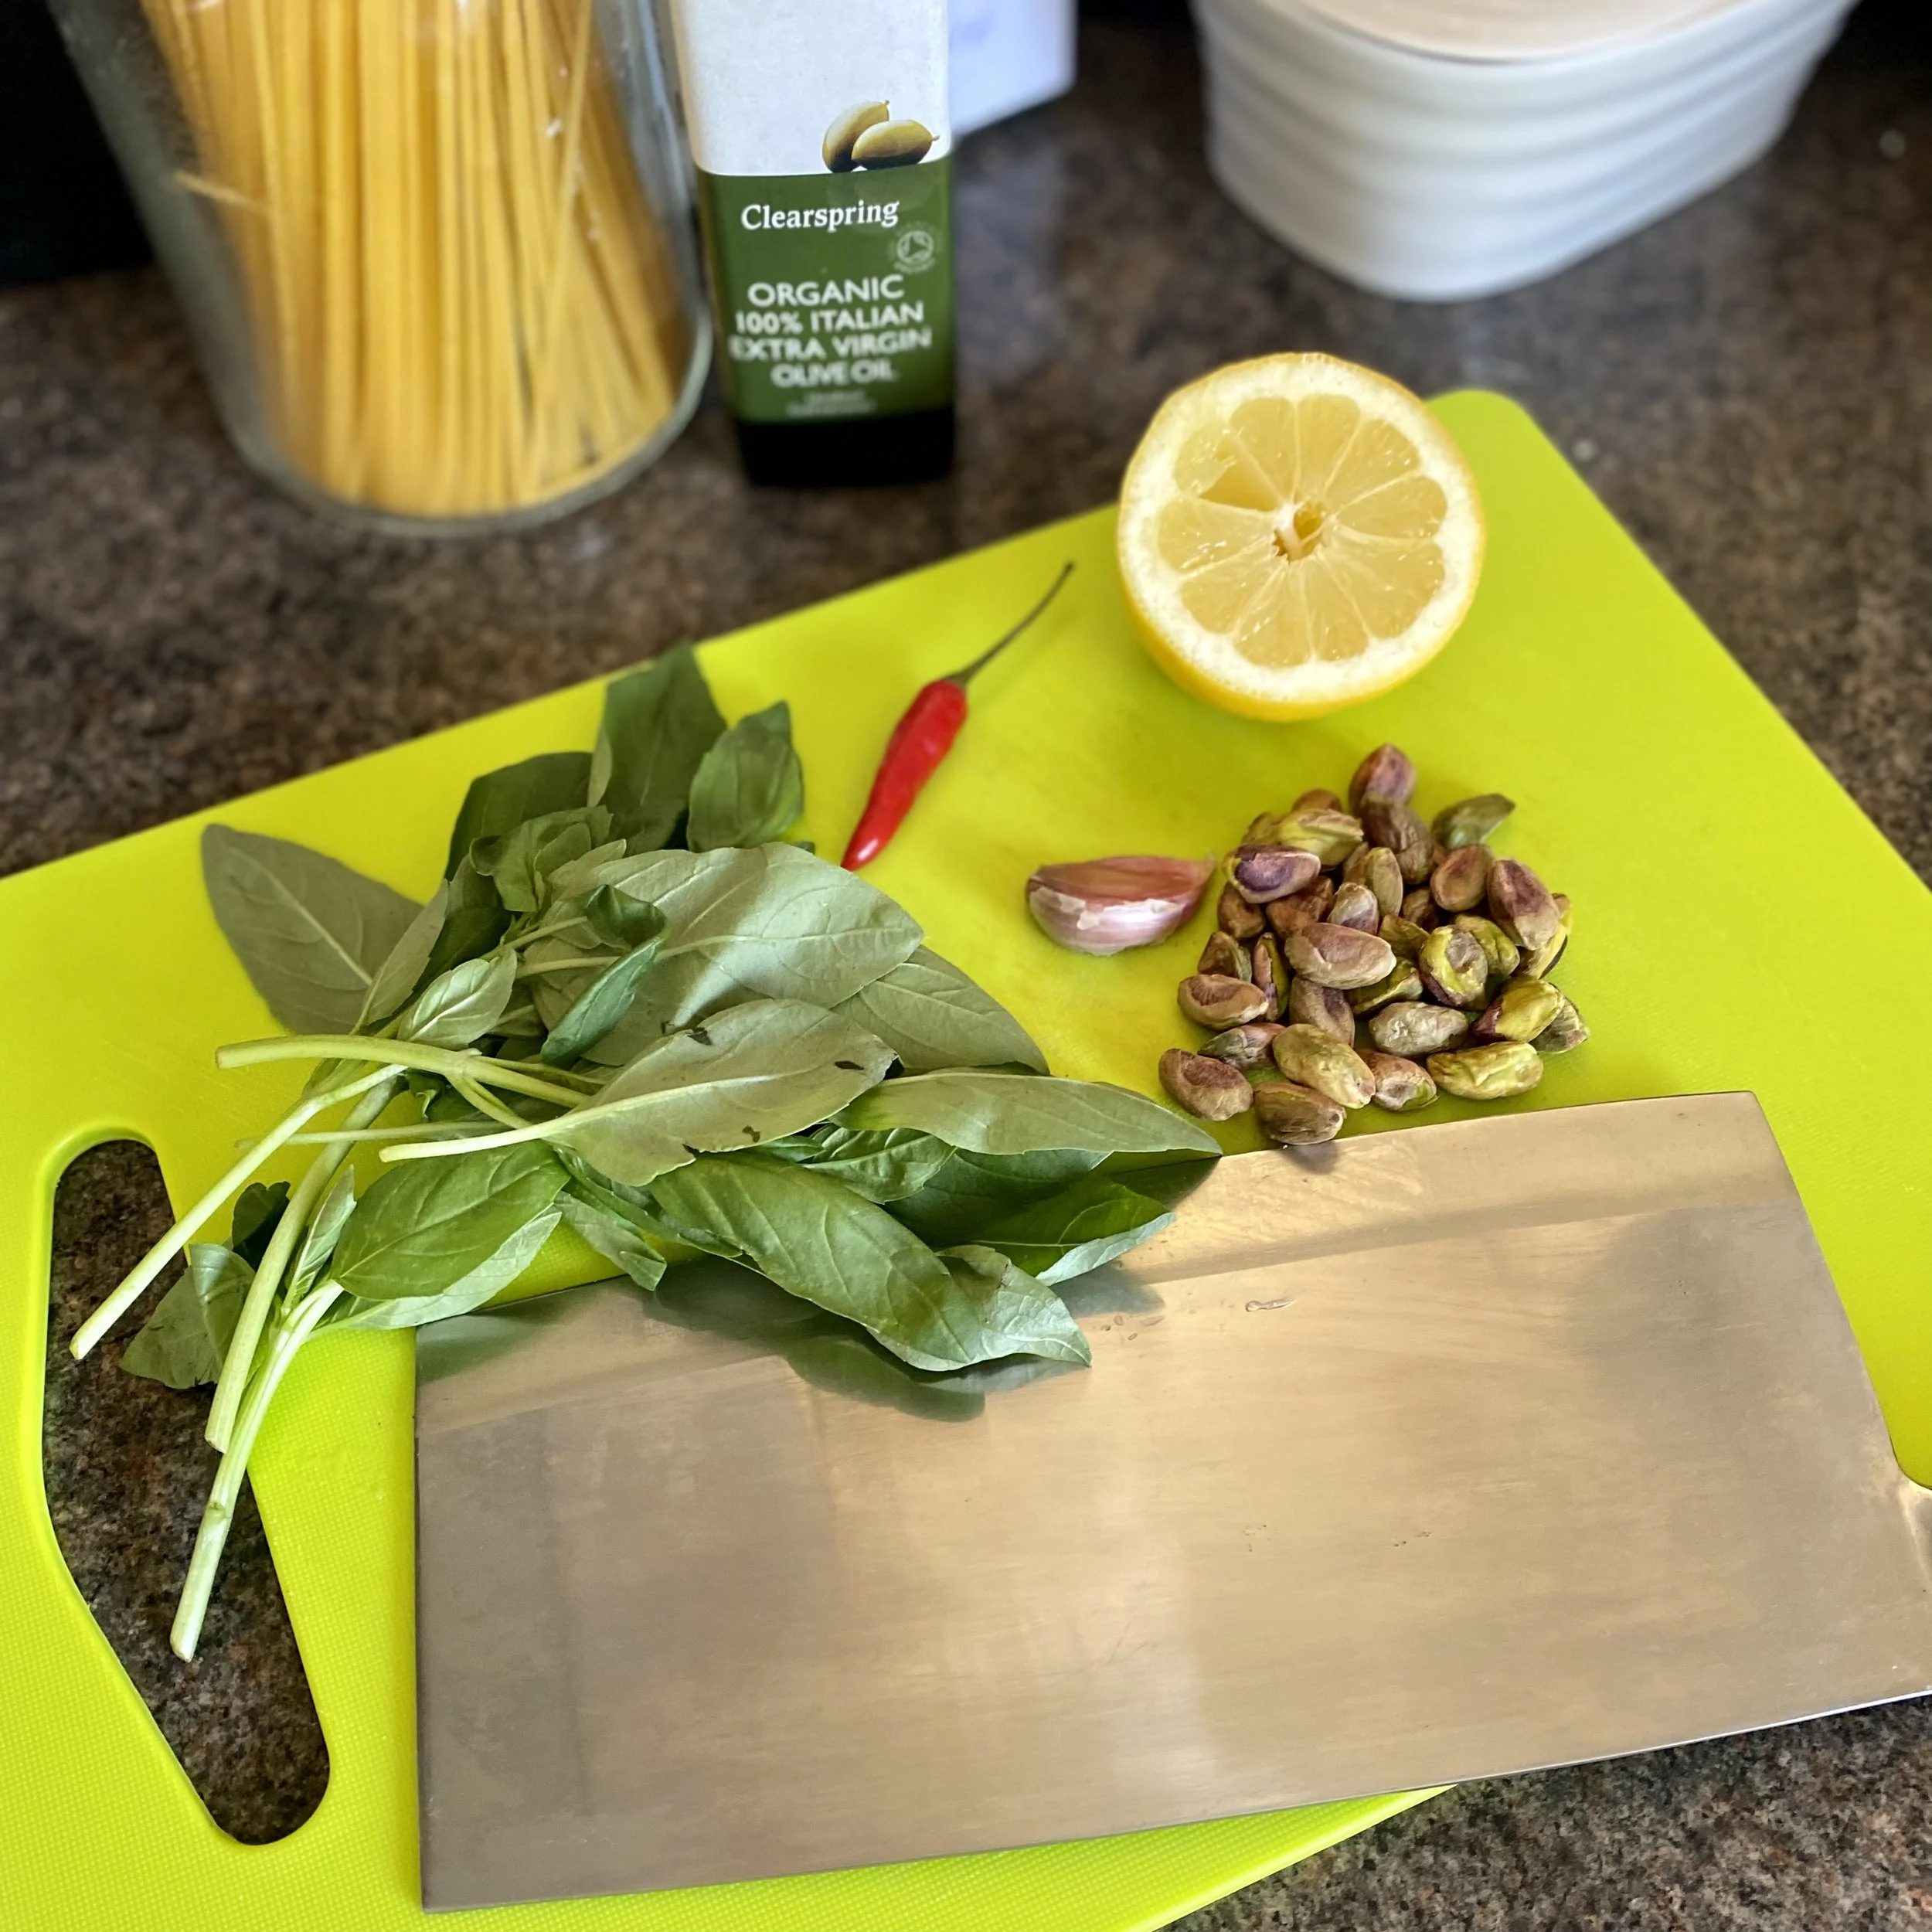
a pack of fresh basil (the actual recipe says 50g for two people but I only had one 15g bag and it was still delicious, so entirely up to you if you want to use more)

1 small garlic clove

a small handful of shelled pistachios (it should have been 50g but I didn’t weigh them and just guessed it might be about a small handful)

1 small red bird eye chilli (this was still quite hot, so of course adjust how much chilli to your own taste or use a milder chilli)

zest of half a lemon

juice of half - one lemon (to taste)

olive oil


Put a pan of water on to boil and add a good big pinch of salt (maybe a teaspoon).

While it’s coming to the boil, start making the pesto by first finely chopping the basil. I did this separately to the other chopped ingredients to stop it going mushy.

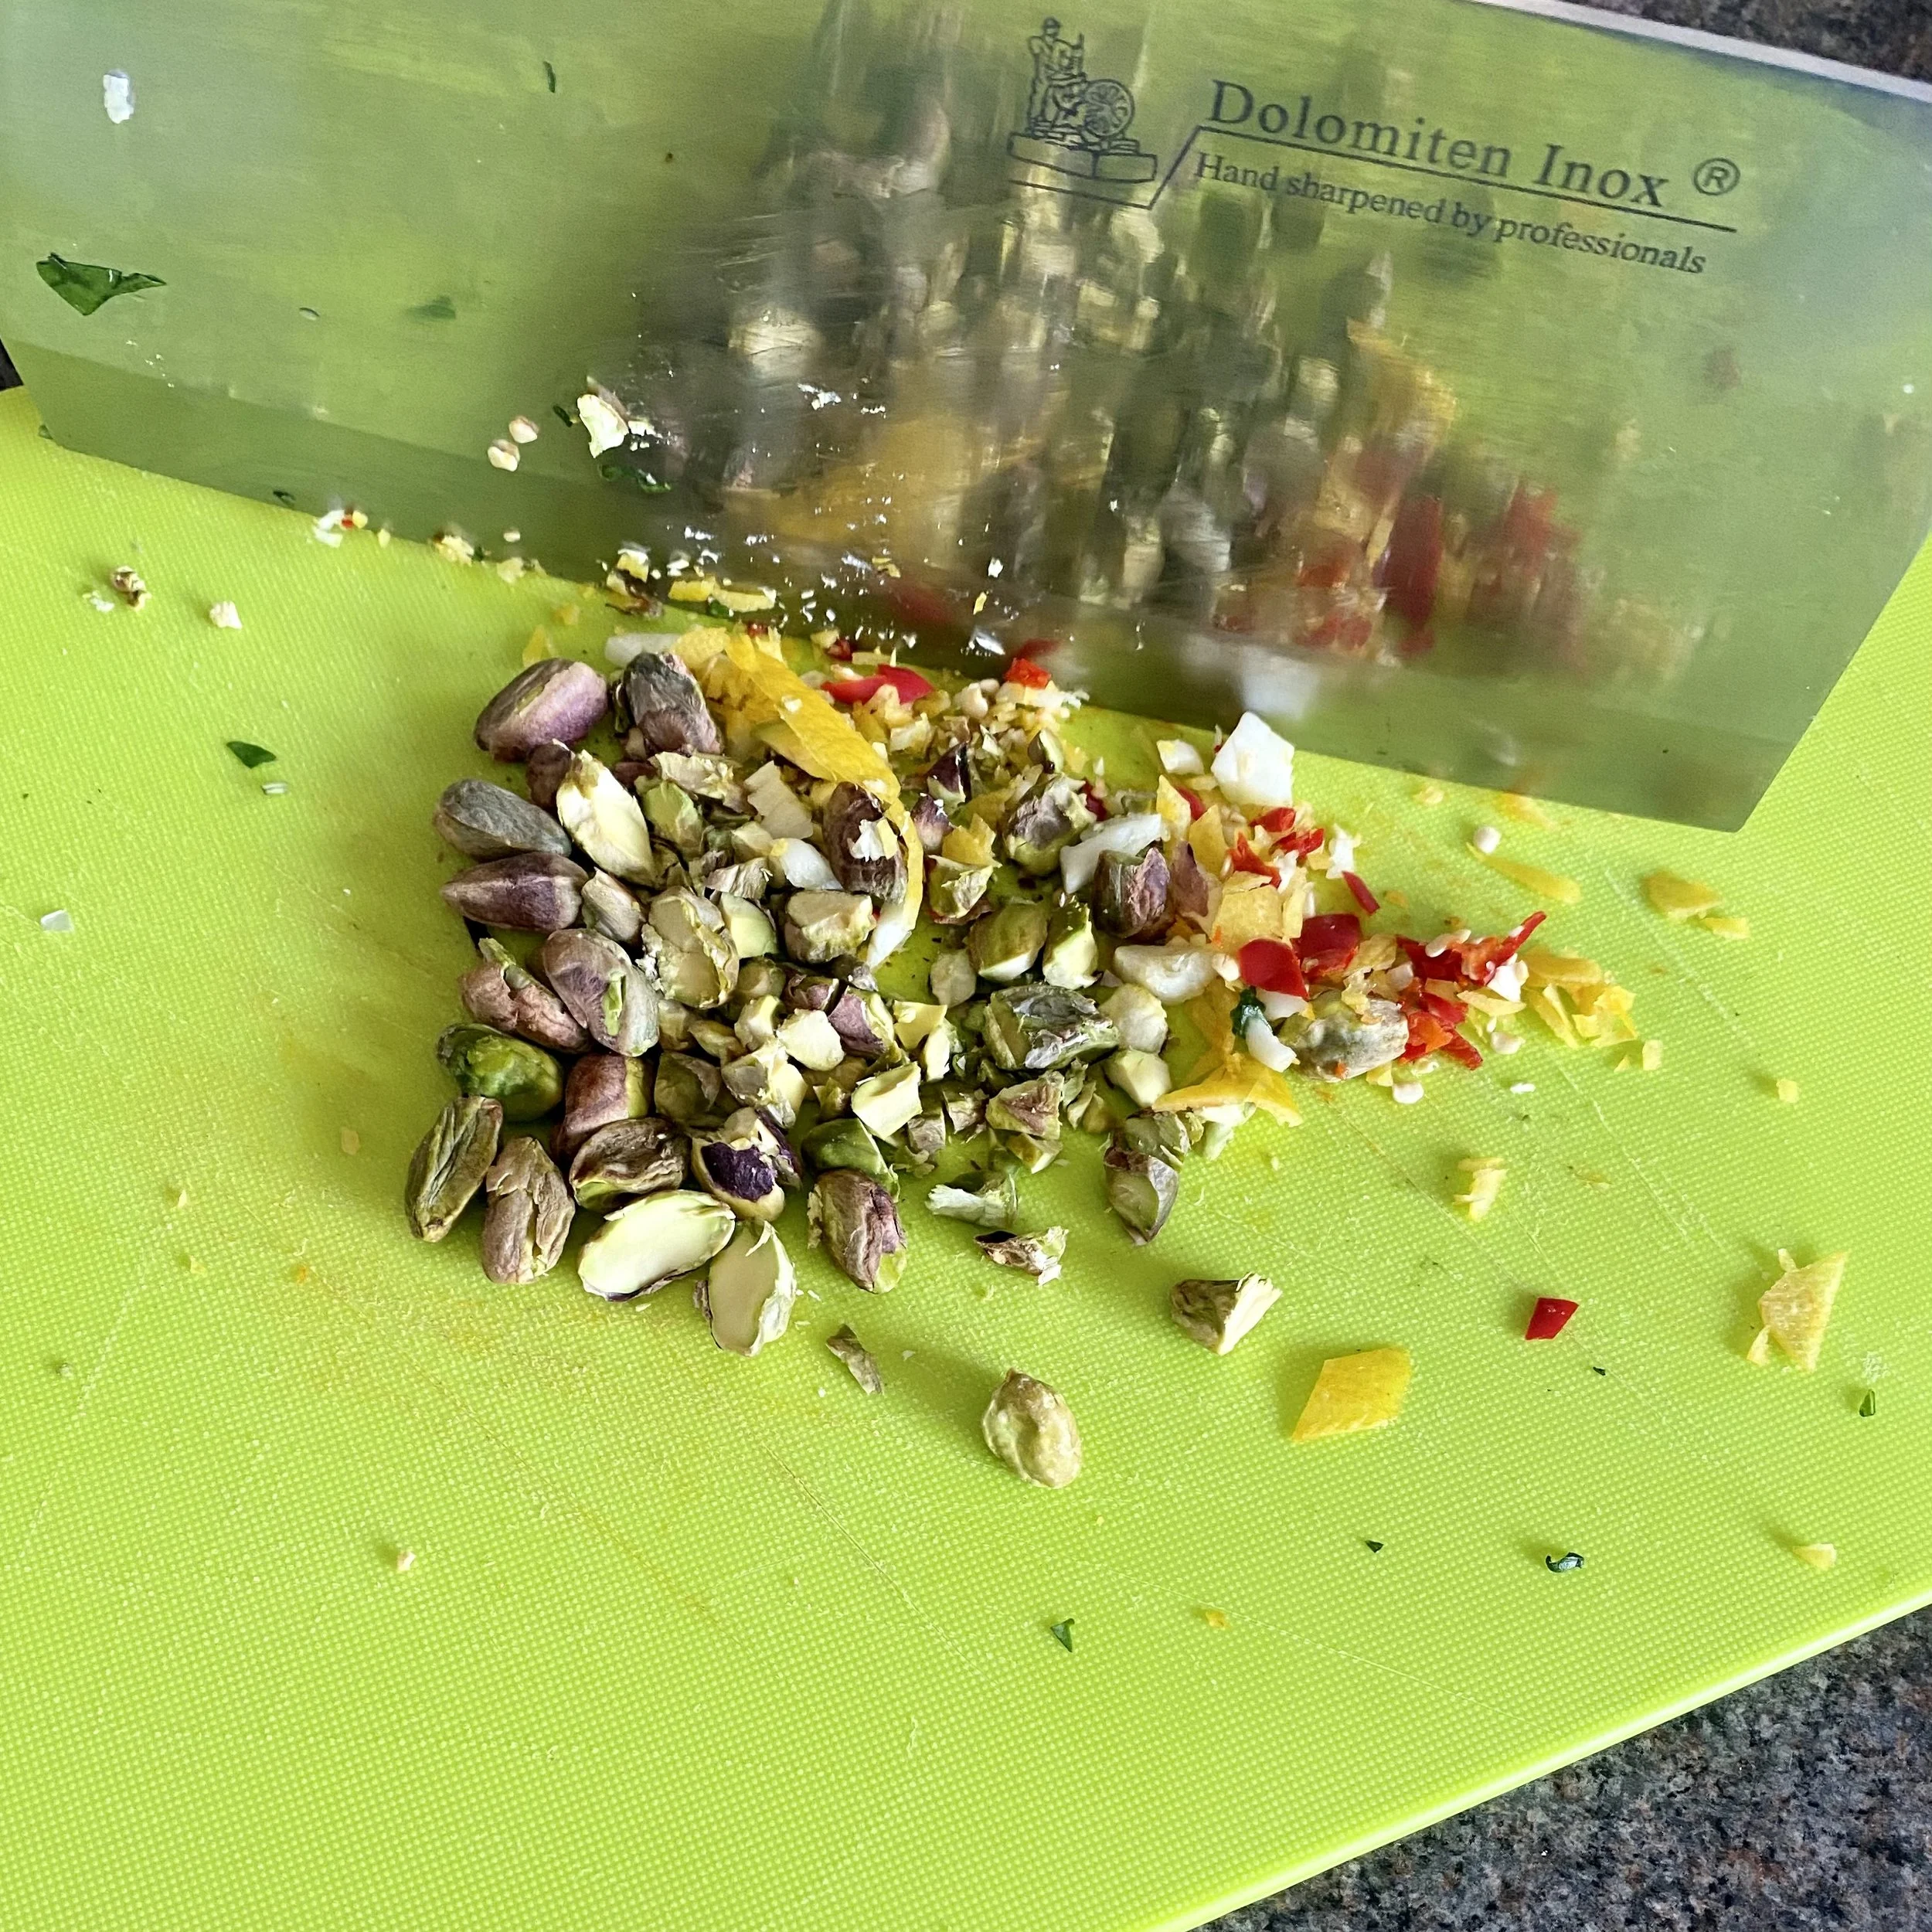
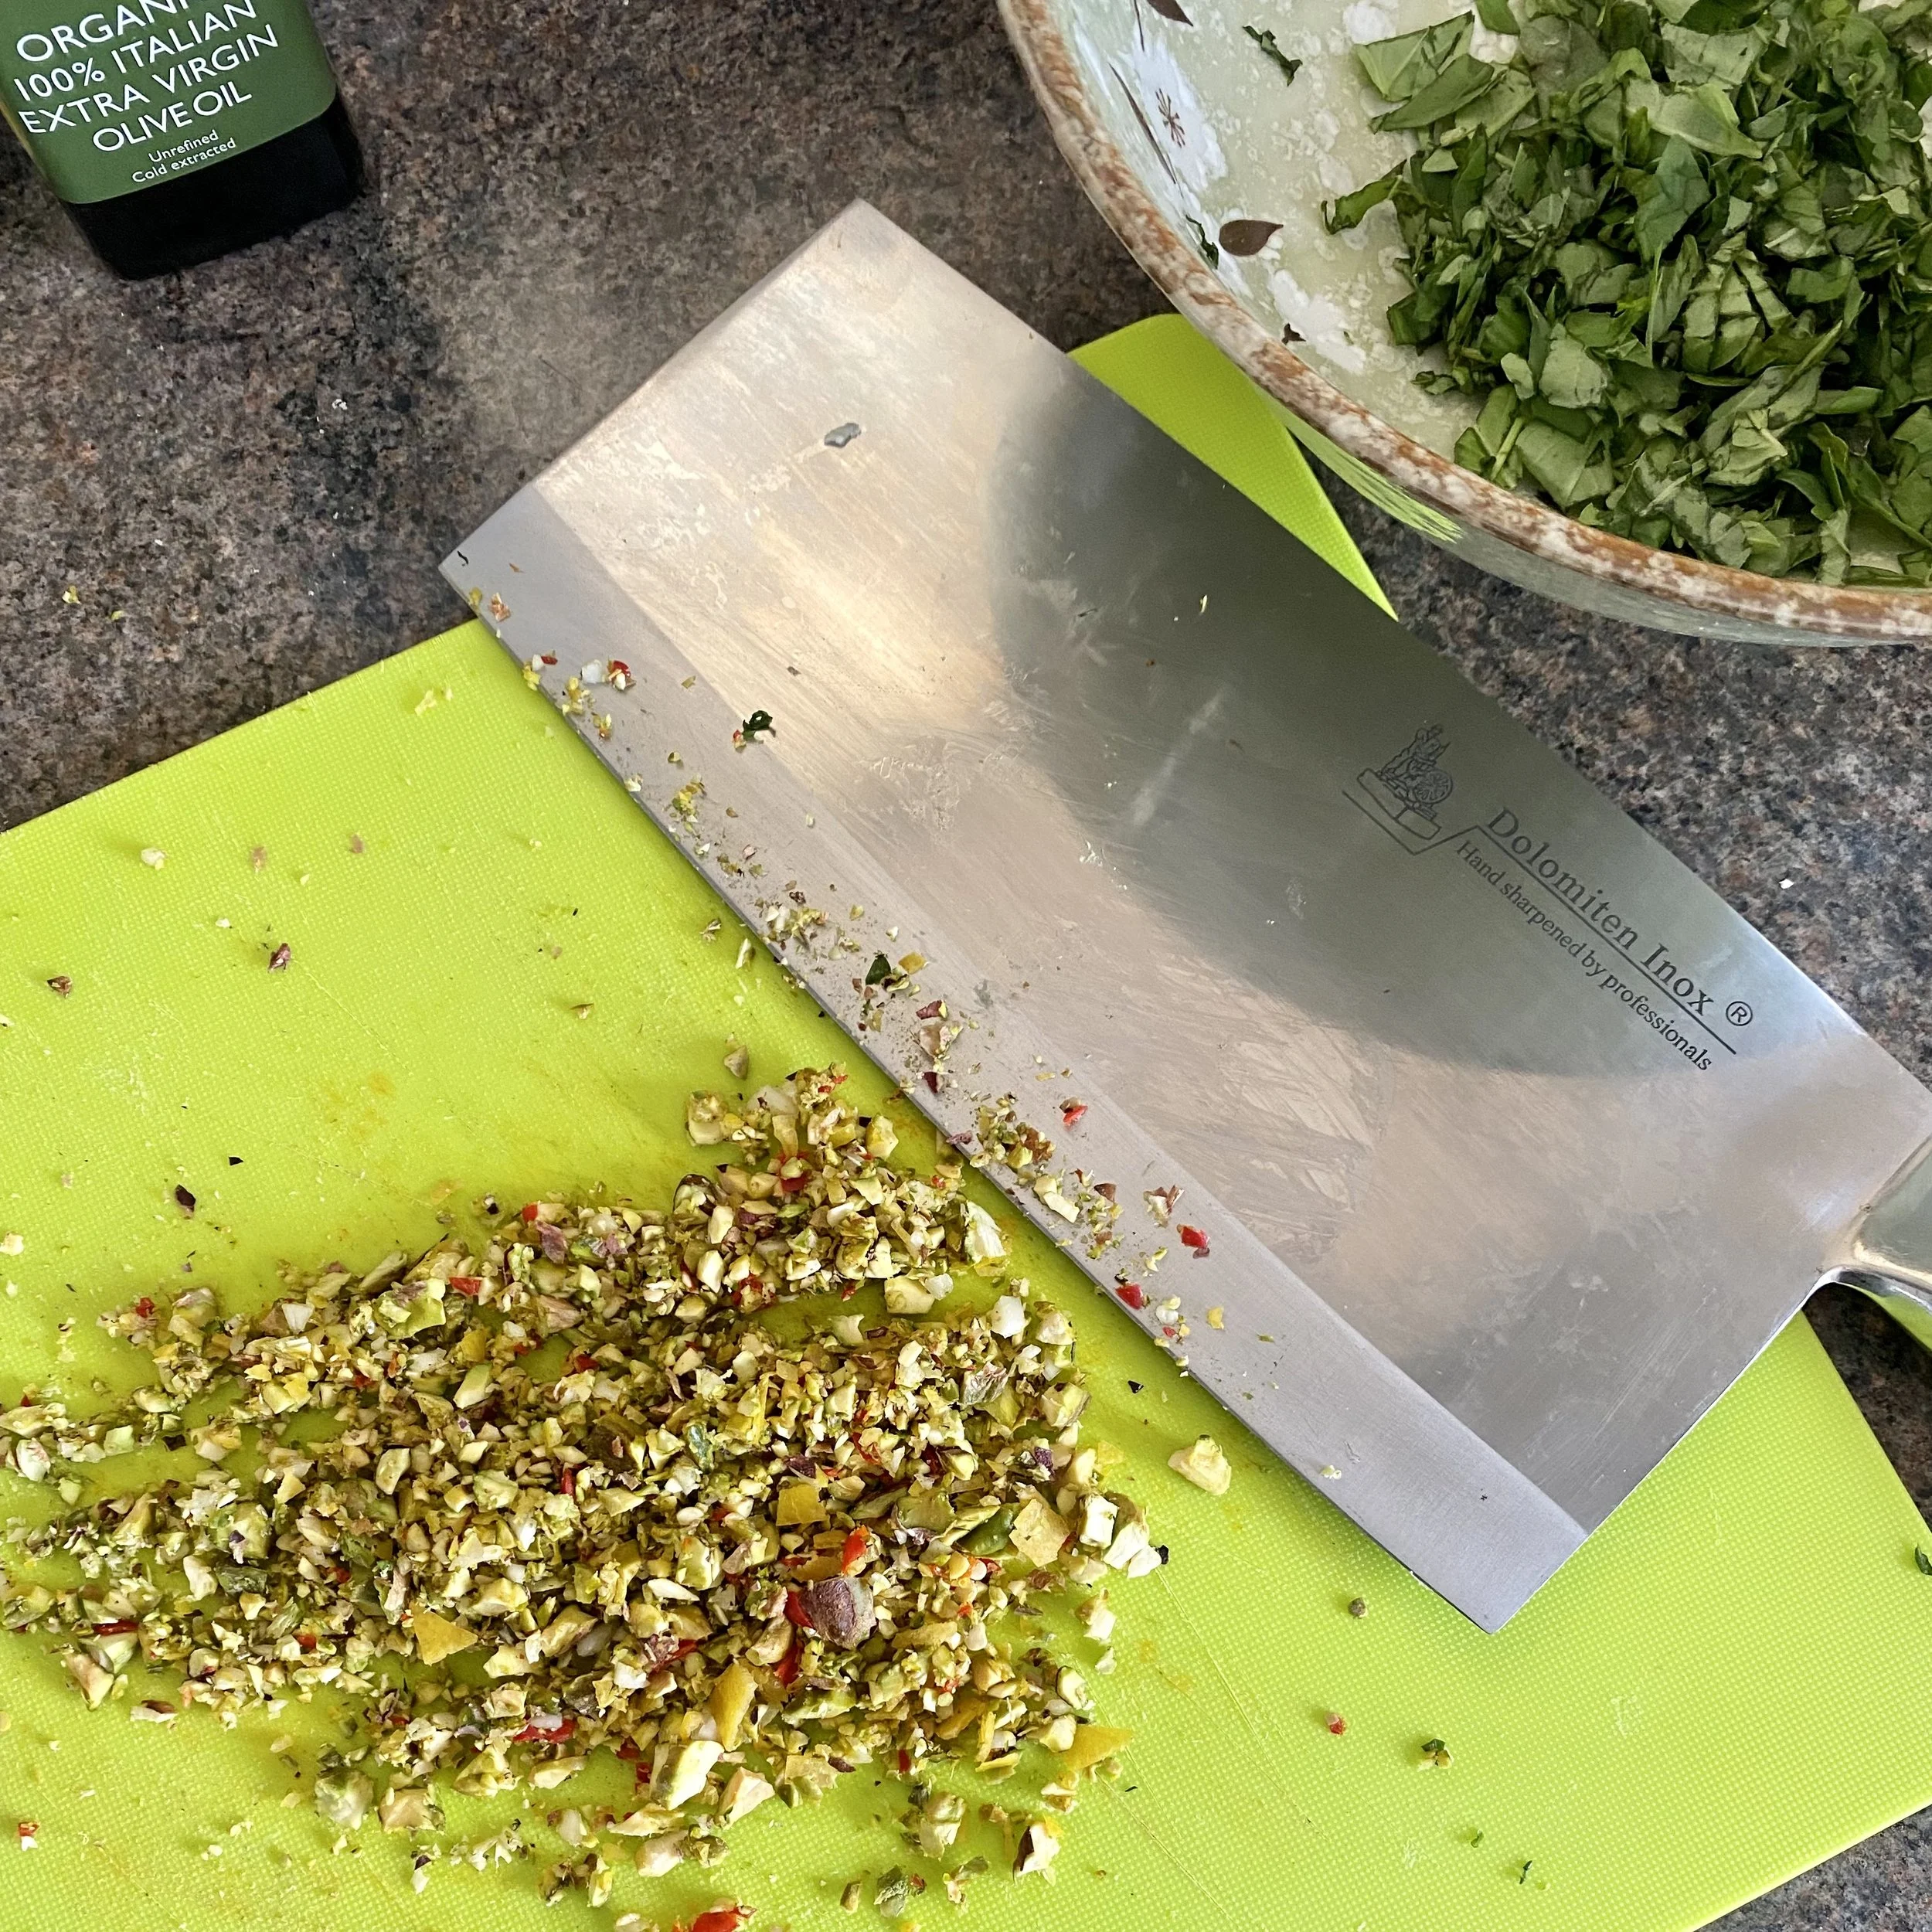
Put the chopped basil into a big bowl or serving dish and then start to finely chop the garlic, pistachios, chilli and lemon zest.

This is really easy with a big flat knife, so you can squash the ingredients and then chop, but if you don’t have a cleaver-style knife then (a) put one on your next birthday list - it is SUCH a useful knife to have and (b) use any knife you like but the bigger the easier I find.

Oh! The water is probably boiling by now so add in your pasta and cook according to the pack instructions, or to your liking, or for nine minutes (as I did).

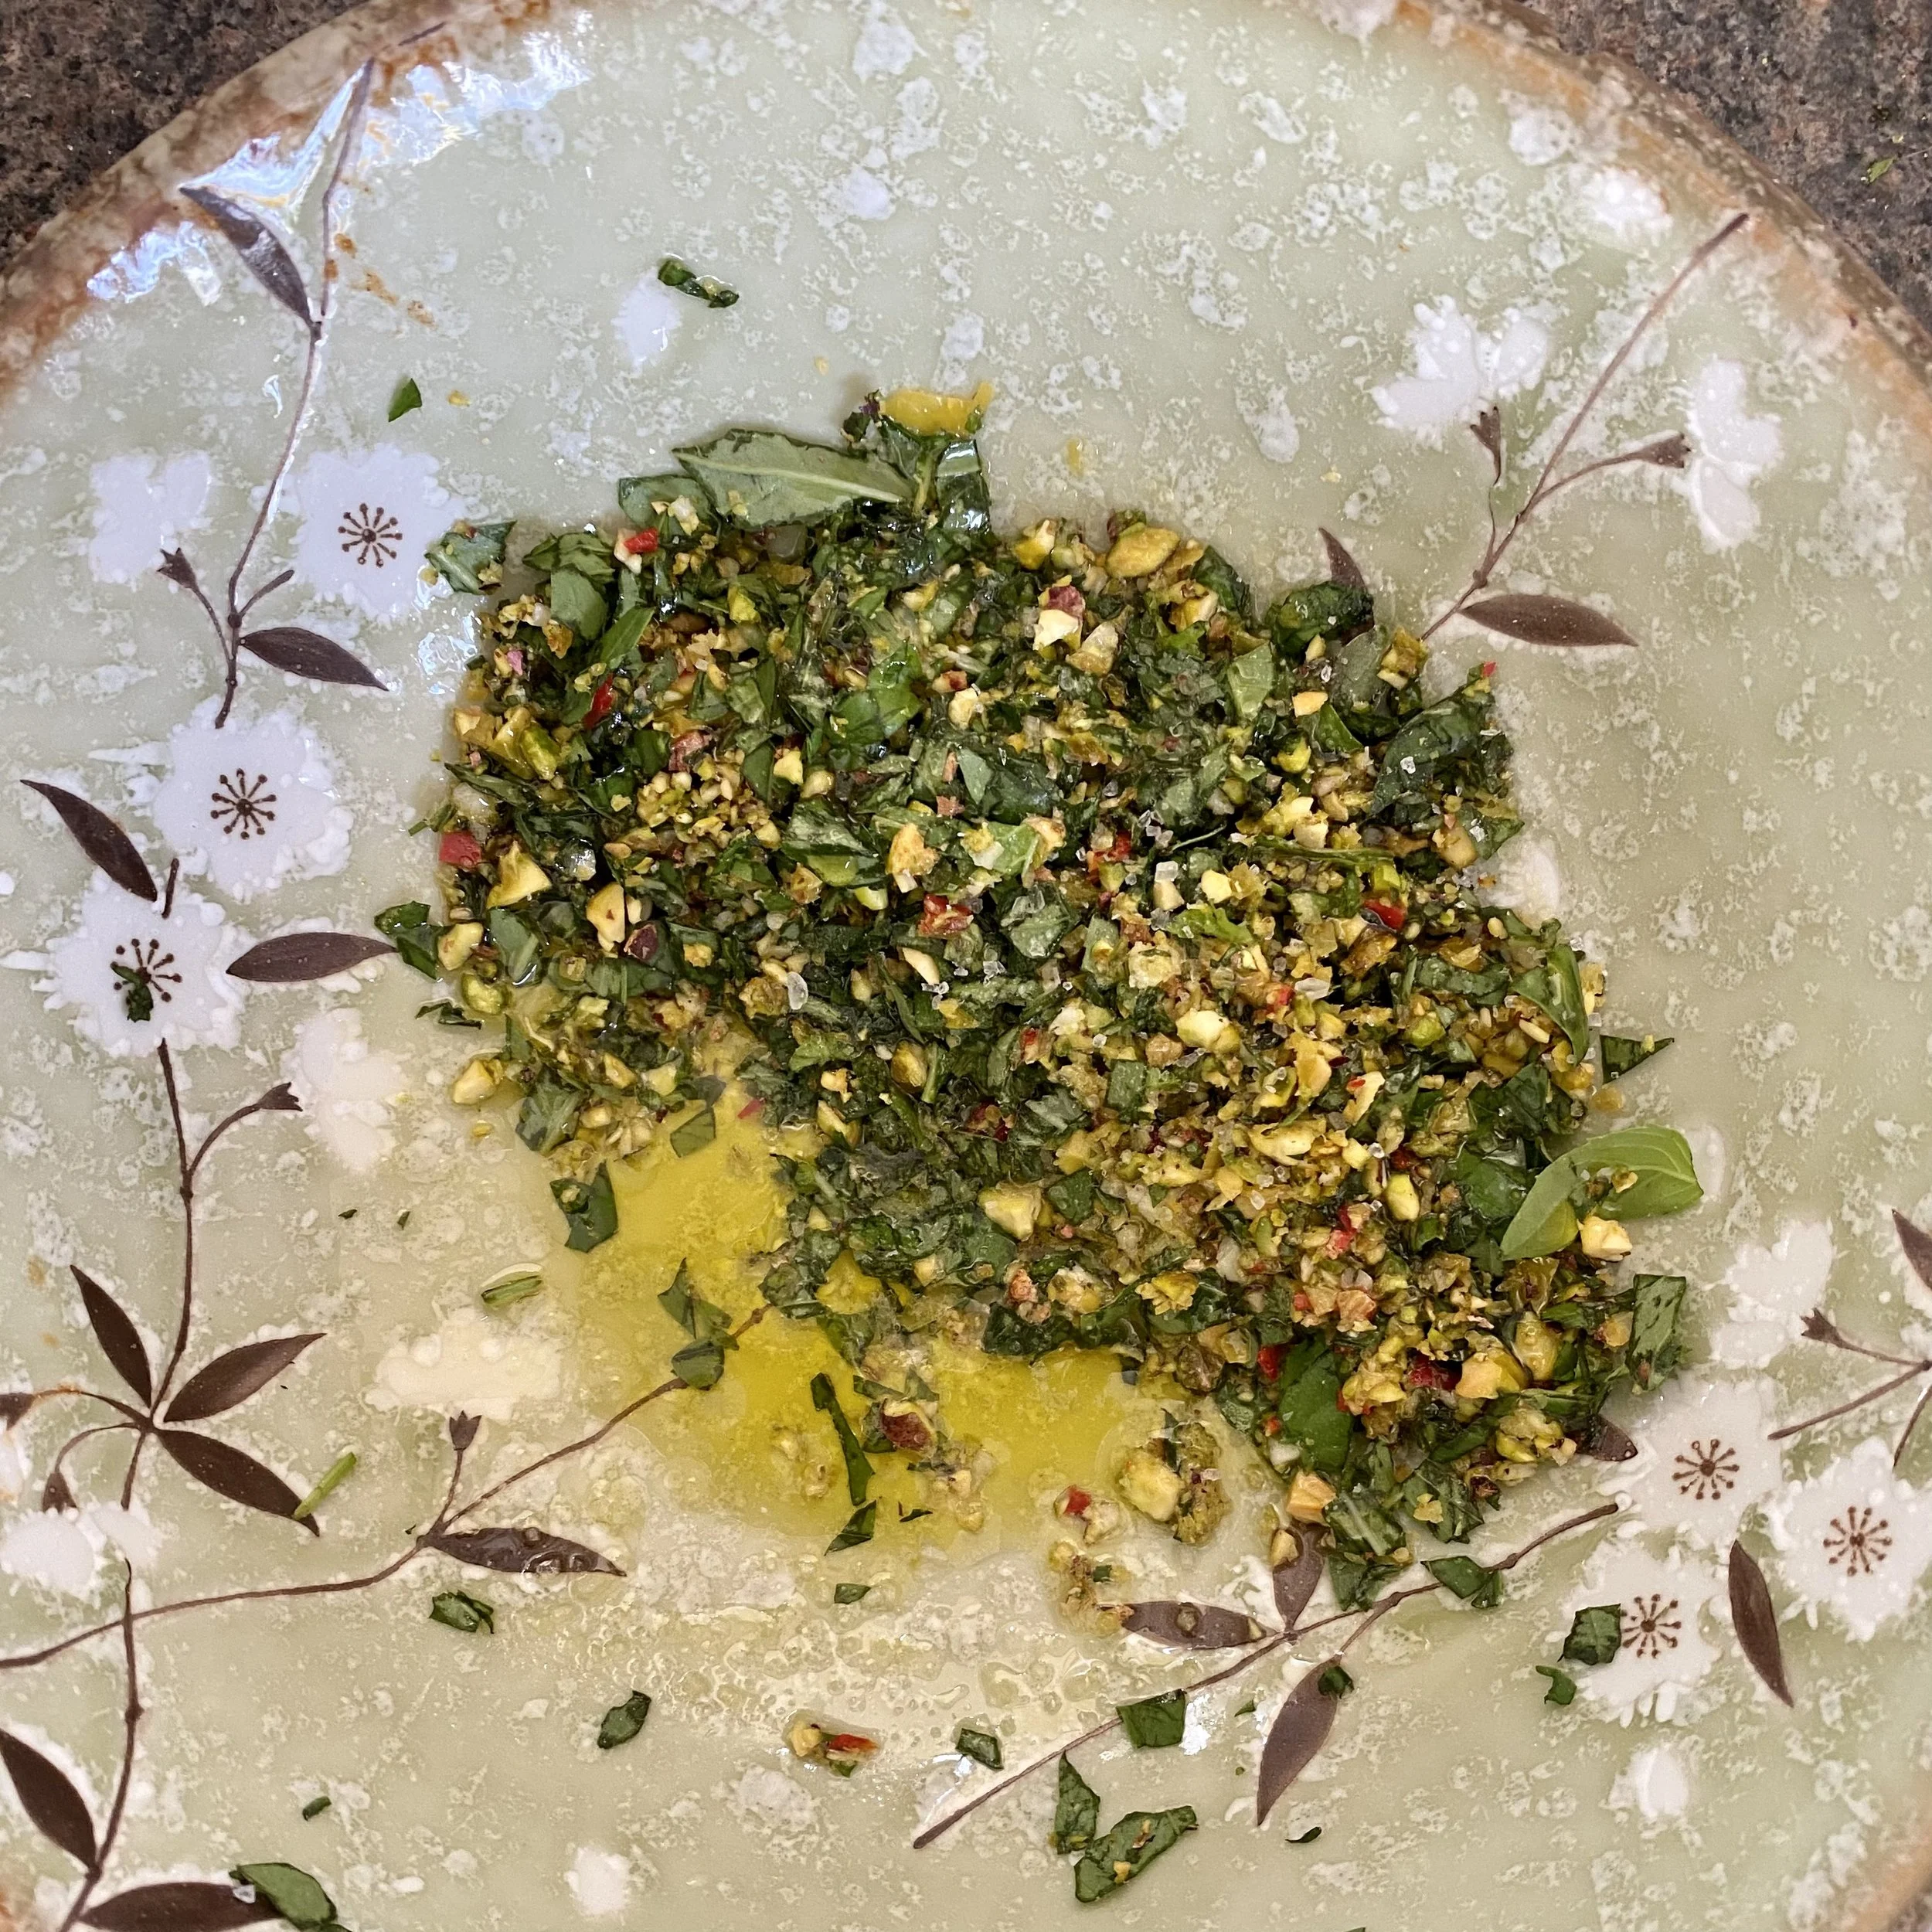
Once everything is chopped finely, add back the basil and chop it all together again, just for that last bit of fineness and also to make the basil really part of the mix.

Tip it all back into the bowl and add lemon juice - start with the juice of half a lemon but taste and add more if needed (mine did).

Add a good slug of a good olive oil and a little salt.

Stir it all together and taste again to make sure you’re happy with it or you want to make any adjustments.

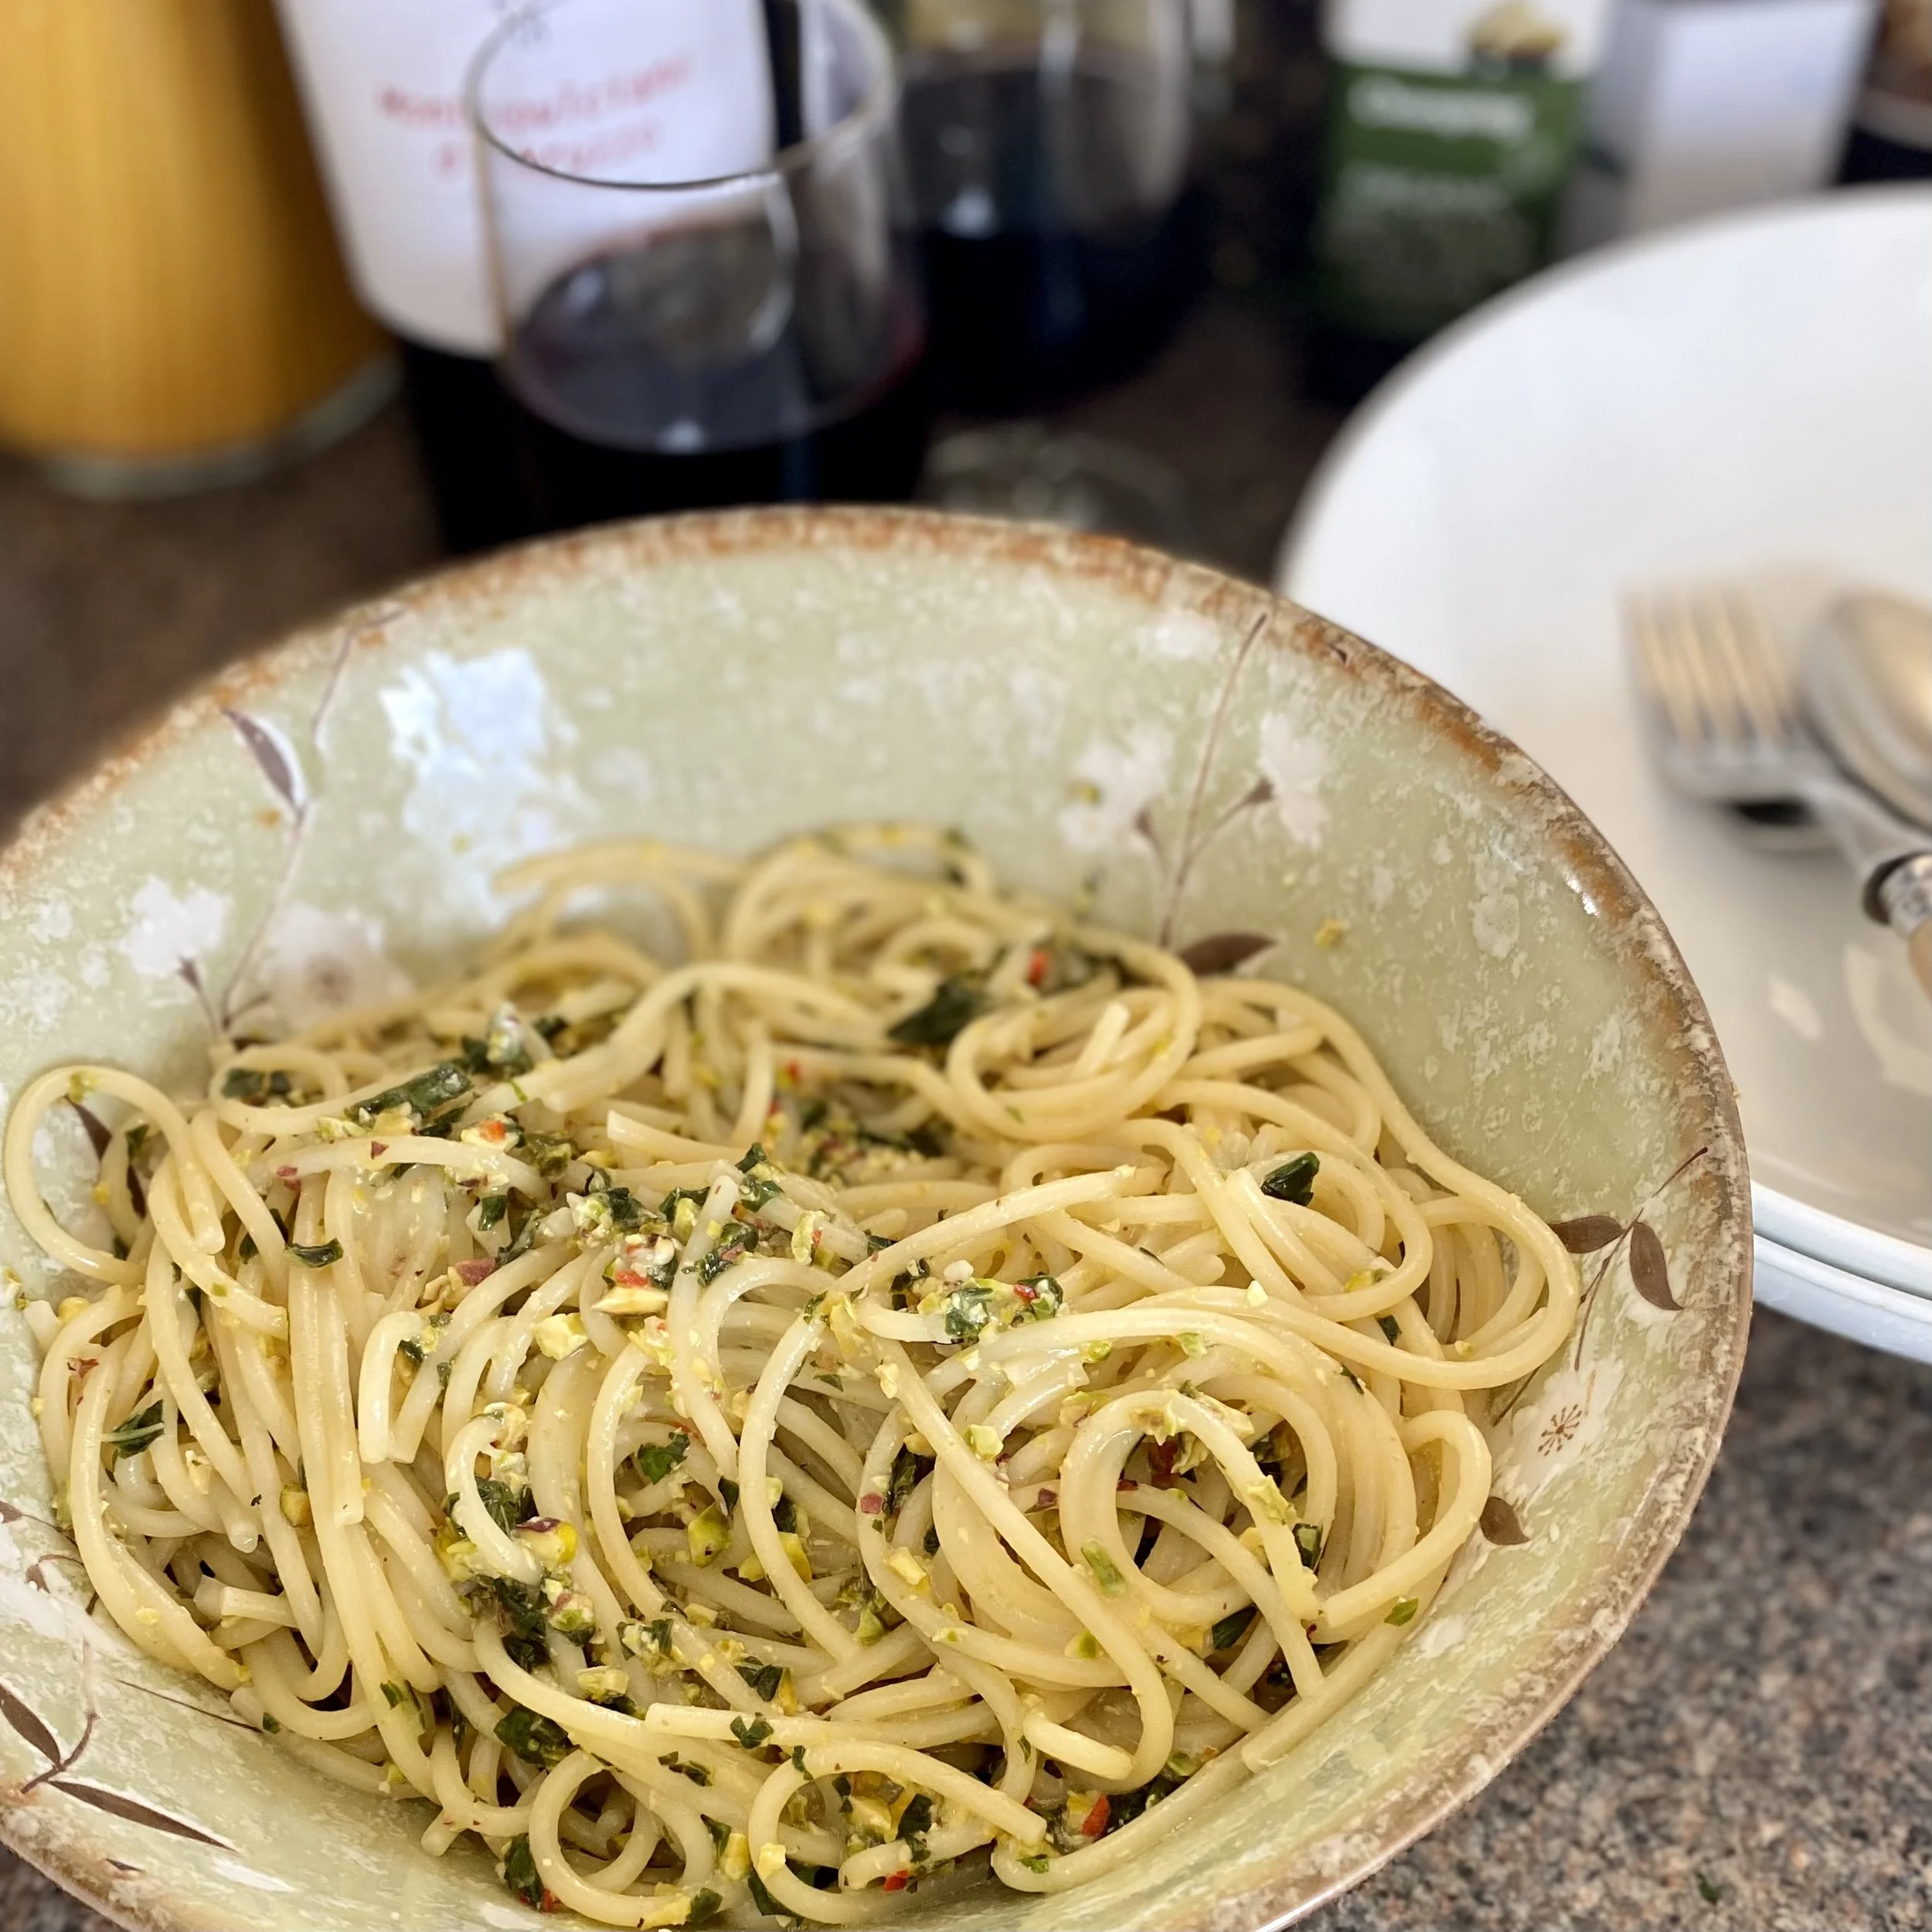
When the pasta is done, remove a ladle of the pasta water into a mug, then drain the spaghetti and add to the bowl of pesto.

Stir and mix thoroughly, adding a little of that reserved pasta water if it needs loosening at all.

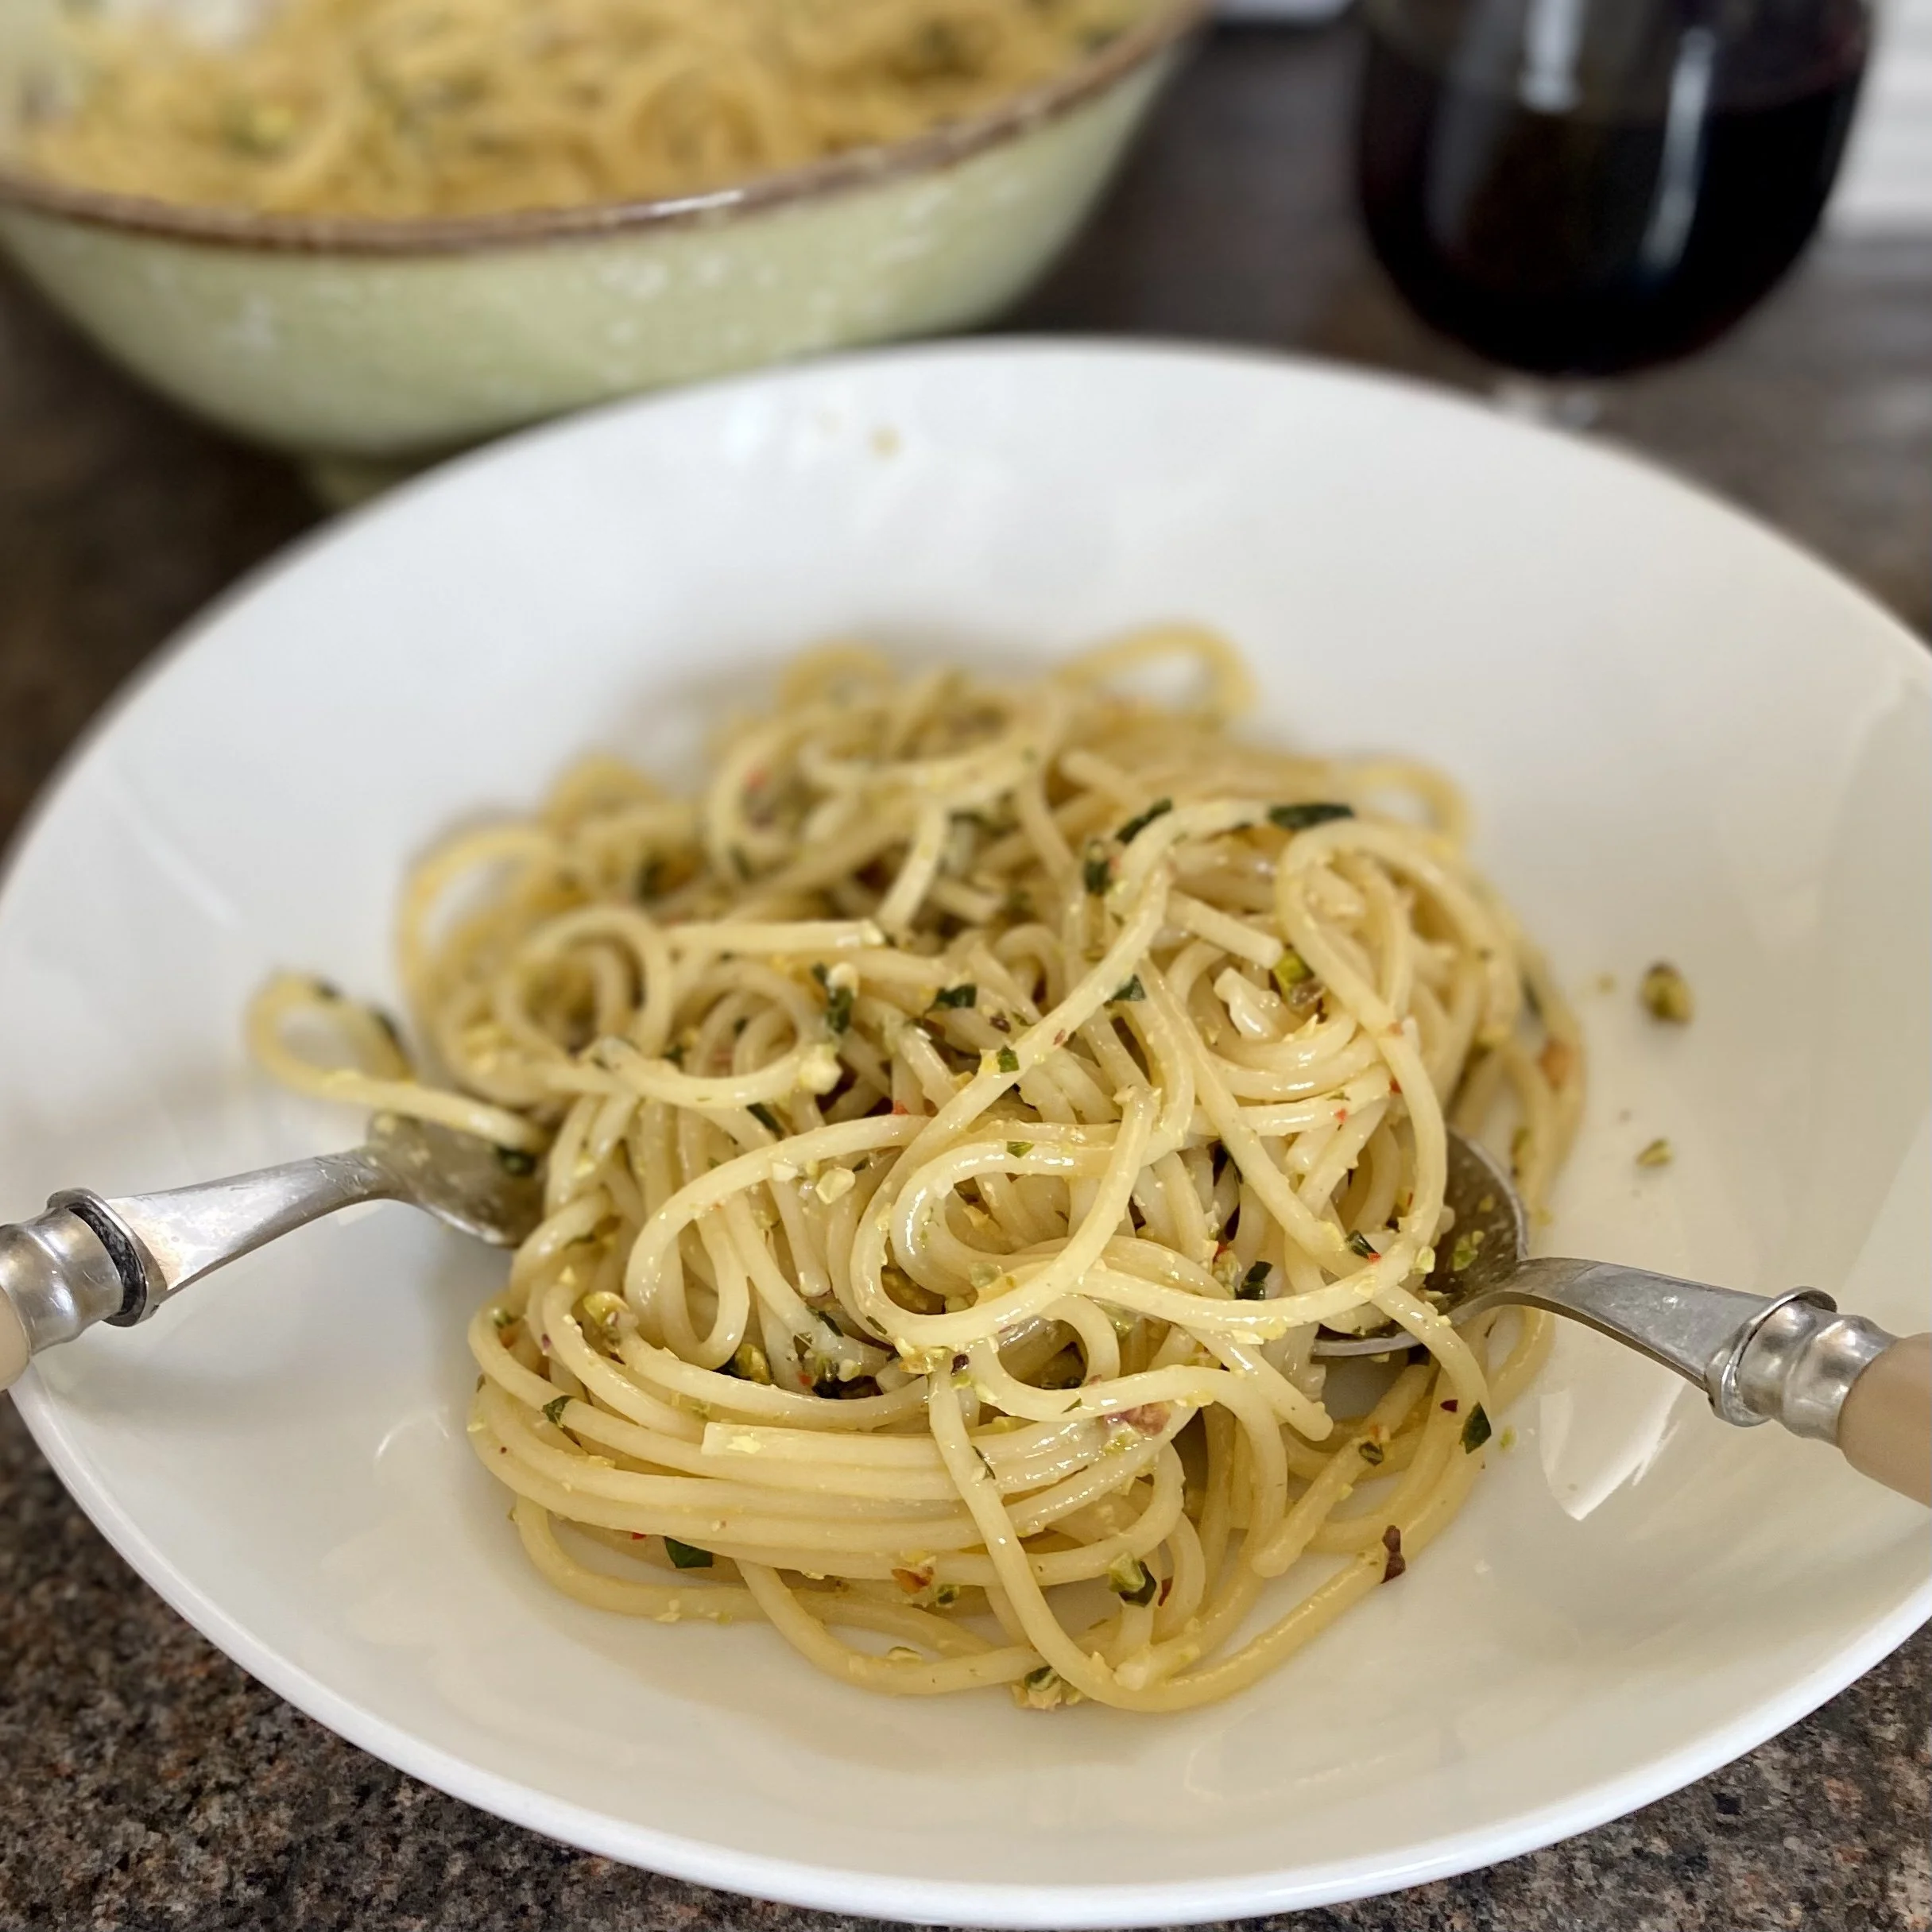
Serve. As is.

Personally, I don’t think this needs anything else to go with it, except for good company and a glass of red wine …


YOU MIGHT ALSO LIKE …

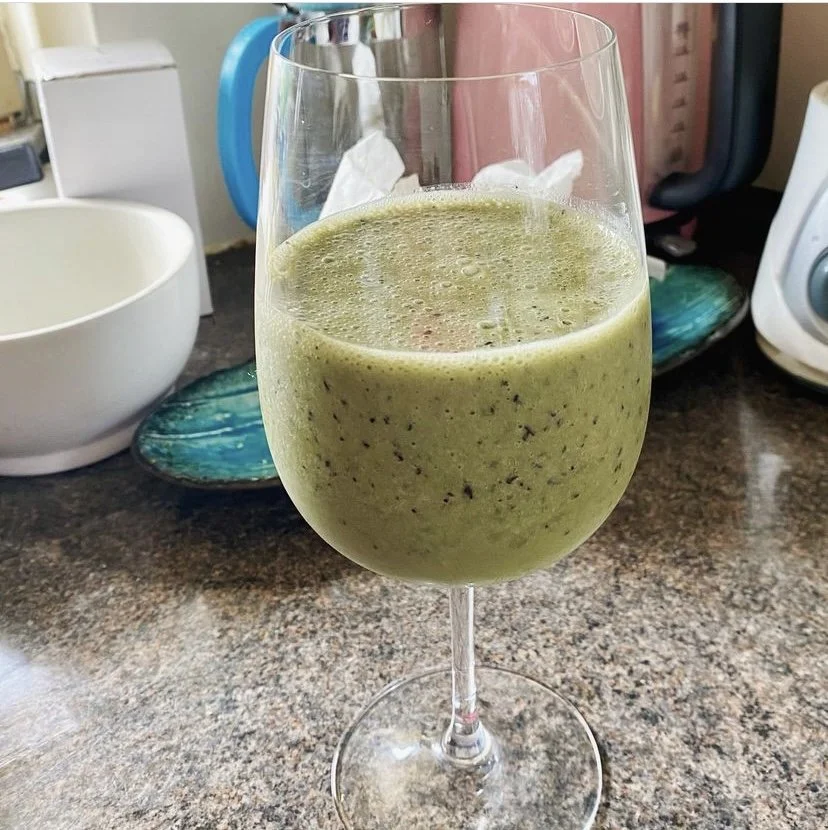
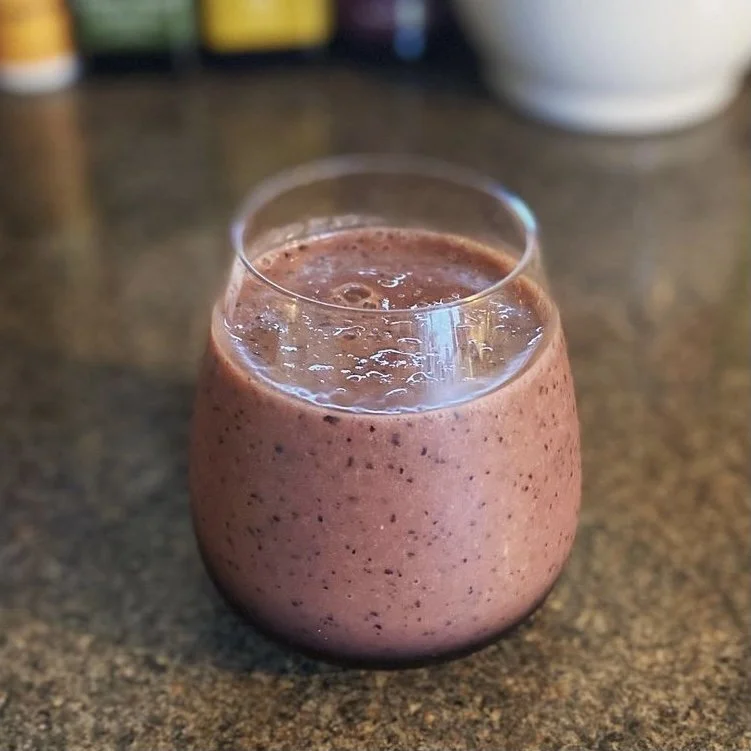
Simplest green smoothie

Sometimes the stuff people recommend in smoothies is a bit … challenging? I mean UGH … for me - like too much tropical sweet fruit or alternatively too much veg or too much wheatgrass etc.

Might be super good for you but does it taste good - that’s my question?

This one does and it’s so easy too - even to throw into the blender when you’re not yet quite awake.


1 banana (frozen - add ice cubes if not)
Handful of blueberries
Almond milk
Handful of spinach leaves


Blend. C’est ça 💛


YOU MIGHT ALSO LIKE ….

Chilli cheese on toast

You know how sometimes you think you’ve just invented the best dish ever?

And then you google it and yes, it is amazing, but no, sorry, you definitely didn’t invent it …..?

Well, that just happened to me earlier this week with this amazing chilli cheese on toast.

I mean, I thought cheese on toast with extra chillies was entirely my idea! (hehe, even as I write this I do know that I didn’t actually invent it, obviously).

Anyway, anyway, anyway …

If YOU haven’t yet invented chilli cheese on toast, well then I invite you to do so right now.

It’s very good and all you need (for one greedy one) is:

A good big spoonful of butter - probably around a tablespoon, but really whatever feels right to you

1-2 spring onions, sliced

1 small garlic clove, peeled and finely chopped

1 green chilli, finely sliced - or amount to your taste of course

freshly ground black pepper

2 slices of bread - or however much you want really. I’ve got two slices of the sourdough they do already sliced at the supermarket. If I’d bought a fresh small springy loaf from my favourite local shop I’d probably have four slices so … y’know - all up to you, your hunger or greed, and the size of the loaf. You decide.

A nice big hunk of strong cheddar cheese, grated. Or mozzarella - I think that would be delish. Or a mix of cheddar and mozzarella. Possibly even better.

Dried chill flakes, to garnish.


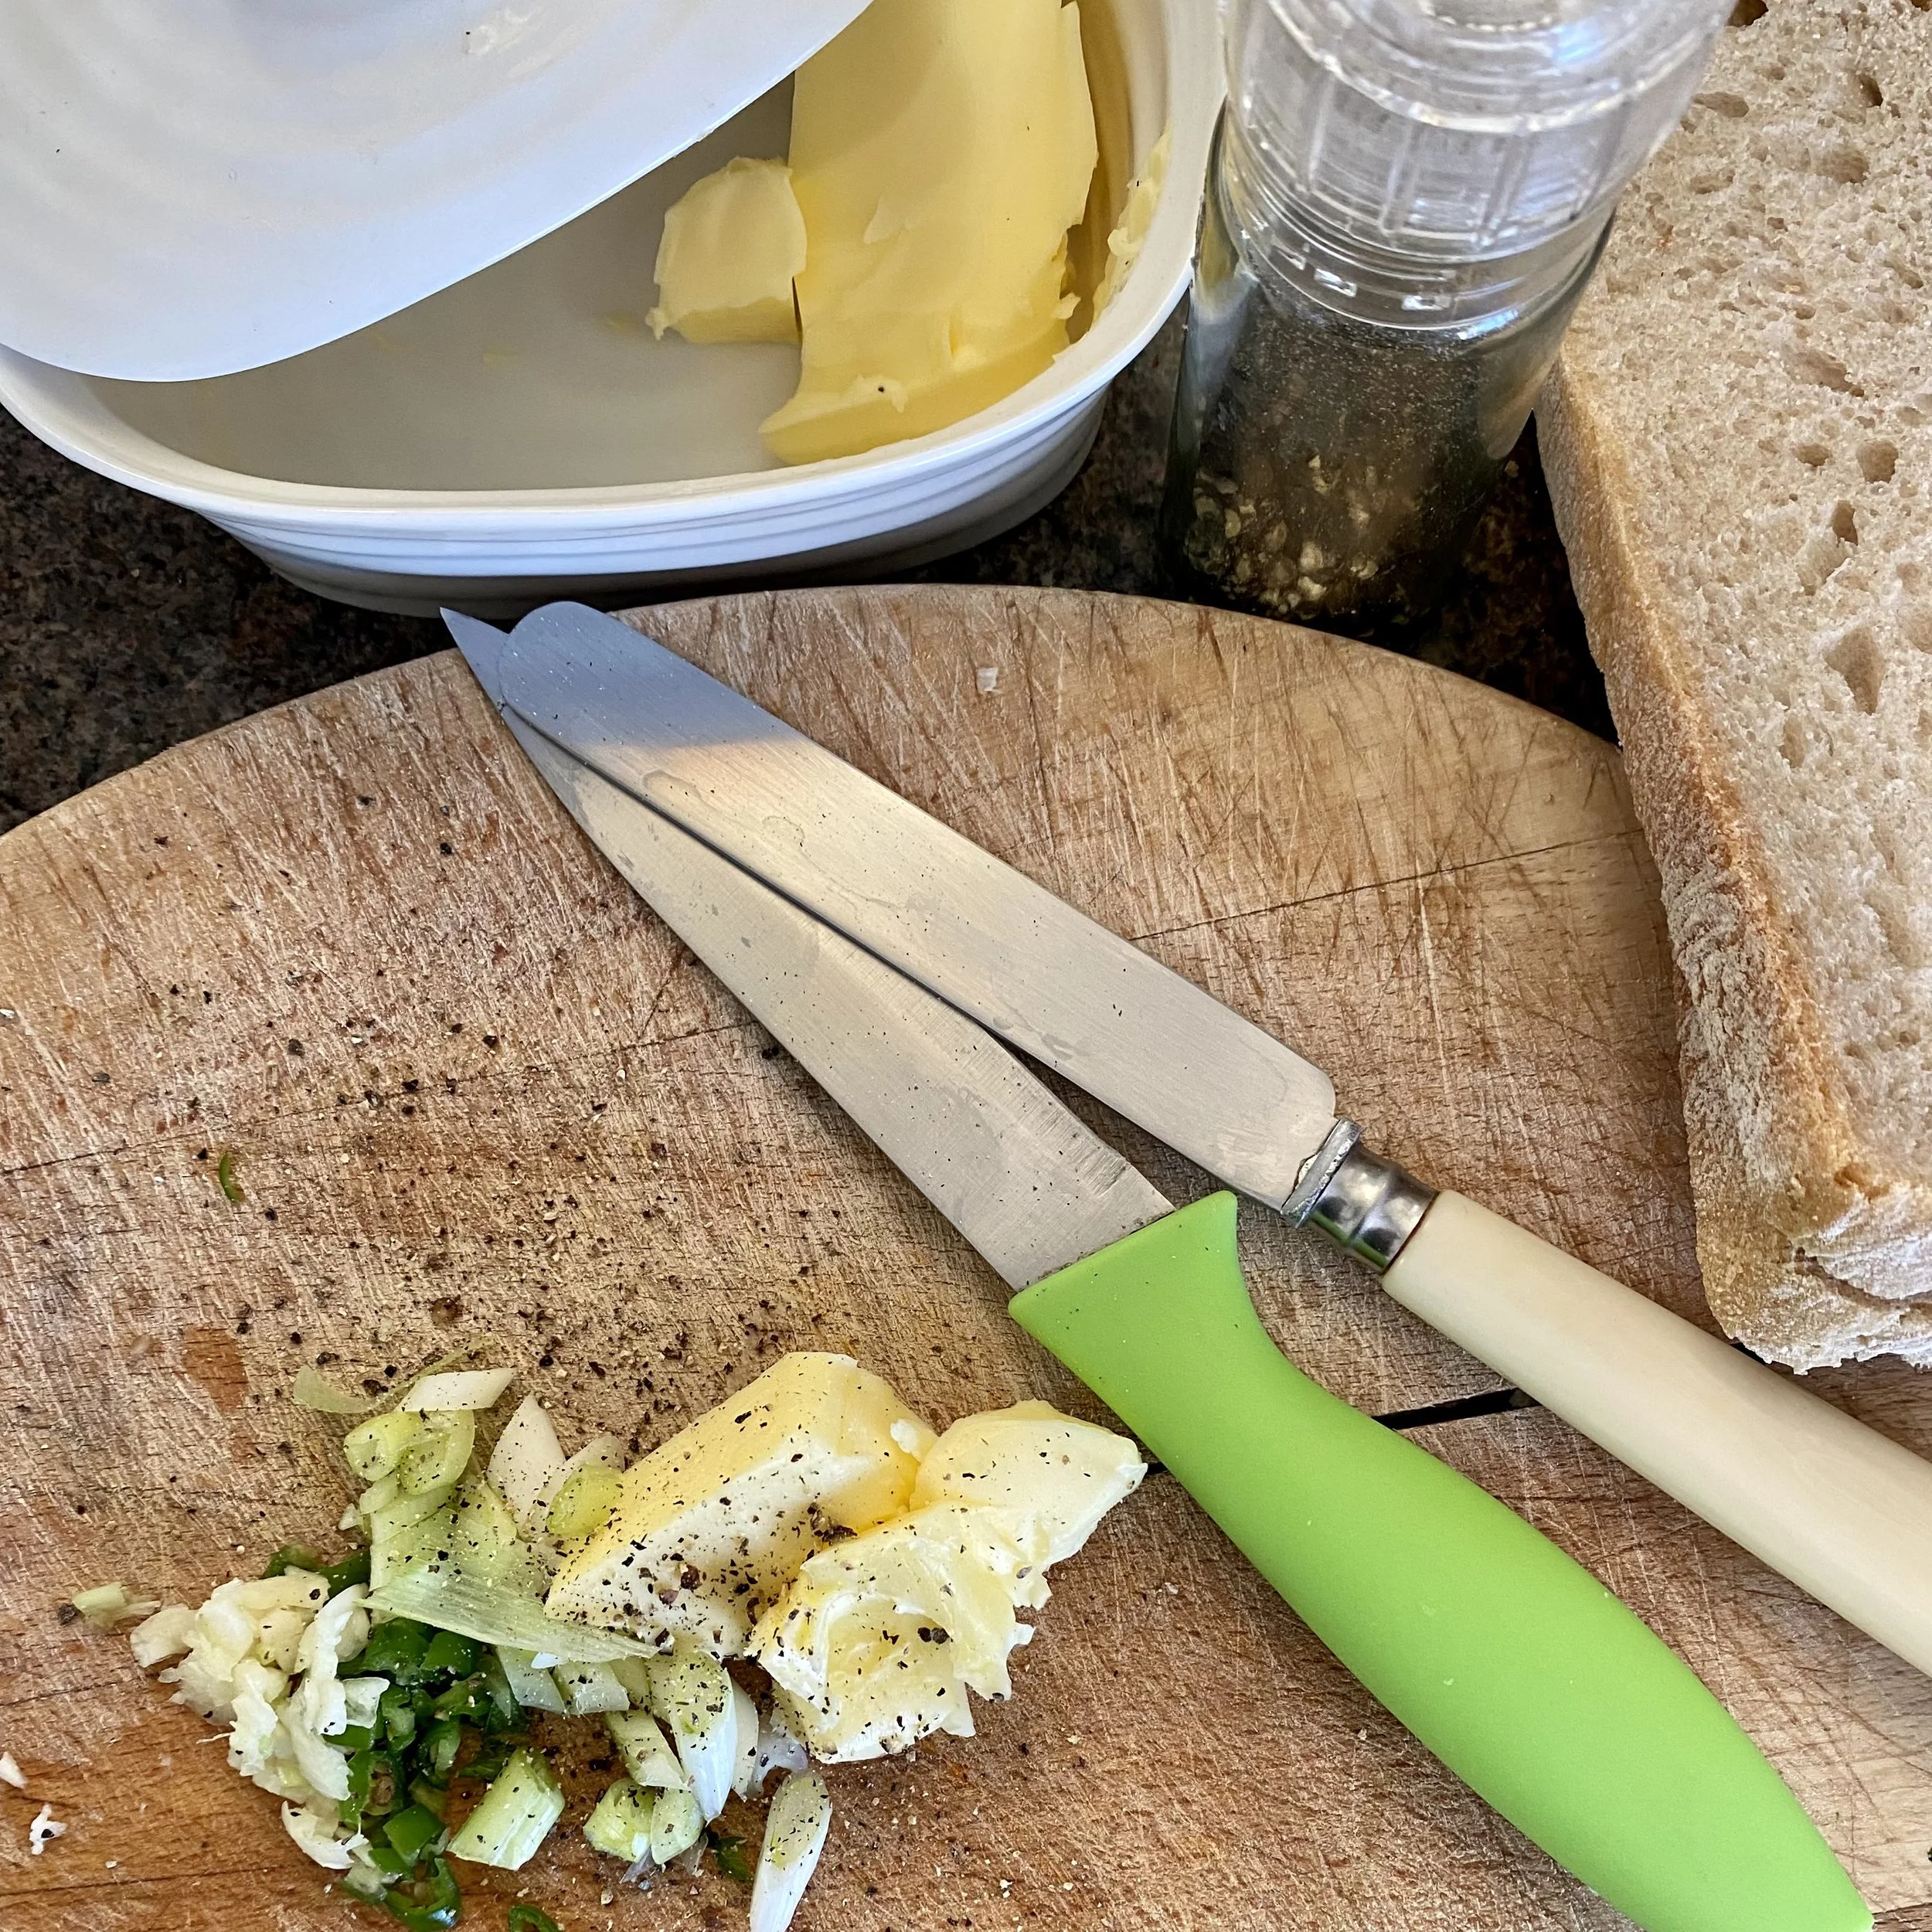
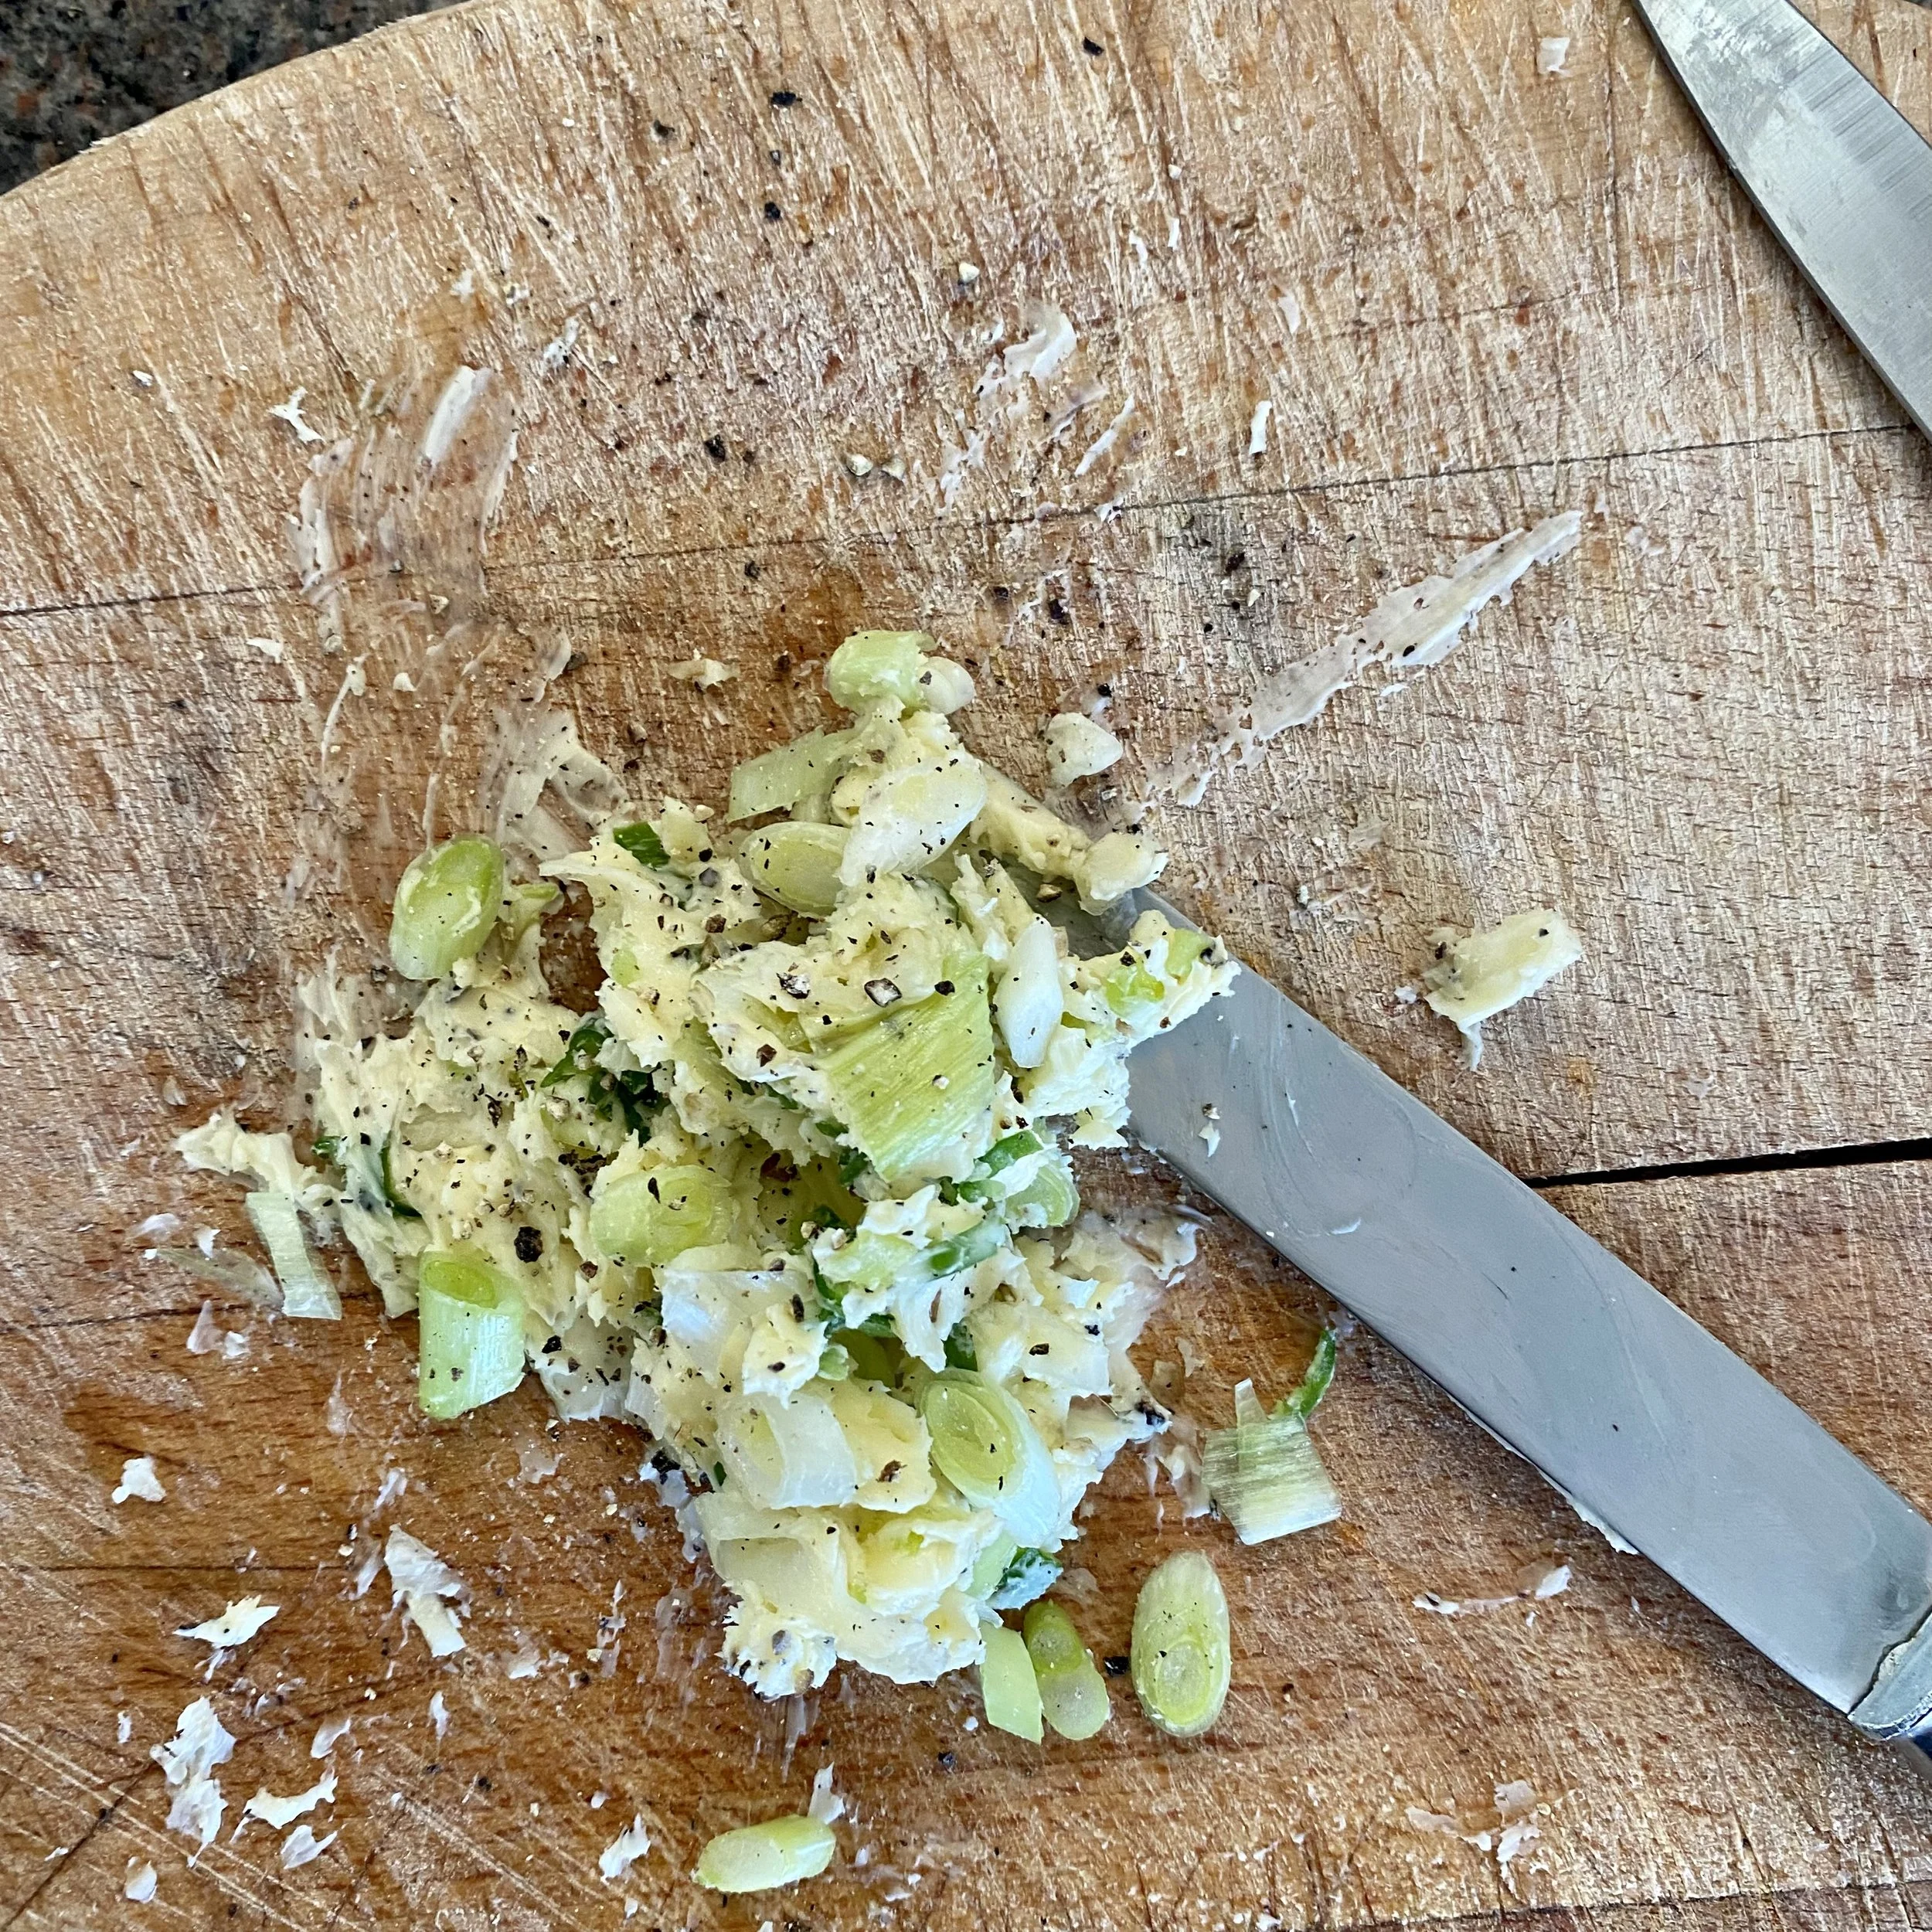
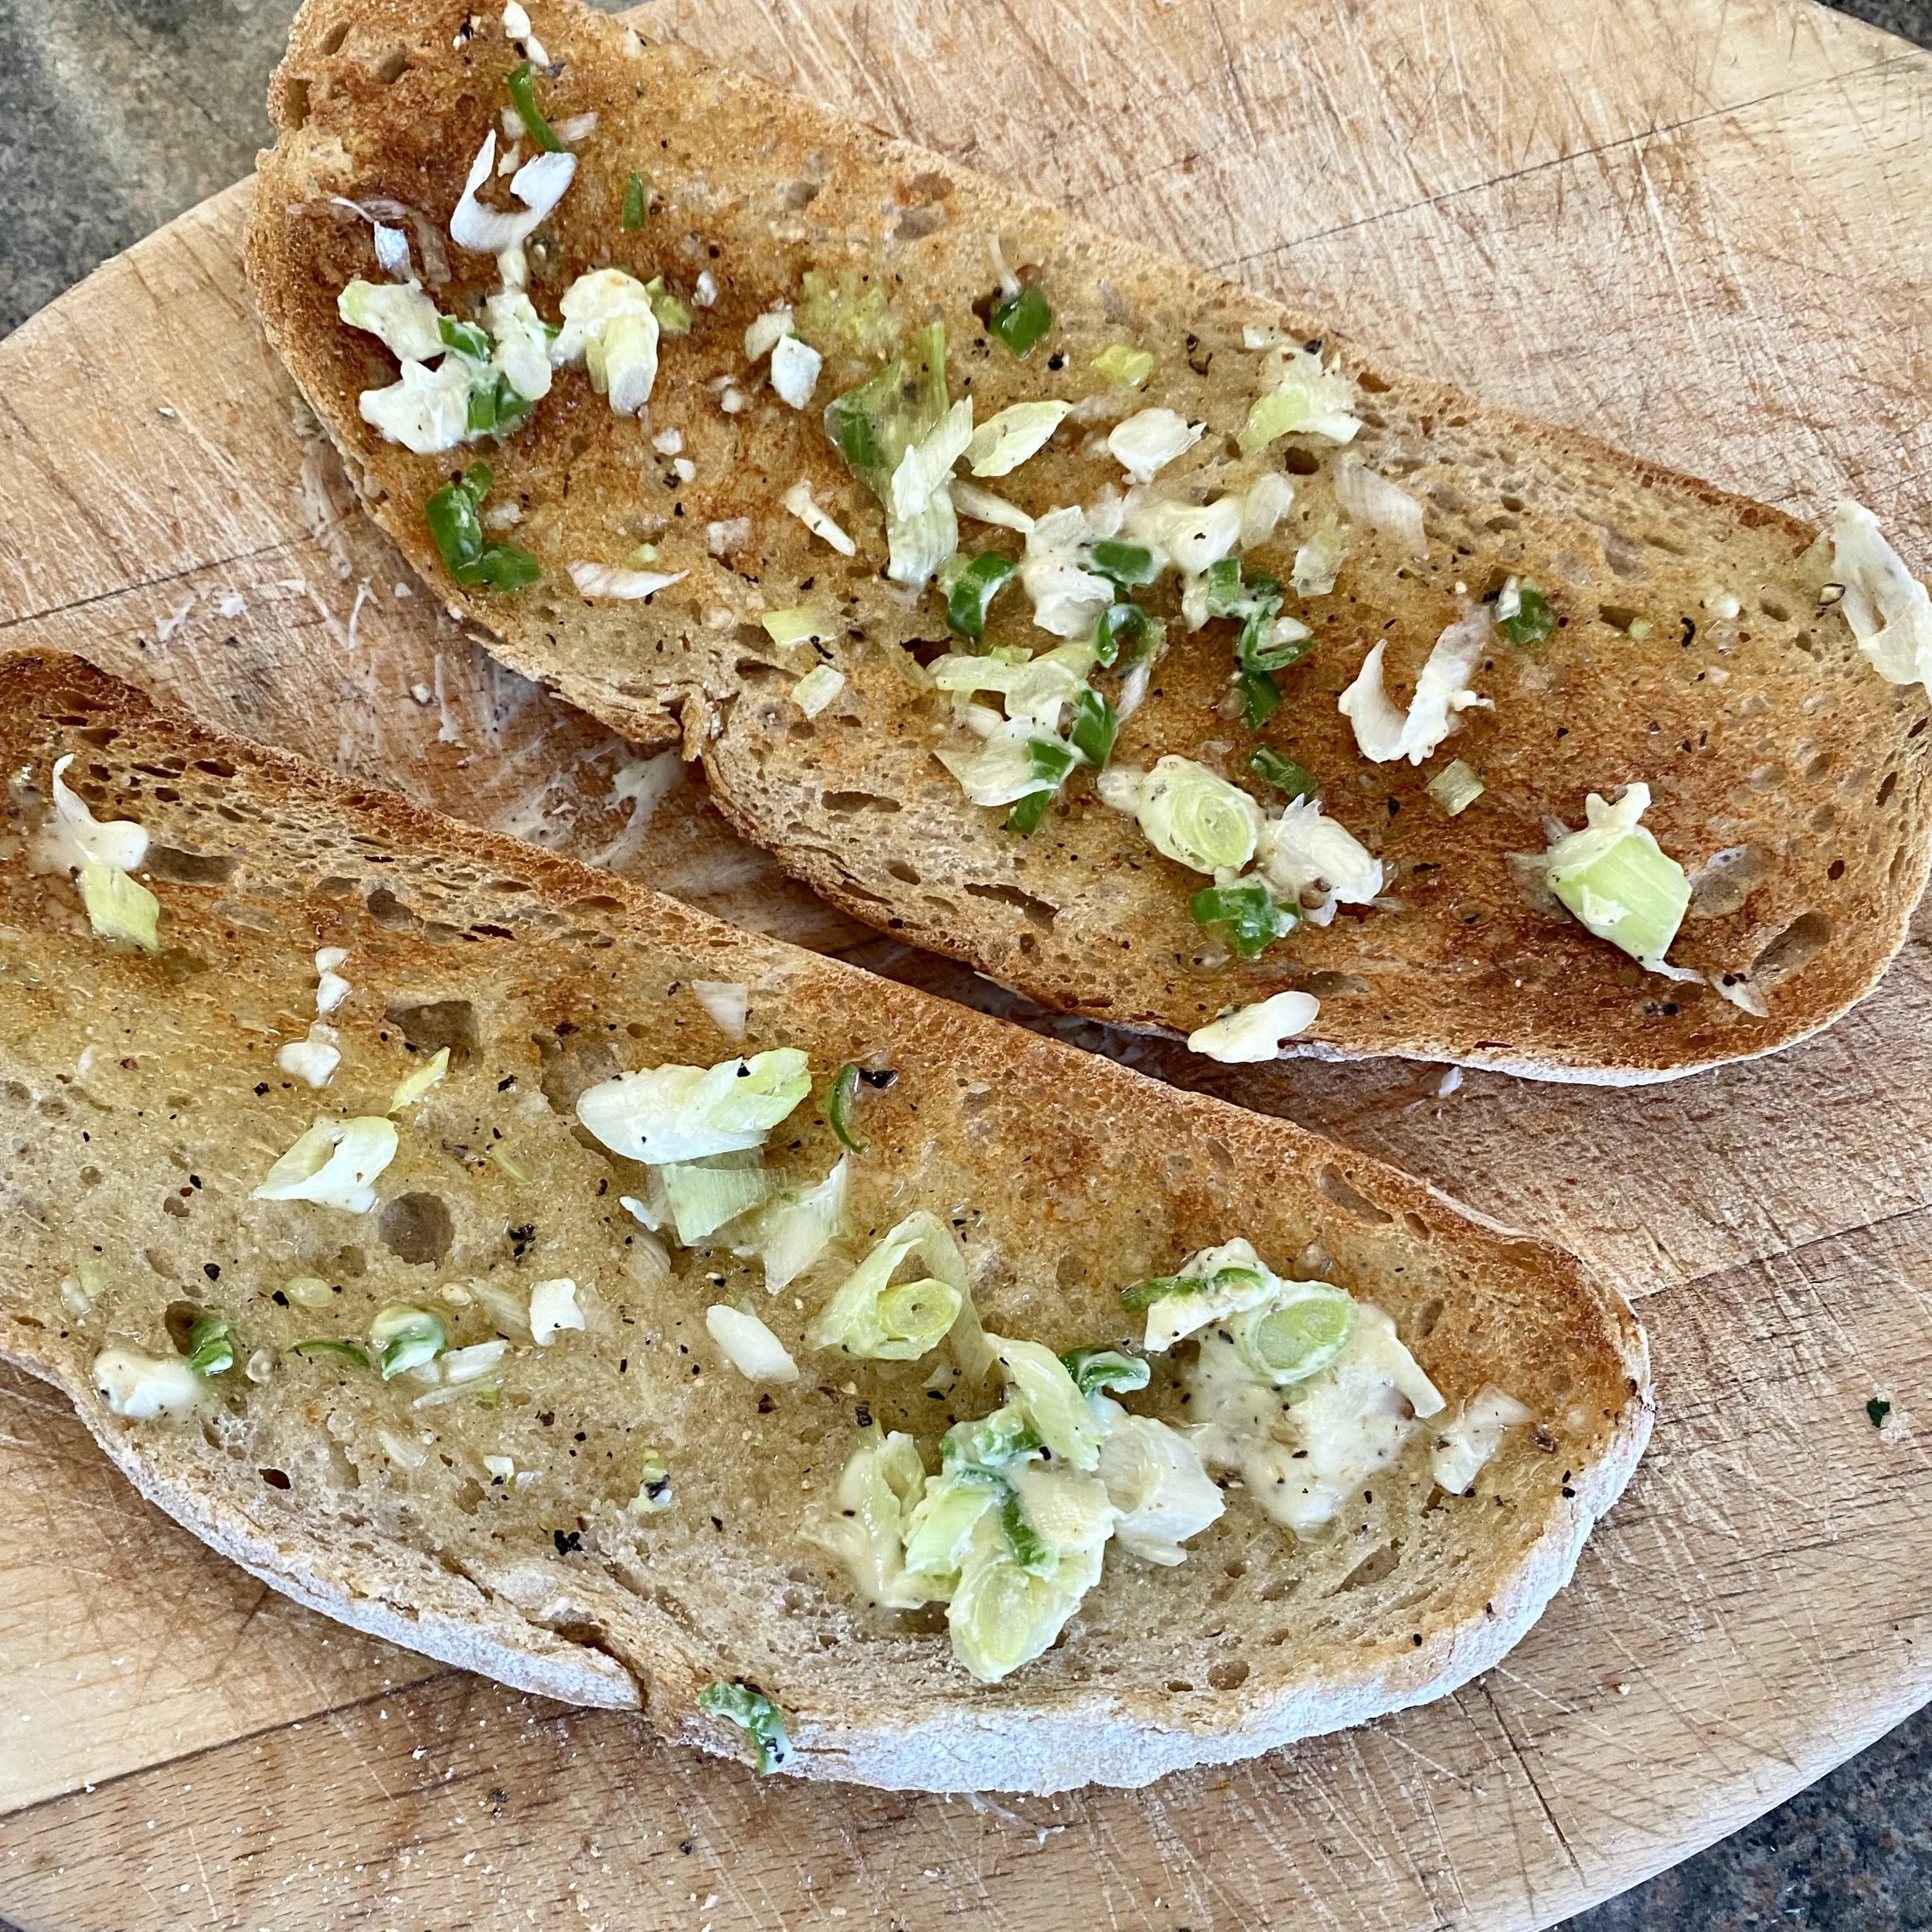
Mash up the butter, spring onions, garlic, chilli and black pepper until you have just the most adorable flavoured butter.

Toast the bread either in a toaster or - as I prefer to do when making this, under the grill. Why? So that I can toast one side of the bread to perfection and one side a little under-done - ready to be cooked a little longer once the topping is on.

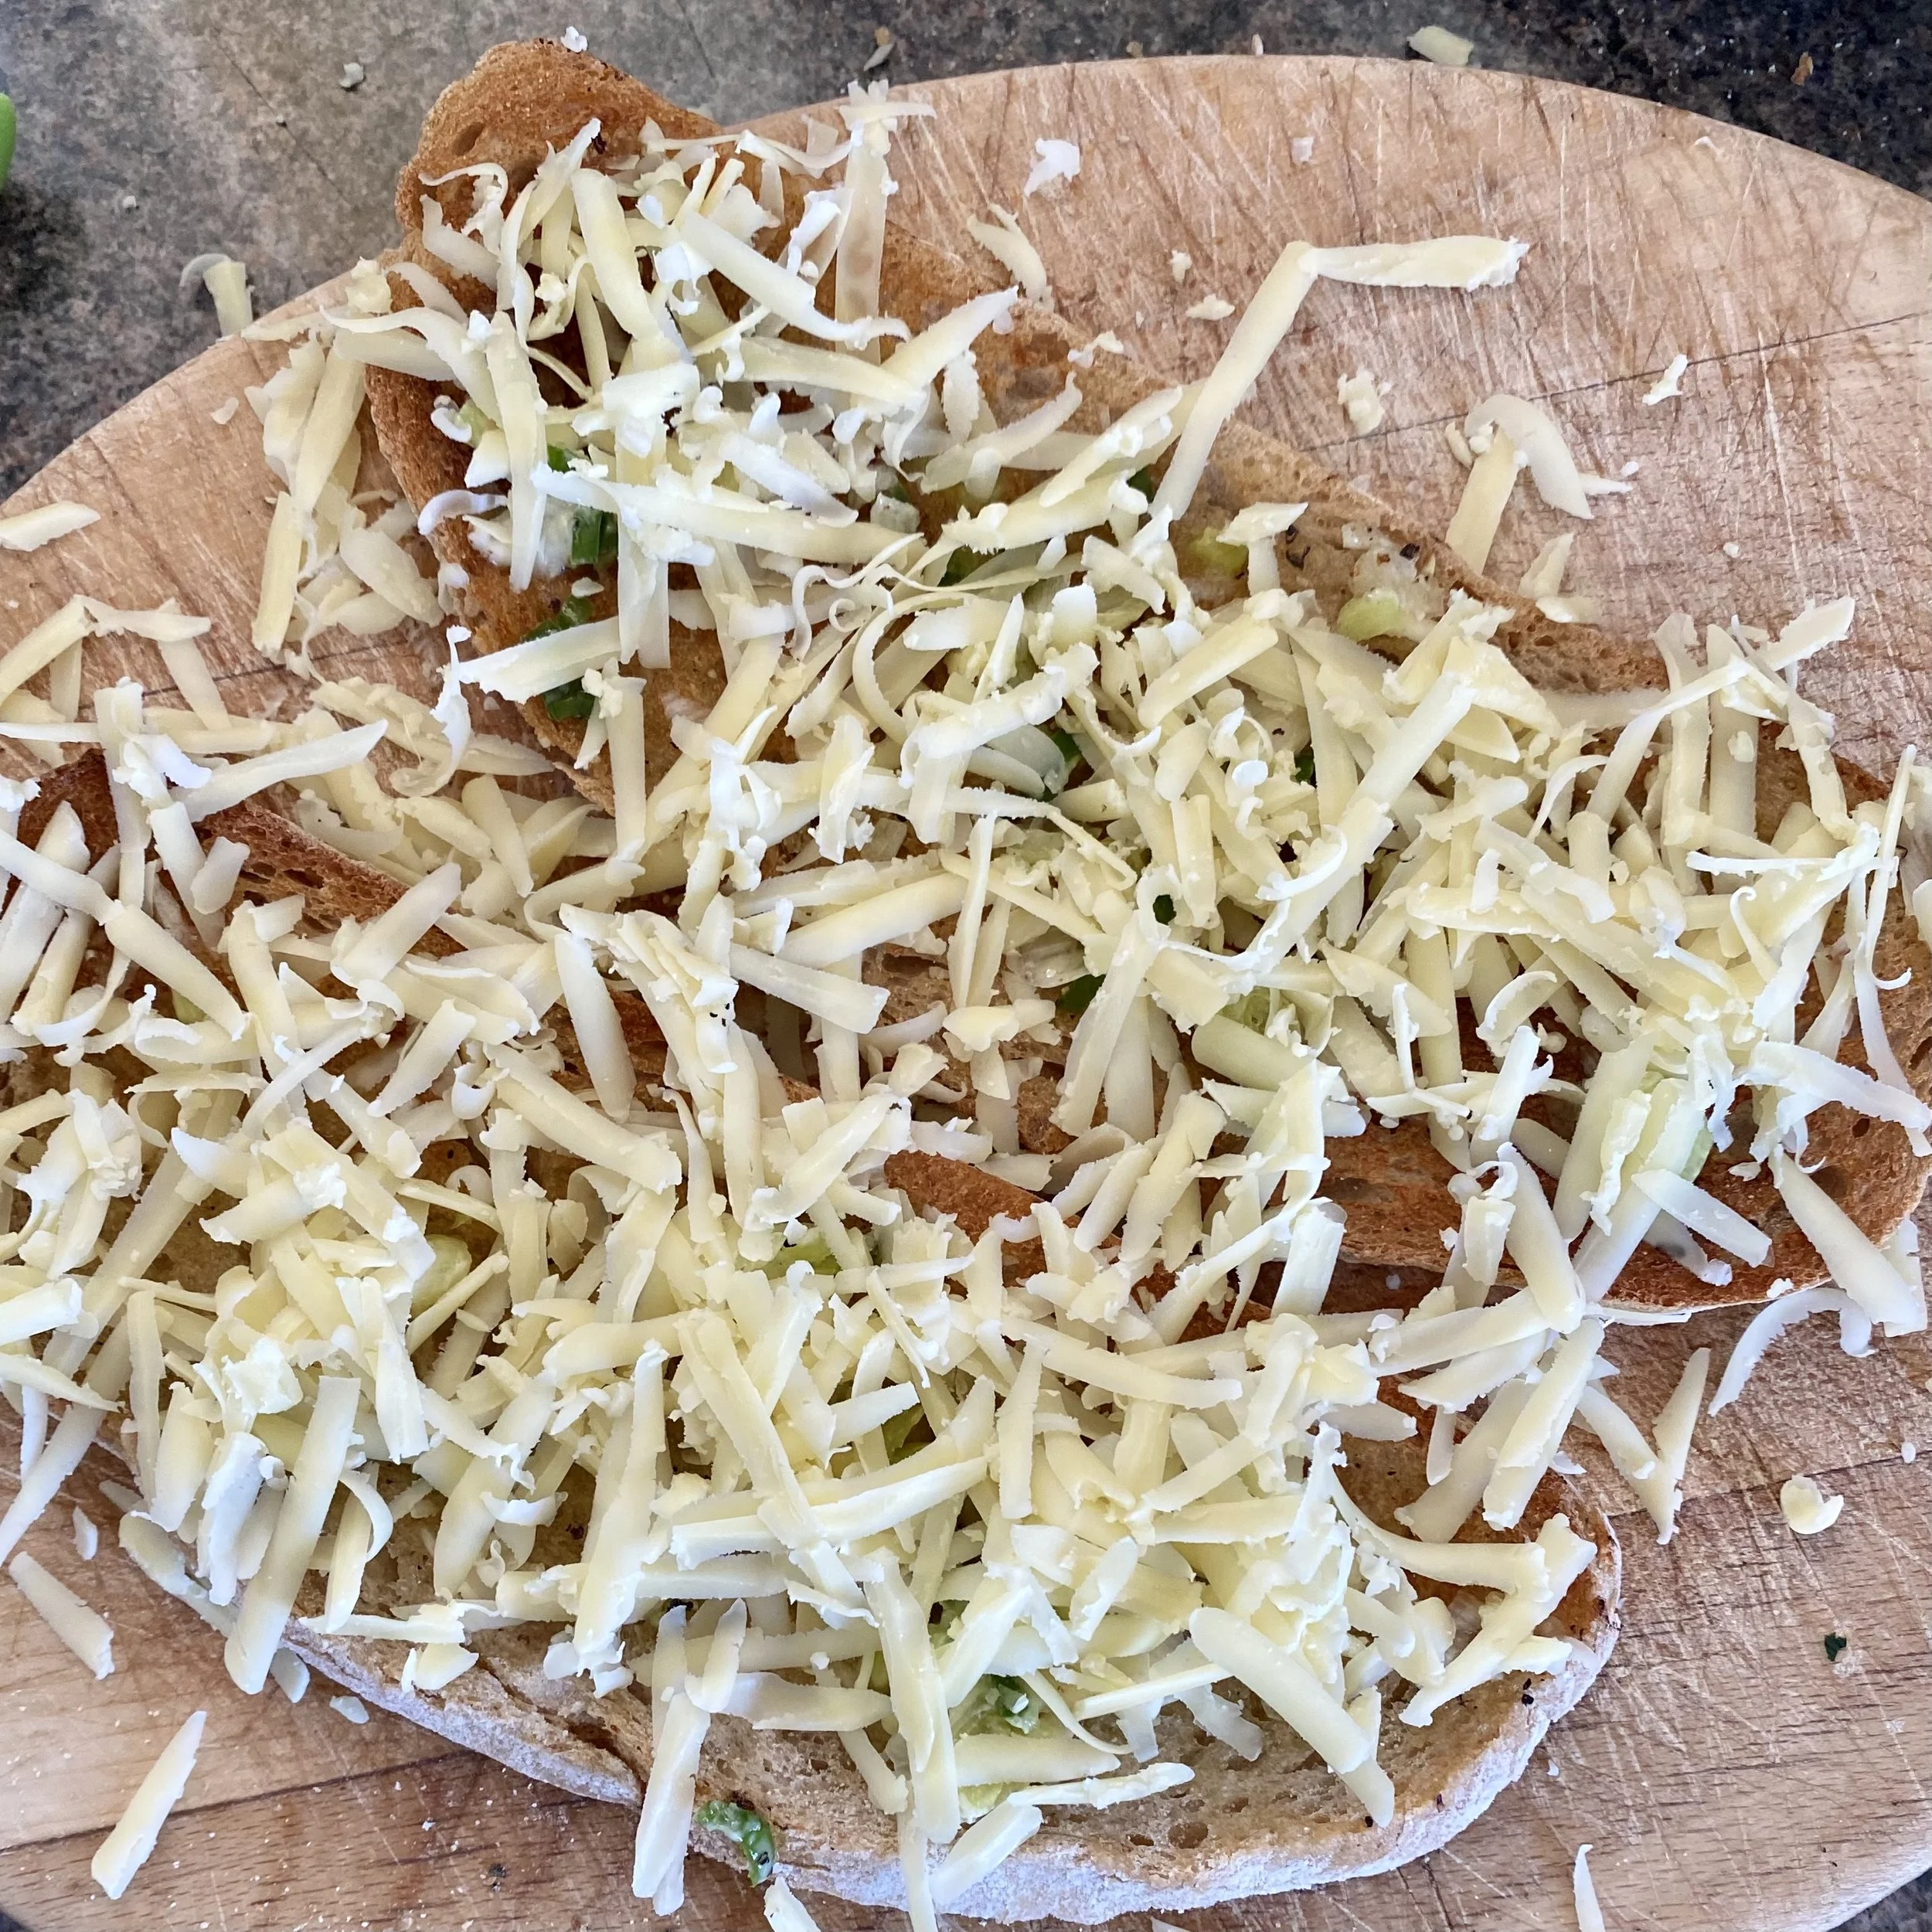
Spread the lightly toasted side with the adorable butter mixture and then grate on the cheese, or add ready-grated cheese (I really am now thinking a mix of cheddar and mozzarella would be amazing).

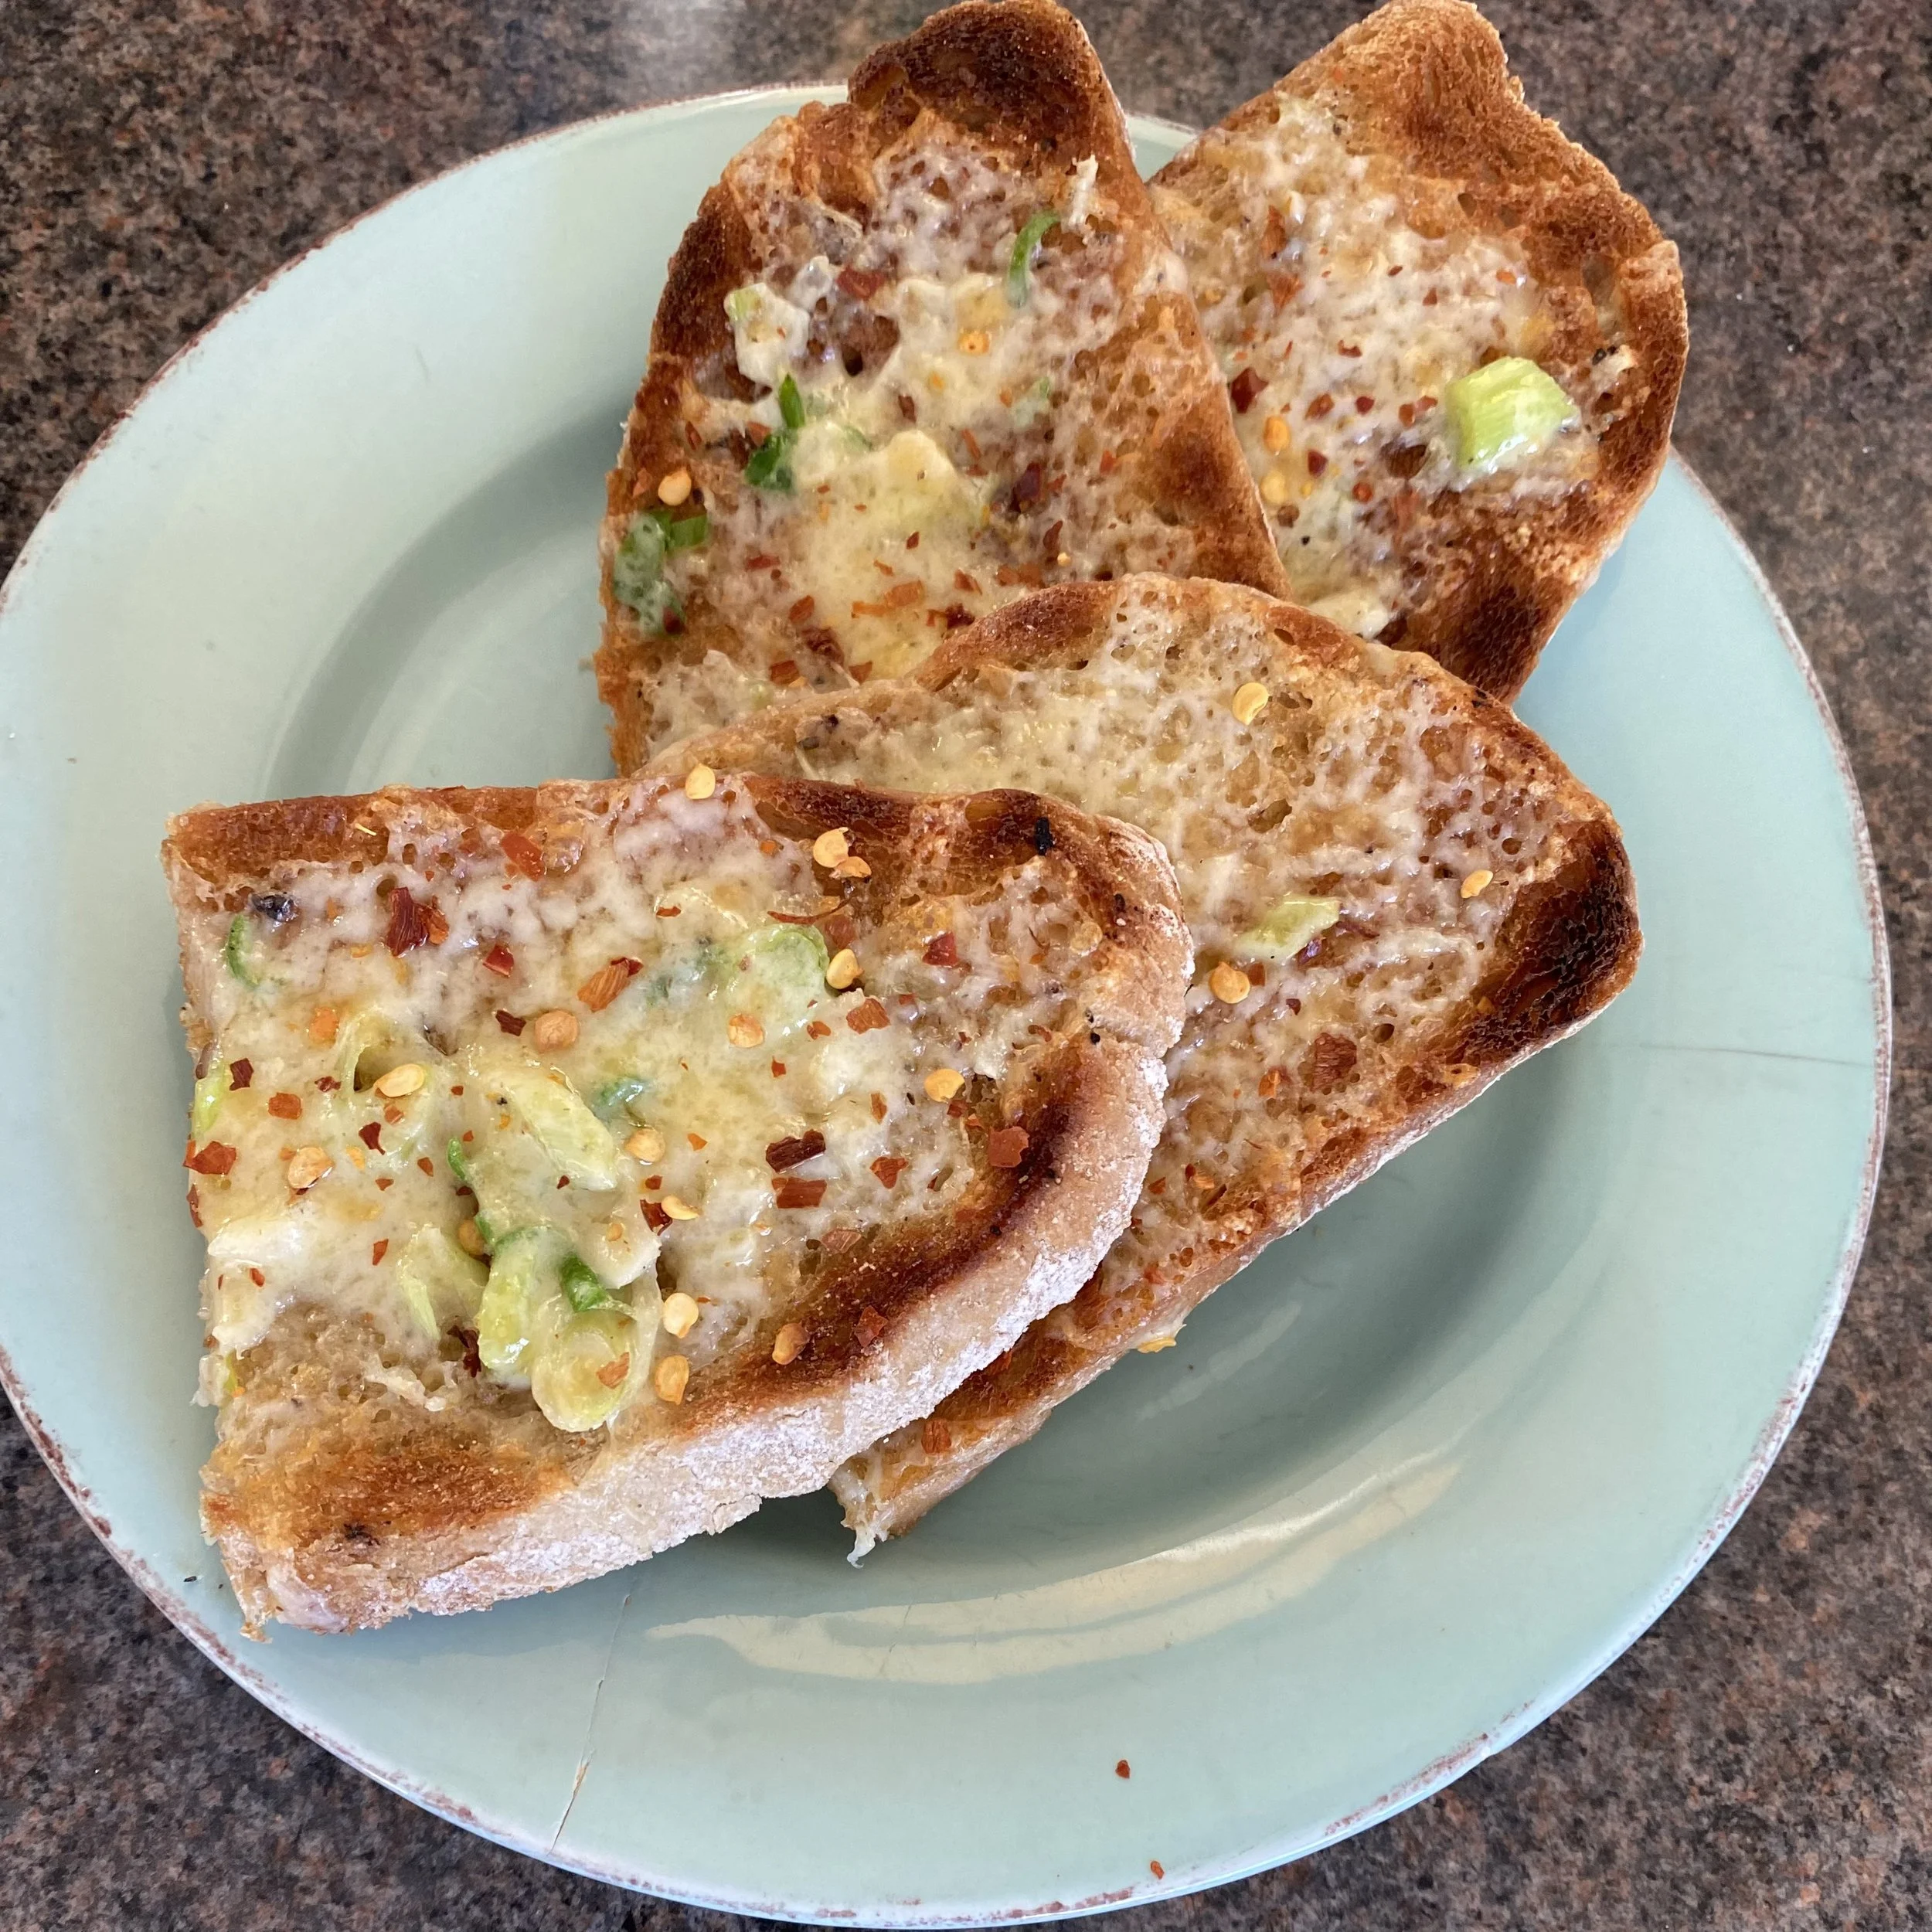
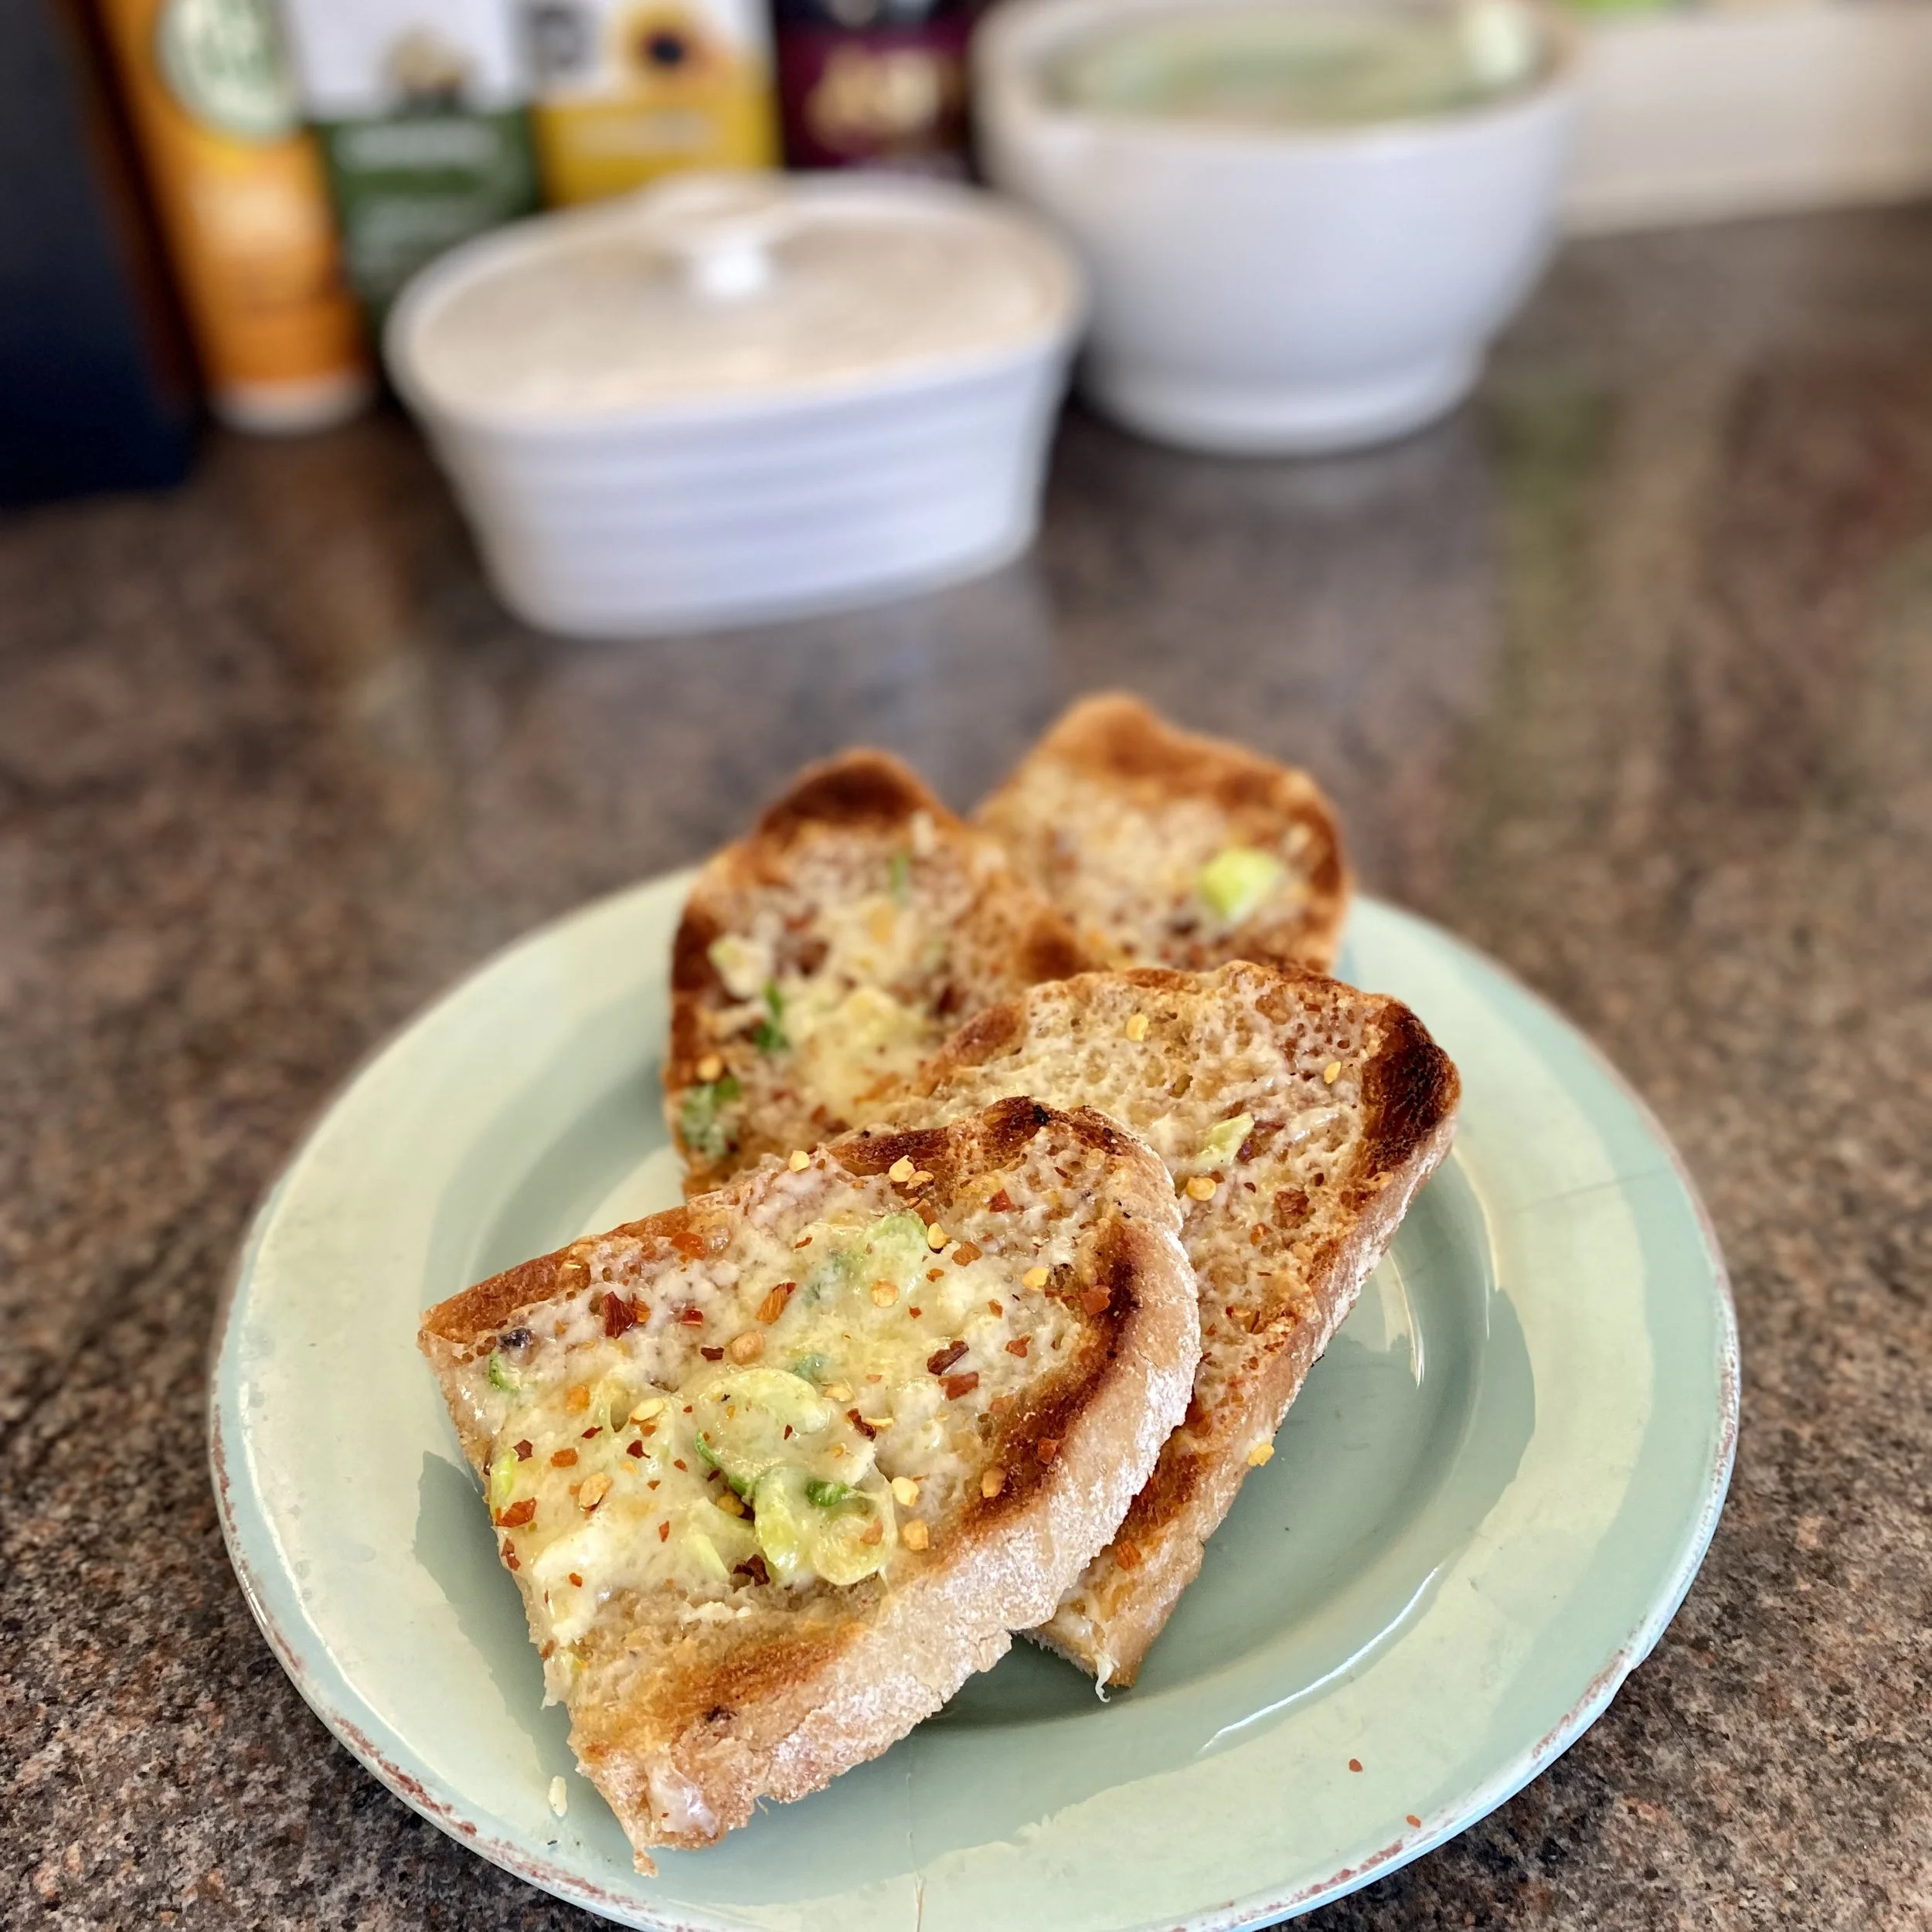
Put back under the grill and heat until the cheese is all lovely and melted.

I then sprinkled on a few dried chilli flakes And that’s it!

You could add sauces or mustard or whatever you want right now, but mine was perfect as it was. Really, perfection.

Oh! And talking of finding you didn’t actually discover this for the very first time ever … when googling I came across a recipe for this from Dishoom (which I’m kind of proud about because if Dishoom are making it then it’s obviously incredible, right?) and they add a fried egg to the chill cheese on toast, then a bit MORE cheese and then toast again. (I think).

I haven’t tried it yet, but I do intend to!

Happy chilli cheese toasting, everyone ….


YOU MIGHT ALSO LIKE …

Beautiful, easy, no-cook sauce for pasta

Like summer in a bowl, no matter what time of year.

More specifically, like a summer in Italy brought to life in a bowl.

It’s like everything you ever imagined the Mediterranean diet would be.

Actually I’m now not sure about that as I think if I had to think of the quintessential Mediterranean diet dish it might be this sauce on top of a simple grilled white fish.

If you think tuna in a sauce for a fish is too much …. well, fish … you can leave the tuna out.

In fact, you can leave the tuna out anyway, to make this a vegetarian dish - and it’s still utterly gorgeous.

This sauce, with or without the tuna (ok, now I’m singing U2 ‘With or Without Tu’) is amazing with pasta of course but also delicious with crusty bread. If you have it on bread I’d suggest leaving it a few minutes before eating so the sauce has a chance to really soak in.

Here’s what you need - but the quantities are up to you and what tastes good …

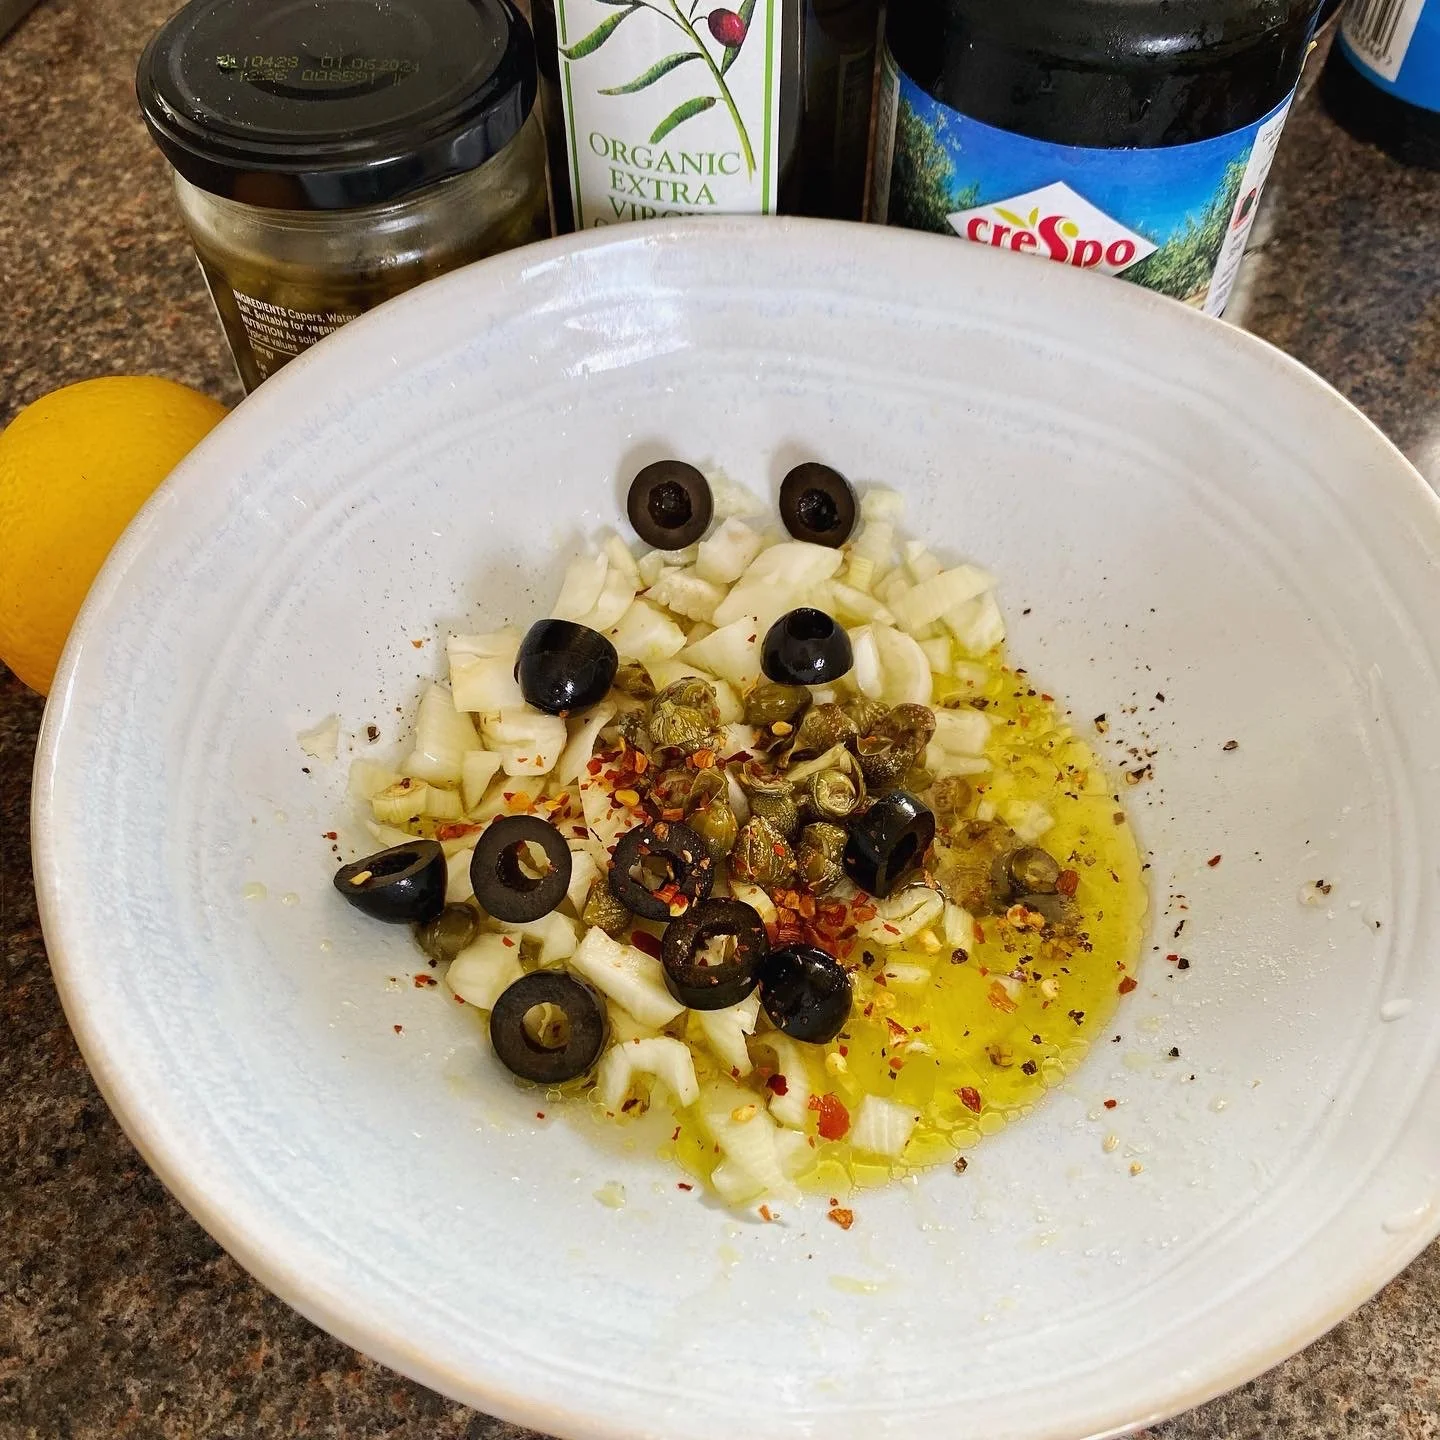
Freshly squeezed lemon juice - it’s going to be more than you think. Keep tasting but at least 1 lemon if not two

Good olive oil and lots of it

Fresh sliced fennel bulb and some of the lovely leafy fronds too if you have them

Capers, drained and chopped

Pitted black olives, drained and sliced

Salt, pepper and a pinch of dried chilli flakes

Stir it all together, mix it up and then see what tastes good to you?

What does it need? Maybe a little more lemon? A few more chilli flakes?

Make it taste perfect for YOU.

Add to this mixture

1 tin of flaked tuna, preferably in oil, but do drain it first

Mix and leave for five minutes or so, so that the flavours can really meld together.

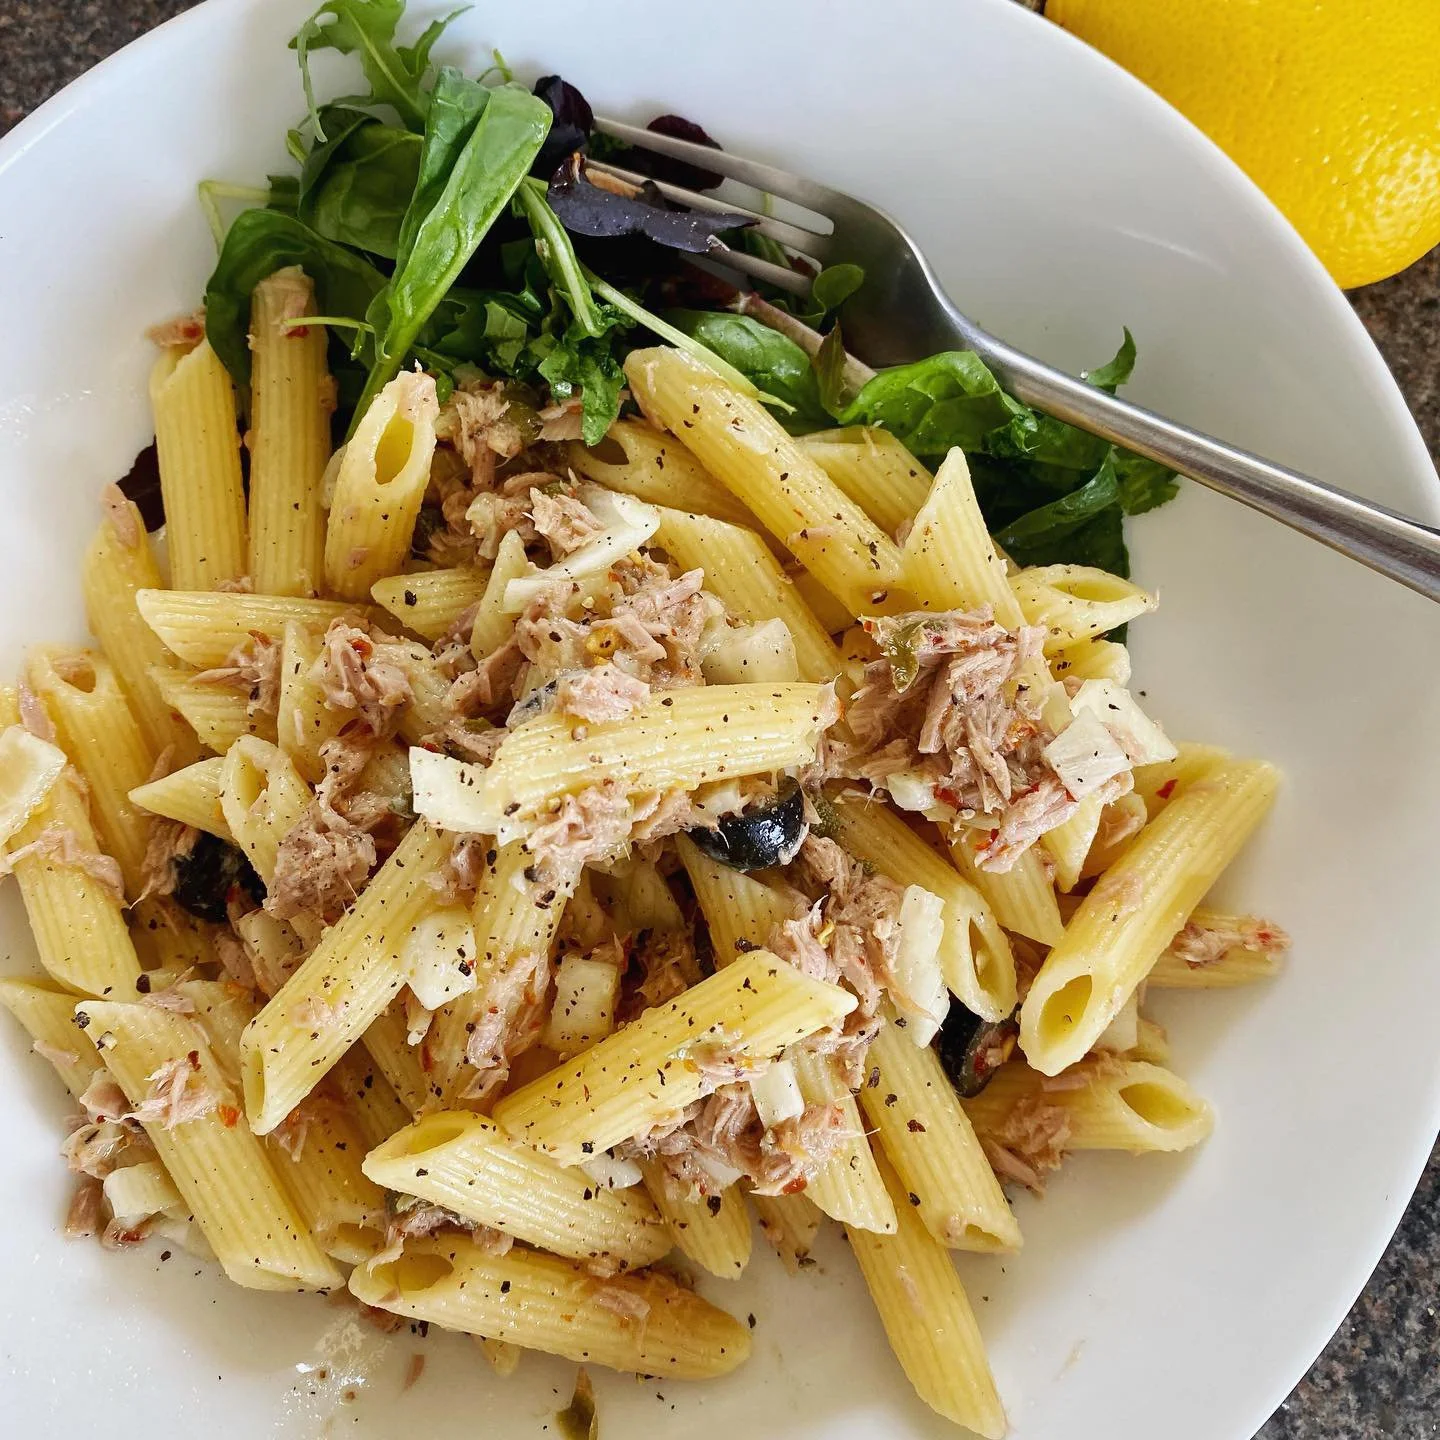
And THEN (and literally I’m practically salivating just typing this as I want to be eating it again RIGHT NOW …. scoop it onto bread or toast, stir into cooked pasta, or spoon over that previously mentioned plain grilled white fish.

This is so delicious, I can’t wait for you to make it too.


YOU MIGHT ALSO LIKE …

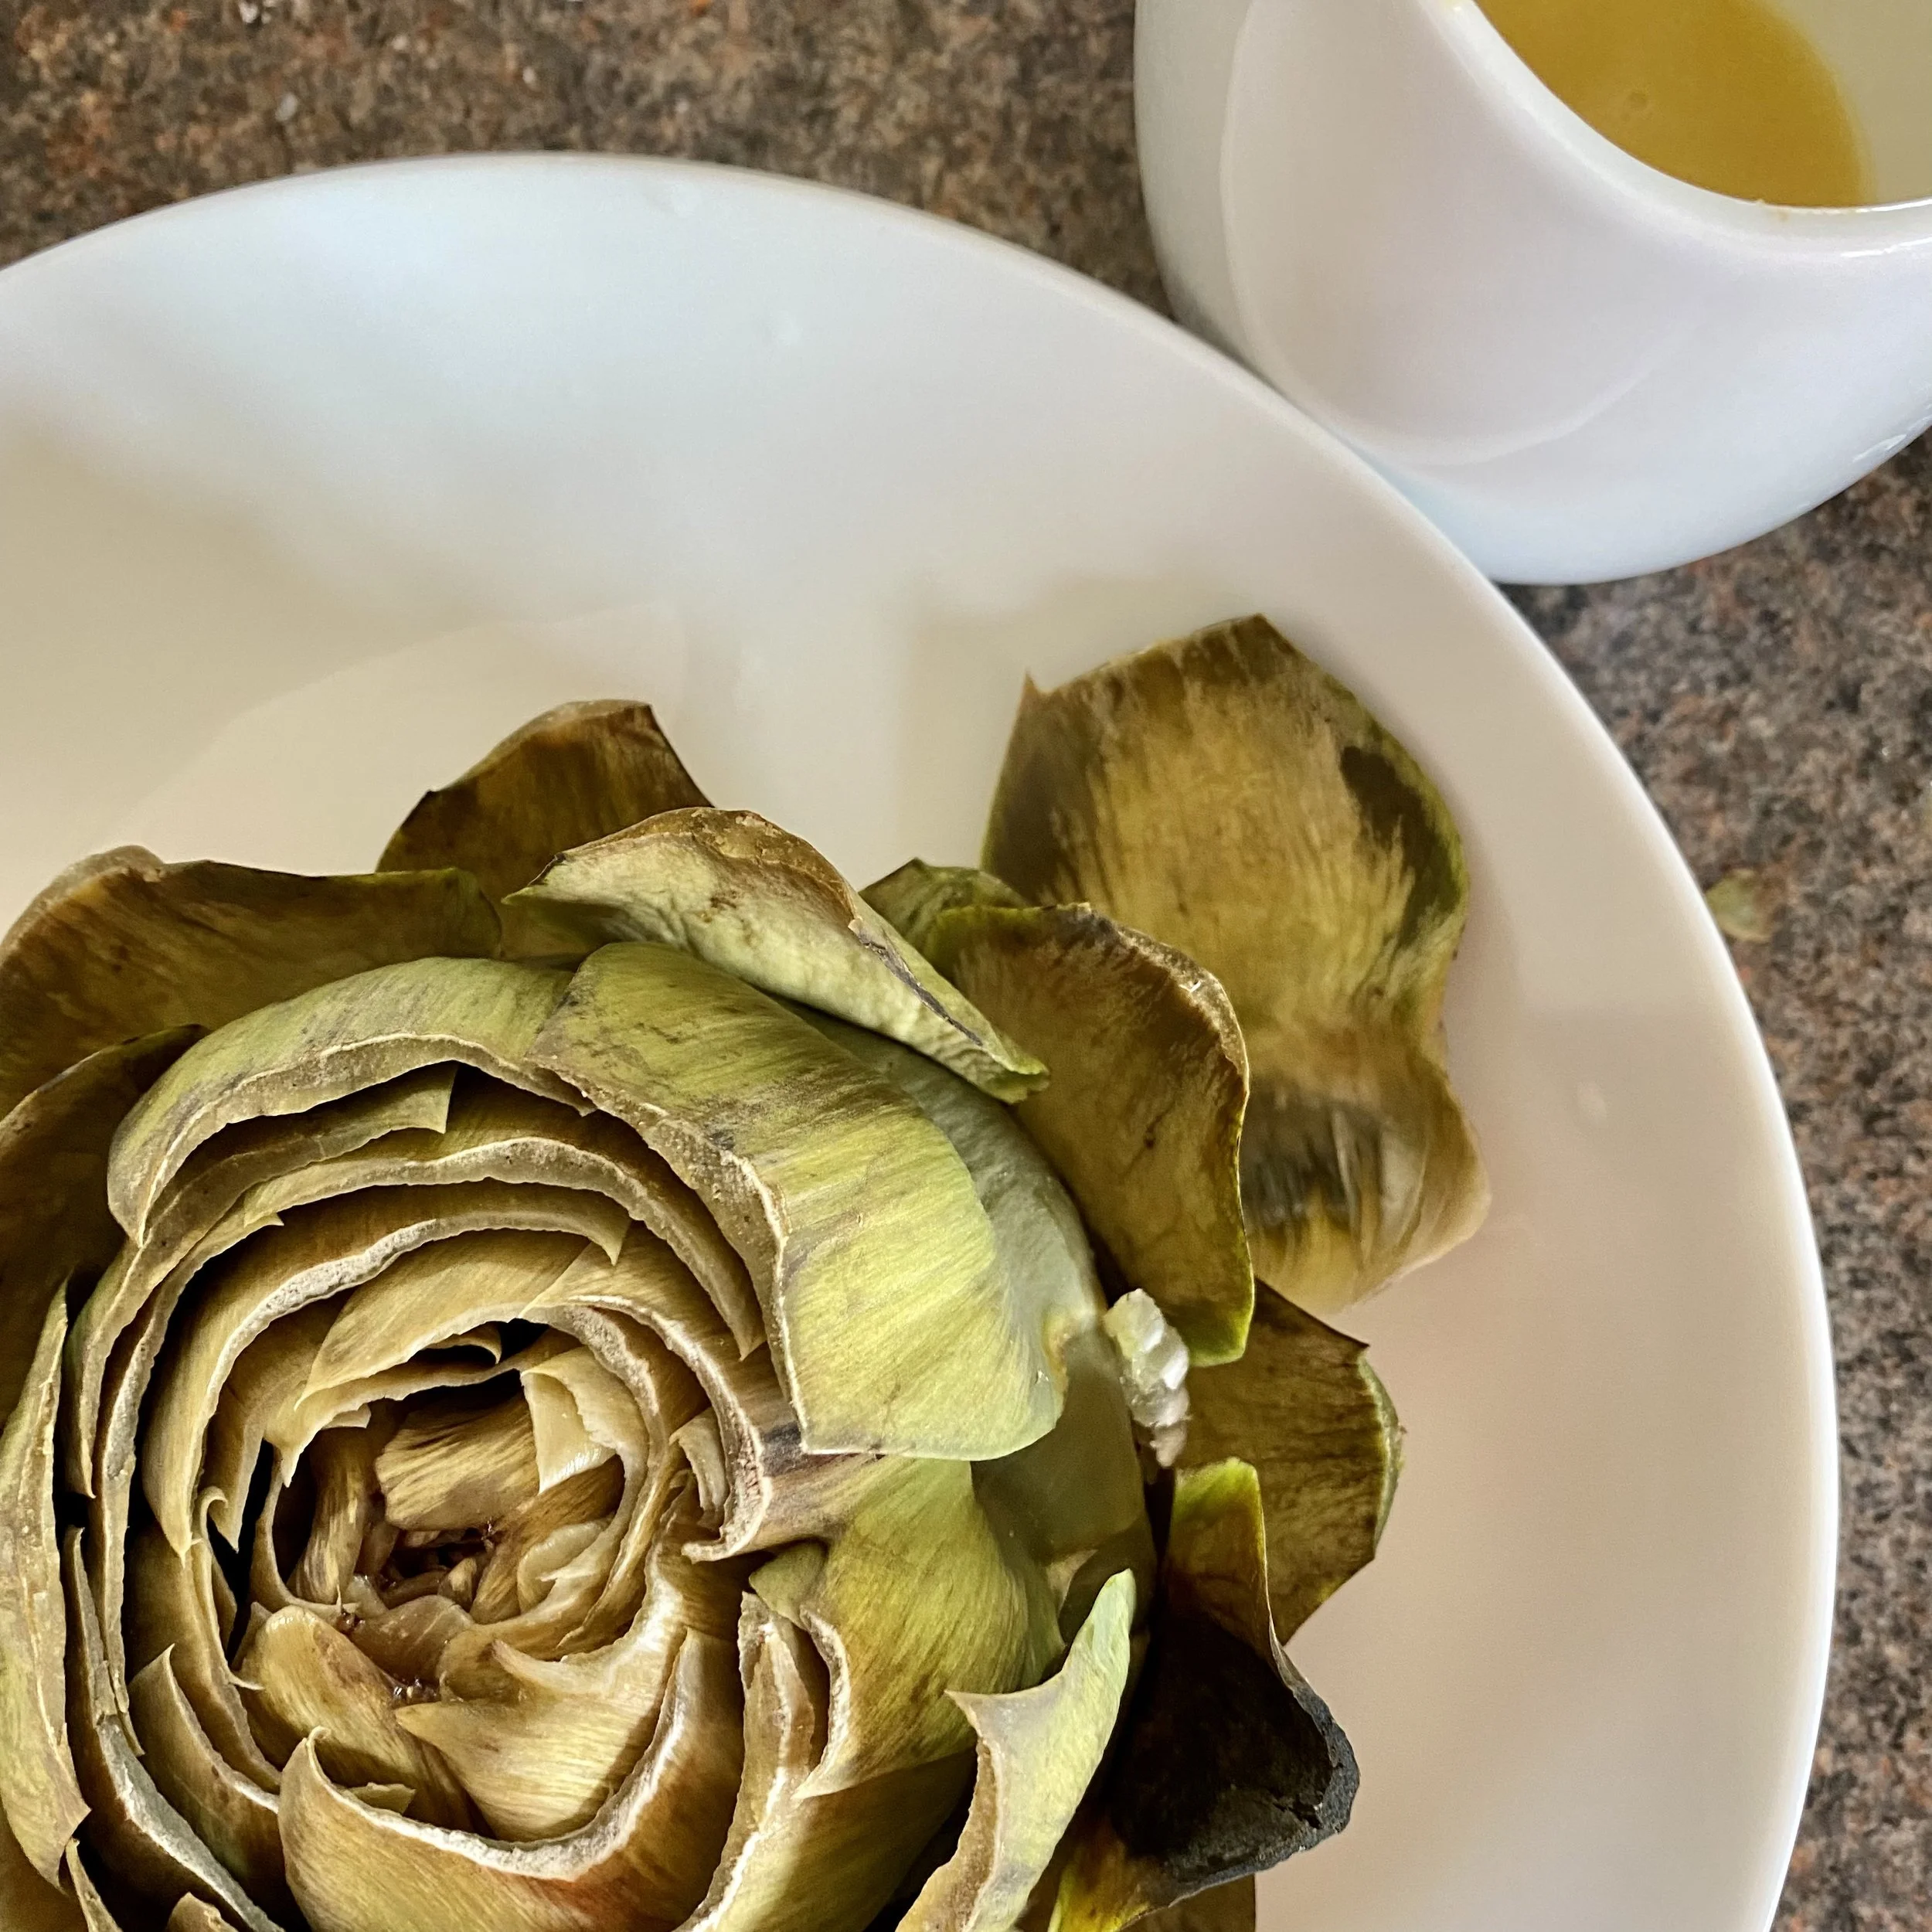
Simplest globe artichoke with lemon butter

Bear with me, I will eventually get to the point …

I think I was 13 when we went on a family holiday that summer, driving through France down to the Alps. We were on our way to stay with the family of a student who had come to stay with us, in Norfolk for a few weeks.

Her name was Violaine and she was 17, several years older than my sisters and me. She was very gracious and kind, and I now look back in something like awe as to how she so quickly settled into our family for the time she was with us.

We must have done something right too - as after her stay when she returned to France, my parents one day received a letter from her parents. It said thank you for making her at home and taking care of her, and extended an offer for our family to visit theirs.

I think it was the very next summer we set off on this trip, and it was an amazing trip. Not just that we were to stay with Violaine’s family and go to the Alps.

But also that we were going to travel down through France, to drive over several days, staying in B&Bs and small hotels.

Oh my goodness this was so so exciting! We had been to France before for holidays and loved it - but always camping (which I still love).

Staying in B&B’s was not something we really did as a family and was something I’d always kind of thought out of our budget, to be honest.

So this was exciting!

Anyway, I could talk / write lots (and lots and lots) more about that holiday.

The driving, the picnic lunches, the food, the things I learned, the cowbells in the summertime Alps, the lake swimming, the piece of dark chocolate eaten with a piece of baguette, the incredible thunder and lightning storms …

But for now, I take my mind back to a restaurant, in Lyon, I believe.

Another internal SQUEAL - restaurants were SO exciting! And unexpected! And incredible!

ANYWAY.

Apparently, in France, in Lyon, it was normal for a prix fixe menu (fixed price two courses, or maybe three) to include a starter of Globe Artichoke with Vinaigrette. It seemed the height of food luxury to me.

And so my 13-year-old-heart was won over.

I chose it immediately - without even really knowing what it was - and I think it may have started my lifelong love of ‘activity food’. You know, food that you have to physically engage with.

Snails, mussels, oysters, samphire, that sort of thing - anything you have to get involved with, really.

Fast forward from 1983 (or something like that) to today (well, a few weeks ago from today) and I saw a globe artichoke and HAD to buy it and HAD to find out how to cook it for myself for the very first time I’ve ever cooked one.

It was so, so good.

So good I called my dad to see if he remembered Globe Artichoke Day that is such an important date/memory for me and he did! He hadn’t remembered that it was Lyon but he knew exactly what I was talking about and commented that I had always been quite open about my food choices and keen to experiment.

I loved it so much I just wanted to get another and try it again.

And so I did.


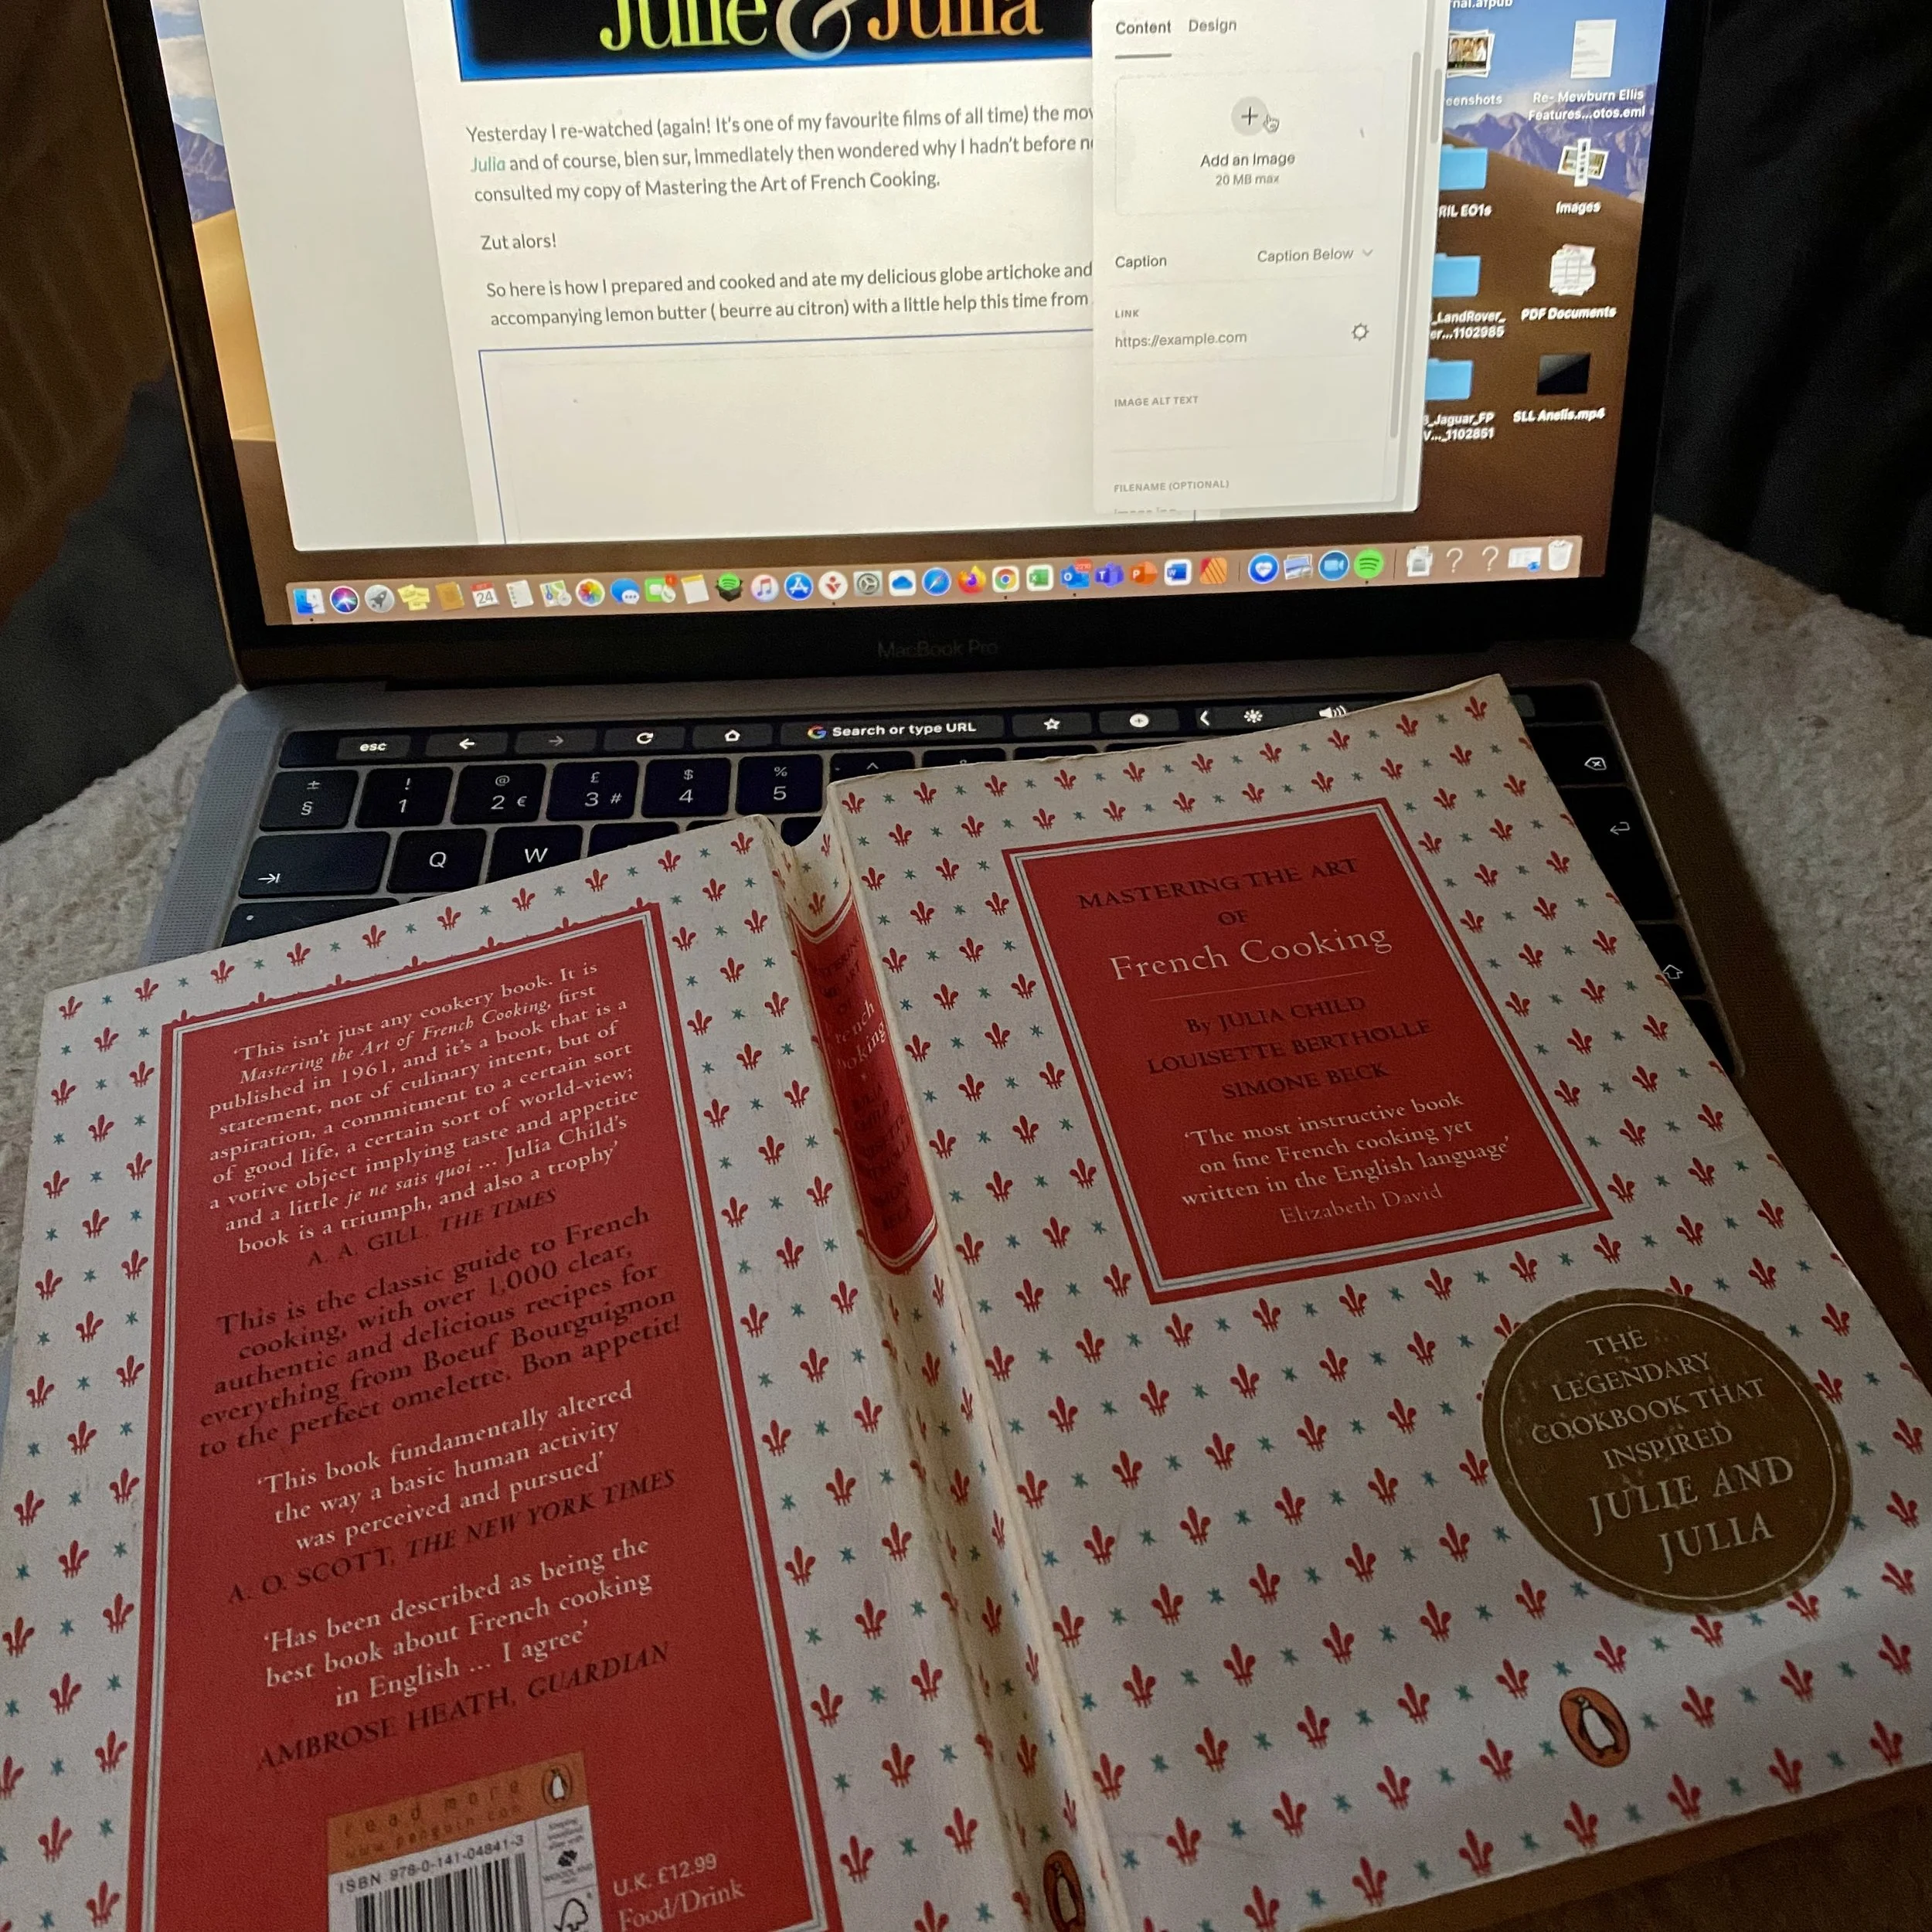
Yesterday I re-watched (again - it’s one of my favourite films of all time) the movie Julie and Julia and of course - bien sur - immediately then wondered why I hadn’t before now consulted my copy of Mastering the Art of French Cooking re The Artichoke.

Zut alors!

So here is how I prepared and cooked and ate my delicious globe artichoke and its accompanying lemon butter ( beurre au citron) with a little help this time from Julia.


Straight in with a Julia tip then.

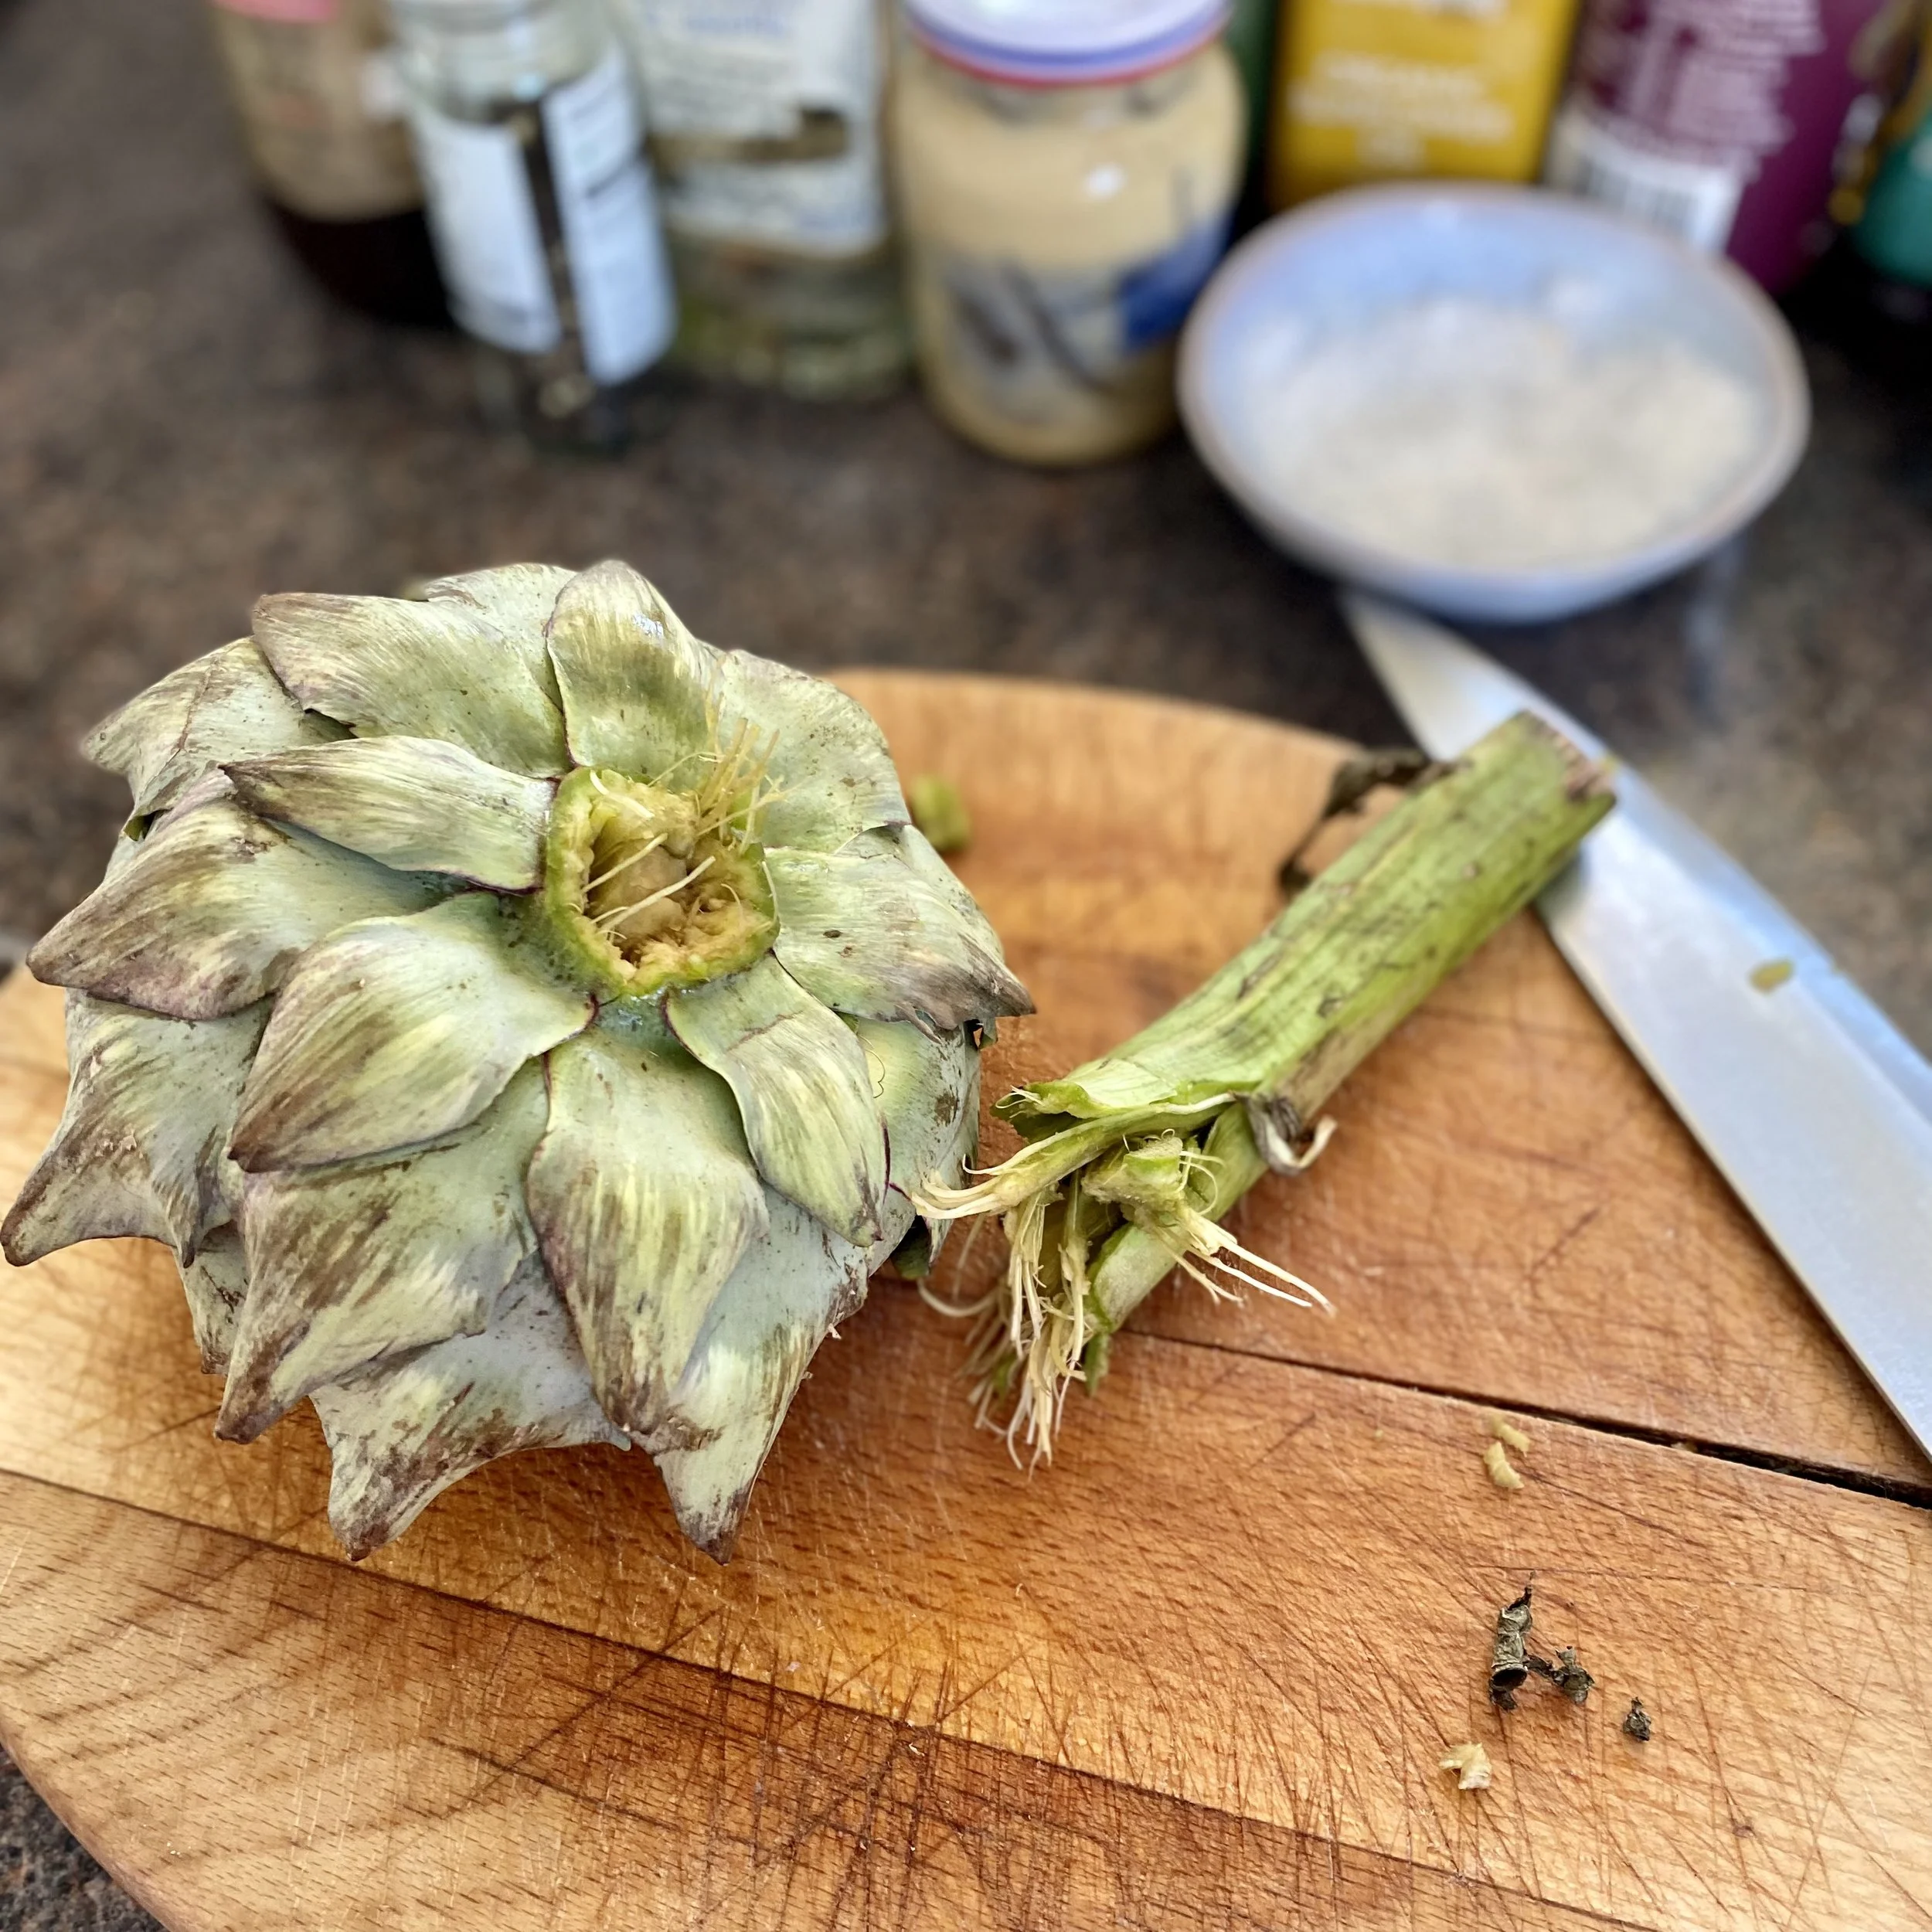
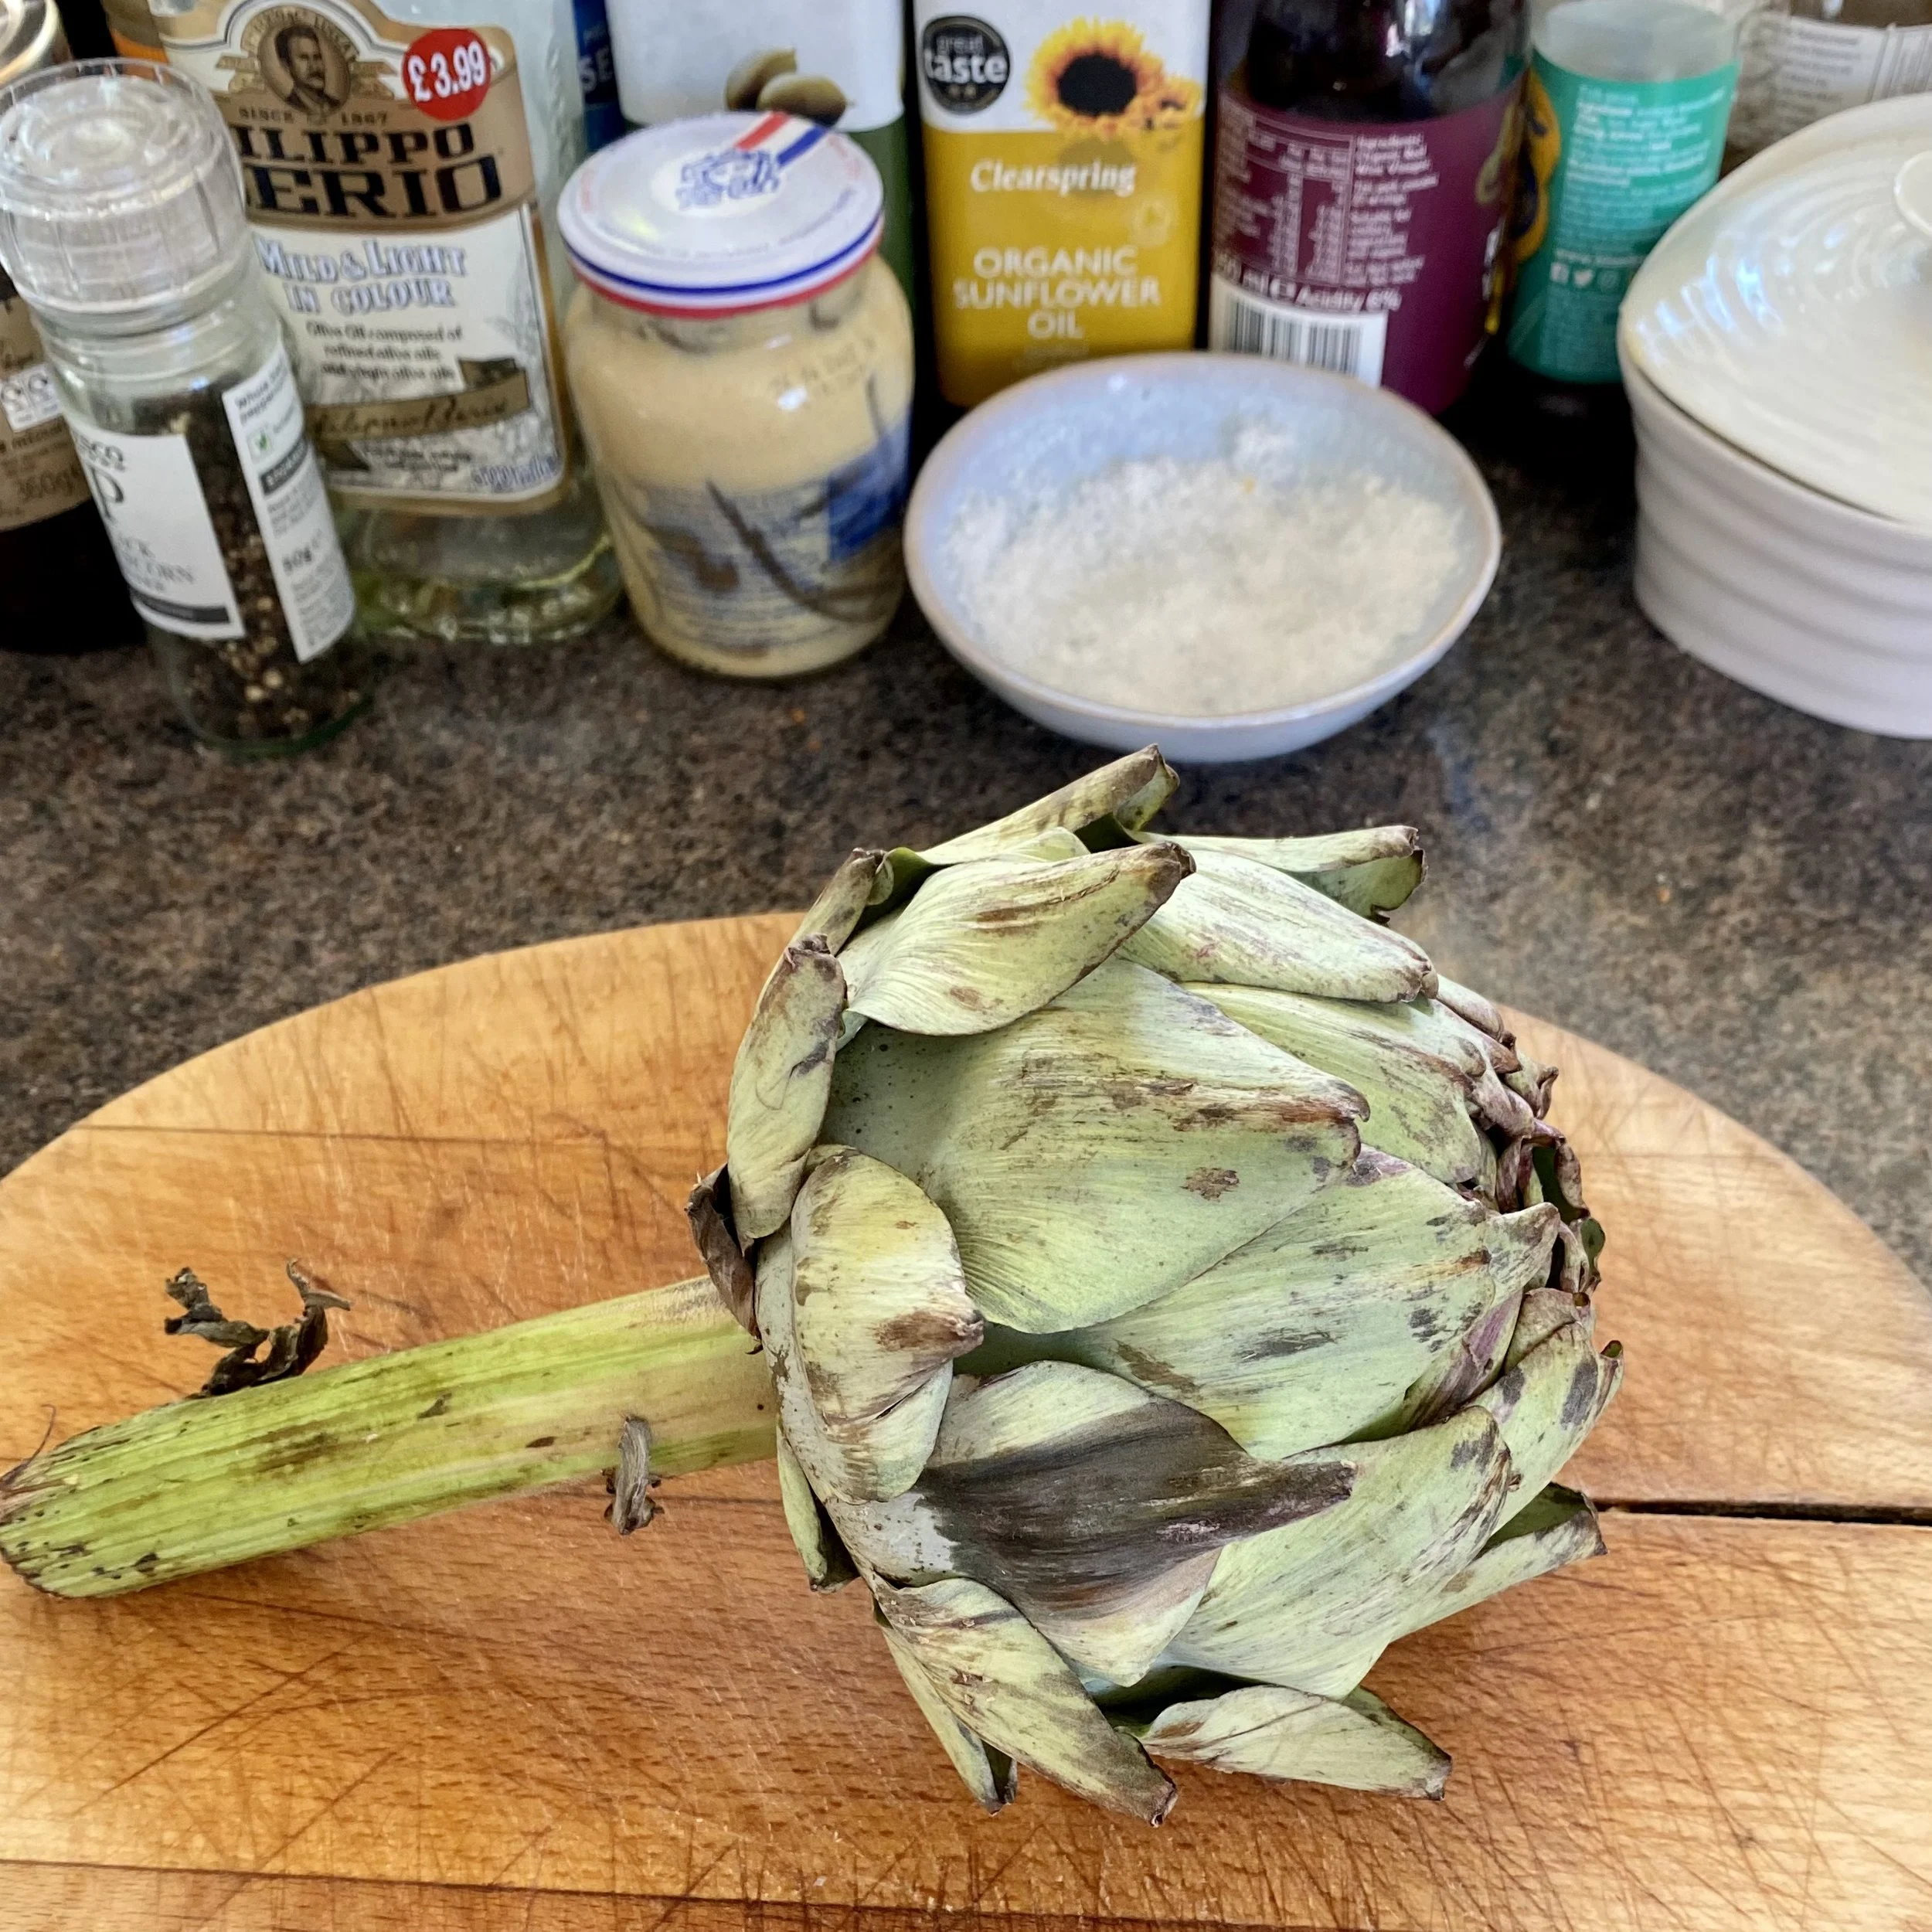
Last time I’d just cut the stalk off but she says to bend the stalk and find where it naturally snaps.

This feels natural to me as it’s what we do with asparagus so I liked that and also I really liked that when it does - finally (ok with a little help from me for the one I had) - snap off, you take with it lots of the stringy hairy stuff that was otherwise going to be at the bottom of the heart.

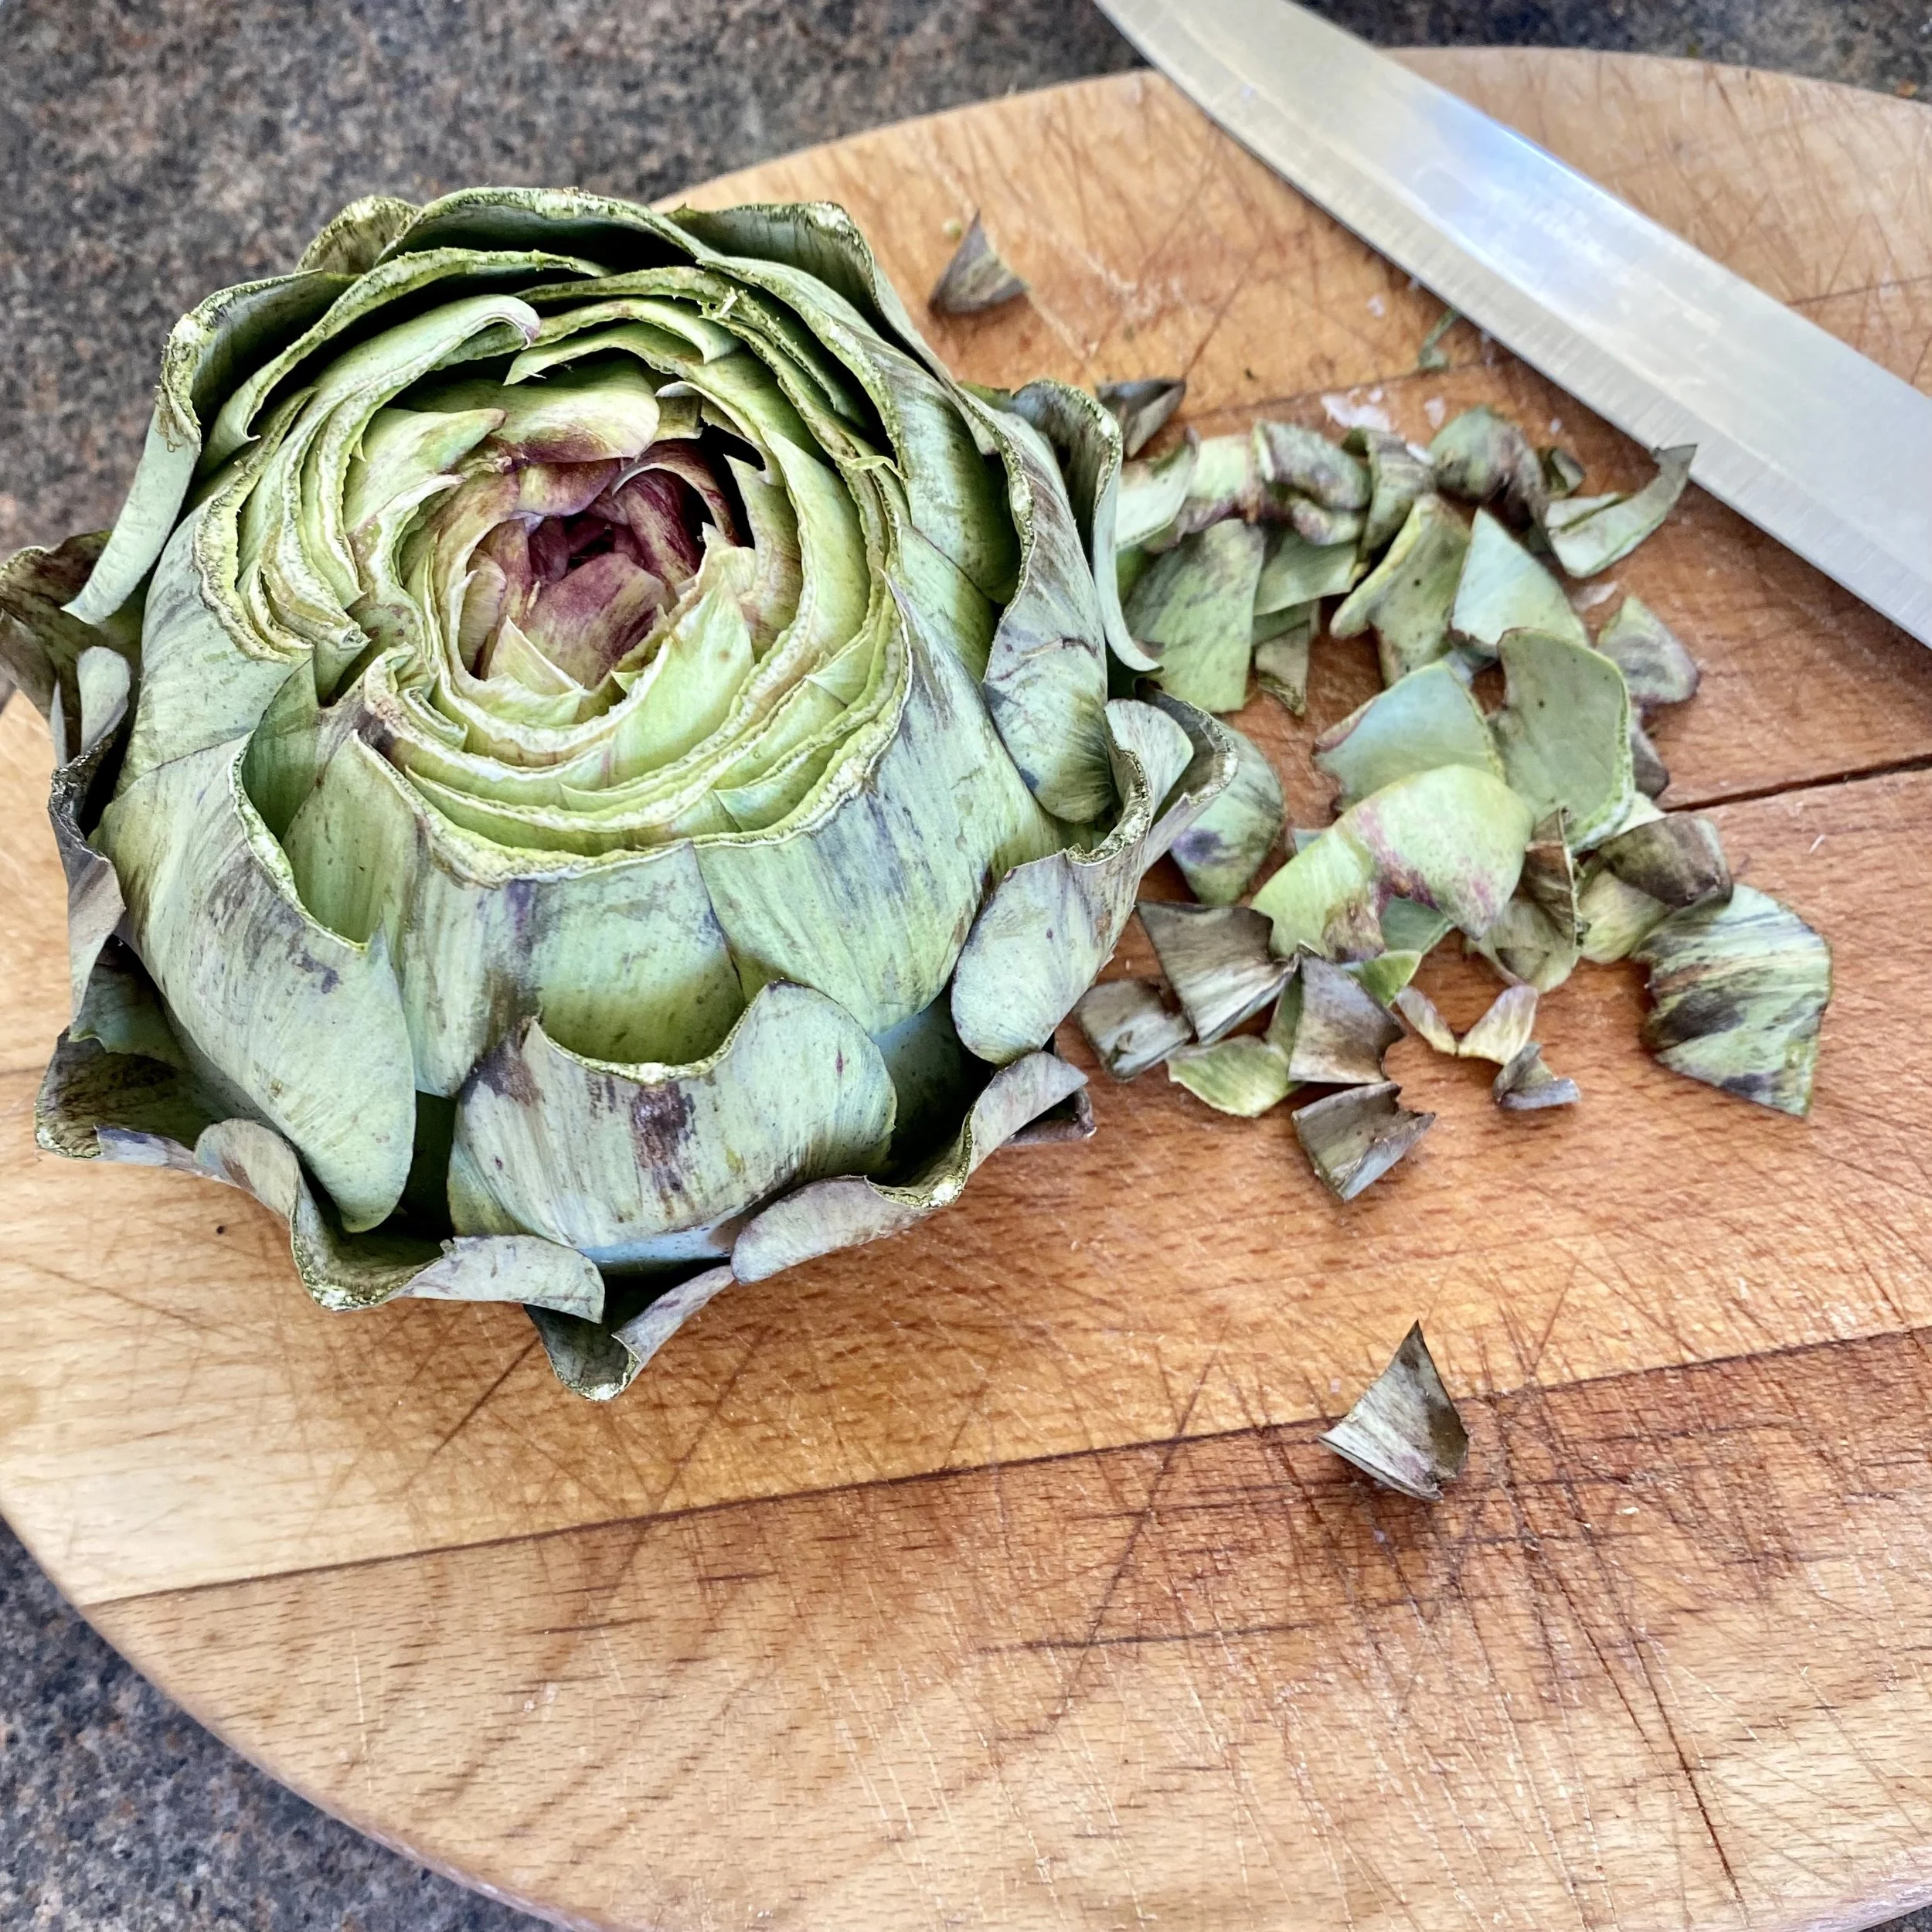
Anyway, however you choose to take off the stalk, just neaten it up with a knife so that your artichoke stands tall and stable on its own, upright on a plate.

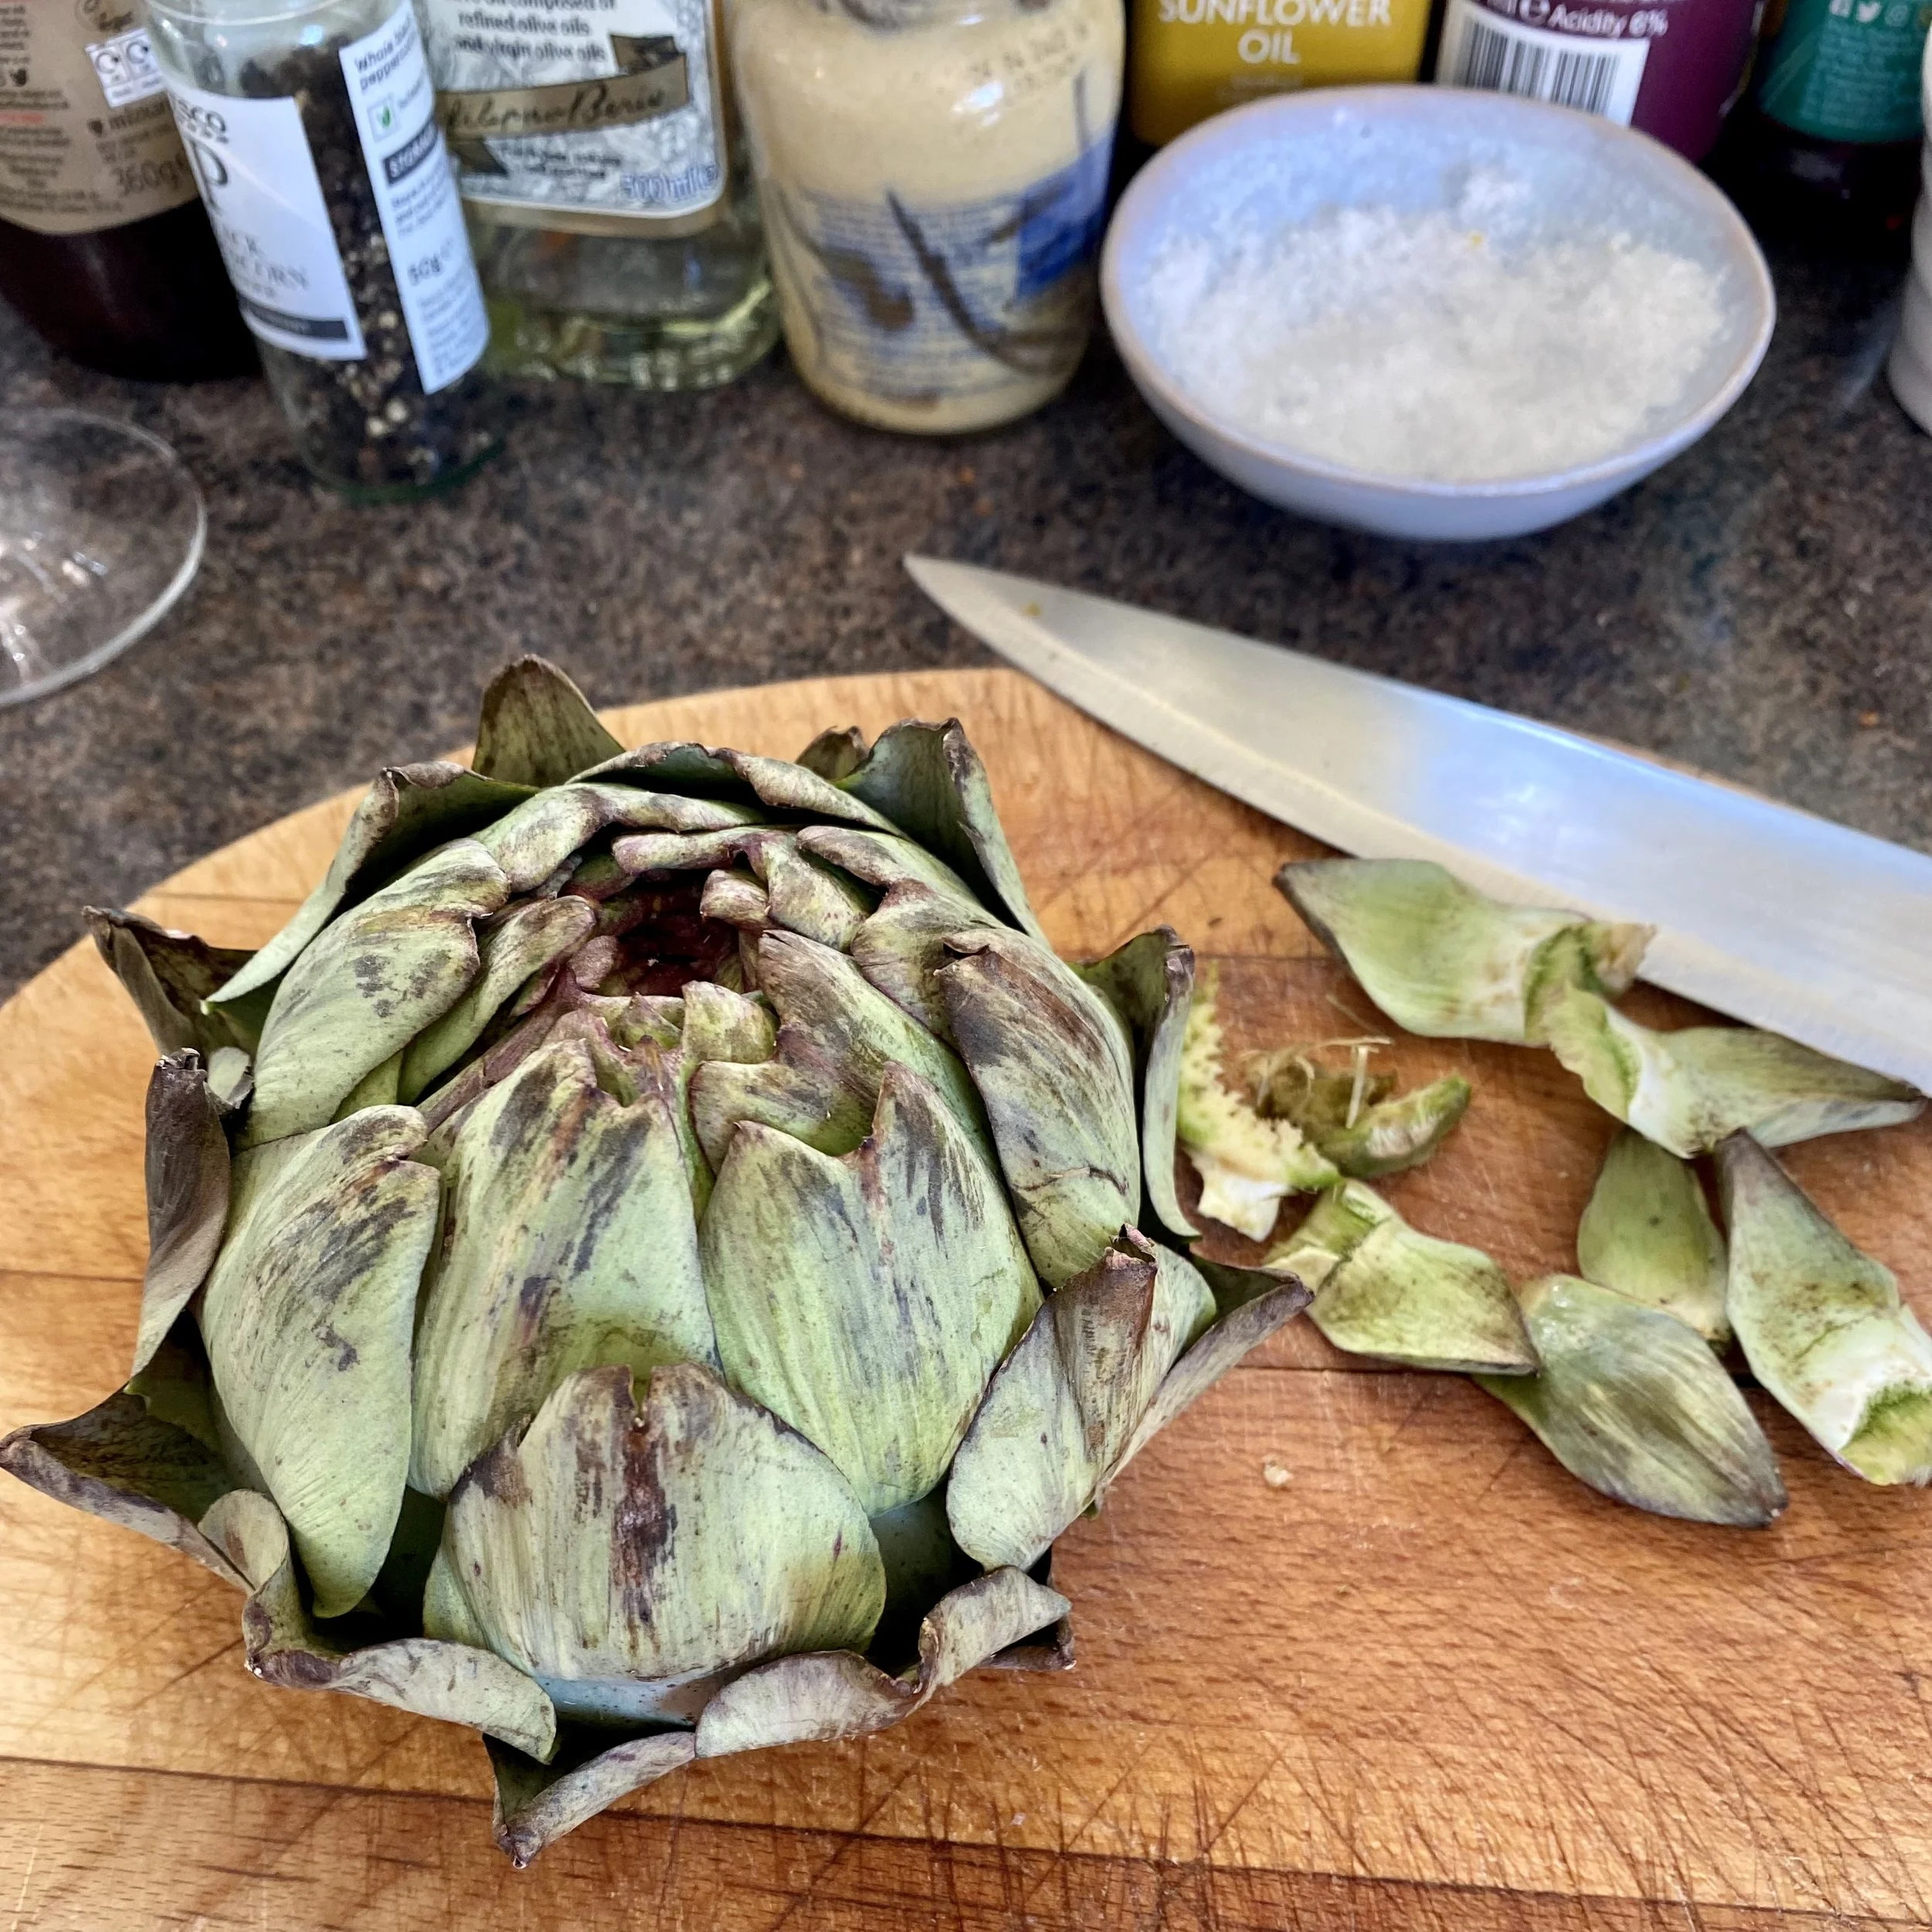
And pull off any little leaves that are around the base too.

Next lie the artichoke on one side and cut about 2/3 of an inch off the top.

Then take your kitchen scissors and cut the point off the very top of each leaf.

And we now have a lovely neat artichoke ready to cook.

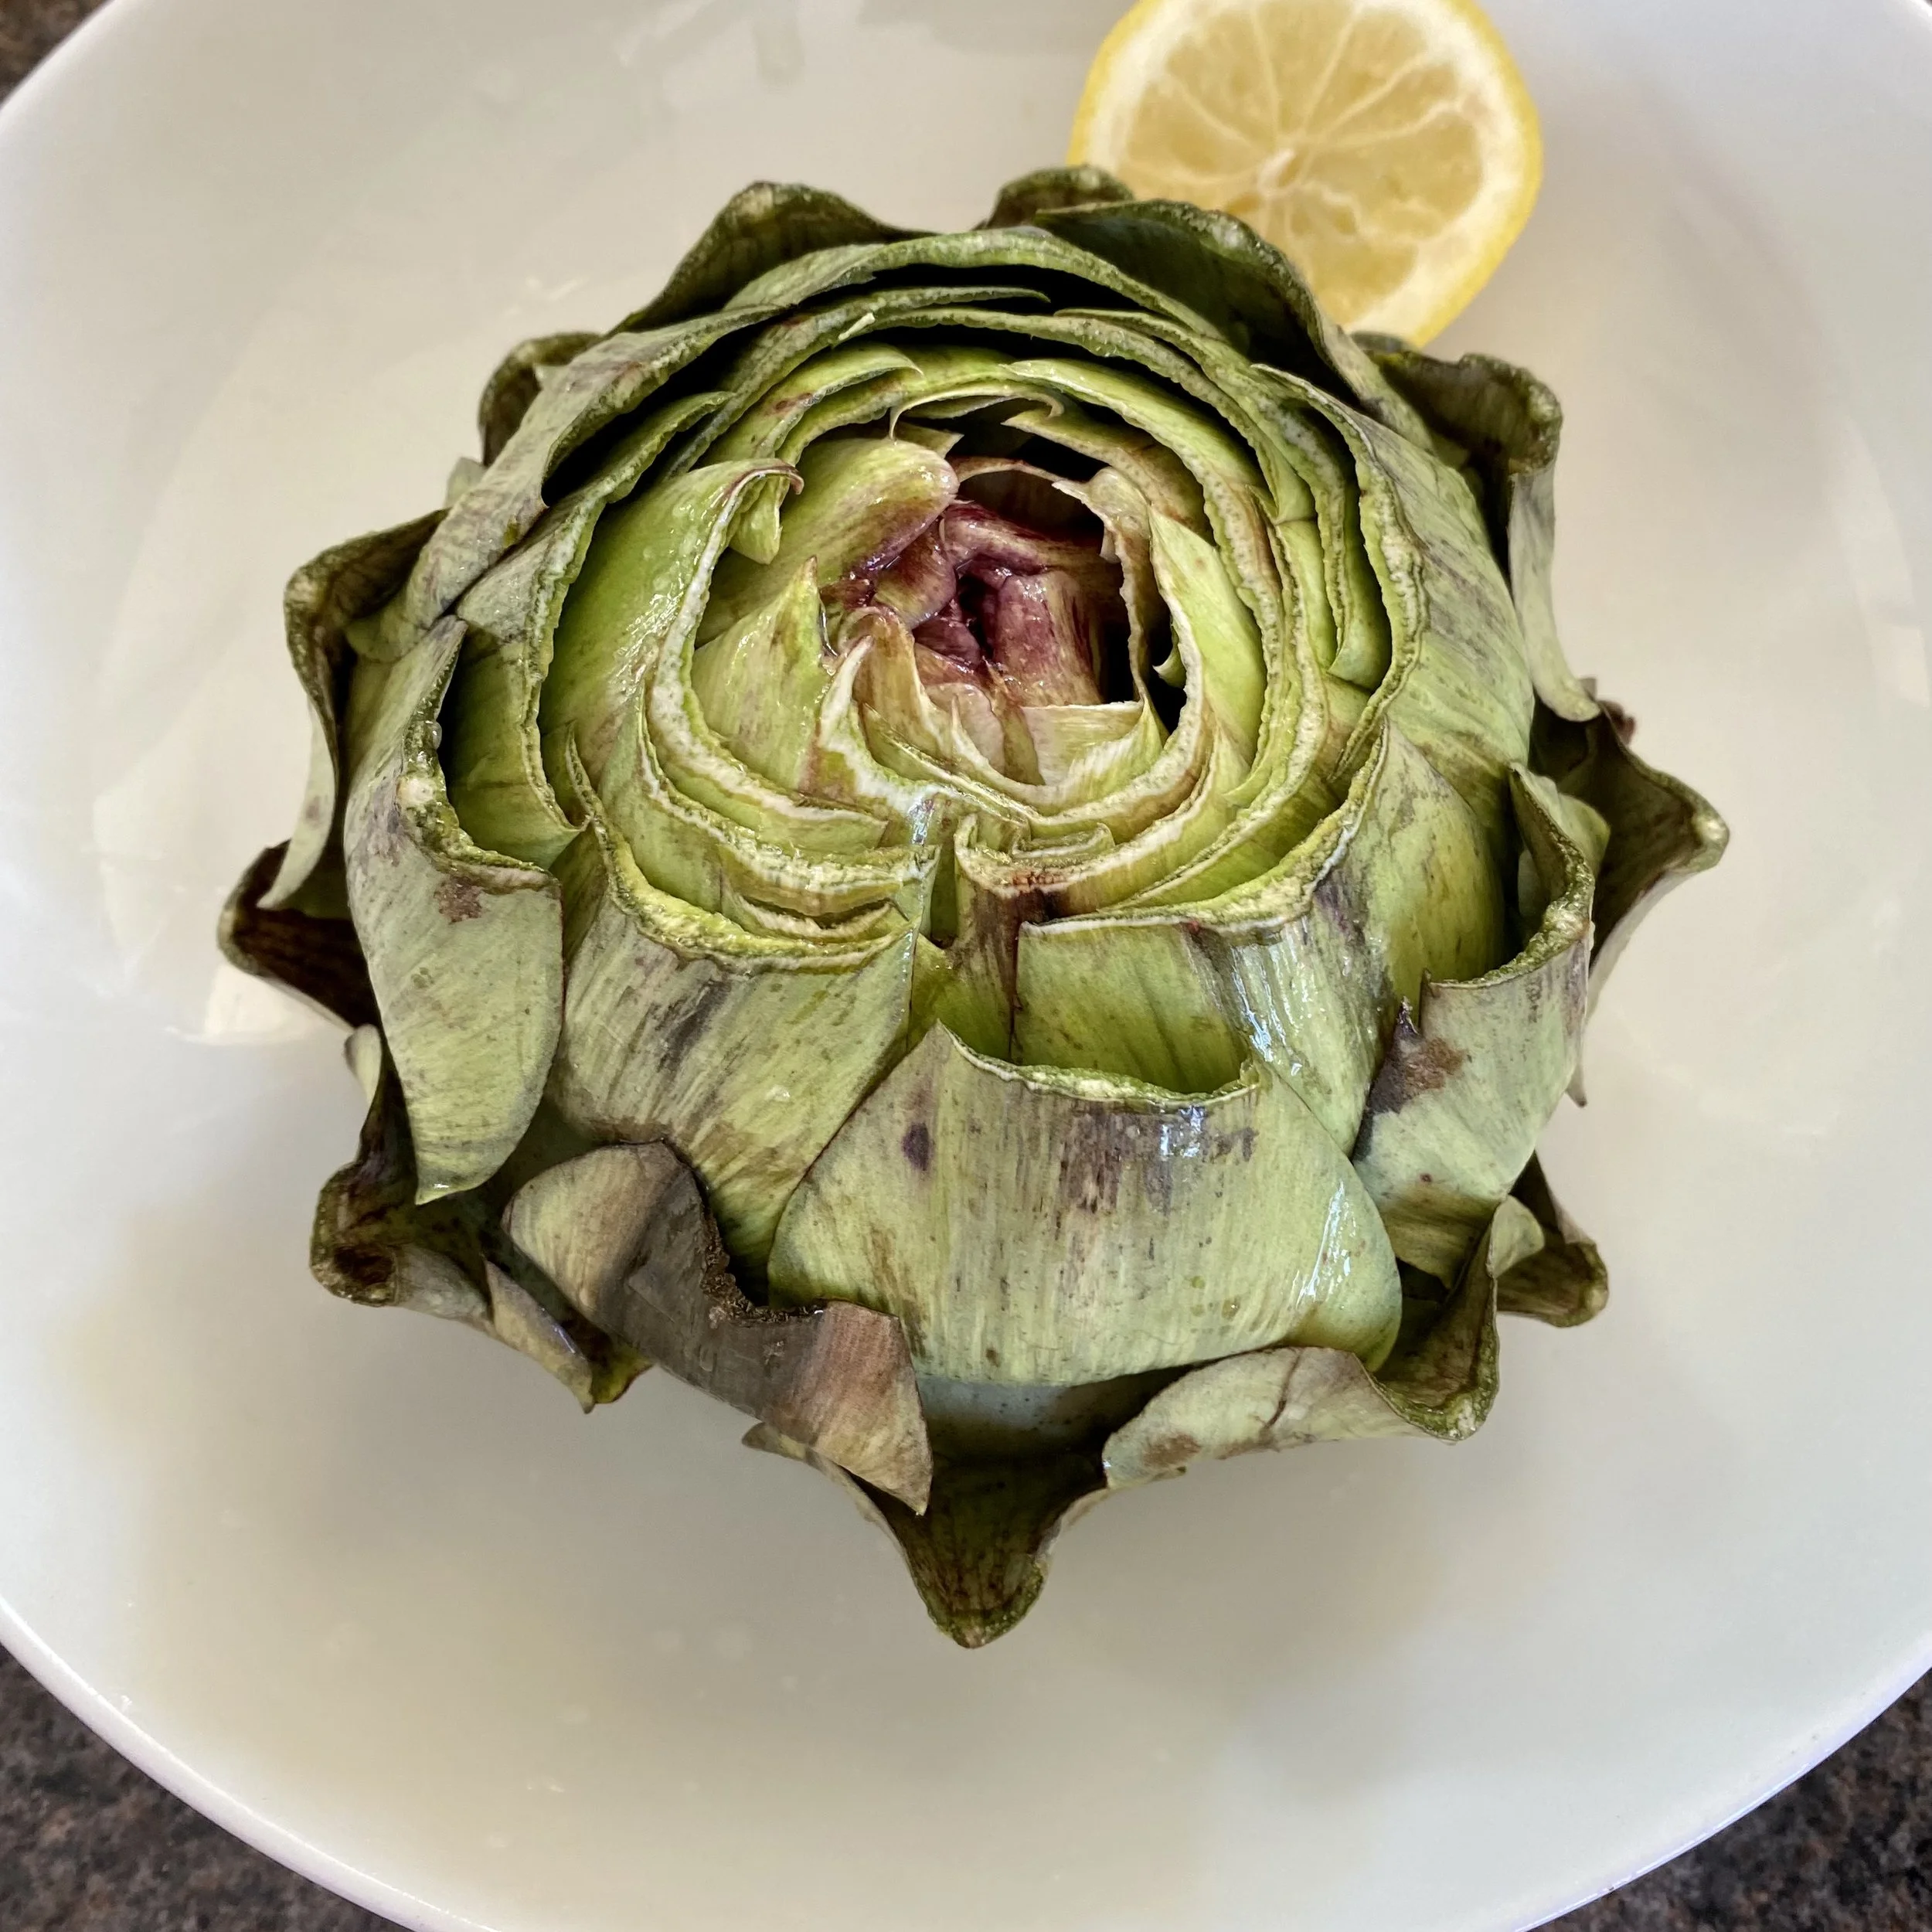
If you have a lemon, I liked this idea (from Julia) to rub lemon juice over all the cut parts of the artichoke.

But to be honest I don’t think you have to keep it in cold water with some vinegar to stop it discolouring - if all we’re doing is waiting for a big saucepan of water with salt to boil!

When it’s boiling, add the artichoke and boil for 25-35 mins, depending on size.

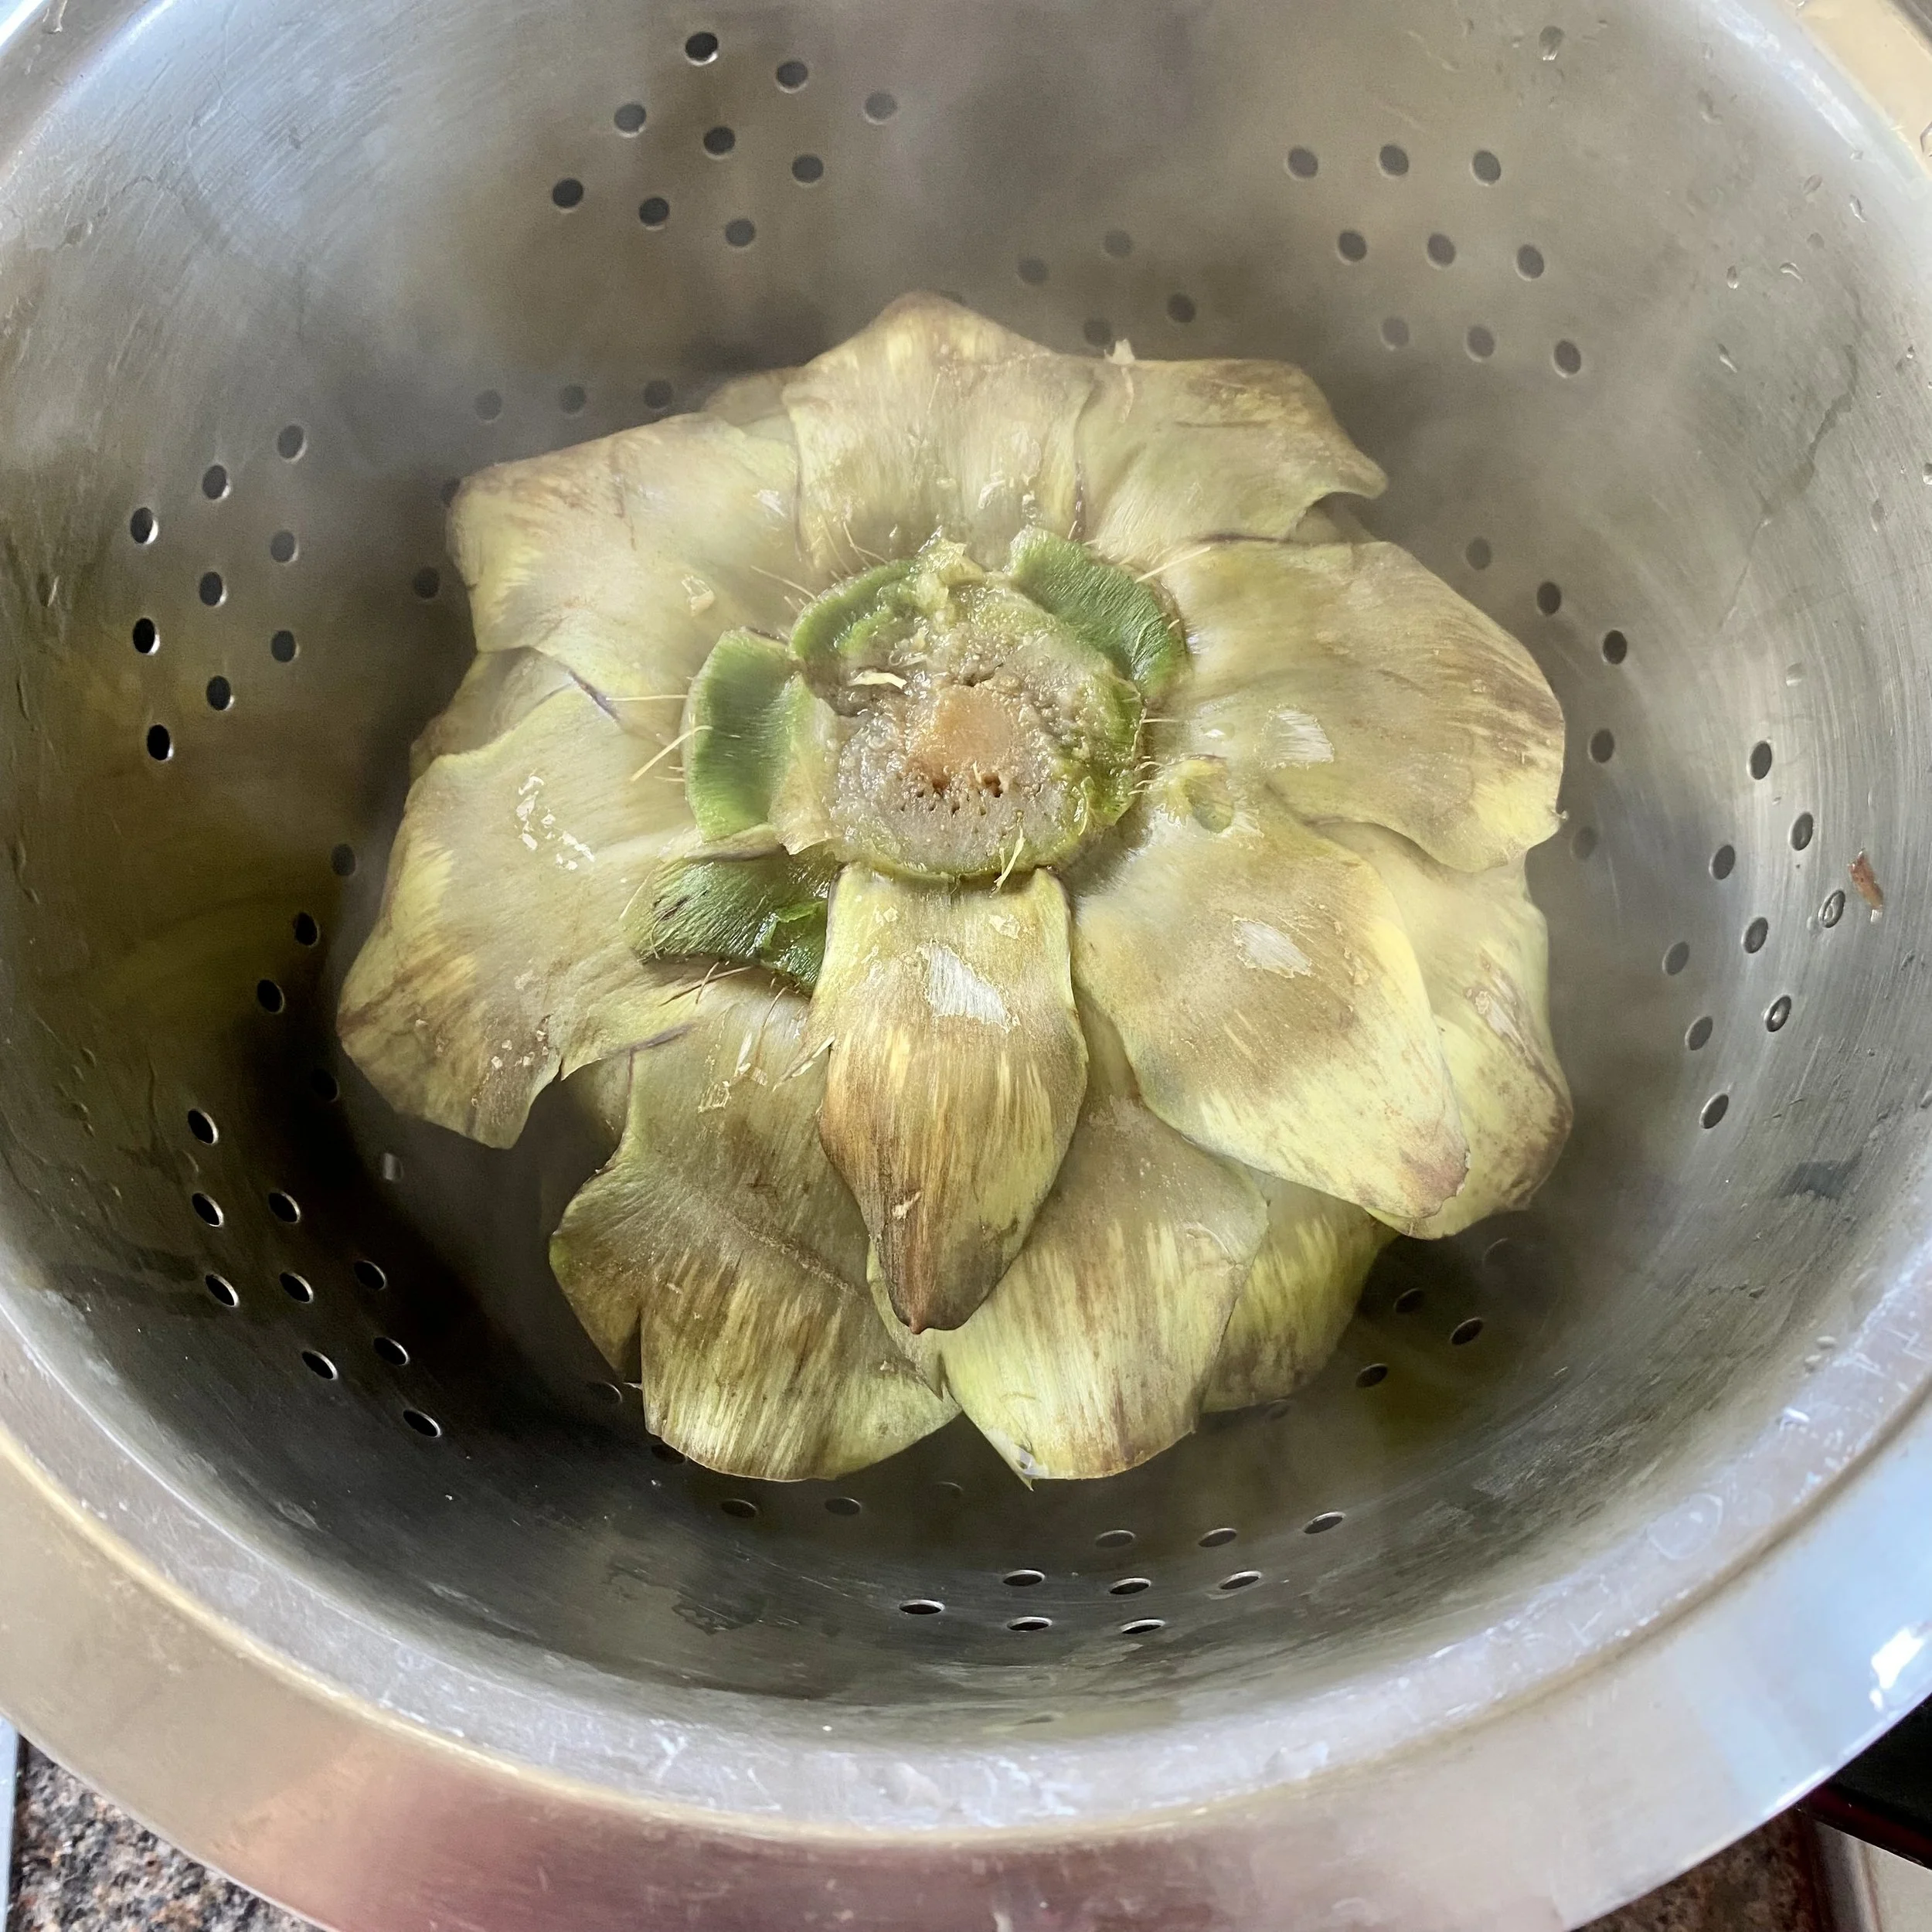
Take it out of the pan when done and turn upside down in a colander to drain.

You can leave it to rest here while you make your sauce if you haven’t already done so. It doesn’t matter either way - globe artichokes are good hot or warm or even cold.
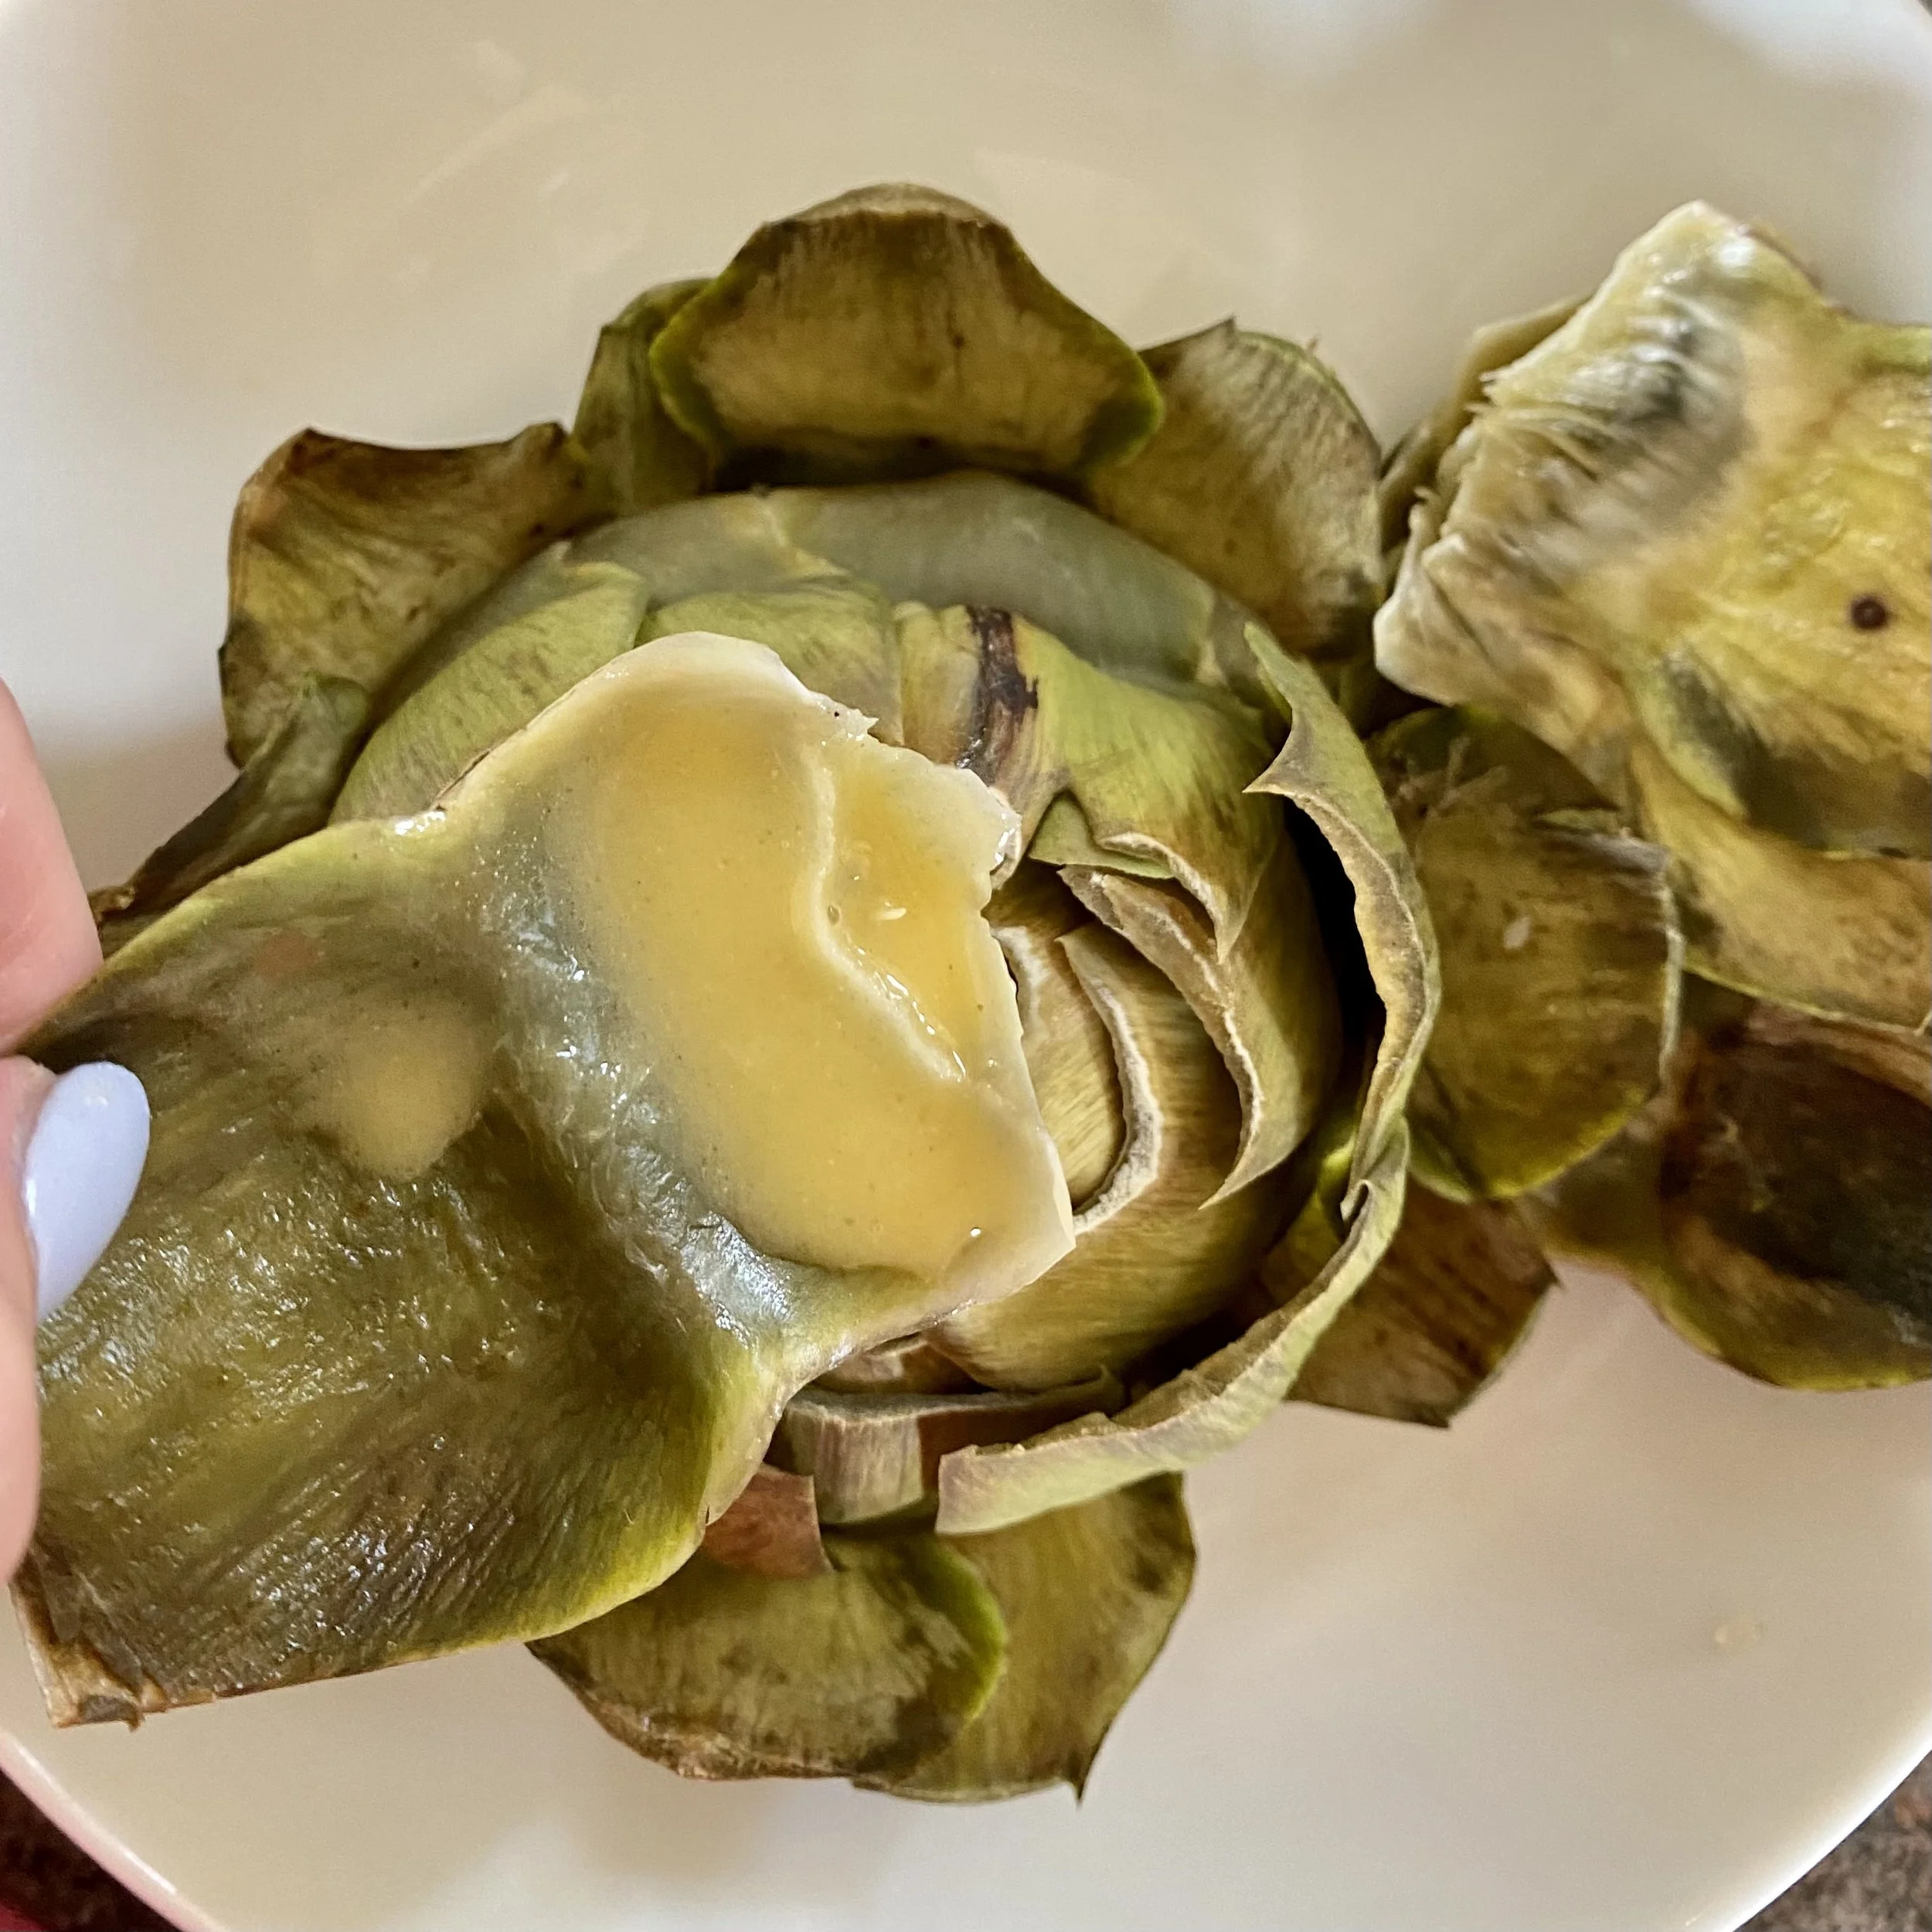
I just let mine have a little rest in the colander while I made a melted lemon butter sauce to dip it in.

You can of course make any sauce you like to go with your artichoke - a lovely vinaigrette French dressing; mayonnaise; melted butter; lemon melted butter sauce; hollandaise …

I LOVE lemon butter, beurre au citron.

First time, a few weeks ago, I just put my room temperature butter in a little pan with lots of salt and pepper and lemon juice (I think it was one big juicy lemon) - and then simmered for a little.

It was delicous.

Today, I tried Julia’s method for Beurre au Citron lemon butter sauce and I have to say I do think there was a certain je ne sais quoi that was just that little bit better about it!

I didn’t measure though - although she does give quantities in the book - as I only had one lemon and I have no idea if its juice was anywhere near 1/8 of a pint …

I choose to use my own taste buds as to whether it’s good or not.

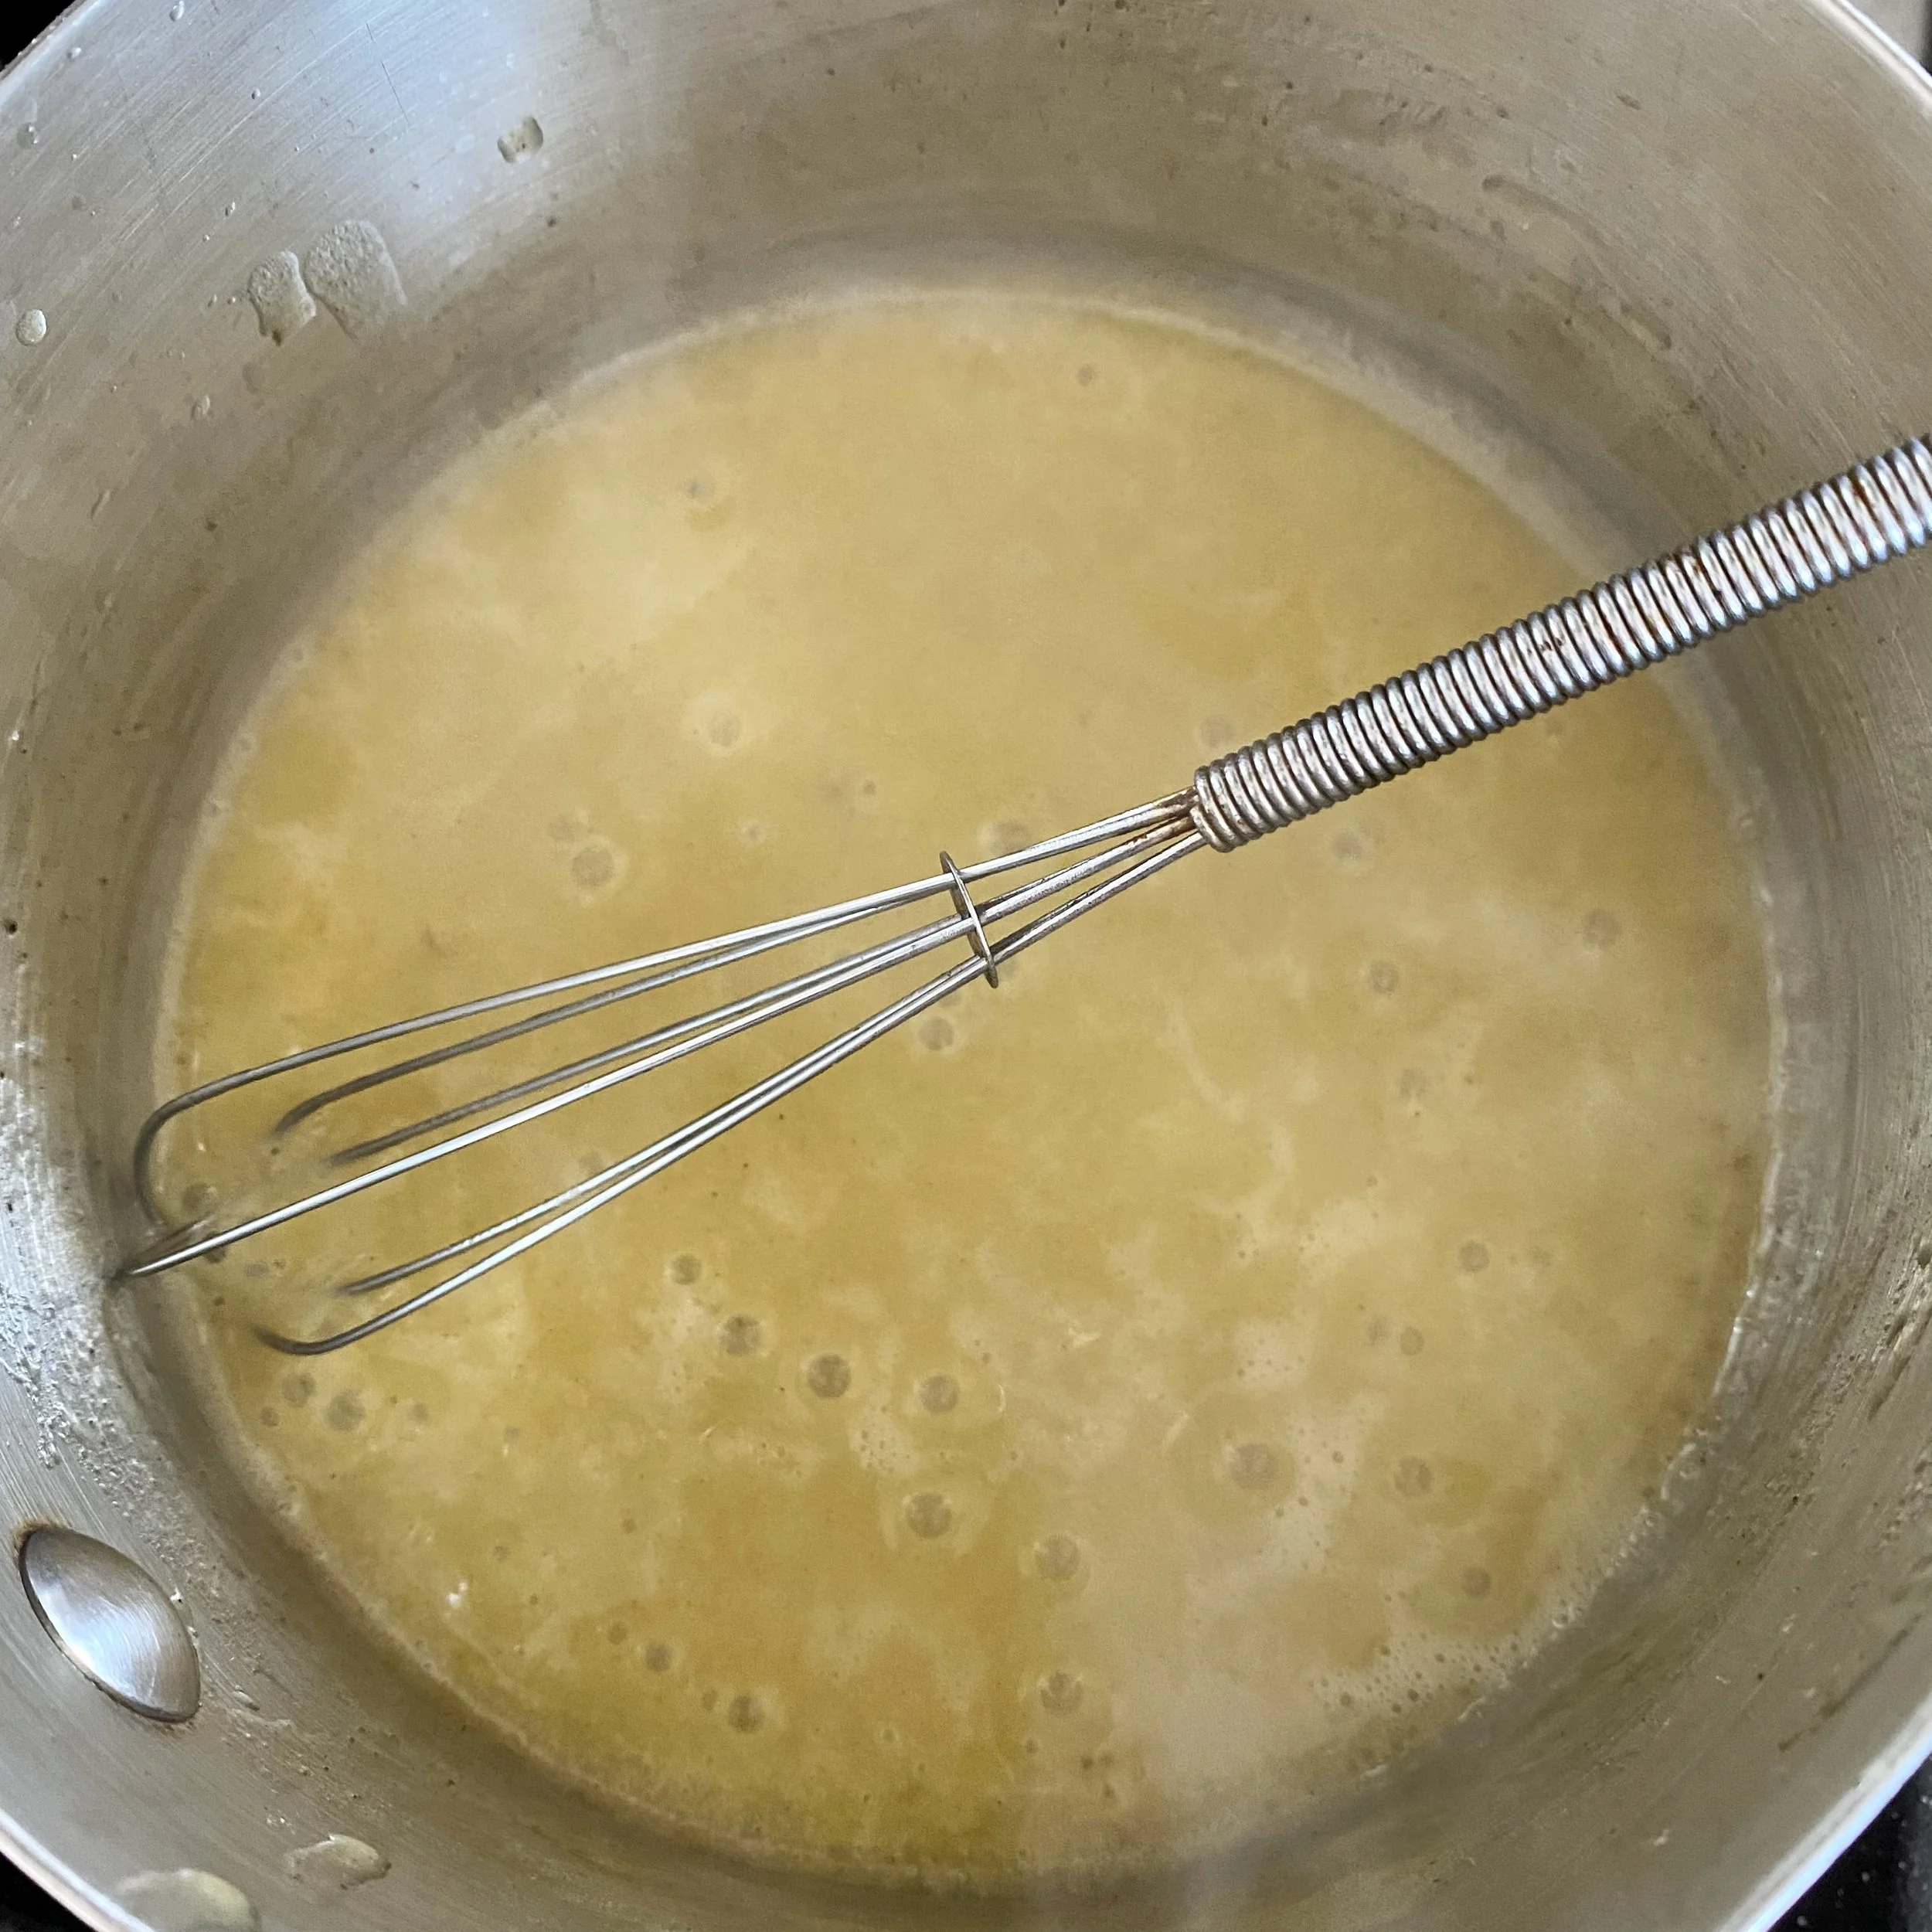
So in went the lemon juice, some salt and a good big pinch of white pepper and I brought this to a simmer.

Then a couple of little cubes of butter, chilled, straight from the fridge - and as they hit the pan, take the pan off the heat. Whisk the butter in.

When absorbed, put the pan back on a very gentle heat and add more butter, cube by cube, as each melts and becomes part of the sauce.

Taste every now and then so you know if still has a good lemony tang.

Once all the butter you choose to add is melted into the sauce, add a teaspoon or two (or three) of hot water, straight from the kettle and stir this in too.

And that’s the sauce done ….

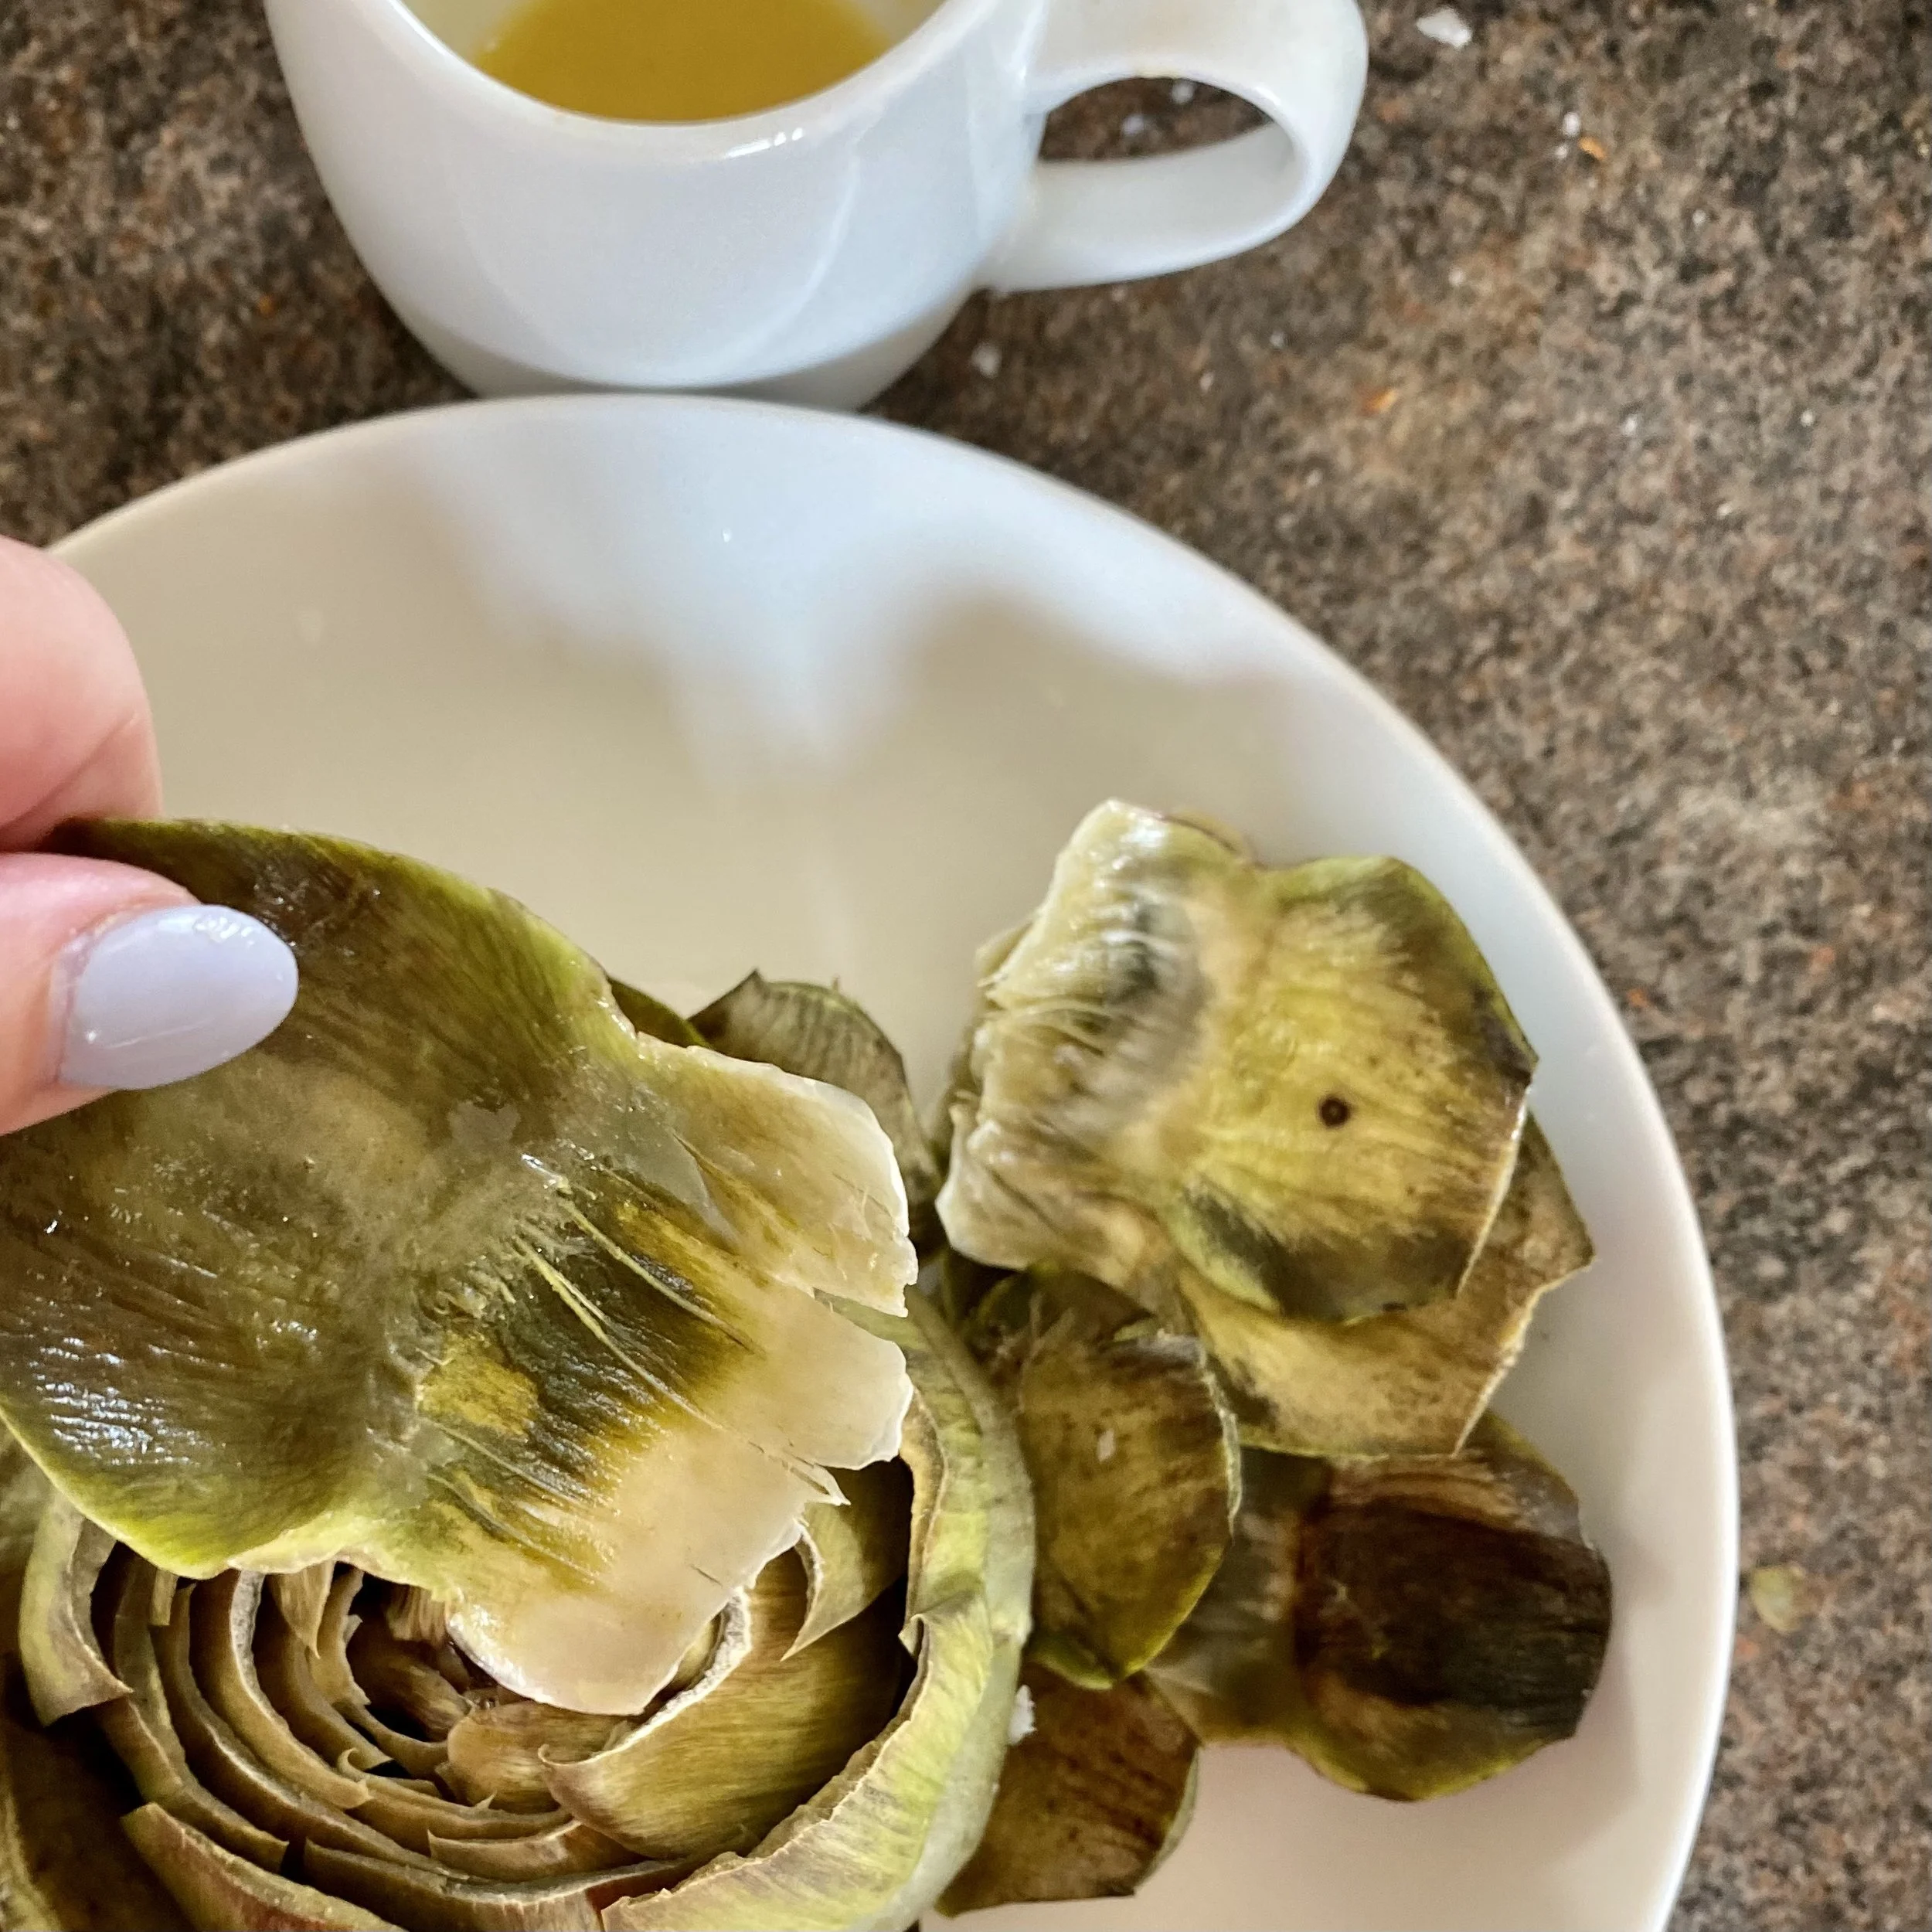
To eat- you just pull off a leaf at a time from the artichoke.

Dip the end into the melted lemon butter - or other sauce of your choice.

Scrape off the delicious tender flesh between your teeth and discard the rest of the leaf.

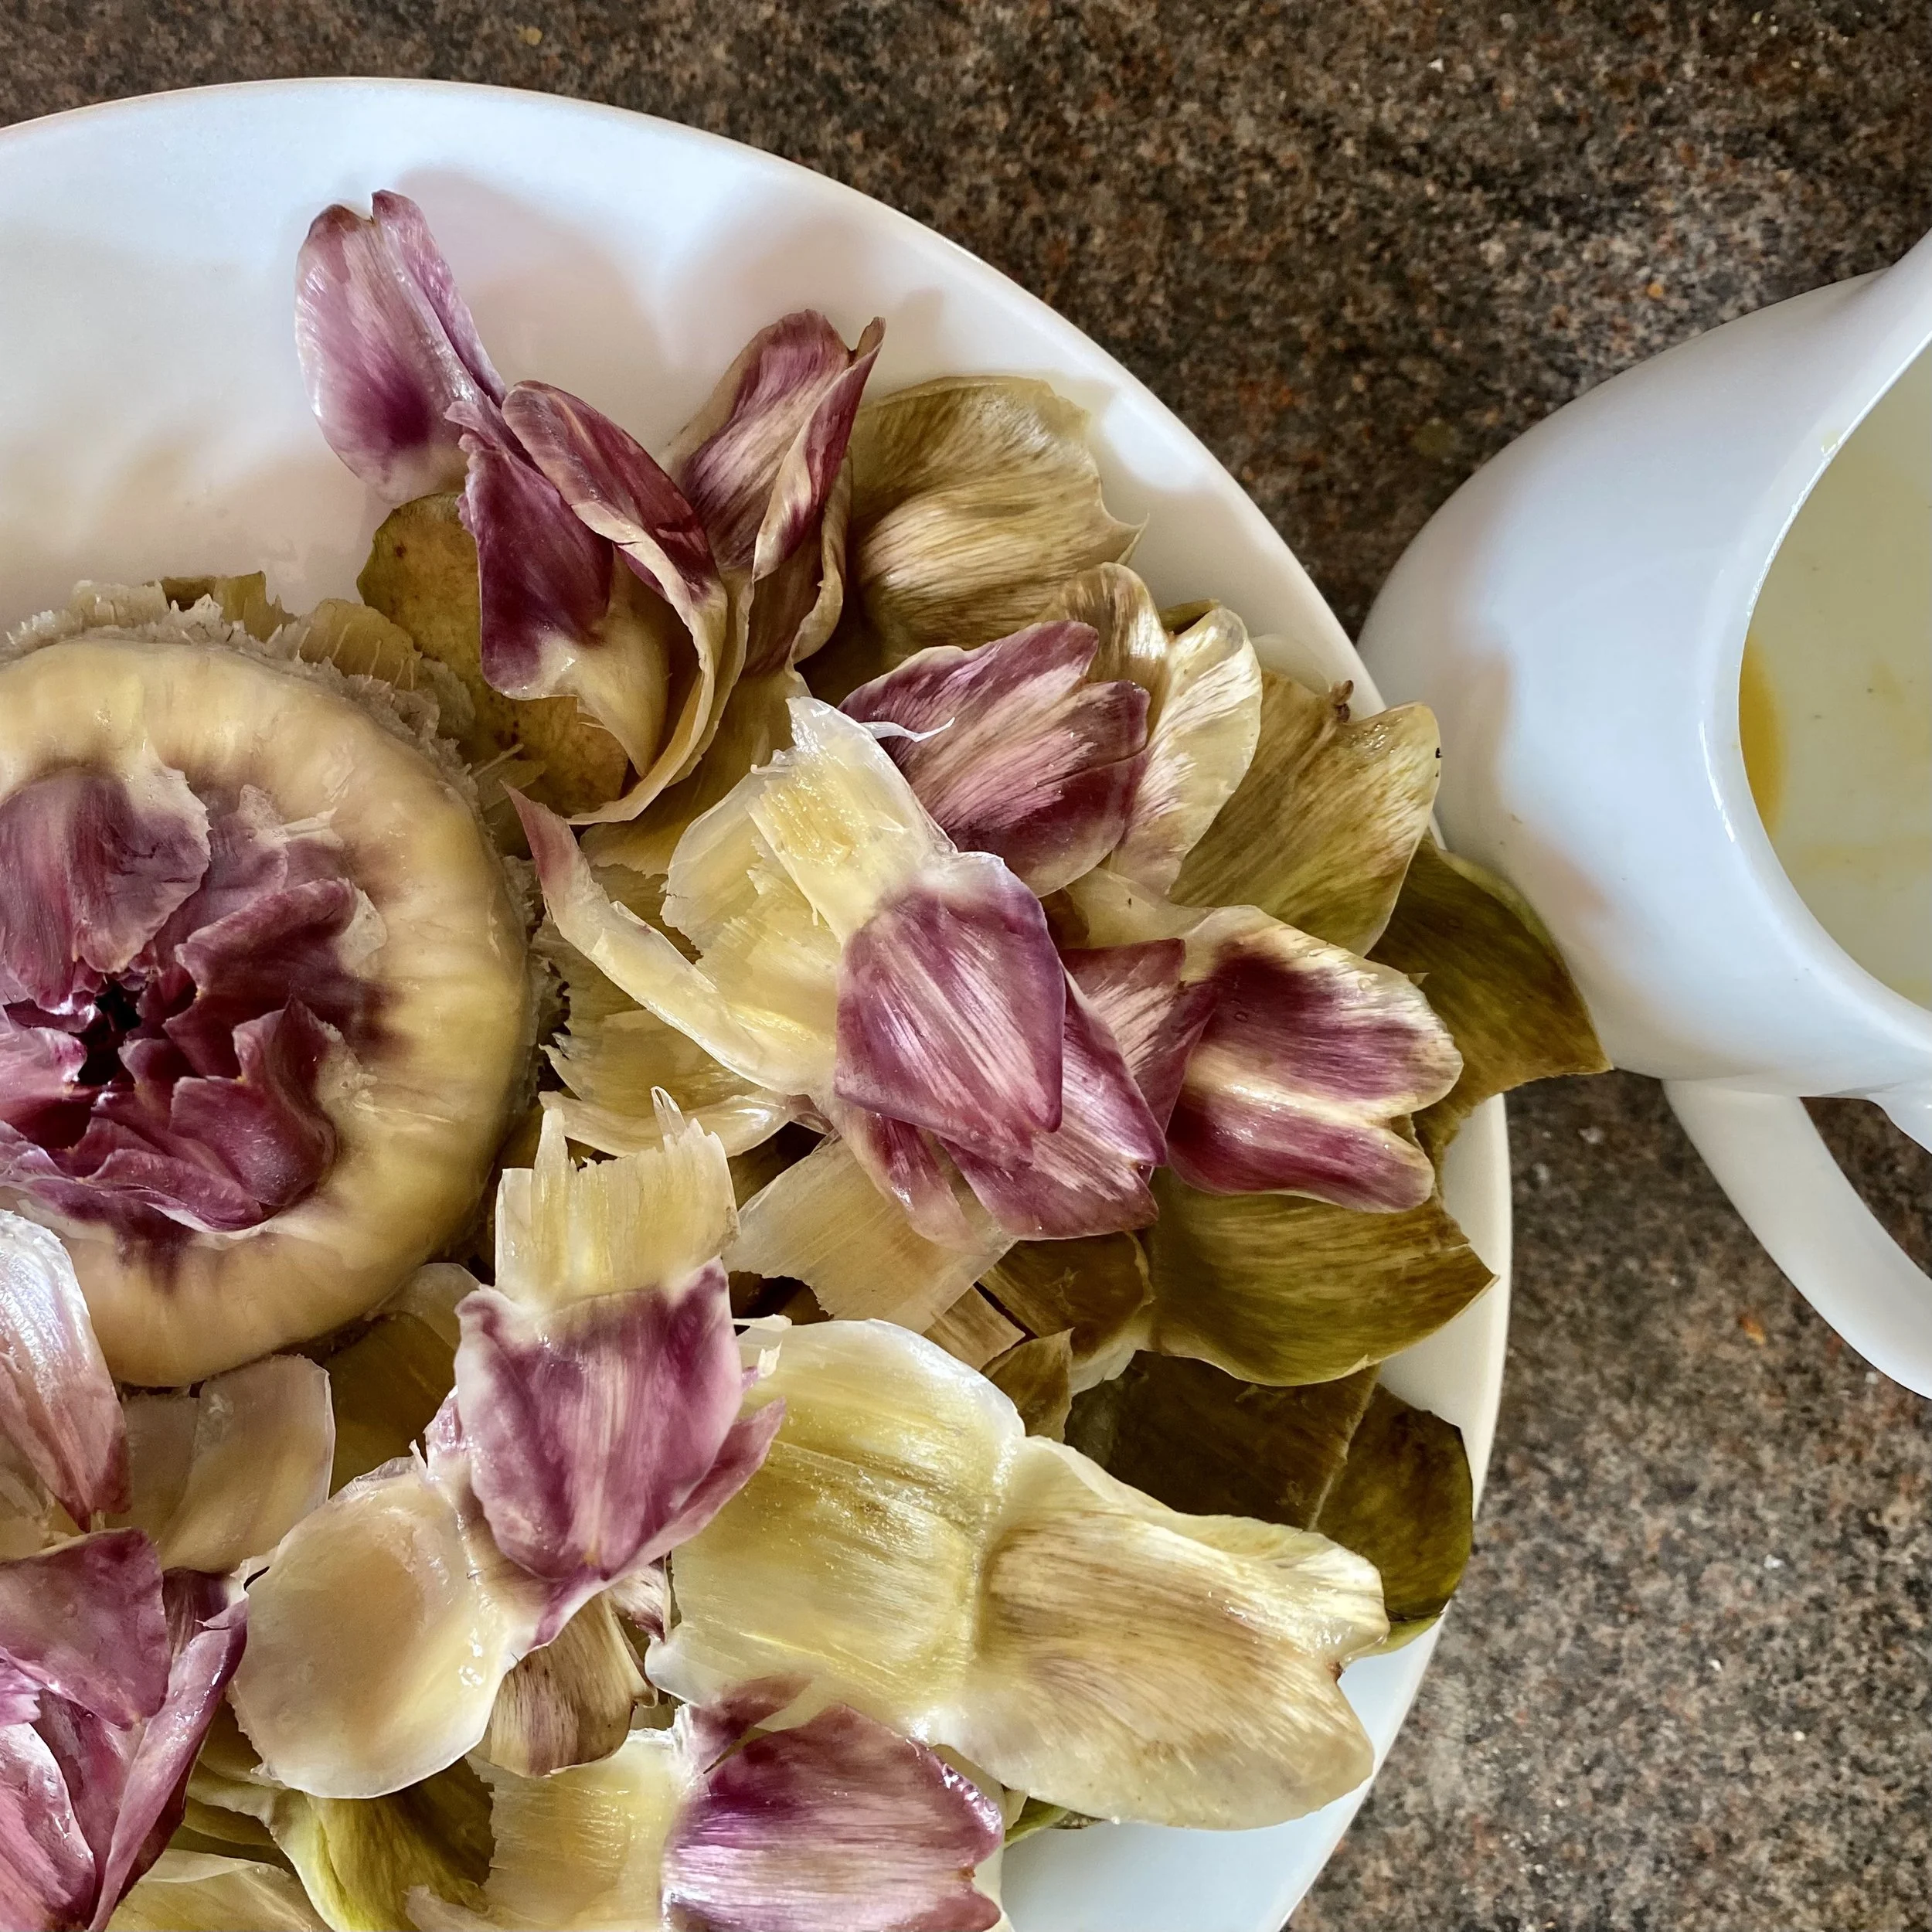
When all the leaves are finished, you will come to the heart.

This we can eat with a knife and fork - but again dipping each forkful into the sauce - after of course scraping away the choke or hairy bits.

It’s so worth the work, that little effort.

The heart is delightful. It’s like the leaves were just the build up somehow to getting, to having, to eating … that tender heart of the plant in a bigger amount.

A whole forkful of artichoke heart, dipped into your favourite sauce.

It’s not just activity food.
It’s kind of heaven food.
BEAUTY FOOD NOTE

Artichokes are low in fat, high in fibre, and full of vitamins and minerals such as vitamin C, vitamin K, folate, phosphorus, and magnesium. They are also one of the richest sources of antioxidants.


YOU MIGHT ALSO LIKE …

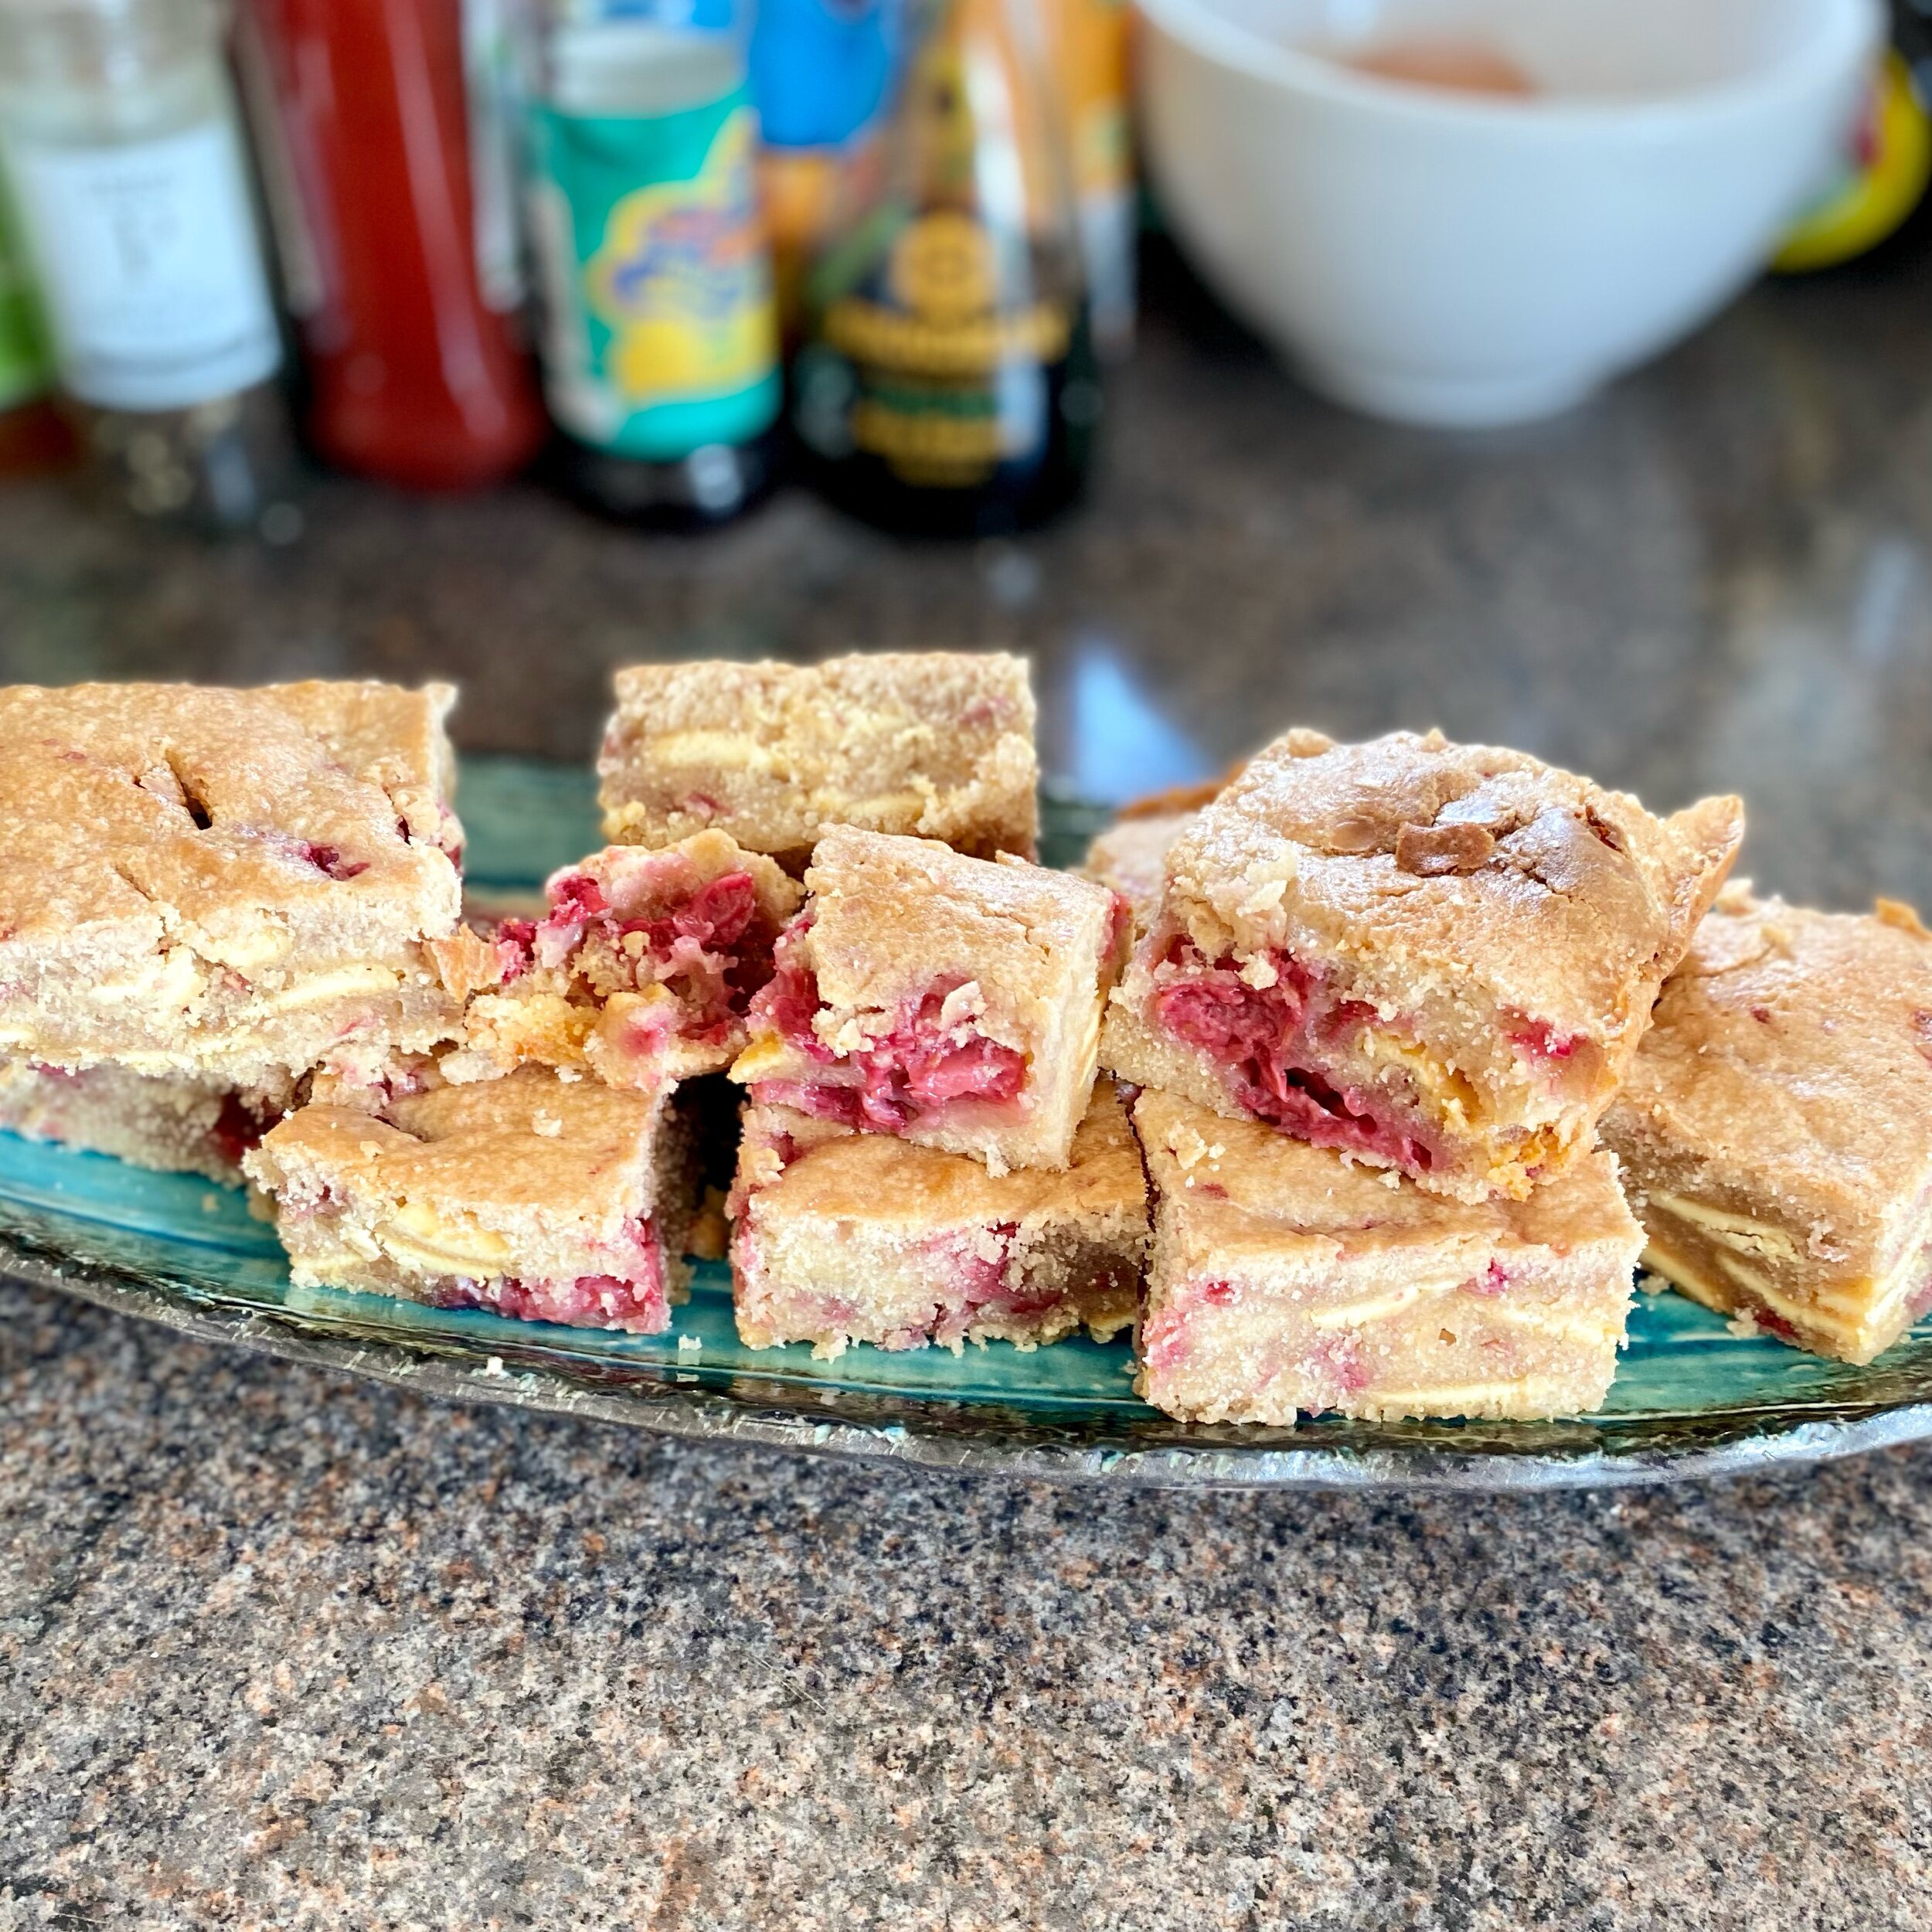
White chocolate + raspberry blondies

When there’s something I have in my head that I want to make but I’m not quite sure exactly how to do it, I start with some research.

I look in recipe books and I google and google and google, reading all the recipes that grab my attention and that look like the thing I have in mind. As I’m reading them I’m just know what I think sounds right and, often, what I just think, ‘oh no, I don’t that’s going to work’.

Then I give it a go, mixing different things I’ve read and seen and seeing how it works out, making notes so I remember what I did and what I thought worked.

And then, some days later, I try it again.

And always, always, I try to simplify wherever I can.

For this recipe, I’ve simplified everything so the quantities are easy to remember.

It’s also really simple to make - basically everything is just mixed in one big bowl and poured into a baking tray to cook.

I absolutely love the combination of white chocolate and raspberries - so summery.

I don’t have a sweet tooth at all and these are undeniably quite sweet!

But every now and then I just really fancy something sweet with a cup of tea so I’ll make these and eat one …. and then give the others away to neighbours and friends …


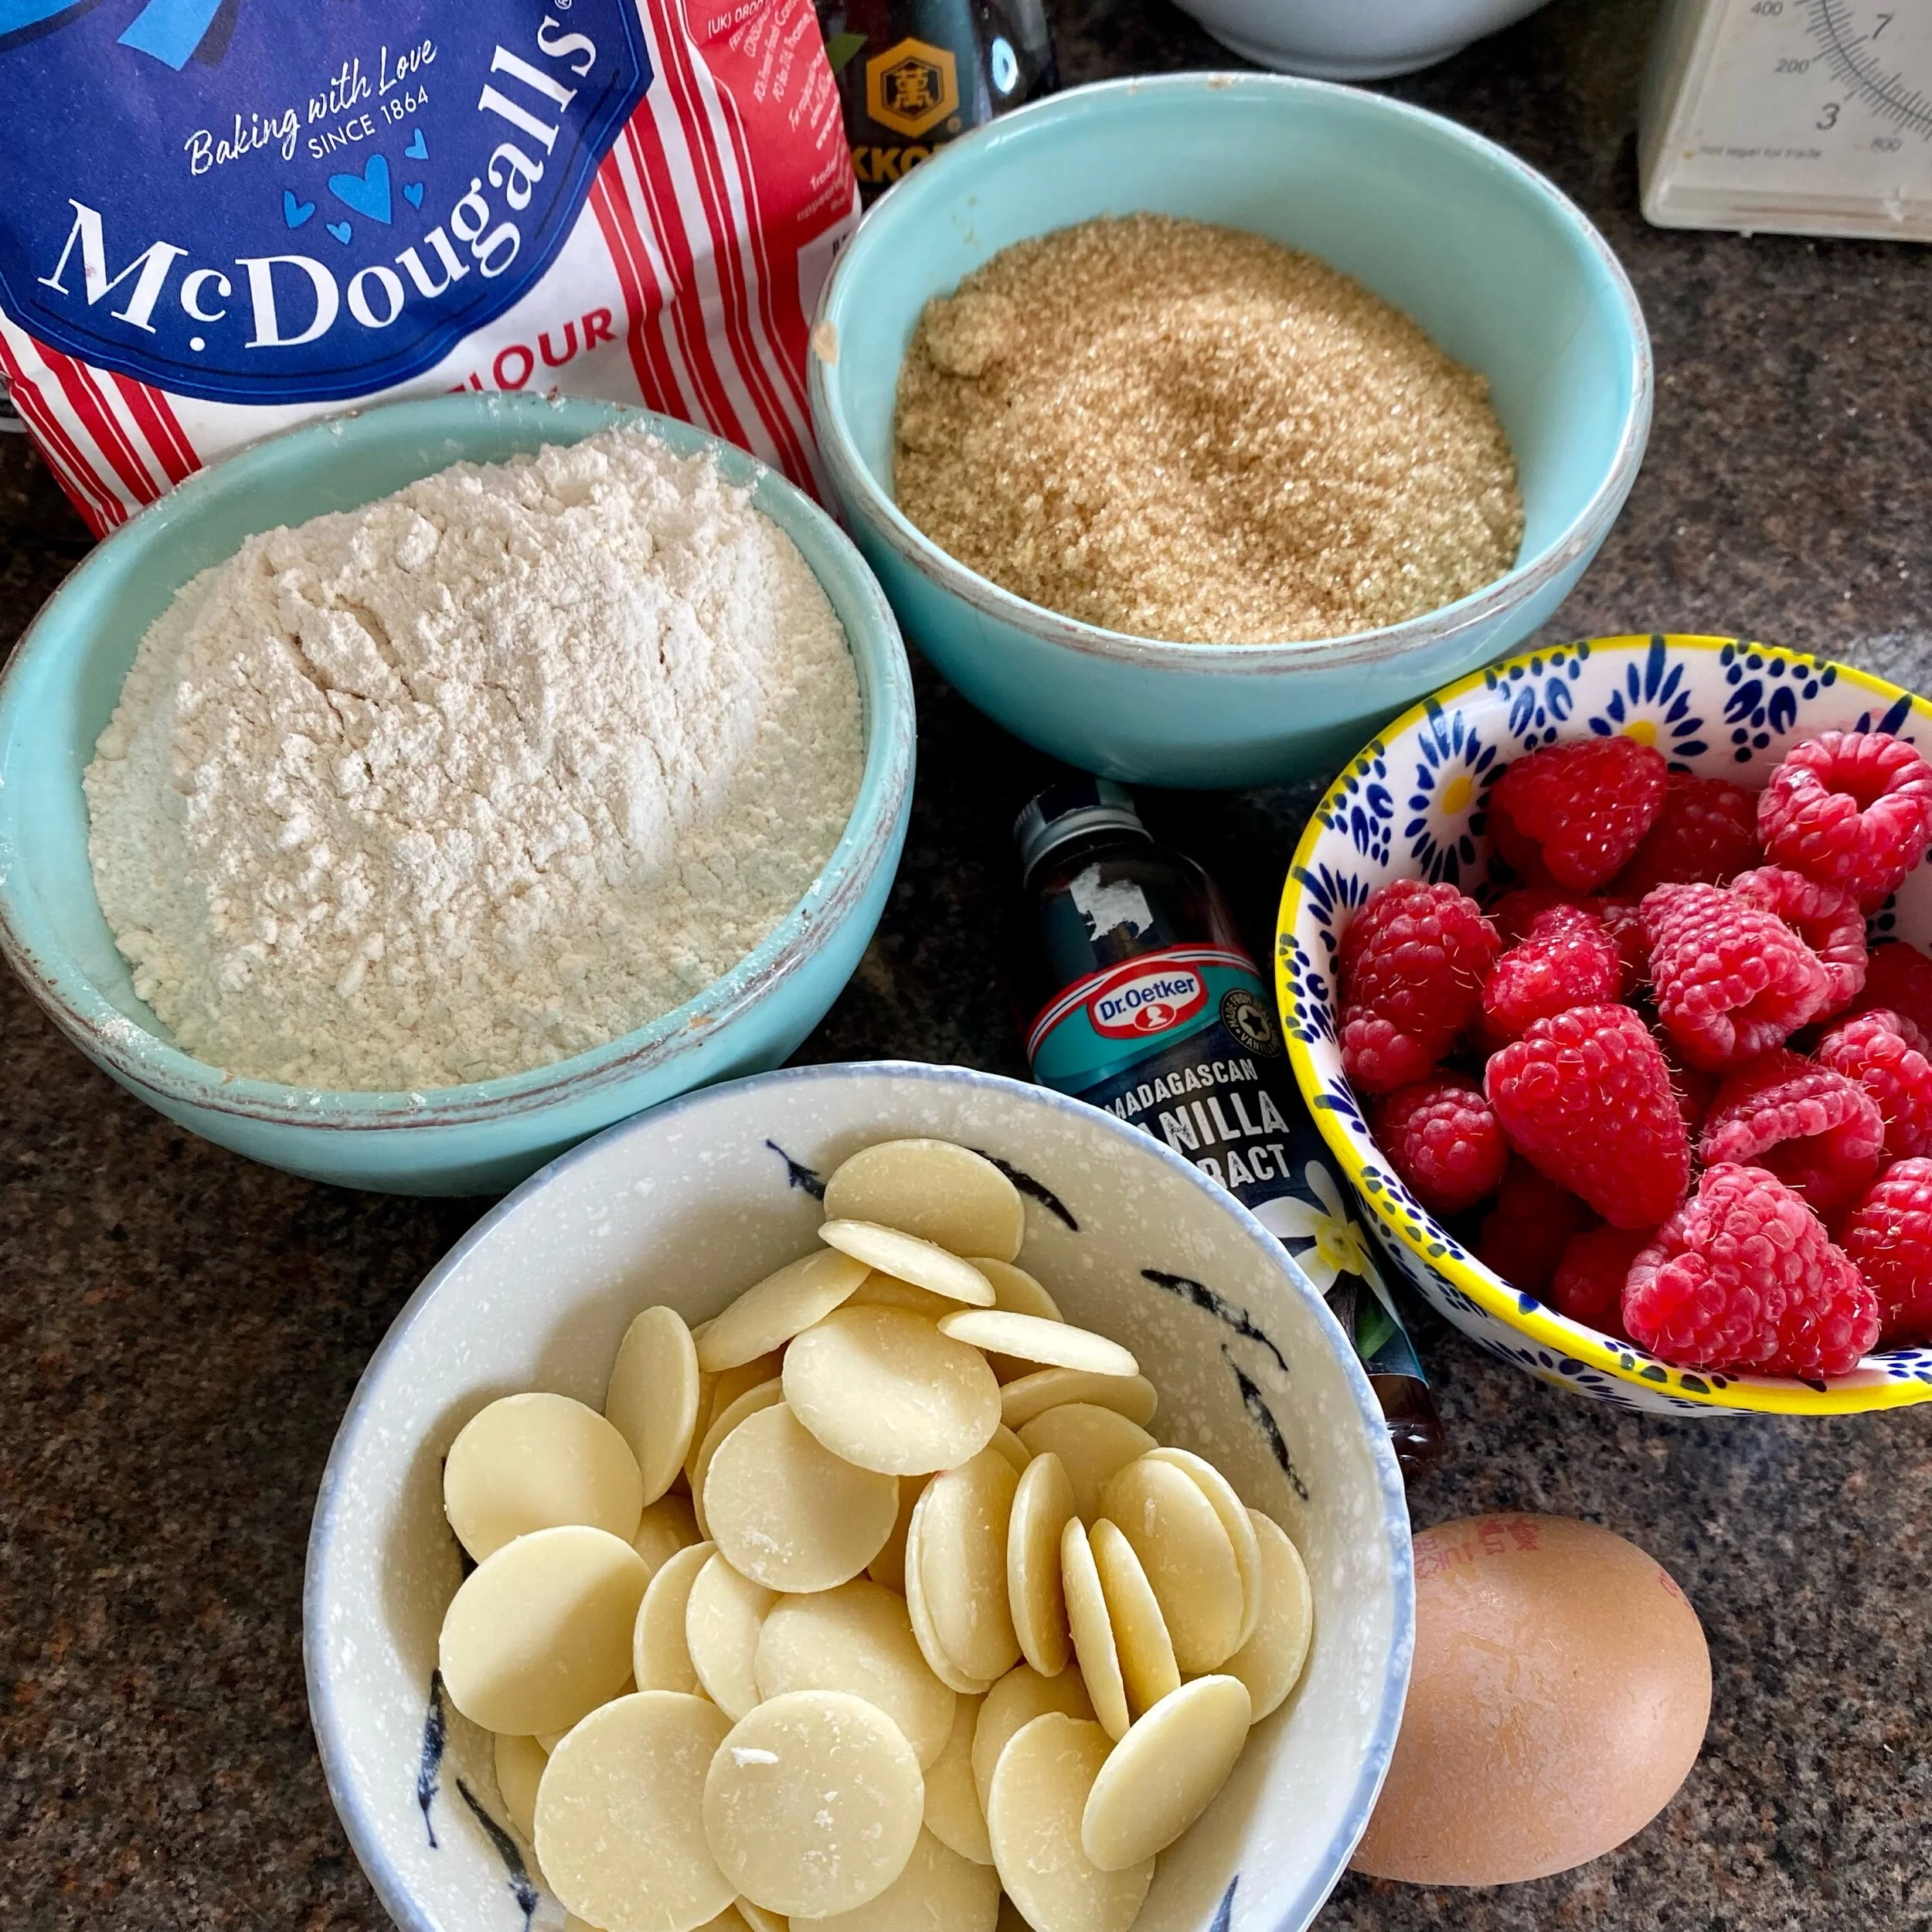
To make probably around 12 squares, you’ll need:

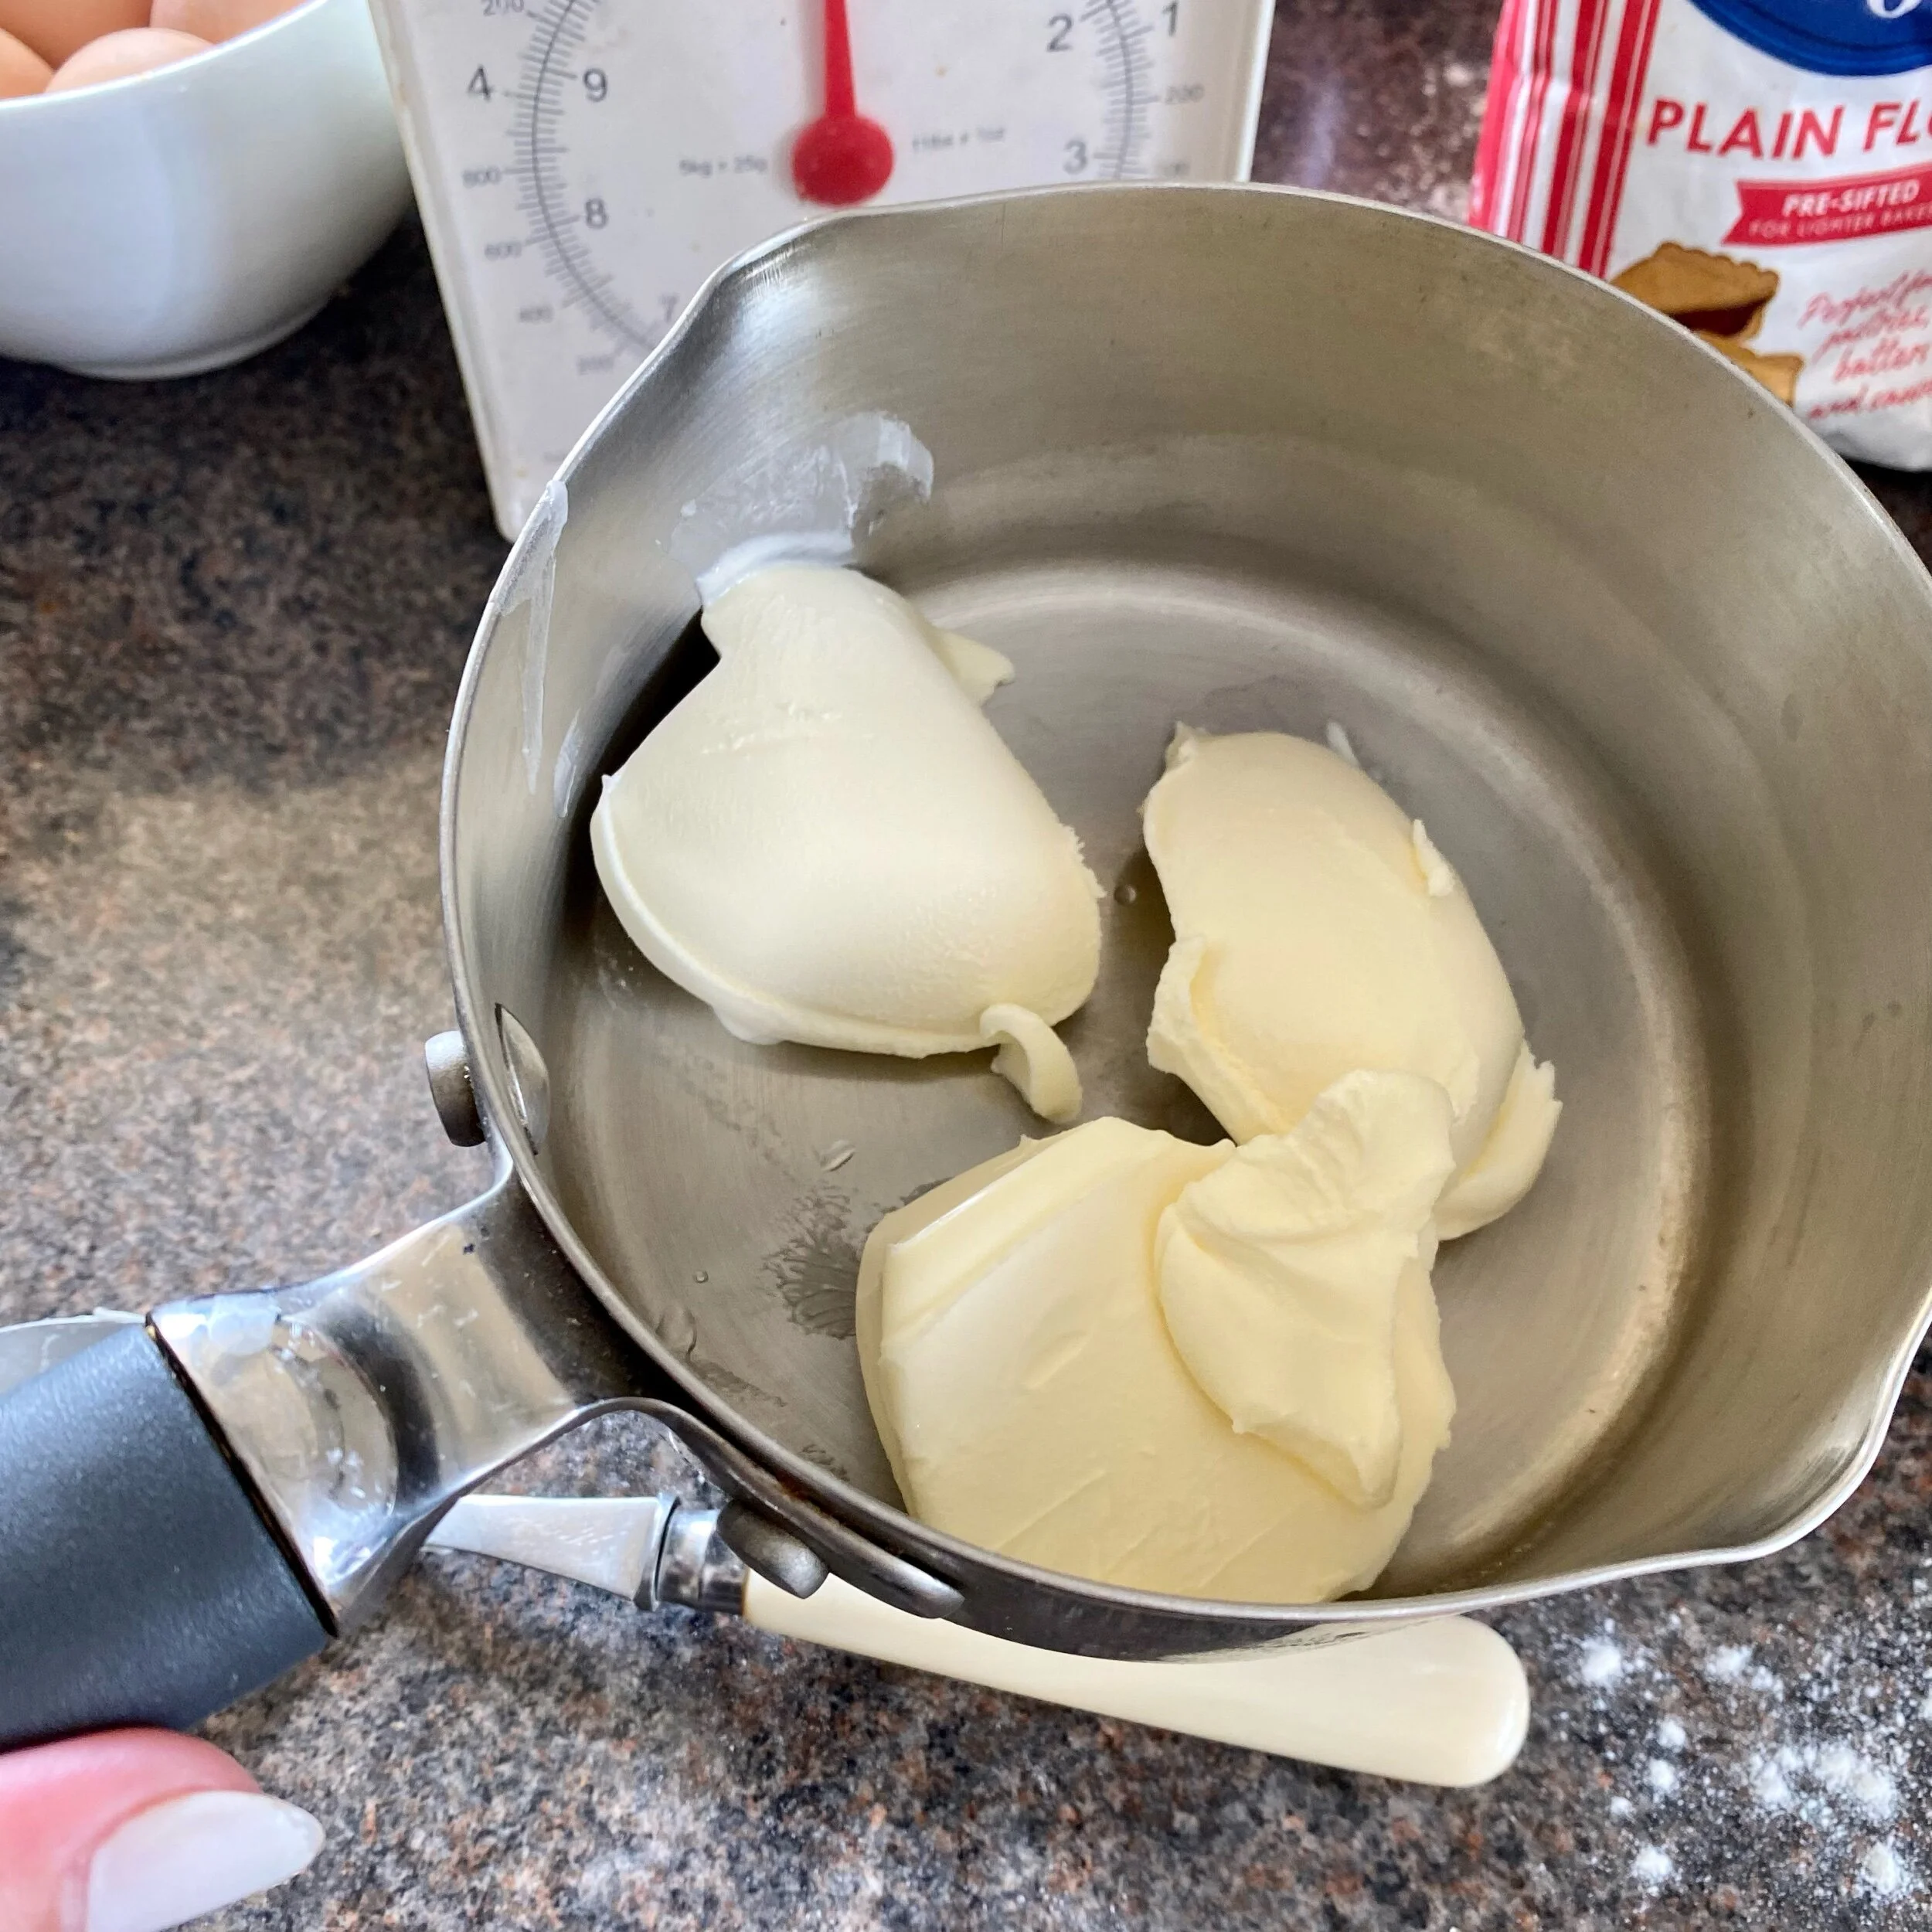
150g butter, melted

a little knob of butter for greasing the tin

200g demerara sugar

2 teaspoons vanilla extract

1 medium egg

200g plain flour

150g raspberries (I used fresh but frozen would work too)

150g white chocolate pieces - I used white chocolate buttons but that was only because there wasn’t a bar of white chocolate in the shop - otherwise I do rather like smashing it up in its packaging with a rolling pin and having lovely uneven little chunks of chocolate. But the buttons were good too).


Put the oven on to heat up. I always forget to mention this bit as I have a gas oven and you don’t need to pre-heat them.

I put mine onto Gas Mark 6 so just a nice sort of medium heat. I’ve looked it up and this should be equal to around 200C or 400F - but you know your oven so do what feels right to you.

And now to get everything ready and weighed out, with the butter put straight into a little pan over a low heat to melt gently.

While it’s doing so, butter a square tin (or whatever shape you like really) and then put a piece of greaseproof paper/baking paper on top and so the ends hang off each side and then tuck in if you can.

I’m sure it would also be perfectly fine with just the buttered tin, but the paper does make it really simple to take out once cooked so is worth doing if you have some.

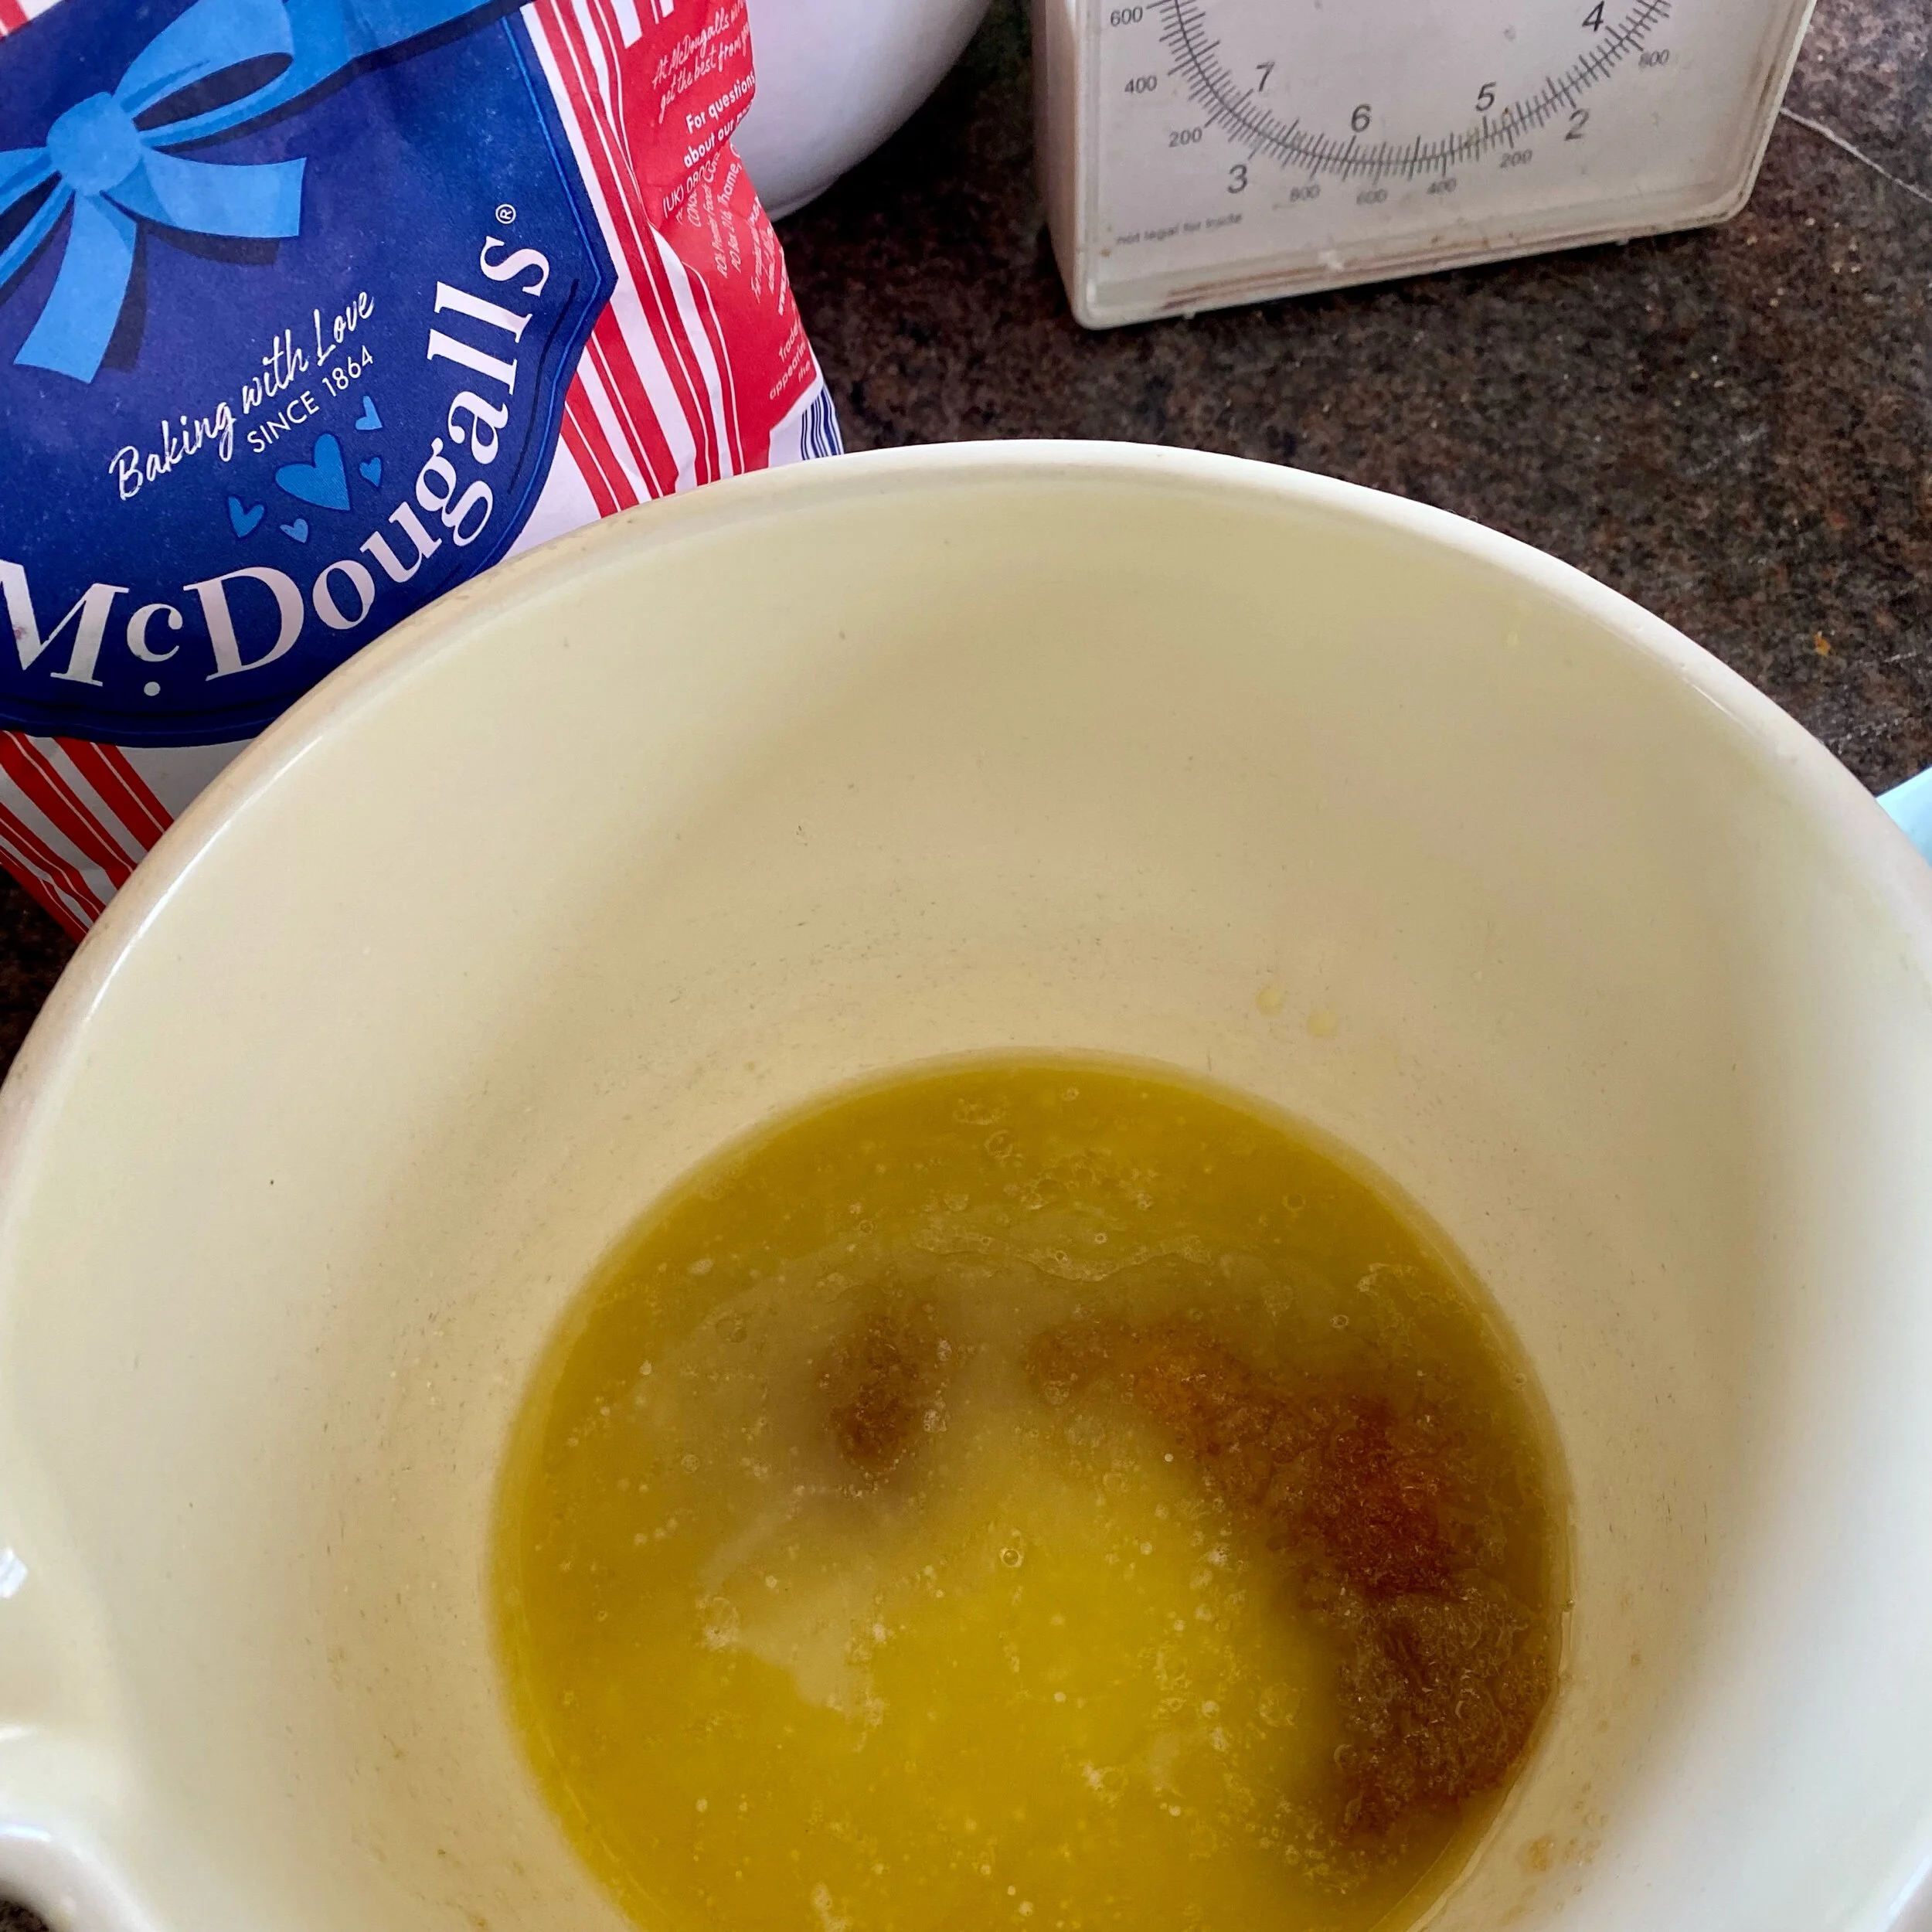
Tip the sugar into a big mixing bowl and pour in the melted butter and stir until it’s all combined.

Add the vanilla extract and stir in.

Then crack in the egg and stir again thoroughly so it’s all mixed in.

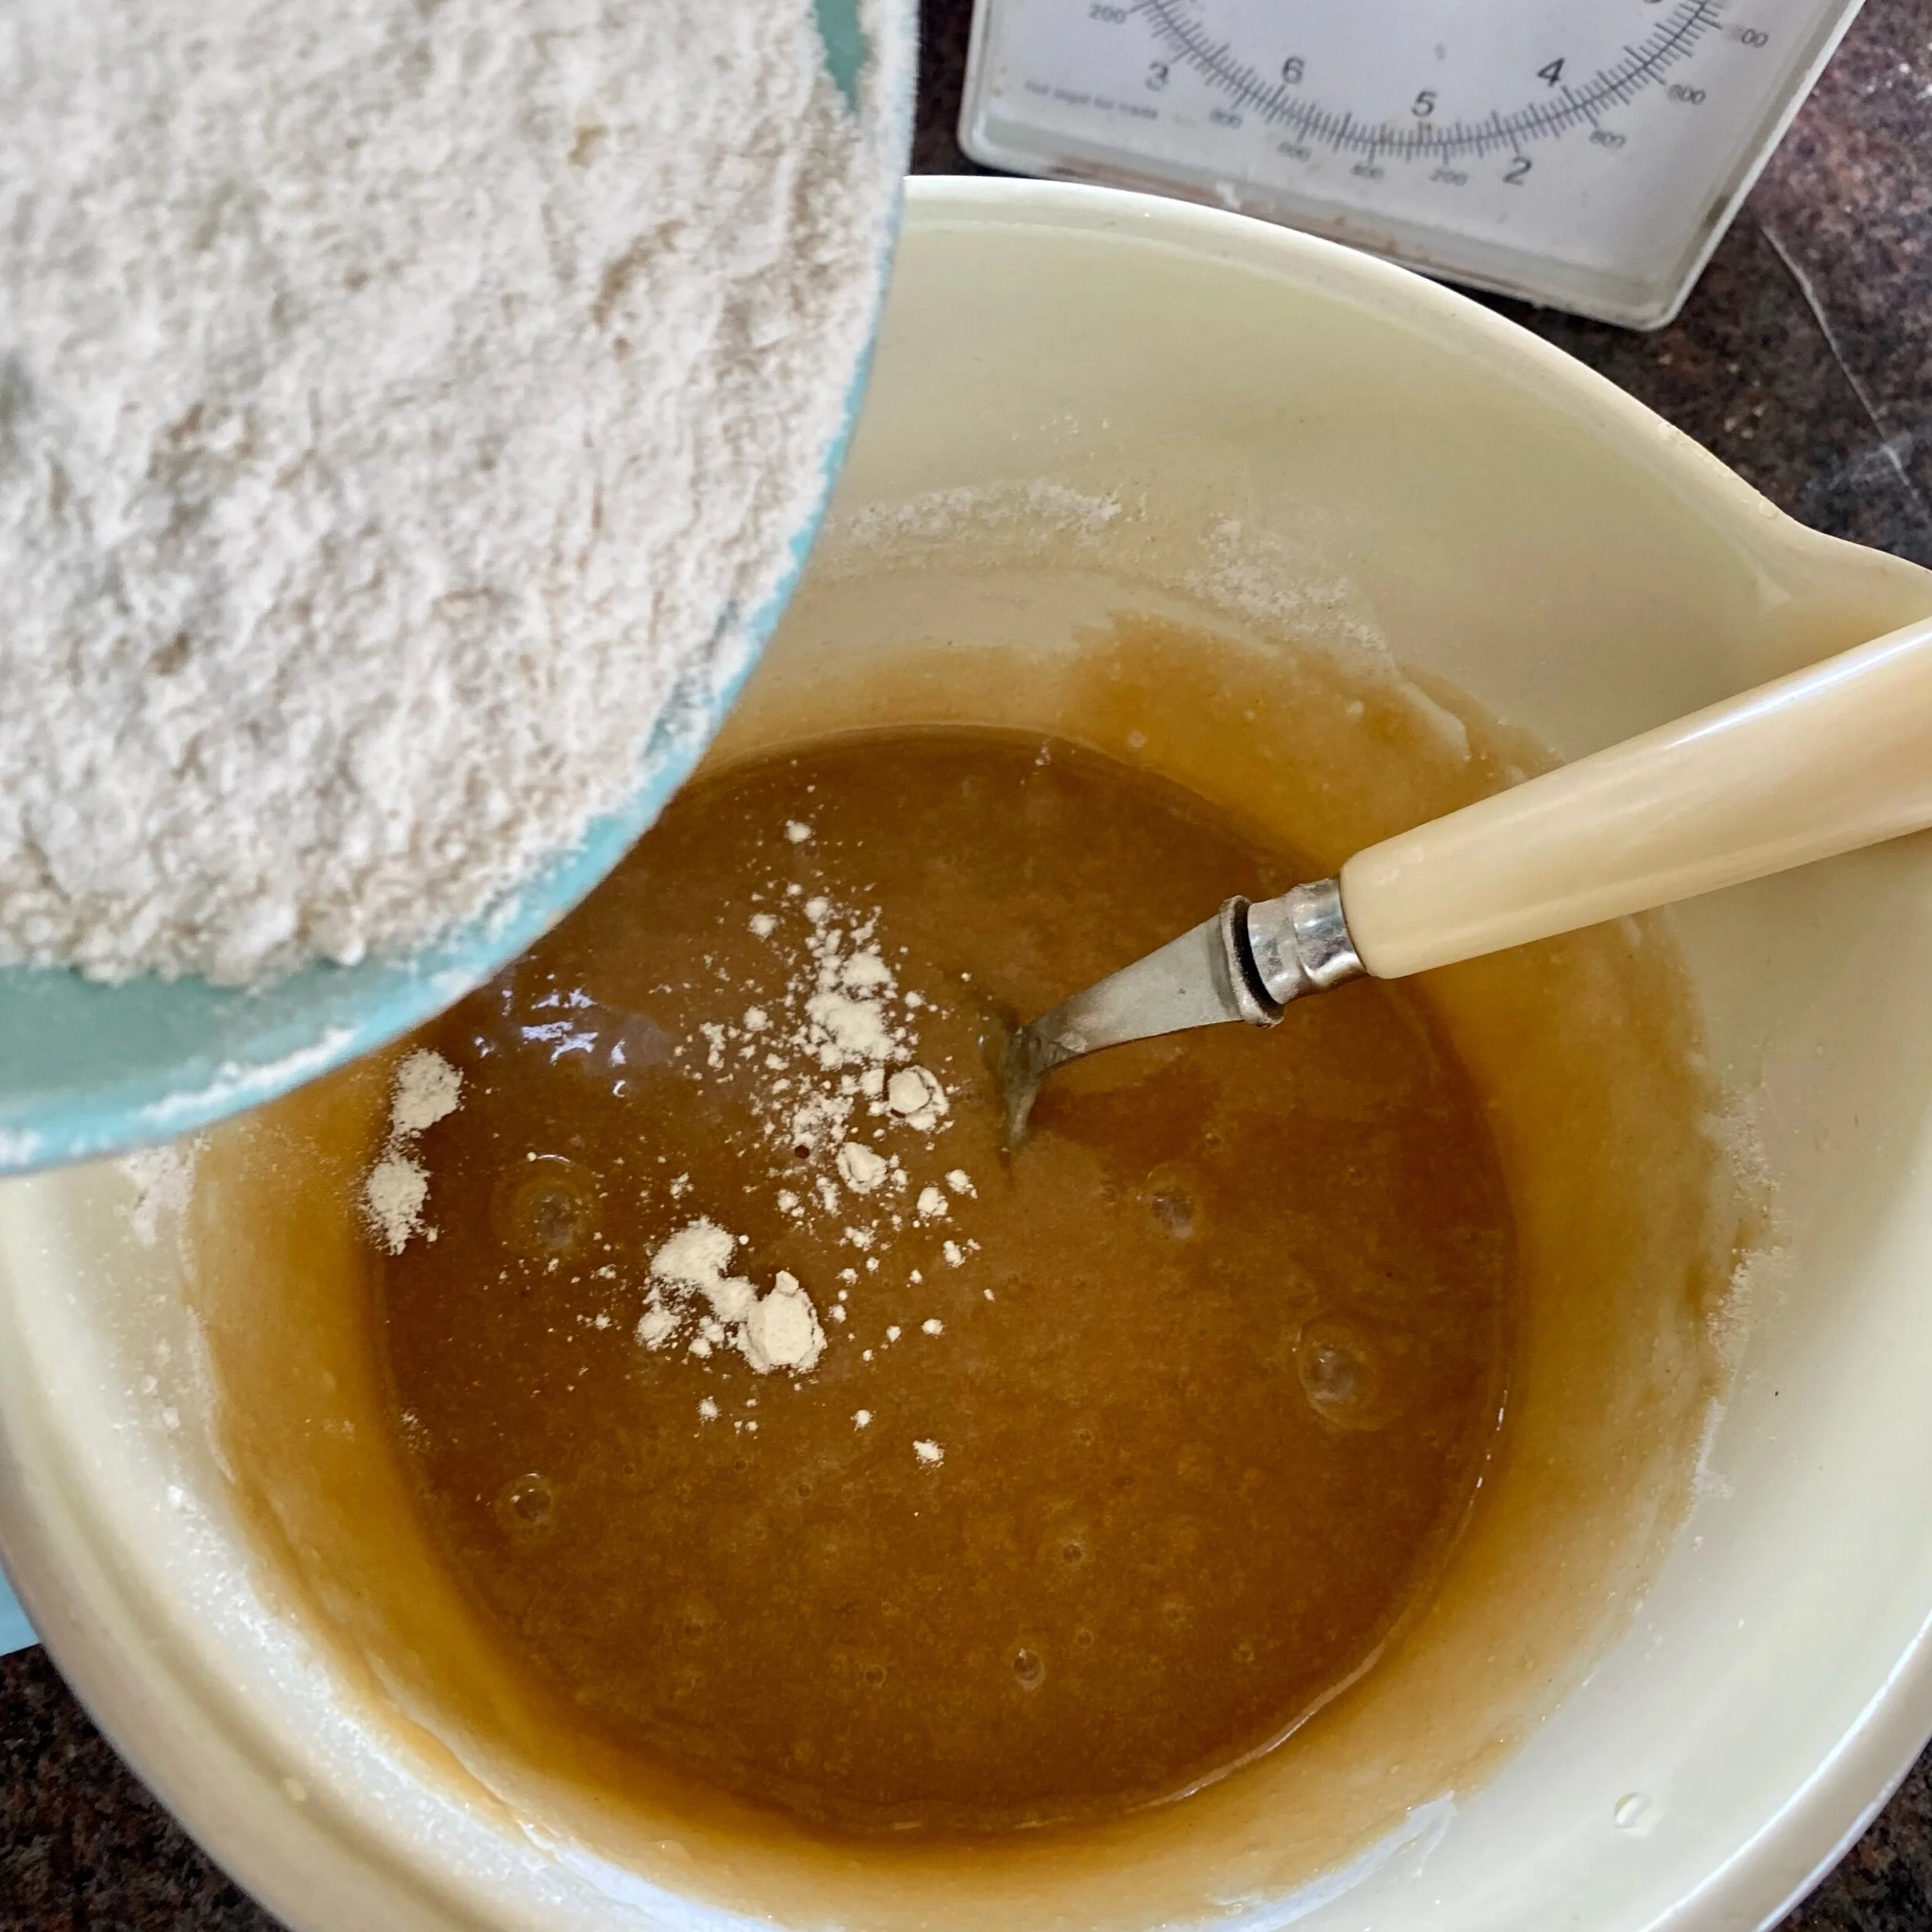
Tip in the flour a bit at a time and stir until mixed before adding some more. Continue until all the flour is completely mixed in and you have a lovely sort of batter.

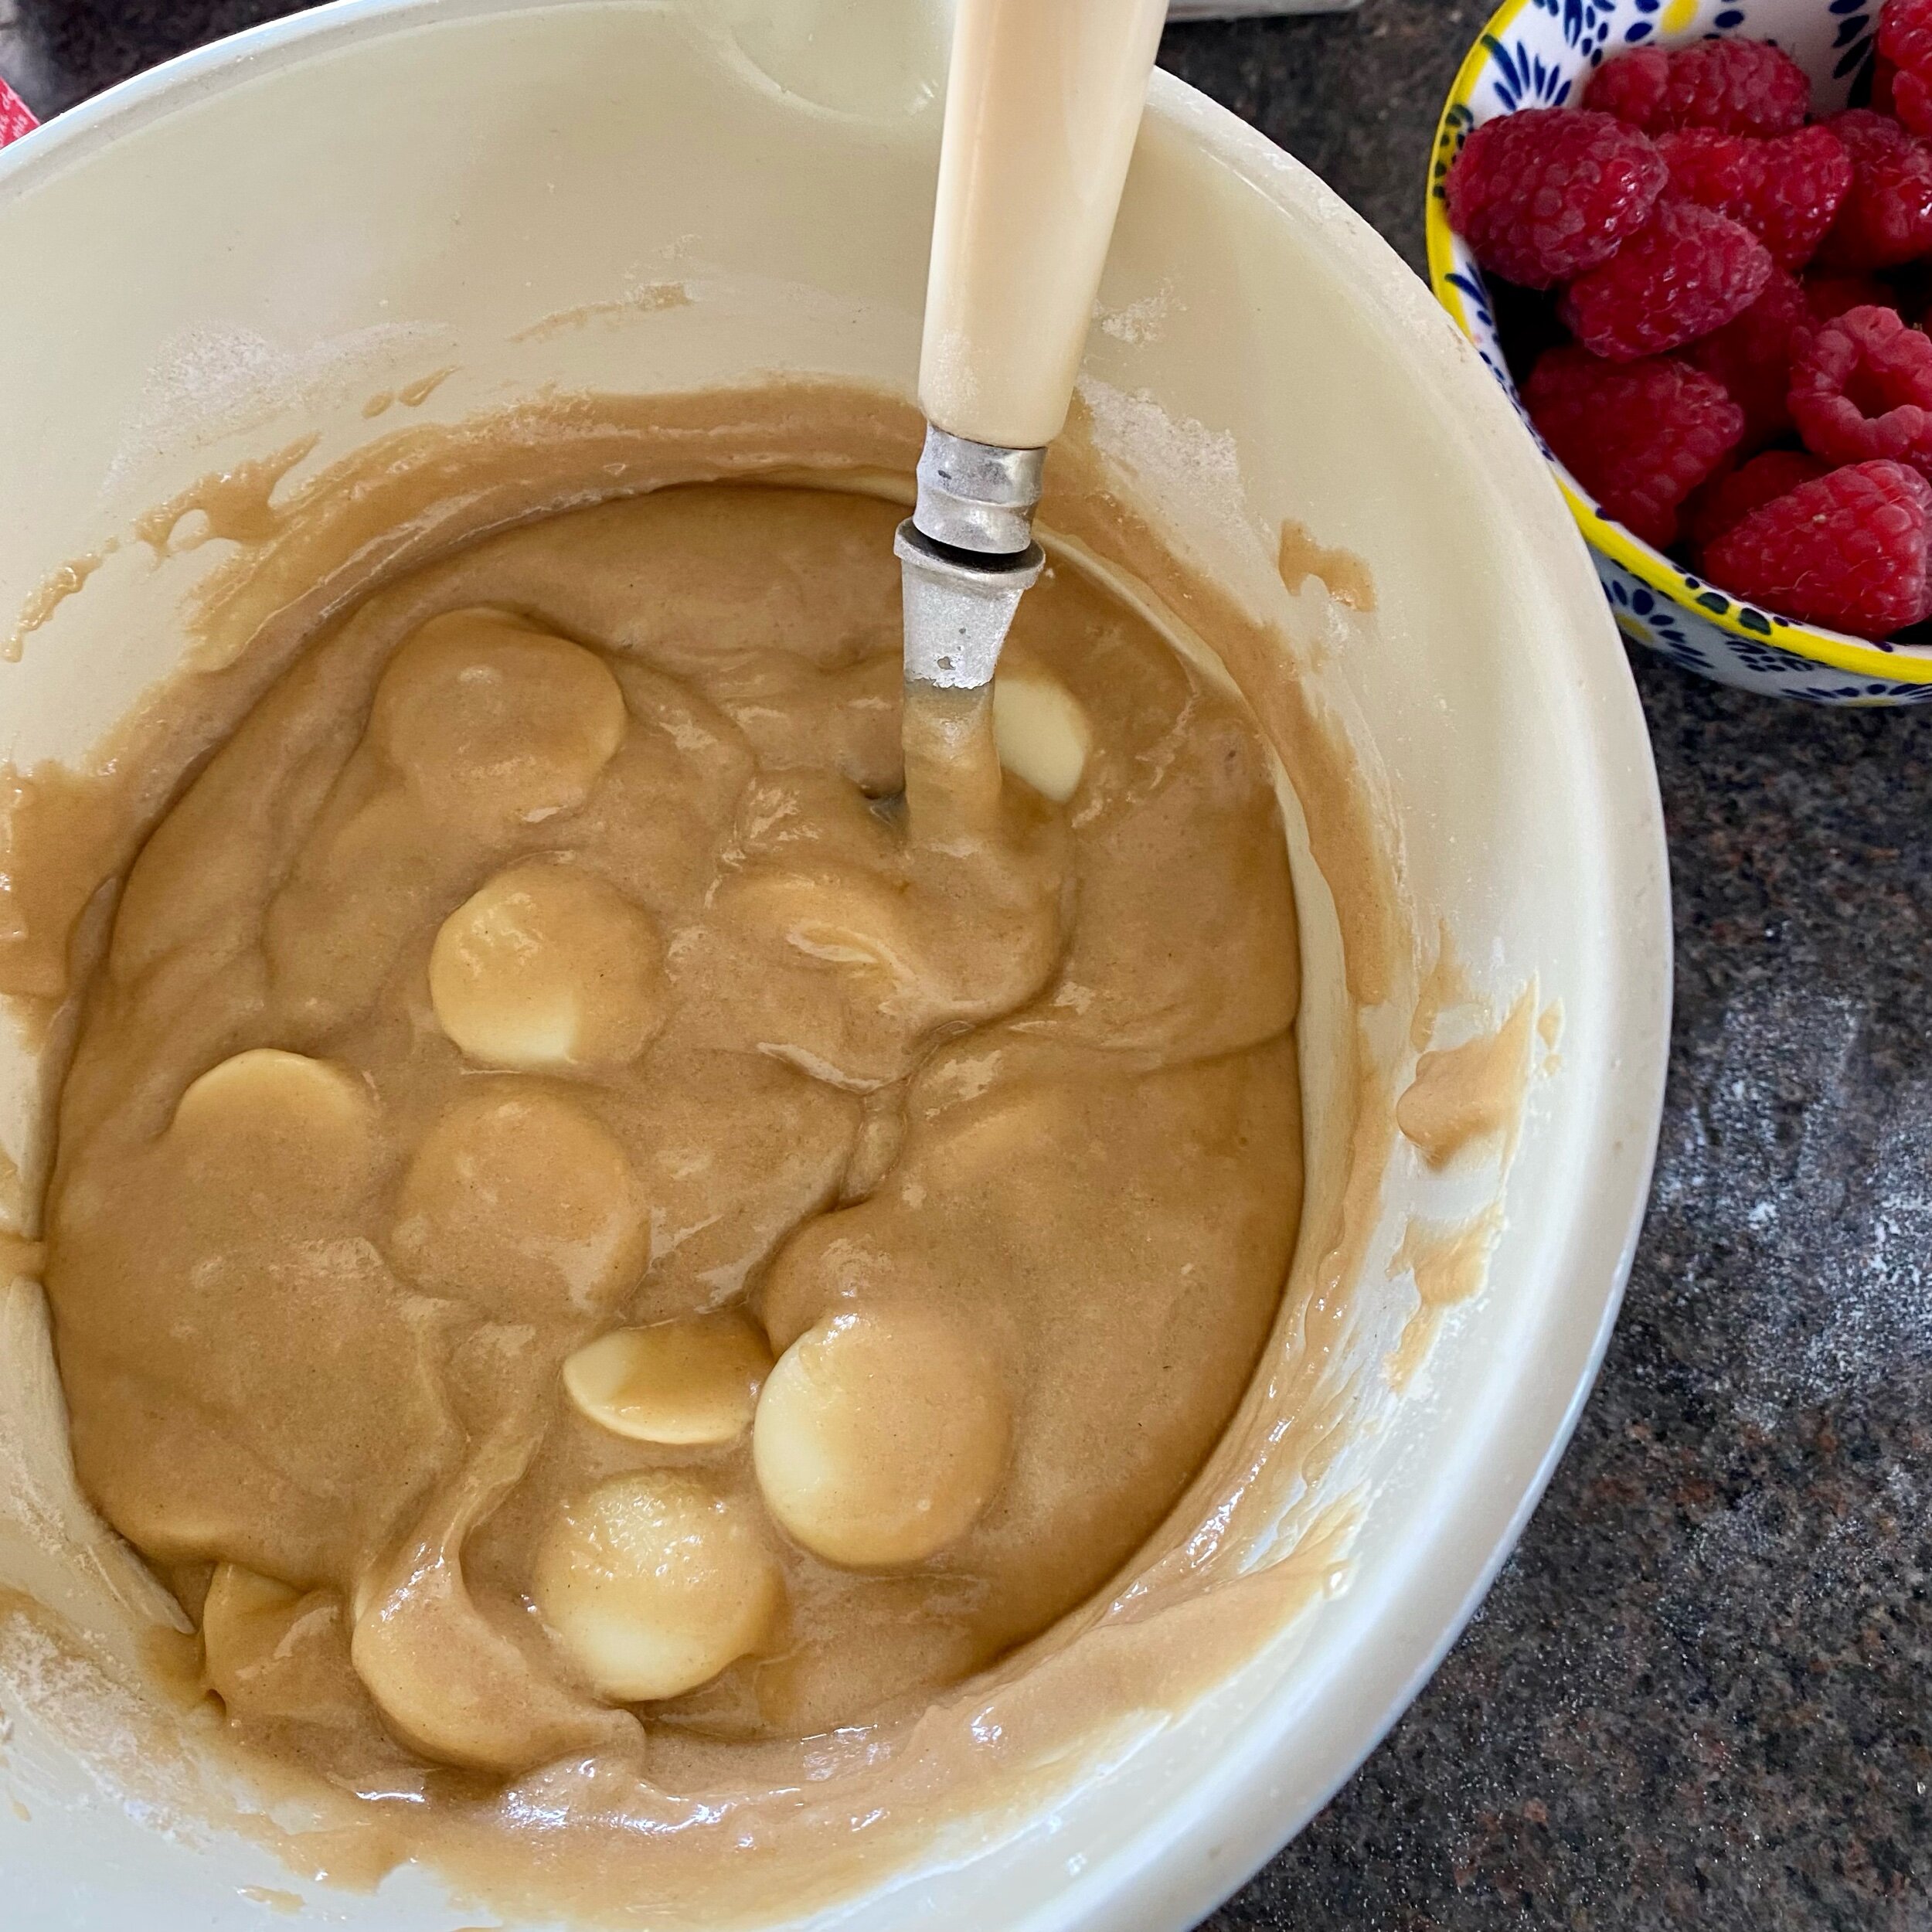
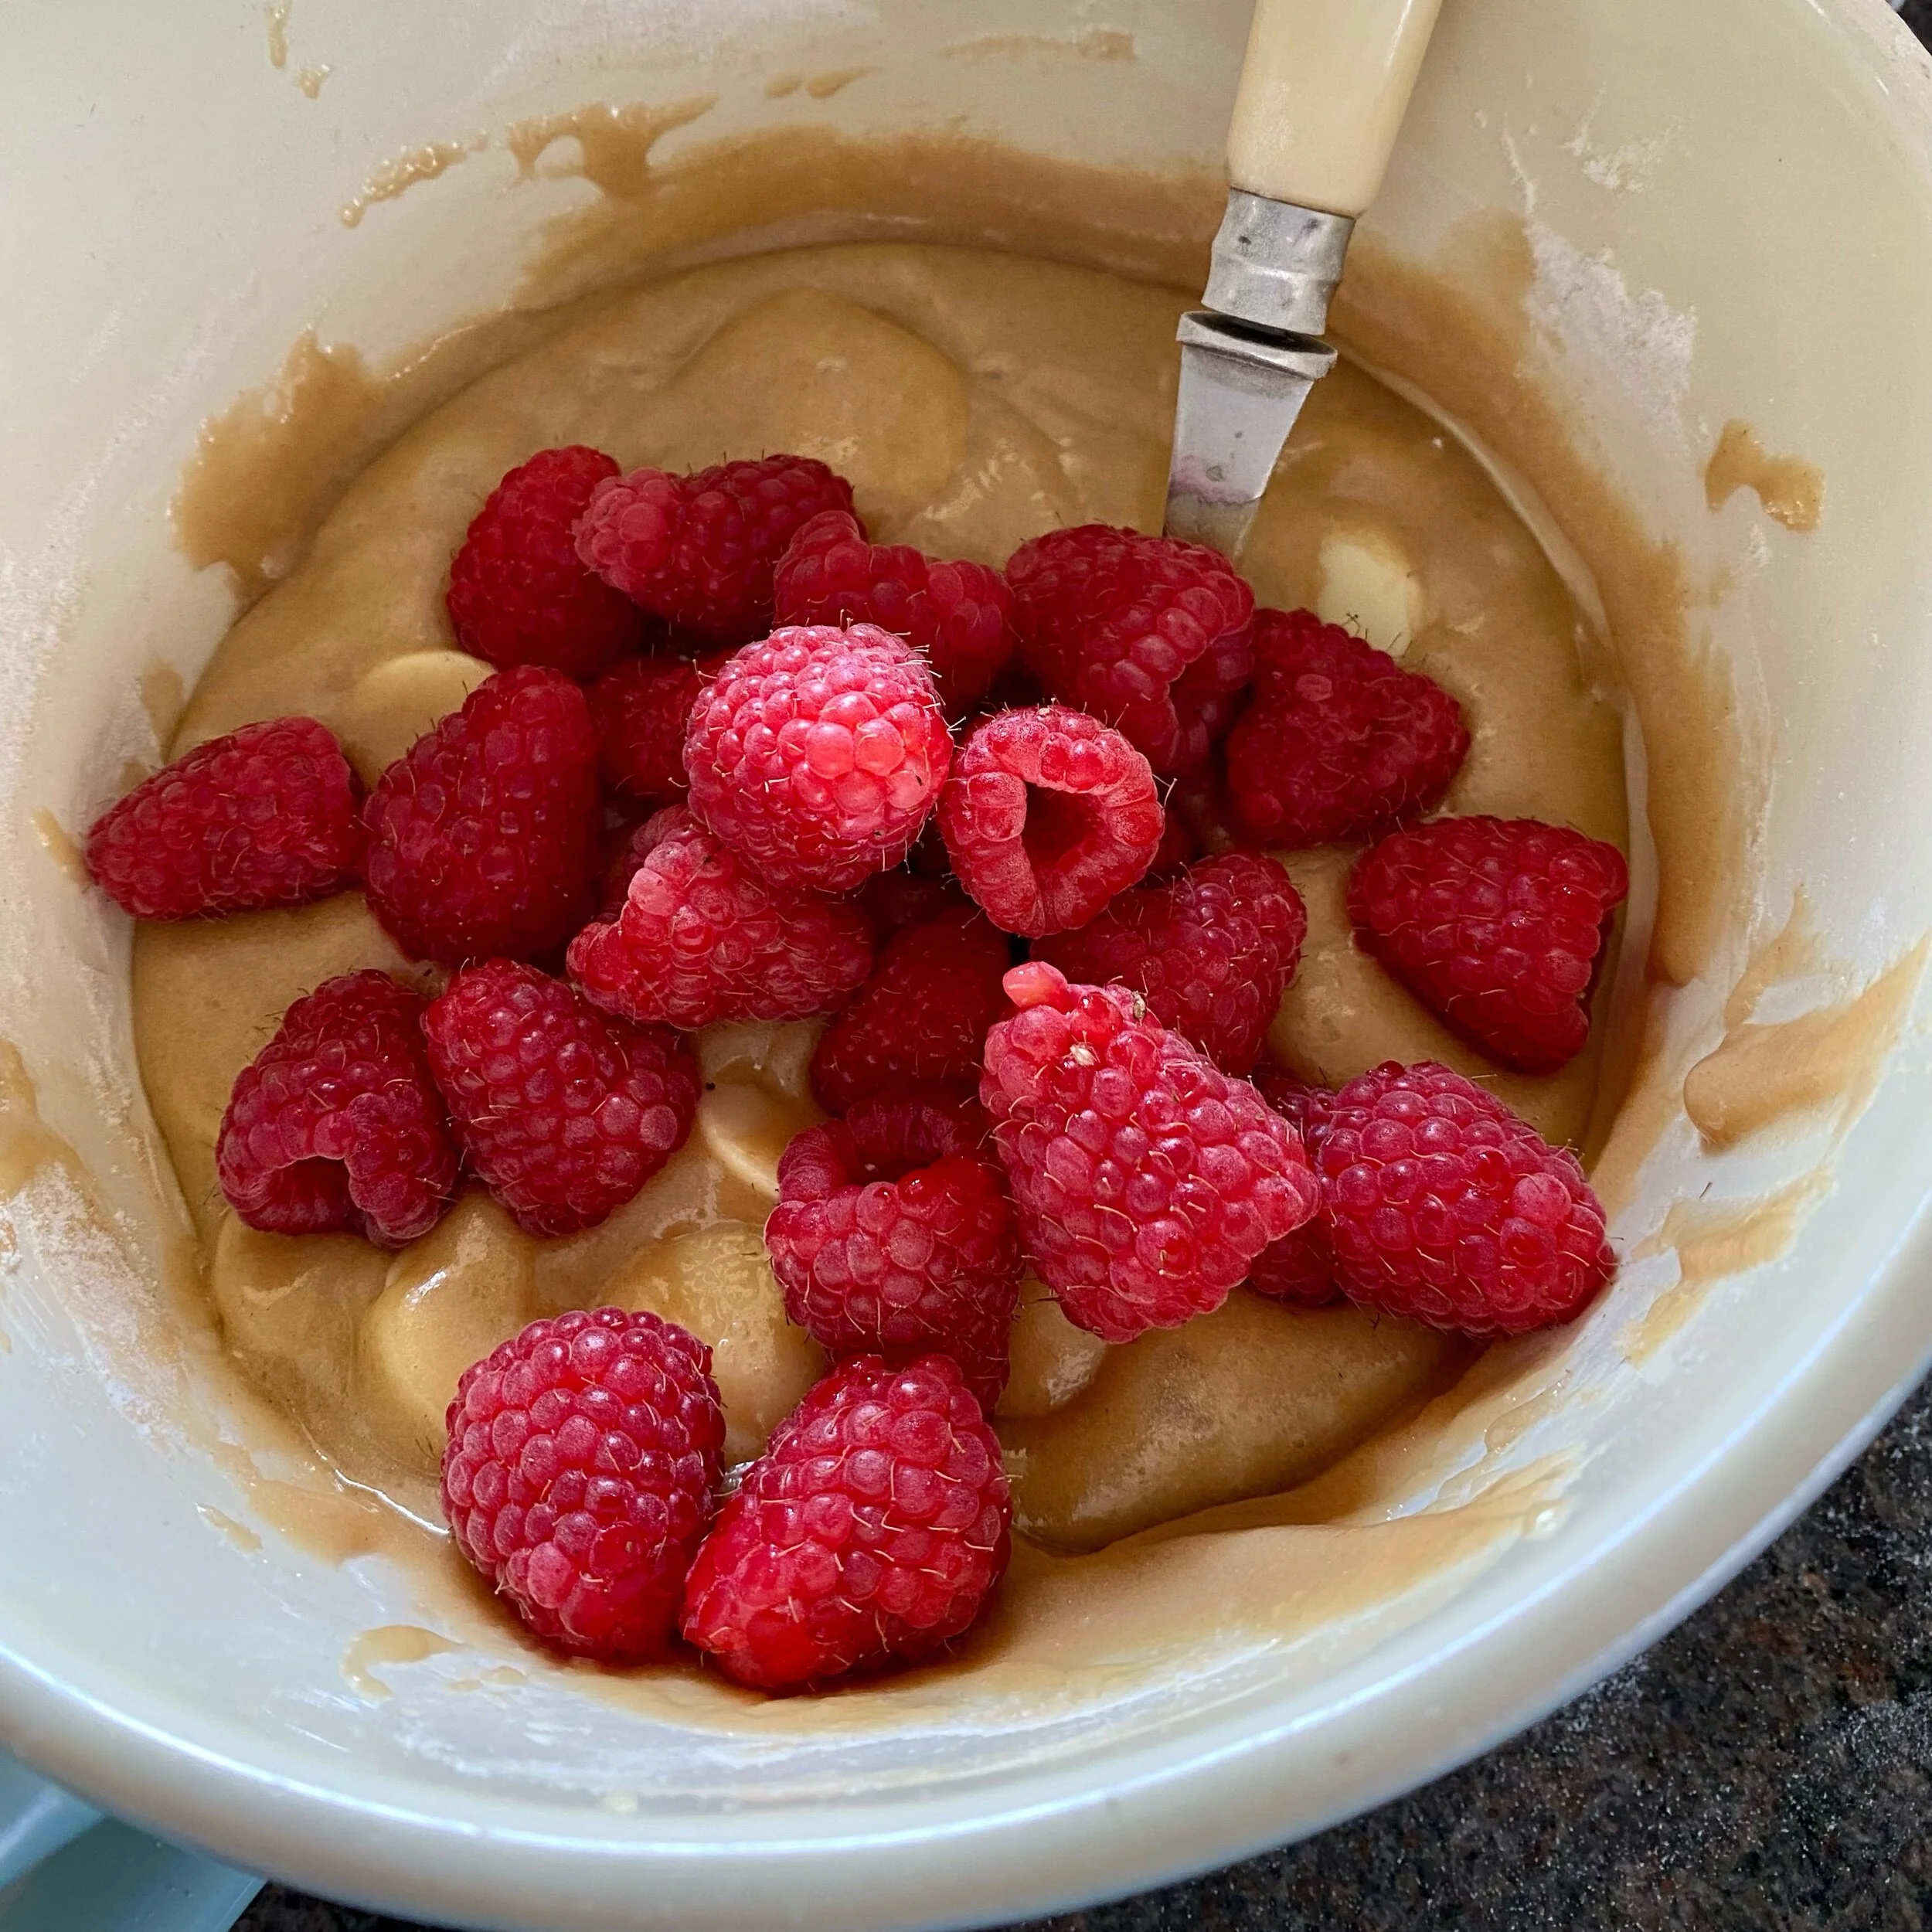
Next stir in the chips or chunks or buttons of white chocolate, and then add the raspberries and stir those in too.

I just love the colours and flavours of the raspberry and white chocolate combination (and have of course already eaten several raspberries and chocolate buttons from the bowls).

Of course.

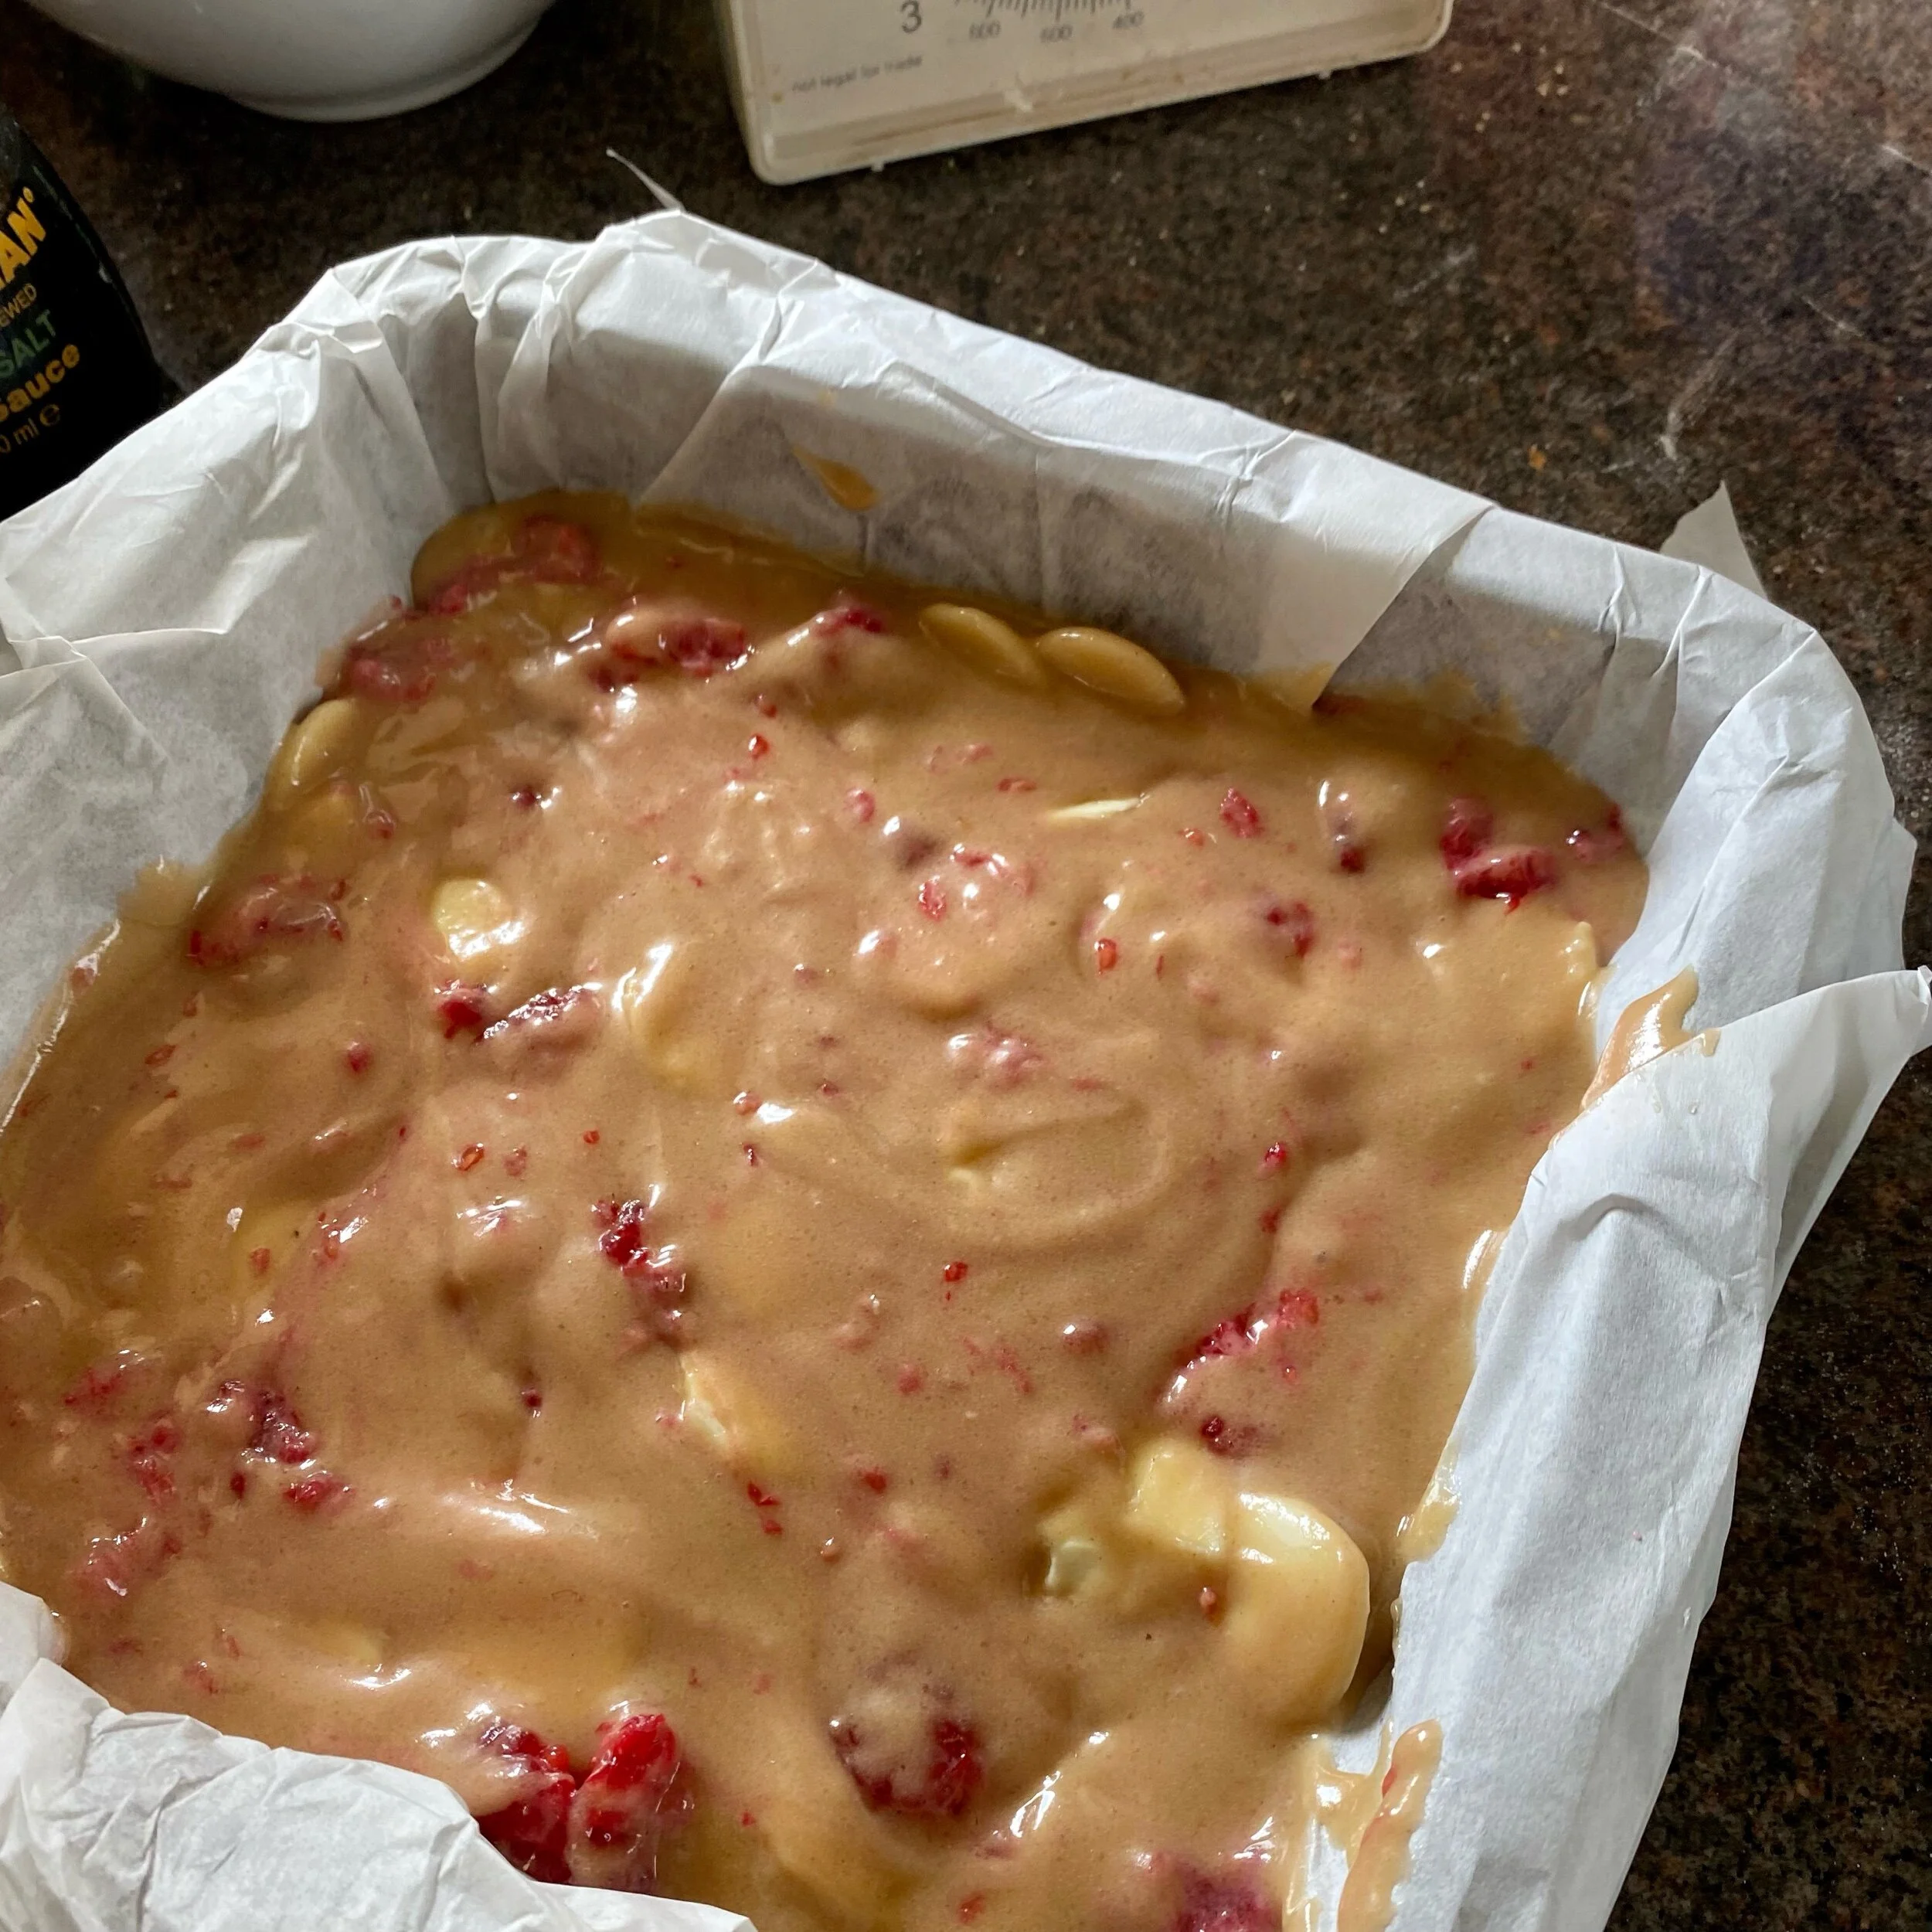
Pour the batter into the tin and smooth down so it’s evenly spread.

Put into the oven on the middle shelf to cook.

Now I don’t know about you but pretty much every time I try to bake something it takes much longer than the recipe says.

So what I do is check it after 15 minutes and also then take the opportunity to turn the tin around, just to make sure it’s cooking evenly.

I put the timer on for another 15 minutes and then check again … still not done, so I turn the tin again and give it another 15 minutes.

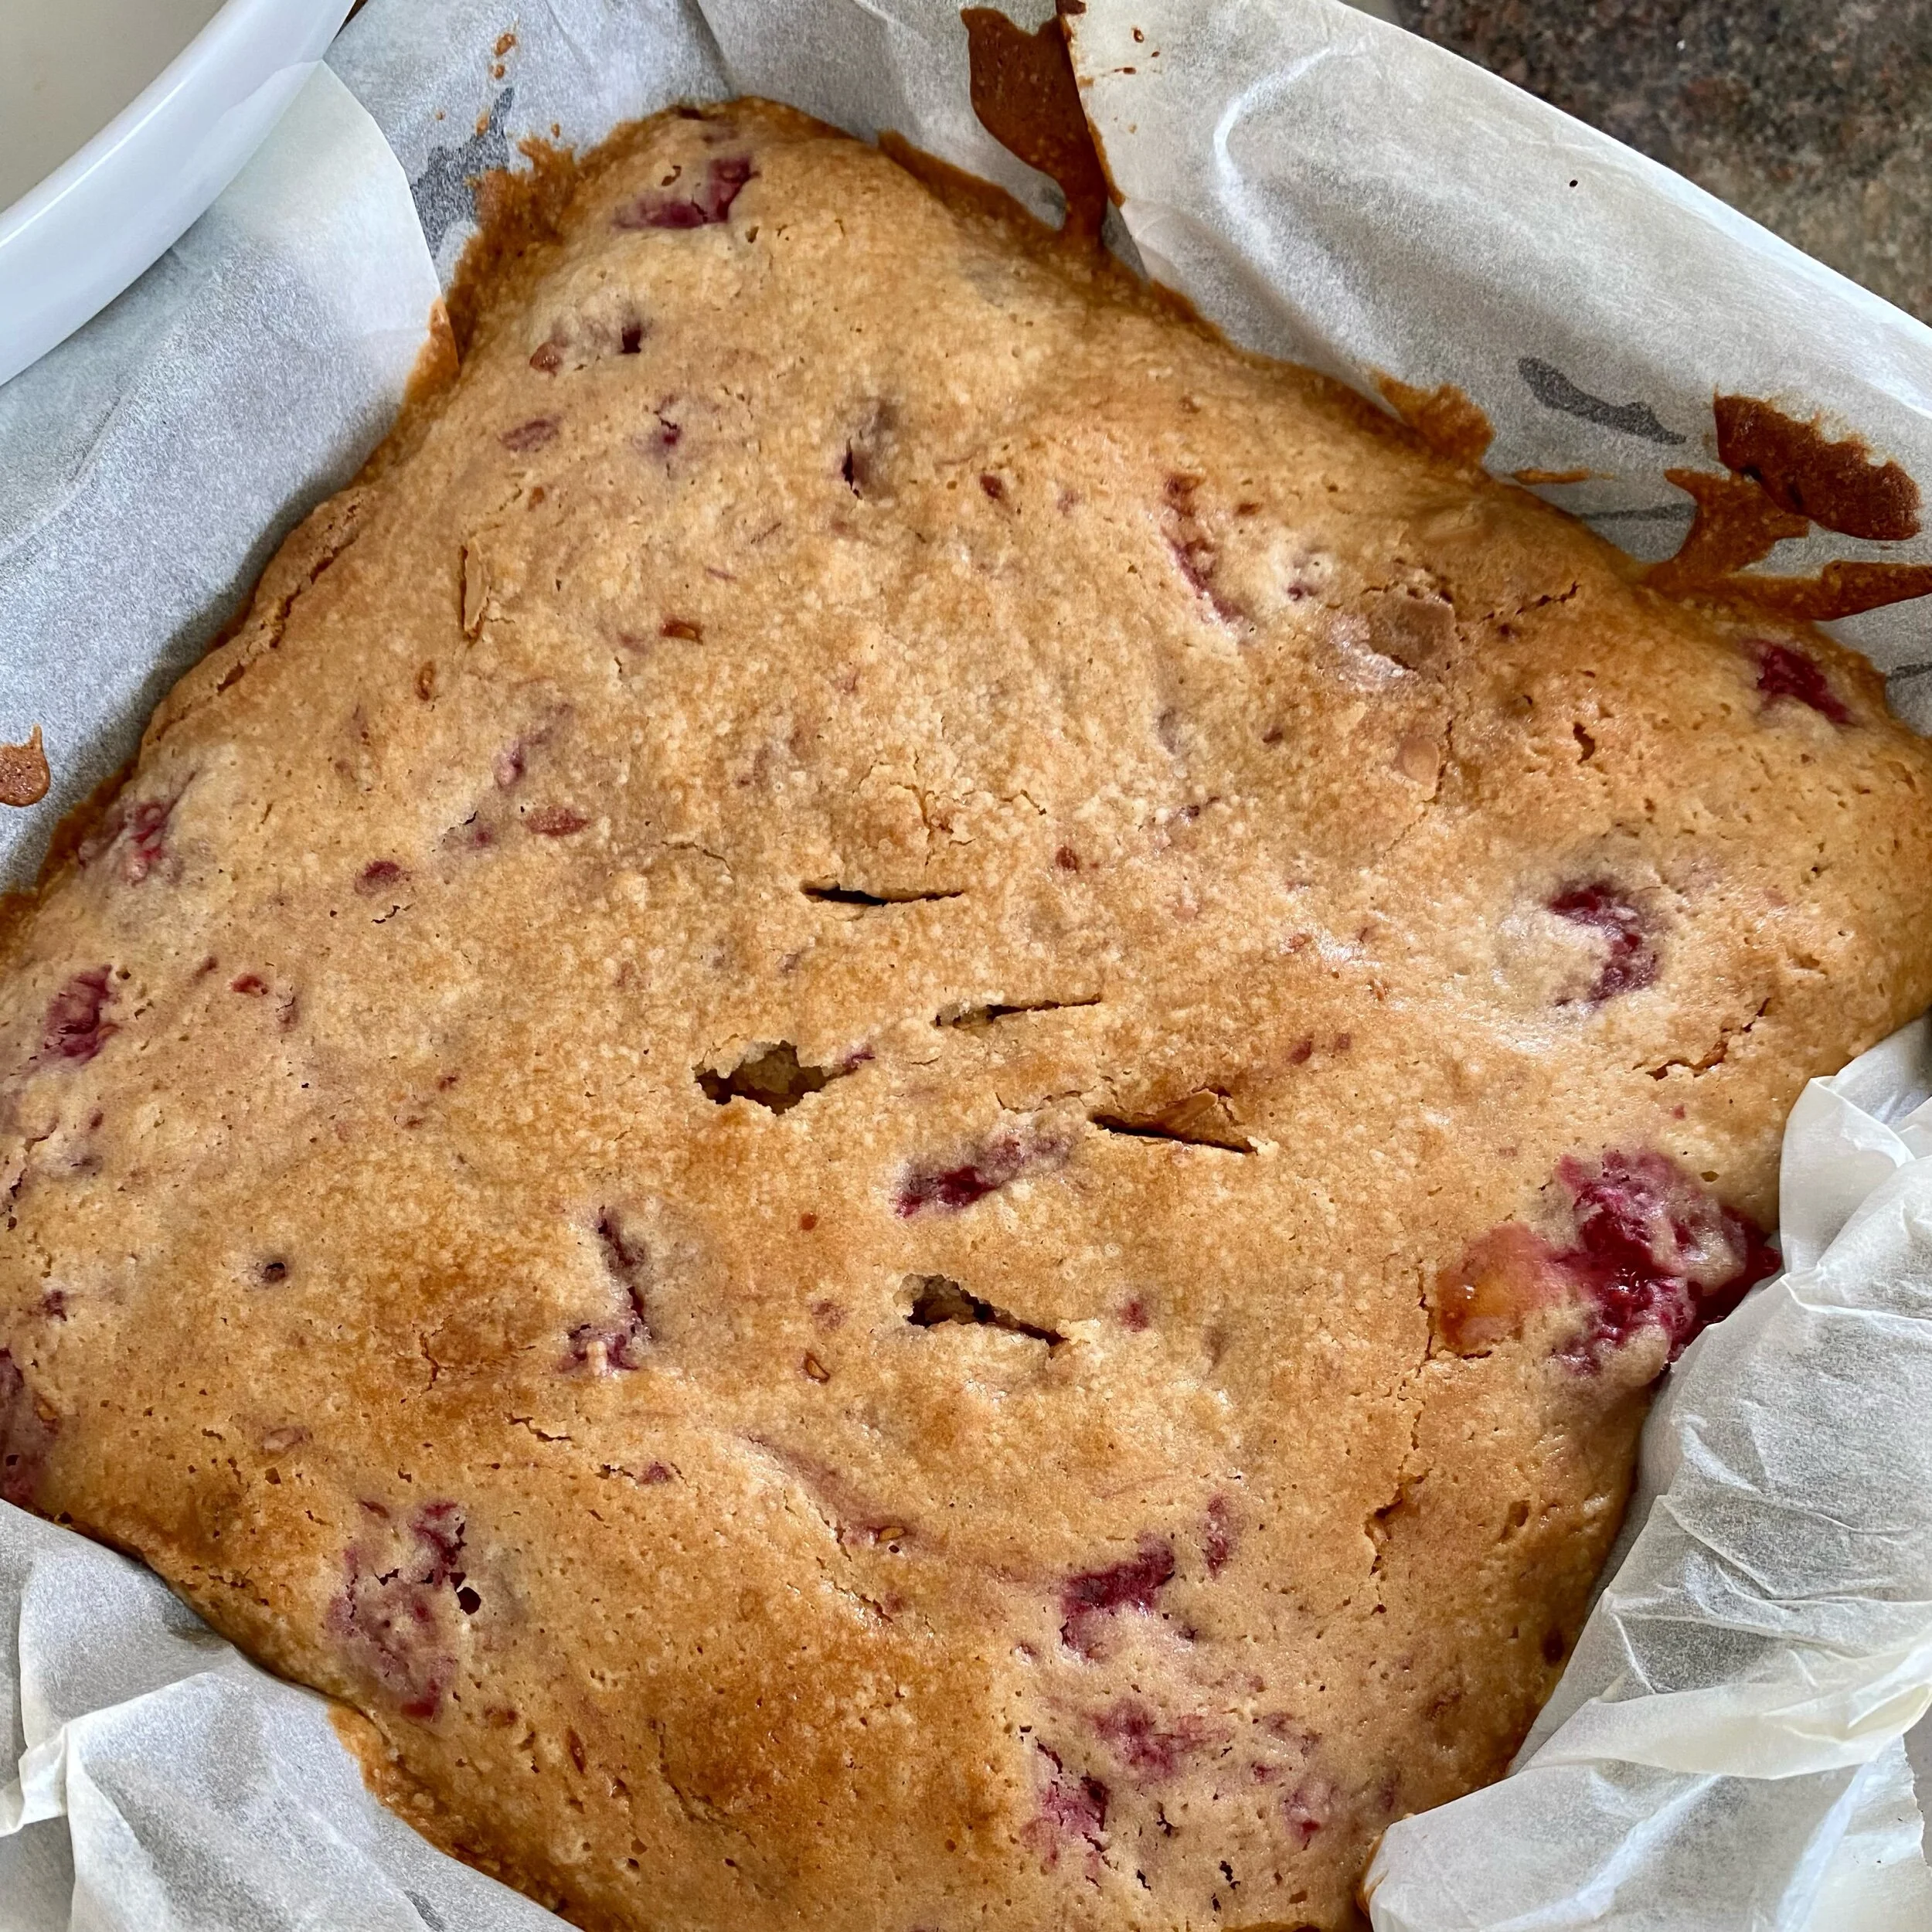
This time I think it’s done as it’s nicely golden brown, especially around the edges.

You also need to stick a skewer or knife into the centre and it should come out clean without lots of cake mix stuck to it.

You can also see I’m not very confident at this as I have clearly stabbed my cake several times to make sure!

It’s not totally coming out clean but then I do also want my blondies to be soft and fudgey so I don’t want it completely cooked ‘til dry.

It’ll continue cooking anyway in the warm baking tray so I think it’s the right time to take it out and turn the oven off.

Cool the blondies in the tray and then cut into squares, ready to share and eat ….


YOU MIGHT ALSO LIKE …

Summertime courgette pesto pasta

Summertime … of course just at the very word THIS is draping it’s sumptuousness into your mind right now …

You know those days when it’s so hot, so still, so languid …. that you really absolutely cannot bear the thought of the oven being on for even a second?

Today was one of those.

I did brave the hob though - just for five quick minutes mind you, to boil the fresh penne pasta.

But the delicious courgette pesto is all raw so no unnecessary over-heating going on over here at all.

This is pretty much exactly as one of my very favourite food writers, Diana Henry, shared it, but I made a couple of tiny changes to it.

Her original recipe is HERE.

And I’m also putting the link to her books HERE too as I’m a huge fan so why not share the love?

I used her recipe as a starting point but didn’t really measure what I was using, so here’s kind of what I used to make a very lovely simple summer evening dinner for two …

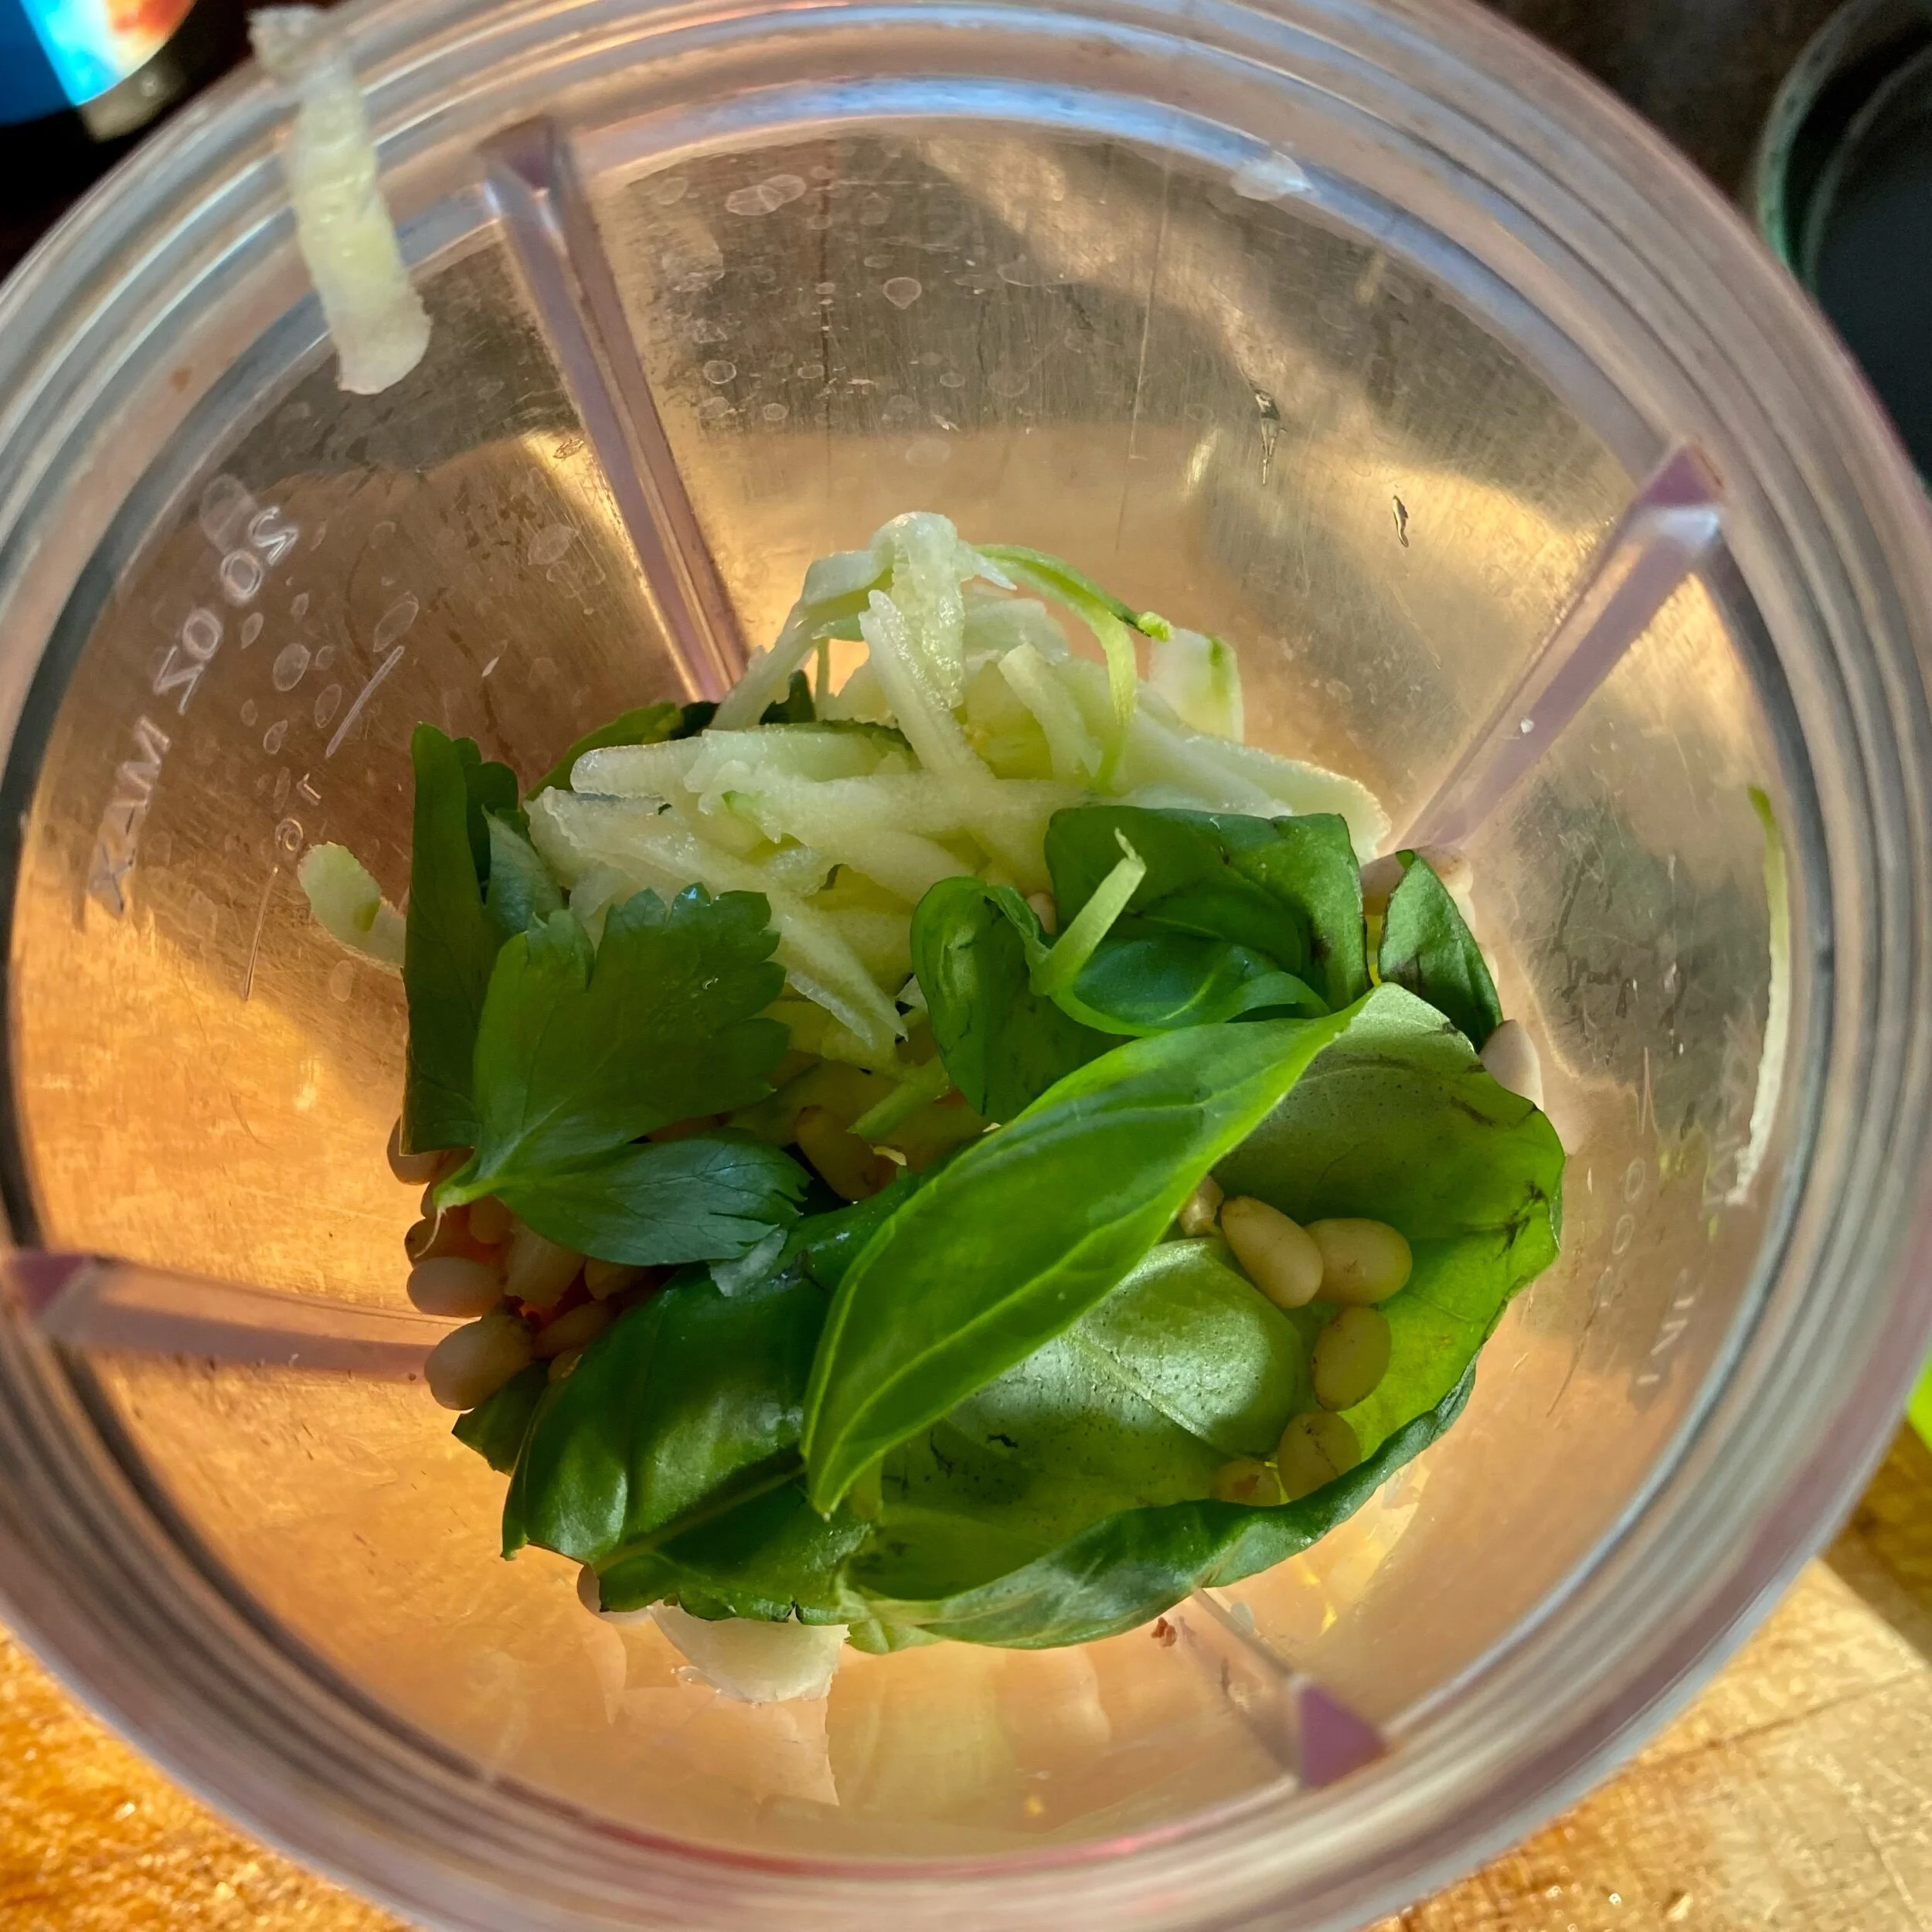
1 courgette, peeled (mostly) and grated using a box grater

1 small garlic clove, peeled, squashed and roughly chopped

small handful of pine nuts, perhaps around 20-30g

handful of basil leaves, torn

small green chilli, chopped (optional, totally optional, I just like a bit of chilli in things)

salt and pepper

a little slosh of olive oil

Put everything into a blender or food processor and whizz up to a lovely soft paste. I like this to be quite soupy so added a little water too.. Basically, just make it perfect for you and exactly as you like it. You might need to stop a couple of times to push the mixture down the sides and get it all mixed up together.

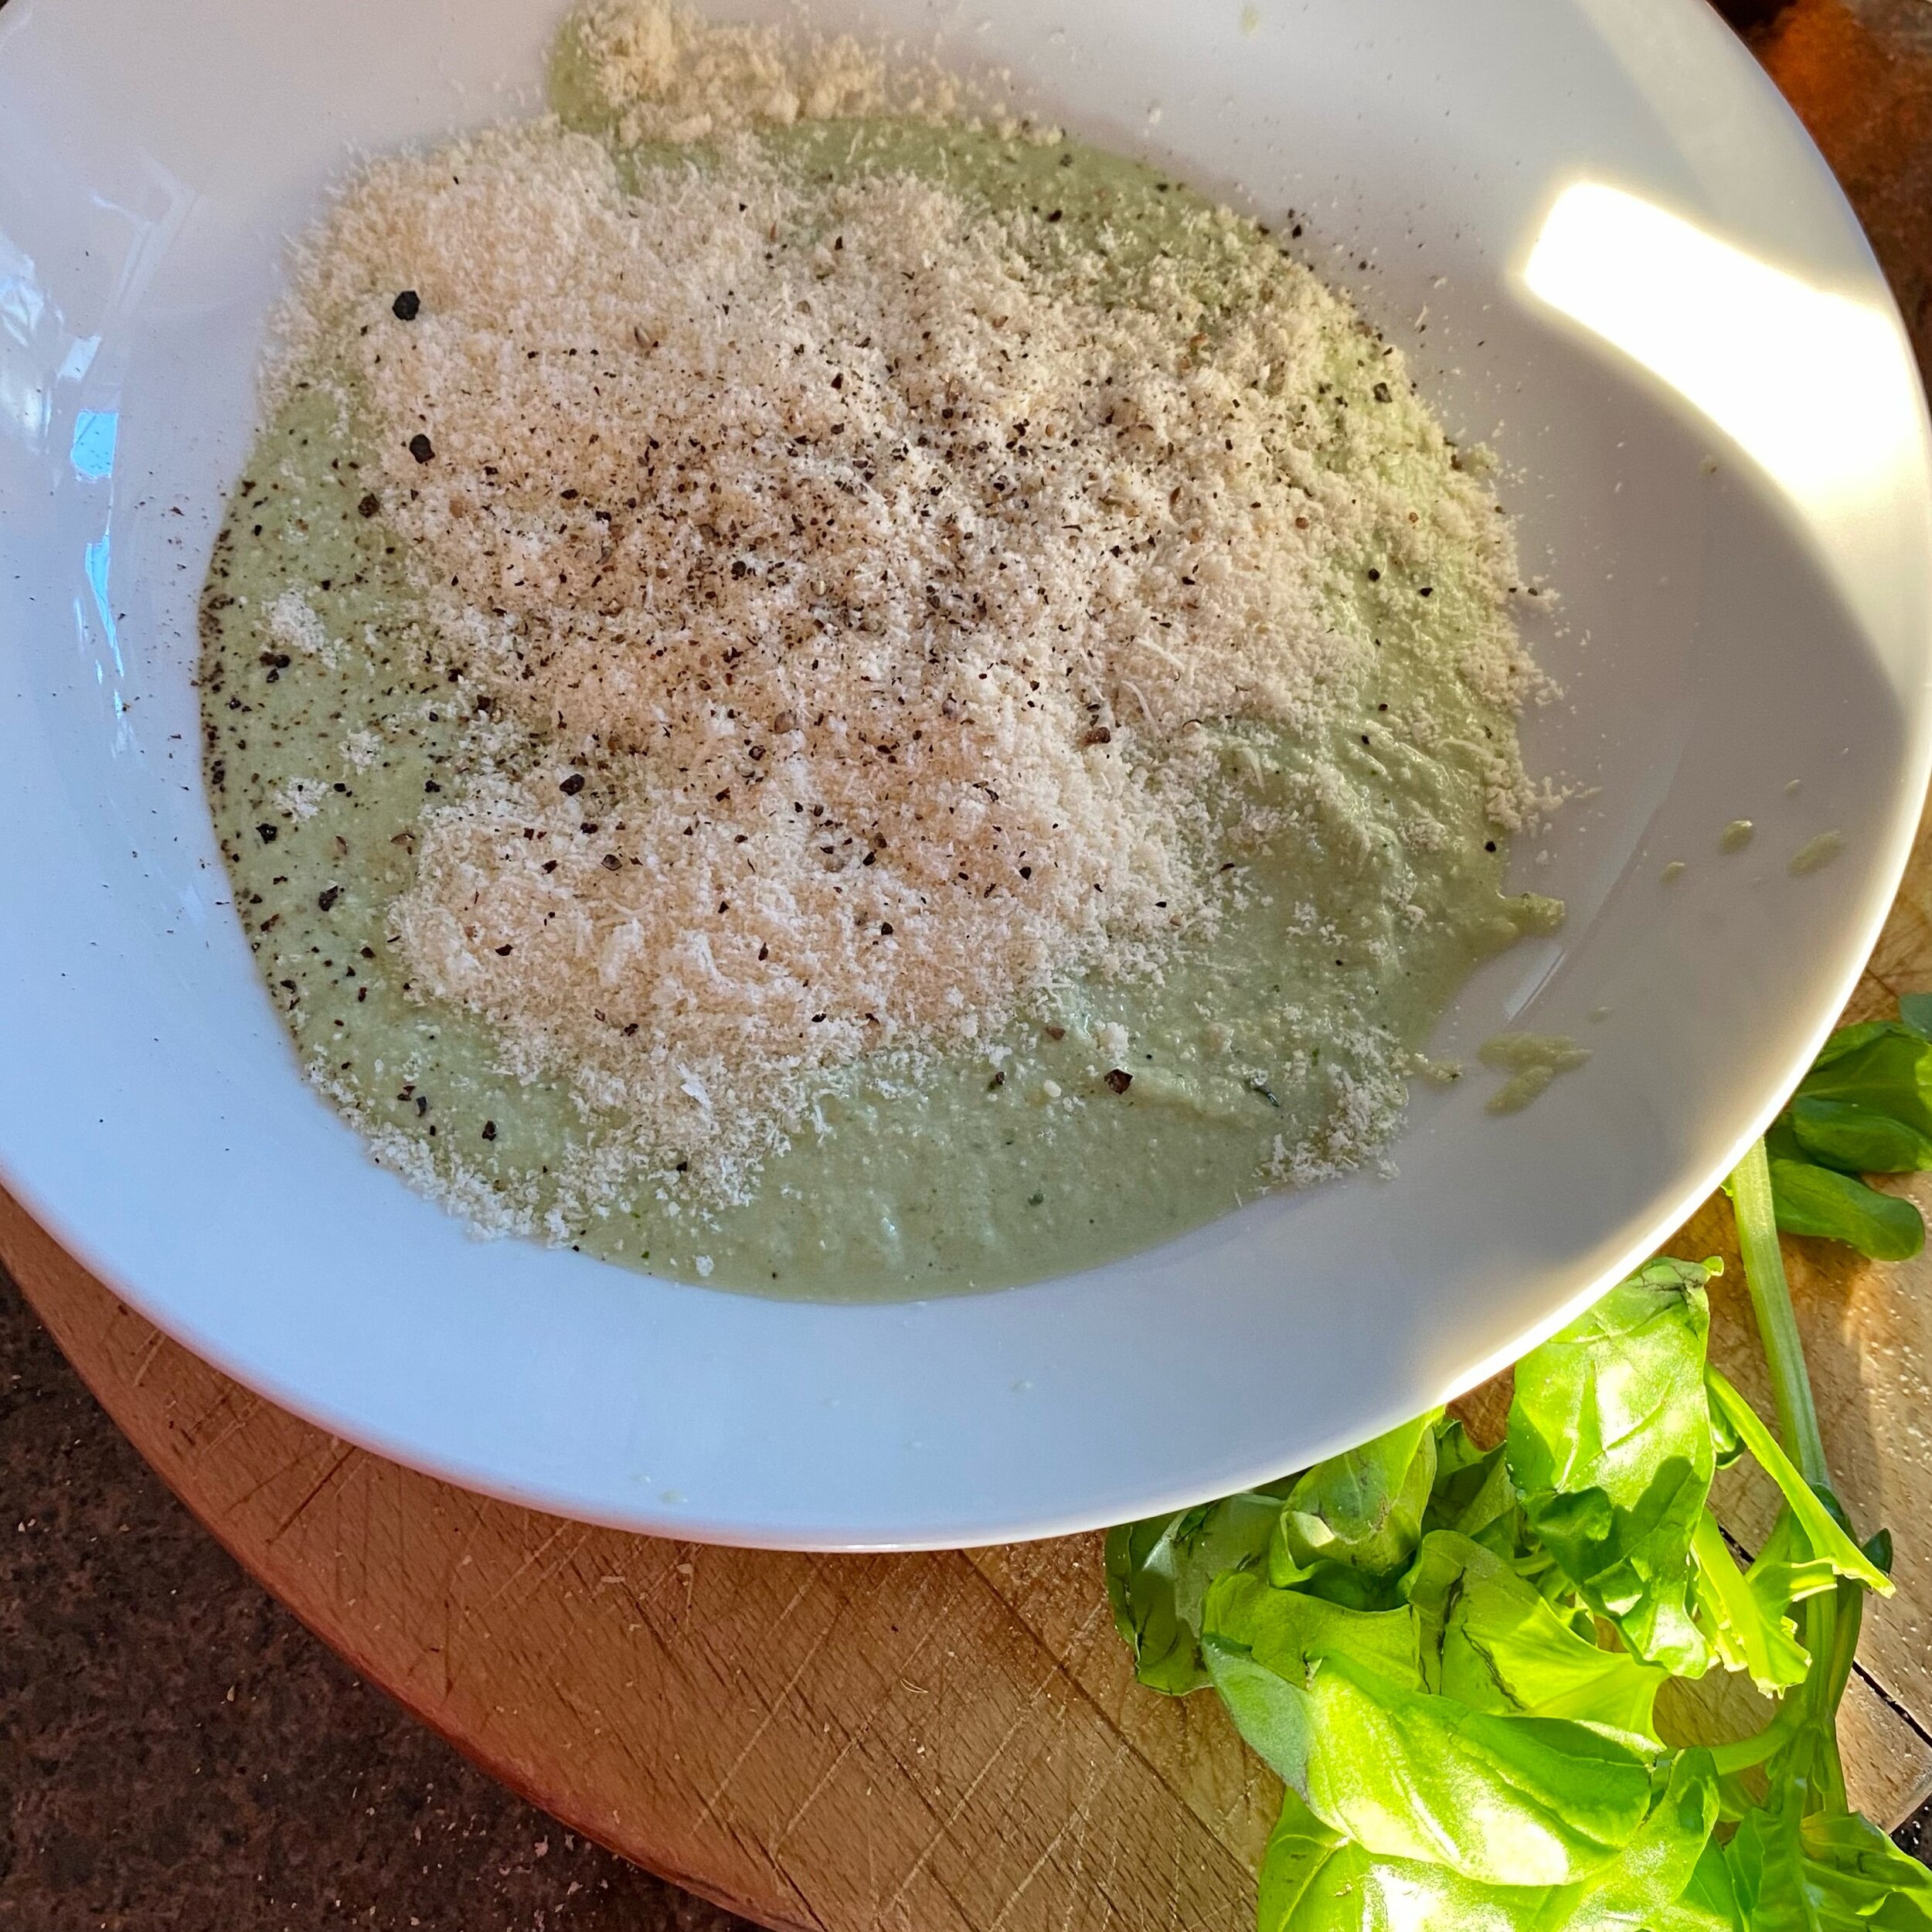
Pour into a shallow dish and scrape all the mixture from the sides of the food processor or blender.

Add a good handful of freshly grated parmesan and some salt and freshly ground black pepepr.

Stir this lovely fragrant mixture together.

The sauce is now there, happy waiting for the pasta - so time to make the pasta!

Fresh I think is best for this dish and mainly because it’s super-quick and won’t make us too hot on this of hottest of days.

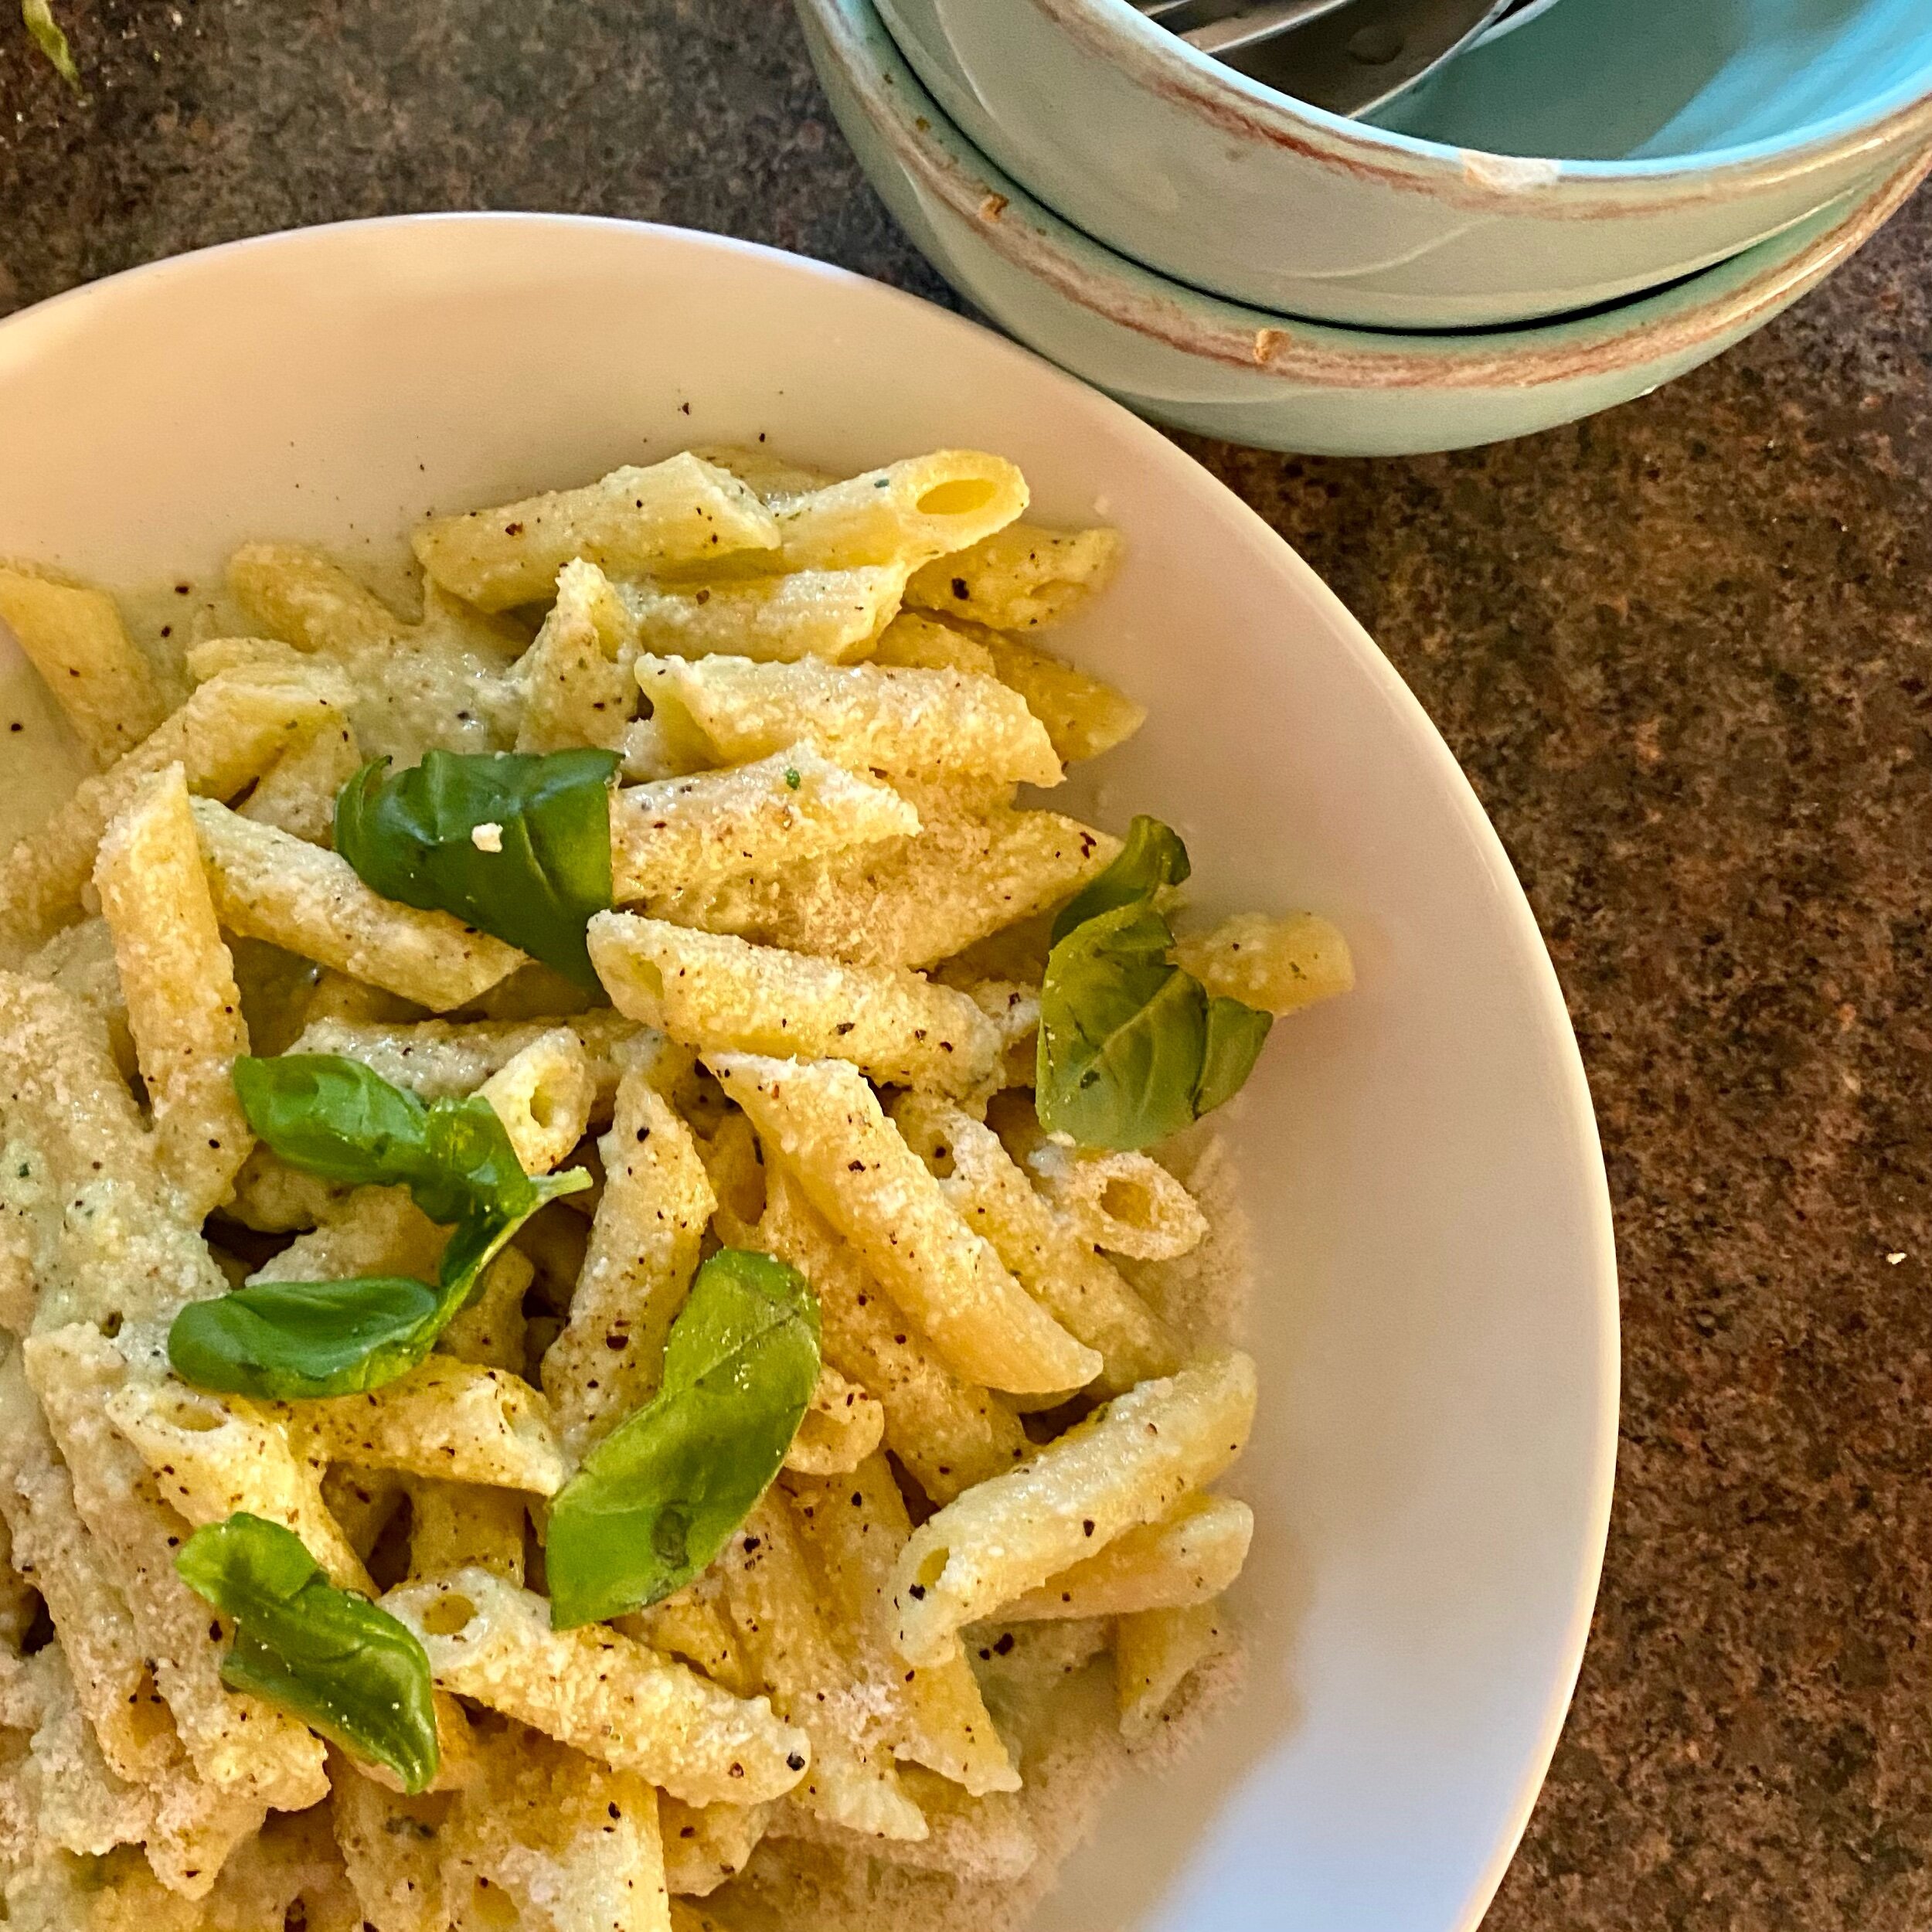
My fresh penne needed just five minutes on a low boil, then drained it was ready to put straight into the bowl of delicious courgette pesto sauce.

I just mixed it all in together, tasted - seasoned a little more - and it was ready.

I added a little more grated parmesan, a little more black pepper, and a few basil leaves to garnish and that was it.

So simple.

So delicious.

So good for these sweltering evenings when you really want to limit having the oven or hob on!


YOU MIGHT ALSO LIKE …

Midnight Diner’s tomato rolls

I just finished Season 3 of Midnight Diner …. and cried. Not for the first time this season either - it’s been absolutely beautiful and I’ve loved every second of it.

This is the second recipe I’ve made from this series as well - I’ll post the minced cutlets later. I only made one - the delicious omurice (Japanese chicken fried rice omelette) - from the previous two series and I’m now very (very) tempted to start again from the beginning and not only enjoy watching again but make every recipe this time.

There’s something about this amazing programme that just draws me in - I want to go there, I want to know the regulars (I feel I already do).

I want to open my own Midnight Diner. I want to make things I’ve never wanted to make before (like the liver and leek stir fry I just watched).

ANYWAY.

Season 3, episode 22.

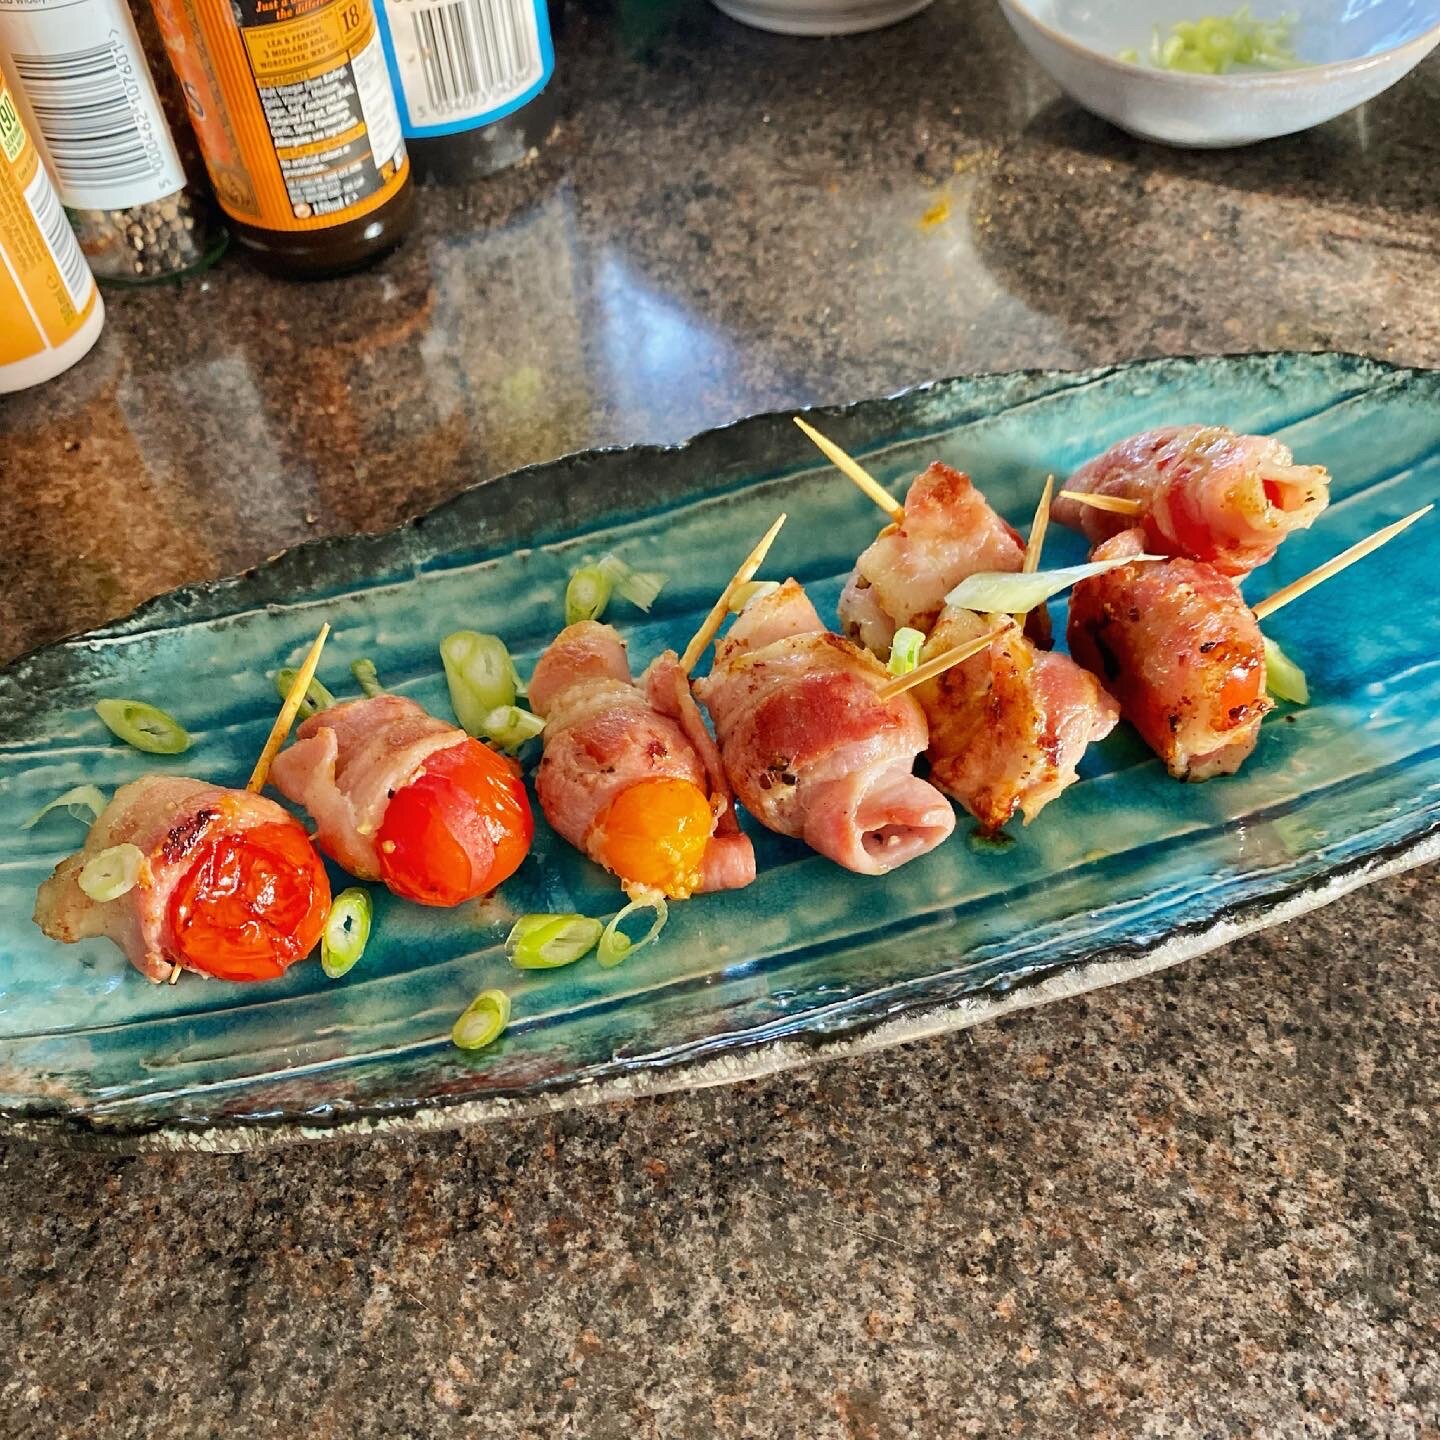
The one about the manga artist. The one where the recipe is pork-wrapped tomato rolls.

I made them a couple of times to practice and had them with a glass of wine (although kinda wanted beer really though as that’s how they had them in the Midnight Diner).

These are really simple and really good.

Cooled down just a little (those tomatoes are HOT) they would be amazing one-bite canapes. They’re also just really good as a starter or snack.

Do try these!


It couldn’t be more simple.

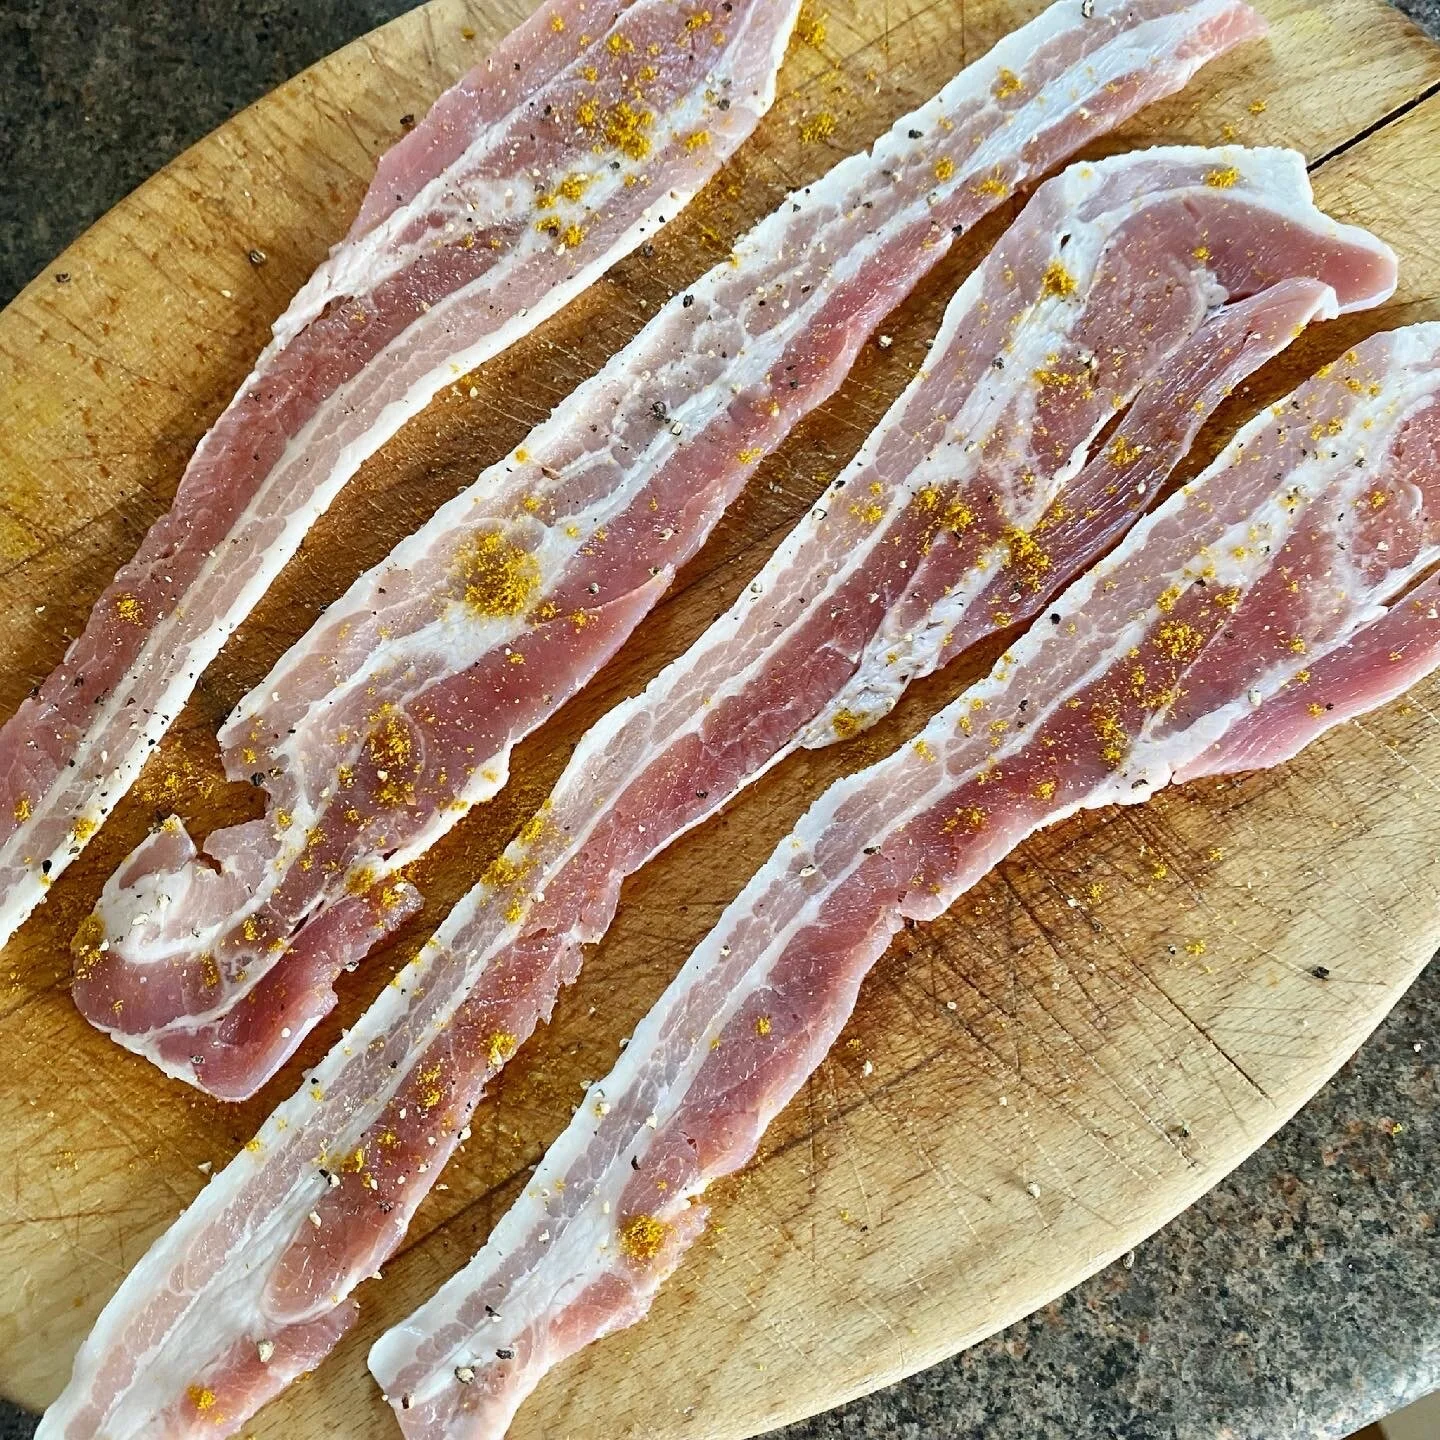
Take lovely streaky bacon and rub in a little pinch of curry powder and one each of salt and pepper (I like white pepper for this but you can use black pepper).

Stretch the rashers out using the flat side of a knife and then cut in half lengthways.

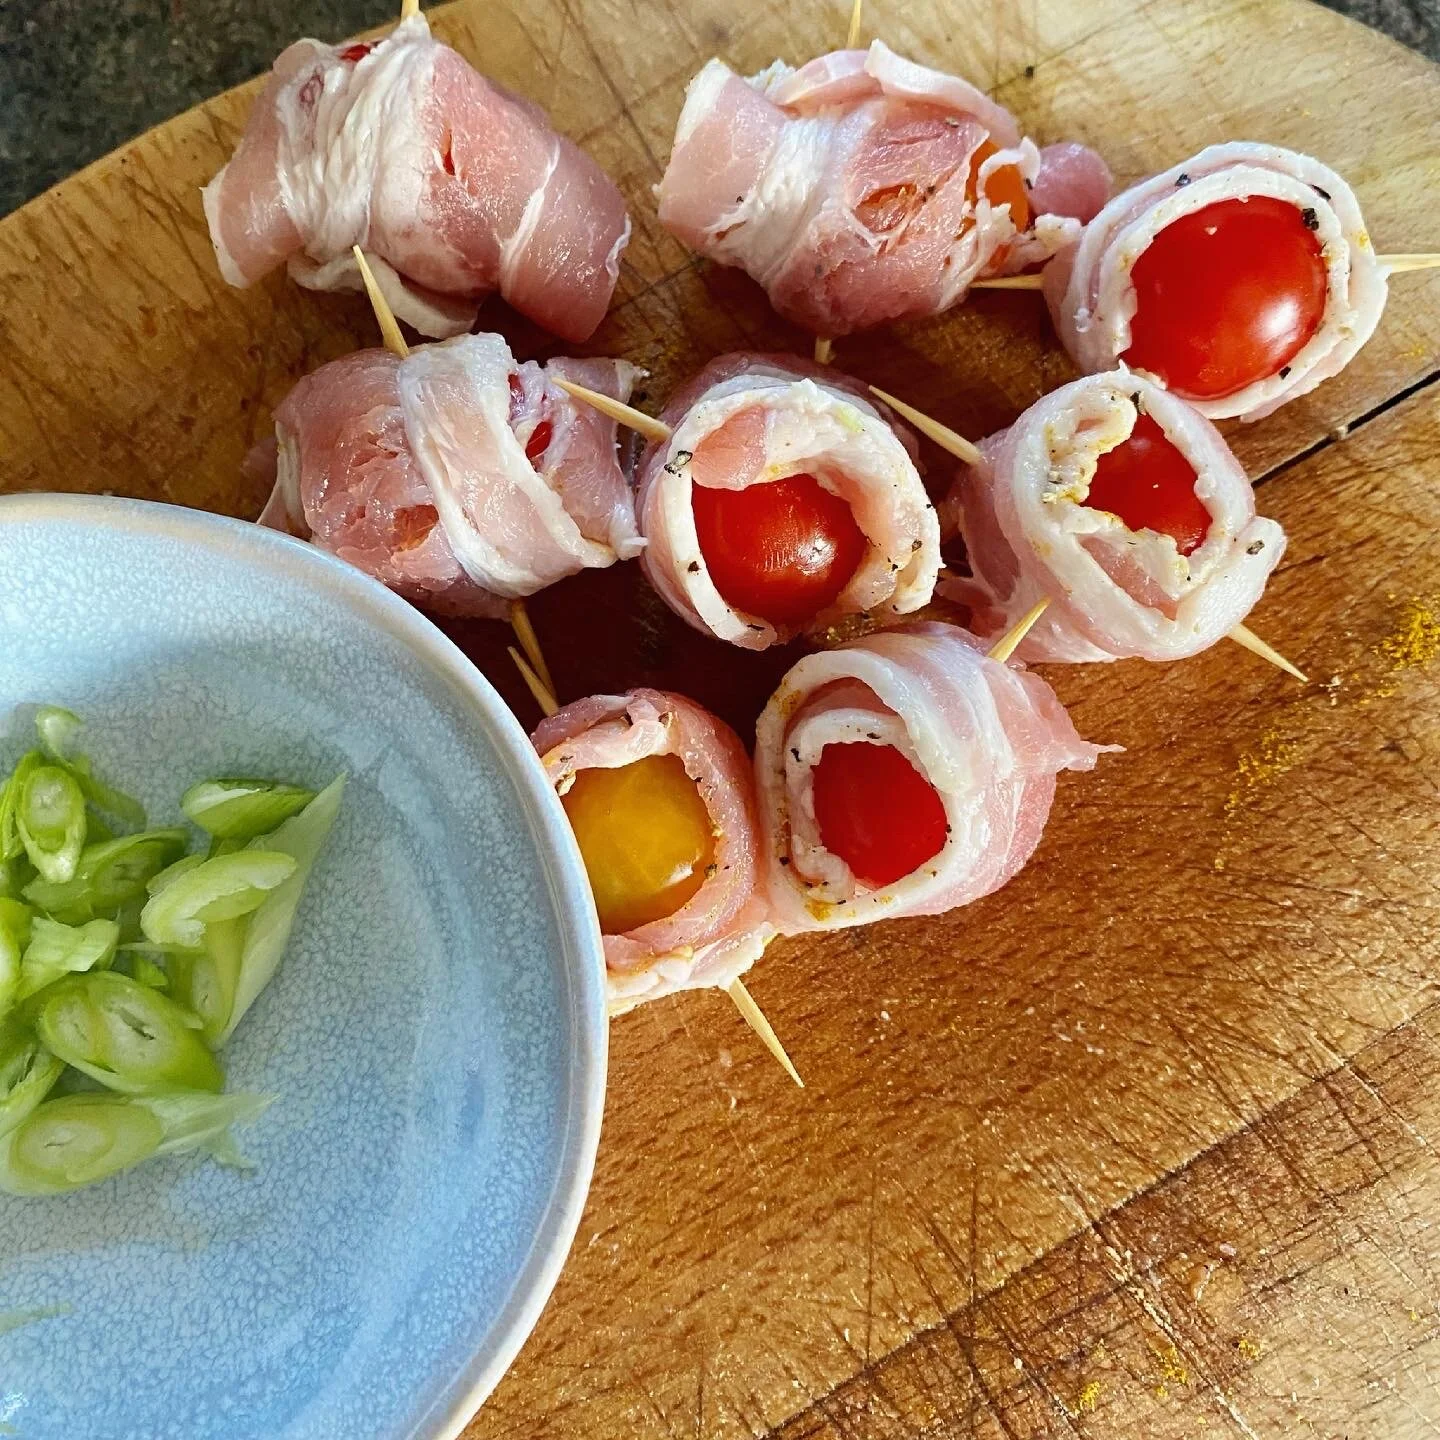
You could use skewers which I think they do on the series with three tomatoes on each, but I only had toothpicks so it’s just one tomato per toothpick here.

I pricked each cherry tomato a couple of times with the toothpick before wrapping it in a piece of the bacon and then securing with the toothpick.

I have cooked them in a little oil in a non-stick pan and also on a griddle and both worked well. Just have them on a medium heat so the tomatoes become properly beautifully sweet and soft, and the bacon browns. Turn regularly so the cook evenly. It’ll probably take around ten minutes in total but check and see when you’re happy they’re done.

To be honest, you should really add an extra two or three for those ones you’re going to need to taste!

I’m sure they’d also cook well on a tray in the oven but I haven’t tried that yet.

Sprinkle with some sliced spring onions or chives to look nice and they’re ready to serve.


YOU MIGHT ALSO LIKE …


Thai green curry turkey burgers

This is one of those that’s more an idea than a recipe as such.

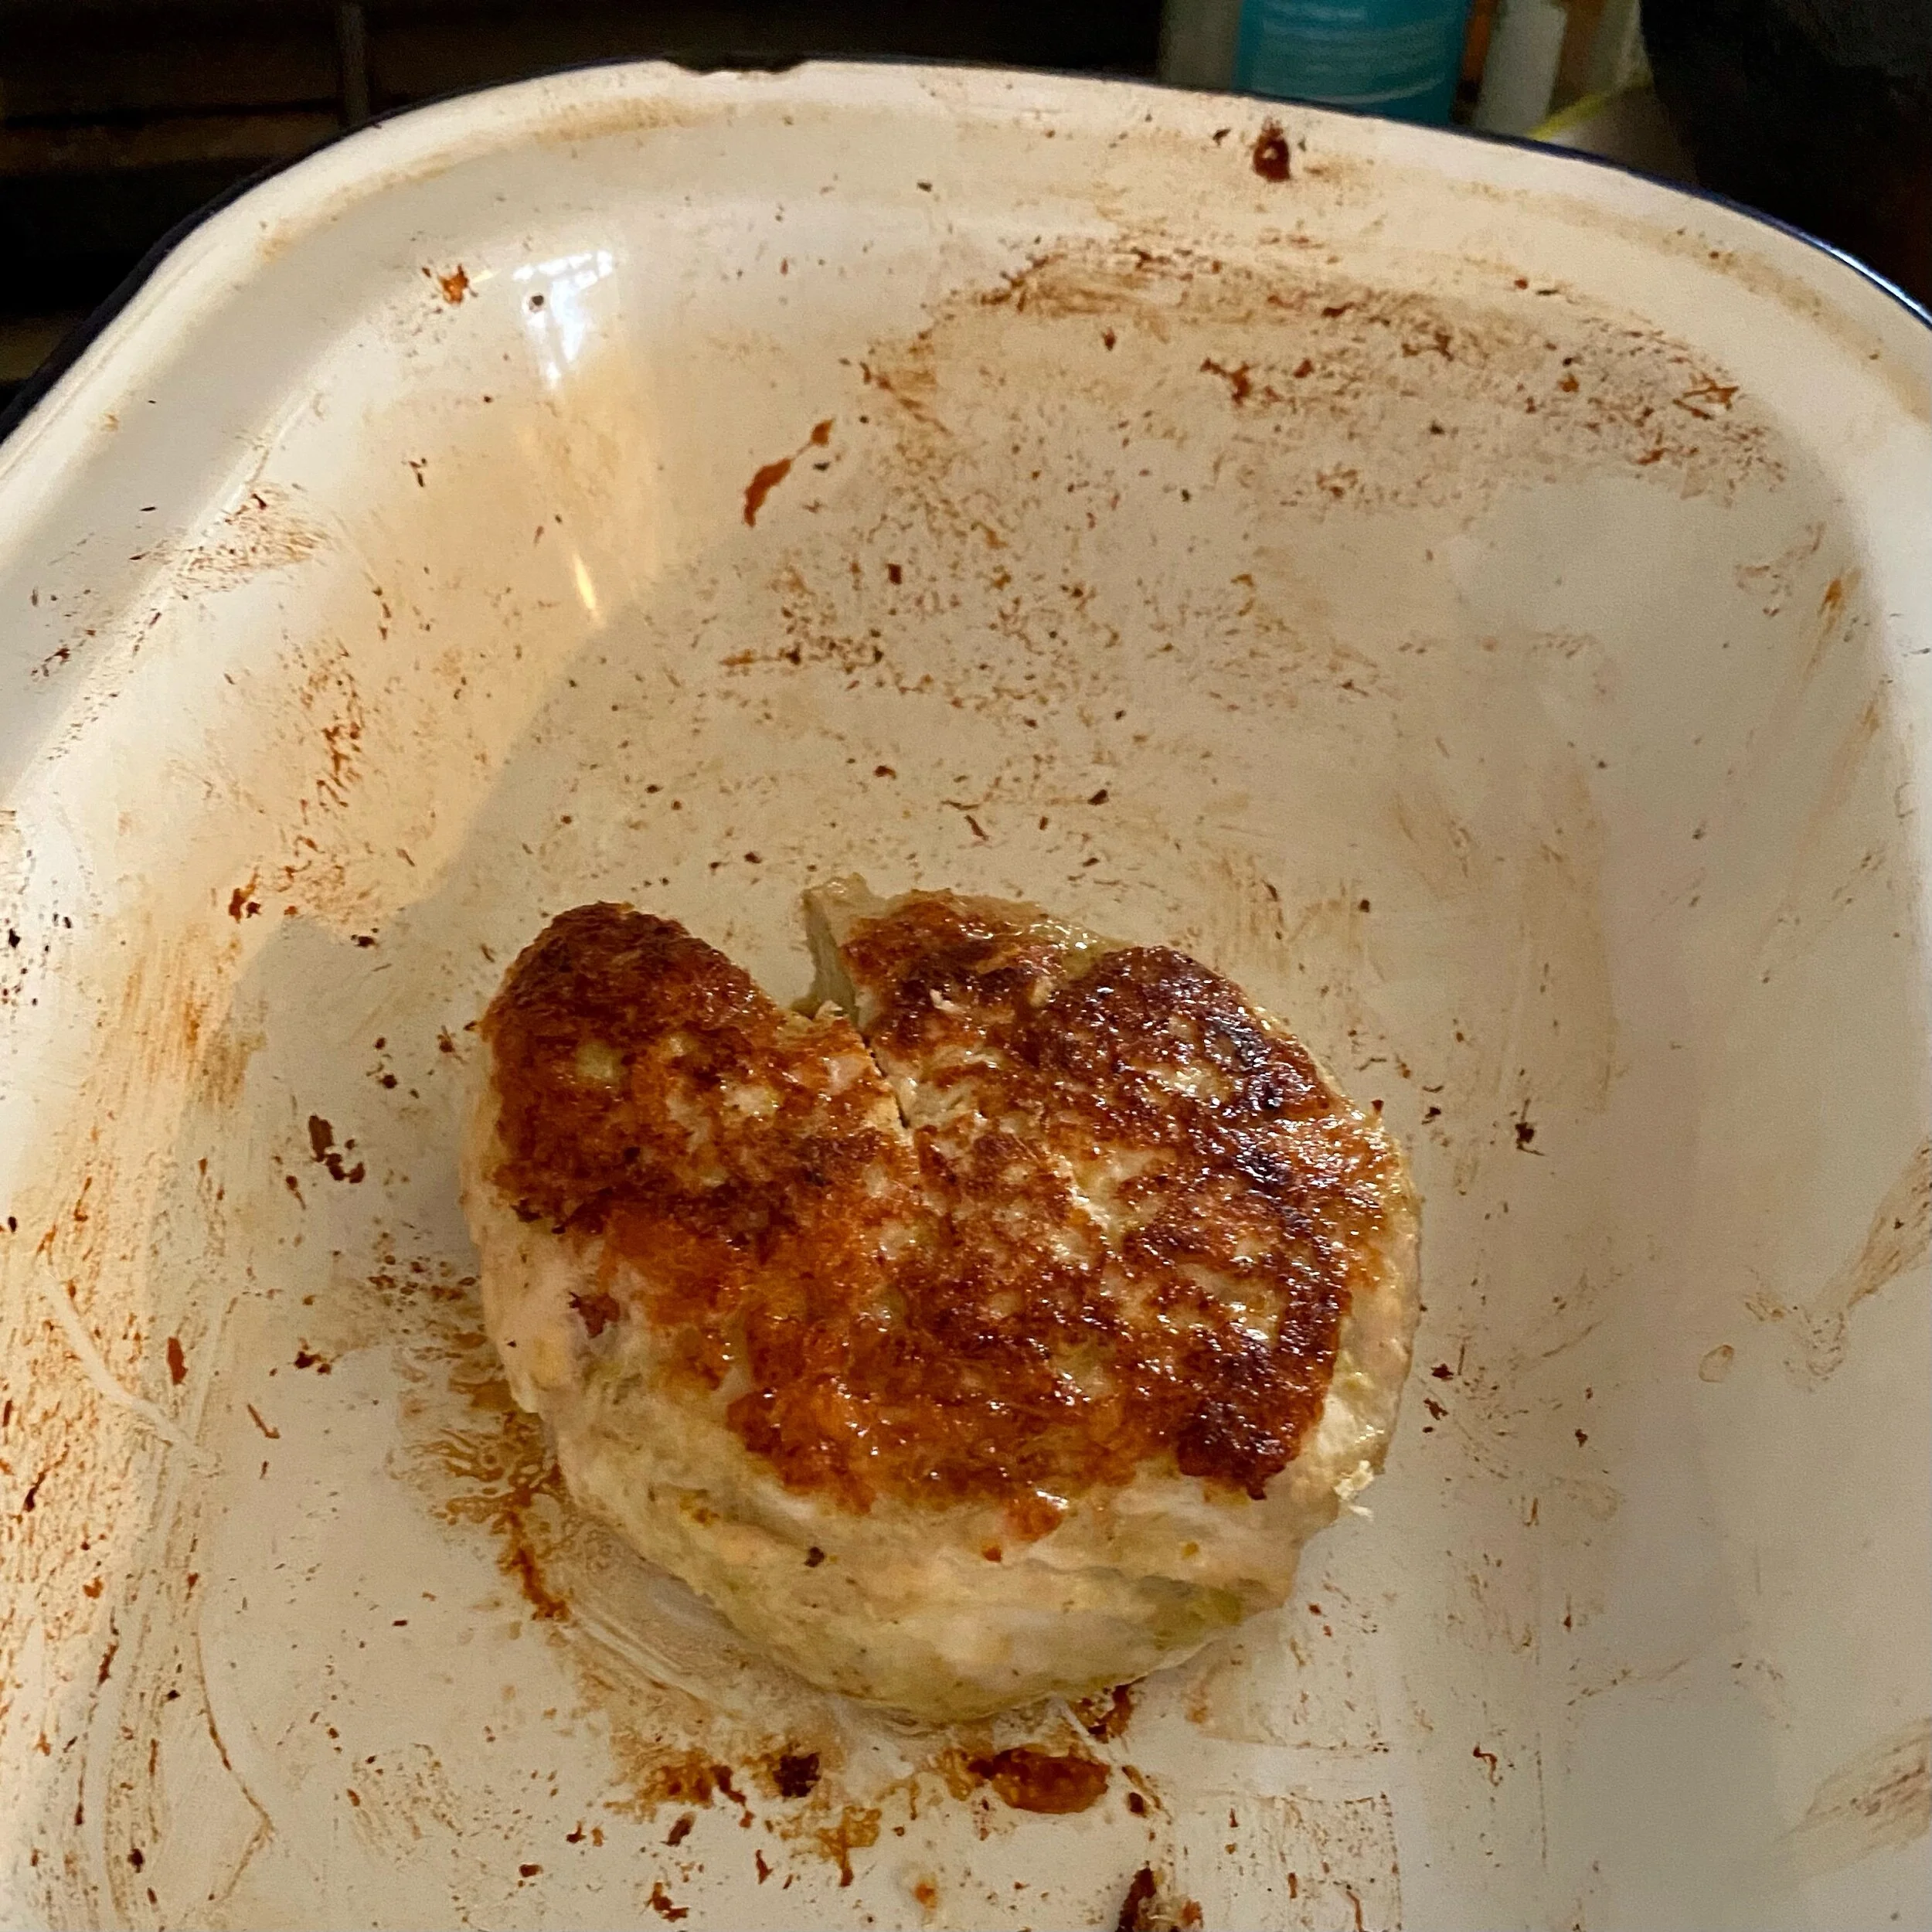
I literally just scrunched up maybe 100g or so of turkey mince with a good teaspoon of my favourite green curry paste and a squeeze of lime.

Browned on both sides in some hot oil in a non-stick pan and then cooked for 10 minutes or so in a medium oven.

C’est ca.

Literally that was it.

IMG_1261.jpeg
IMG_1264.jpeg

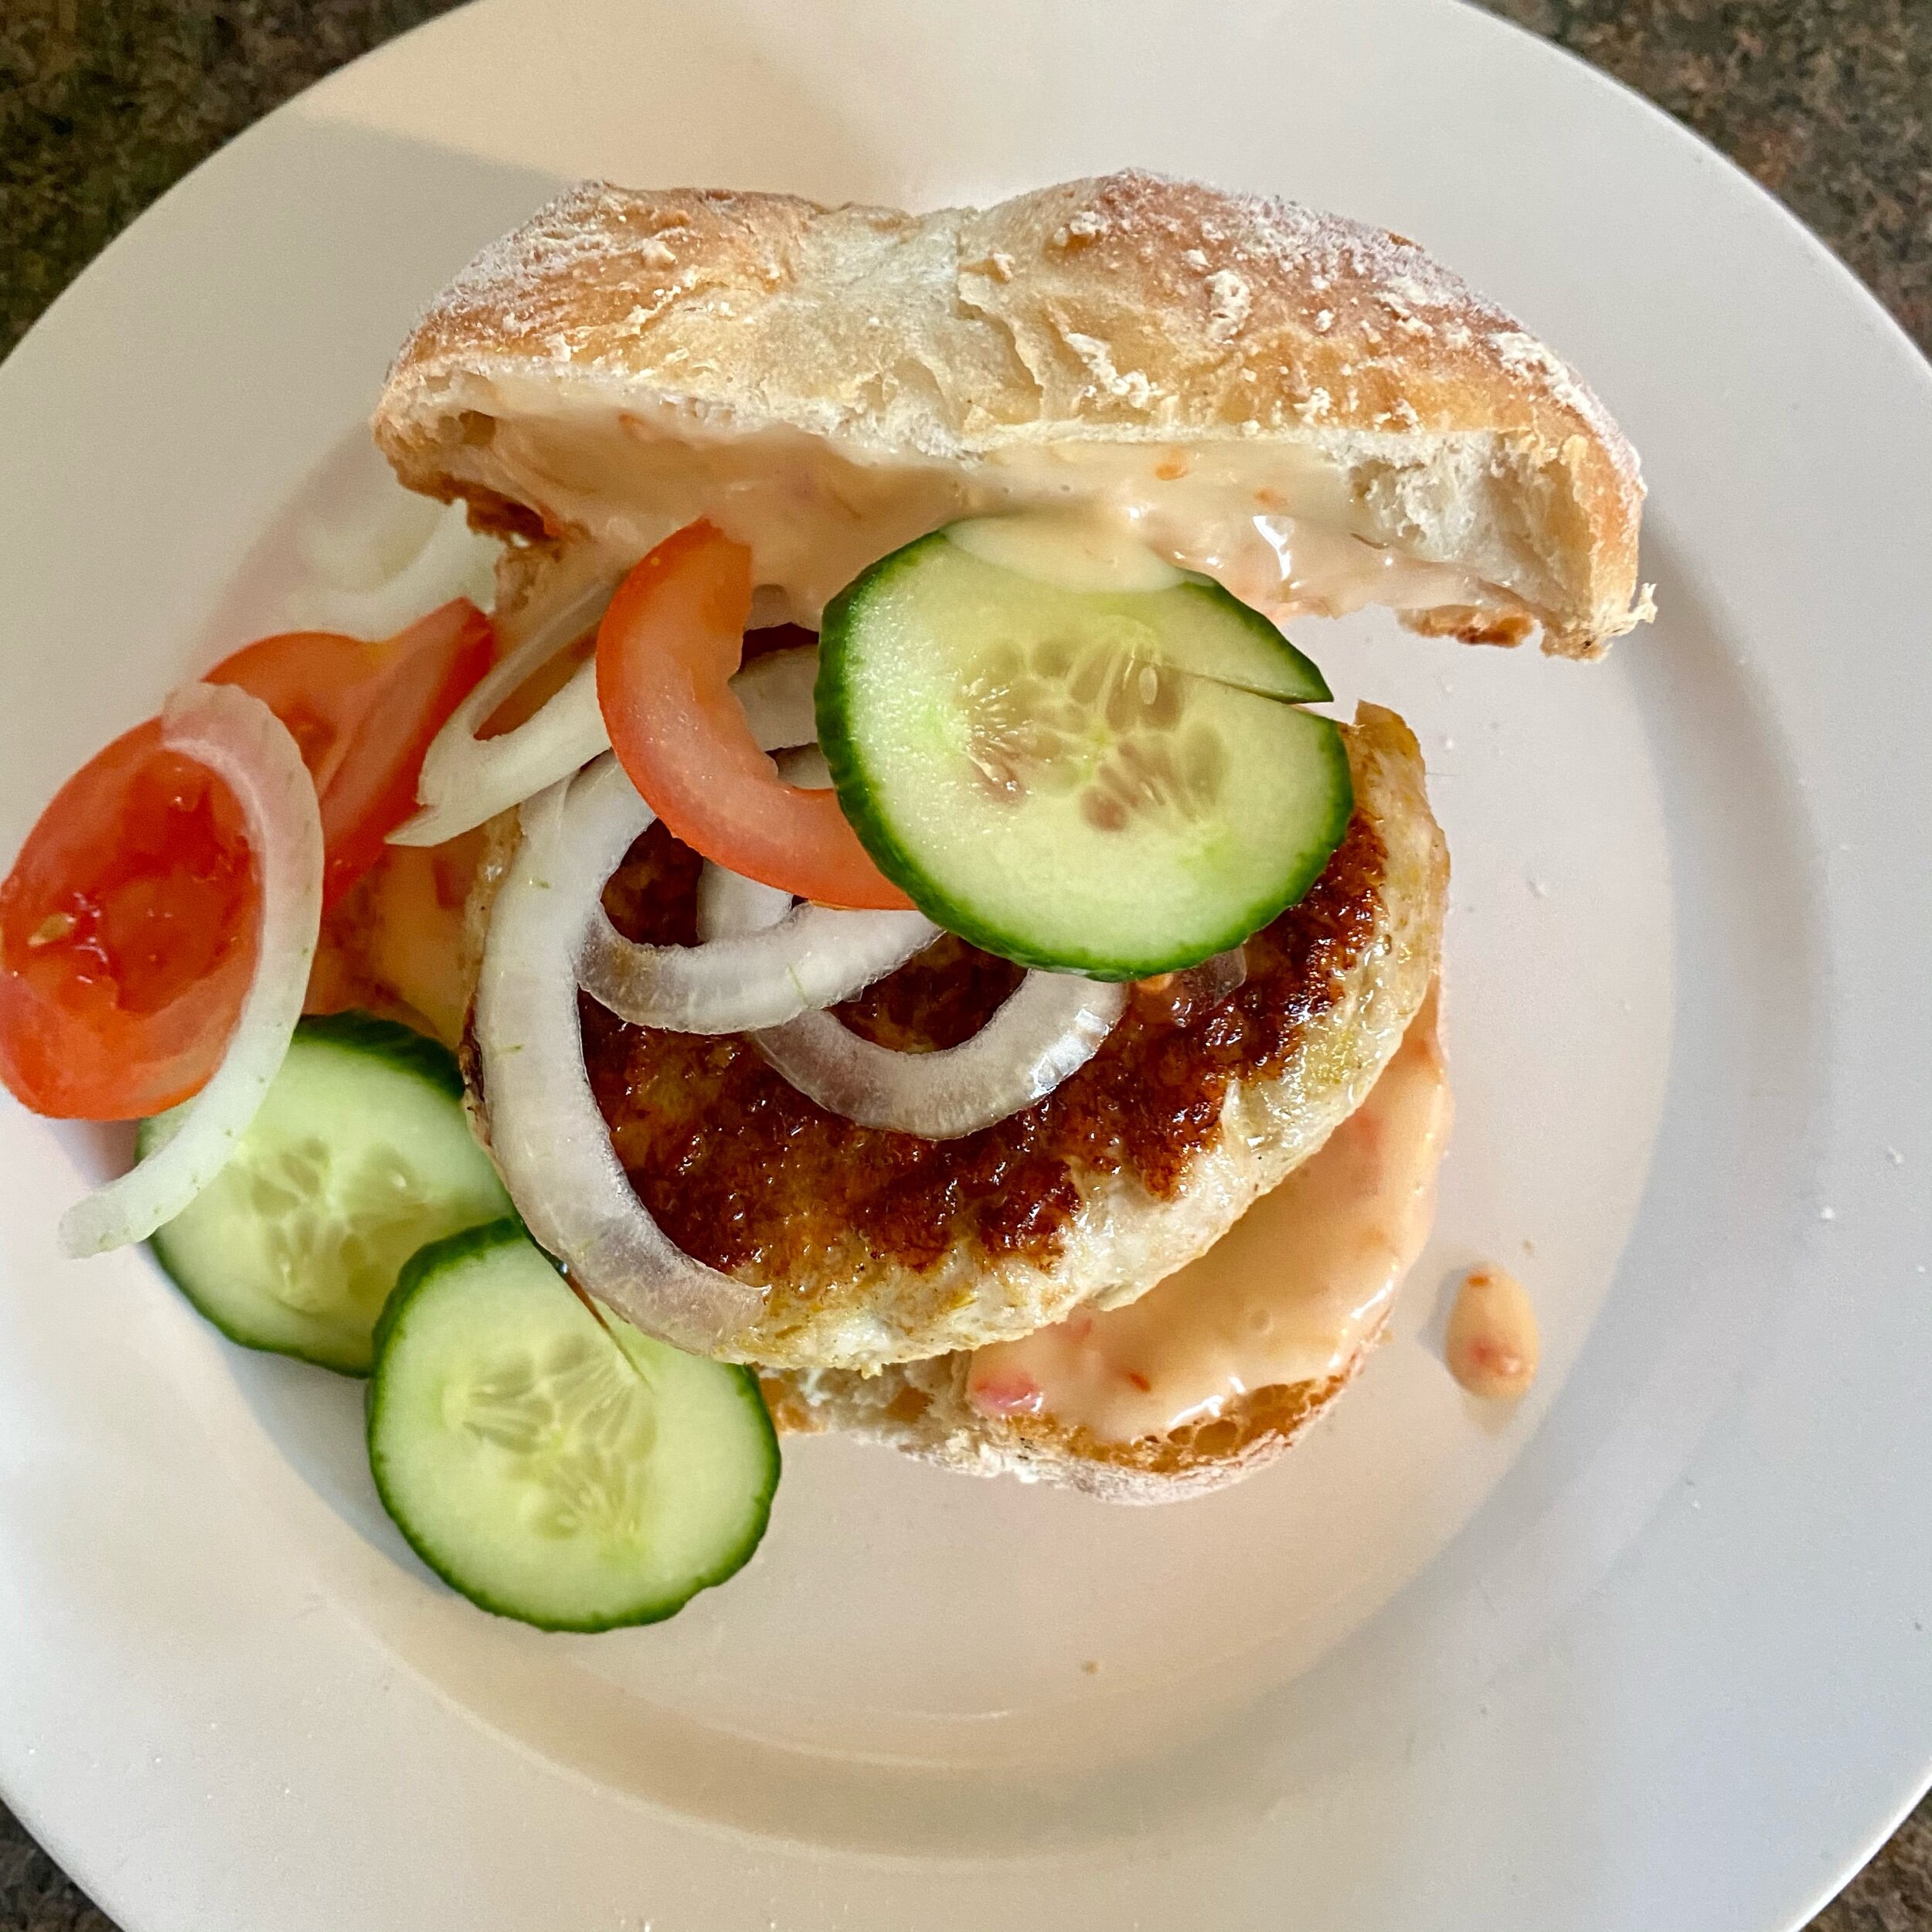
Oh hold on, I did make a sweet chilli lime mayo though to go with it.

A big spoon of a good shop-bought mayo (or make your own of course) plus a spoonful or so of Thai sweet chilli sauce.

Again shop-bought or make your own as you choose. Plus a good squeeze of fresh lime.

Taste, taste, taste and adjust as needed.

The first time I made these burgers I had them with leftover Burmese cabbage (but made with sprouts in keeping with the kind of Christmassy turkey theme).

And then I had them next with cucumber and tomato and onion and it did feel fresher and more tasty to me.

But again, all up to you!

Make them as you like and have them with what you like.

I really liked these and will be having again.

C82DCAE7-5487-4DEC-84A3-BD66CAE8E8F9.jpeg
IMG_1266.jpeg


YOU MIGHT ALSO LIKE …

Welsh rarebit

I love cheese on toast …. who doesn’t? Actually, really, IS there anyone who doesn’t?

But, confession. I have never, ever either eaten a proper Welsh Rarebit (or Welsh Rabbit and I understand it goes by both names) out for supper, or at home, or made it myself.

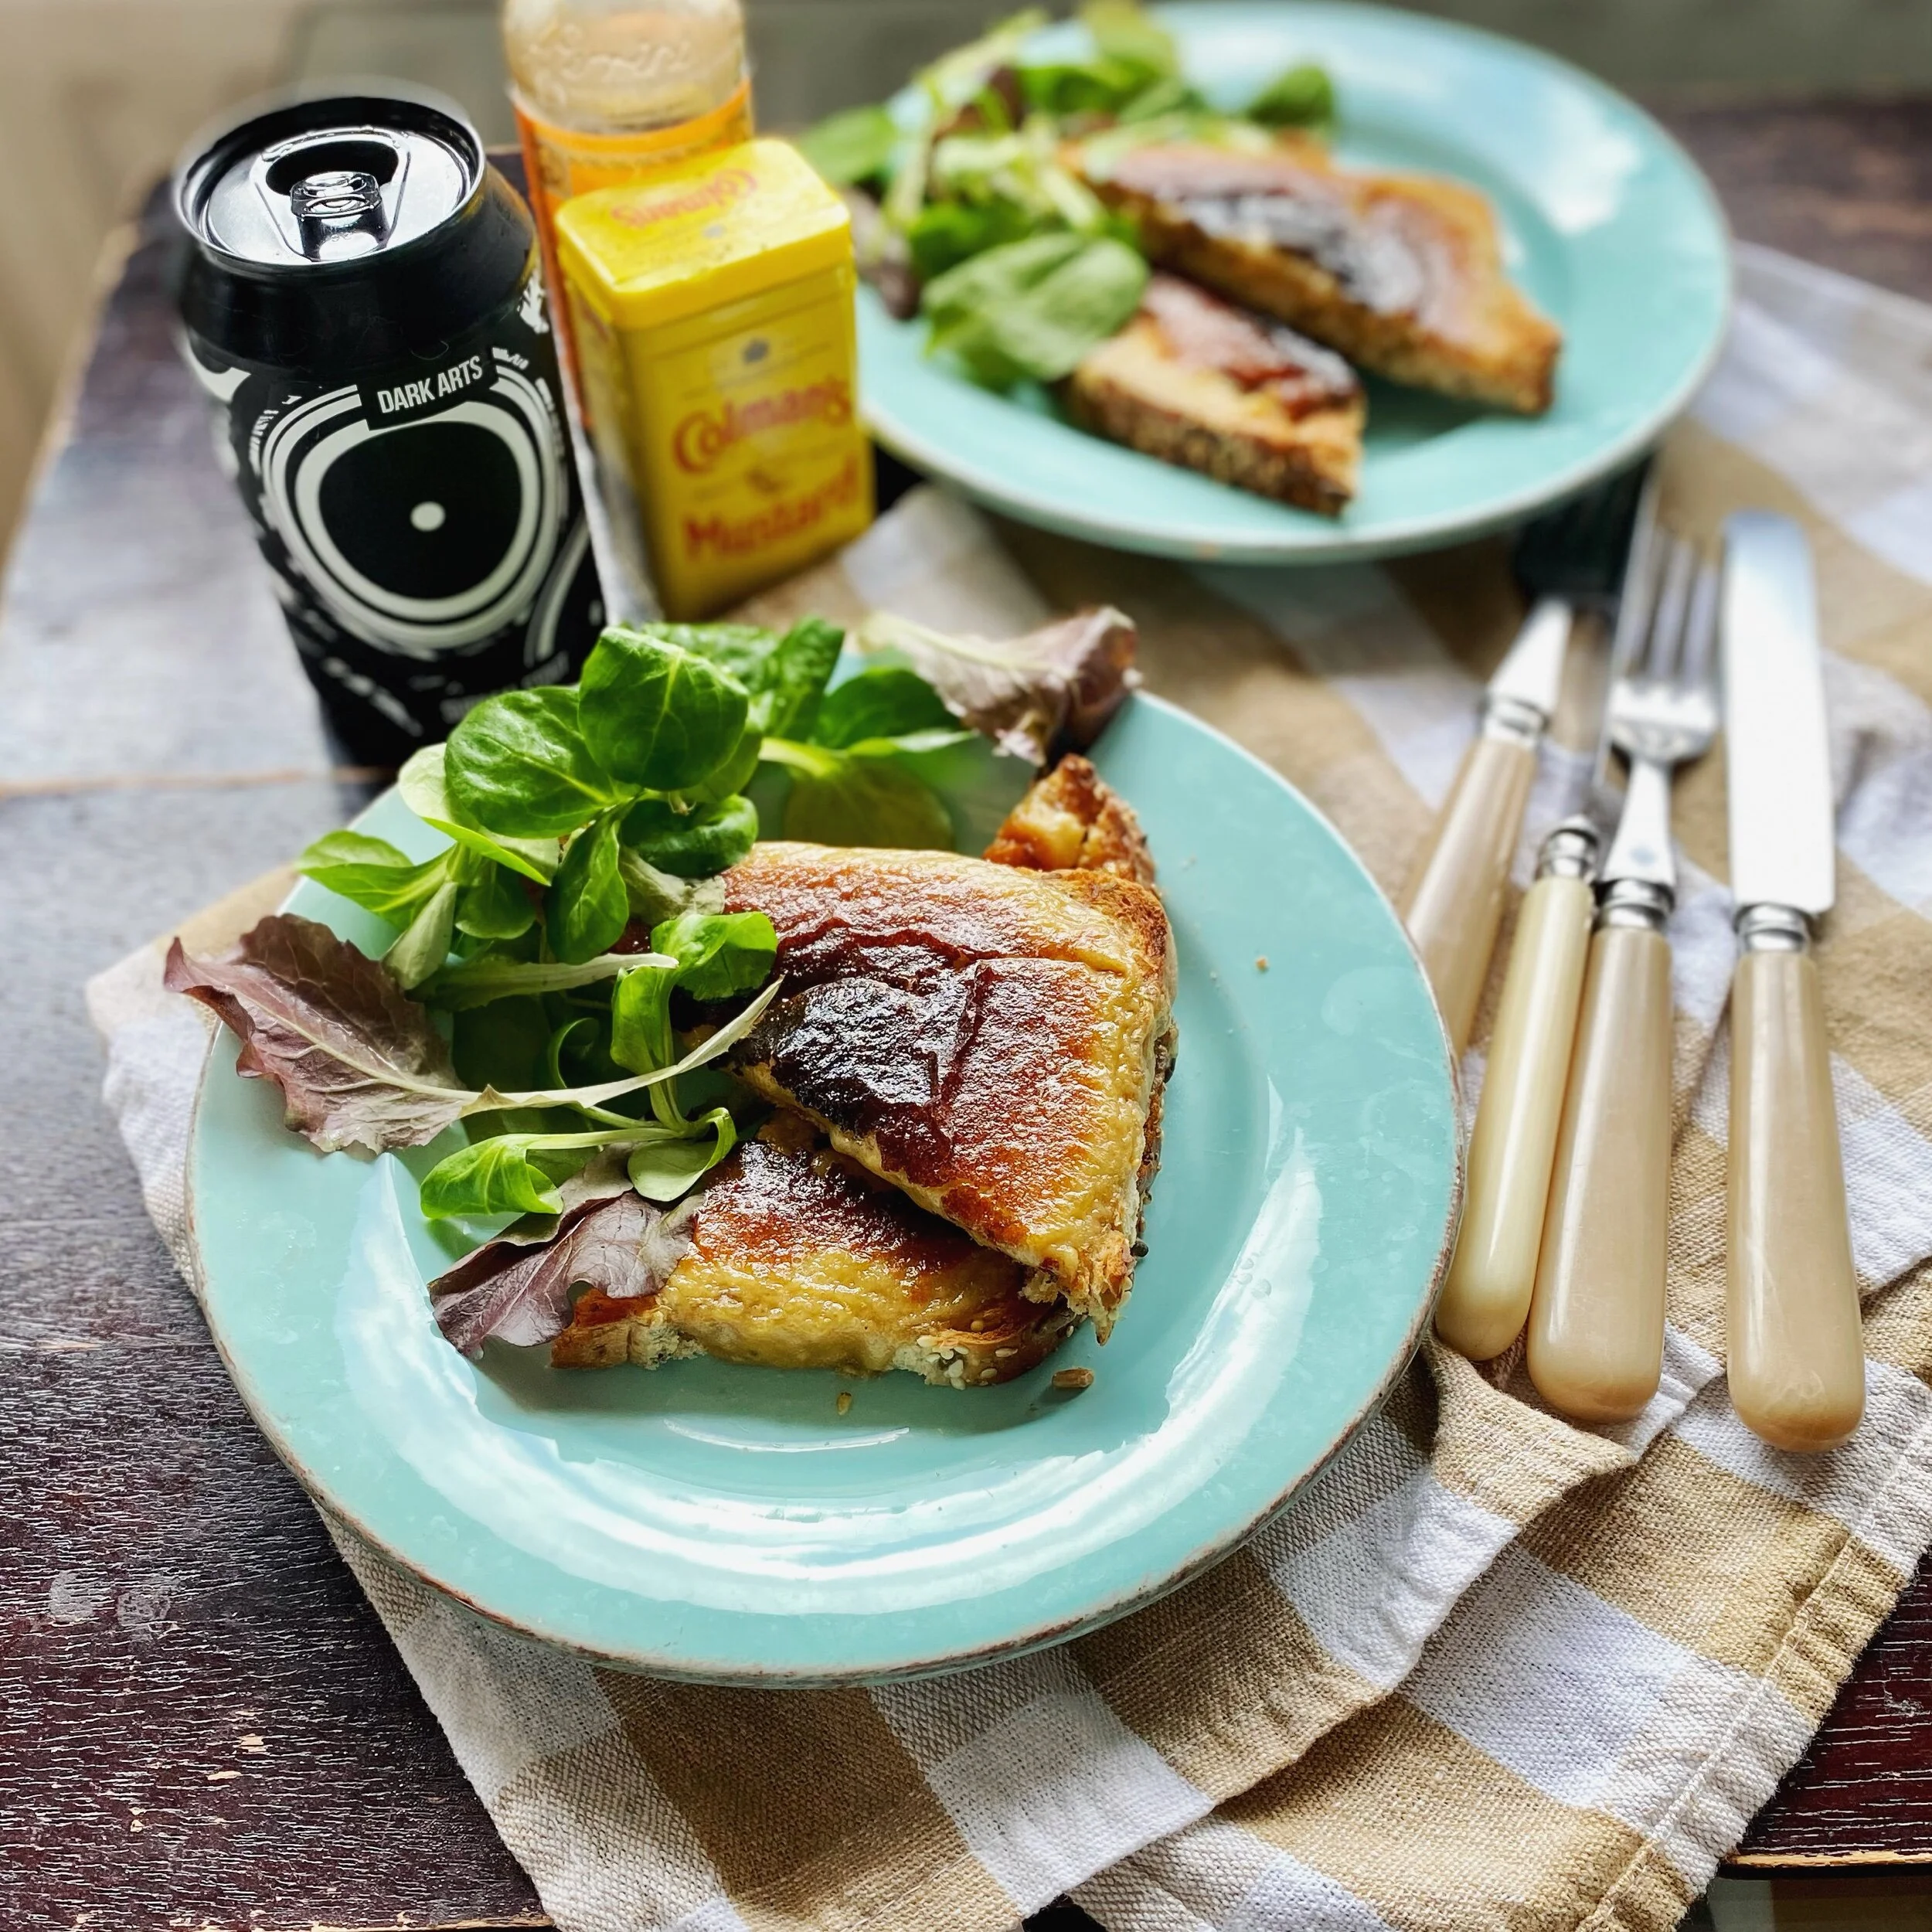
Last week at work, we had a just-for-fun challenge to make a Welsh Rarebit and it was just the impetus I needed.

I made it immediately! Ha, competitive much?

And it was so delicious I’ll definitely be making it again.

It was also much richer than I’d anticipated so I won’t be making it for lunch again - I think it’s definitely a light dinner or a supper option!

I could only get cheddar at my local shop but I’d like to try a Lancashire next time.

I did research many recipes online before deciding how I’d cook mine and in the end I went with The Guardian’s ‘how to cook perfect Welsh Rarebit’ (pretty much).

I liked it so much that I might buy another can or two of stout (never bought before in my life) and keep in the fridge for late night supper emergencies.


So, for two, here’s what you need:

2-3 tablespoons of stout

1 teaspoon English mustard powder

4 teaspoons butter

2 teaspoons Worcestershire sauce

175g of grated cheese (whichever cheese you like)

2 egg yolks (small or medium; or perhaps 1 large egg yolk)

2 slices of bread (I had some nice thick sliced seeded bread, but again of course use whatever you like)


Get a small pan and mix the stout and mustard power together over a low heat.

Stir in the butter and Worcestershire sauce and continue heating gently, stirring, until the butter has melted.

Next tip in the grated cheese and keep stirring over that nice gentle heat, until the cheese has melted - but don’t let it boil.

Remove from the heat while you toast the bread under the grill - just make sure to do one side a little more lightly than you want it when finished.

Beat the egg yolks into the warm cheesy mixture and then spoon over the more lightly toasted side of bread.

Put back under the grill and just keep watch - it suddenly bubbles up hugely!

When it’s bubbling and golden and beautiful, then it’s done.

Eat immediately - just as it is or with some salad on the side perhaps - I liked the fresh cool salad alongside the rich cheese on toast.

B20642F8-C0D6-4387-82E2-573F4F8460B3.jpeg


YOU MIGHT ALSO LIKE …

Vietnamese duck in spiced orange juice

Well, I’ve been meaning to share this one for a (long) while now. I’ve put it off because I don’t think my photos look that good - it’s so much harder getting good dinner photos in winter in the dark!

I’ve decided that it’s such a beautiful, special and yet still simple recipe that I’m going to post it anyway and I’ll come back another time with new-and-improved pictures.

But for now, I don’t want to put off sharing it any longer.

This is a Rick Stein recipe that I confess I’ve never read or seen myself. One day - a while ago - a friend texted me that she was watching a Rick Stein programme and they were making an amazing duck in orange juice dish.

I googled it and didn’t actually come across the original recipe but did find several blogs sharing that recipe, so I read a couple of those. I read the recipes through and knew I needed to simplify it to work for me - I just won’t ever get round to getting a whole duck and having it jointed, for instance, but I really did want to make this recipe.

So here’s my simplified version of another blogger’s version of a Rick Stein recipe ….


This is for two people and you’ll need:

2 duck breasts

2 cloves of garlic, peeled, crushed and minced

a good piece of fresh ginger, peeled and grated (probably around equal amount to the minced garlic)

Approx 1/2 litre orange juice (fresh with bits is good but normal orange juice in a carton will work too so don’t get hung up on it)

2-3 birds eye chillies - red is ideal but green is good too. First time I made this I diced them all and it was spicy - I think the original puts them all in whole to flavour the dish whilst cooking. This time I made it I sliced one and put the other two in whole (you can remove them at the end before eating)

2-3 star anise (and just how beautiful are they? I LOVE star anise)

2 tablespoons fish sauce (last night I didn’t have any so used light soy sauce and it was still good)

2 teaspoons granulated white sugar

chopped zest of a lime and the juice of half a lime (the original recipe says to use lemongrass but I didn’t have any so this is simpler)

ground black pepper

1/2 teaspoon corn starch mixed with 1 teaspoon water

a few spring onions, chopped as garnish (the green part looks nicer, but I used the white part - another thing to change when I make it again and take new photos!)


Adjustments.jpeg
IMG_1099.jpeg

Get all the ingredients together so you’re ready to go.

Put a good big-enough-to-cook-it-all-in non-stick pan over a medium high heat and add the duck breasts, skin side down.

Cook for 5-6 minutes until the skin is crisp then turn (carefully, it’s going to spit!) and cook on the other side for three minutes.

Turn off the heat and remove the duck breasts and put into a dish for now.

You only need a tablespoon or so of the duck breast oil now in the pan so spoon any extra away - you could keep in a jar to make roast potatoes another time.

Add the garlic and ginger into the pan with that duck oil and turn the heat back on. Cook on a low heat for 30 seconds or so, stirring all the time, until it just smells amazing!

Next add the orange juice, chillies, star anise, fish/soy sauce, sugar, lime zest and juice. Stir it all together and season with freshly ground black pepper.

Bring slowly to a nice gentle simmer and return the duck breasts to the pan.

Partially cover and simmer for about 40 minutes.

Check on it and perhaps turn the duck over and cook for another 15-20 minutes or so.

Take the duck pieces out and keep warm.

Skim off any fat on the surface and then turn the heat up and boil to reduce slightly (don’t do this if your sauce has already reduced enough of course). Add the corn starch in water, stir and simmer again for a couple of minutes.

And then serve this up in whatever way looks most delicious to you!

You could keep the duck breasts whole and put them on top of rice and ladle the sauce over, or you could slice them and pour the sauce over ….

Garnish with spring onions (the pretty green part ideally) and eat with rice.

This is such a gorgeous dish I really hope that you try it and like it.

Adjustments.jpeg
5118BC2C-004B-4AA8-B125-687415B1ADDC.jpeg


YOU MIGHT ALSO LIKE …