Starters and snacks

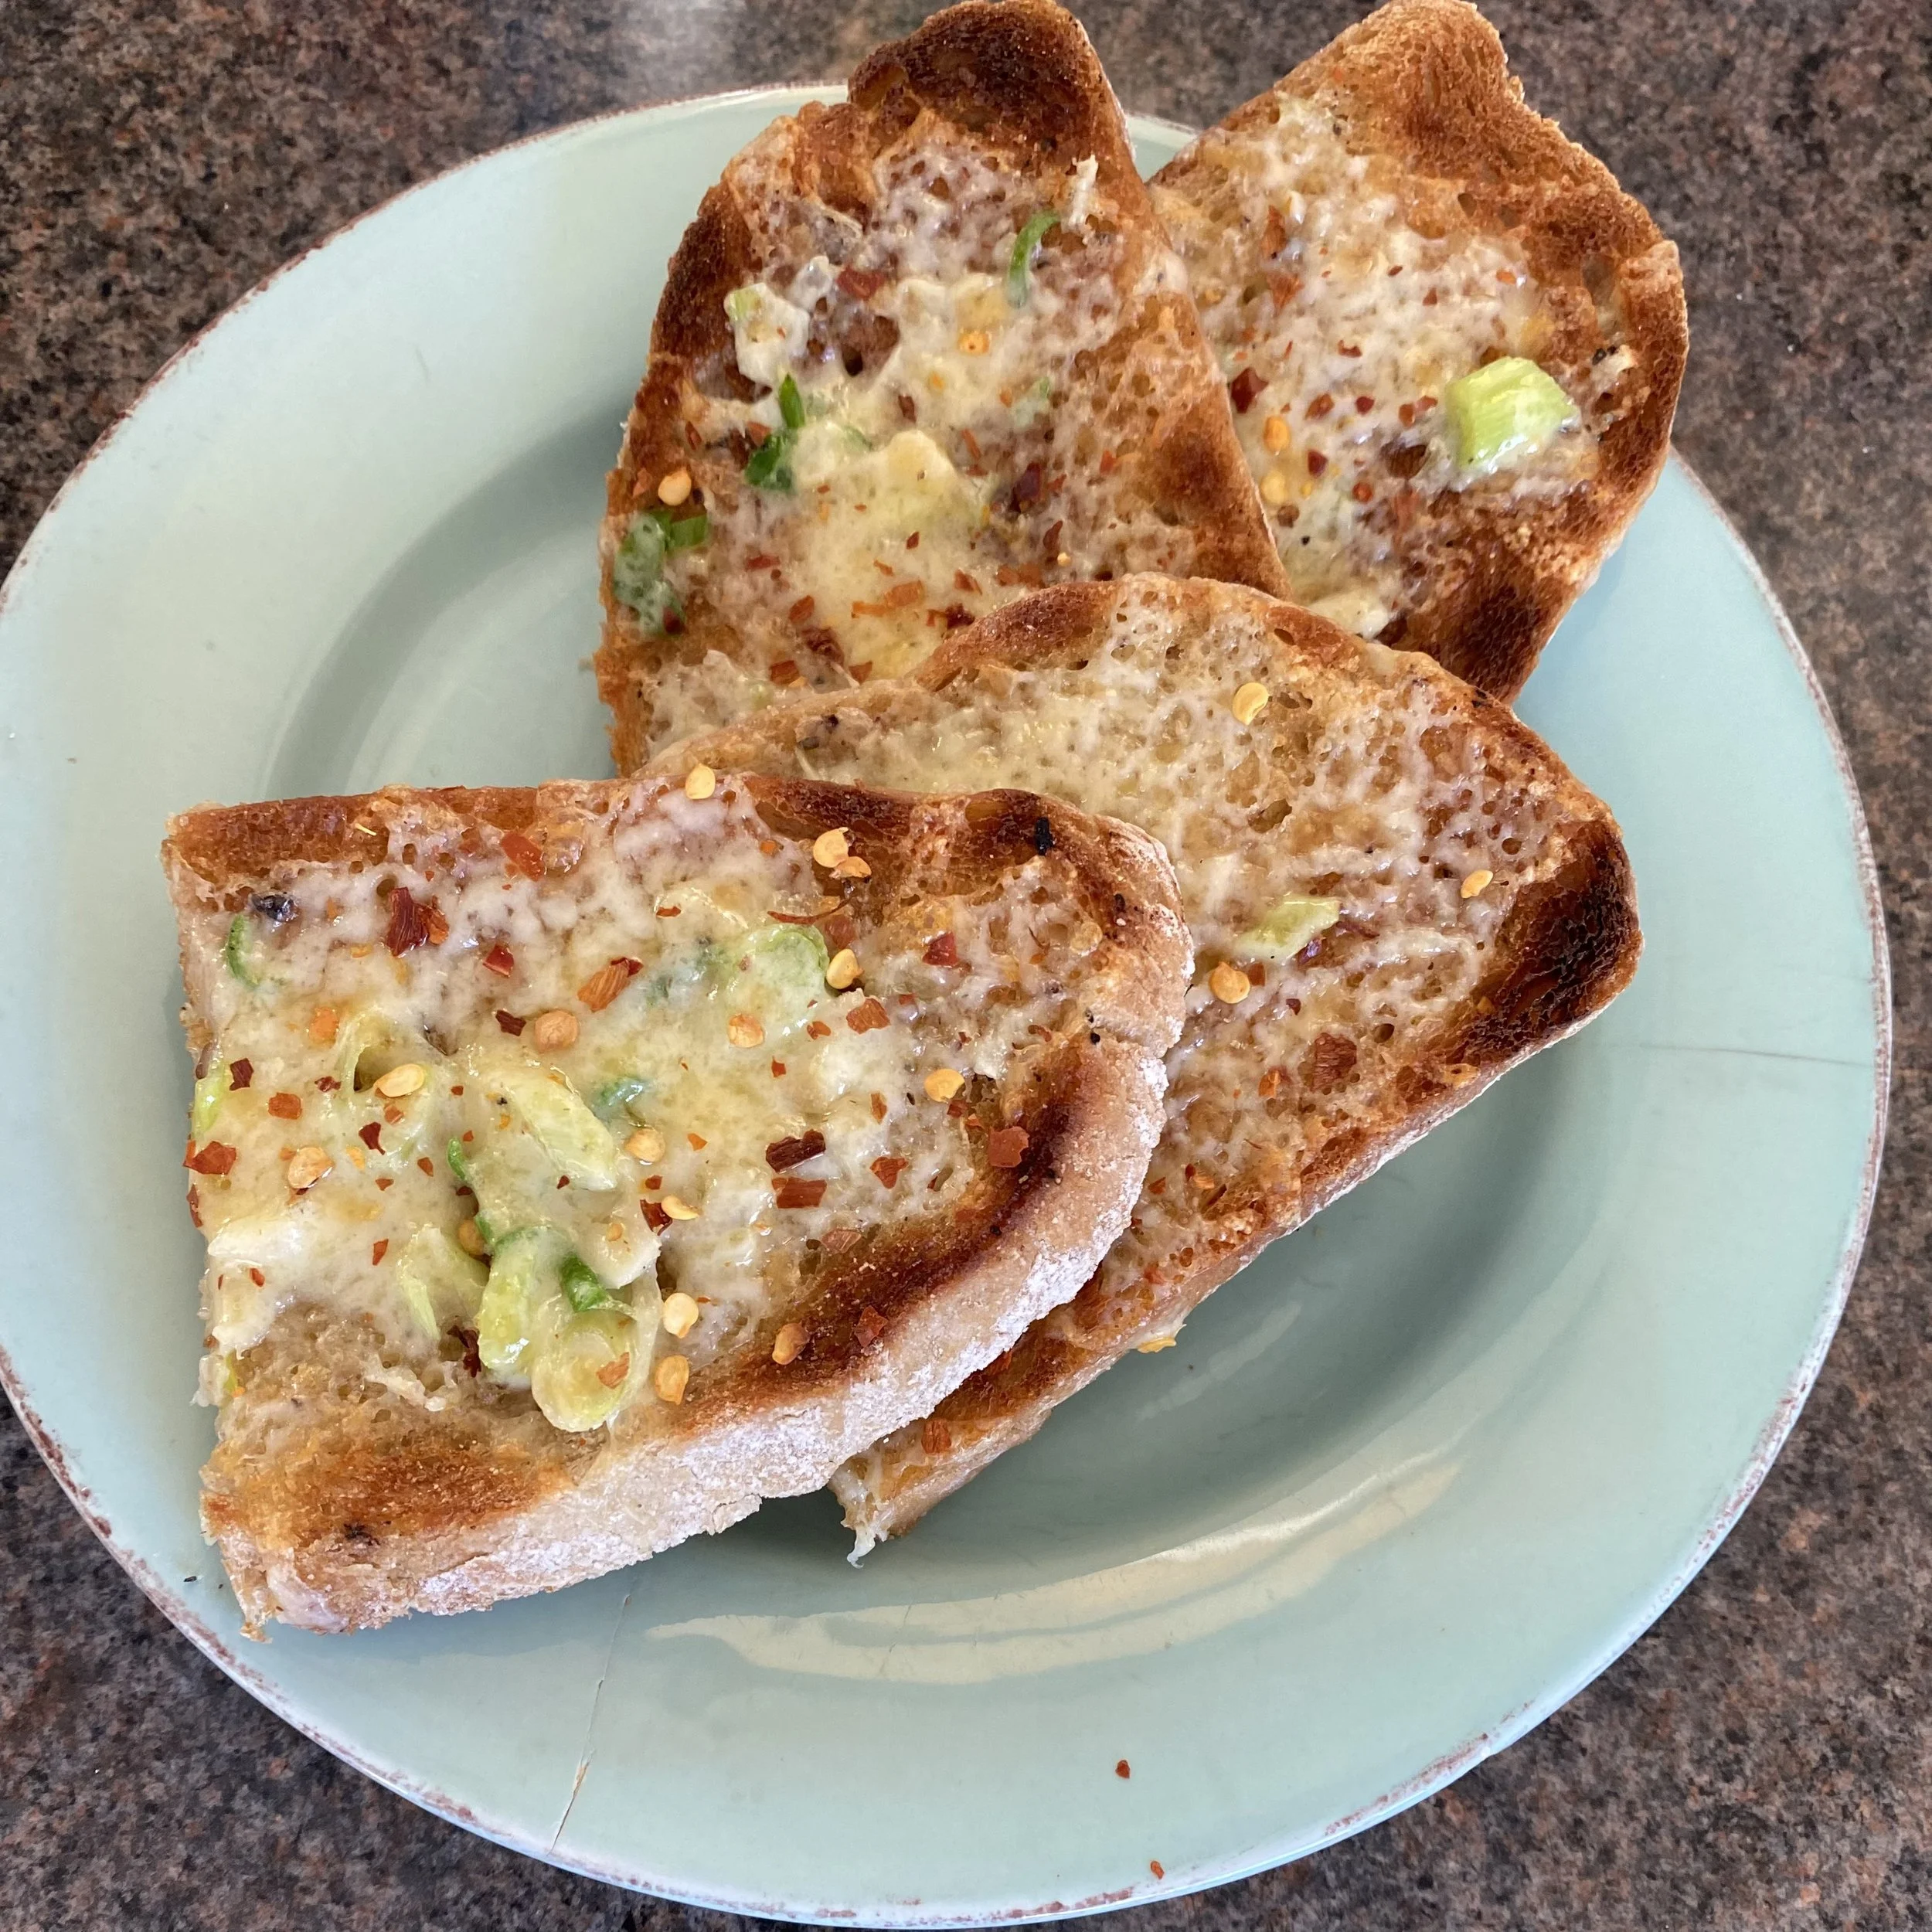
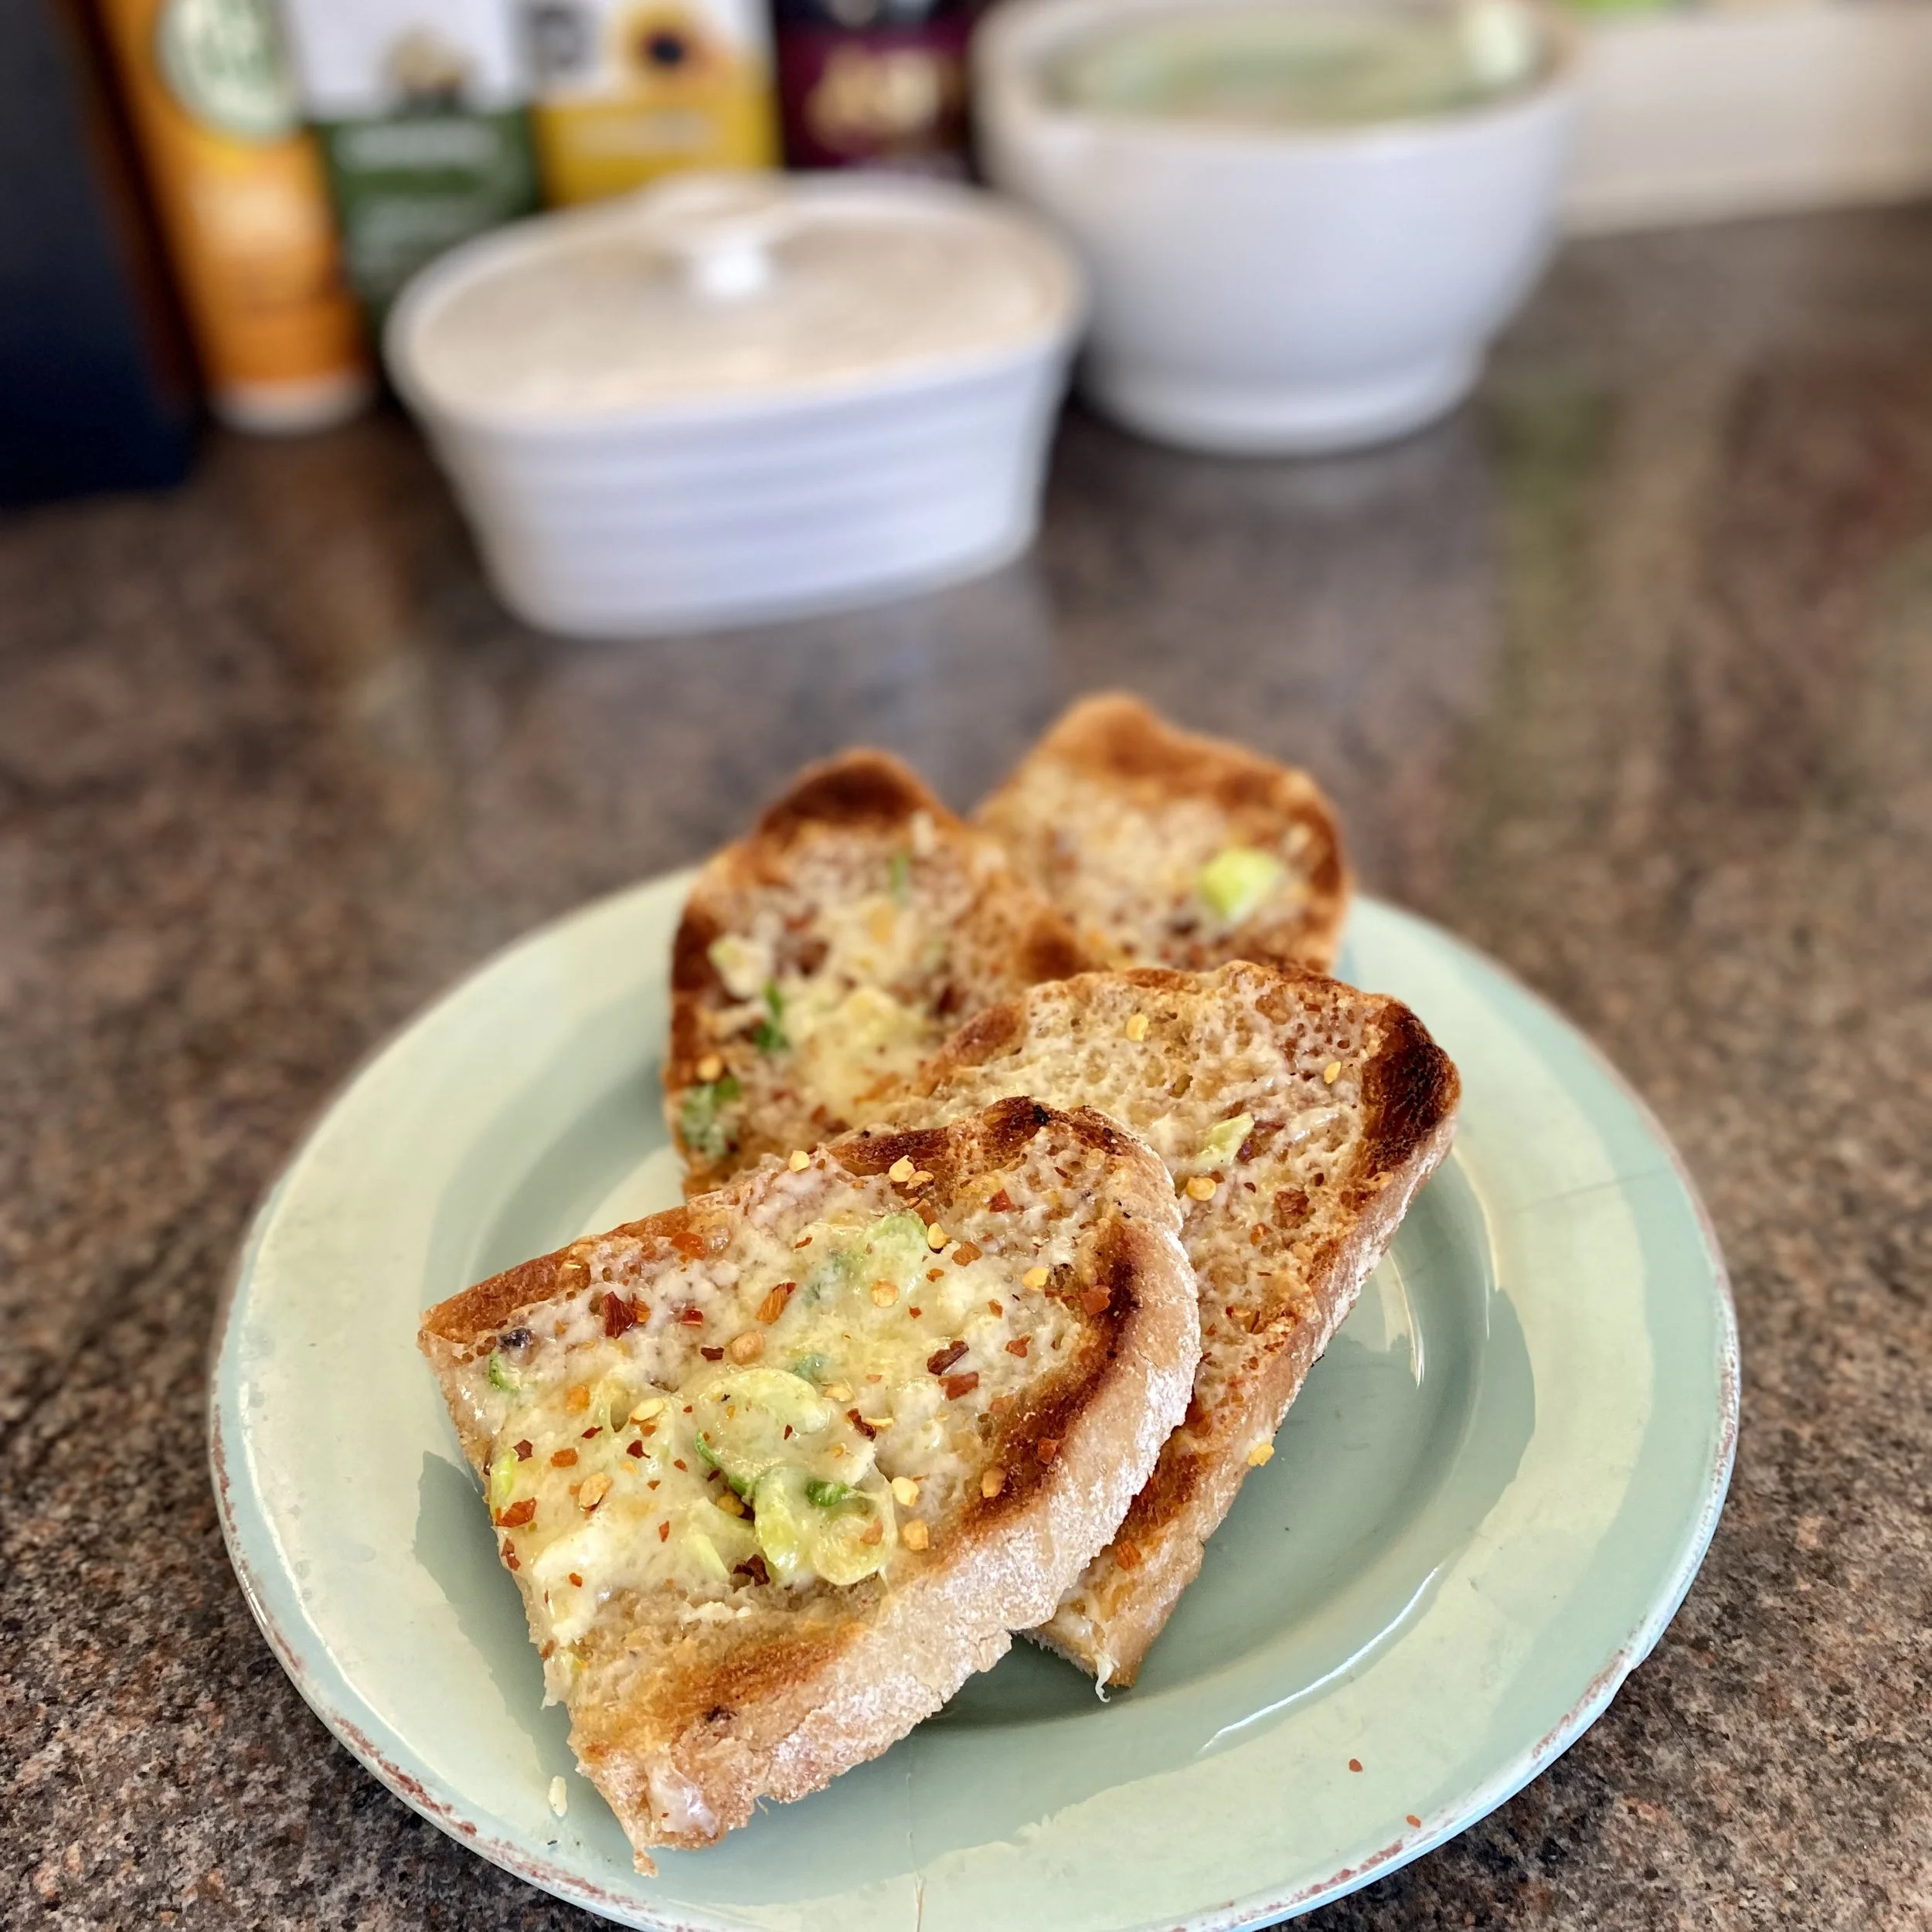
Chilli cheese on toast

You know how sometimes you think you’ve just invented the best dish ever?

And then you google it and yes, it is amazing, but no, sorry, you definitely didn’t invent it …..?

Well, that just happened to me earlier this week with this amazing chilli cheese on toast.

I mean, I thought cheese on toast with extra chillies was entirely my idea! (hehe, even as I write this I do know that I didn’t actually invent it, obviously).

Anyway, anyway, anyway …

If YOU haven’t yet invented chilli cheese on toast, well then I invite you to do so right now.

It’s very good and all you need (for one greedy one) is:

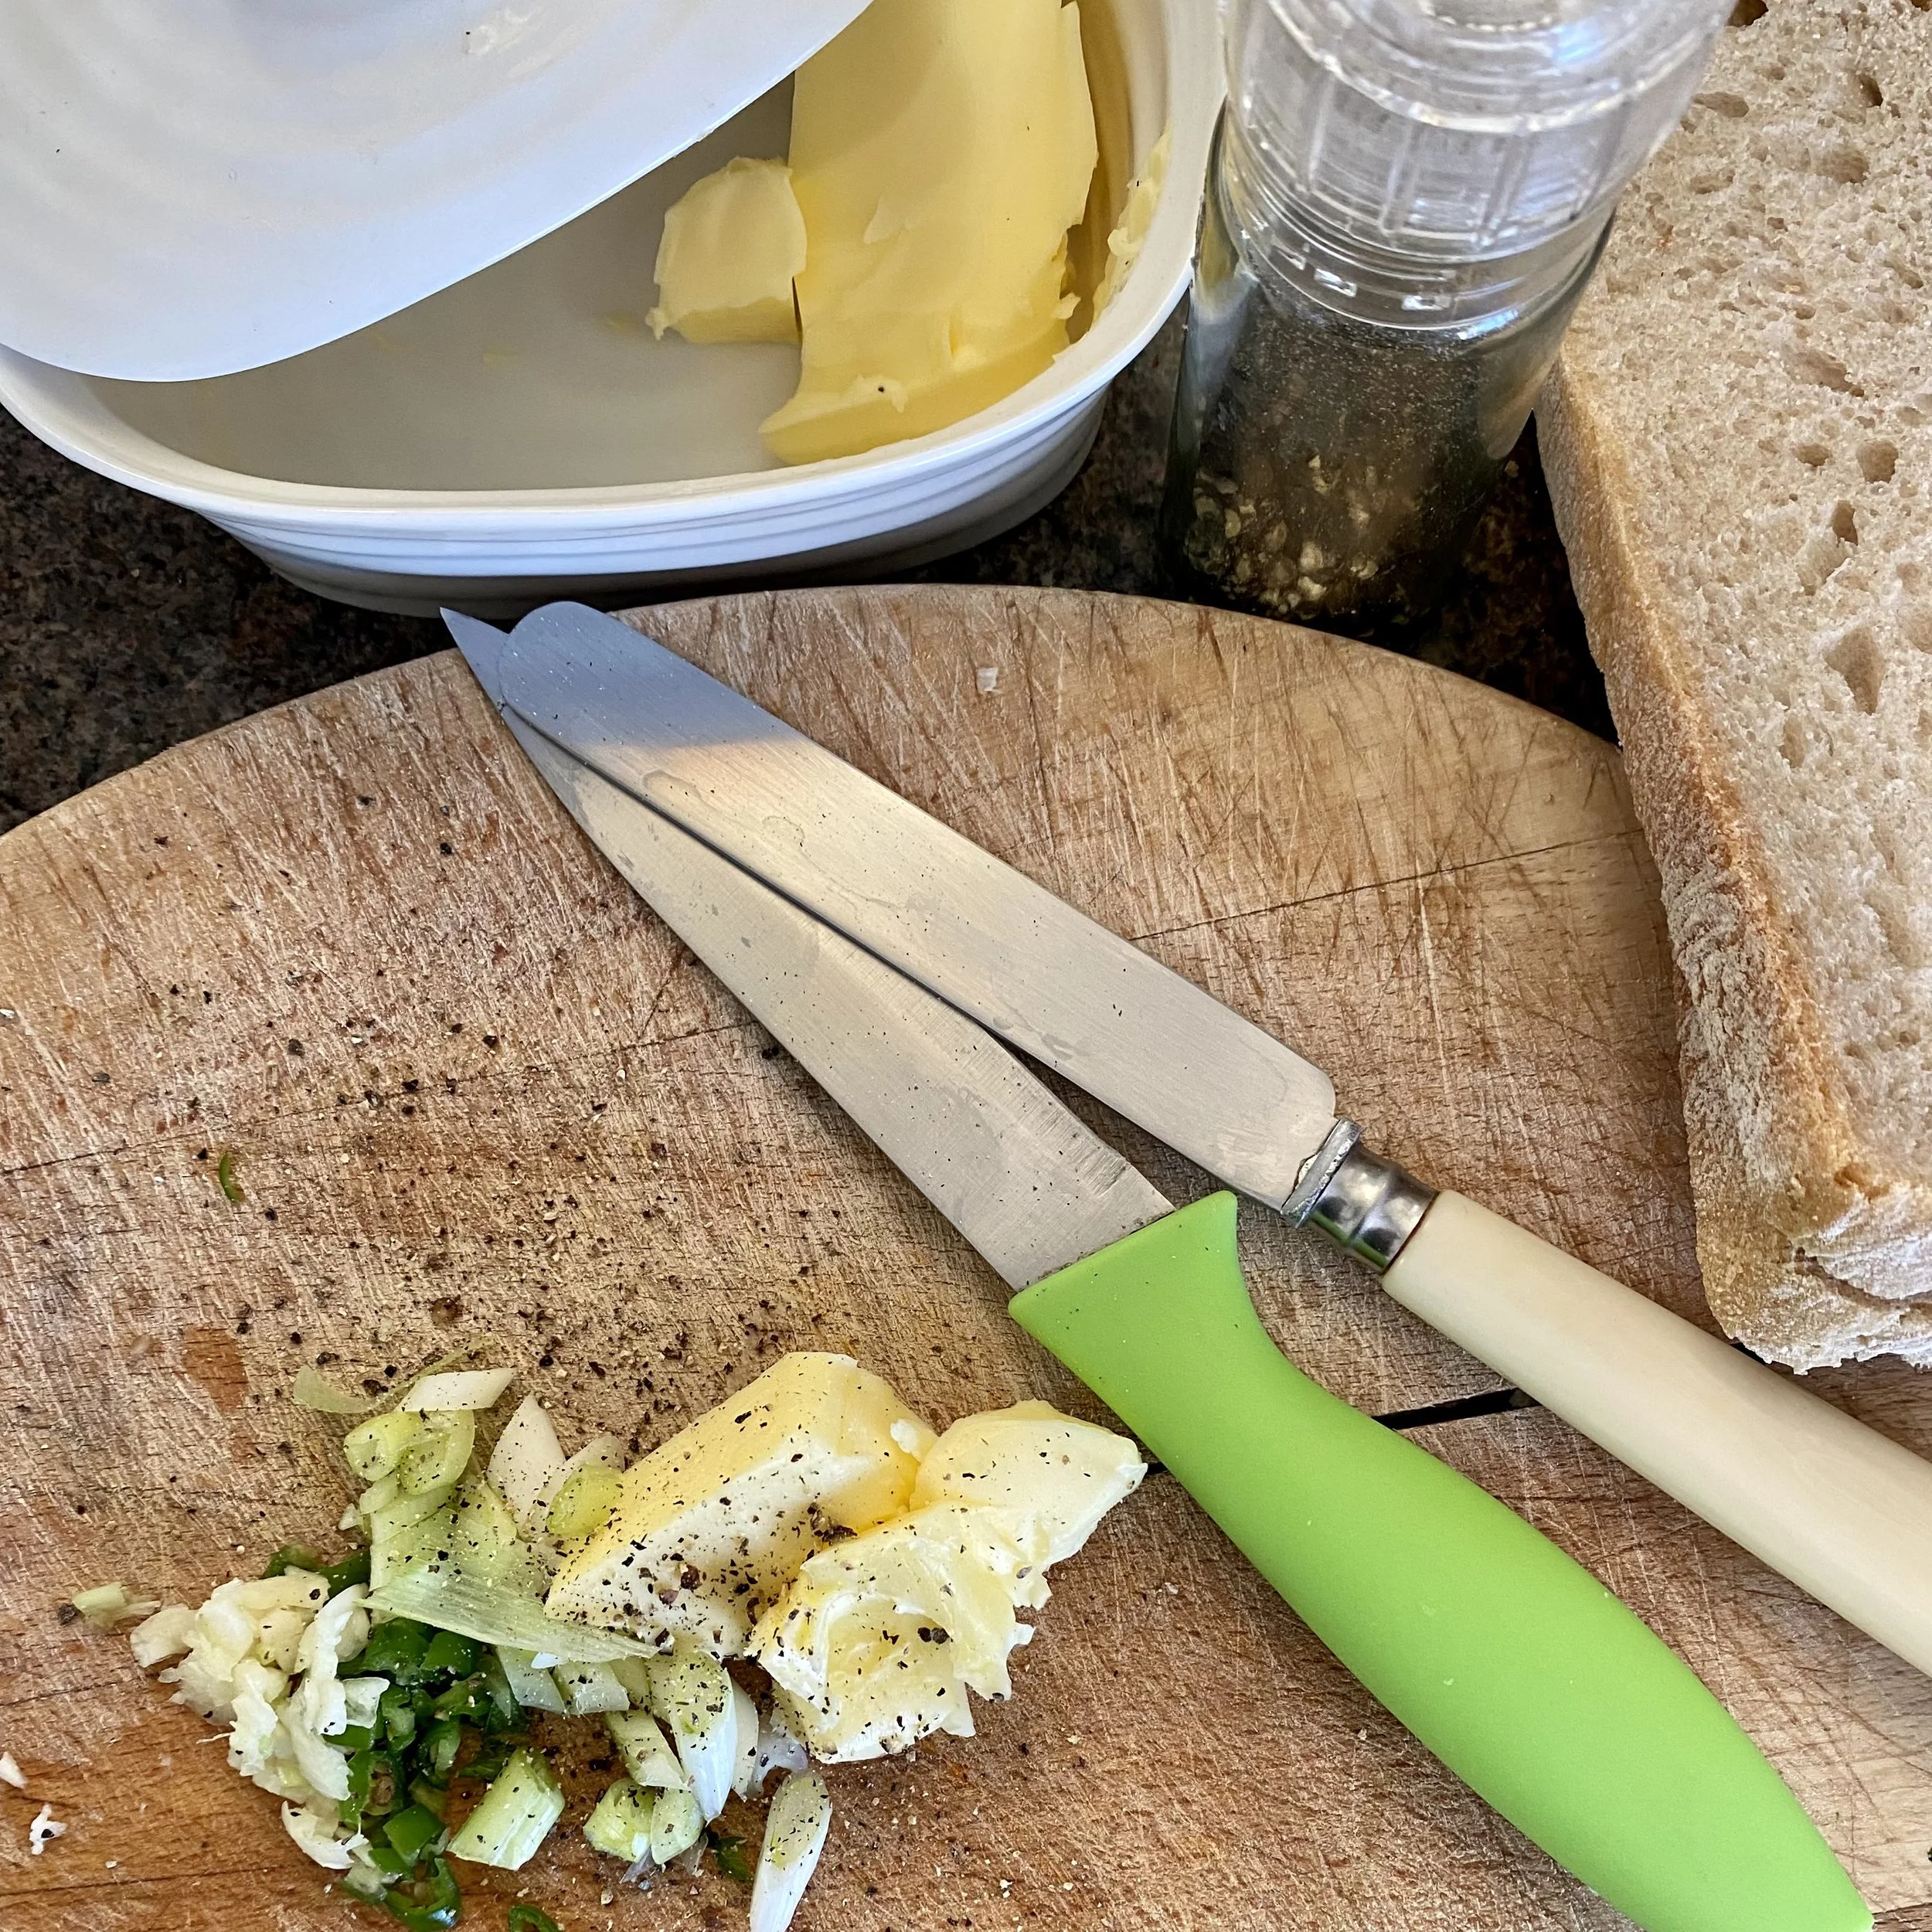
A good big spoonful of butter - probably around a tablespoon, but really whatever feels right to you

1-2 spring onions, sliced

1 small garlic clove, peeled and finely chopped

1 green chilli, finely sliced - or amount to your taste of course

freshly ground black pepper

2 slices of bread - or however much you want really. I’ve got two slices of the sourdough they do already sliced at the supermarket. If I’d bought a fresh small springy loaf from my favourite local shop I’d probably have four slices so … y’know - all up to you, your hunger or greed, and the size of the loaf. You decide.

A nice big hunk of strong cheddar cheese, grated. Or mozzarella - I think that would be delish. Or a mix of cheddar and mozzarella. Possibly even better.

Dried chill flakes, to garnish.


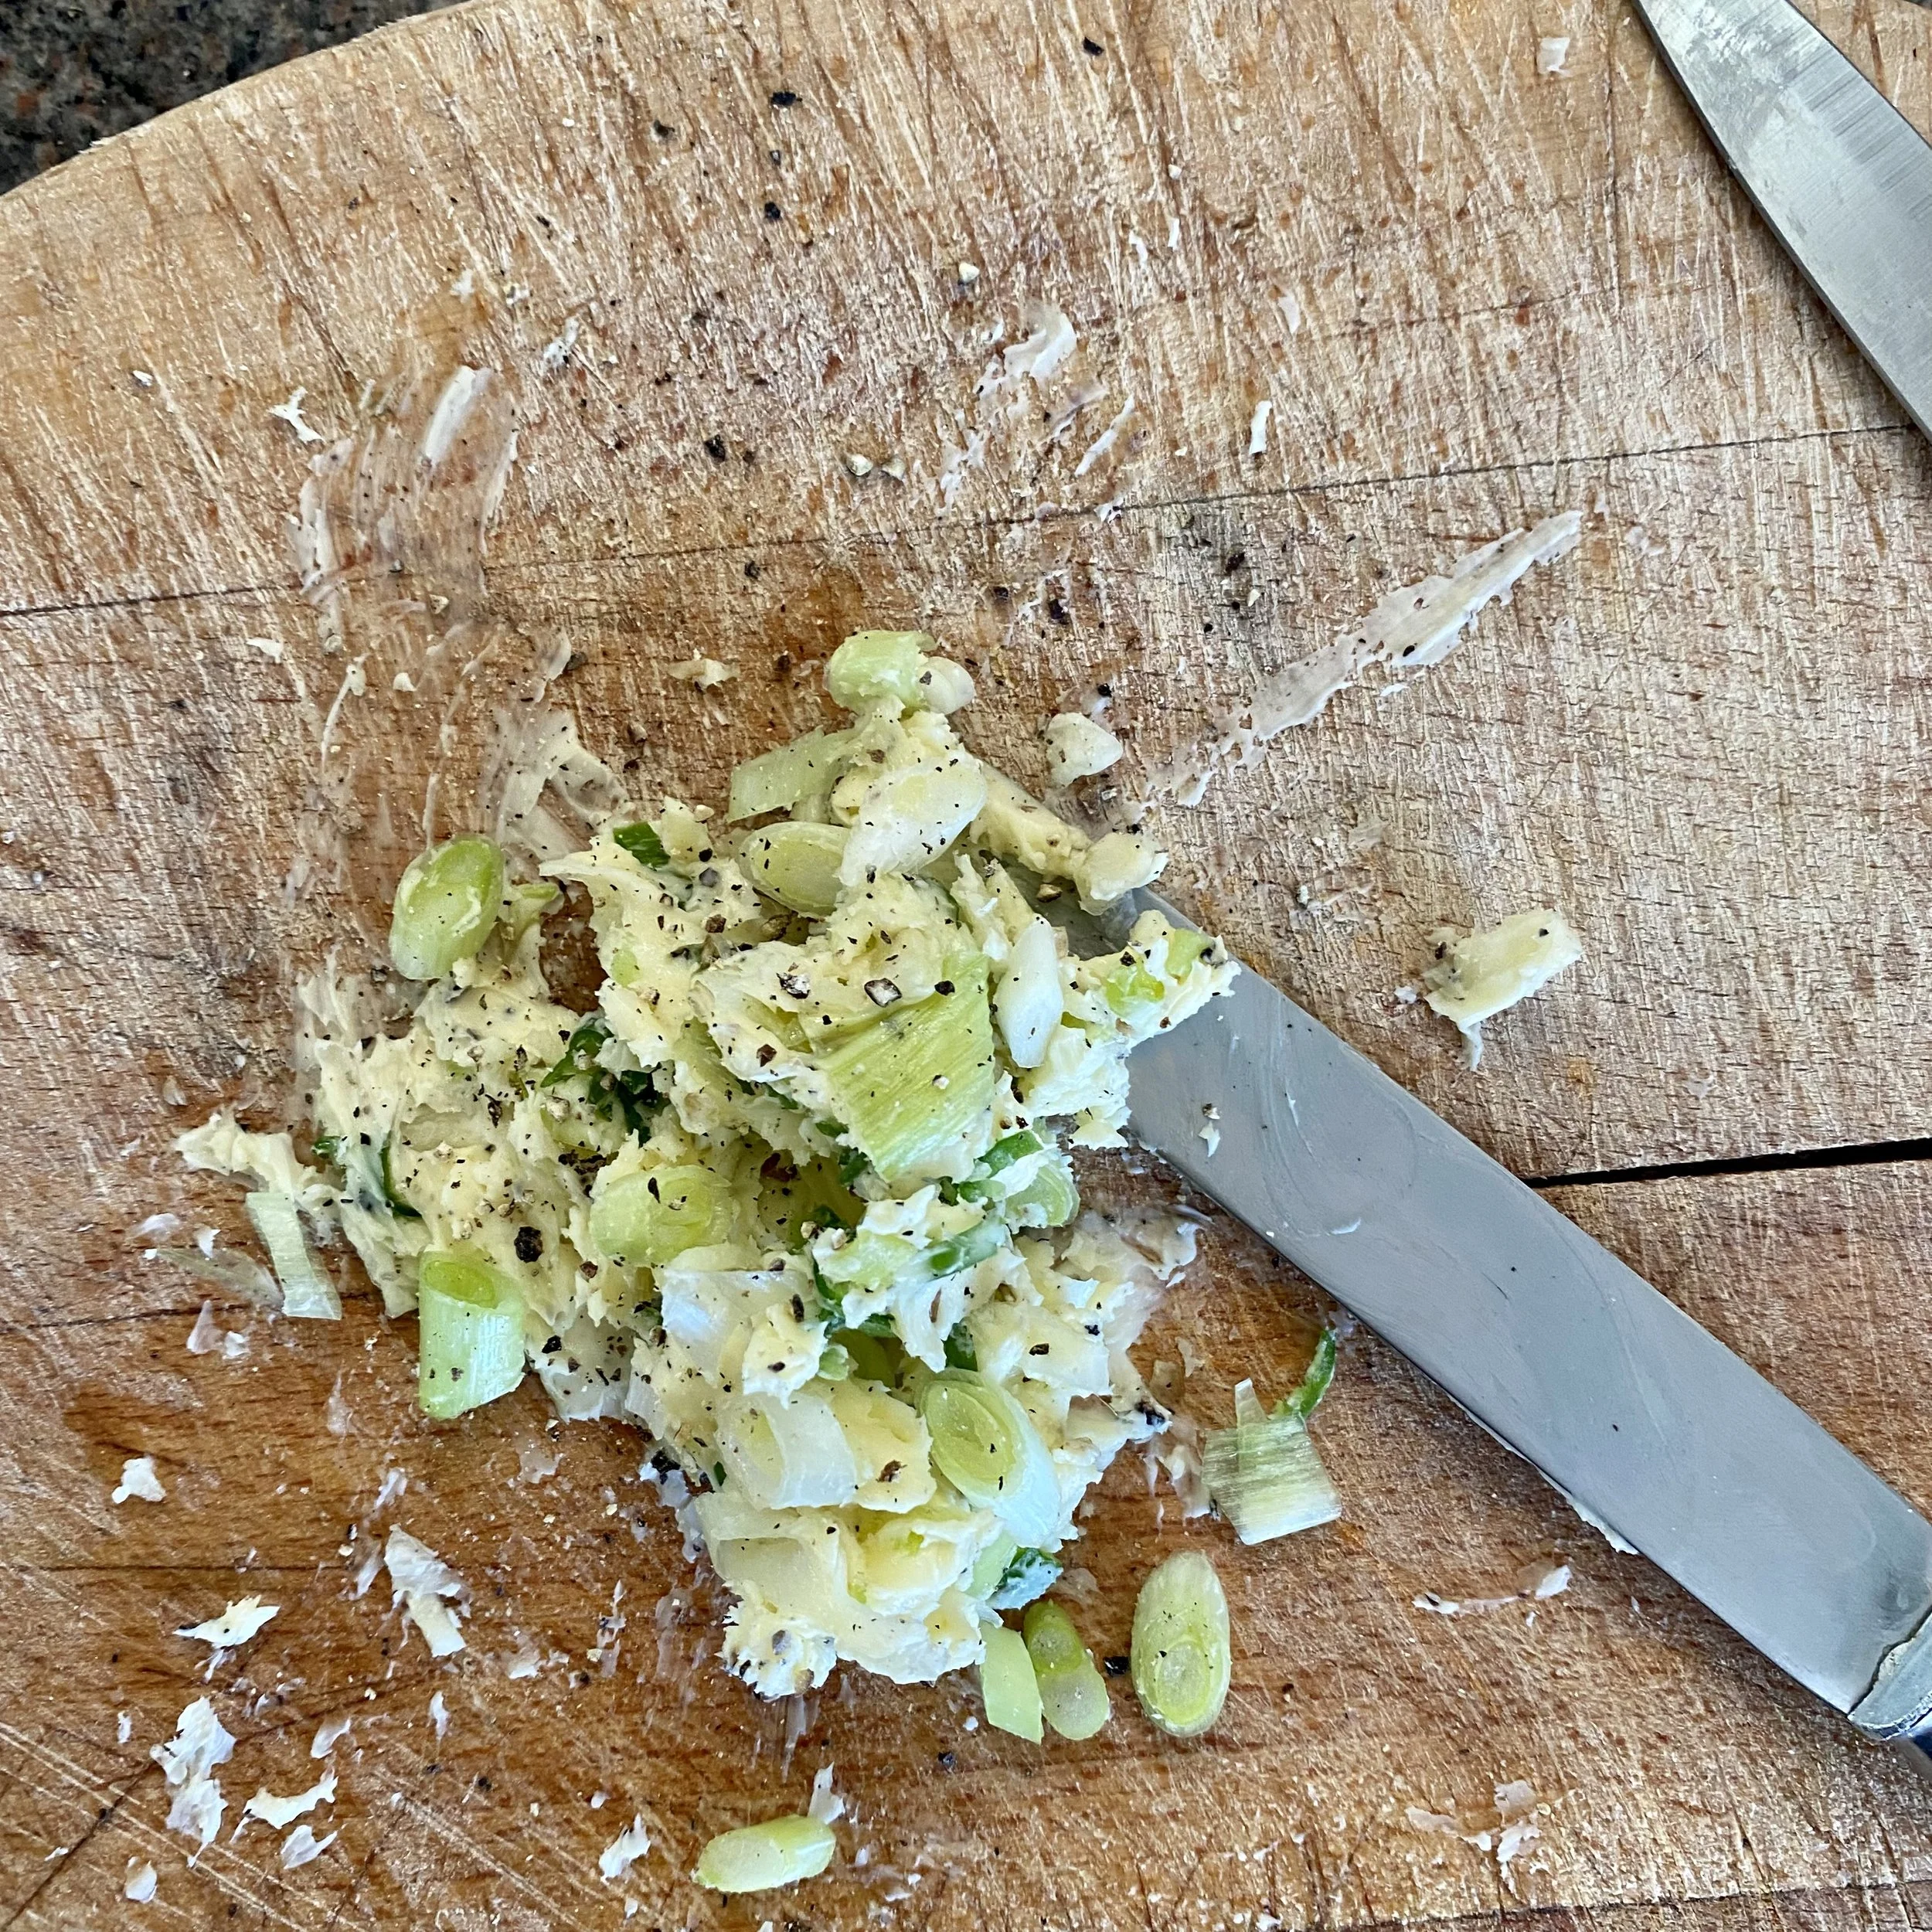
Mash up the butter, spring onions, garlic, chilli and black pepper until you have just the most adorable flavoured butter.

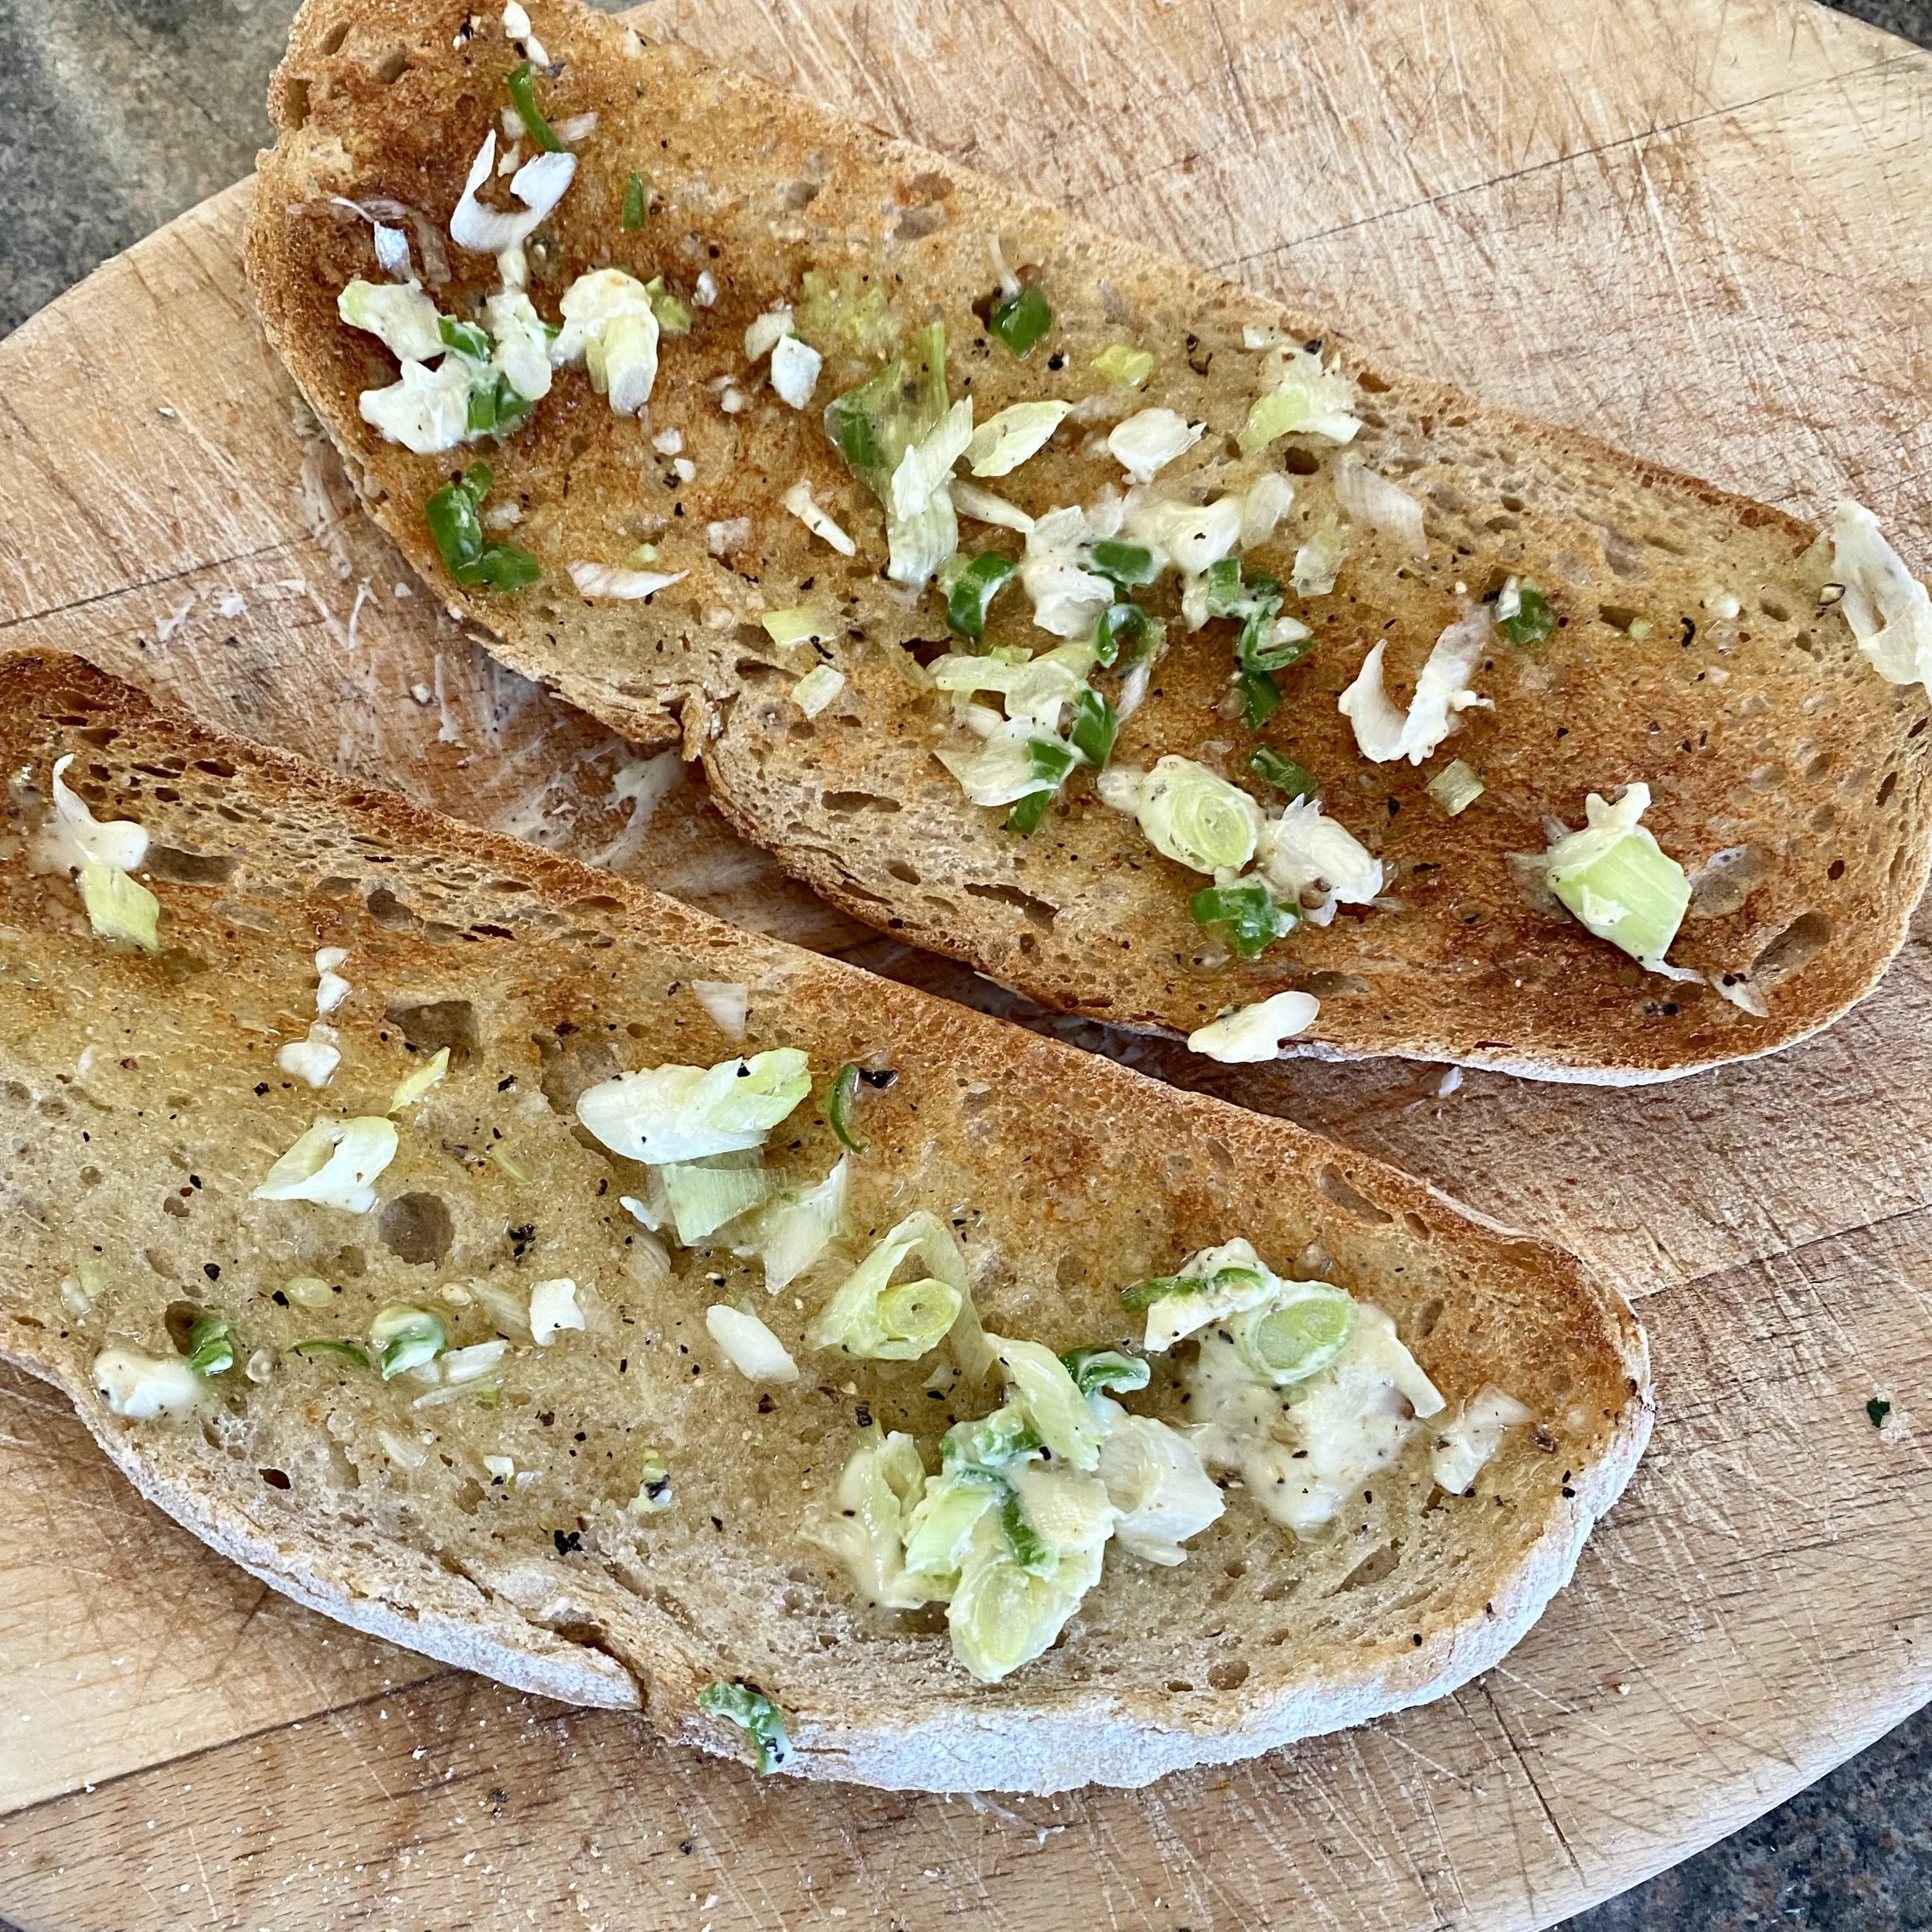
Toast the bread either in a toaster or - as I prefer to do when making this, under the grill. Why? So that I can toast one side of the bread to perfection and one side a little under-done - ready to be cooked a little longer once the topping is on.

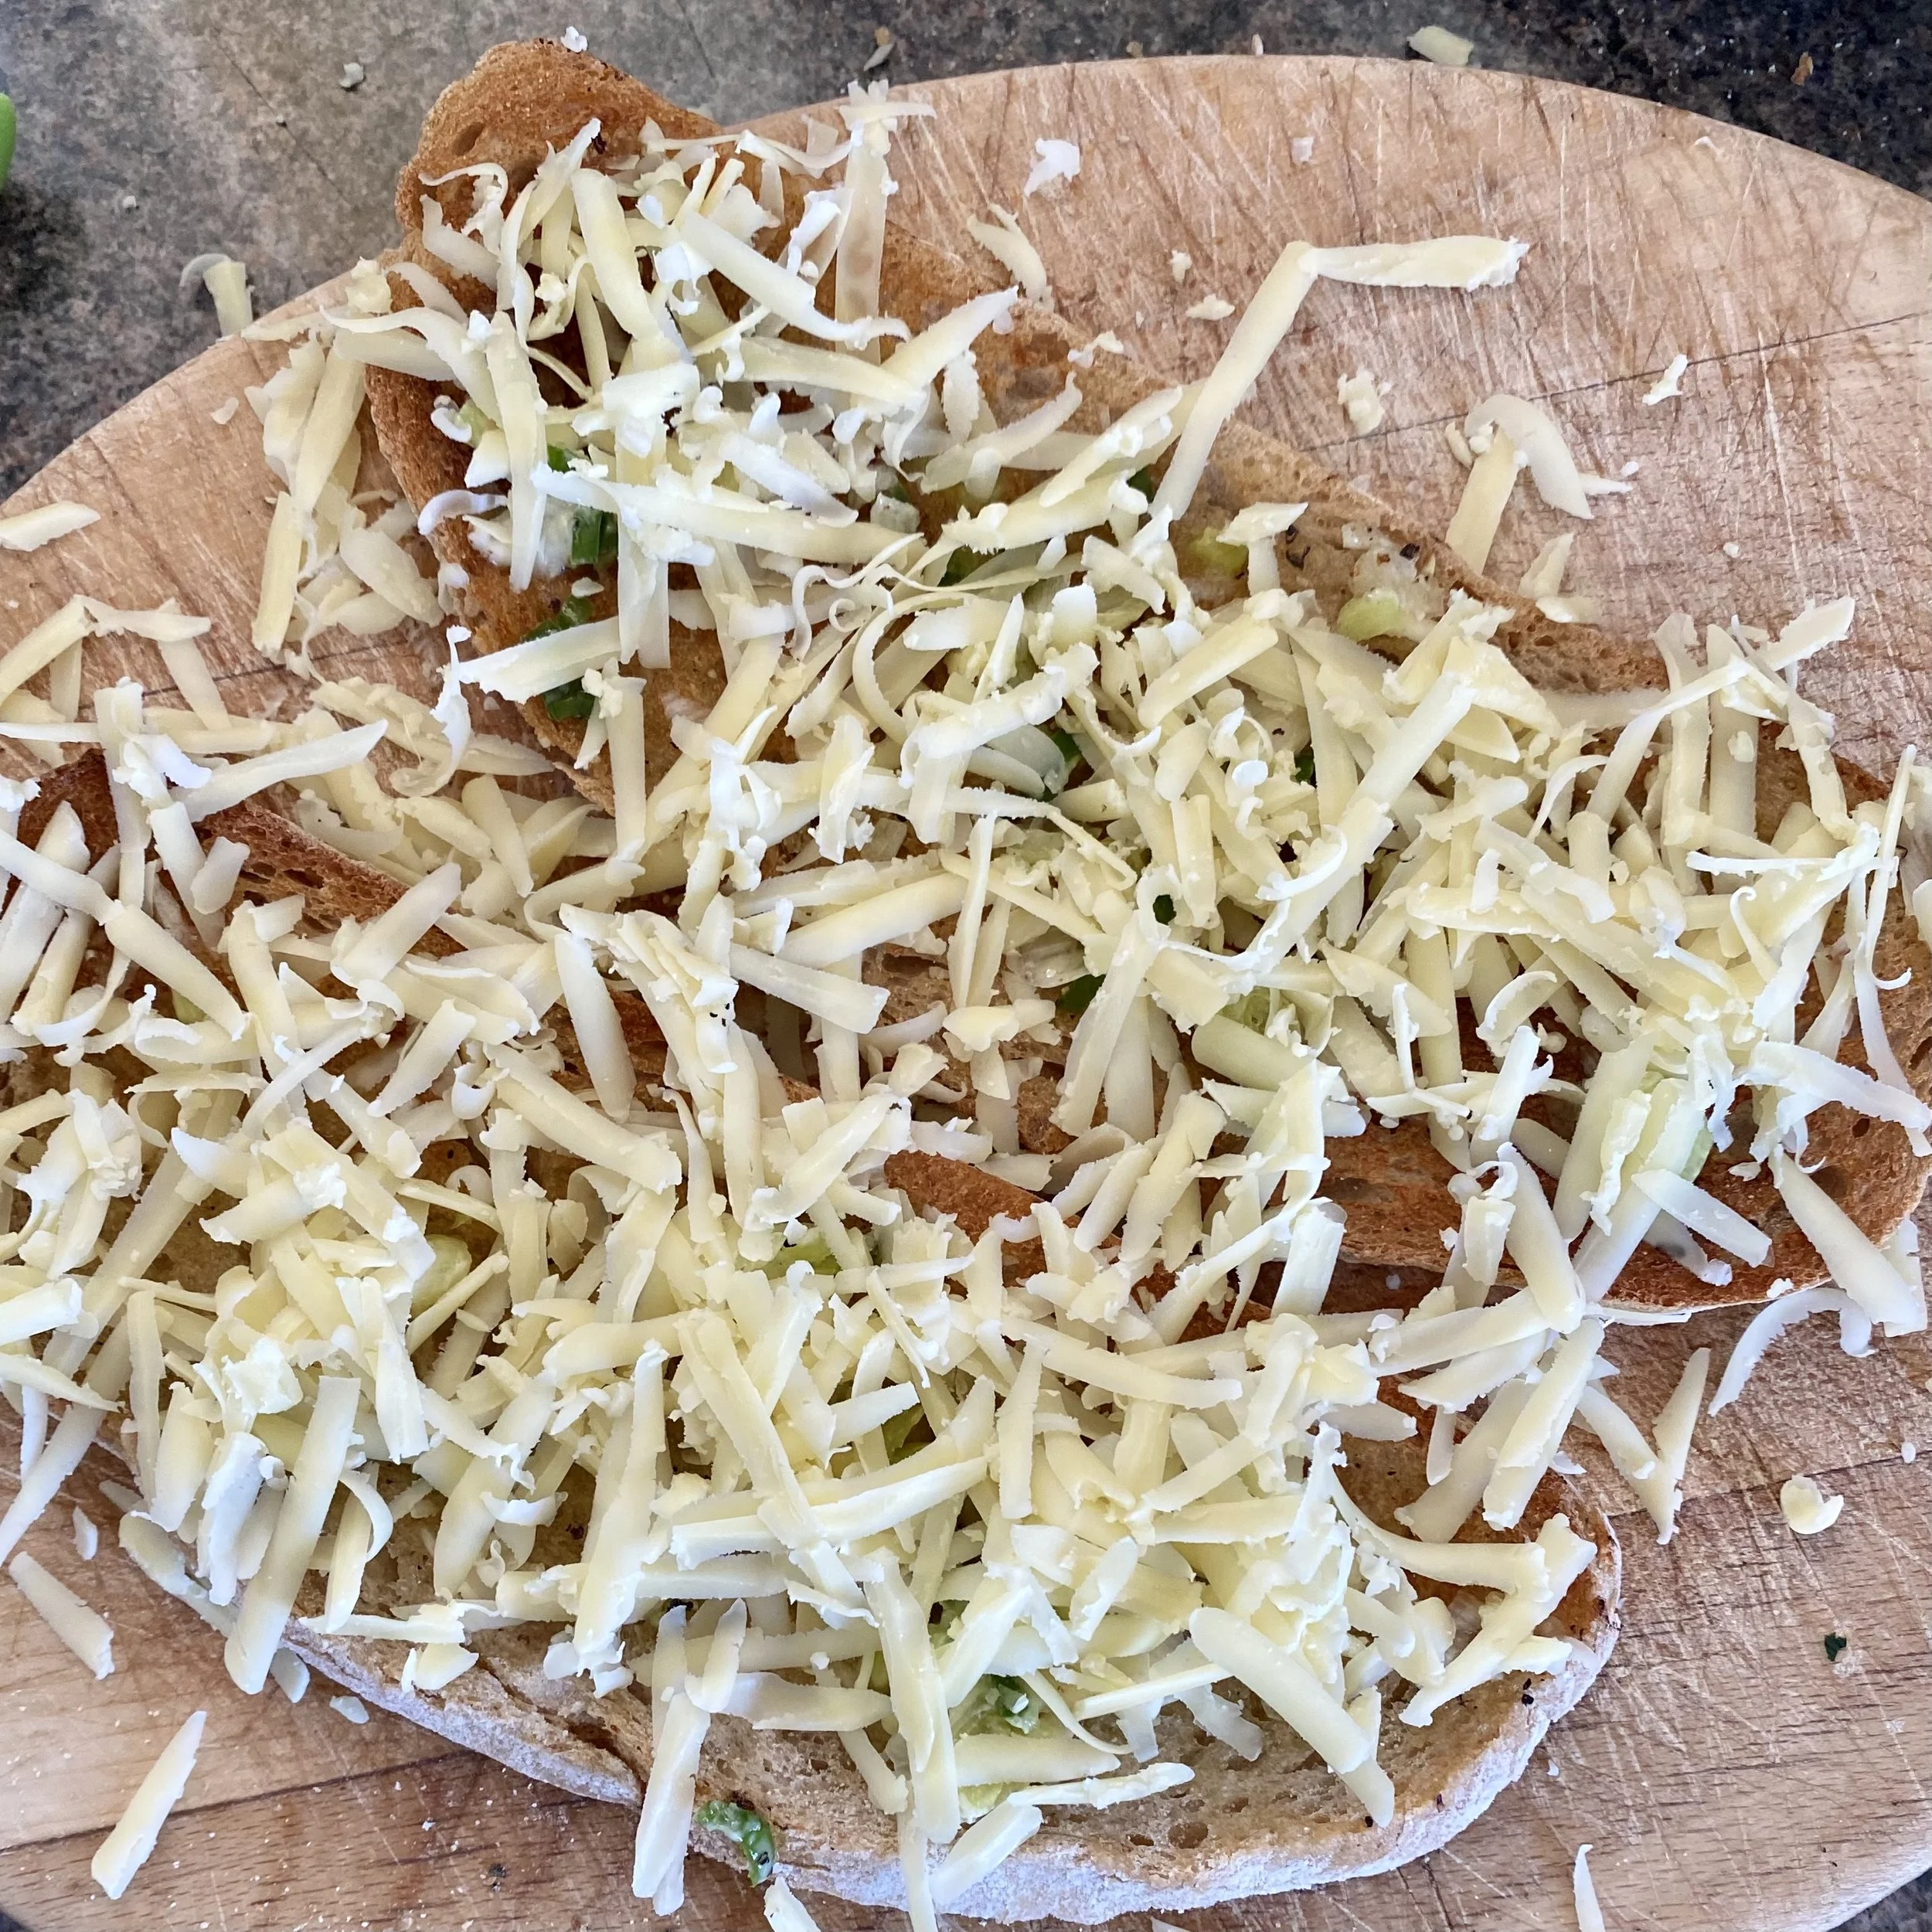
Spread the lightly toasted side with the adorable butter mixture and then grate on the cheese, or add ready-grated cheese (I really am now thinking a mix of cheddar and mozzarella would be amazing).

Put back under the grill and heat until the cheese is all lovely and melted.

I then sprinkled on a few dried chilli flakes And that’s it!

You could add sauces or mustard or whatever you want right now, but mine was perfect as it was. Really, perfection.

Oh! And talking of finding you didn’t actually discover this for the very first time ever … when googling I came across a recipe for this from Dishoom (which I’m kind of proud about because if Dishoom are making it then it’s obviously incredible, right?) and they add a fried egg to the chill cheese on toast, then a bit MORE cheese and then toast again. (I think).

I haven’t tried it yet, but I do intend to!

Happy chilli cheese toasting, everyone ….


YOU MIGHT ALSO LIKE …

Midnight Diner’s tomato rolls

I just finished Season 3 of Midnight Diner …. and cried. Not for the first time this season either - it’s been absolutely beautiful and I’ve loved every second of it.
This is the second recipe I’ve made from this series as well - I’ll post the minced cutlets later. I only made one - the delicious omurice (Japanese chicken fried rice omelette) - from the previous two series and I’m now very (very) tempted to start again from the beginning and not only enjoy watching again but make every recipe this time.

There’s something about this amazing programme that just draws me in - I want to go there, I want to know the regulars (I feel I already do).

I want to open my own Midnight Diner. I want to make things I’ve never wanted to make before (like the liver and leek stir fry I just watched).

ANYWAY.

Season 3, episode 22.

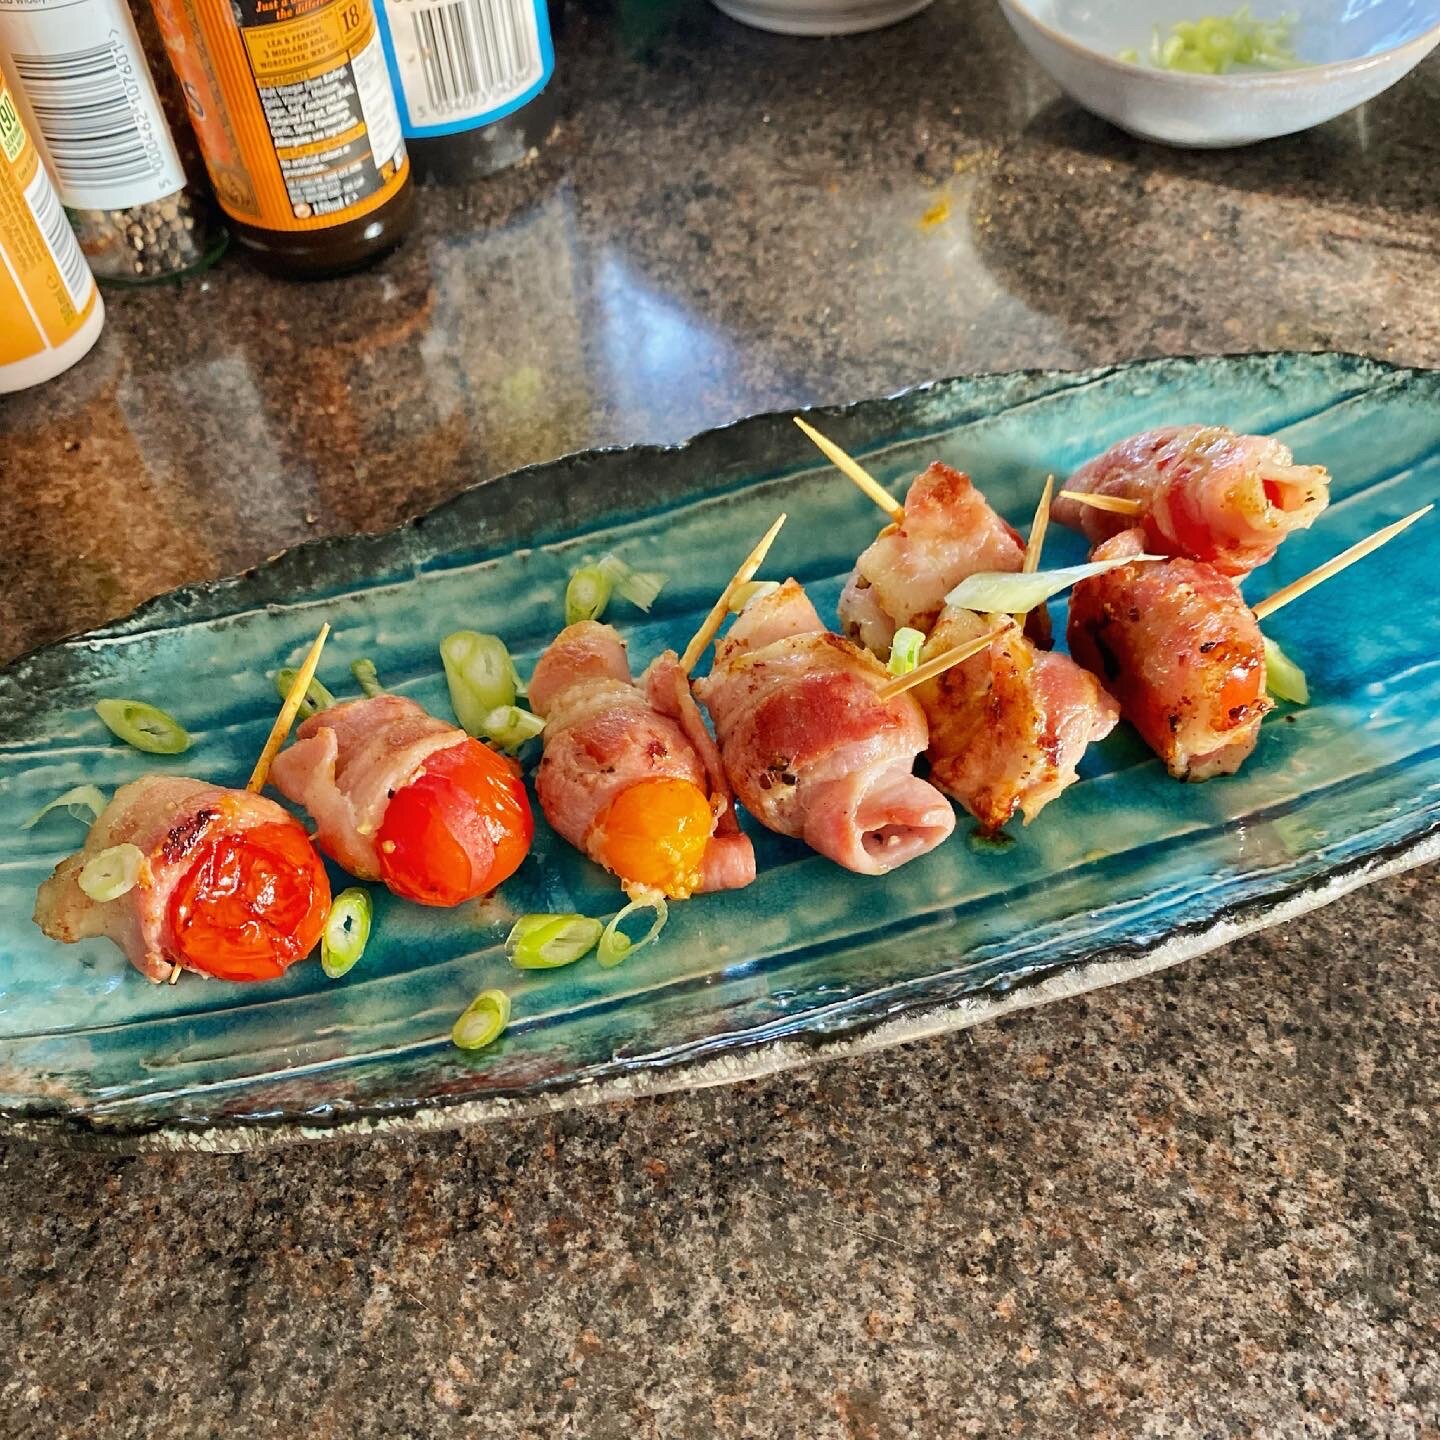
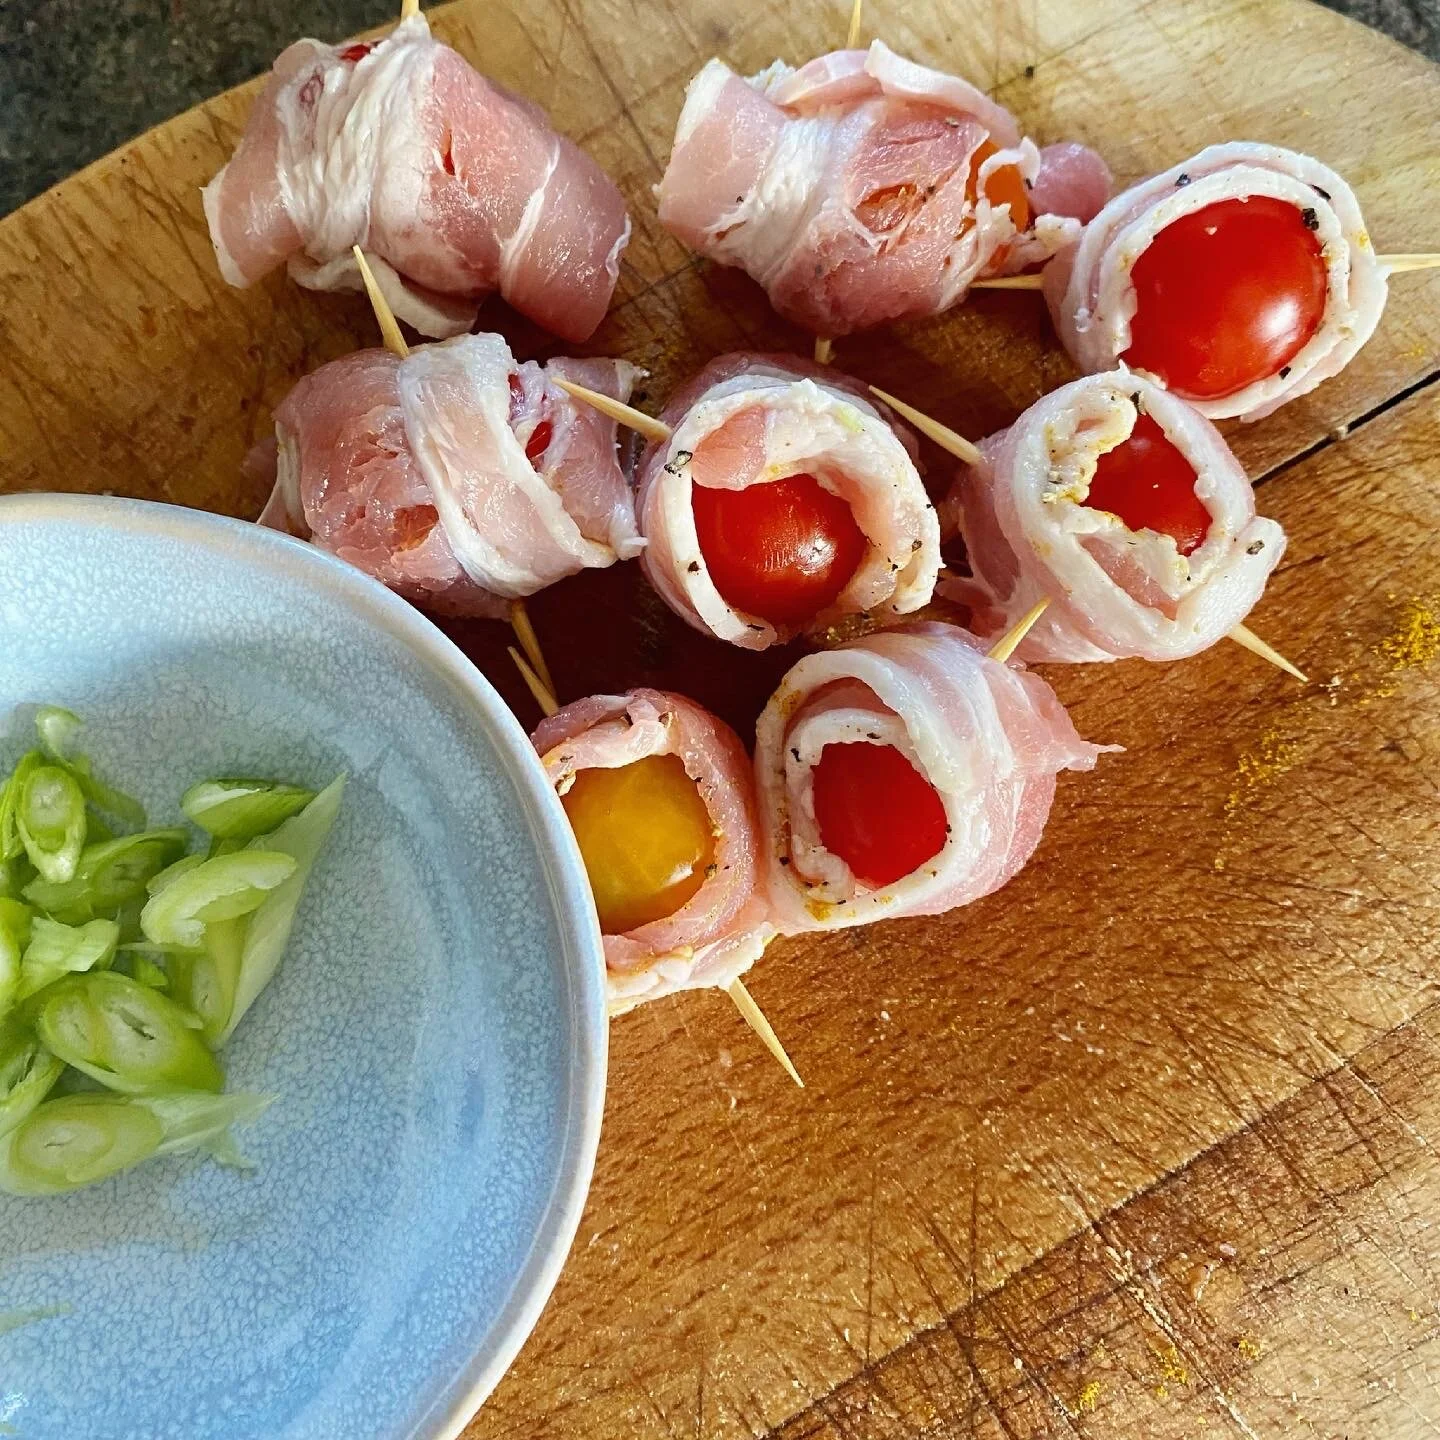
The one about the manga artist. The one where the recipe is pork-wrapped tomato rolls.

I made them a couple of times to practice and had them with a glass of wine (although kinda wanted beer really though as that’s how they had them in the Midnight Diner).

These are really simple and really good.

Cooled down just a little (those tomatoes are HOT) they would be amazing one-bite canapes. They’re also just really good as a starter or snack.

Do try these!


It couldn’t be more simple.

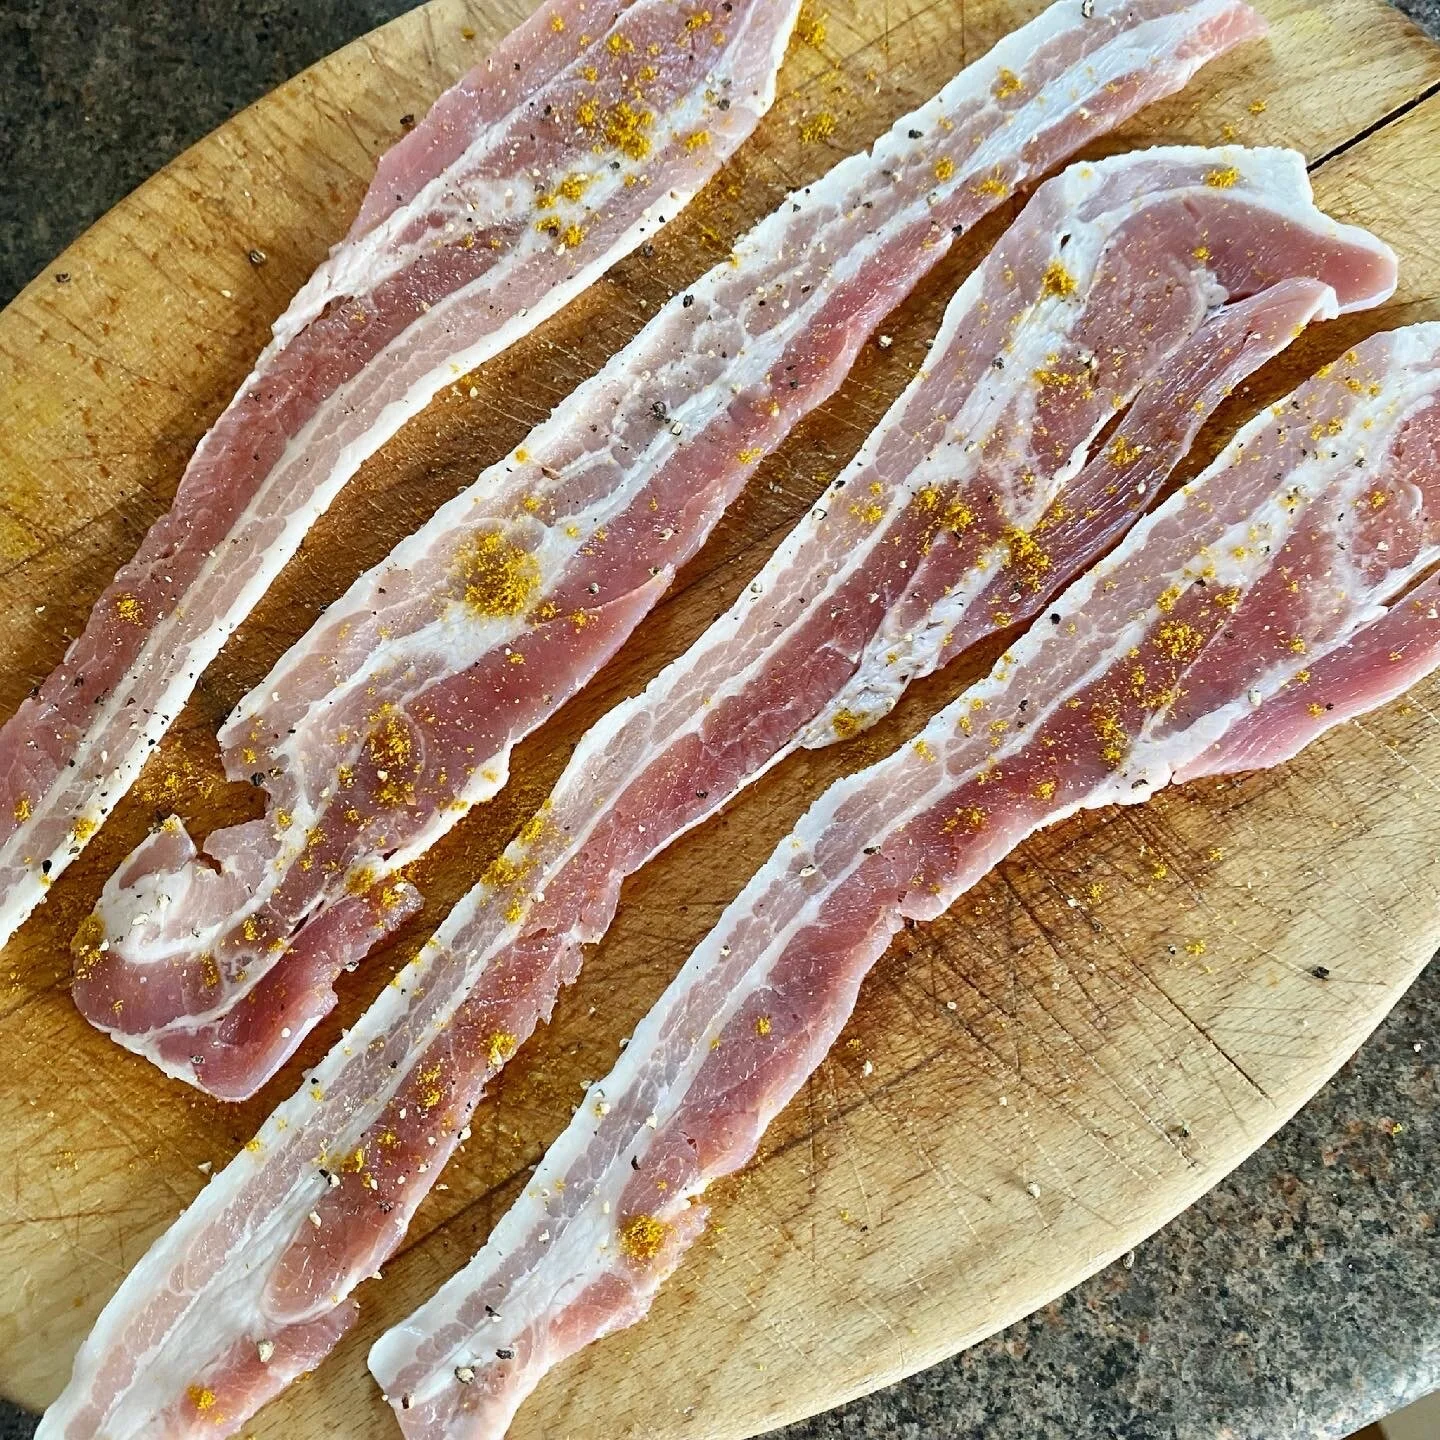
Take lovely streaky bacon and rub in a little pinch of curry powder and one each of salt and pepper (I like white pepper for this but you can use black pepper).

Stretch the rashers out using the flat side of a knife and then cut in half lengthways.

You could use skewers which I think they do on the series with three tomatoes on each, but I only had toothpicks so it’s just one tomato per toothpick here.

I pricked each cherry tomato a couple of times with the toothpick before wrapping it in a piece of the bacon and then securing with the toothpick.

I have cooked them in a little oil in a non-stick pan and also on a griddle and both worked well. Just have them on a medium heat so the tomatoes become properly beautifully sweet and soft, and the bacon browns. Turn regularly so the cook evenly. It’ll probably take around ten minutes in total but check and see when you’re happy they’re done.

To be honest, you should really add an extra two or three for those ones you’re going to need to taste!

I’m sure they’d also cook well on a tray in the oven but I haven’t tried that yet.

Sprinkle with some sliced spring onions or chives to look nice and they’re ready to serve.


YOU MIGHT ALSO LIKE …


Thai coconut peanut prawn lettuce wraps

Perfect to hand round with drinks, or as a light lunch or even as a starter, these little prawn lettuce wraps are really simple but delicious.

I like cooking my prawns to have them slightly warm in the wrap, but you can always buy ready cooked of course if you prefer.

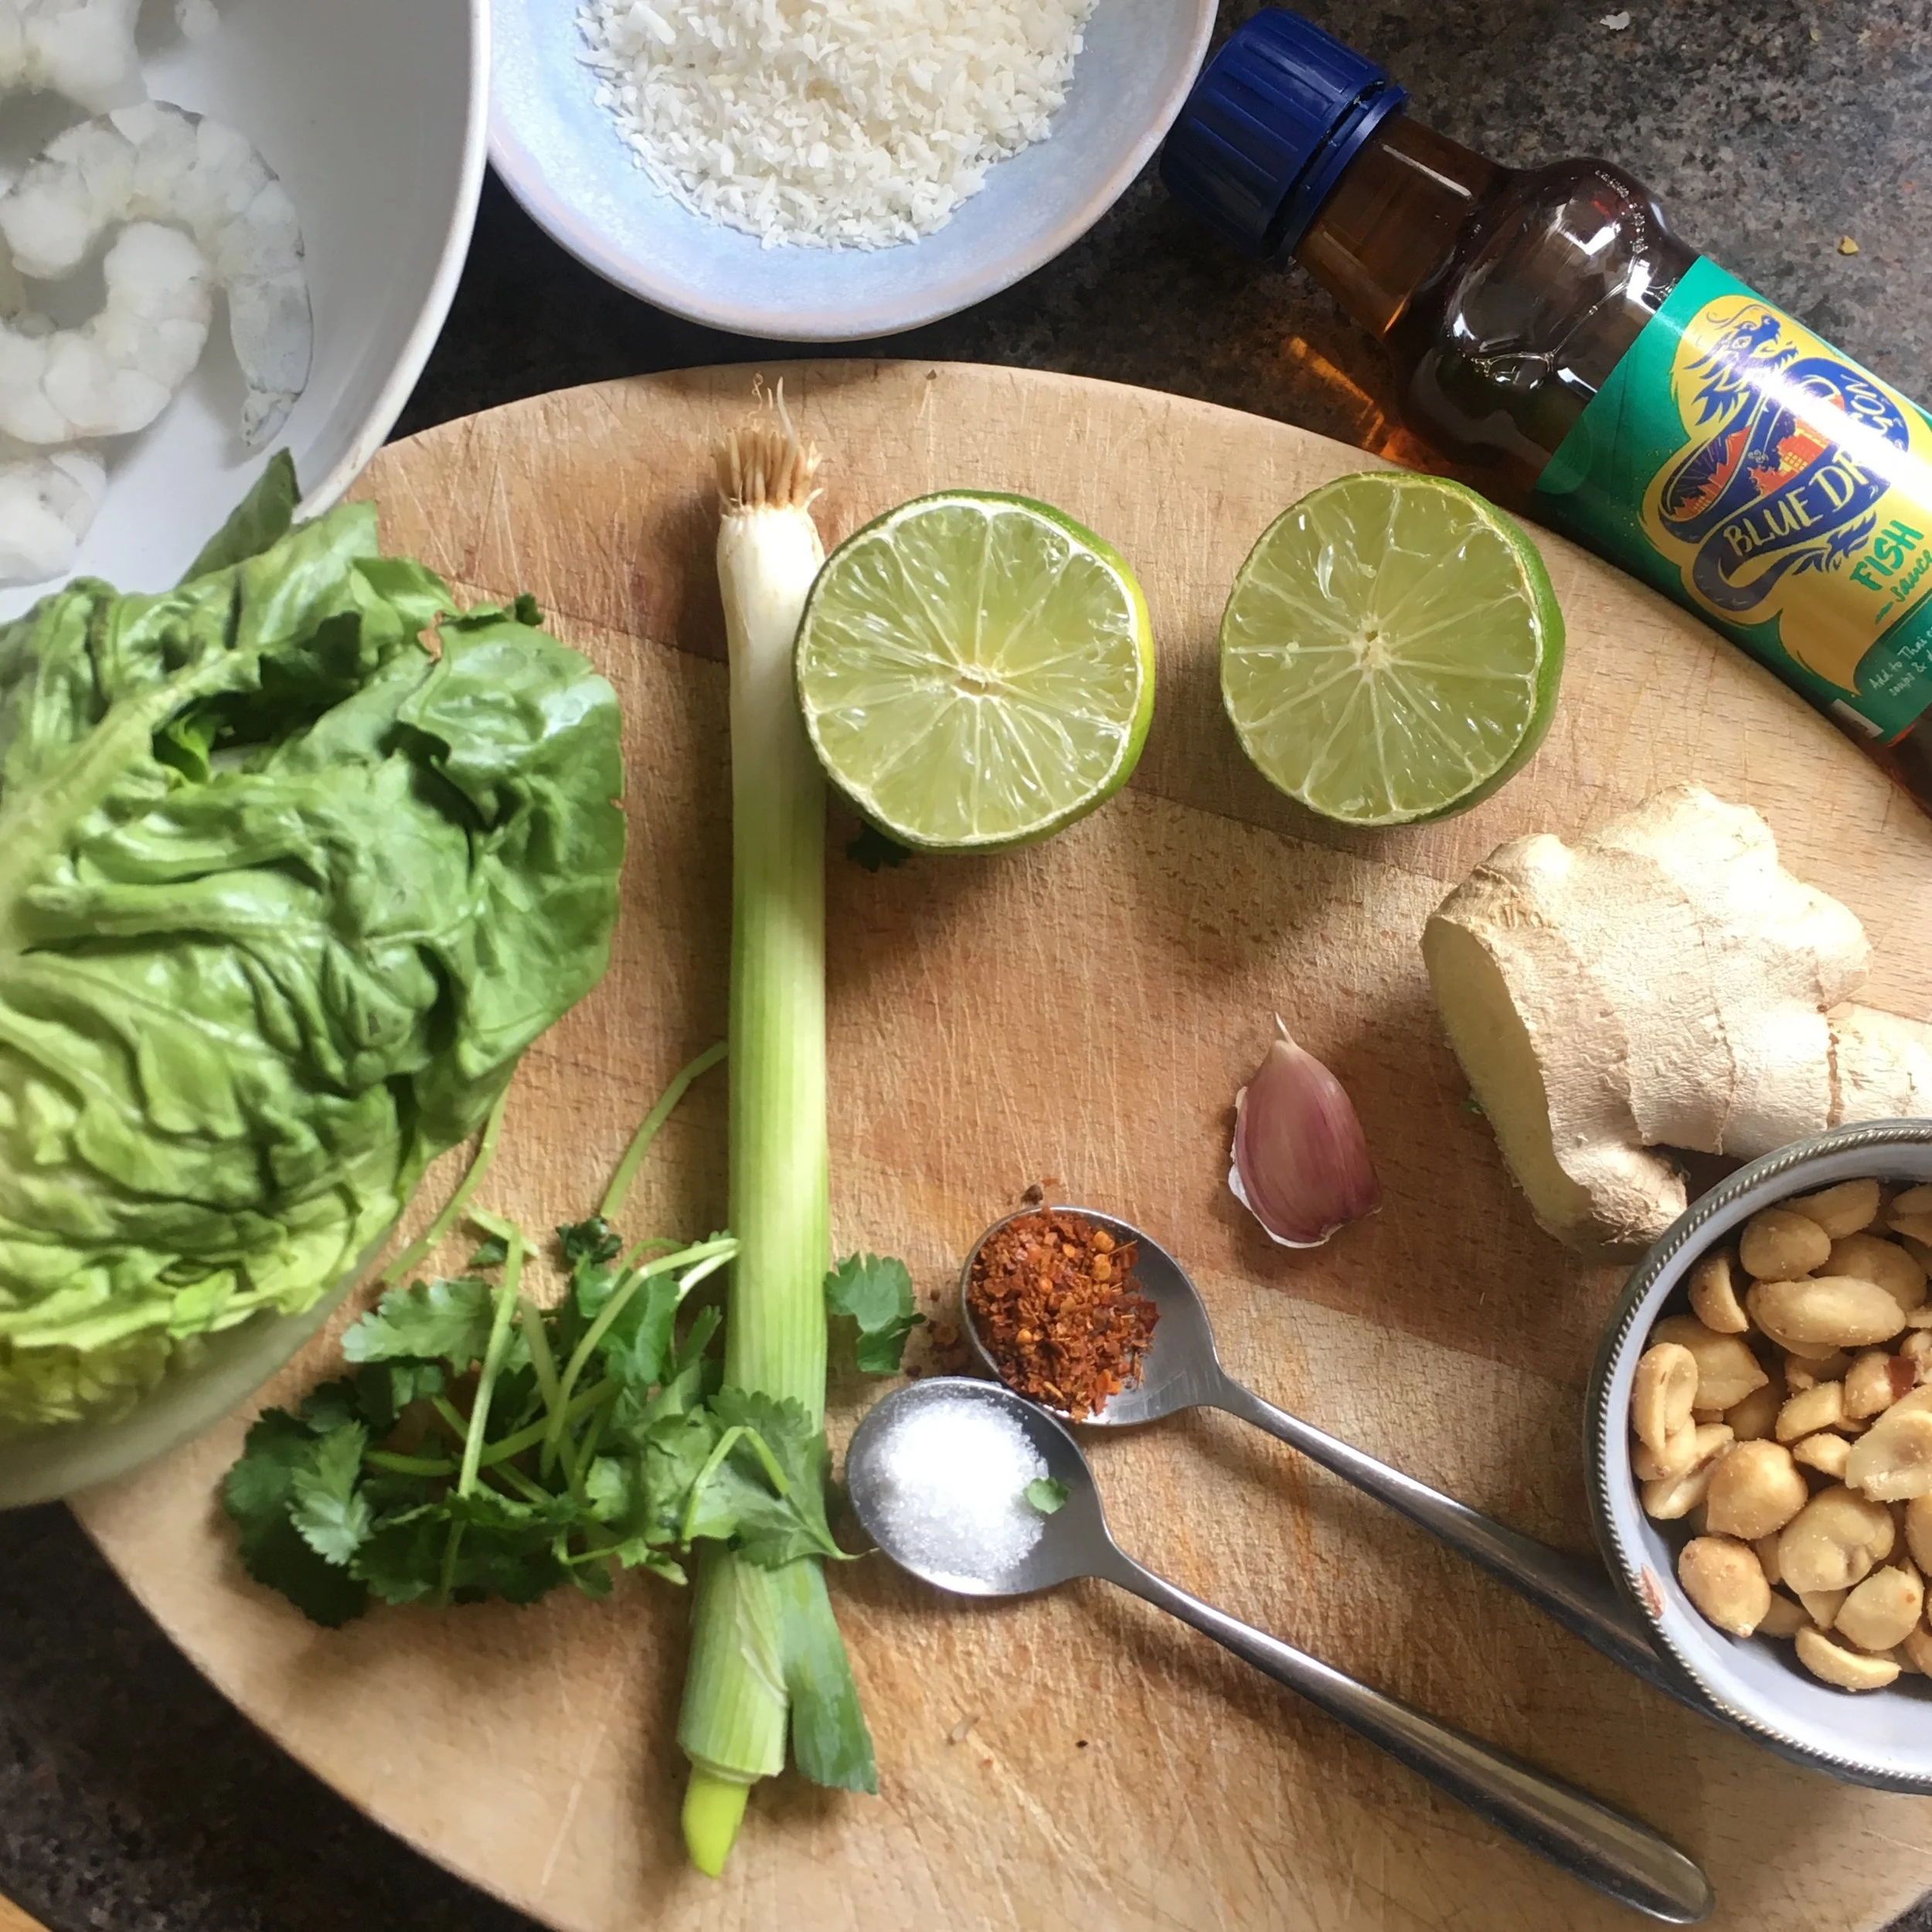
Quantities are kind of up to you and a bit play-it-by-ear, but to make one plate of these I used:

1 little gem lettuce, stalk removed and a couple of outer leaves removed too that didn’t look very good

2-3 dessert spoons of dessiccated coconut

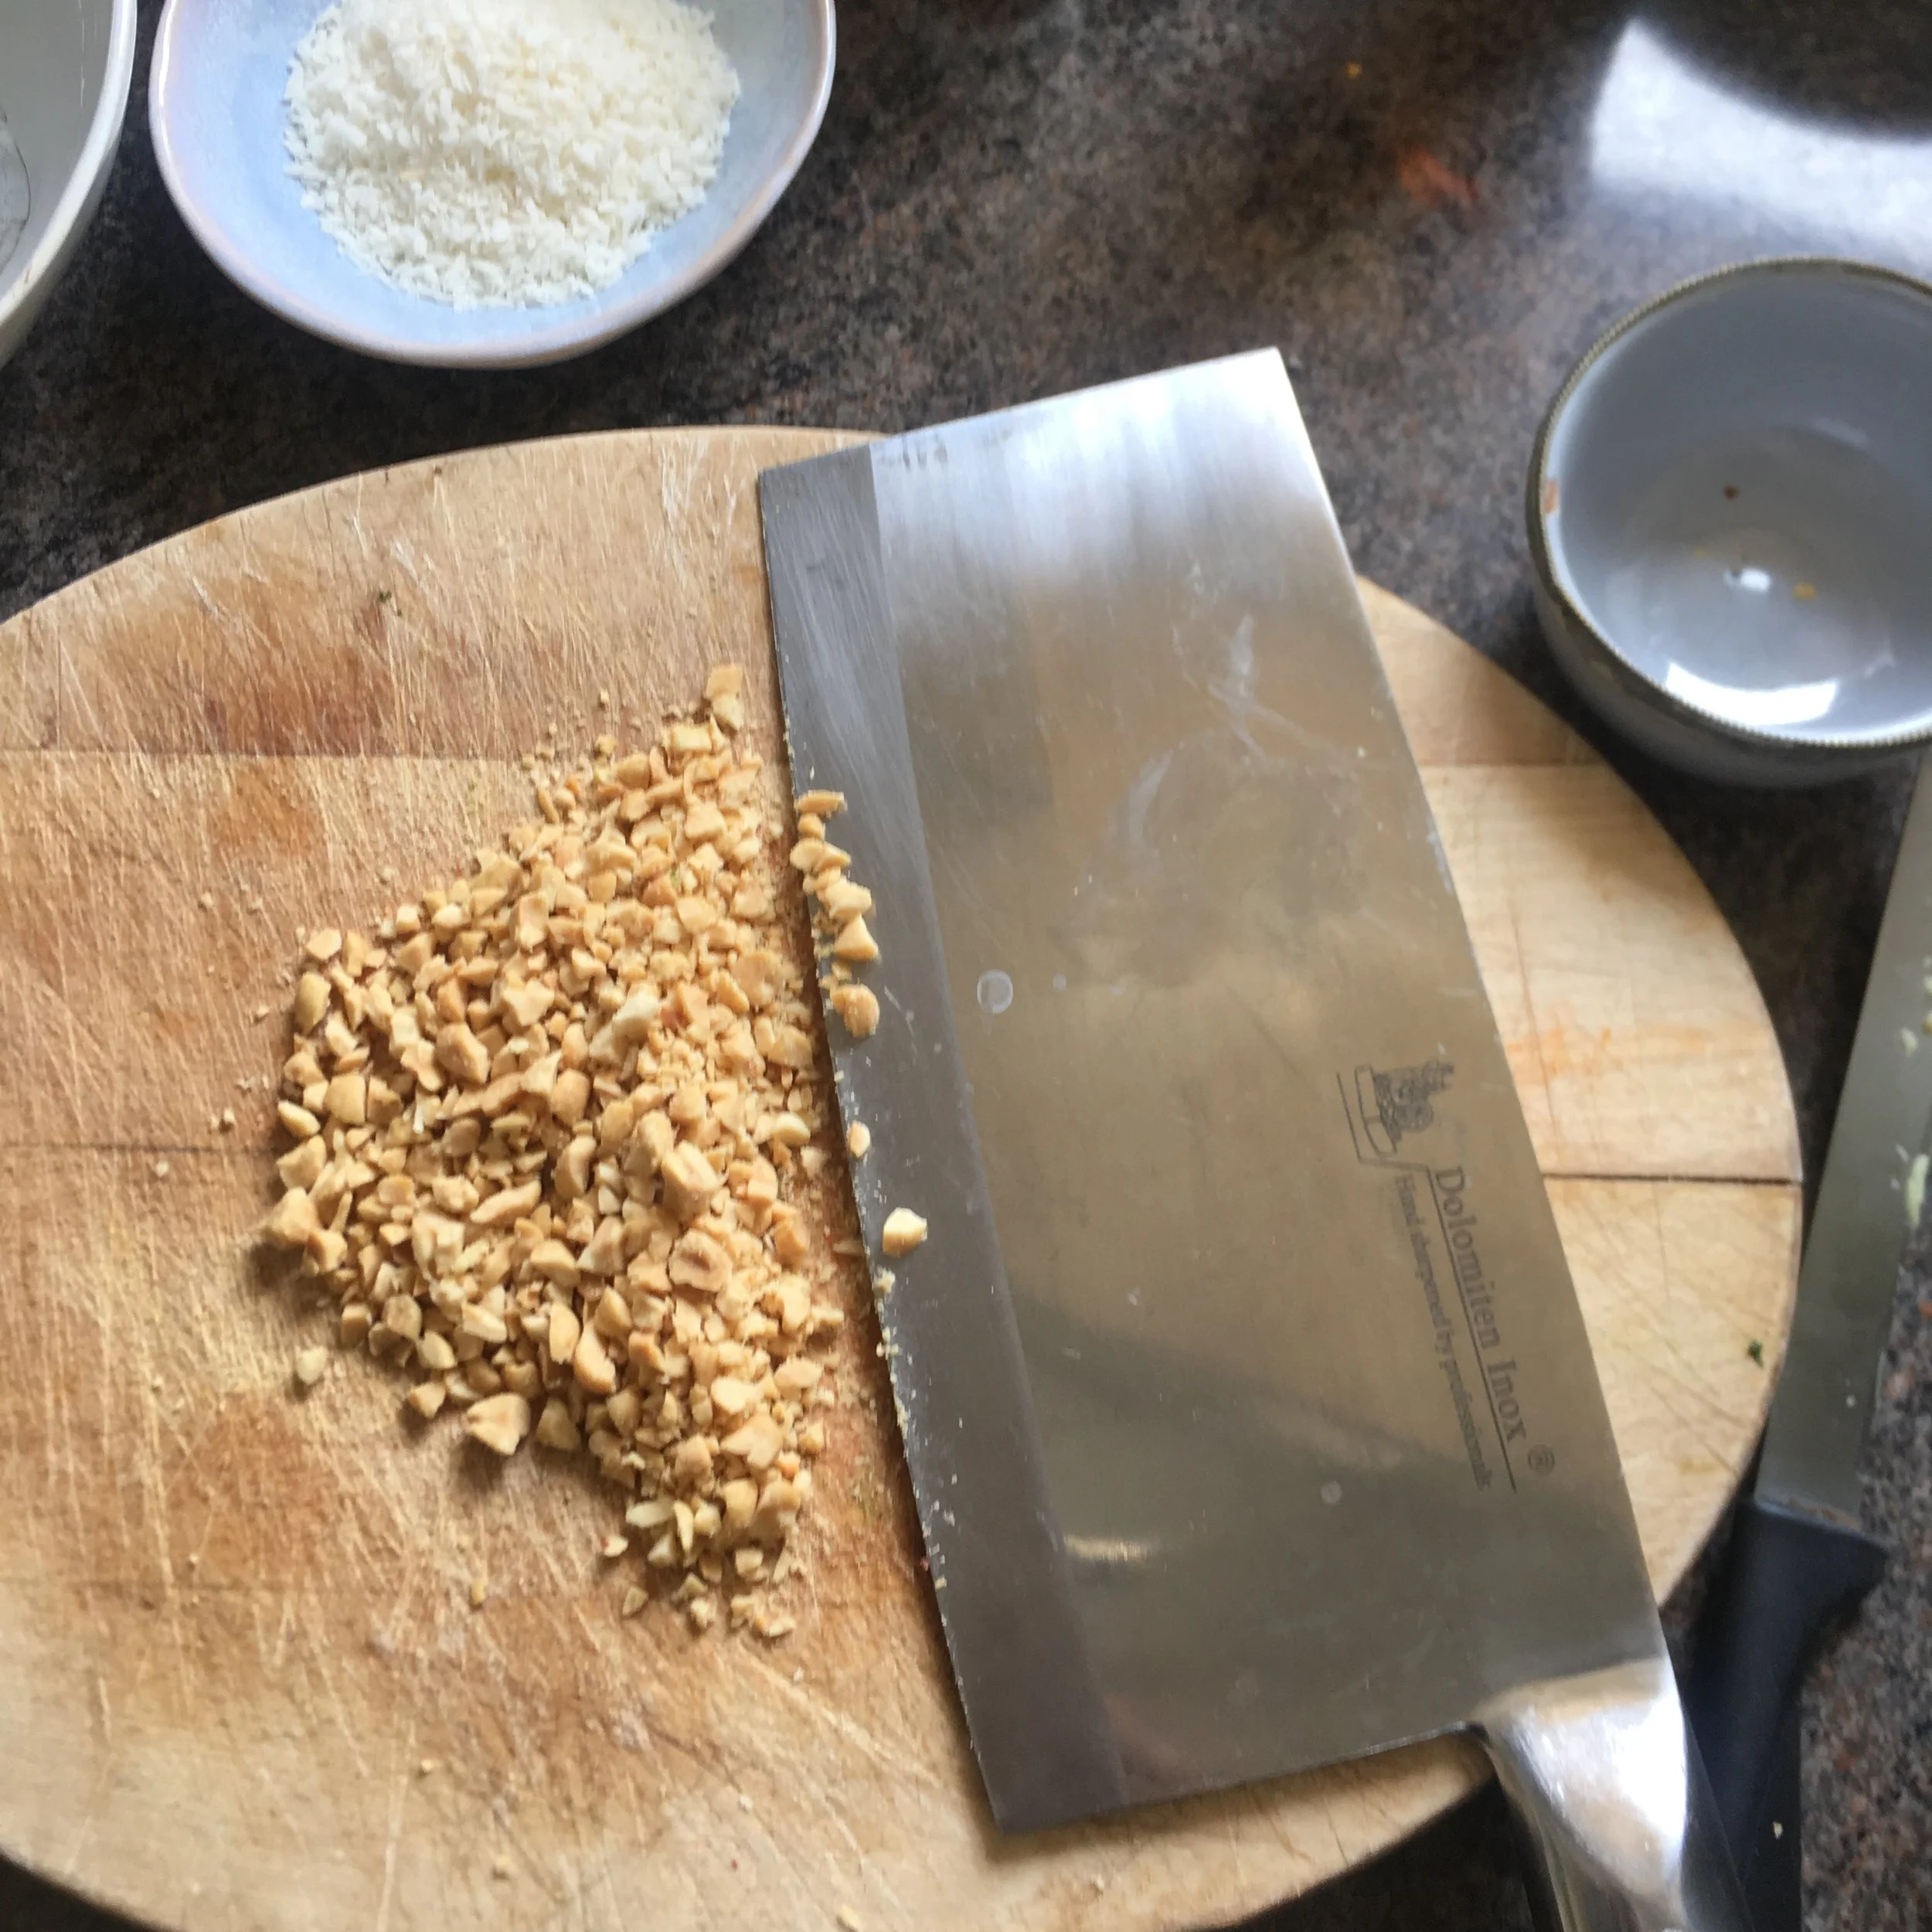
2 -3 dessert spoons of peanuts (I used salted ones as that was what was in the shop), chopped into small pieces

1 small clove of garlic, peeled and finely minced

a small-ish piece of ginger, enough to peel and grate a teaspoon or so

1/2 teaspoon (more or less of course to your own taste) of dried chilli flakes

1/4 teaspoon sugar

1 spring onion, chopped finely

chopped fresh coriander leaves

some raw prawns, defrotsted if frozen - I think I used 12 or so

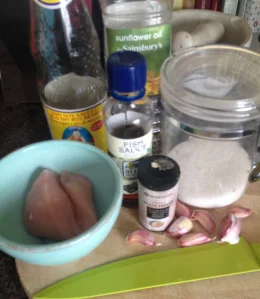
2 teaspoons fish sauce

the juice of 1/2-1 lime (and another lime to serve)


First get all the ingredients out and prepared so it’s all ready to go and put the lettuce leaves onto the serving plate.

IMG_1699.jpeg
IMG_1704.jpeg

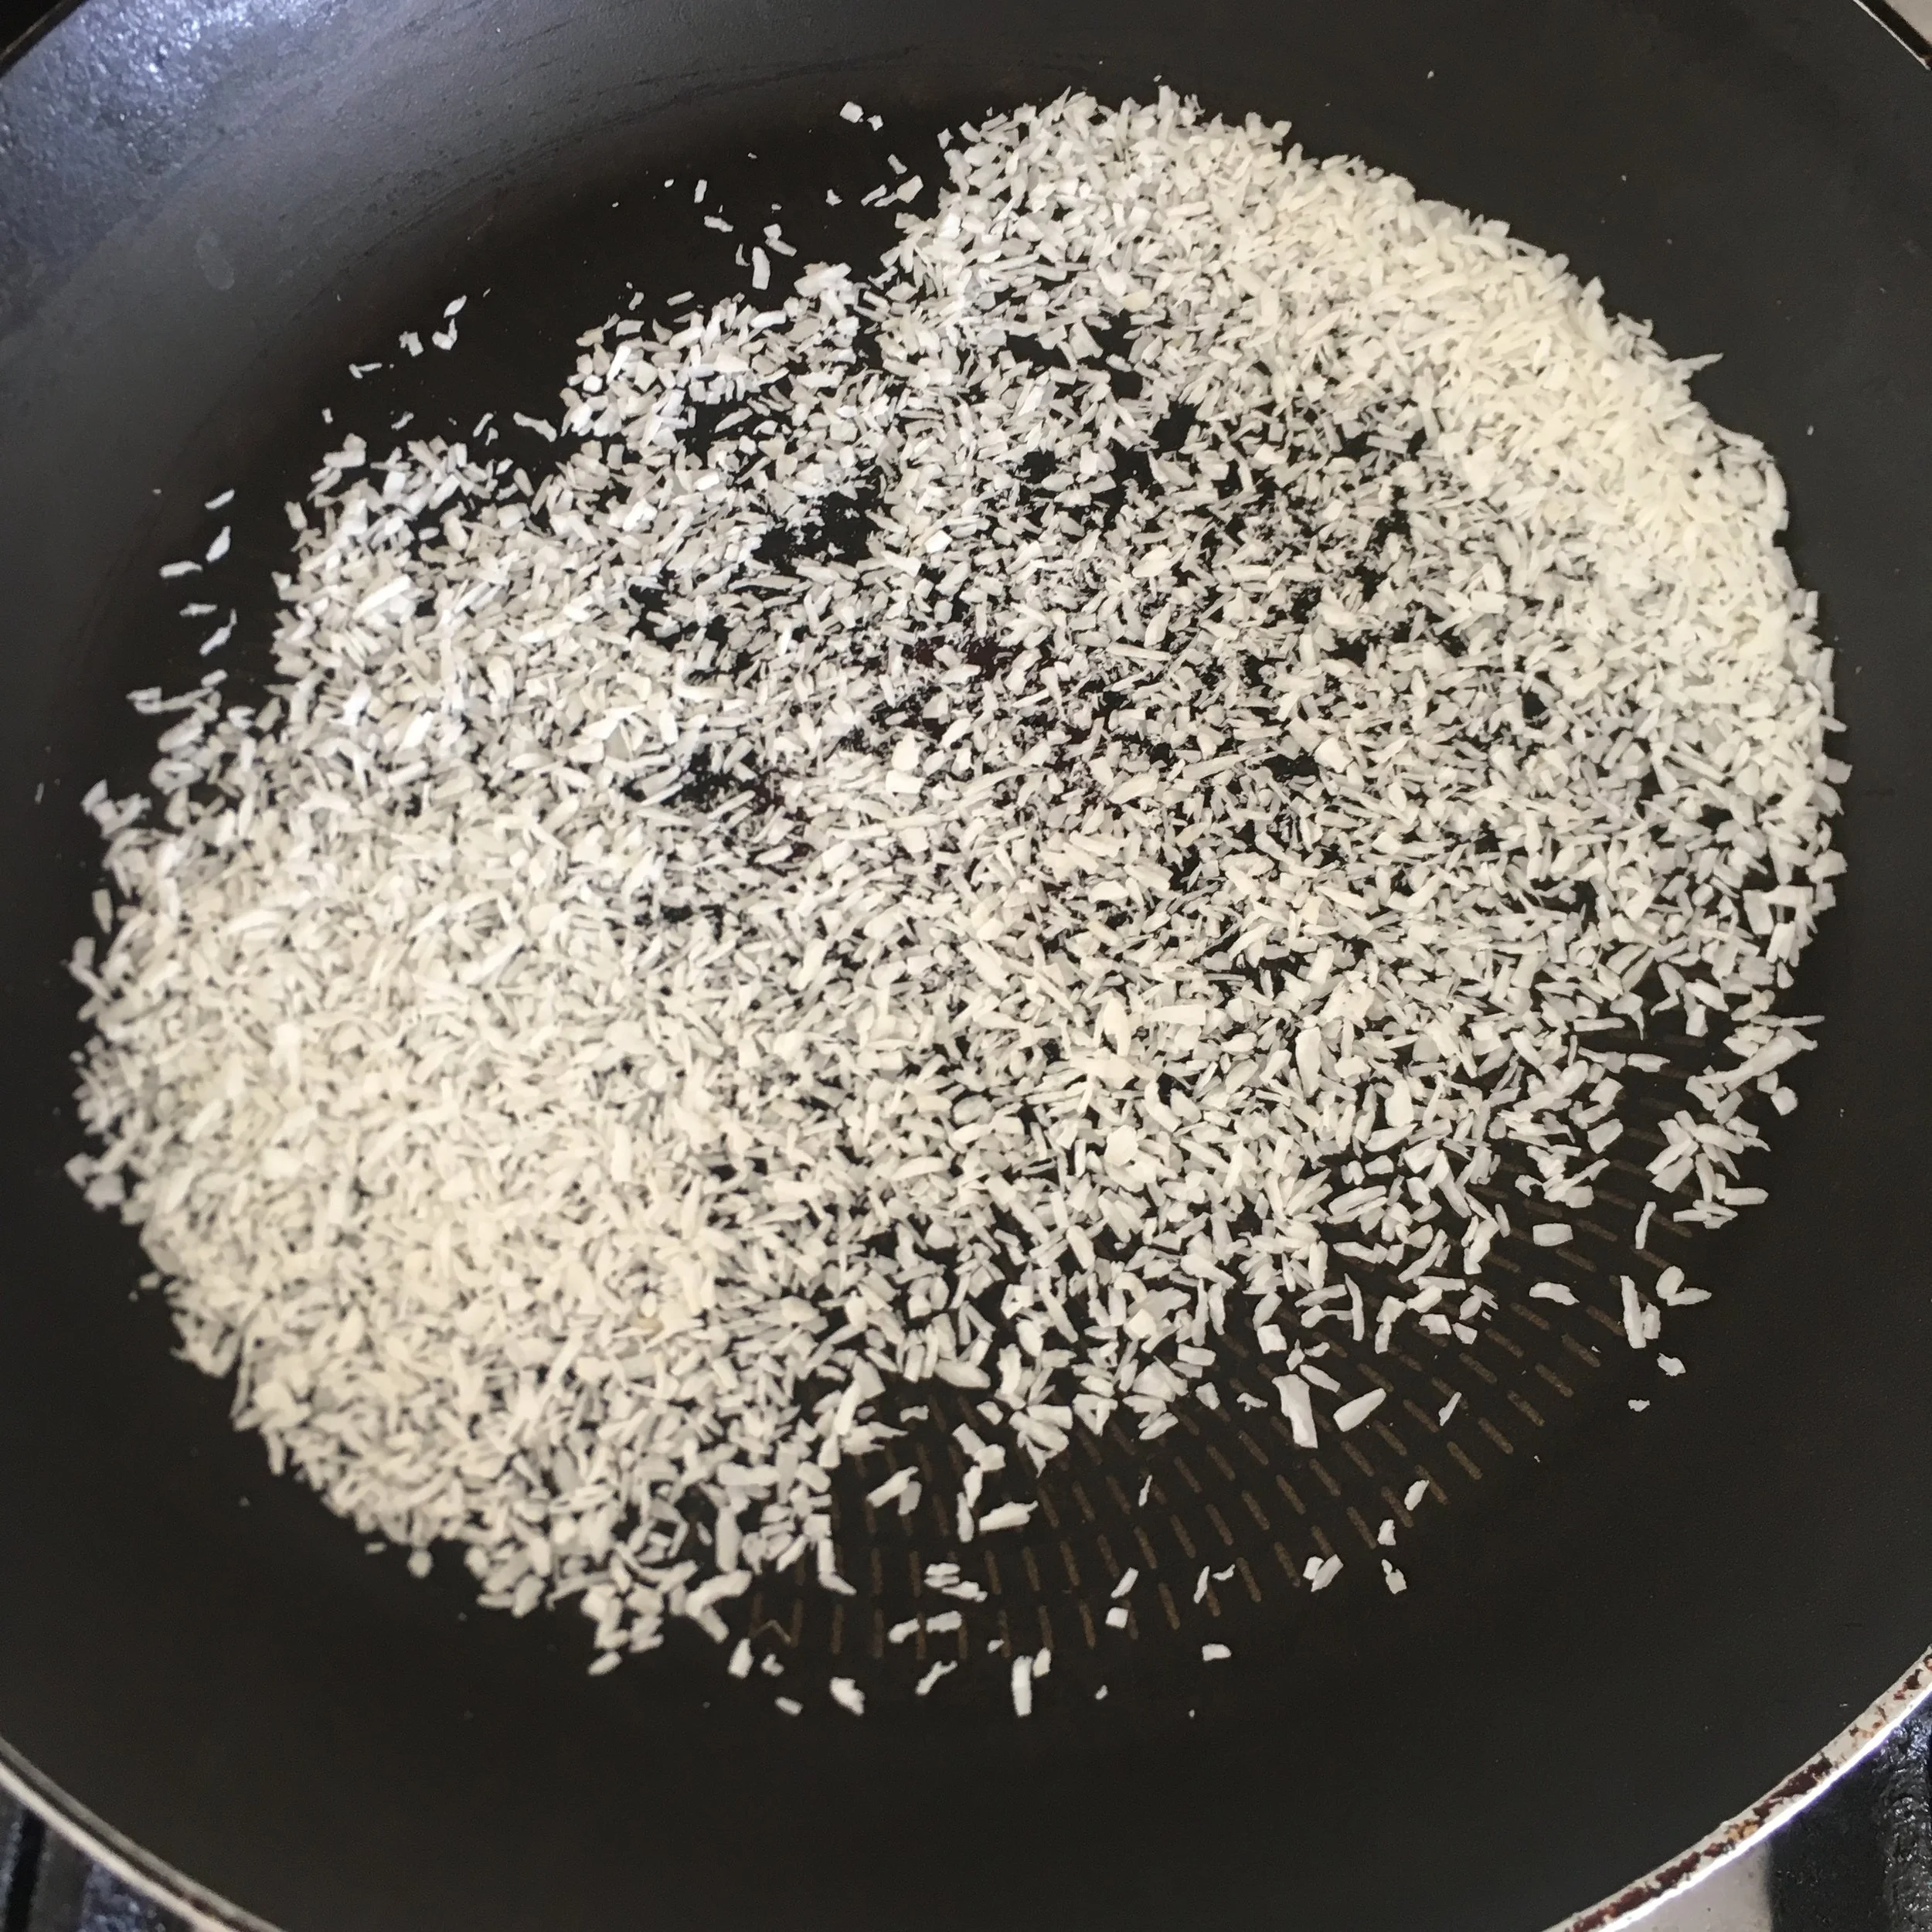
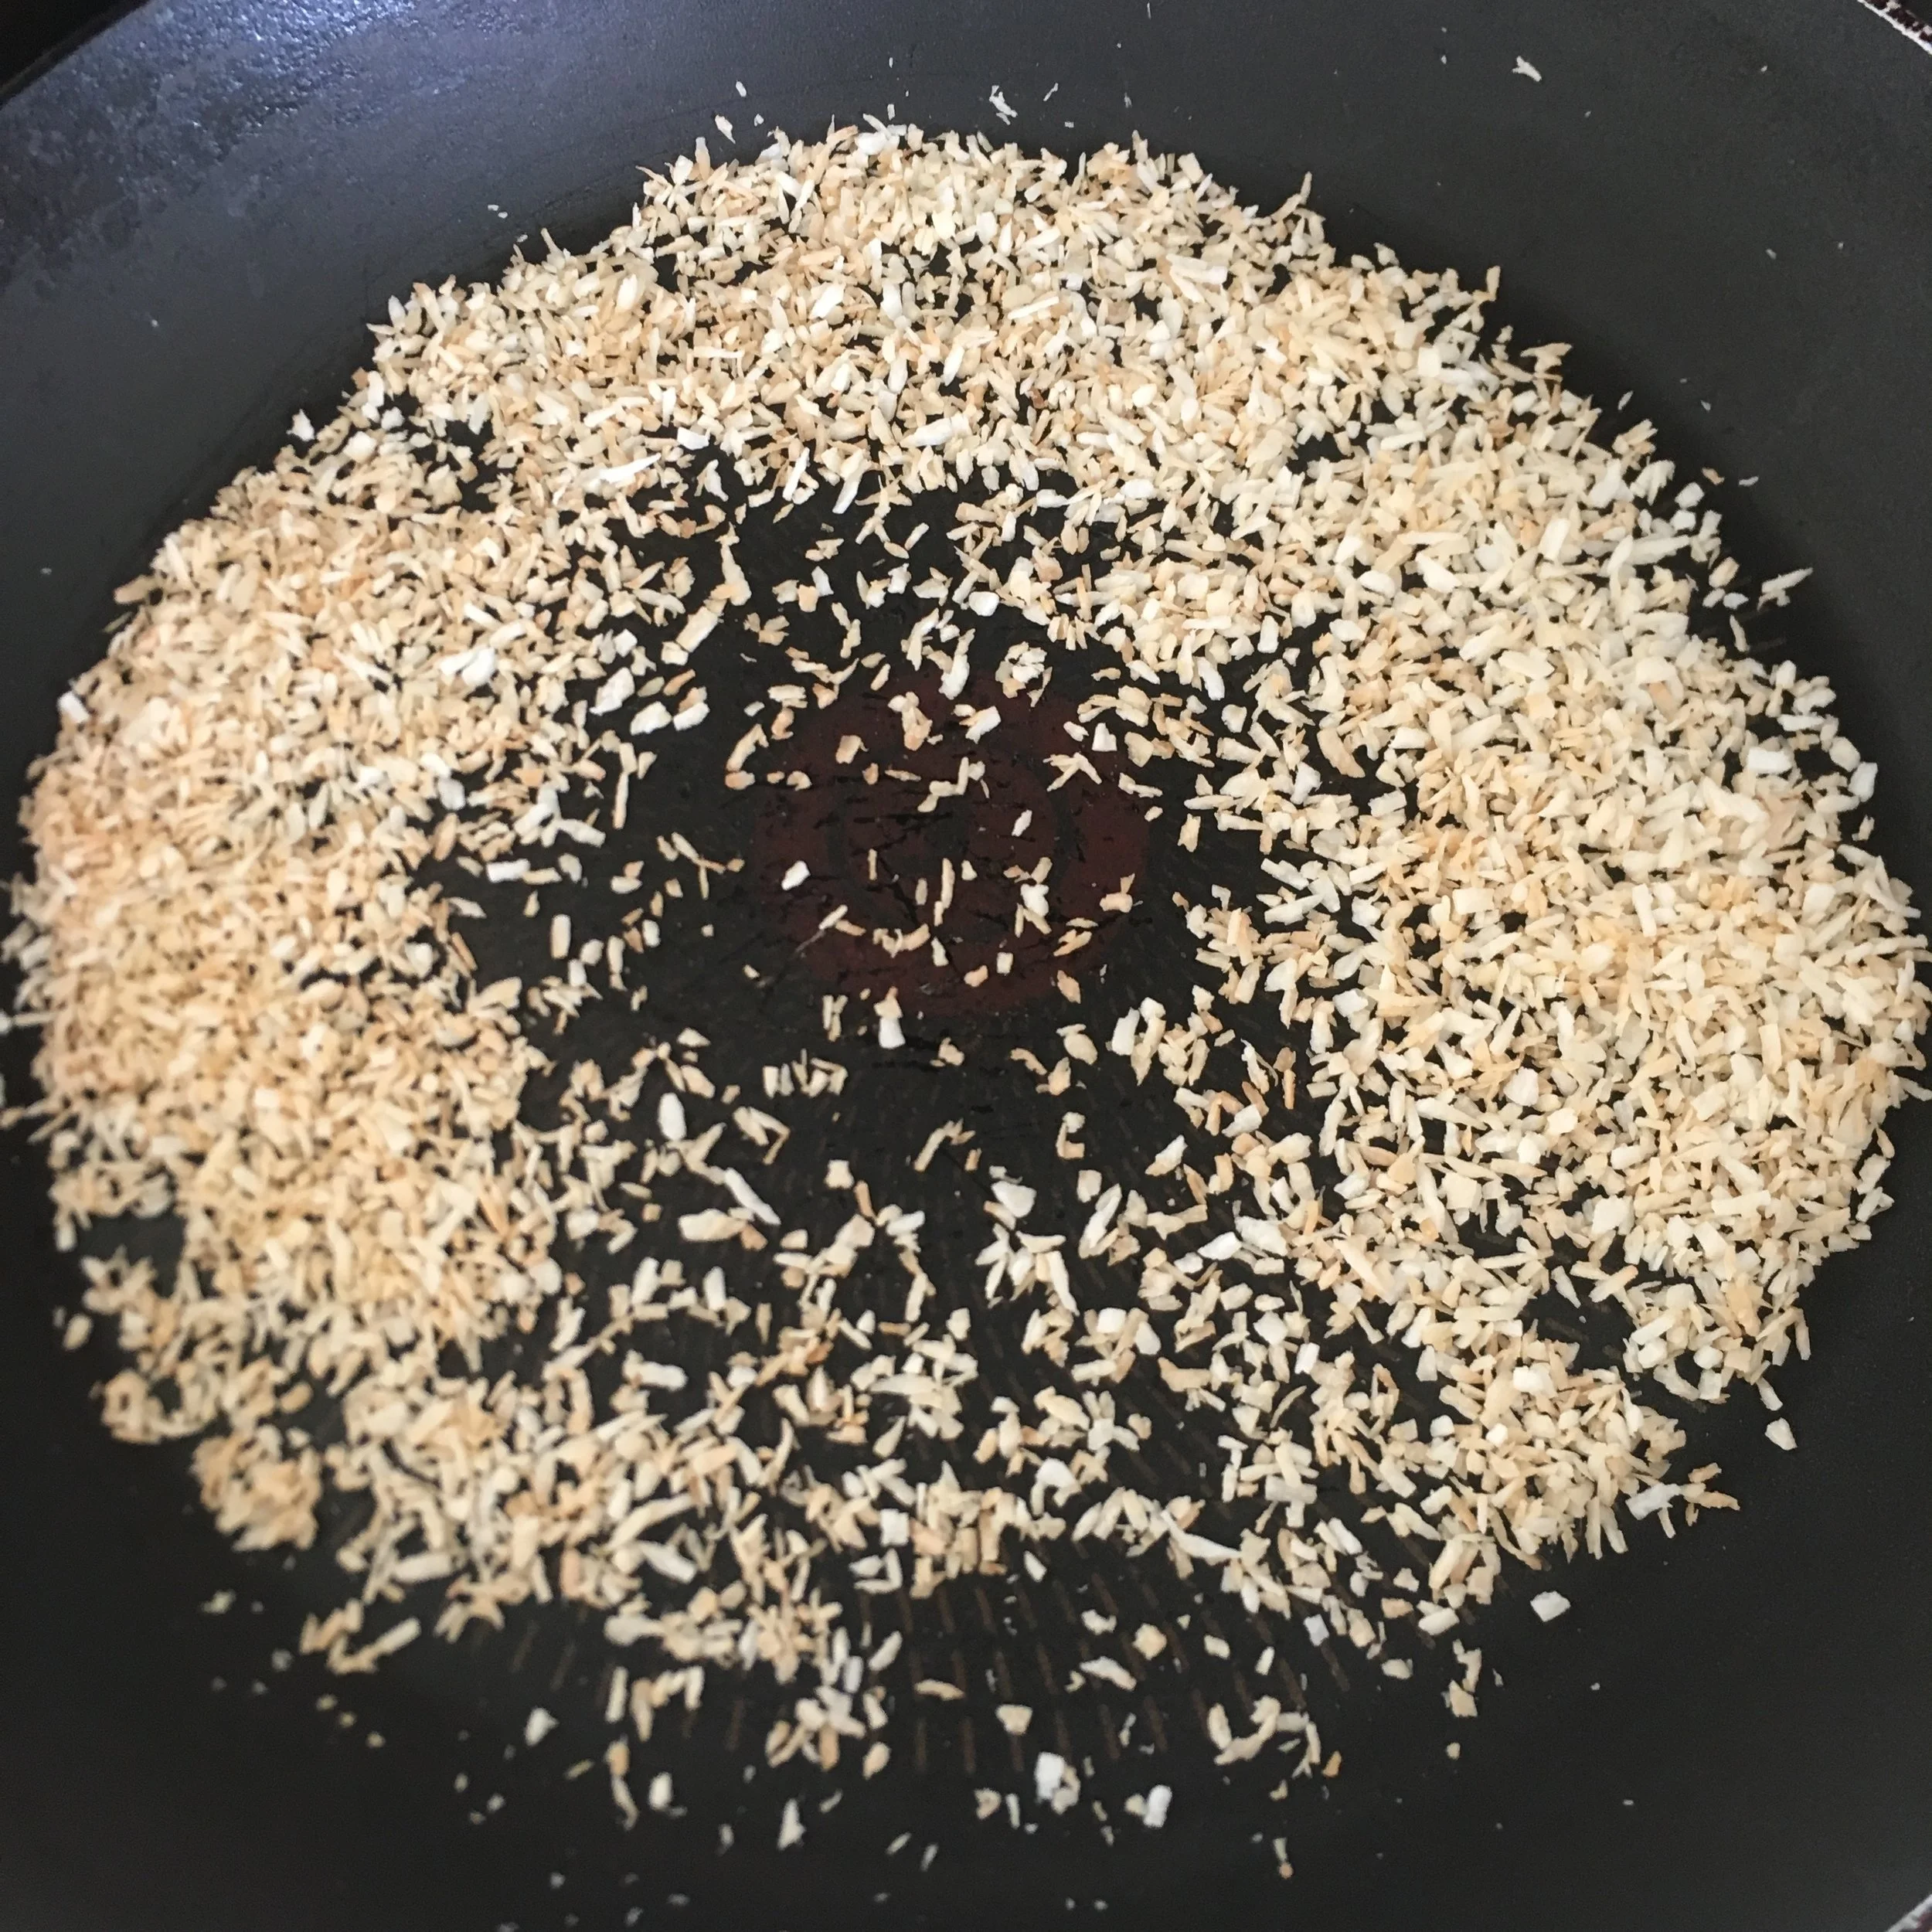
Put a non-stick pan over a medium heat, add the coconut and toast until a light brown. Stir constantly and watch it closely - it’ll be the one second you look away that it suddenly burns!

Remove from the heat and set aside.

IMG_1708.jpeg
IMG_1709.jpeg

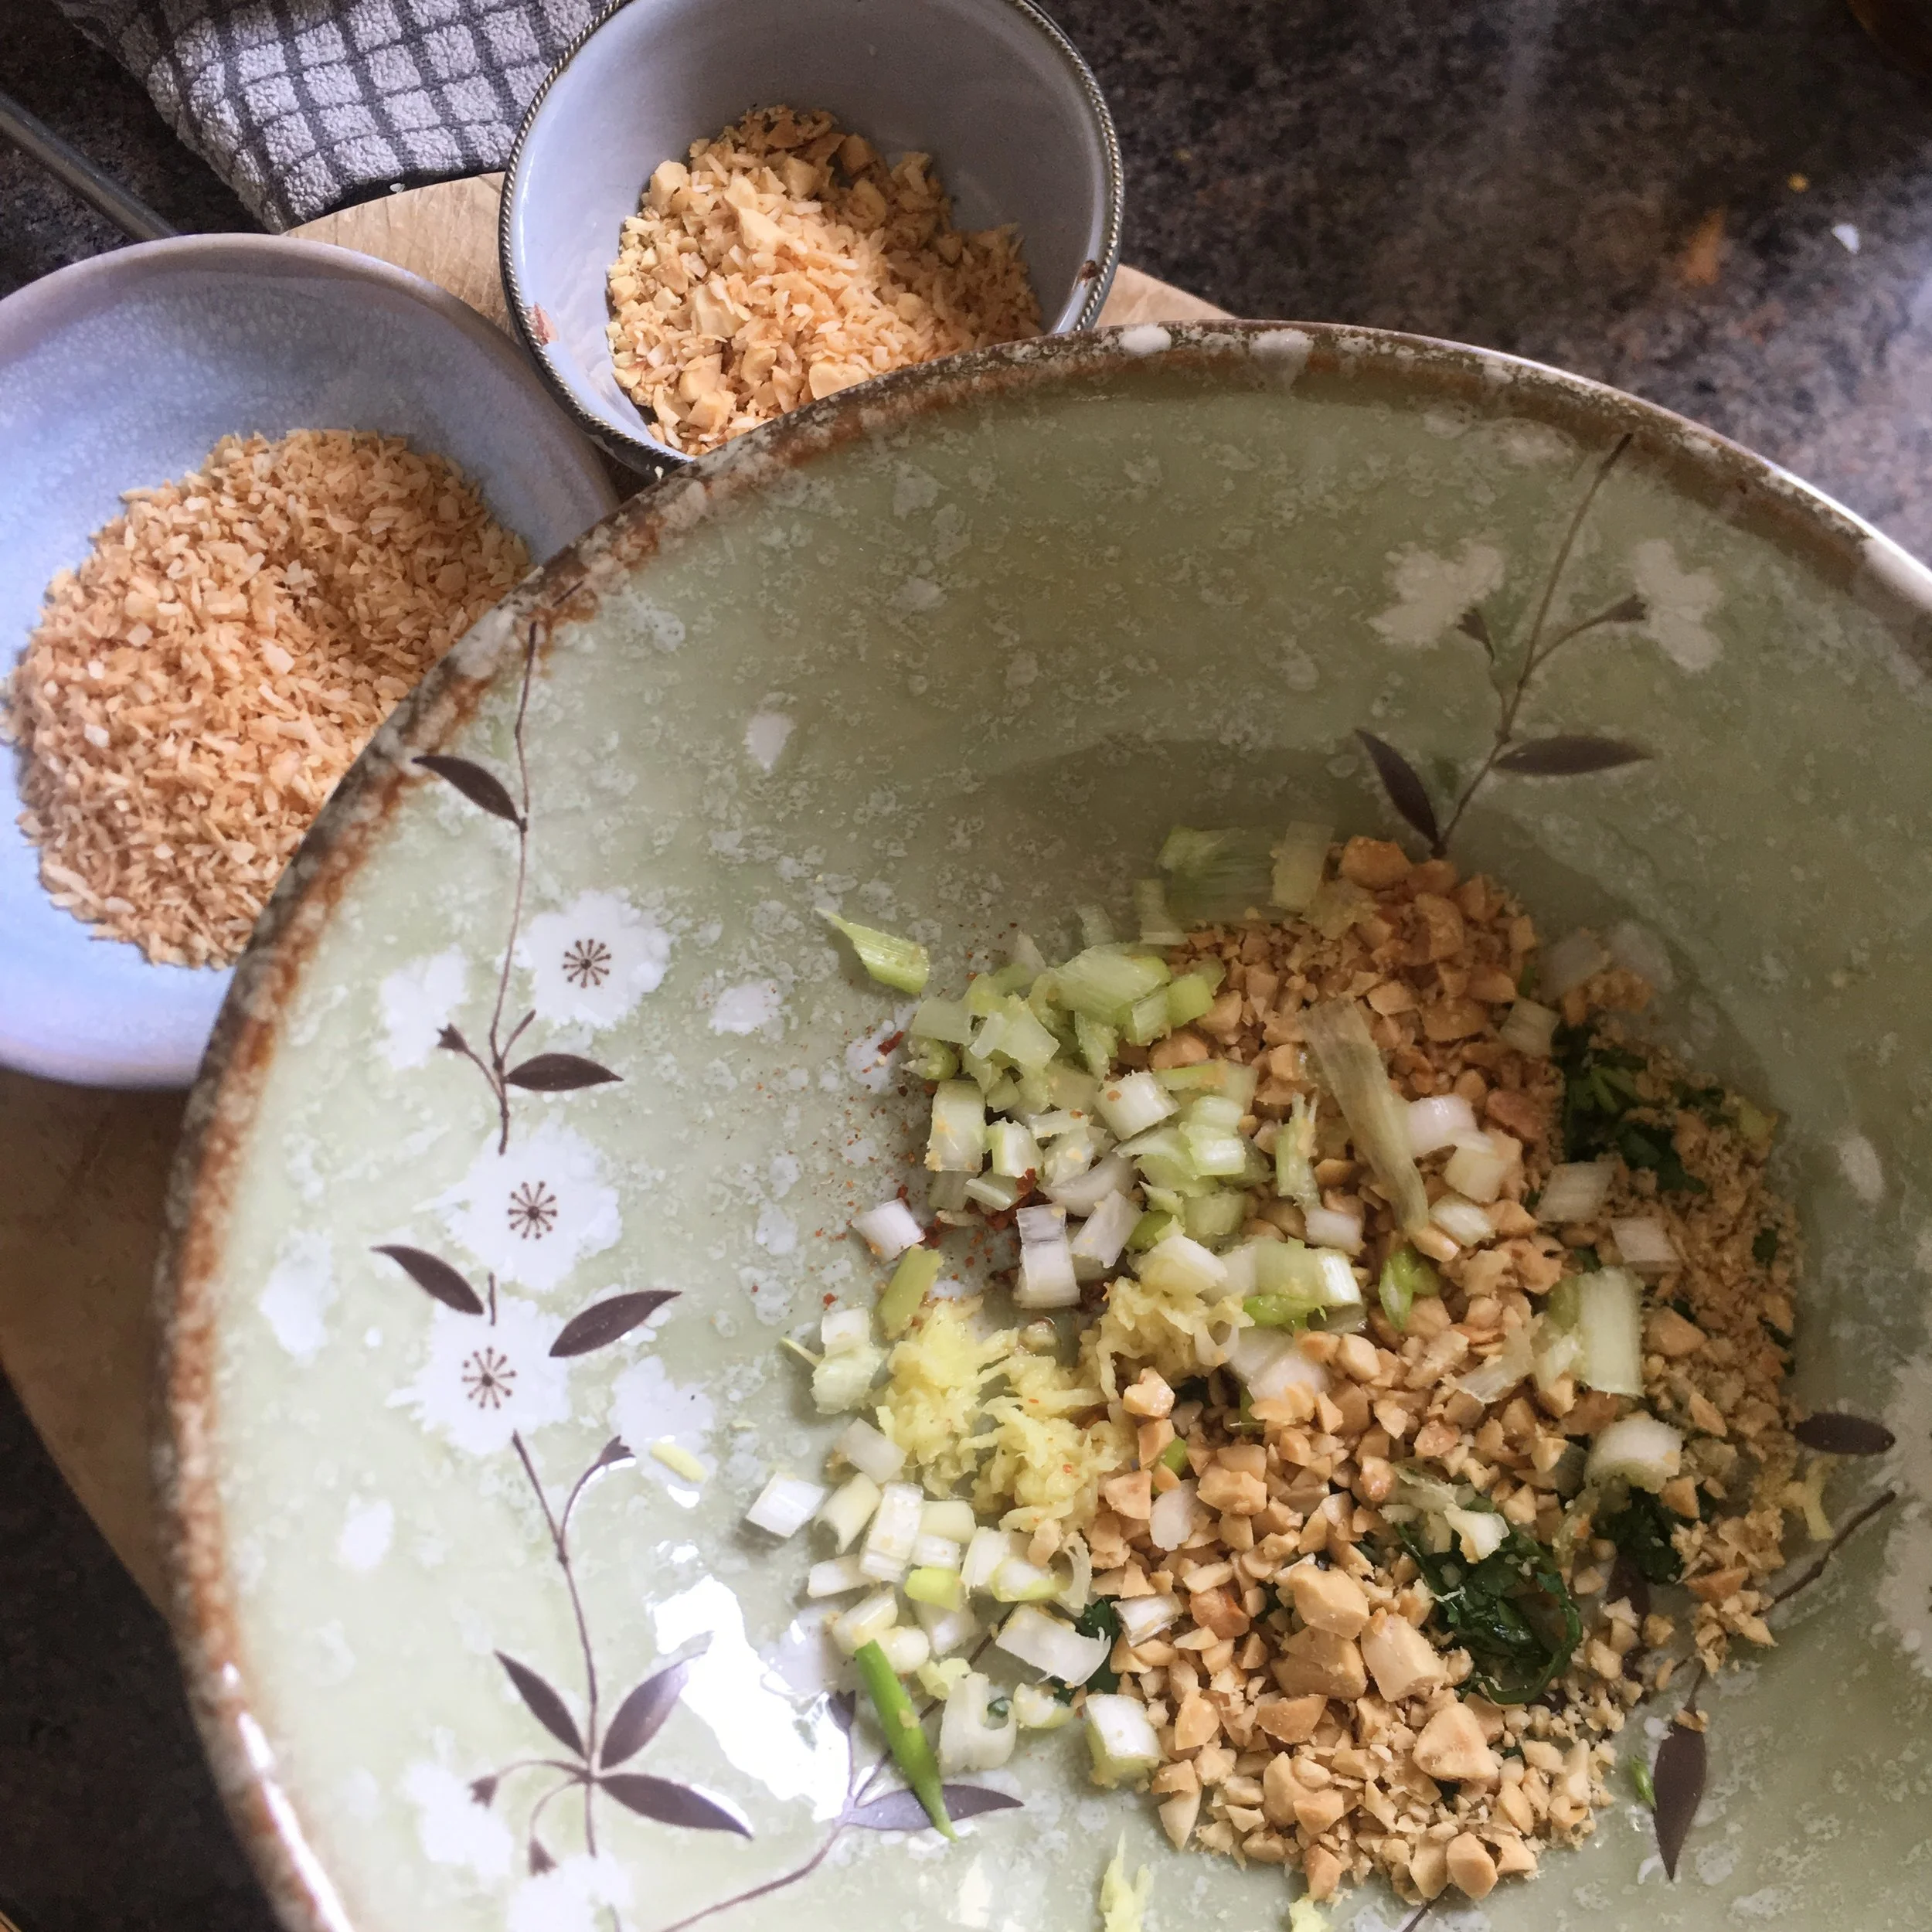
Into a bowl put about 2/3 of the chopped peanuts and set aside the remainder to add later.

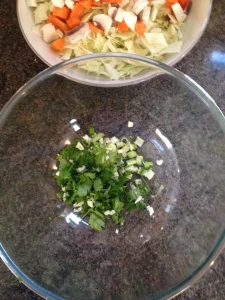
Next into the bowl goes the garlic, ginger, dried chilli flakes, sugar, spring onion and most of the coriander leaves, again keeping some back to add later.

Stir and put the bowl aside for now while you cook the prawns.

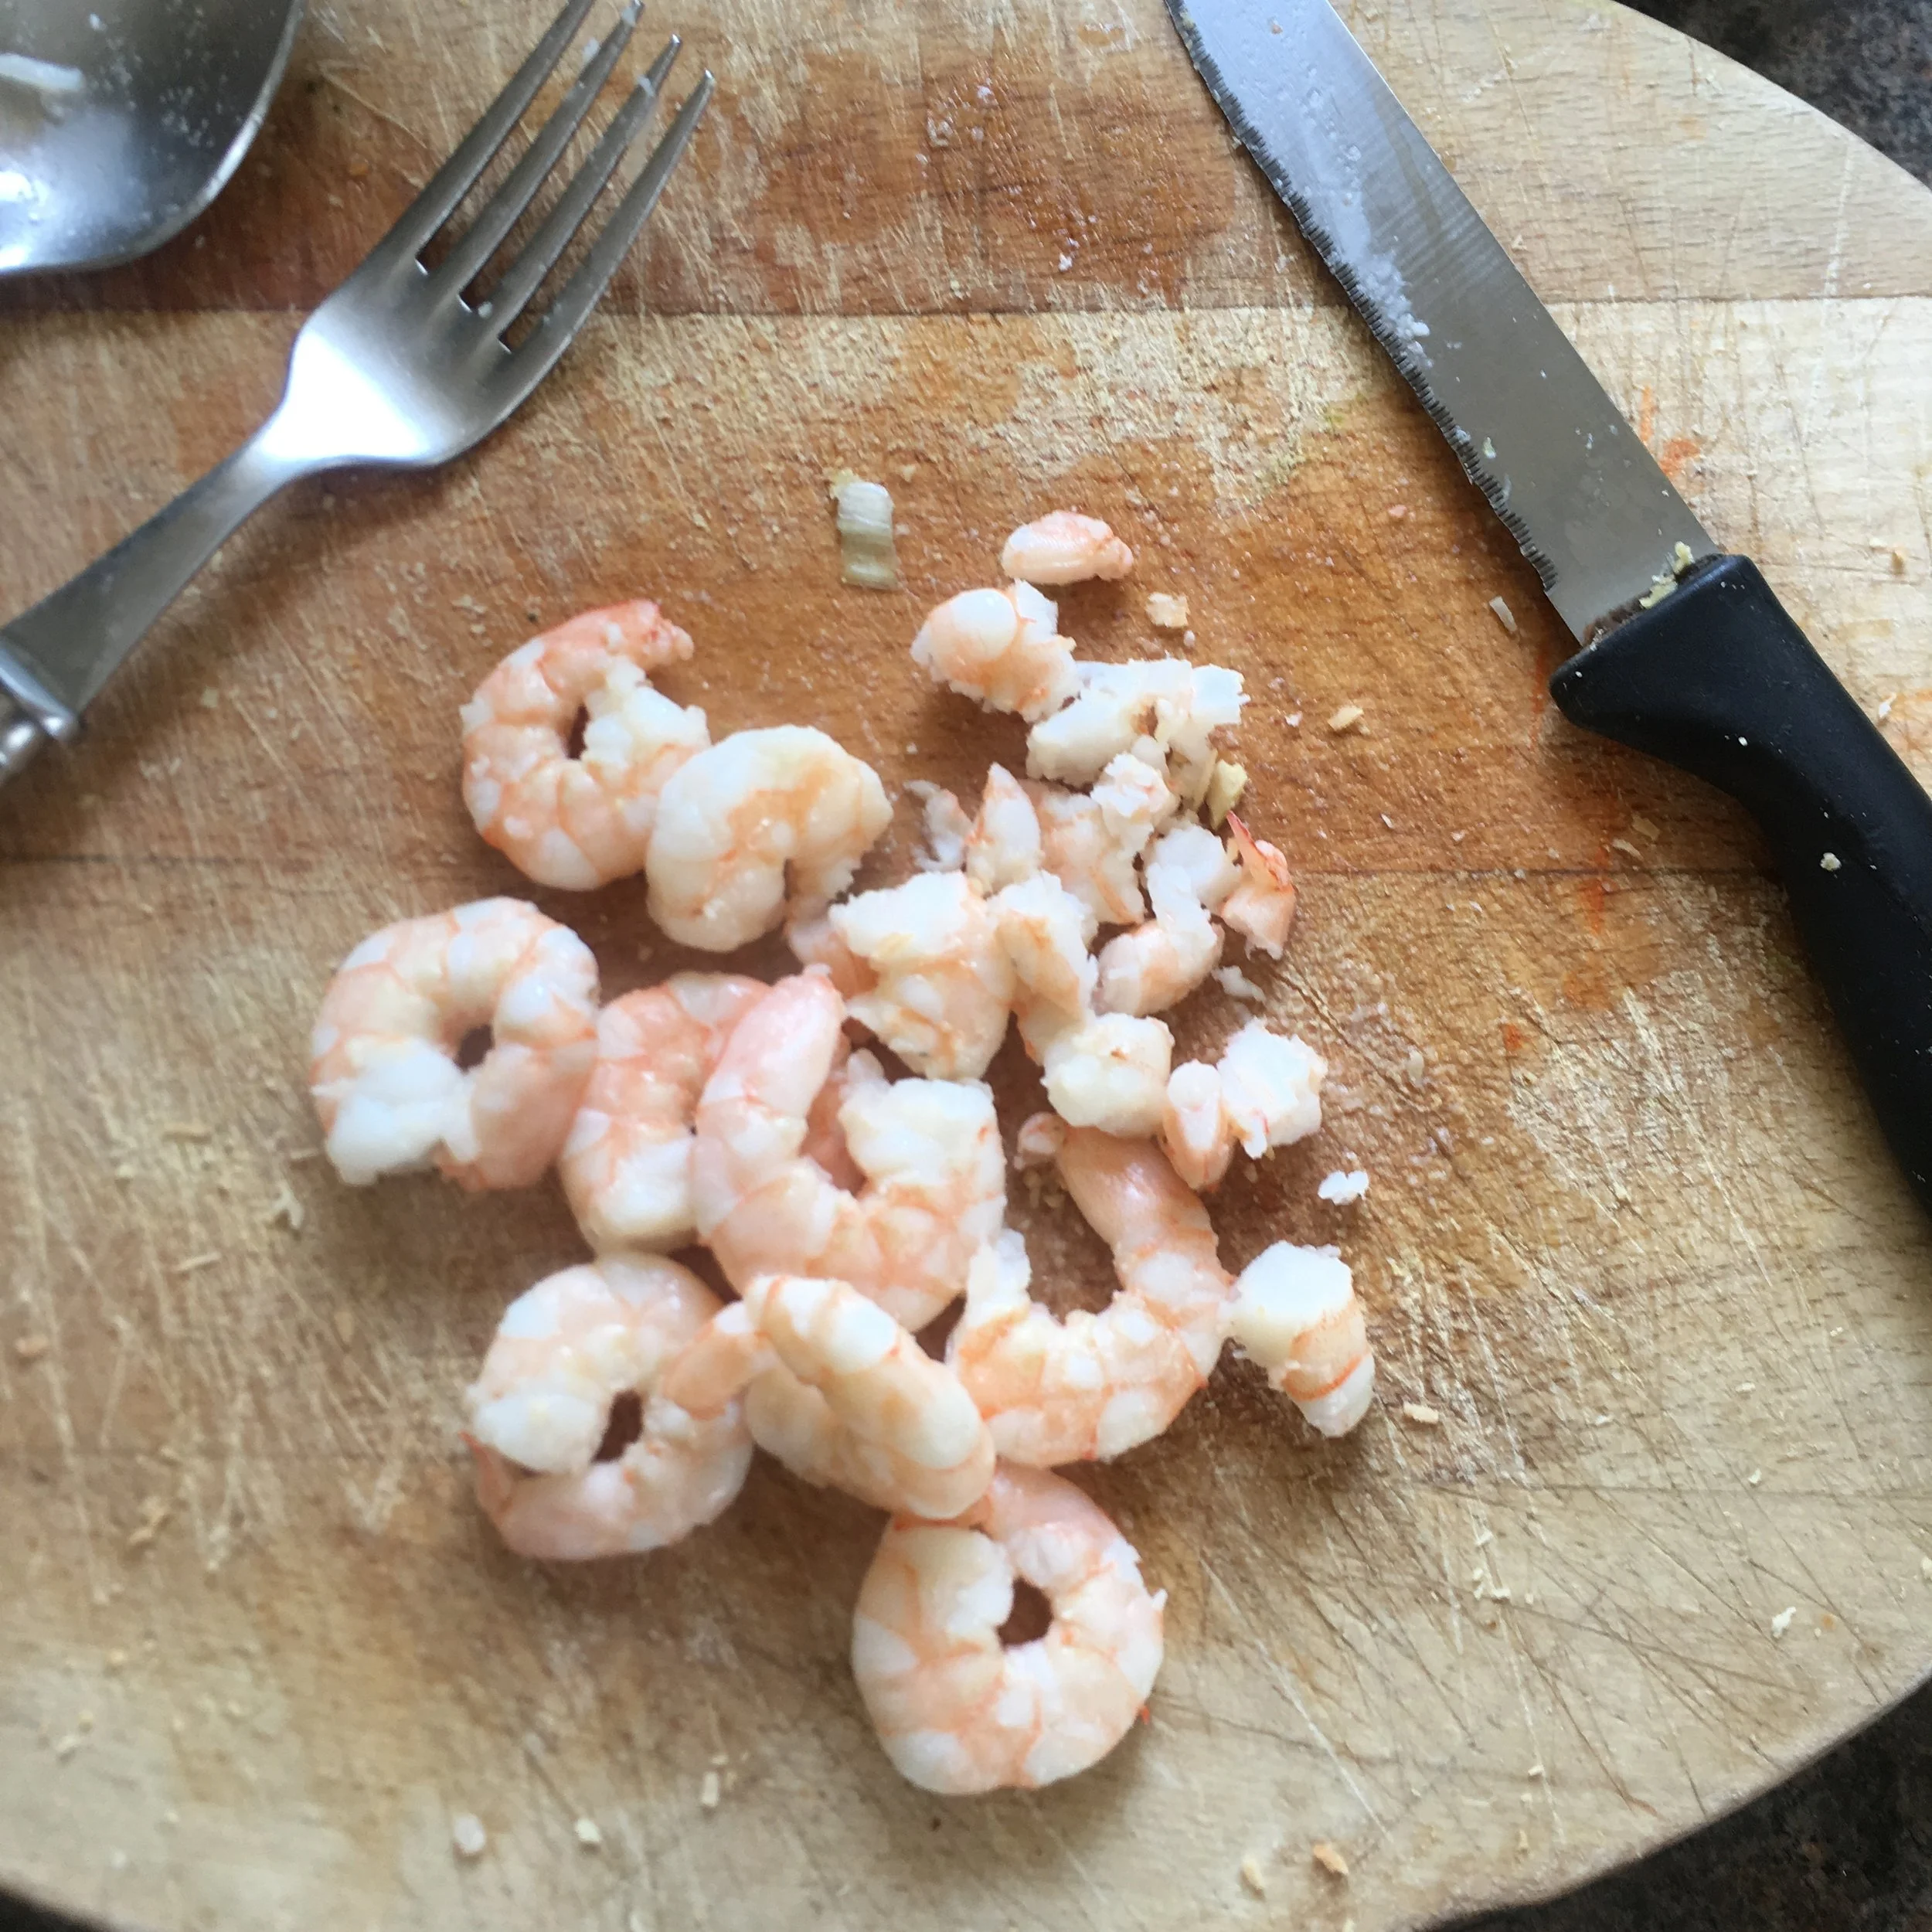
Cook the prawns in a non-stick frying pan with just a few sprays of cooking oil and a little splash of water until they turn from grey to pink and are just cooked through (about 2-3 minutes).

Remove the prawns from the pan and allow to cool just a little, then chop into small pieces.

IMG_1710.jpeg
IMG_1711.jpeg

Add the prawns to the bowl, plus the fish sauce and lime juice, and now add most of the toasted coconut too, but leave a little back to garnish.

IMG_1715.jpeg

Stir it all together and check how it tastes - does it need anything else? A little more chilli, lime or fish sauce perhaps?

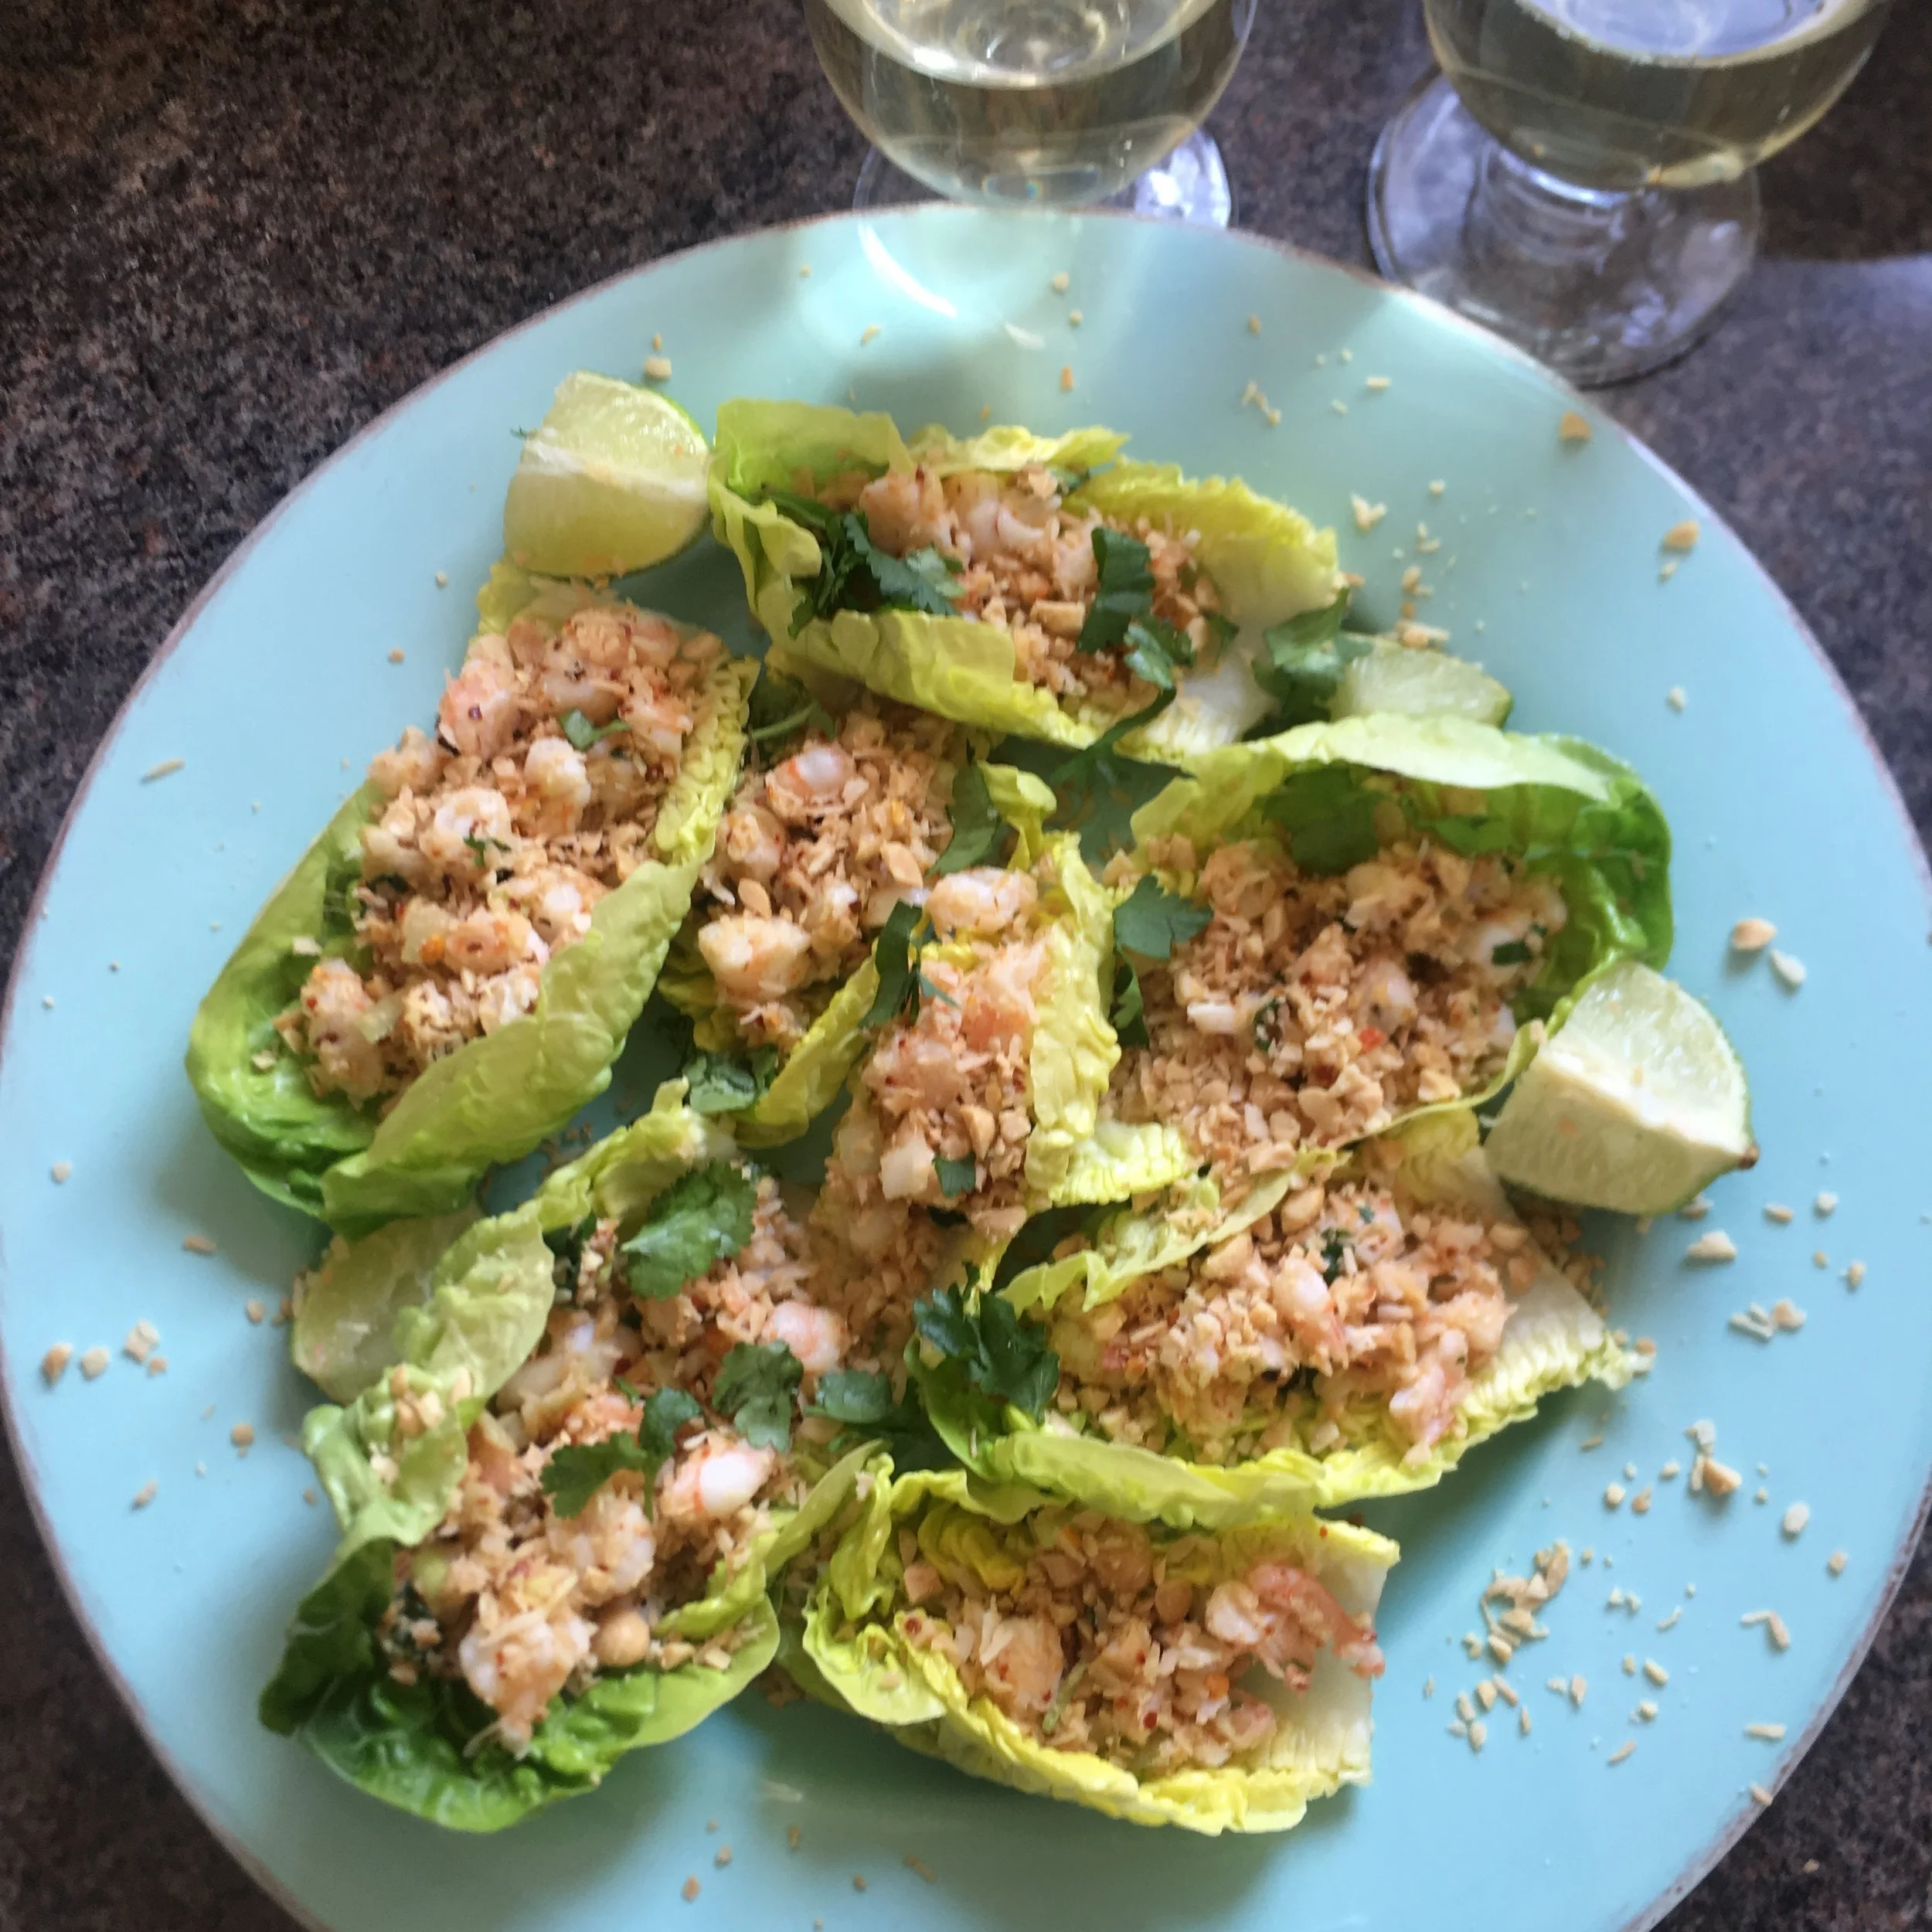
If not and you’re happy with it, spoon the prawn mixture into the lettuce leaves.

Garnish with the reserved coconut, peanuts and coriander, and add a few lime wedges to the plate in case anyone wants to squeeze more over.

I really hope you try and like this one - it’s going to be my summer party / suppers go-to I think!


YOU MIGHT ALSO LIKE …

Crispy peppery seafood stir fry

What I was thinking of was lovely crunchy deep fried prawns in a light batter ... and then what I was thinking was that I wanted something similar but also not deep fried.

Oh and ALSO what I was thinking was that usually those deep fried prawns have the batter around the shell - and I just don't like eating the shell plus I have a bit of a horror of un-de-veined prawns.

So the combination of prawns with veins in, and the shell on AND deep fried .... just wasn't going to work.

(OK ... when I say a 'horror' of not having de-veined prawns, if I'm throwing them in the food processor to make something like my prawn balls, then OF COURSE I don't de-vein them first, I just throw them in and mix with the other ingredients. I just don't like to SEE the vein. Just to clarify :) )

I tried this a couple of times and I was a bit too heavy-handed with the white pepper at first, but yesterday I got it right ... right being just how I like it ... and so I want to share.

I always have frozen seafood in the freezer as it means there's always going to be something good to eat and for this I decided I wanted a variety of seafood, not just prawns after all.

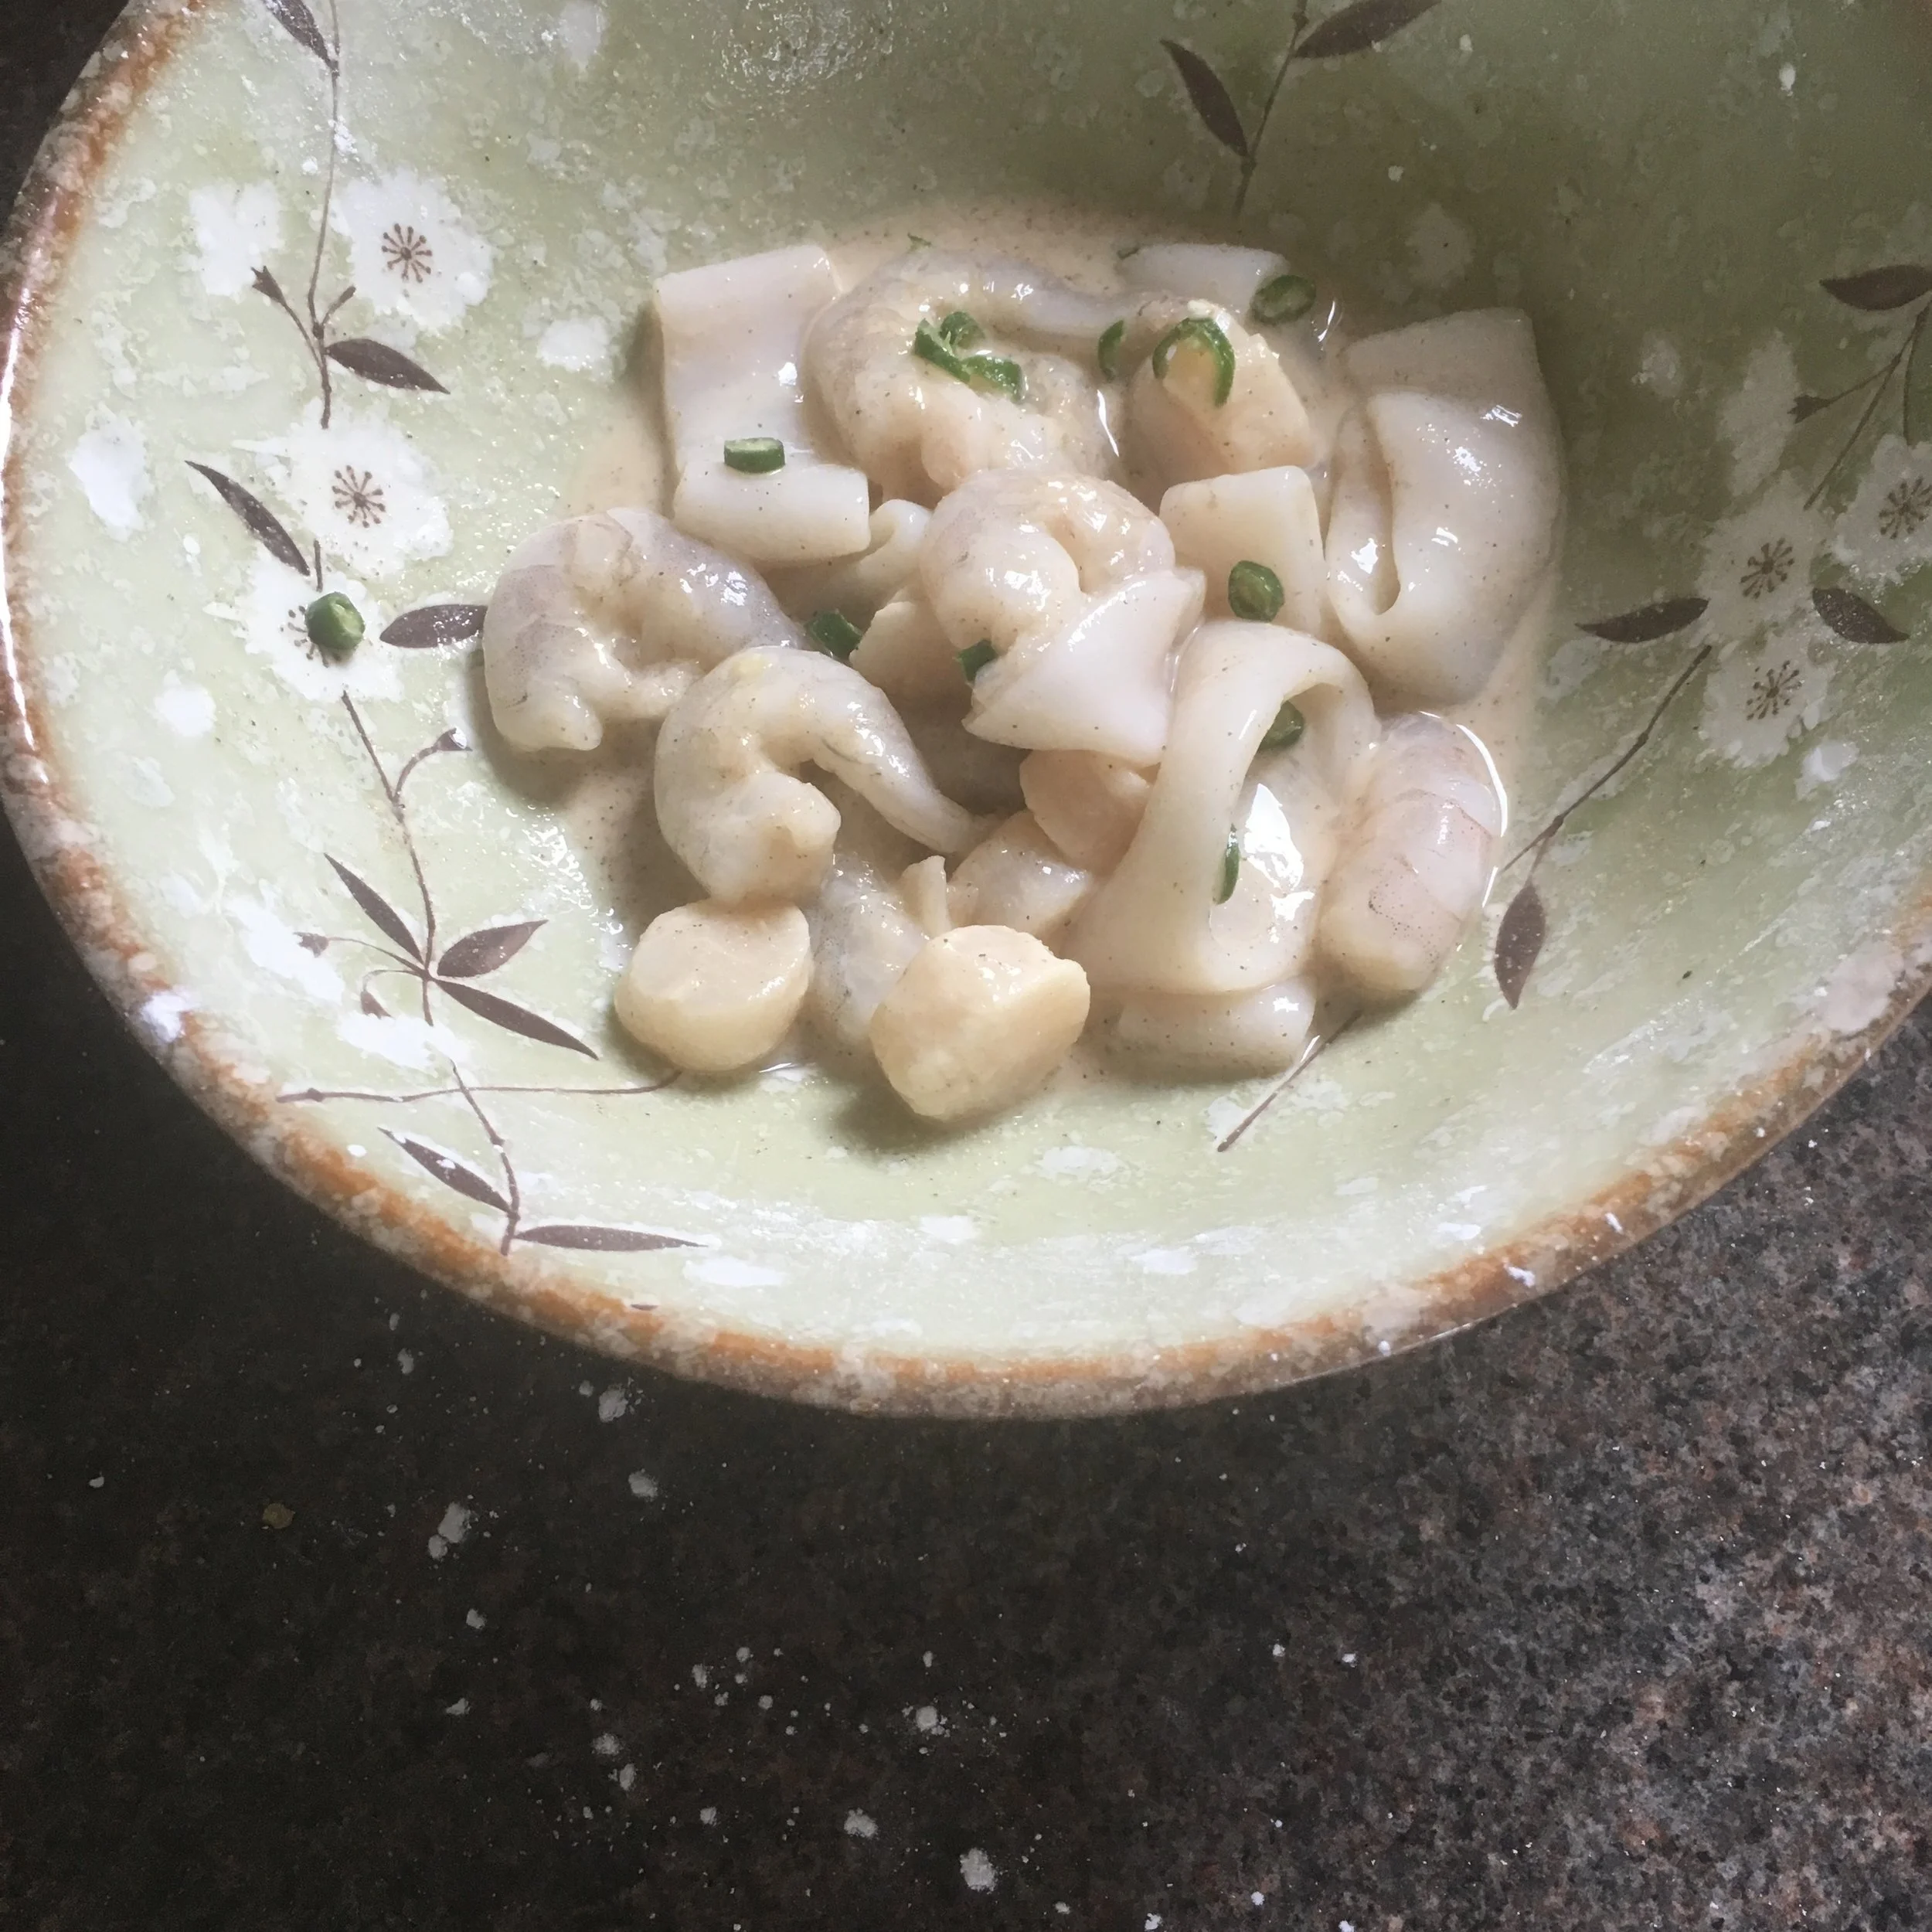
I have prawns, defrosted and de-veined. And I have squid - I much prefer the tubes of squid I can then score and cut into smaller pieces that roll up - but my online grocery shop delivered rings, so I kept them.  I also usually have beautiful big scallops - but again the grocery shop this time delivered these tiny ones and actually I'm a bit smitten with them.

While defrosting all the frozen seafood in a bowl of cold water, I made a little Vietnamese-style dipping sauce and cooked my rice as the cooking of the seafood itself is really quick.

Rachel Redlaw crispy peppery seafood

I made an easy little kind-of-batter with:

2 tablespoons cornflour

2 tablespoons fish sauce

1/5-1 tsp (to your taste) ground white pepper

1-2 birds eye chillies (to your taste), very finely sliced (I prefer red, but the grocery shopping .... you get it)

Just mix it all together and when the seafood is defrosted and rinsed, tip into the batter and mix with your hands to cover the prawns, squid and scallops (or whatever you're using).

Then put a non-stick frying pan over a medium heat, add some sprays of oil or pour a little oil to coat and when good and hot add the seafood.

It should sizzle immediately - so maybe try one piece to see if it's hot enough before tipping it all in.

Space it out so that nothing is on top of anything else and if there's extra batter add that on top of the seafood - it goes lovely and crisp.

Cook for about three minutes, turning a few times, until cooked and browned.

Rachel Redlaw crispy peppery seafood

And that's it!

Serve with the cooked rice and I like to top this with some sliced spring onion and chopped fresh coriander leaves.

Drizzle over some of the dipping sauce, pour a glass of something cold and good ... and eat.

This is now a favourite 'storecupboard' meal for me - I really love making 'something from nothing - when it looks like there's nothing in the cupboards or fridge and then I can make something as quick and easy - and delicious as this!


YOU MIGHT ALSO LIKE ... 

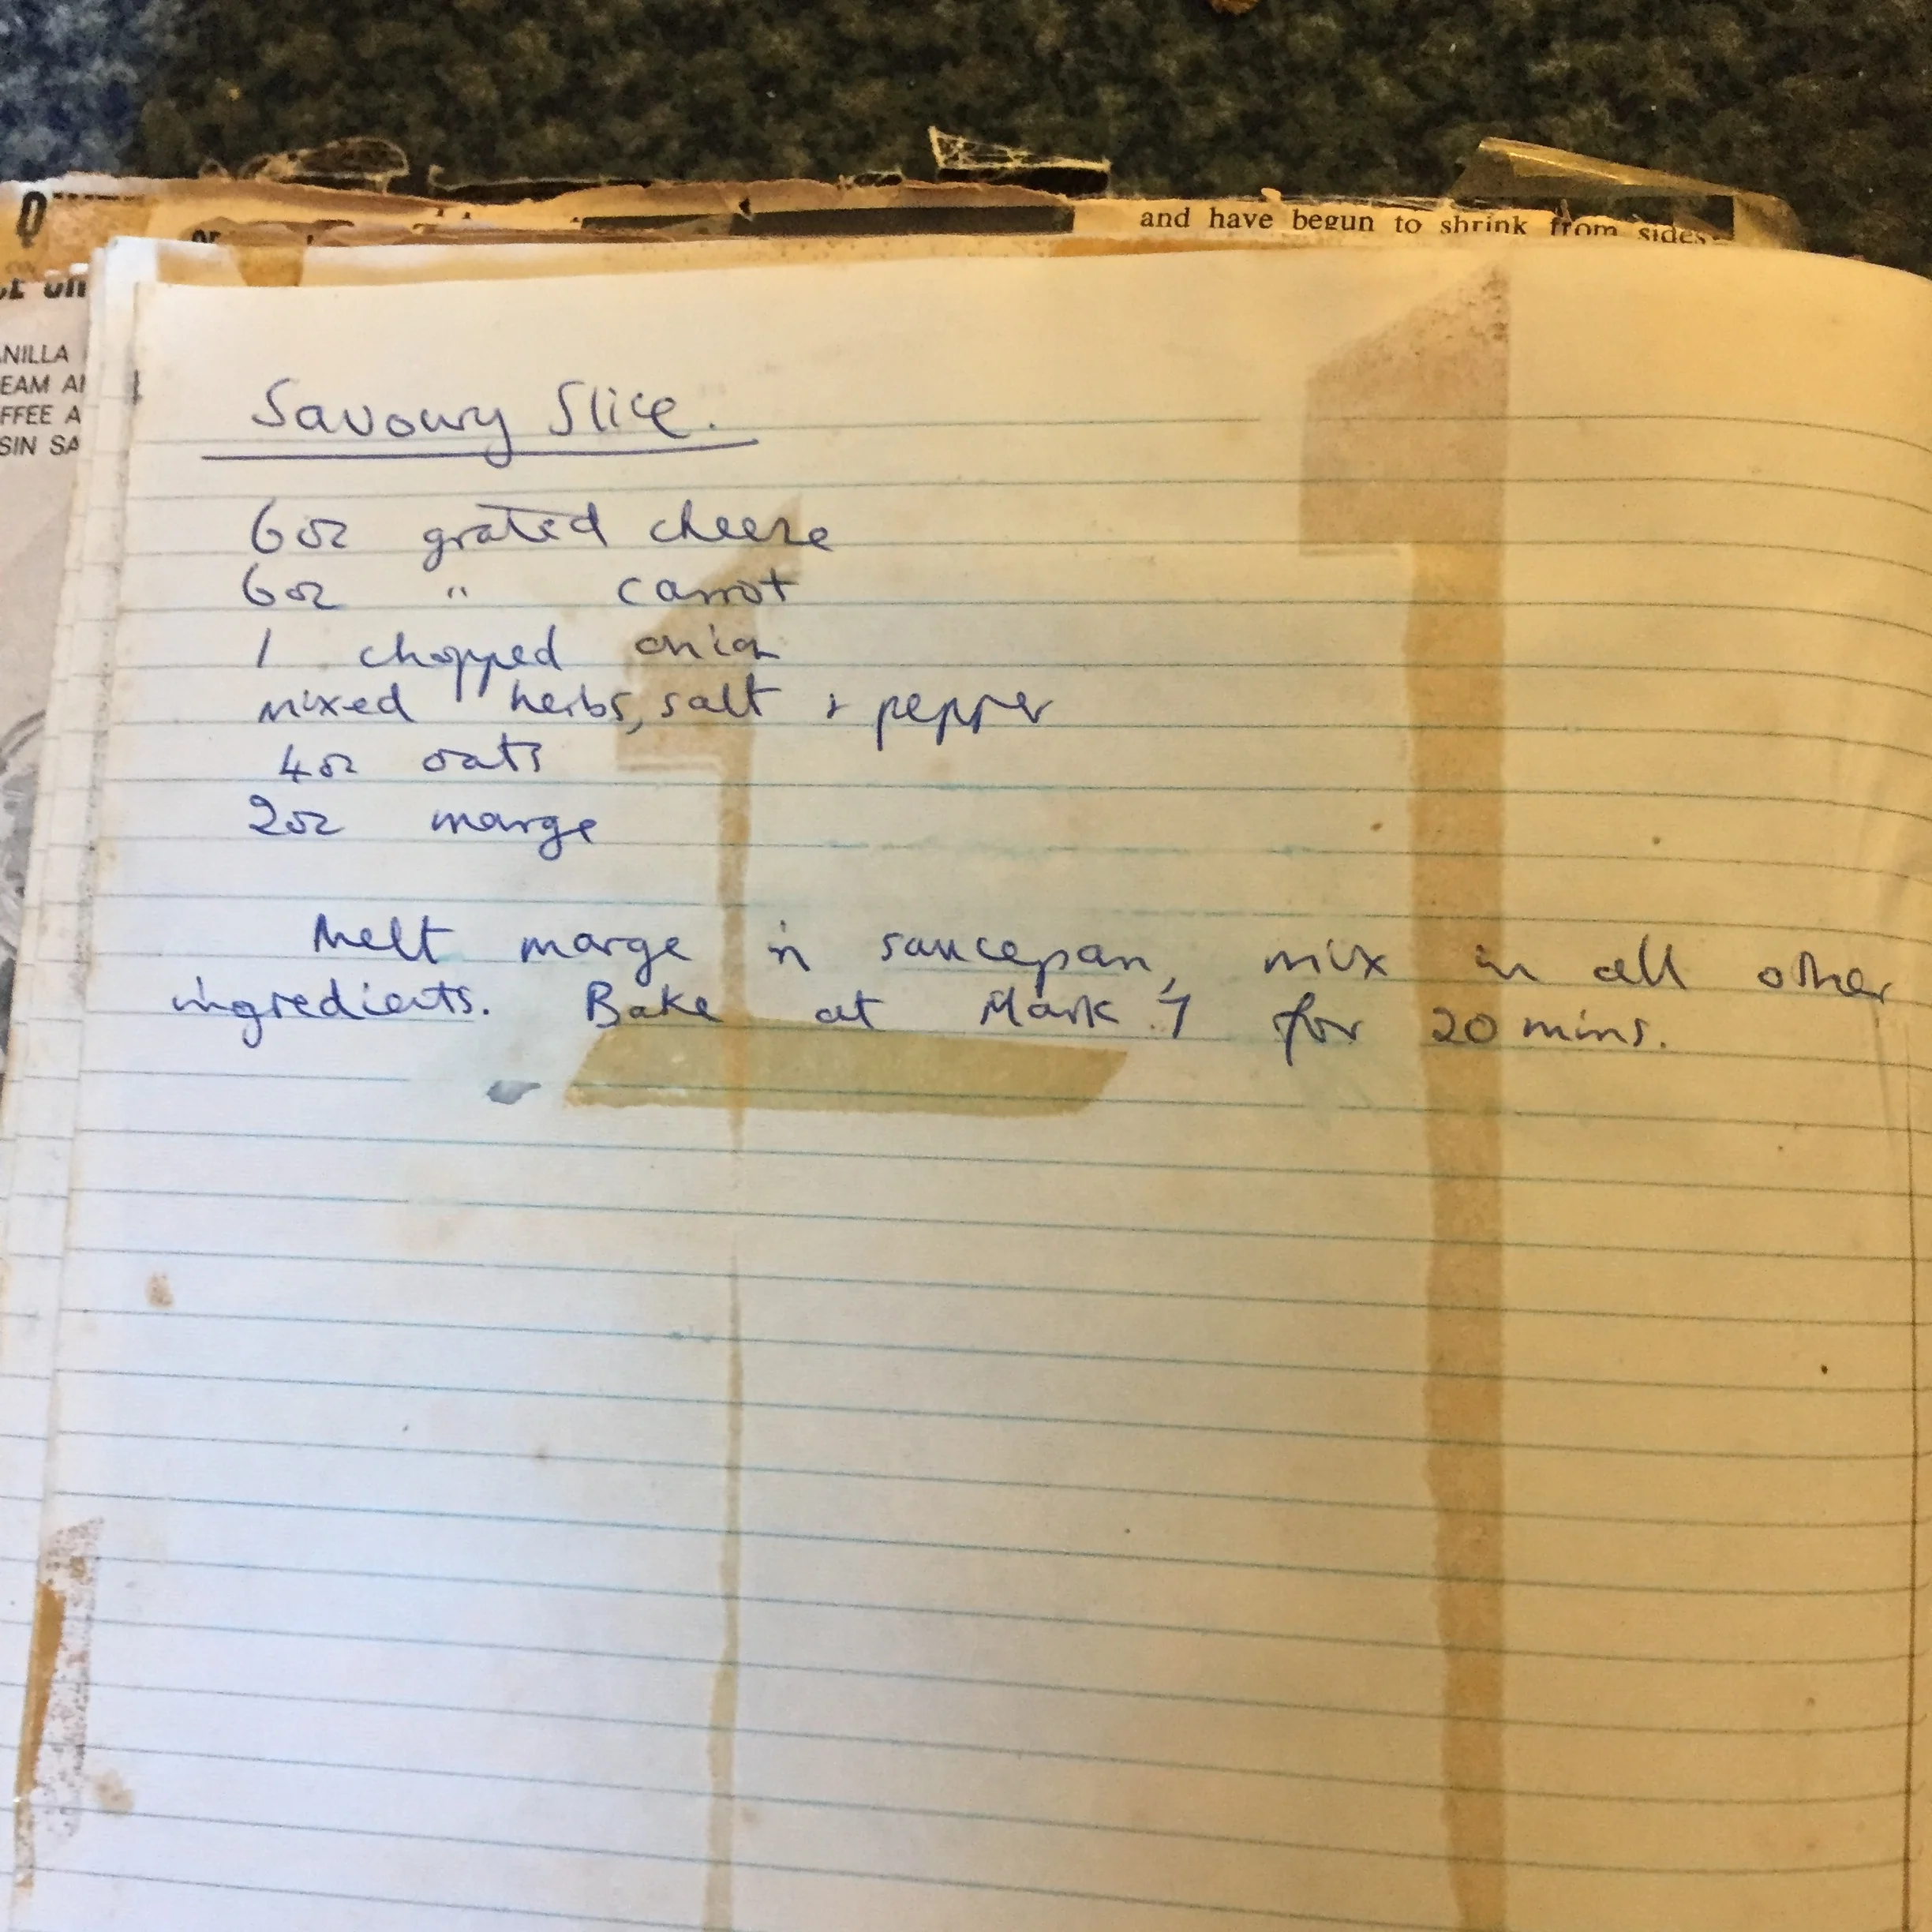
Savoury slice

At the time, at school ... I just wanted to be 'normal'. 

What I really wanted was 'normal' packed lunches.  Like the other kids. 

White sliced bread sandwiches with cheese or ham perhaps. A packet of crisps. 'Normal' food.

In my house, sliced bread was a bit of a no-no. Sliced white bread? Never.

My sandwiches were made with AGA-baked wholemeal bread - and mmm, ok, let's say the quality could be 'mixed'!

I remember home-made celery soup that smelled so strongly vegetable-y that it resulted in a whole table of nose-holding (and very dramatic, not to say a little cruel) children screaming and running off to another table leaving me alone.

Of course NOW .. now, I'm glad I wasn't 'normal'.

And glad we had good, healthy, wholesome food and glad I was brought up to cook from scratch.

And I do actually remember many things I did like - and that I think looking back, some of those 'normal' children with their dull sandwiches and nothing fresh to eat were probably envious of.

One of my favourites was 'Savoury Slice'. 

I came across the recipe the other day in my mum's old recipe book (full of loose pages, Sellotaped in recipes cut from newspapers and now falling free, handwritten ideas, and leaflets from products and supermarkets over decades).

Rachel Redlaw savoury slice

I was looking for her lentil soup recipe - I didn't find it and we think there wasn't a recipe as such, it was just something she made often.

But I did just come across this long-forgotten 'Savoury Slice' and decided to make it. 

Really easy and actually very tasty!

In my opinion, still a very good - although probably still not 'normal' haha - idea for a packed lunch, picnic, snack or a great accompaniment to soup (especially for those who don't eat bread).


Here's what you need:

Rachel Redlaw savoury slice

50-60g butter

Approx 200g carrots, grated

Approx 200g Cheddar cheese, grated

1 small-medium onion, peeled and diced

Just over 100g - maybe 120g - oats

1/2 teaspoon oregano

Salt and pepper to season


Prepare the ingredients so everything's ready to go.

Melt the butter in a saucepan and then mix in all the other ingredient.

When completely mixed, tip out into a tin and bake for about 20-30 minutes (check it and see when you think it's done, it's not really that precise!) at Gas 7 / 220 C.

Rachel Redlaw savoury slice

Leave to cool, cut into slices or squares and keep in an airtight container - it'll keep for a few days.

I would have taken a picture of them nicely cut in squares - I was planning to have a couple on the side of the plate along with a bowl of soup. 

But then I ate the best looking ones!

I'll just have to make some more - will add another photo next time.


YOU MIGHT ALSO LIKE ...

Vegan tofu + mushroom balls w/ a ginger sauce

When I knew my vegan friend was coming for dinner, I started a LOT of research googling recipe after recipe after recipe for something that would inspire me.

I was after something to make to go alongside my favourite prawn balls and was hoping for inspiration to create something new.

But eventually I came across this great recipe and pretty much just made it exactly as the original.

The original is HERE and I simplified it (to my mind anyway) slightly - and my go at making it you can find HERE.

Vegan tofu + shiitake mushroom balls with a sort of ginger sauce and sesame seeds.

They were very light with the lovely tofu but a bit crumbly - they became firmer on cooling and would be great served as a main with rice and vegetables.

We also had a sweet chilli sauce and a cucumber dipping sauce to accompany the prawn and tofu balls.

Super-simple with a food processor (or blender).

I only put these onto toothpick skewers to match the look of the prawn balls but actually these were a little crumbly so I'd just heap them in a yummy pile next time and pour the sauce and seeds over!

Rachel Redlaw tofu + mushroom balls

OK, let's get started ... pre-heat the oven to 375F / 190C / Gas 5.

The original recipe said to use baking paper brushed with oil on a baking tray ... which would probably be ideal, but I didn't have any greaseproof paper so just added a little oil to my baking tray and wiped it over with a piece of kitchen towel (and it worked fine).

The ingredients for the tofu balls themselves

About 200g firm tofu (I've had so much trouble with tofu over the years and then recently realised it was really down to me not buying the right sort - you do need the firm one!), drained and cut into a few pieces

A big handful of shiitake mushrooms - about 100g or a little more - and if you can't get shiitake then just use whatever mushrooms you have, stems removed and roughly chopped

200g of panko breadcrumbs (I found these easily at the supermarket - I'm sure you could use dry bread to make breadcrumbs in the food processor and then perhaps toast quickly in a dry pan and it would work well)

1 small, or half a large white onion, peeled and chopped into a few pieces

I garlic clove, finely chopped

2 tablespoons soy or almond milk

2 tablespoons light soy sauce

For the ginger sauce

I couldn't work out how to convert US cups very easily, so I just used a small cup and followed the measurements - I think as long as you're consistent it'll be fine (and it was, it was good).

1/4 cup cold water

1 tablespoon cornstarch

2 tablespoons rice vinegar (I didn't have any so used 1 tablespoon of white malt vinegar - I used less as it'll have a stronger flavour and taste than rice vinegar)

2 teaspoons sugar

1 teaspoon sesame oil

2 teaspoons grated fresh ginger

To serve

Some sesame seeds, toasted quickly in a dry pan (watch it all the time, they burn easily!)

Sliced spring onions


Put the tofu, mushrooms, breadcrumbs, onion, garlic, milk and soy sauce in the food processor and pulse until completely mixed and crumbly - keep scraping the mixture down into the bowl as needed.

(It was so good I did eat some - I mean 'taste' - at this stage!).

IMG_0375.JPG
Rachel Redlaw tofu + mushroom balls

Roll into about 20 balls and put onto the baking sheet.

I was worried that it was too crumbly to make balls but actually I just took a small spoonful and made it into a ball and it was easy!

Brush with oil (I think I forgot to do this so don't worry too much!).

Pop in the oven and bake for about half an hour, turning half way through - carefully! I started turning mine too soon and they needed a little longer to be firm enough to turn so just see what works for you and your oven.

When cooked, remove and either serve straight away with the ginger sauce and topped with the sesame seeds - this would be a lovely dinner with rice and some stir fried vegetables - or you can re-heat later.

I have to admit to eating two or three as soon as they were cool enough - I really like these!

While they're baking, make the ginger sauce if you're eating them immediately.

Stir the water and cornstarch together to mix well and put into a small saucepan with the vinegar, sugar, sesame oil and ginger and bring slowly to a low simmer. Simmer for a minute or so, stirring all the time, until the sauce has thickened.

When ready to serve, pour the sauce over the tofu balls and top with the sesame seeds and sliced spring onions.

So good - hope you like them!


YOU MIGHT ALSO LIKE ...

Delicious, different & easy NYE cocktail party ideas

I have SO many recipes and ideas for things that are easy and delicious to make for a party that I thought it would be useful to do a quick round-up now just ahead of New Year's Eve.

These are not only easy and delicious but will be something a little bit different to normal canape fare - and I also believe that by this stage in festive proceedings, most people are more than ready for some fresh flavours and spice after a few days of rich - but bland - food.

Here's two of my favourite cocktail recipes: 

Lemon prosecco punch and lemon vodka sours (yes I like lemon and citrus flavours!).

And my very favourite snack to have ready and warm when guests arrive is spicy cashew nuts.

Raachel Redlaw spicy cashew nuts

Really easy to prepare ahead - chop and slice everything and then just fry before serving warm - is this larb gai.  It's a spicy warm salad and if you serve small portions in little gem lettuce leaf 'cups' it's a fresh and different canape.

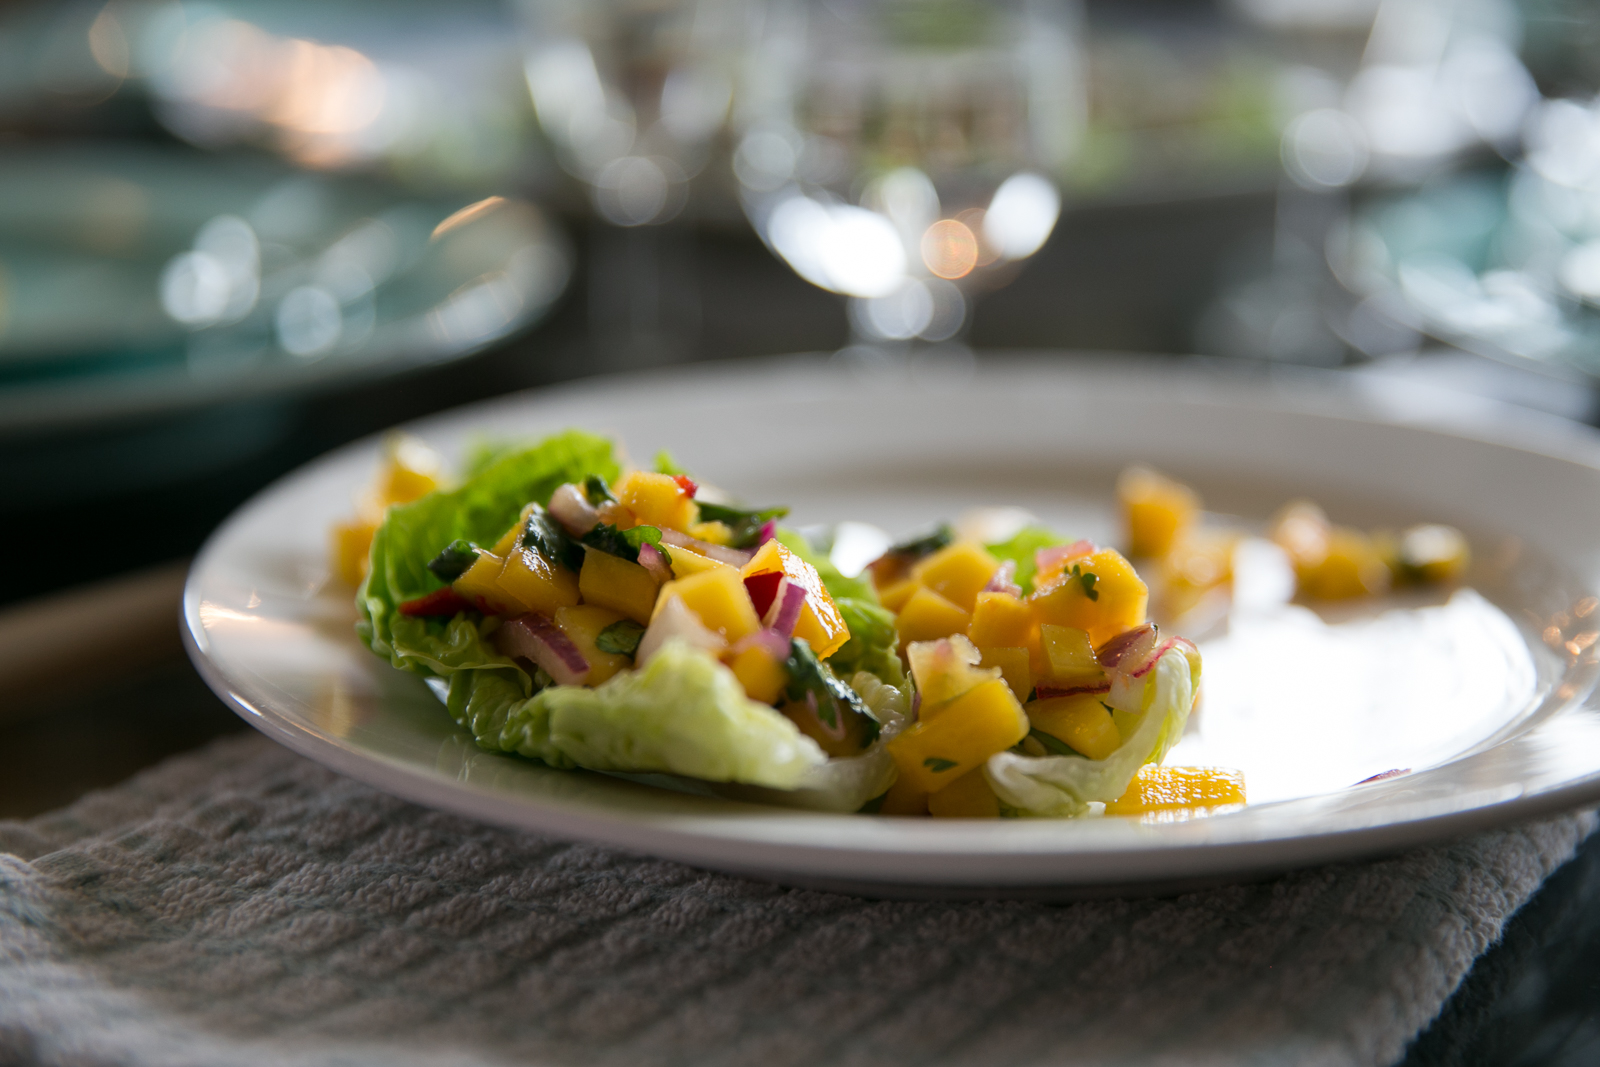
A really nice veggie version are these mango, chilli and lime cups.  Just make sure to only prepare an hour before serving so they don't go mushy! 

Rachel Redlaw larb gai spicy salad
Rachel Redlaw mango salad

These pork and prawn balls are a guaranteed winner! Serve just two on a cocktail stick and with a dipping sauce - honestly, everyone loves them! 

Rachel Redlaw pork and prawn balls
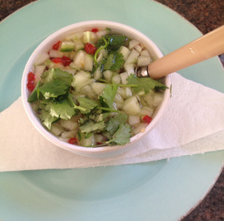
Rachel Redlaw cucumber dipping sauce

No Name are delicious vegetable fritters - make ahead of time and then just fry before serving with a sweet chilli sauce

 
Rachel Redlaw No Name vegetable fritters
 

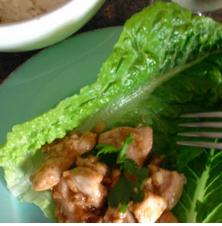
And I love chicken or pork stir fried with garlic and served (again) on little lettuce leaves.  Really tasty and different! 

Rachel Redlaw pad gratiem

Oops! Can't believe I nearly forgot these pork and prawn sesame toasts! Classic - and easy to prepare ahead and then fry just before serving with a little soy sauce for dipping.

Another winner! 

Rachel Redlaw pork and prawn sesame toasts

And to end ... how about these little balls of deliciousness, pimped up however takes your fancy?!

Rachel Redlaw bits of deliciousness

But the main thing is to host a party with love and spirit - so I'm sure your guests (and you) will have a great time no matter if you just put out bowls of crisps!

If you do try any of my recipes, I'd love to hear if you and your guests liked them so please comment below or come over and chat at my FB page.


YOU MIGHT ALSO LIKE ...

Thai-style pork ribs

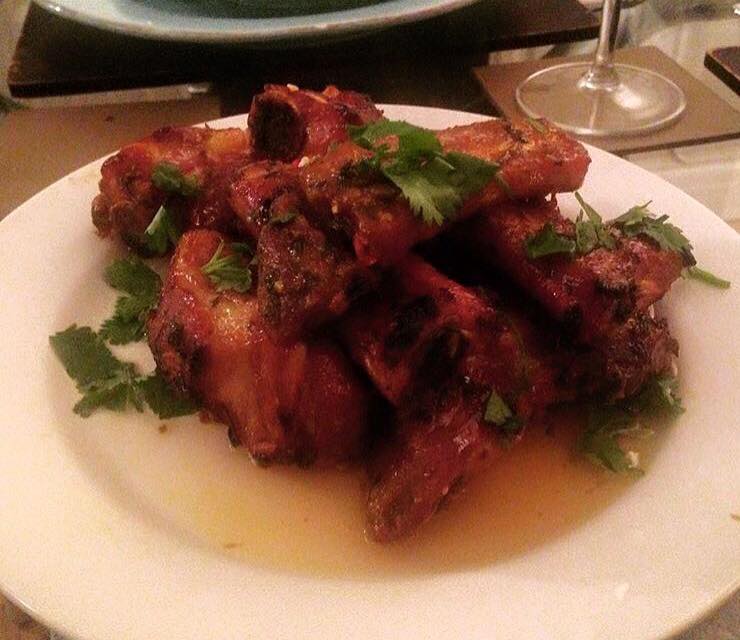
I made these this week (for the first time) for a Tiniest Thai supperclub and they were really very good and, as importantly for me, very easy too.

And I was absolutely delighted when one guest instagrammed them with this description:

Rachel Redlaw Tiniest Thai Thai-style pork ribs
Tender, juicy and full of sweet, sticky, salty, zesty, spicy fresh flavours
— Lucy B

The ribs need time, more than effort - and will need marinading from the night before.  I'd wanted to make ribs for some time but couldn't quite get a recipe that I liked - I googled and googled and read so many but they just didn't even read as if they had the flavours I was looking for.  

Eventually I came across a recipe on BBC Good Food and have based mine on that. 

You'll need ...

(and I can't tell you how many this feeds as I made it in the week as a starter course as part of a bigger menu for four and am making it today as a light lunch for three with rice.  So it entirely depends on what else you're having and how hungry you are).

 
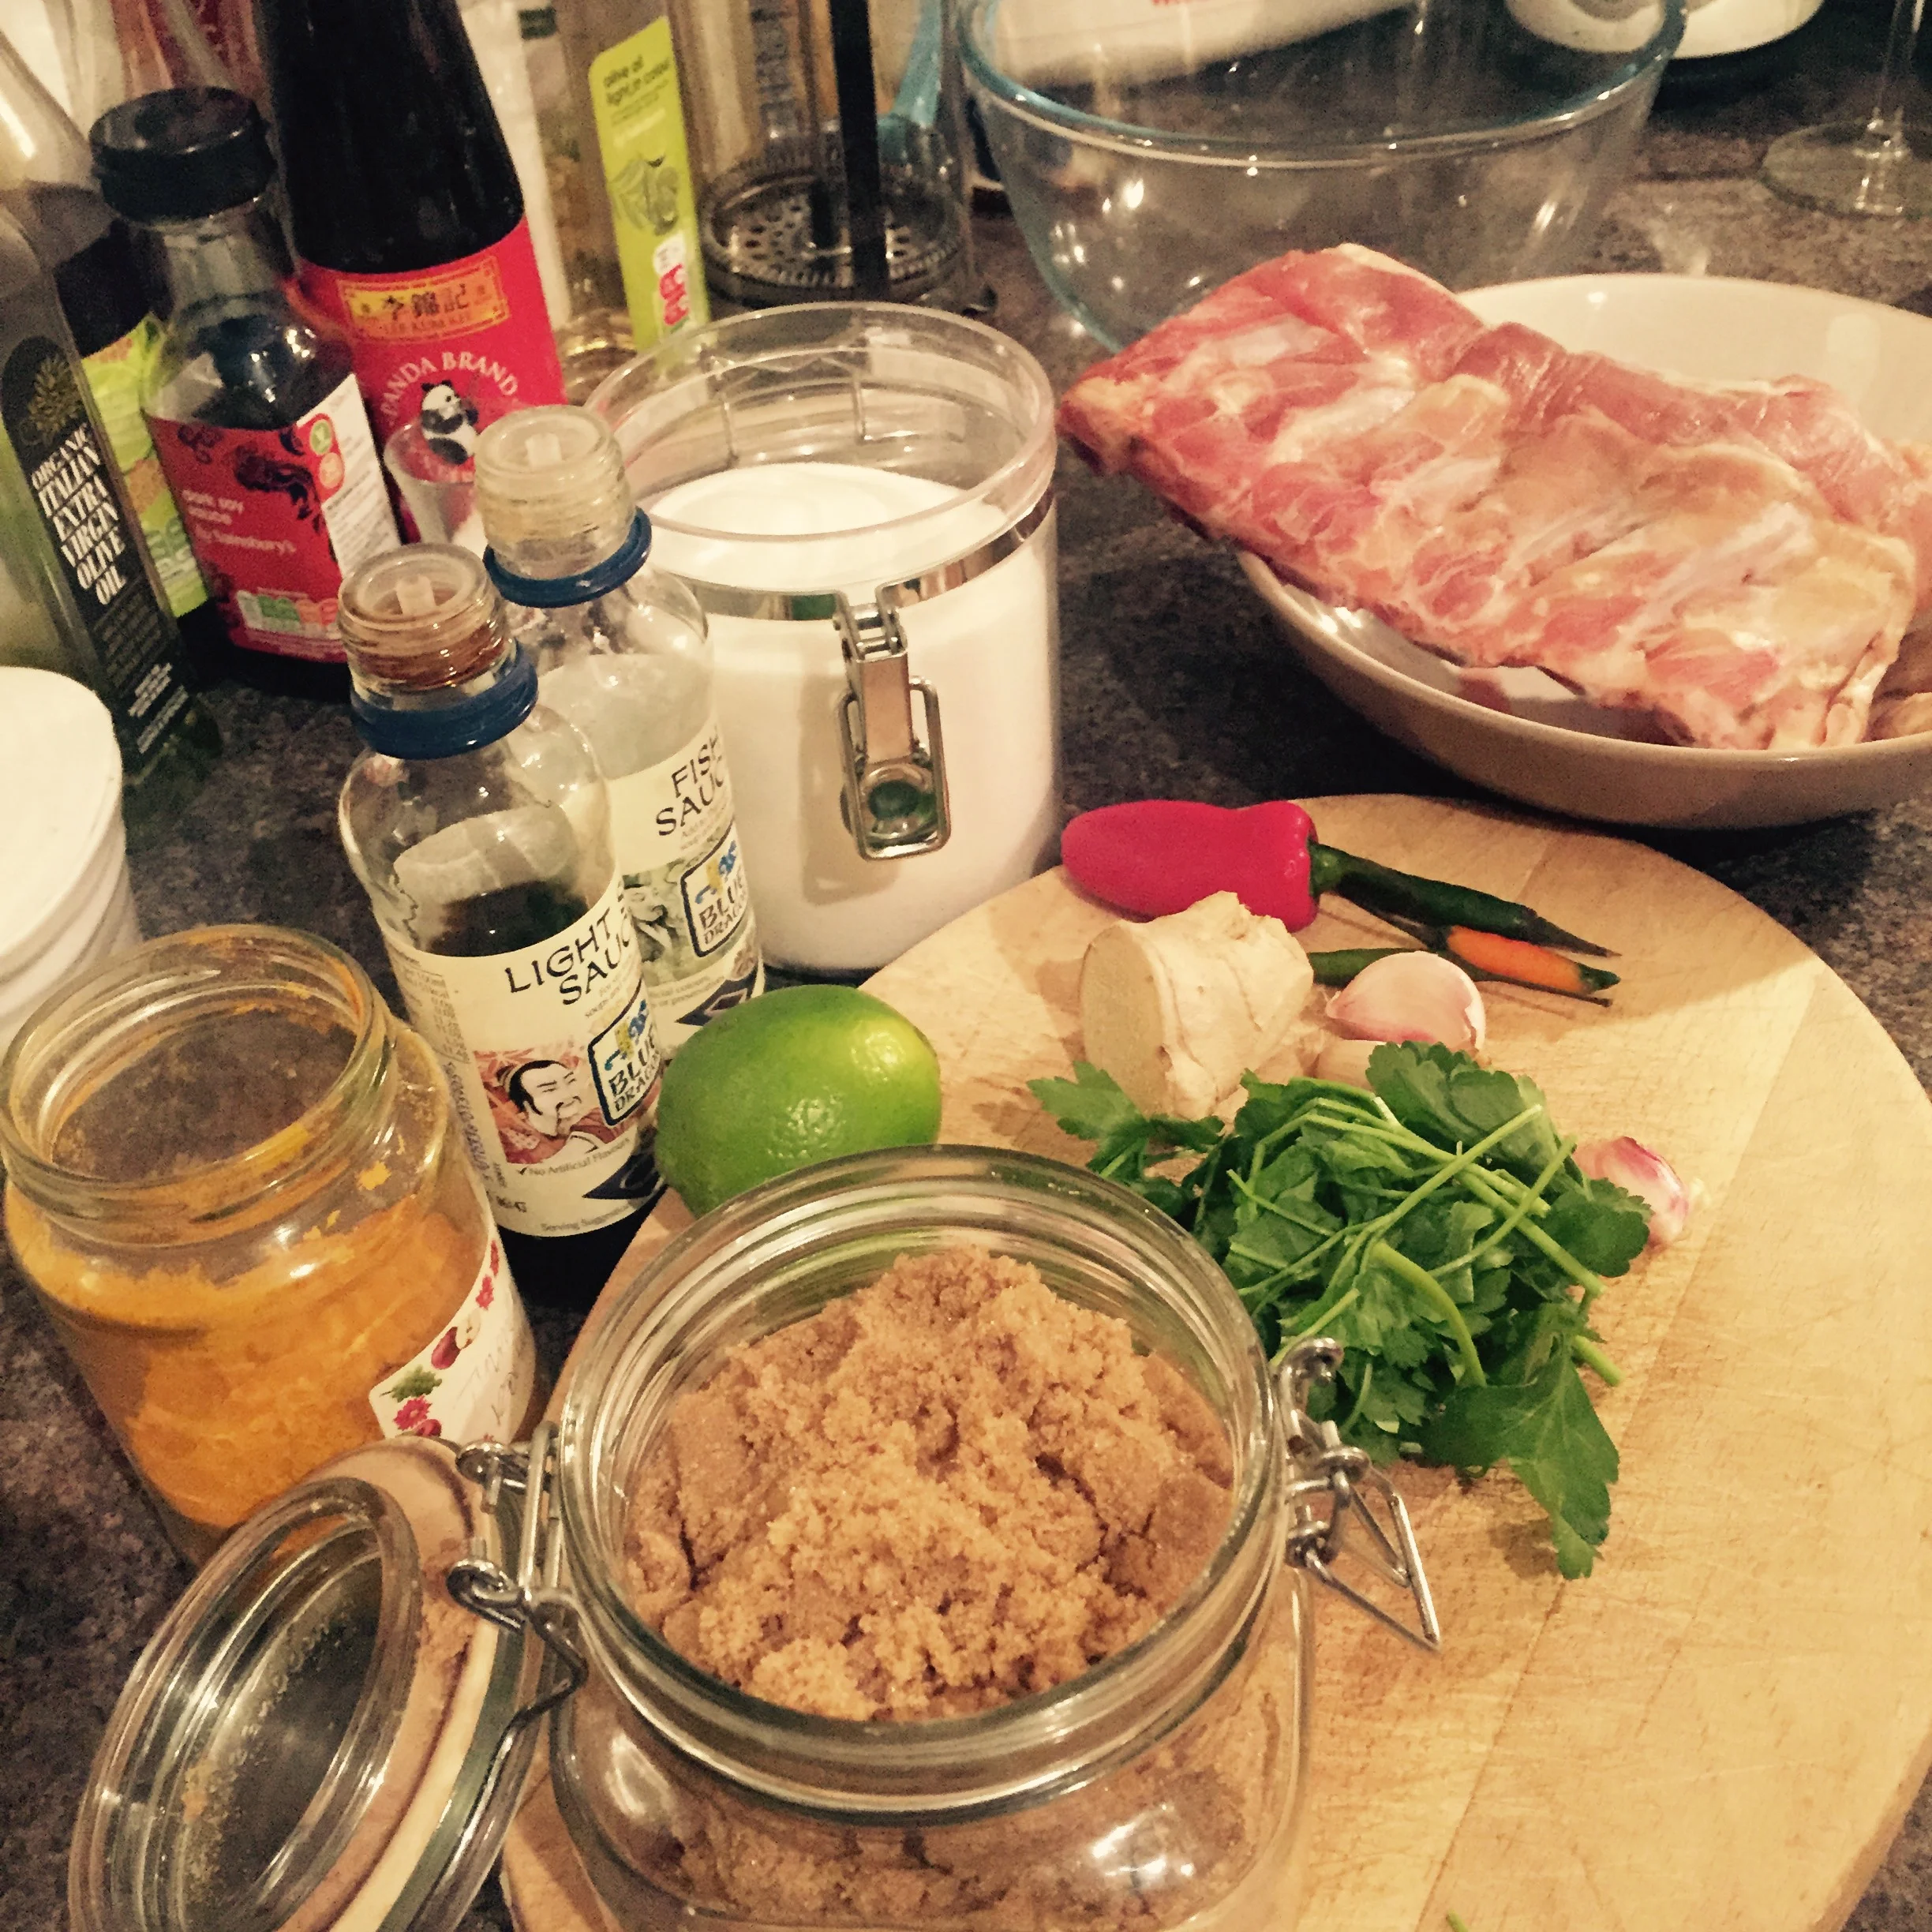
Rachel Redlaw Thai-style pork ribs
 

around 500g / half a rack of pork ribs (mine were frozen, so I cut them into individual ribs at home when they had defrosted, but you could ask your butcher to do this.  I'd also wanted them halved into shorter pieces but even with this big cleaver I only managed to cut down around half of them so that's another job to ask the butcher to help with if you want them short too)

For the marinade:

3 birds eye chillies, chopped

3 cloves of garlic, chopped

small bunch of coriander (keep a small handful of leaves to garnish) - if liked.  If you don't like coriander, just leave it out, or try a handful of parsley instead

a small piece of ginger, chopped

1/2 teaspoon turmeric

1 1/2 tablespoons soy sauce

2 tablespoons fish sauce

4 tablespoons soft brown sugar

For the sauce:

100g or around half a mug of white sugar

around 125ml or a small wine glass of water

1 clove of garlic, finely chopped

1 red birds eye chilli, finely chopped

1 scant tablespoon fish sauce

the juice of 1/2-1 limes

Put all the ingredients for the marinade into a food processor and whizz up until it makes a rough paste.  Tip into a bowl and add the ribs, rubbing to coat them all the marinade. Put in the fridge overnight. 

Rachel Redlaw Thai-style pork ribs

Then make the sauce.  Put the sugar and water in a saucepan and bring very slowly to the boil and simmer for a couple of minutes. 

 
Rachel Redlaw Thai-style pork ribs
 

Remove from heat and stir in the garlic, chilli, fish sauce and squeeze in half a lime.  Then taste! Limes vary a lot in juiciness so you'll just have to taste and decide if it needs more.  To be honest, I nearly always think things need more lime, so I just squeezed in a whole one!

Rachel Redlaw Thai-style pork ribs

Cool then keep in the fridge overnight too.

When you come to cook the ribs the next day, pre-heat the oven to warm so Gas 3 / 160C and tip the ribs and the marinade onto a baking tray.  

Cover loosely with foil and put in the oven for an hour.

Rachel Redlaw Thai-style pork ribs

Turn up the temperature to Gas 6 / 200C, remove the foil, turn the ribs and cook for another 20-30 mins, until the meat just easily pulls away from the bone and they are brown and sticky.  If they need browning and stickying up, switch the grill on instead of the oven and keep them under there for a few minutes - watching all the time as they will easily catch and burn.

Rachel Redlaw Thai-style pork ribs

Put out onto a plate, drizzle over a little of the sauce and then serve with rice and with more of the sauce if liked (it soaks into the rice beautifully, but if you're not having rice you probably don't need it).  

Some stir fried green vegetables would have been nice, or a spicy salad ... but today it's just ribs 'n' rice.

Rachel Redlaw Thai-style pork ribs

Oh and my top tip.  Put the baking tray in to soak immediately.  I completely forgot the other night and left it in the oven for two days - and it was then a much harder job to get clean!

Let me know what you think of the ribs.


YOU MIGHT ALSO LIKE ... 


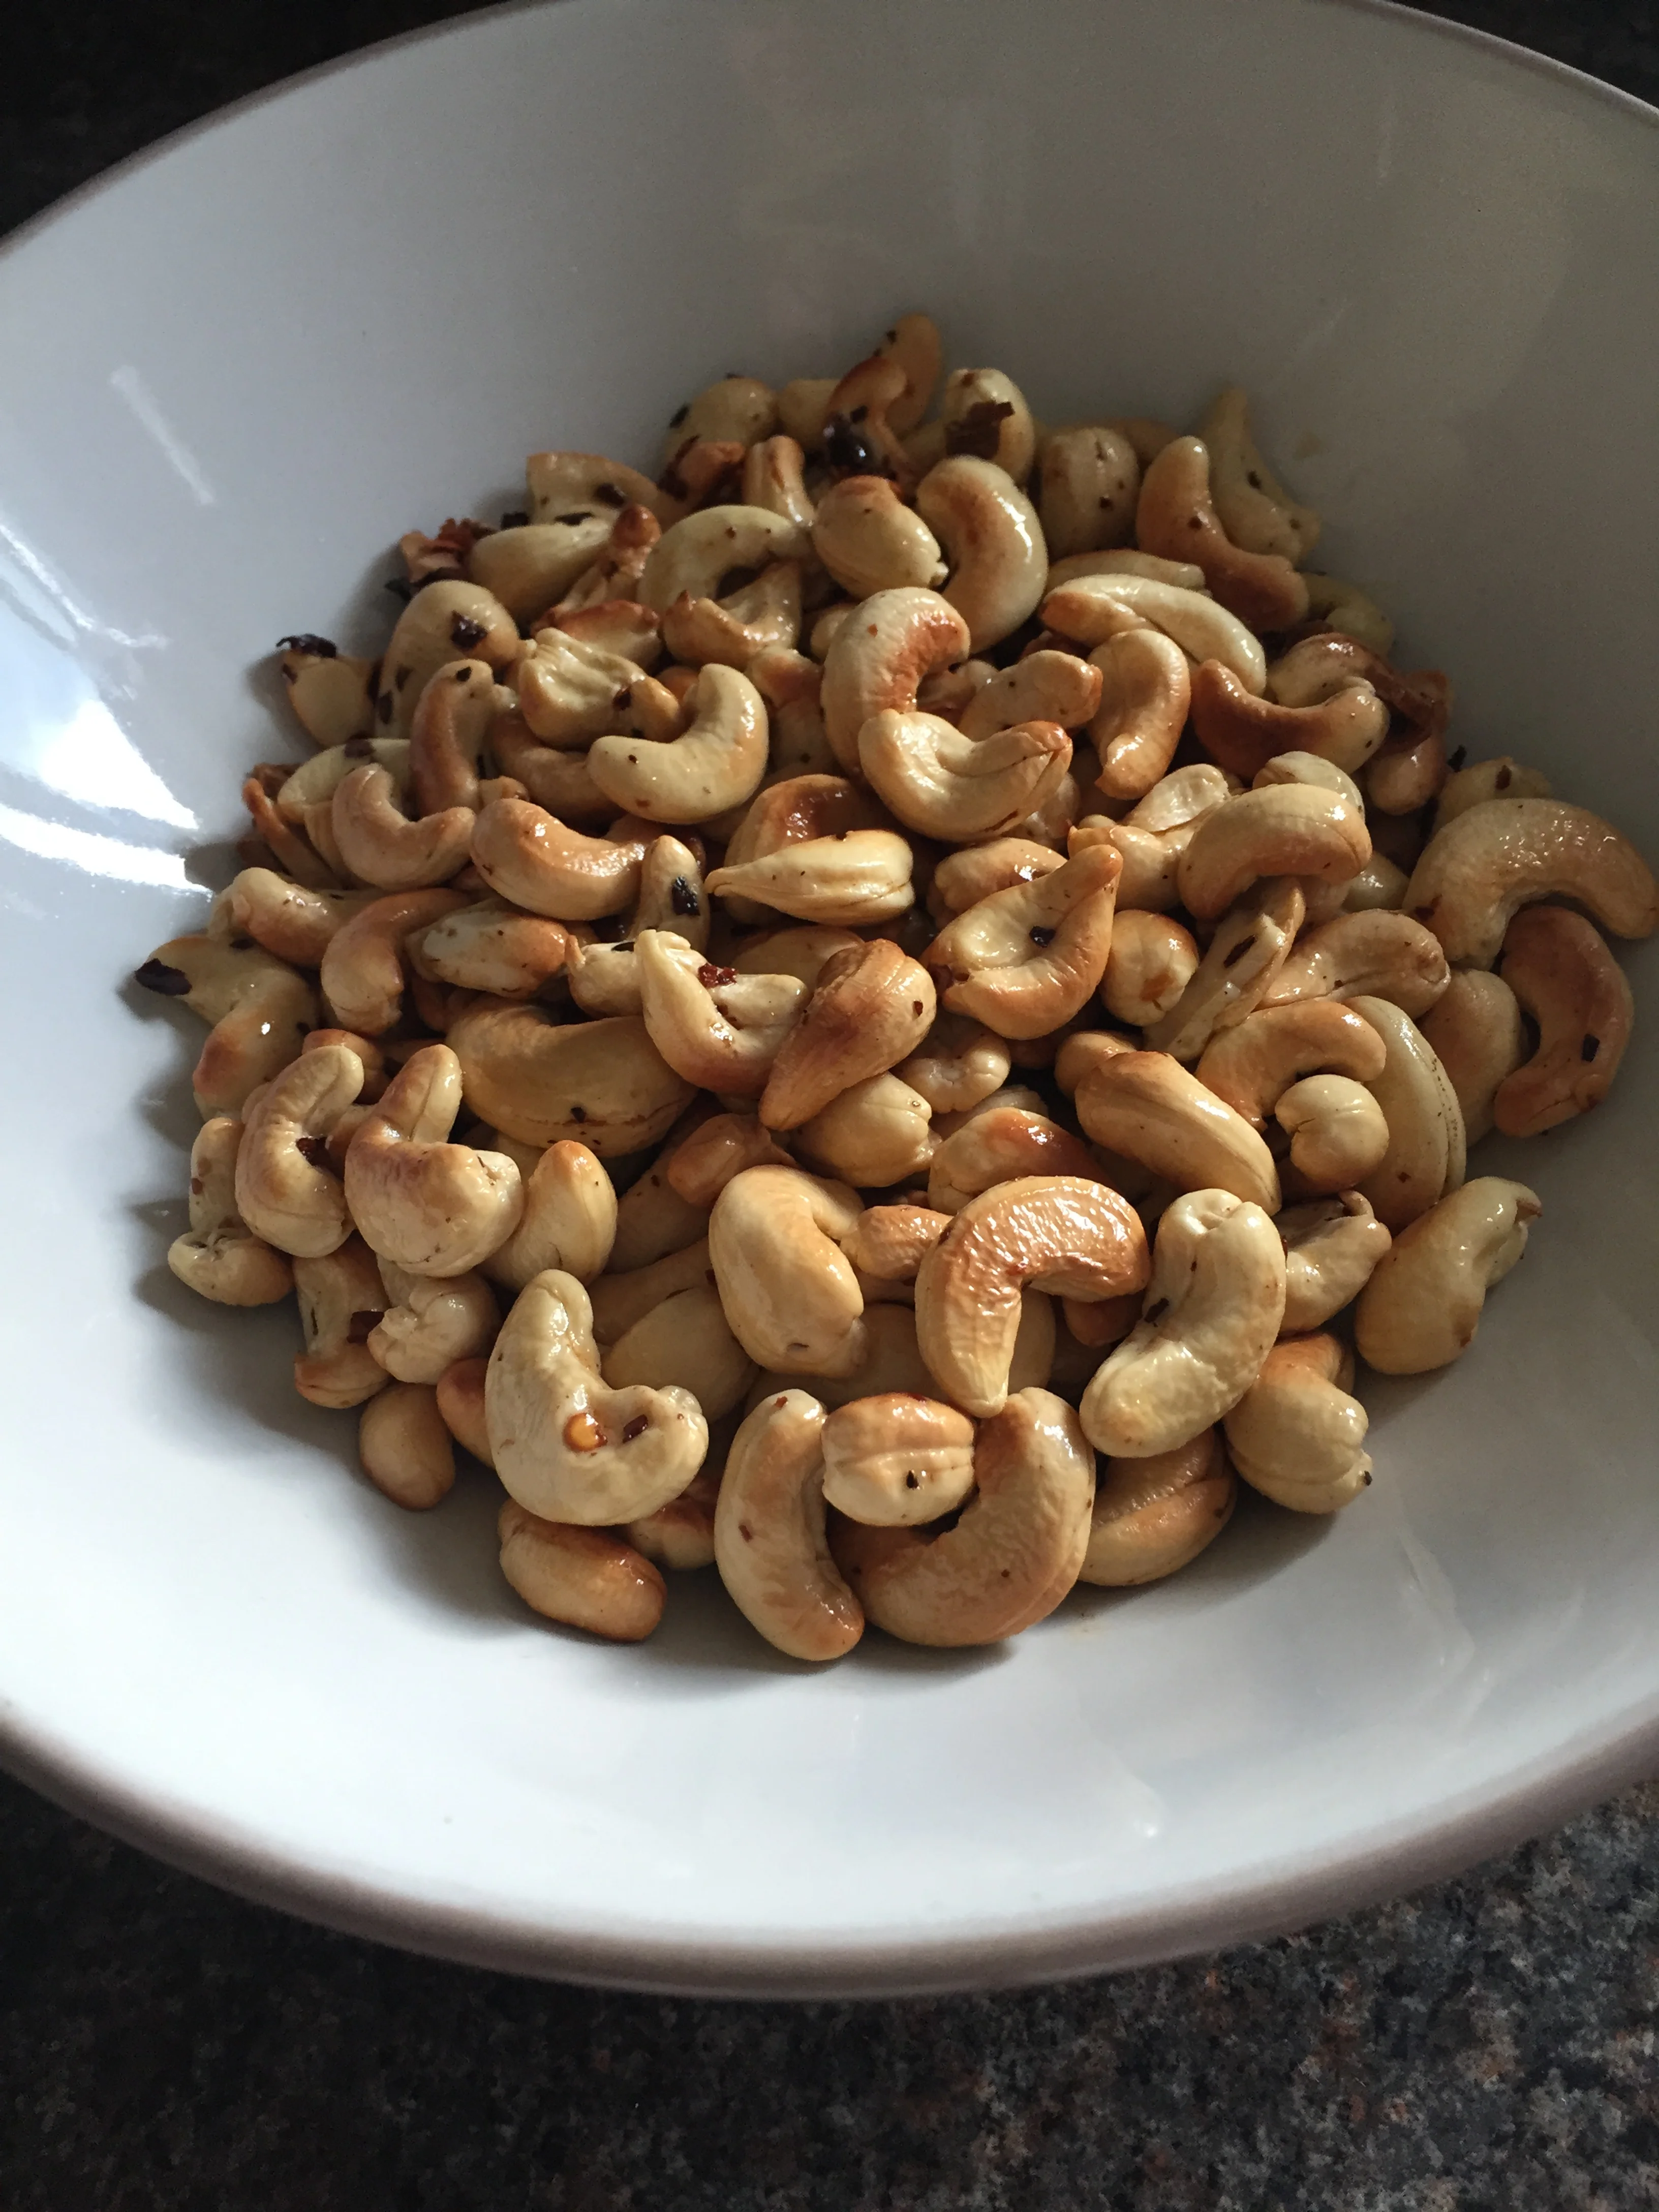
Chilli cashews

Spicy, salty, warm cashews and a cold beer to go with some Saturday night box-sets?  Yes please!

Any nuts will be tasty if you don’t have cashews, it’s just that cashews are the traditional ones for this more-ish Thai bar snack and to my mind work best.

Measurements aren’t really needed here but this will be enough for one or two.

So … put the wok or frying pan on a medium-low heat whilst getting the ‘ingredients’ together, and of course do adjust to taste.

scant tablespoon oil

around 200g cashews

a clove of finely chopped garlic

1 tsp dried chilli flakes

1/2 tsp each salt and sugar

Add the oil to the pan, and when hot, tip in the cashews, garlic and chilli flakes, and stir-fry until the cashews are browned, probably around 3-5 minutes.

Keep the heat medium to low so the garlic and chilli don’t burn.

The Tiniest Thai Rachel Walder chilli cashews

Once the nuts are brown, remove from heat, add the salt and sugar to taste and mix well.

 
The Tiniest Thai Rachel Walder spicy cashews
 

And then just try to wait until they’ve cooled down a little before eating!


YOU MIGHT ALSO LIKE ... 

Tod mon pla - Thai fishcakes

Working on a recipe to recreate my favourite tod mon pla is an ongoing labour of love.  I make them obsessively, trying things out and changing ingredients and quantities, then stop for a while before taking up the challenge again.

Having needed a break from the last round of experimenting, I haven’t given them a go for a couple of years.  I’ve previously tried making them with egg and with coconut milk, I’ve used different fish, I’ve even made a non-fish version with pork as well as made endless variations of the cucumber and peanut sauce.

I love the little slices of green beans hidden in tod mon pla, but for a while couldn’t work out how to get them to be slightly more well cooked, still with a bite, but not crunchy.  I now blanch the sliced beans before using.  An added benefit of blanching green vegetables is that it means they stay a really bright green, which is a great trick for keeping green veg in stir fries looking fresh too.

It may well be my life’s work to refine these hot morsels of deliciousness!  Here’s where I am with them today.

Makes 8 fishcakes.

1/2 lb / about 225g white fish

1 tbspn red curry paste

1 tsp fish sauce

1 green chilli

1 tsp sugar

zest of 1/2 –  1 lime

squeeze of lime juice

handful of coriander leaves, chopped

a few green beans, sliced in very fine rounds

oil for frying

Put a pan of water on to boil for the green beans.  

Then put all the fishcake ingredients (except the beans!) into a food processor, if using, or mortar or other heavy bowl for pounding if not.

The Tiniest Thai Rachel Walder tod mon pla Thai fishcakes

Mix or pound until smooth – but be careful if using a food processor as it will come together really quickly and you don’t want it pureed.  Turn the mixture out into a bowl.

As soon as the water comes to the boil, drop in the slices of green beans for around 20 seconds, drain and rinse in cold water to stop them cooking any further.

The Tiniest Thai Rachel Walder tod mon pla Thai fishcakes

Add the beans to the mixture and combine.

Then just roll into eight little patties – squeezing out any juice – and flatten.  They can be cooked straight away or, as I did, popped in the fridge for half an hour or so to firm up a little more.

The Tiniest Thai Rachel Walder tod mon pla Thai fishcakes

While they firm up, make the cucumber dipping sauce.  Quantities are up to you! The only things I think you really need for this are:

The Tiniest Thai Rachel Walder tod mon pla Thai fishcakes

cucumber

green chilli

carrots

rice or white wine vinegar

sugar

peanuts

Today I also used a spring onion and a piece of ginger.

Chop all the vegetables really finely (or get the food processor to earn its keep again).

The Tiniest Thai Rachel Walder tod mon pla Thai fishcakes

Combine approx two parts vinegar with one part sugar, but do keep tasting until you like it, perhaps adding a little more sugar, and stir until the sugar is completely dissolved. Add the chopped vegetables and top with crushed roasted peanuts, either as they are, or toasted in a dry pan first.

The Tiniest Thai Rachel Walder tod mon pla Thai fishcakes

Today, I also added a splash of soy sauce at the end.  So just experiment and see what you like.

Back to the fishcakes …

Heat a wok or frying pan and then add quite a bit of vegetable cooking oil, around 3 tablespoons, as they should be almost deep fried.

Add the fishcakes to the hot oil, cooking in batches if need be, and cook for 1.5 – 2 minutes each side.

Drain on kitchen paper and eat immediately with the cucumber dipping sauce.

 
The Tiniest Thai Rachel Walder tod mon pla Thai fishcakes
 

And then please let me know what you think in the comments box below!


YOU MIGHT ALSO LIKE ...

No Name

Yes, it really is called No Name.  I believe it was originally just an at-home concoction to use up leftovers, and when it found its way onto the menus of beachside bars and restaurants, it was listed as No Name.

These little vegetable fritters may have started life as leftovers, but they are very tasty in a bubble-and-squeak or pakora sort of way. Great as snacks or starters.

I’ve never come across a recipe for No Name, but having a craving this evening, I thought I’d try to make some.  This is a bit of an experiment and while I’m fairly pleased with the outcome, I really would love to know what you think  – from No Name authorities and first-timers alike!

Any leftover cooked vegetable should work well, but never having leftovers, I’m making it (up) from scratch …

To make around 15 small fritters

The Tiniest Thai Rachel Walder No Name

1/4 cabbage

1 carrot

1 mushroom

2 spring onions

1 clove of garlic

1 green chilli

small handful of coriander

juice of 1/2 lime

1 tsp fish sauce

2 tsp soy sauce

1 tsp baking powder

2 tbsp cornflour

2.5 tbsp plain flour

coriander leaves to garnish, and chilli sauce to serve

Put a pan of water on to boil, and chop the cabbage, carrot and mushroom into small pieces.

The Tiniest Thai Rachel Walder No Name

Chop the spring onions, garlic, chilli and coriander and put into a mixing bowl.

The Tiniest Thai Rachel Walder No Name

Boil the cabbage, carrot and mushroom for five minutes, drain and leave to cool.

Add all the other ingredients to the mixing bowl.  With hindsight it might have been more elegant to have sifted the flours and baking powder together first – but I didn’t do this and it worked out ok.

Add the cooled cooked vegetables and mix well.

The Tiniest Thai Rachel Walder No Name

Heat a wok or frying pan and add quite a lot of oil to – almost – deep fry.

When very hot, add spoonfuls of the mixture straight into the pan to form separate patties and cook for 2-3 minutes on each side until golden brown and crisp (turning really carefully as all that oil will spit as I now know to my cost).

The Tiniest Thai Rachel Walder No Name

Drain and blot well on kitchen paper and then eat still very hot, with some sweet or spicy chilli sauce.

The Tiniest Thai Rachel Walder No Name

Oh, and a side order of sand underfoot … beautiful dark sea all around … a big big sky … the squid fishing boats’ lights bright on the horizon … and a cold beer Chang would be great.

No Name, your name is Nostalgia.


YOU MIGHT ALSO LIKE ...

Pork/prawn sesame toasts

I decided to make these on a whim the other evening as I had a smallish piece of pork tenderloin left over from my Chinese-style BBQ pork, there was some sliced bread that needed using up, and I always have a bag of prawns in the freezer. So really there was nothing for it but pork and prawn sesame toasts!

You can make these toasts with either pork or prawn, or a mixture of both. I’m going surf and turf and using equal quantities of each, but you can use any ratio. There’s just one decision then to make and that’s whether to cut the toasts into little triangles which I always think of as more Chinese-style or to have them in squares as we made them in Thailand.

Street food classic, perfect appetiser or to have as a snack with a drink, and really easy to make.

This does make quite a lot, probably enough for at least eight-ten rounds of toast, but you can’t really reduce the quantity as it uses a whole egg. However, I tried freezing what was left over and it worked well. Or you can add to this basic mixture and make some little prawn and pork balls to have in soup. I actually used the thawed mixture to do both: made a round of sesame toast to check it still worked ok and then made a lovely quick soup (pork and prawn balls in noodle soup).

If you have a food processor this takes no time at all and will only take a little longer to chop and mix by hand.

You’ll need …

The Tiniest Thai Rachel Walder pork prawn sesame toasts

400g total pork and prawns (I used raw prawns but am sure cooked are good too)

2 cloves of garlic, chopped

approx 1/2 teaspoon each white pepper and salt

small handful of coriander leaves, chopped

2 teaspoons soy sauce

one egg, beaten

sesame seeds

sliced white bread, slightly stale and dry is best, crusts cut off

vegetable oil for frying

Put the pork into the food processor first and give it a whizz to mince, then add the prawns and pulse again – I would pulse rather than just blast it as it will come together into a paste very quickly.

The Tiniest Thai Rachel Walder pork prawn sesame toasts

Add the chopped garlic, pepper, salt and coriander and give it another whizz. Then mix in by hand the soy sauce and beaten egg to combine.

Spread the mixture onto the slices of bread,  sprinkle with sesame seeds and cut each slice into quarters.

The Tiniest Thai Rachel Walder pork prawn sesame toasts

Heat the oil in a wok or pan and when very hot carefully add the squares paste side down and cook for 3-4 minutes until golden brown

The Tiniest Thai Rachel Walder pork prawn sesame toasts

Then turn and cook for a minute more.

Remove from pan, put on kitchen paper to absorb excess oil and then serve with sweet chilli sauce, or soy sauce. Or any sauce really – I’m using up some nam pla prik here (fish sauce with sliced chillies).

The Tiniest Thai Rachel Walder pork prawn sesame toasts

Freeze any leftover paste straight away and thaw before using again.

Hope you like this recipe and do let me know if you make it!


YOU MIGHT ALSO LIKE ...

Gai gratiem - garlic chicken

It’s taken me a while to work out a recipe I’m happy with for this.

The main difficulty I’ve had with it is that what I love about having this in Thailand is the Thai garlic itself. The cloves are smaller and the skins are wispy paper thin – you just squash them rather than peel and those beautiful thin skins go crispy when fried and add such lovely texture to the dish that it just tastes different without that dimension.

Not much I can do about this though, so I’ve tried a few different recipes and ended up with this that I think gives all the flavours I want.  I’ve also eaten it before with very crispy chips of garlic on top but I’m not so successful at making those without them often tasting a bit burnt so I’m not adding those in this version.

It’s a very simple dish, often eaten just over rice for lunch or without rice as a snack with a drink. There is a lot of garlic in this but somehow you don’t end up smelling of old garlic the next day!

It’s a simple, elegant and quick recipe and it doesn’t need to be with chicken – beef, pork or squid work as well. My favourite is probably with slices of pork tenderloin.  I’m sure tofu would be good too – please let me know how it turns out if you make a version with tofu.

So, for one with rice as a main meal, I used:

The Tiniest Thai Rachel Walder gai gratiem garlic chicken

about 3-6 garlic cloves depending on size

1 chicken breast

about 1 tablespoon cooking oil

1/2 tsp white pepper

1/2 tsp white sugar

a scant tablespoon light soy sauce

a scant tablespoon fish sauce

coriander leaves, to garnish, and lettuce leaves to serve

cooked boiled or steamed rice, to serve, if using

Smash gently the garlic with a flat knife and remove the skins. Is it possible to ‘smash’ gently? Perhaps I mean squash with a bit of force. Either or, up to you …!

The Tiniest Thai Rachel Walder gai gratiem garlic chicken

Then chop quite finely.

The Tiniest Thai Rachel Walder gai gratiem garlic chicken

Slice the meat and bash a bit with a rolling pin to flatten – you want the pieces in slices rather than chunks but quite flat so they cook very quickly and your garlic won’t burn.

The Tiniest Thai Rachel Walder gai gratiem garlic chicken

Heat the oil in a pan over a medium heat until hot and add the garlic then cook for maybe a minute, stirring all the time so it doesn’t burn and until it is just starting to go a little brown.

The Tiniest Thai Rachel Walder gai gratiem garlic chicken

Add the meat and again keep stirring constantly until it is cooked through. This will probably take around four minutes and do just cut or pull a piece open to check . If it’s sticking at all add a splash or water – in fact I would do anyway just to ensure the garlic doesn’t burn.

The Tiniest Thai Rachel Walder gai gratiem garlic chicken

Add the pepper, sugar, soy sauce and fish sauce and another splash of water if needed to make sure it mixes together.

The Tiniest Thai Rachel Walder gai gratiem garlic chicken

Mix then turn up the heat and cook rapidly for a minute or two until the sauce reduces and there is very little sauce left.

The Tiniest Thai Rachel Walder gai gratiem garlic chicken

Then either serve on a plate with lettuce in the traditional ‘bar snack’ style and garnish with coriander leaves, or have with rice as a more substantial meal.

The Tiniest Thai Rachel Walder gai gratiem garlic chicken

I really like the flavours of this and the slight heat from the white pepper makes a change from chillies!

Do let me know if you liked this …


YOU MIGHT ALSO LIKE ...

Fried prawn balls

I've been cooking so much recently (which I have loved) that I’ve now got a lot to catch up with here and lots of recipes to share. Can’t wait!

Will start with these little fried prawn balls I made a few nights ago – and I think everyone liked them. Well, they ate them! These are good served with a cucumber dipping sauce or with sweet chilli sauce.

They’re also really useful as once cooked you can just shallow fry -as I’ve done here – for a snack or starter, or use in noodle dishes or in soups and curries. Or once cooled they will keep in the freezer for a couple of months to use another time.

You can fry them as they are or thread onto wooden skewers (soak the skewers in water for half an hour before using).  I didn’t have any skewers the other evening so used wooden toothpicks with just two prawn balls on each –  and actually thought they looked so cute it’s my favourite way to serve them.

These take a little time and have a few stages in the process of making them – and generate a few pans to wash up – but are really simple and it’s well worth giving them a try!

To make about 20 small prawn balls you’ll need:

The Tinest Thai Rachel Walder prawn balls

a small piece of pork or a tablespoon or so of pork mince (optional but it’s good to have a bit of fat in them)

a packet of raw prawns (approx 200g), defrosted if frozen, and de-veined

zest of one lime

a small handful of coriander leaves

half a red chilli, chopped

one garlic clove, minced

1/2 teaspoon white pepper

1 teaspoon soy sauce

one egg white

plain flour

If it’s not already minced put the piece of pork into the food processor first and give it a quick whizz to mince.

Then add all the other ingredients except the flour …

The Tiniest Thai Rachel Walder fried prawn balls

Pulse to combine thoroughly and then add the flour straight in, a little at a time, and pulse again.

The Tiniest Thai Rachel Walder fried prawn balls

Add flour until the mixture starts to hold together. It takes quite a bit of flour so just add it steadily bit by bit and pulse each time.

The Tiniest Thai Rachel Walder fried prawn balls

Put a saucepan of water on to boil and whilst waiting for it to boil make the fish balls.

The Tiniest Thai Rachel Walder fried prawn balls

Using two teaspoons, make little scoops of the mixture into balls and set aside until the water is boiling.

The Tiniest Thai Rachel Walder fried prawn balls

Then drop the fish balls into the water one at a time and when they’re all in wait for the water to return to the boil – which will take a minute or two – and boil for a couple of minutes.

The Tiniest Thai Rachel Walder fried prawn balls

Drain …

The Tiniest Thai Rachel Walder fried prawn balls

… and then either cool before freezing or using in other dishes, or thread onto bamboo skewers/toothpicks to fry.

The Tiniest Thai Rachel Walder fried prawn balls

Heat oil in a pan and fry until golden, turning a few times. It will take probably a good five minutes.

The Tiniest Thai Rachel Walder fried prawn balls

And then serve with some sweet chilli sauce and eat. And that’s it!

The Tiniest Thai Rachel Walder fried prawn balls

Hope you like these – let me know in the comments.

 PS. The step-by-step pictures that look like they were taken on my phone … they were!

The two gorgeous shots were taken by my photographer friend Viktoria Kuti – and very many thank you's Vik.  (viktoriakuti.com)


YOU MIGHT ALSO LIKE ...