Vegetables

Spaghetti + broccoli

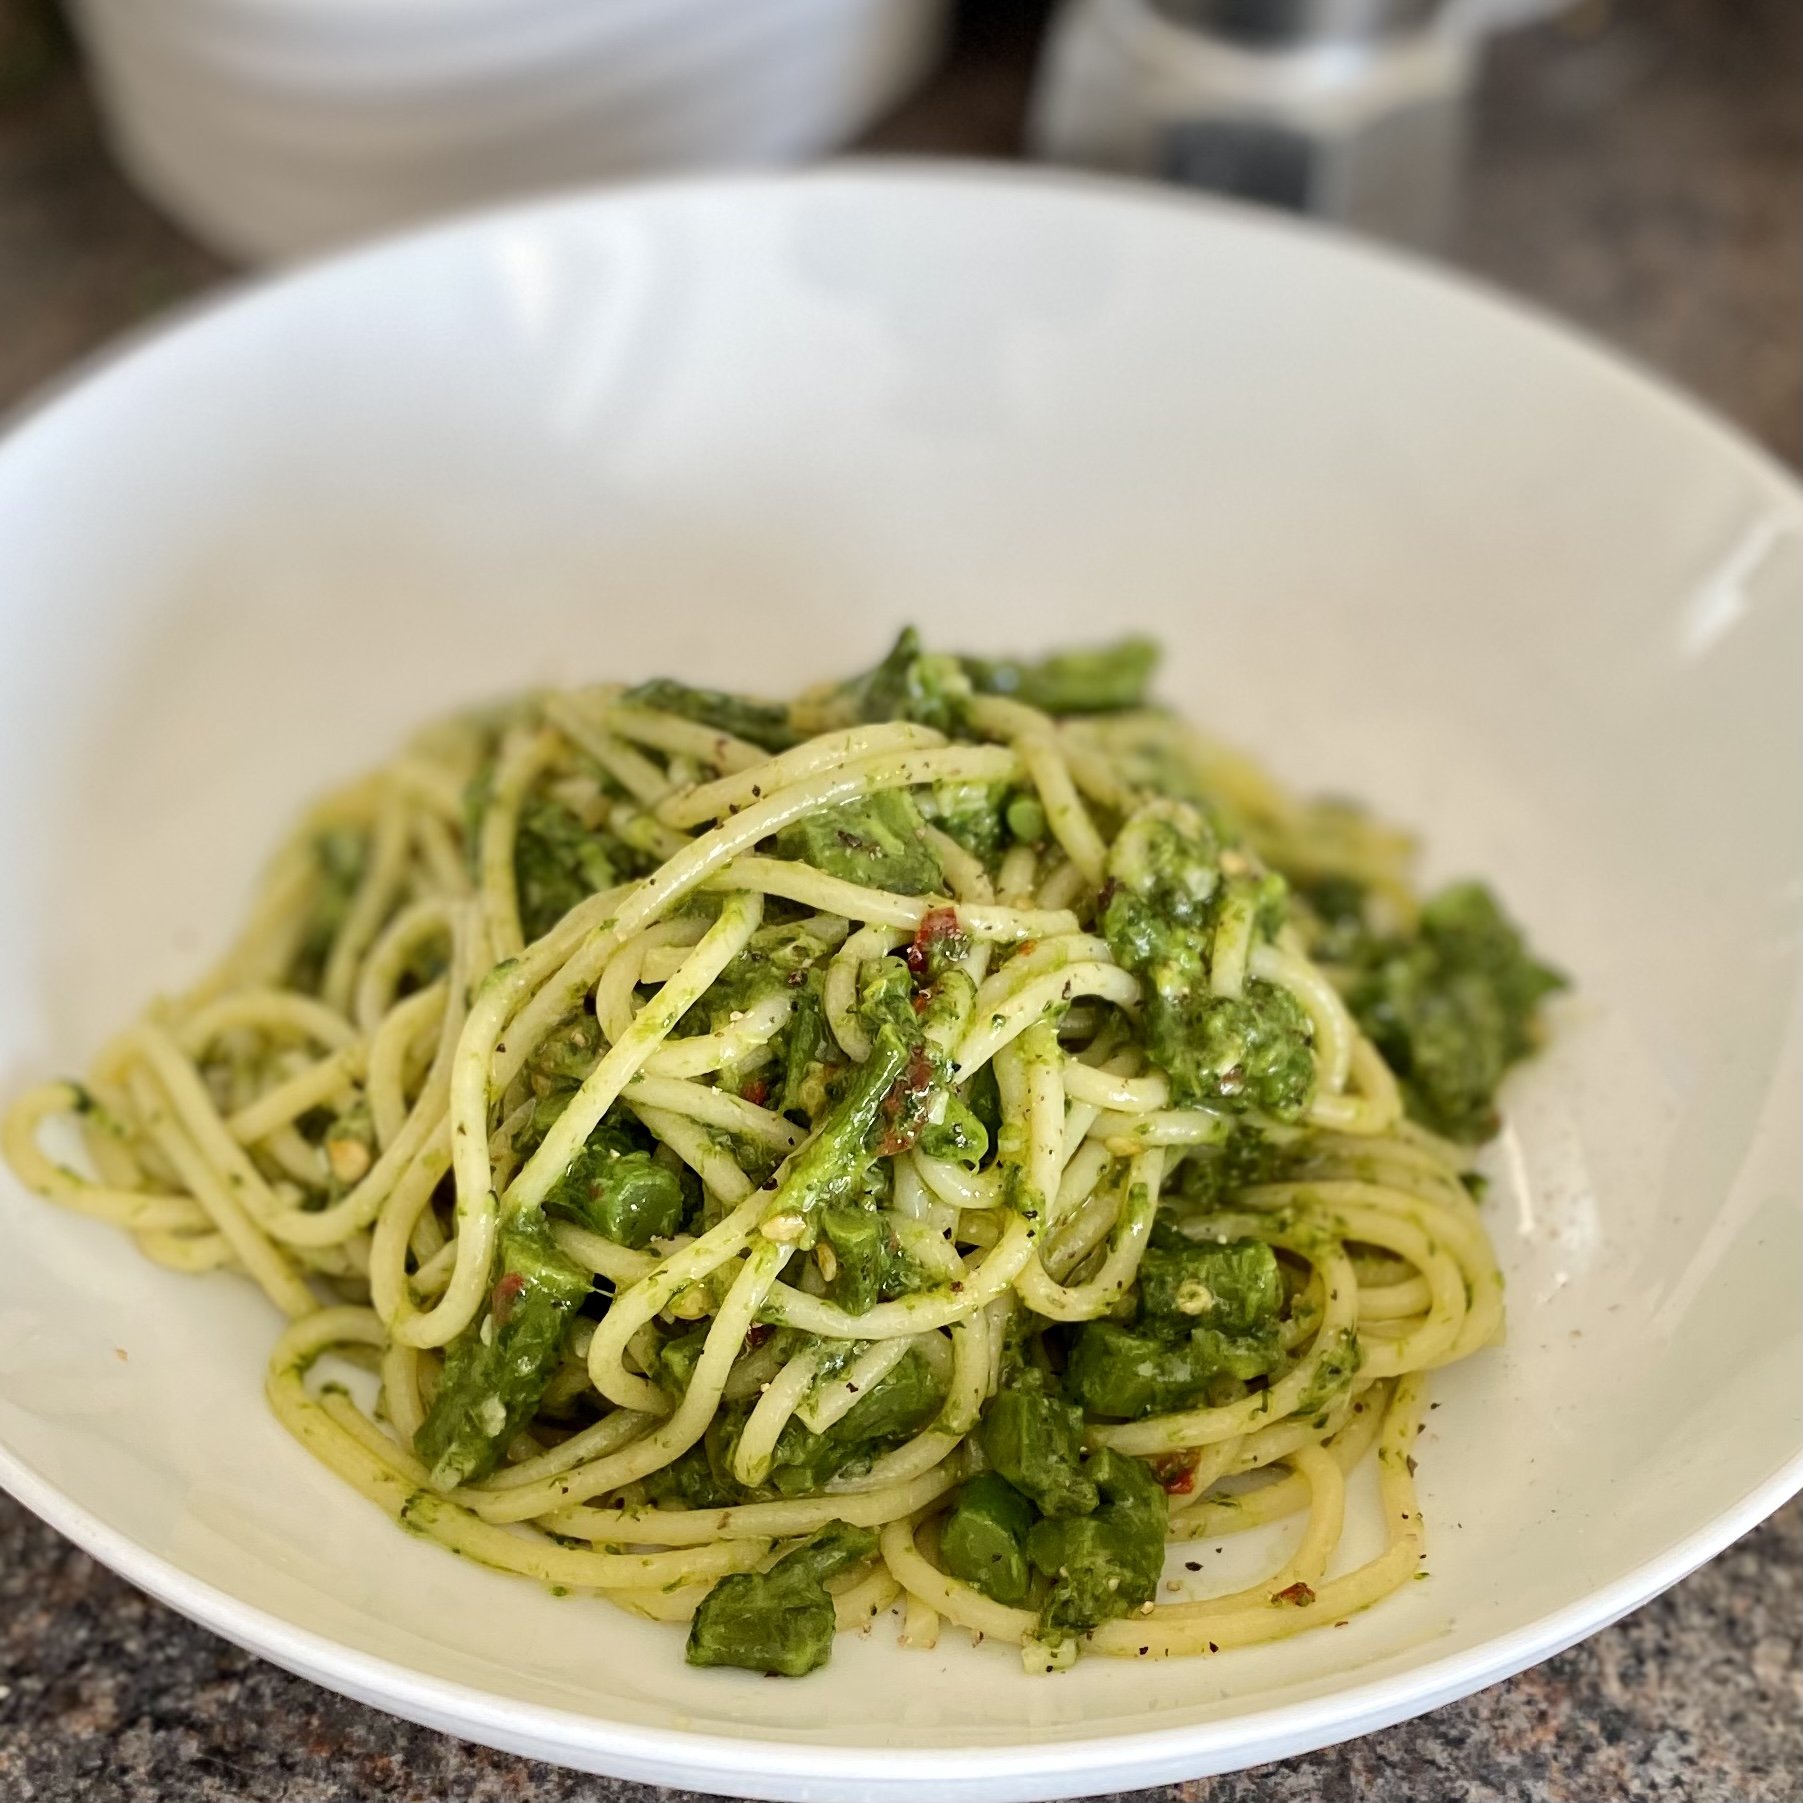
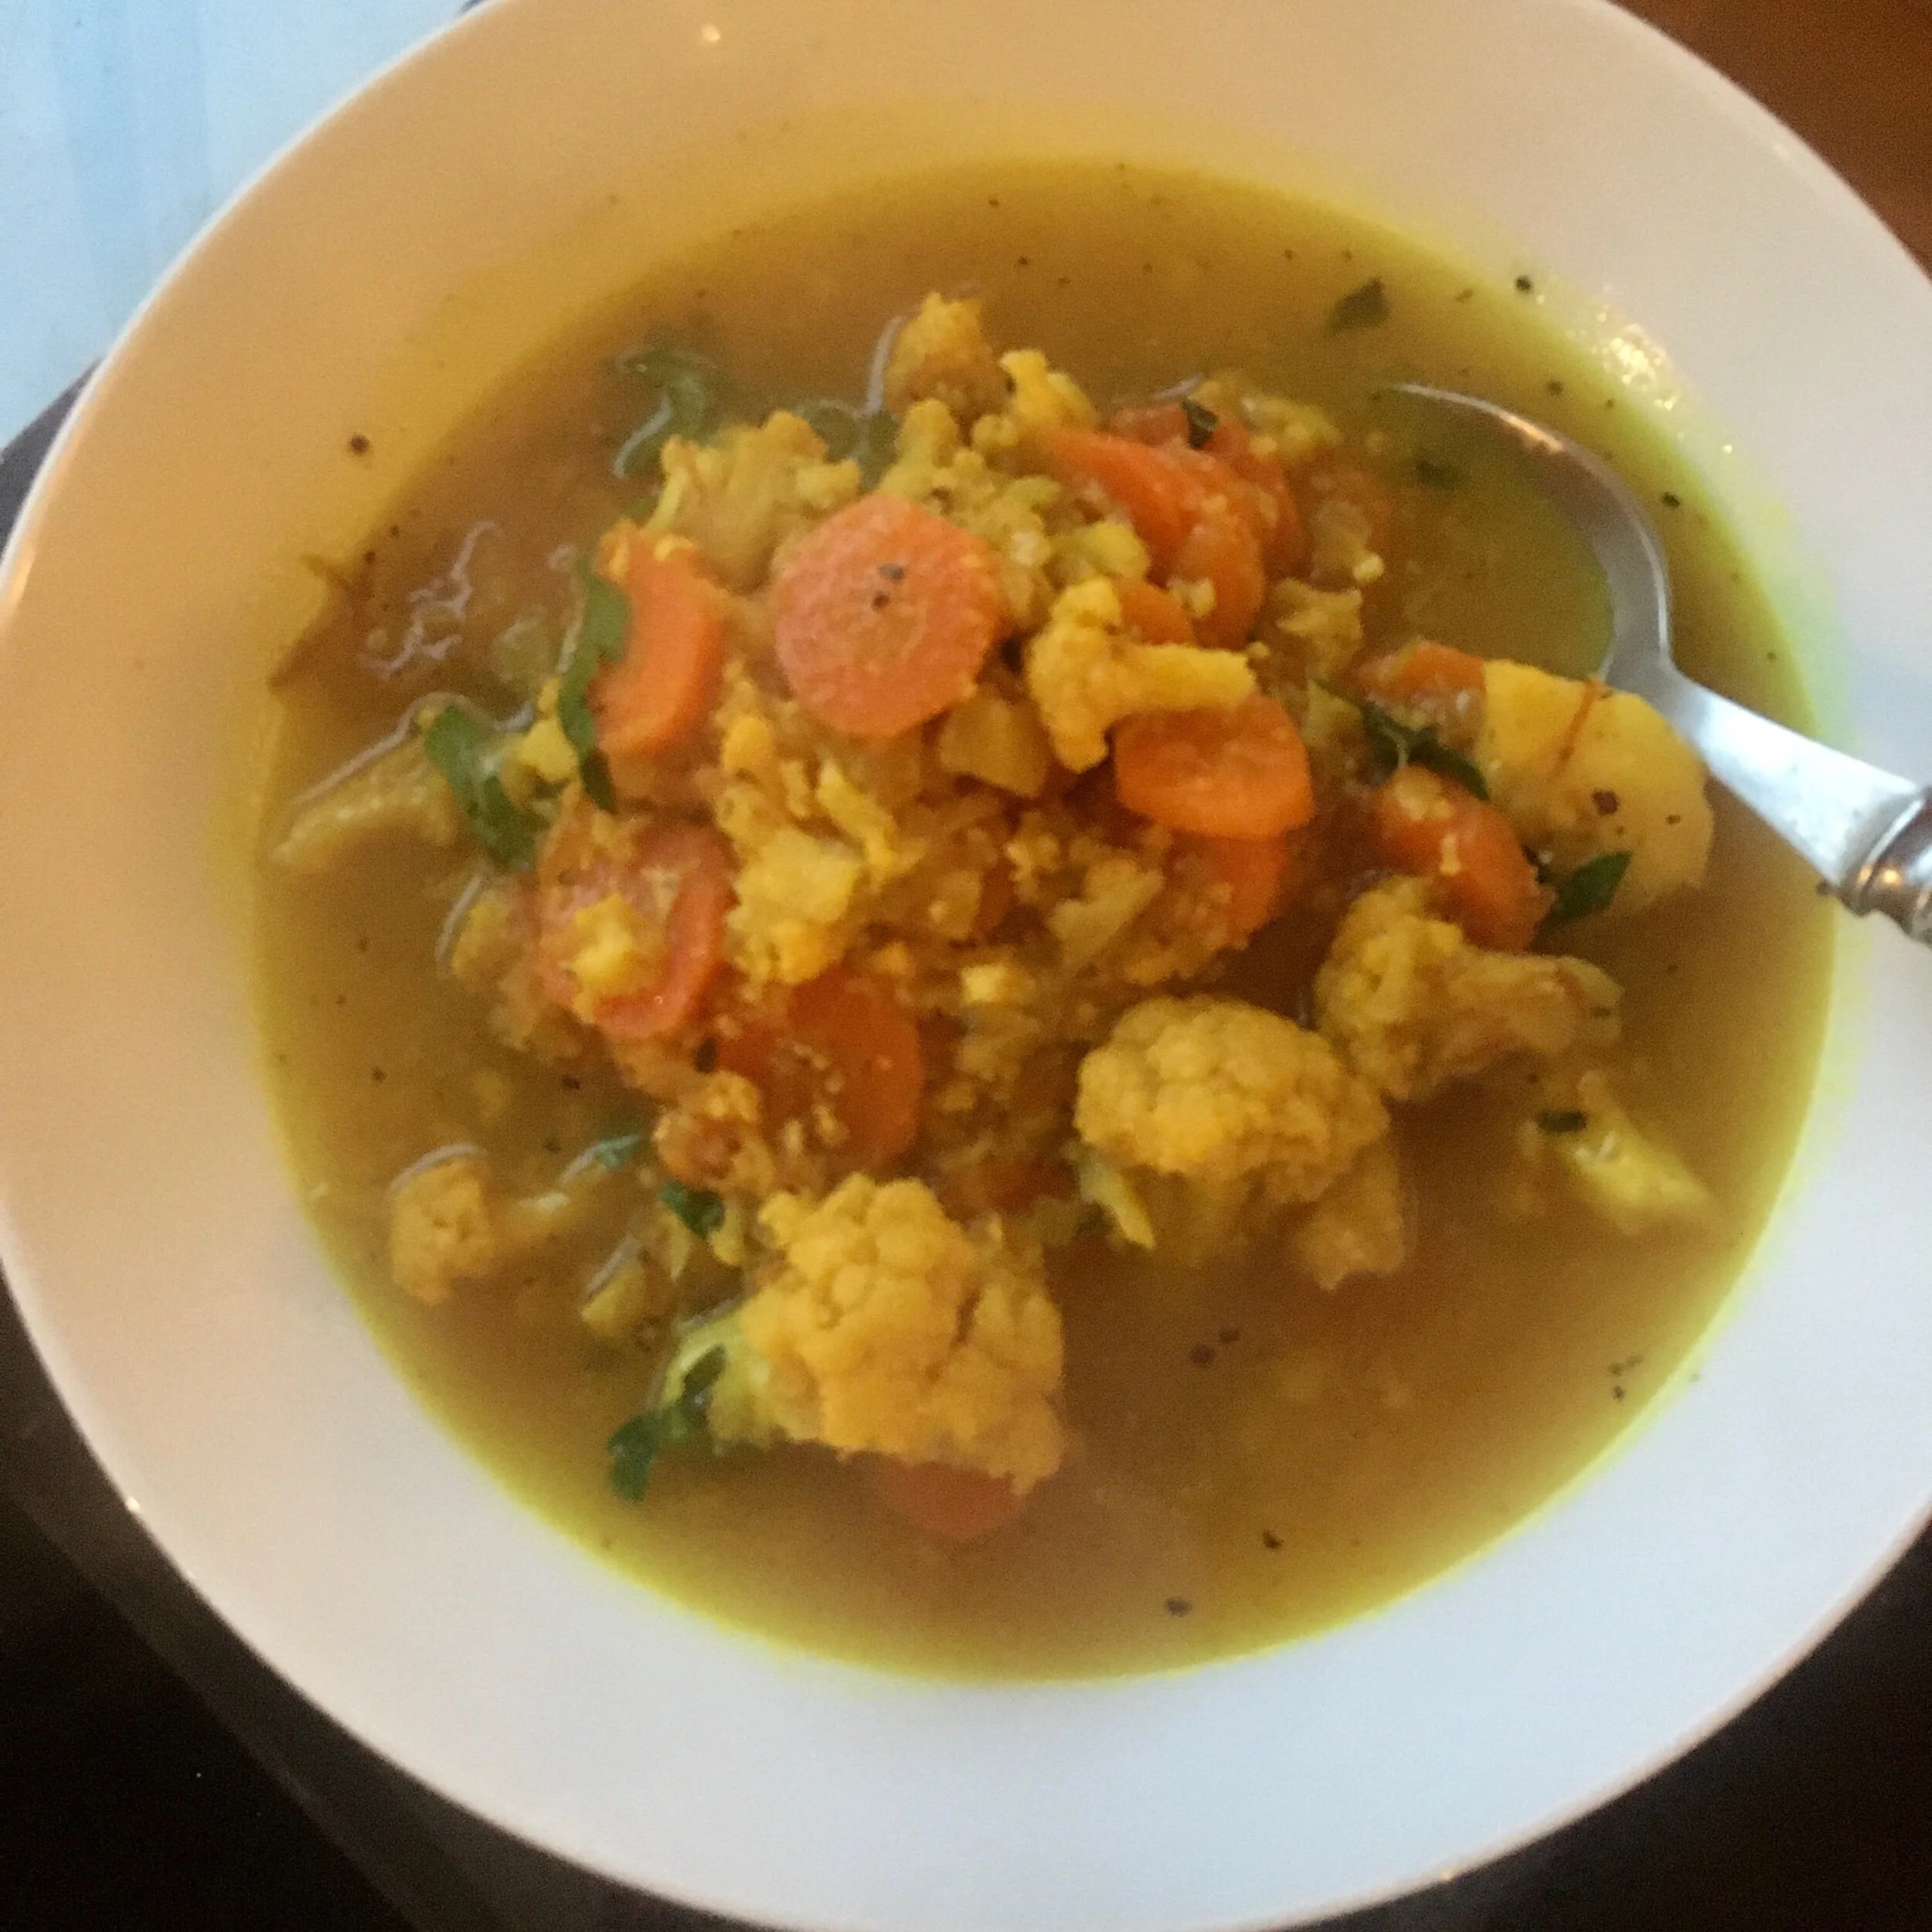
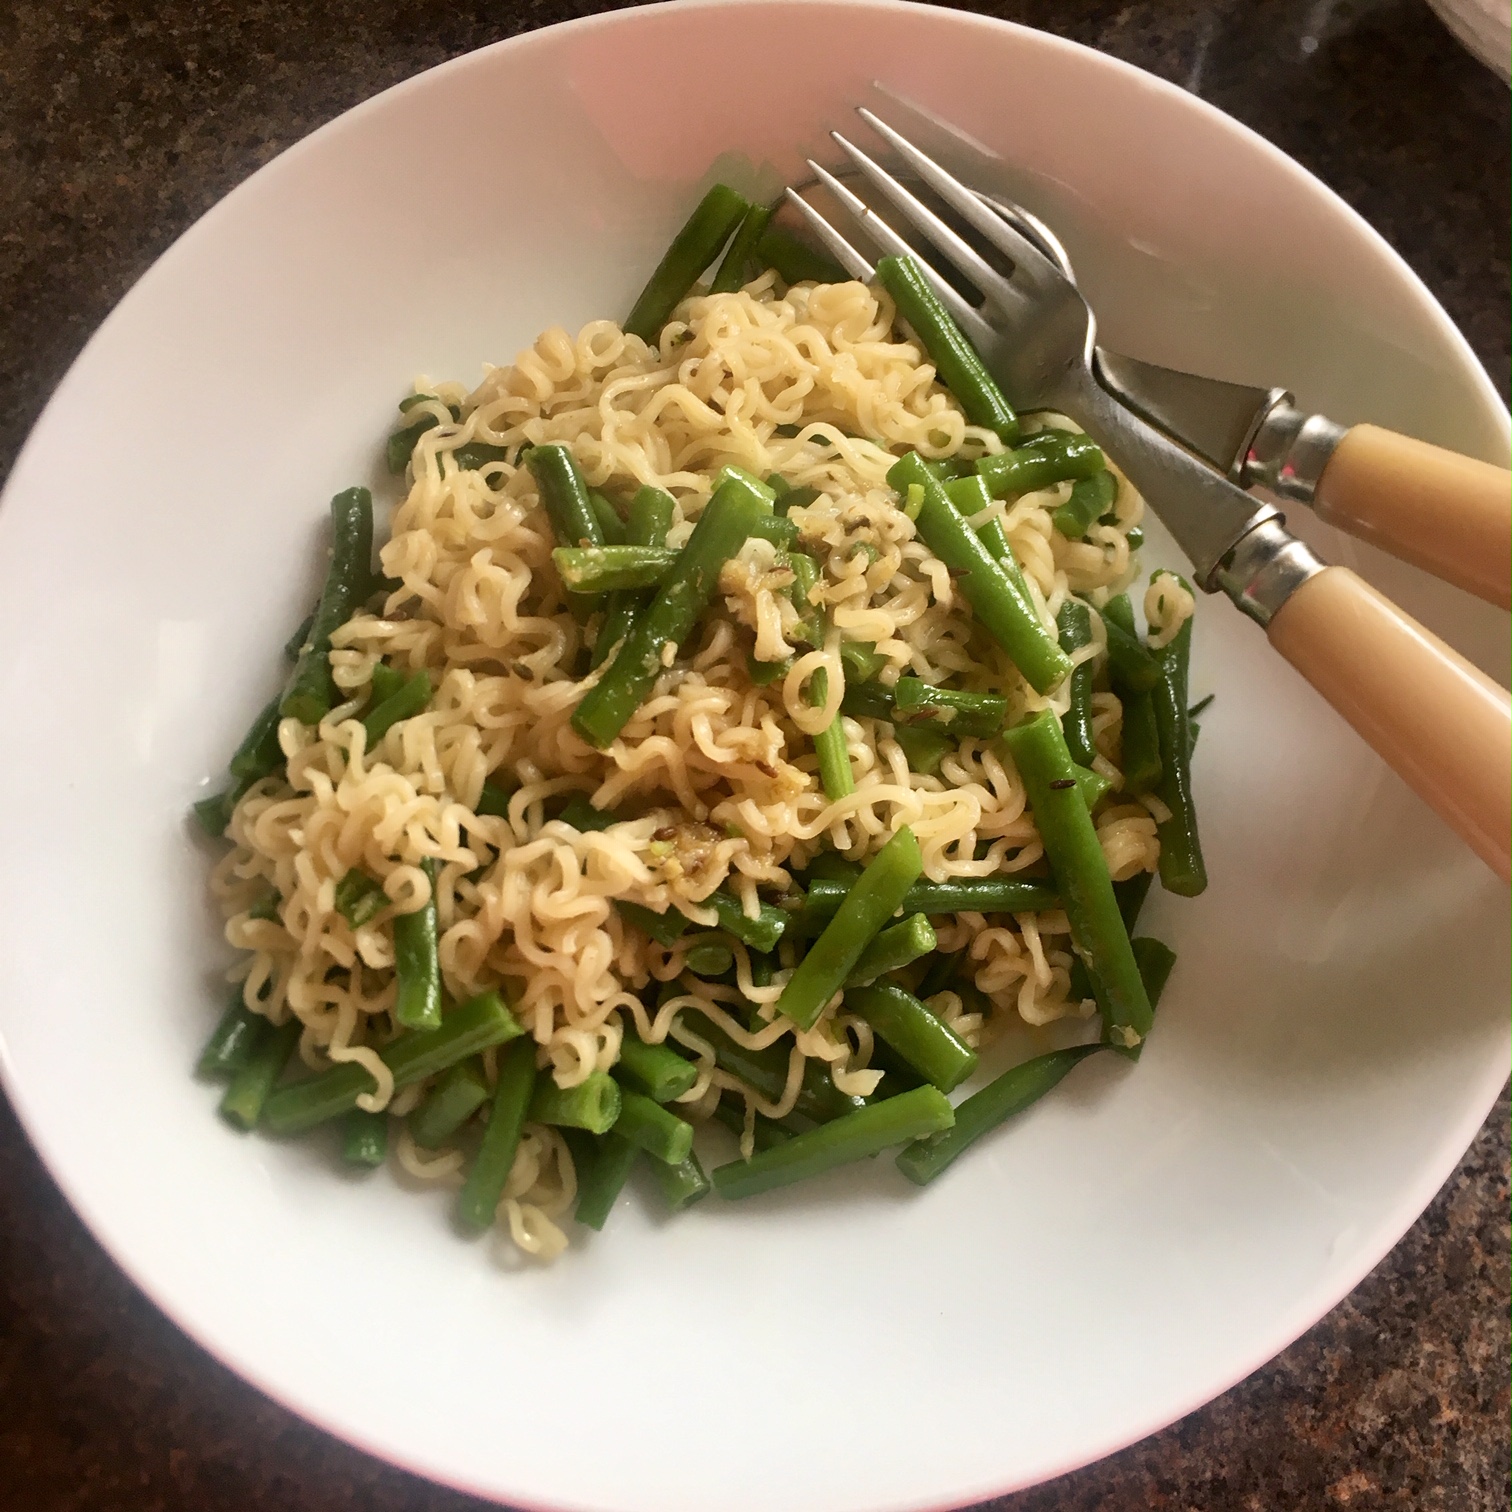
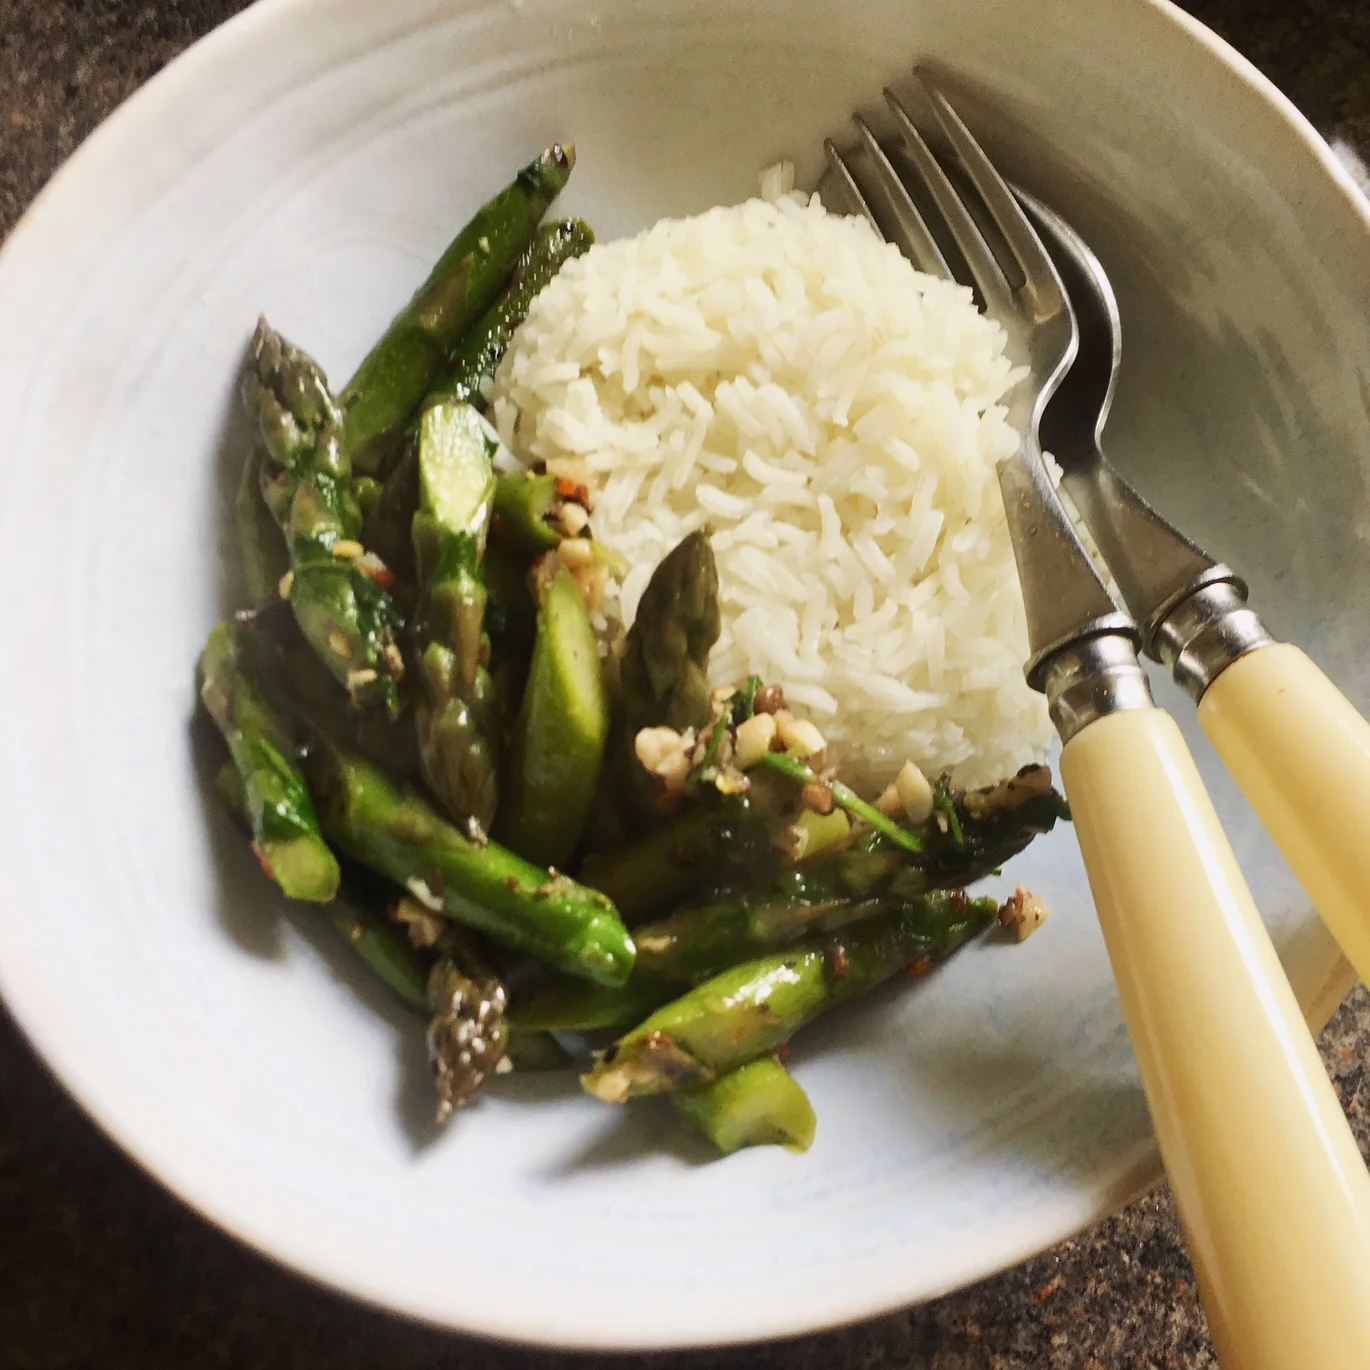
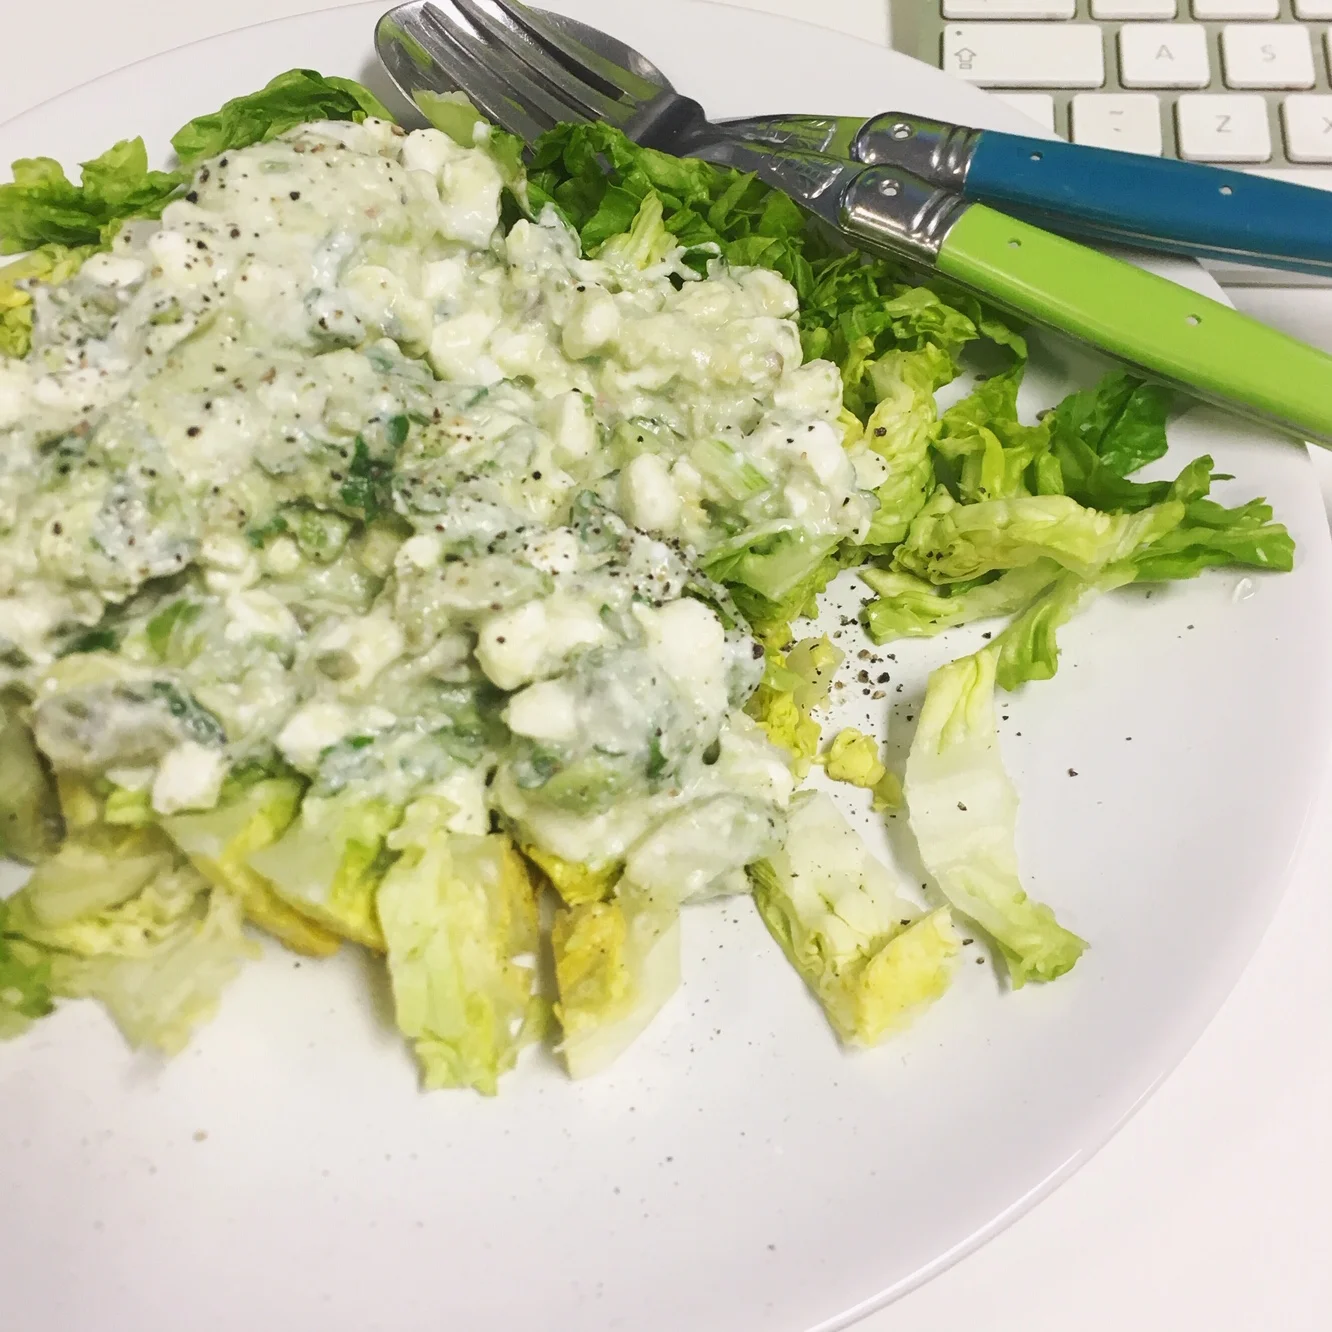
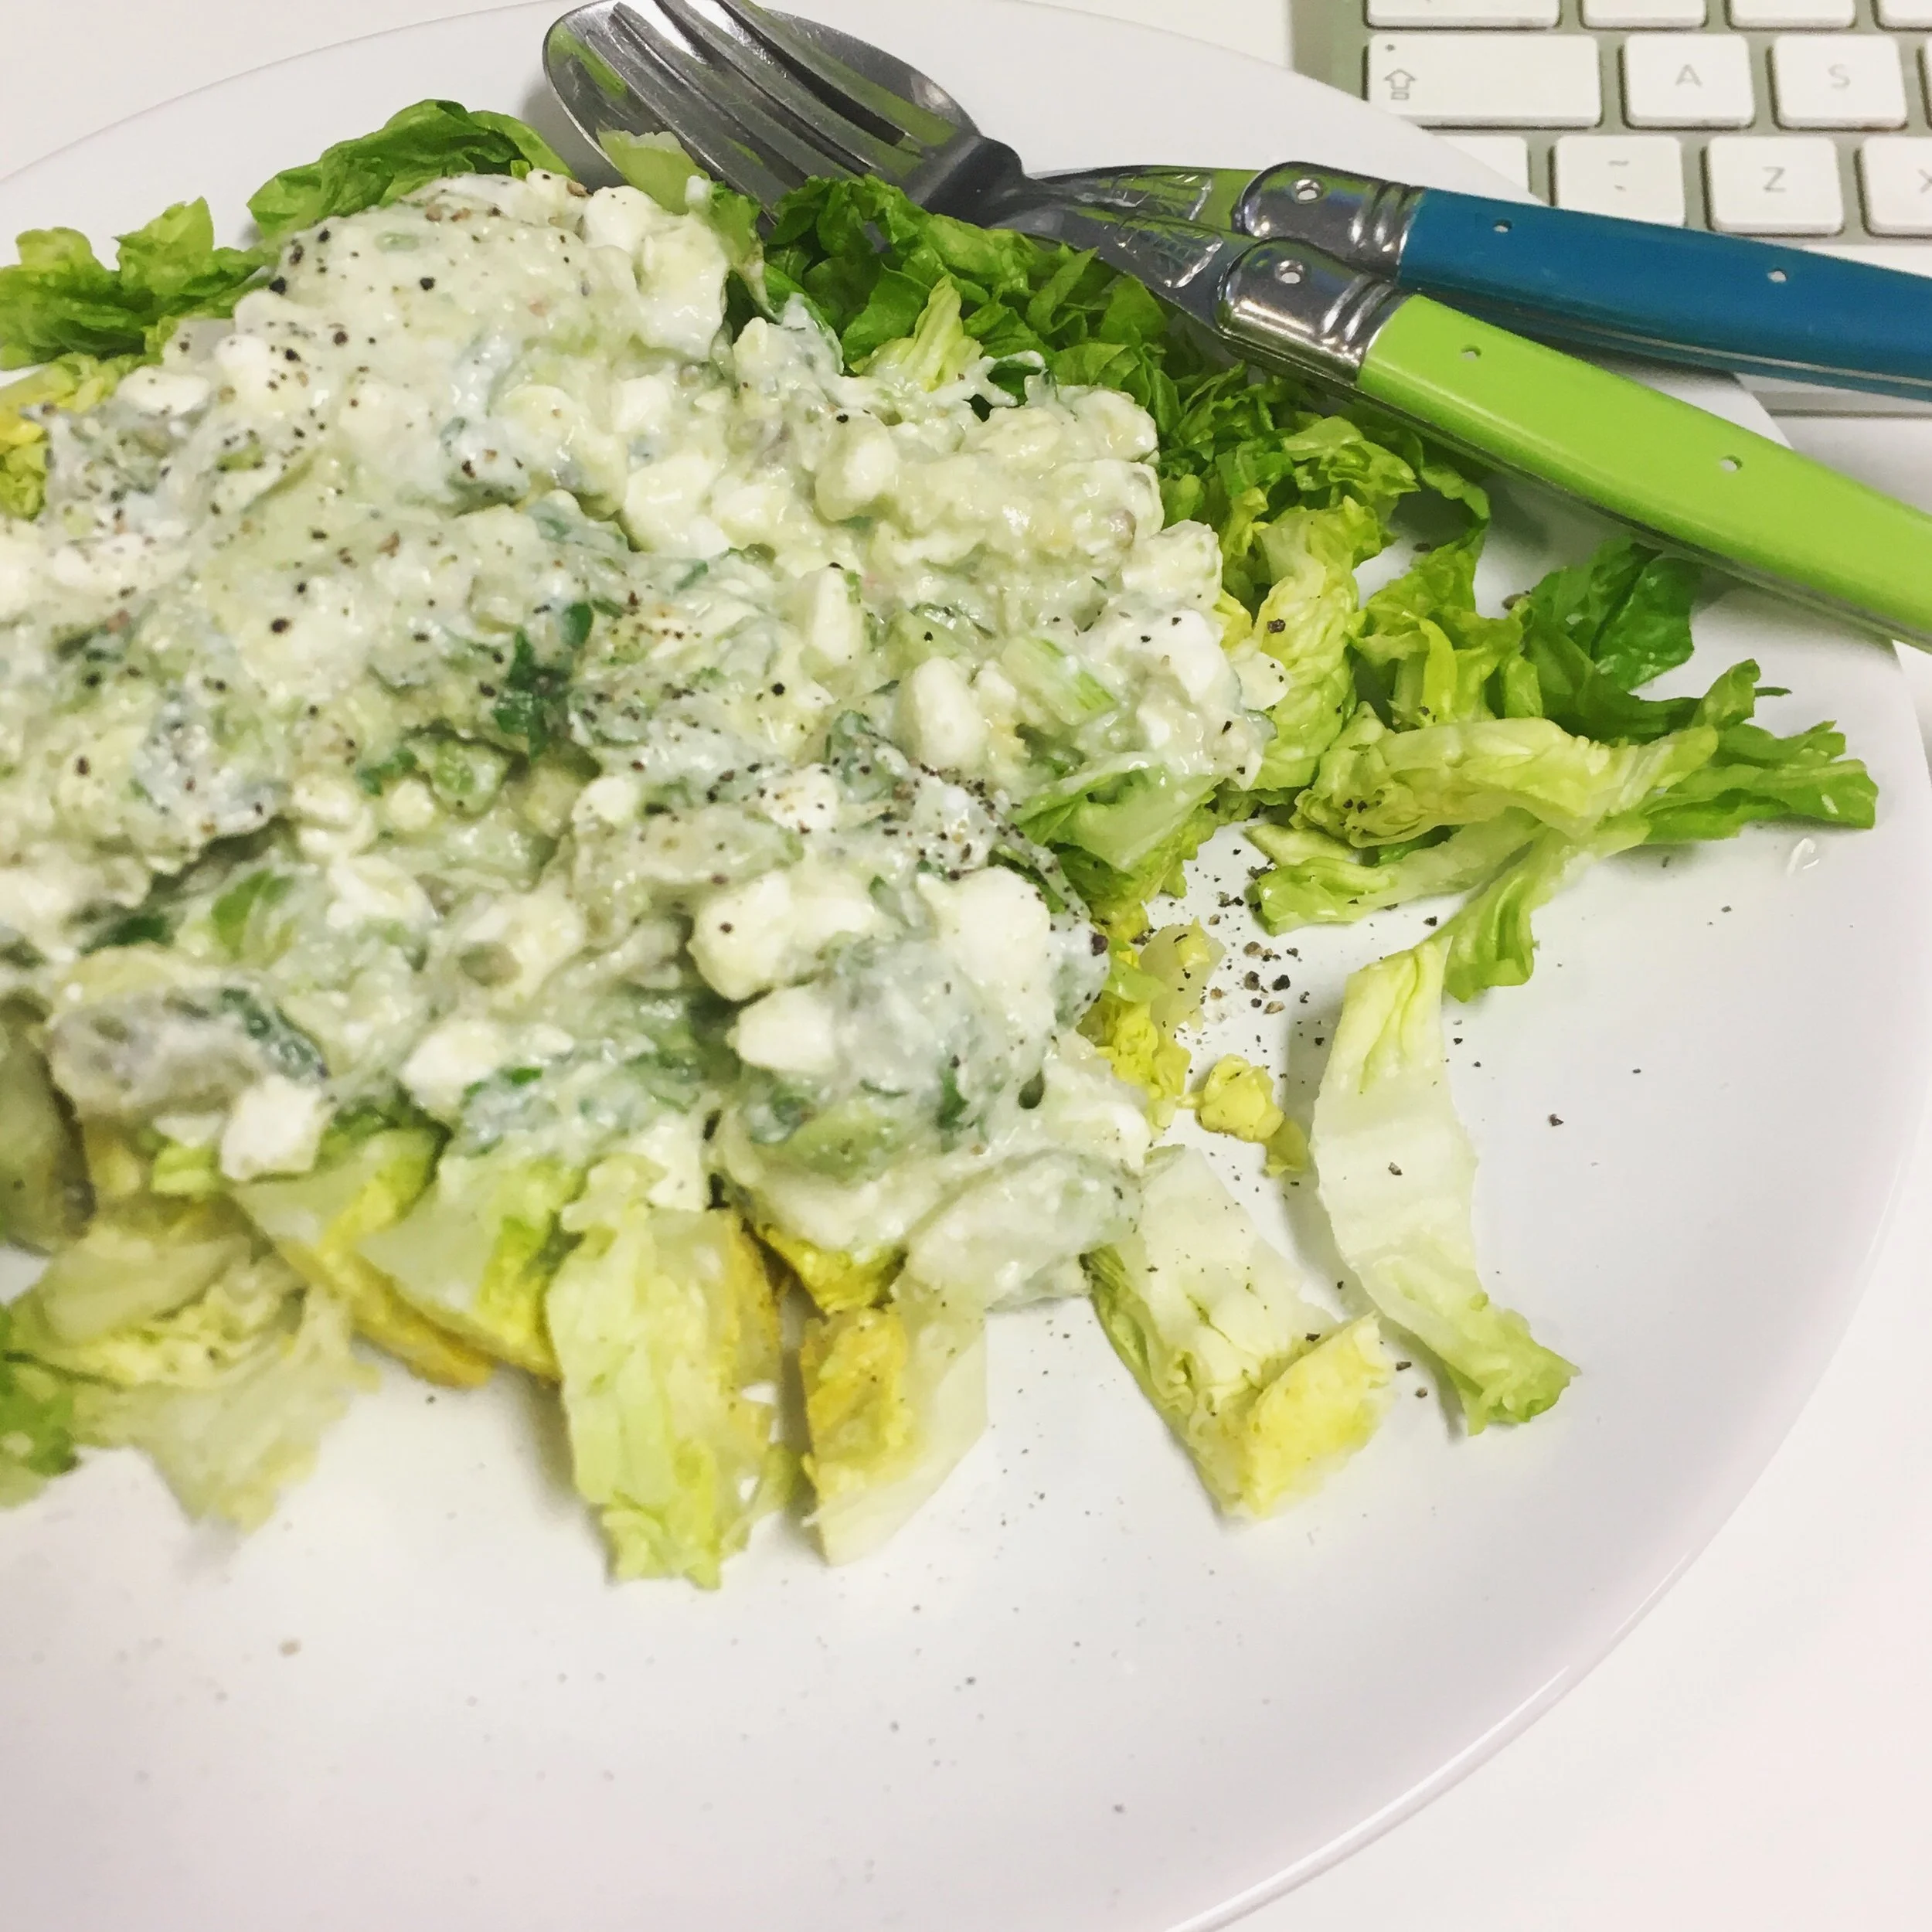
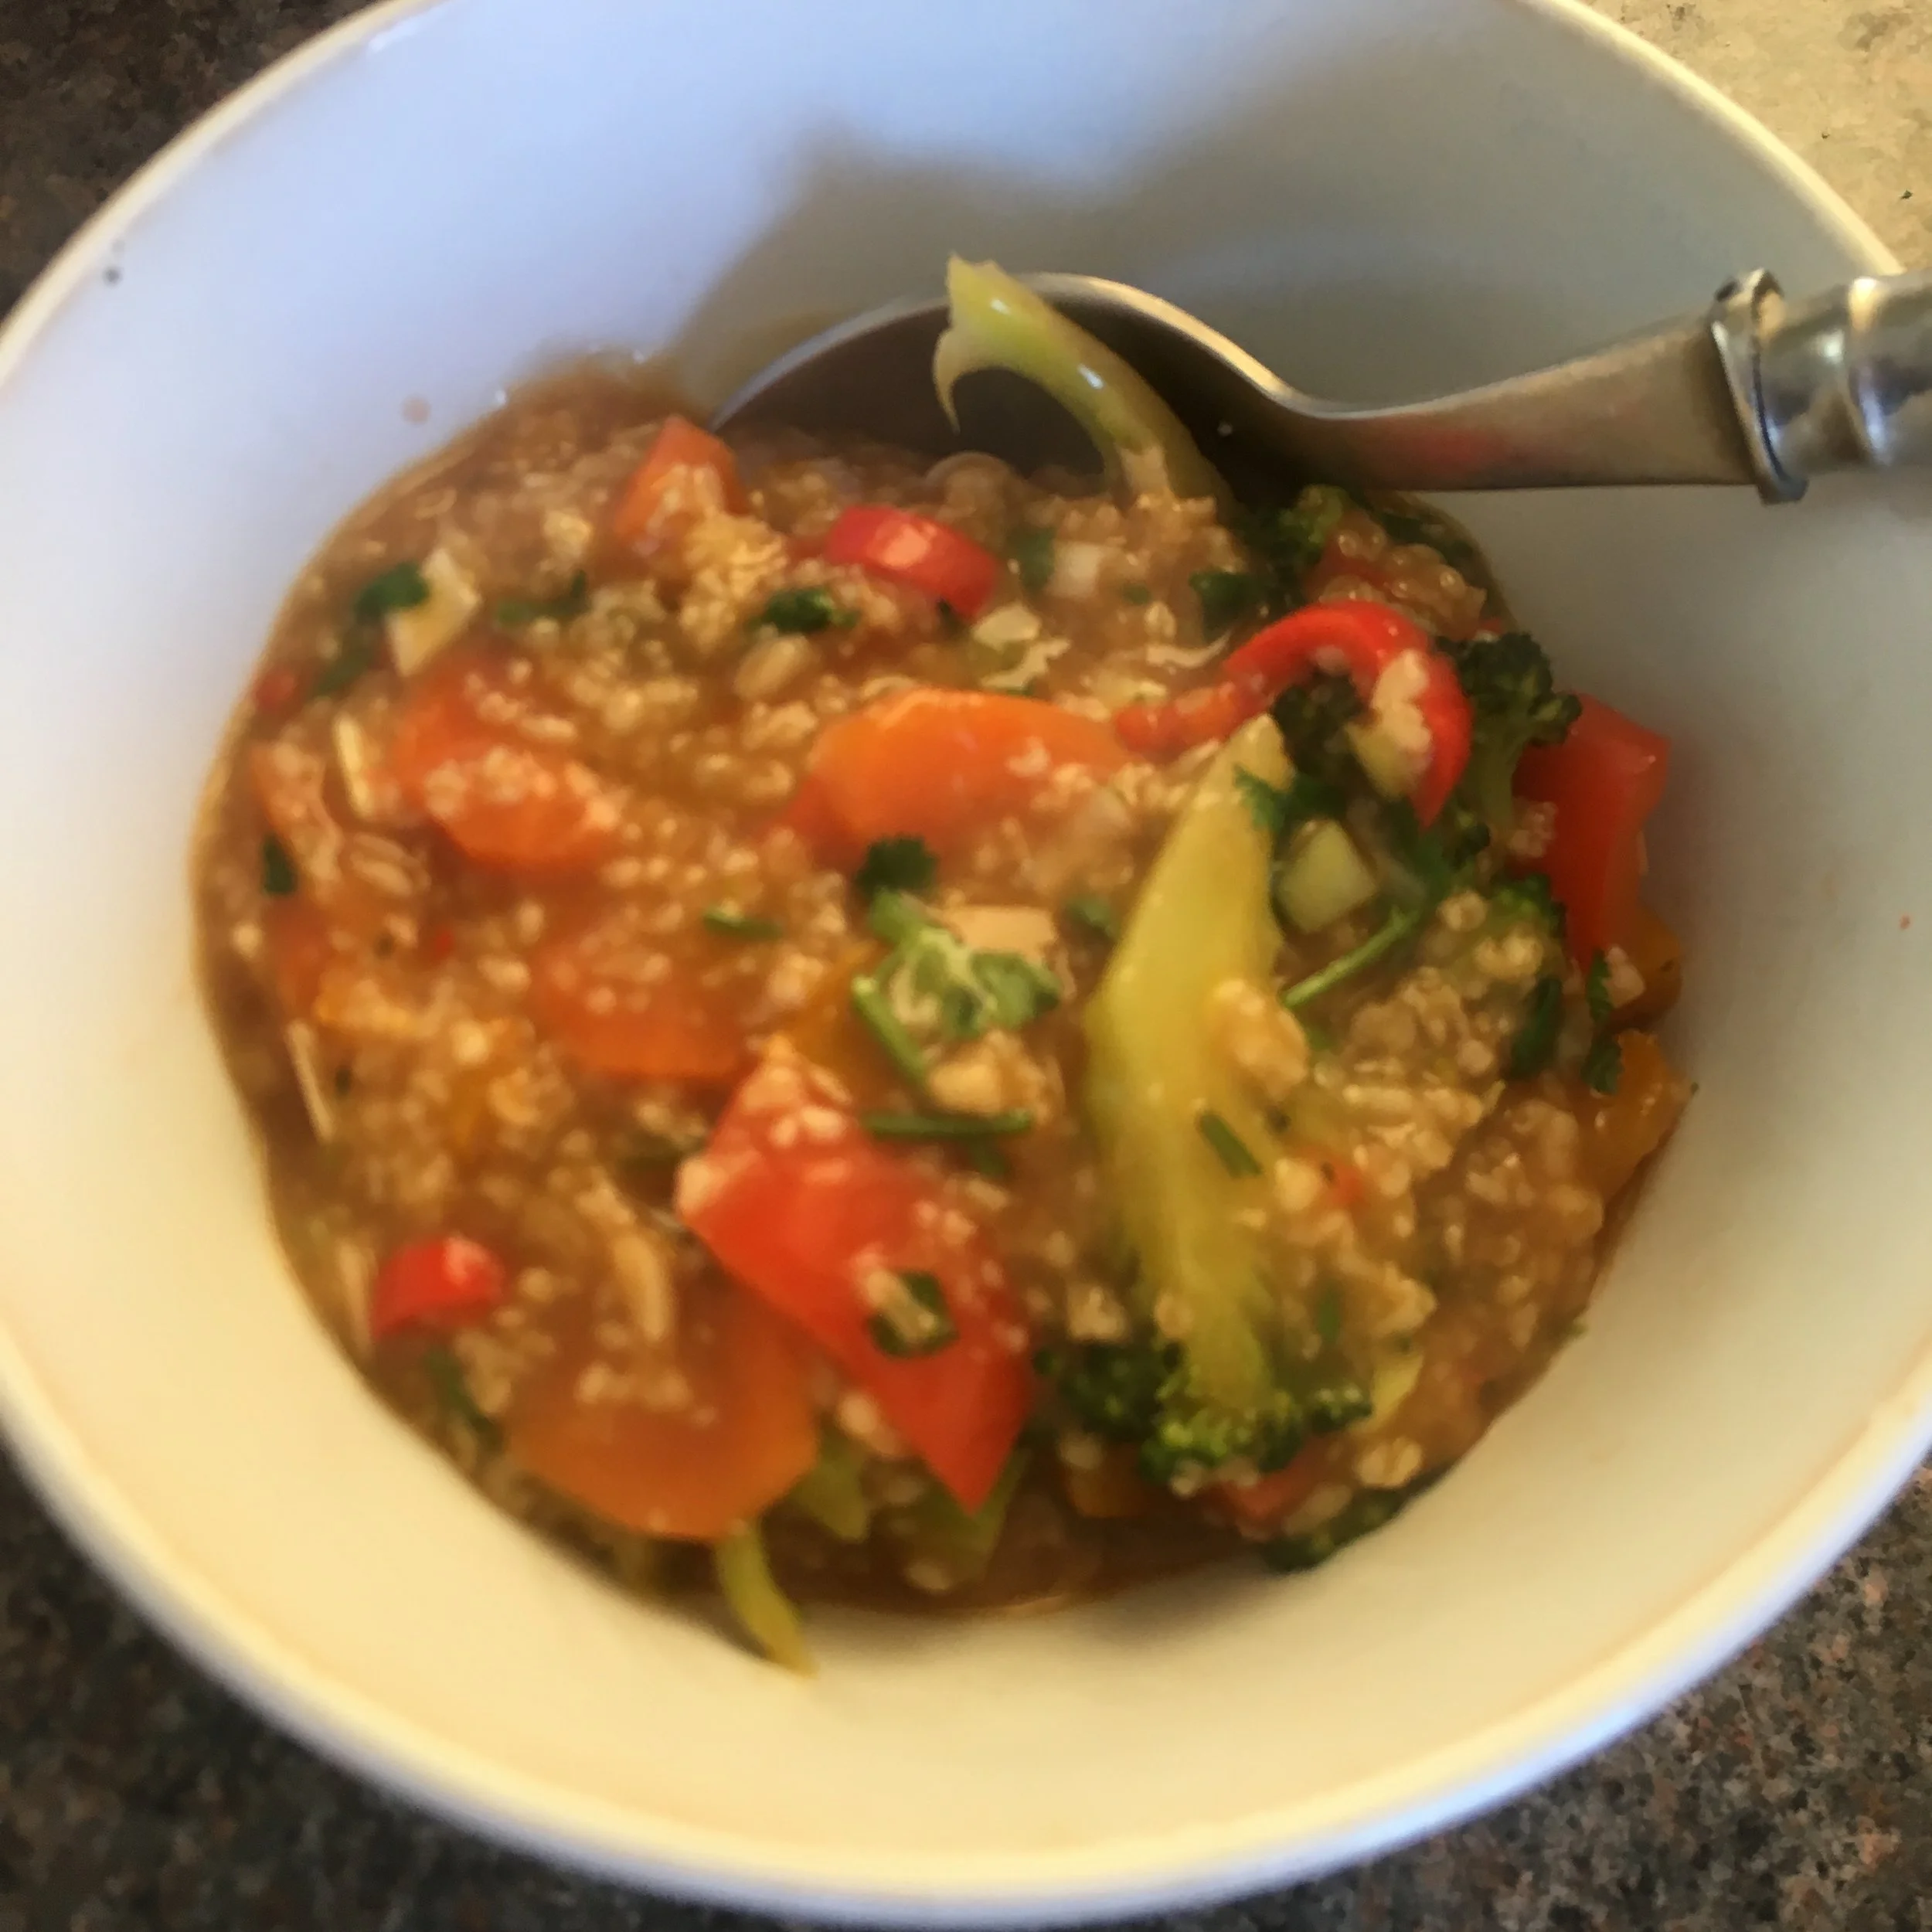
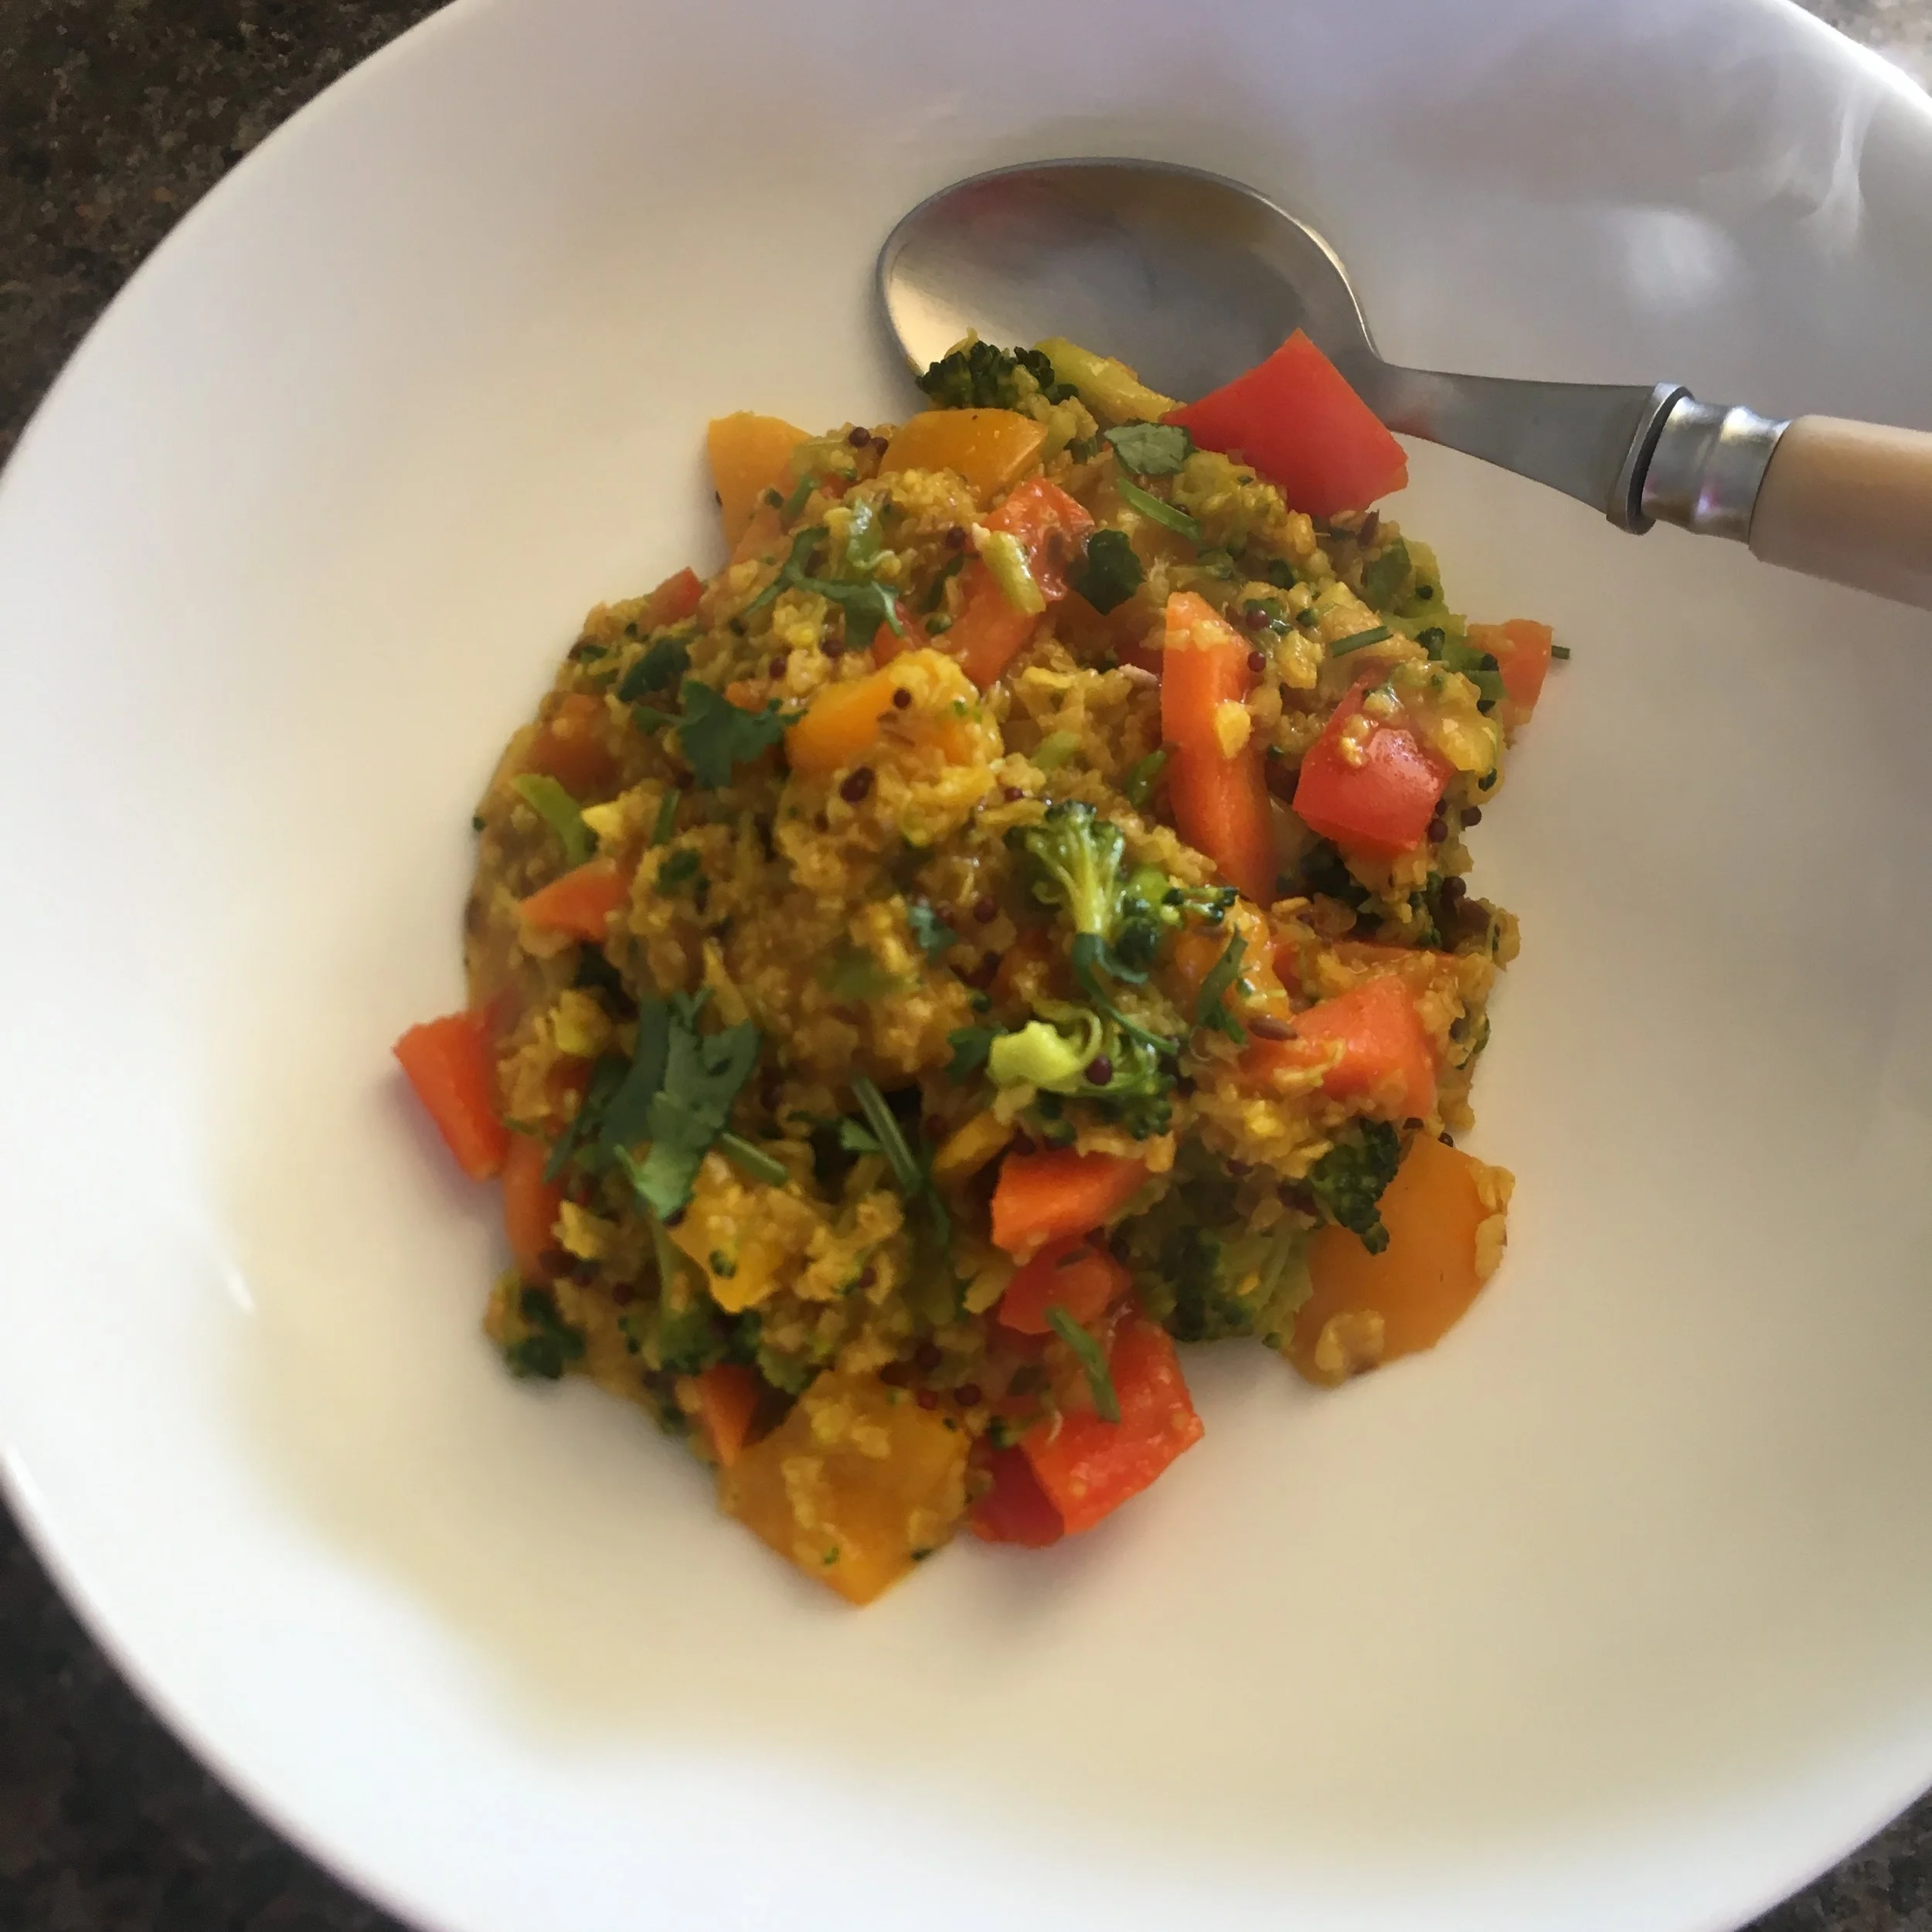
Sounds dull, doesn’t it? But it’s really, really not. It’s creamy and delicious and also full of goodness and I’ve eaten it two days in a row now.

I made a big bowl of this for lunch the other day to celebrate the beginning of Spring but it would of course also be perfect for a simple supper.

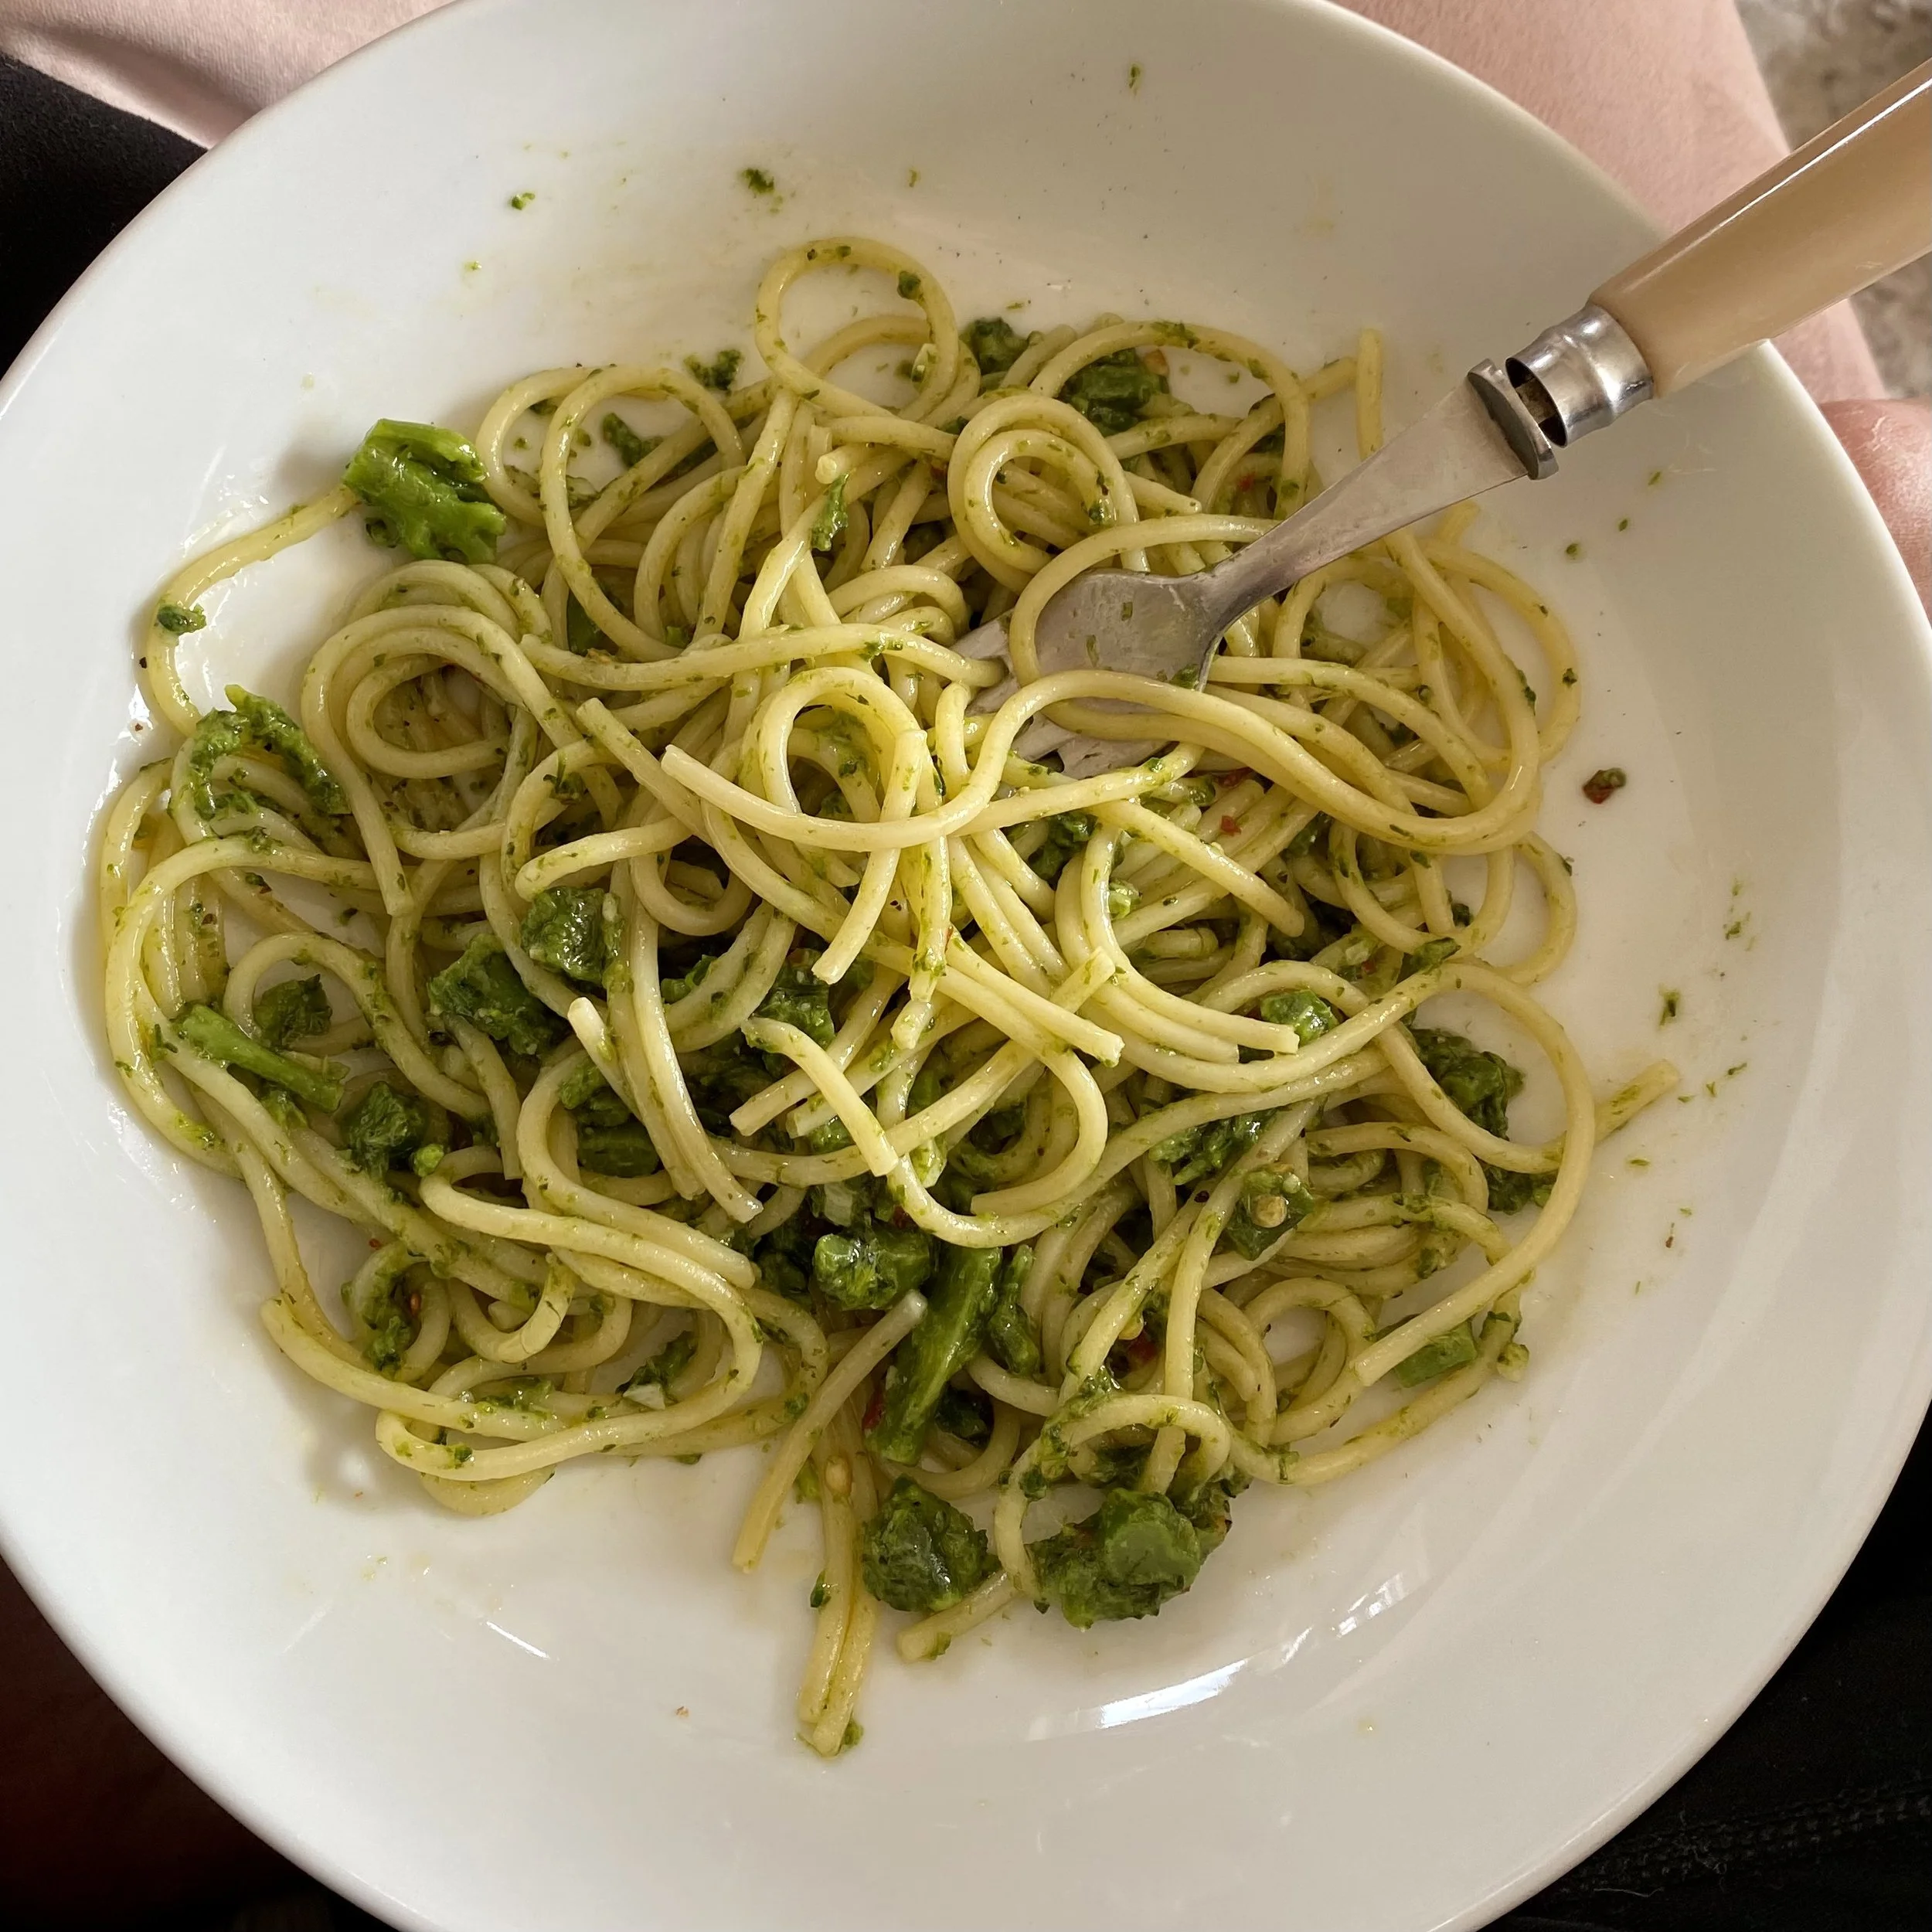
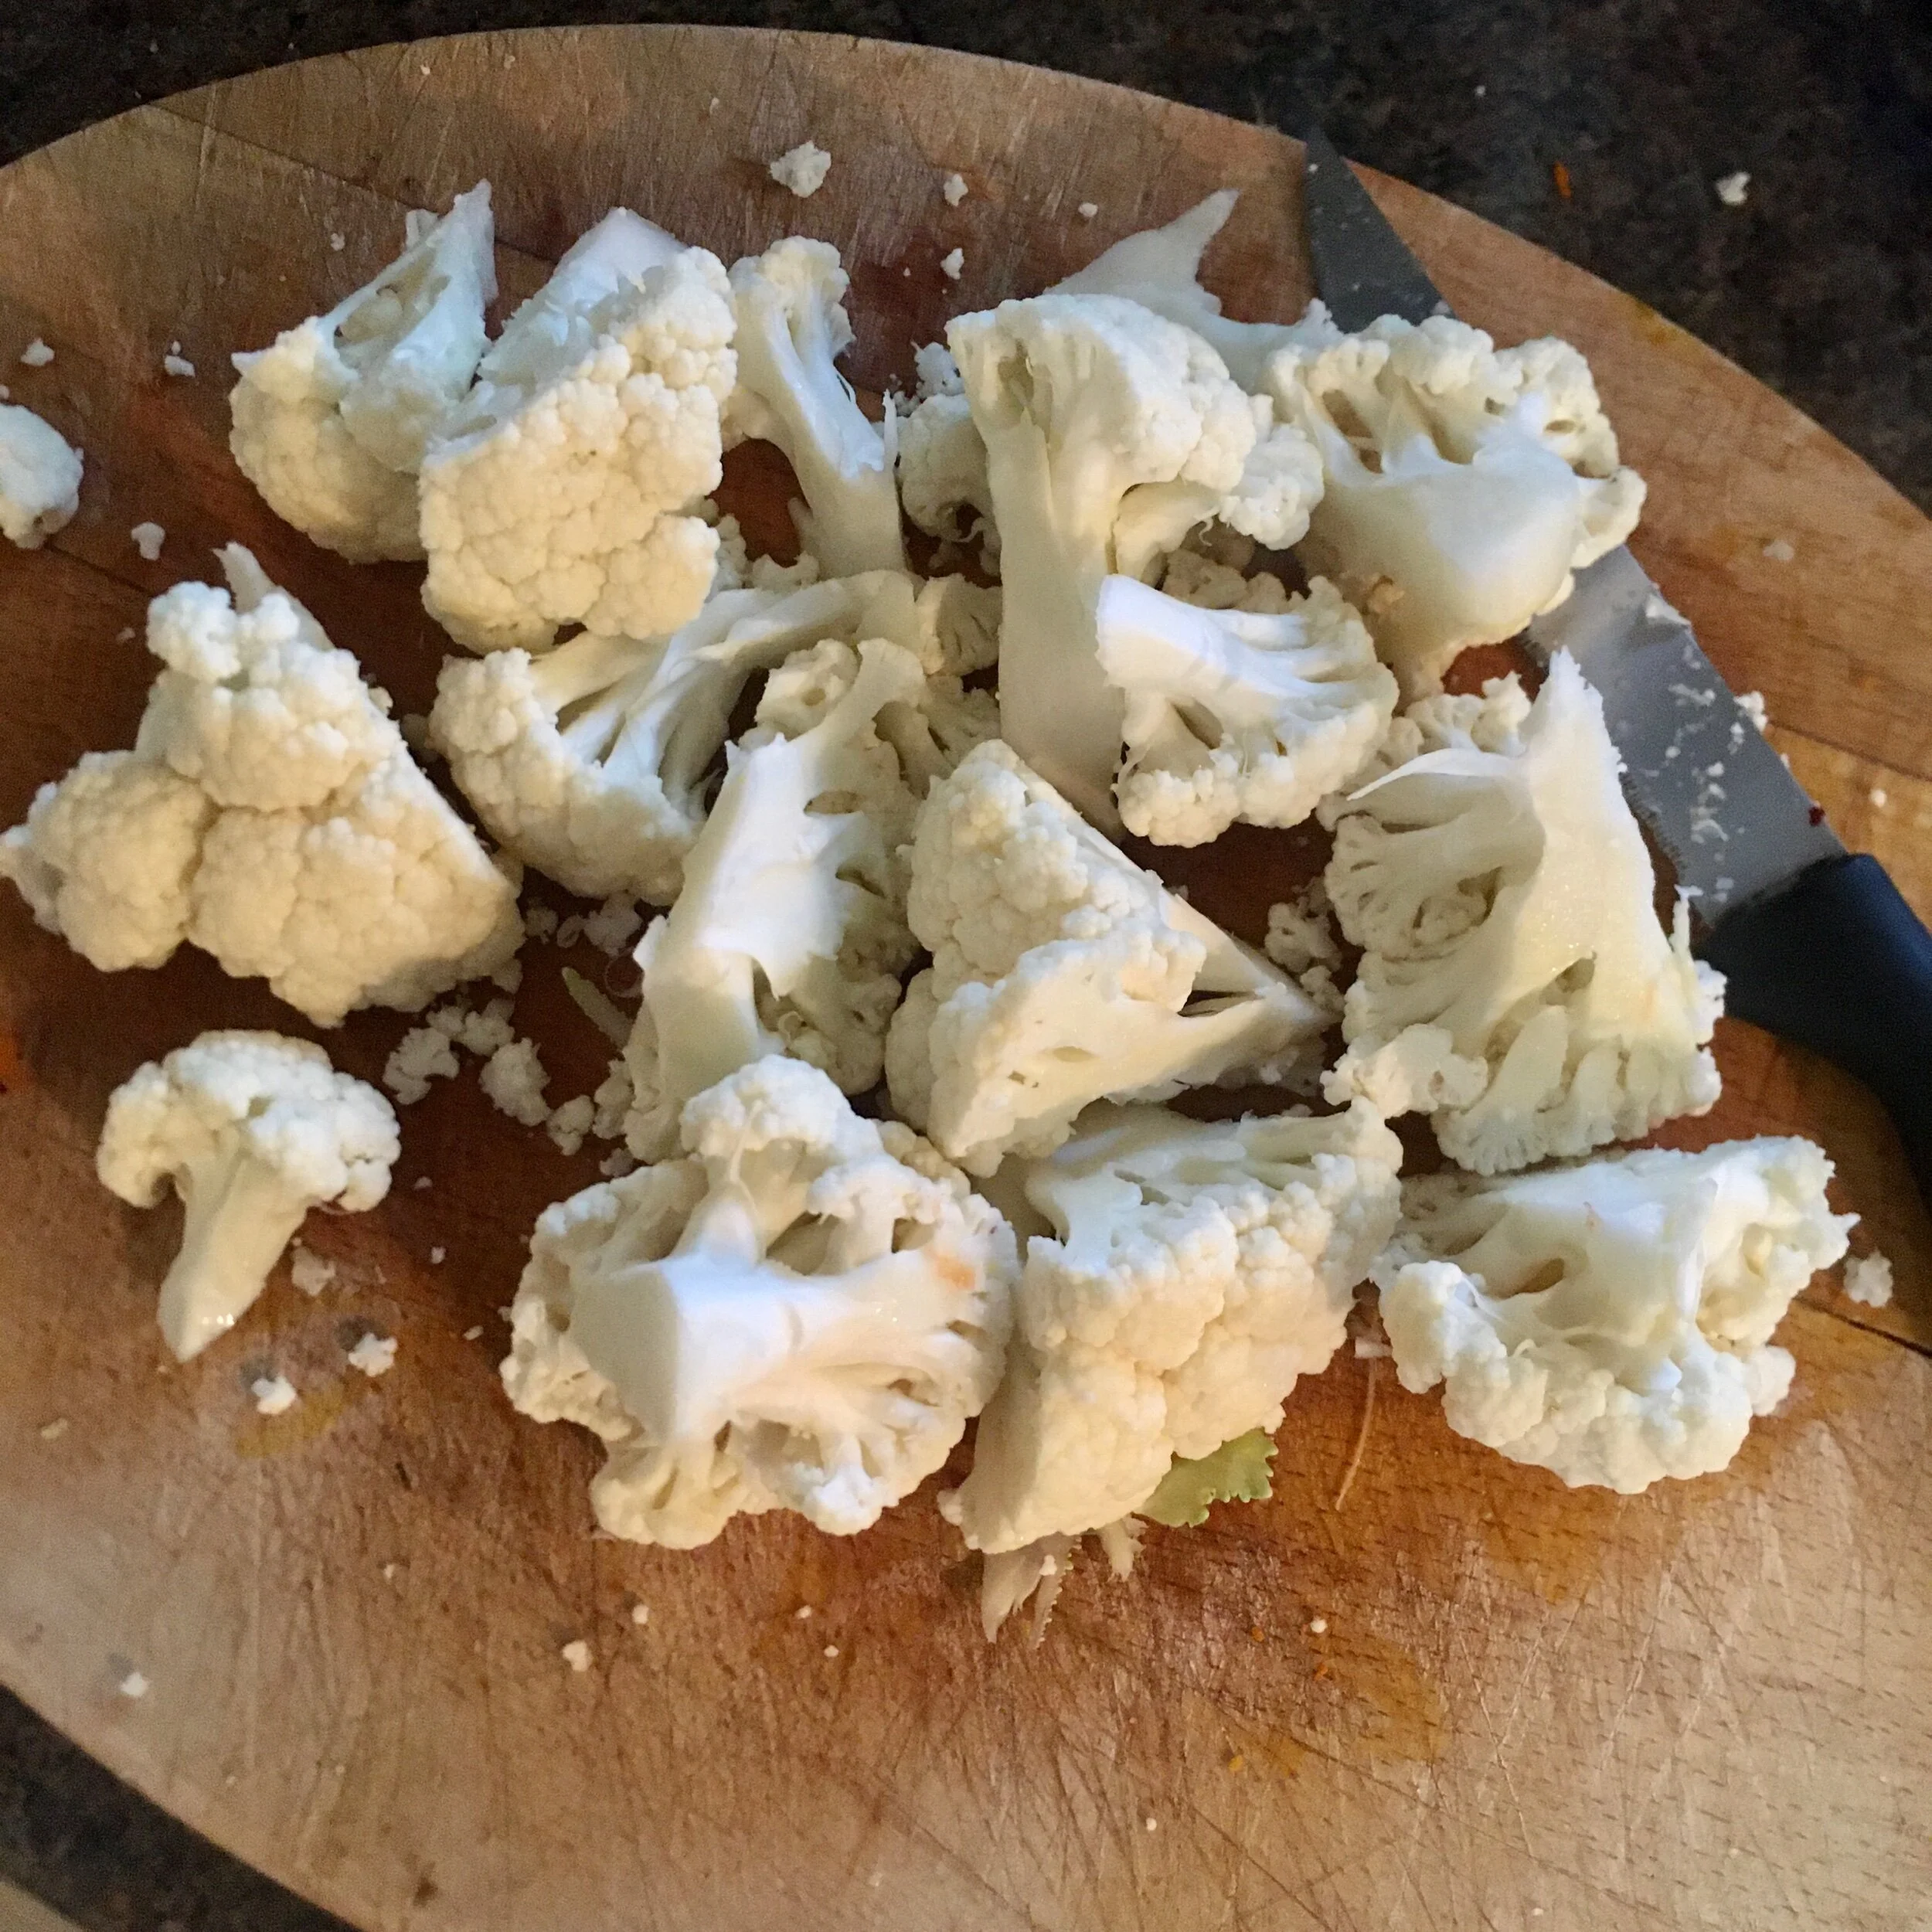
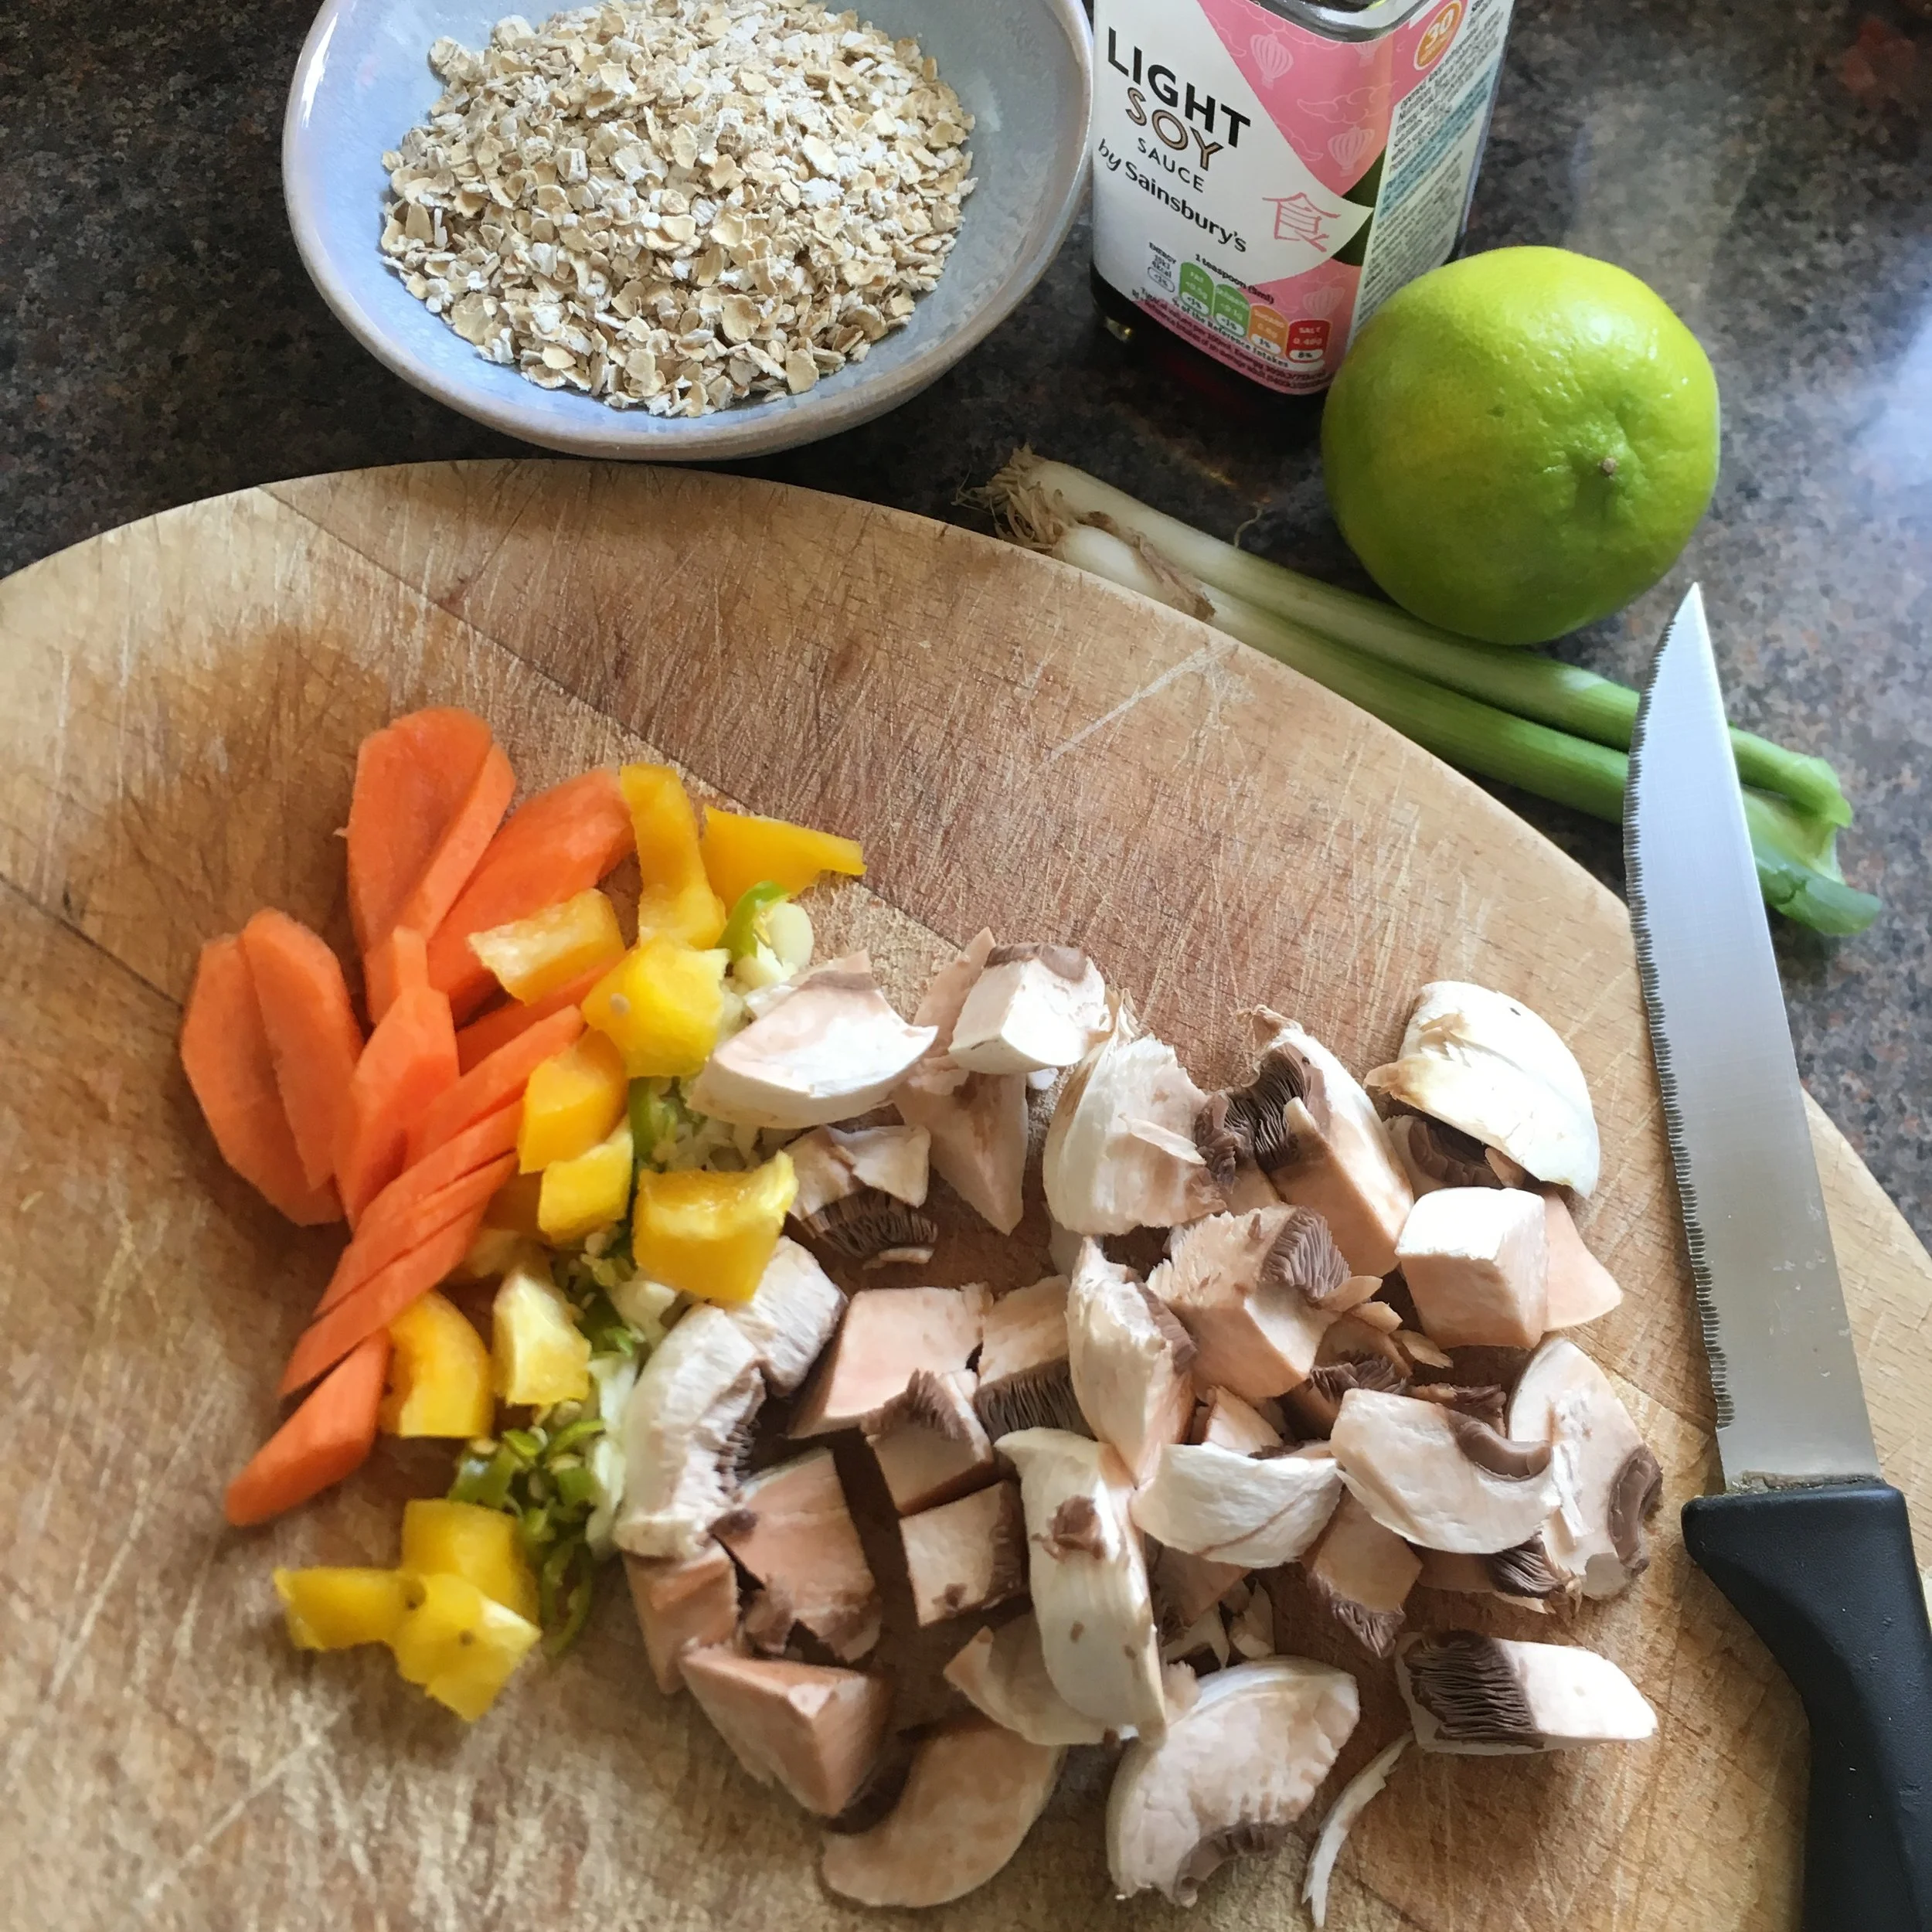
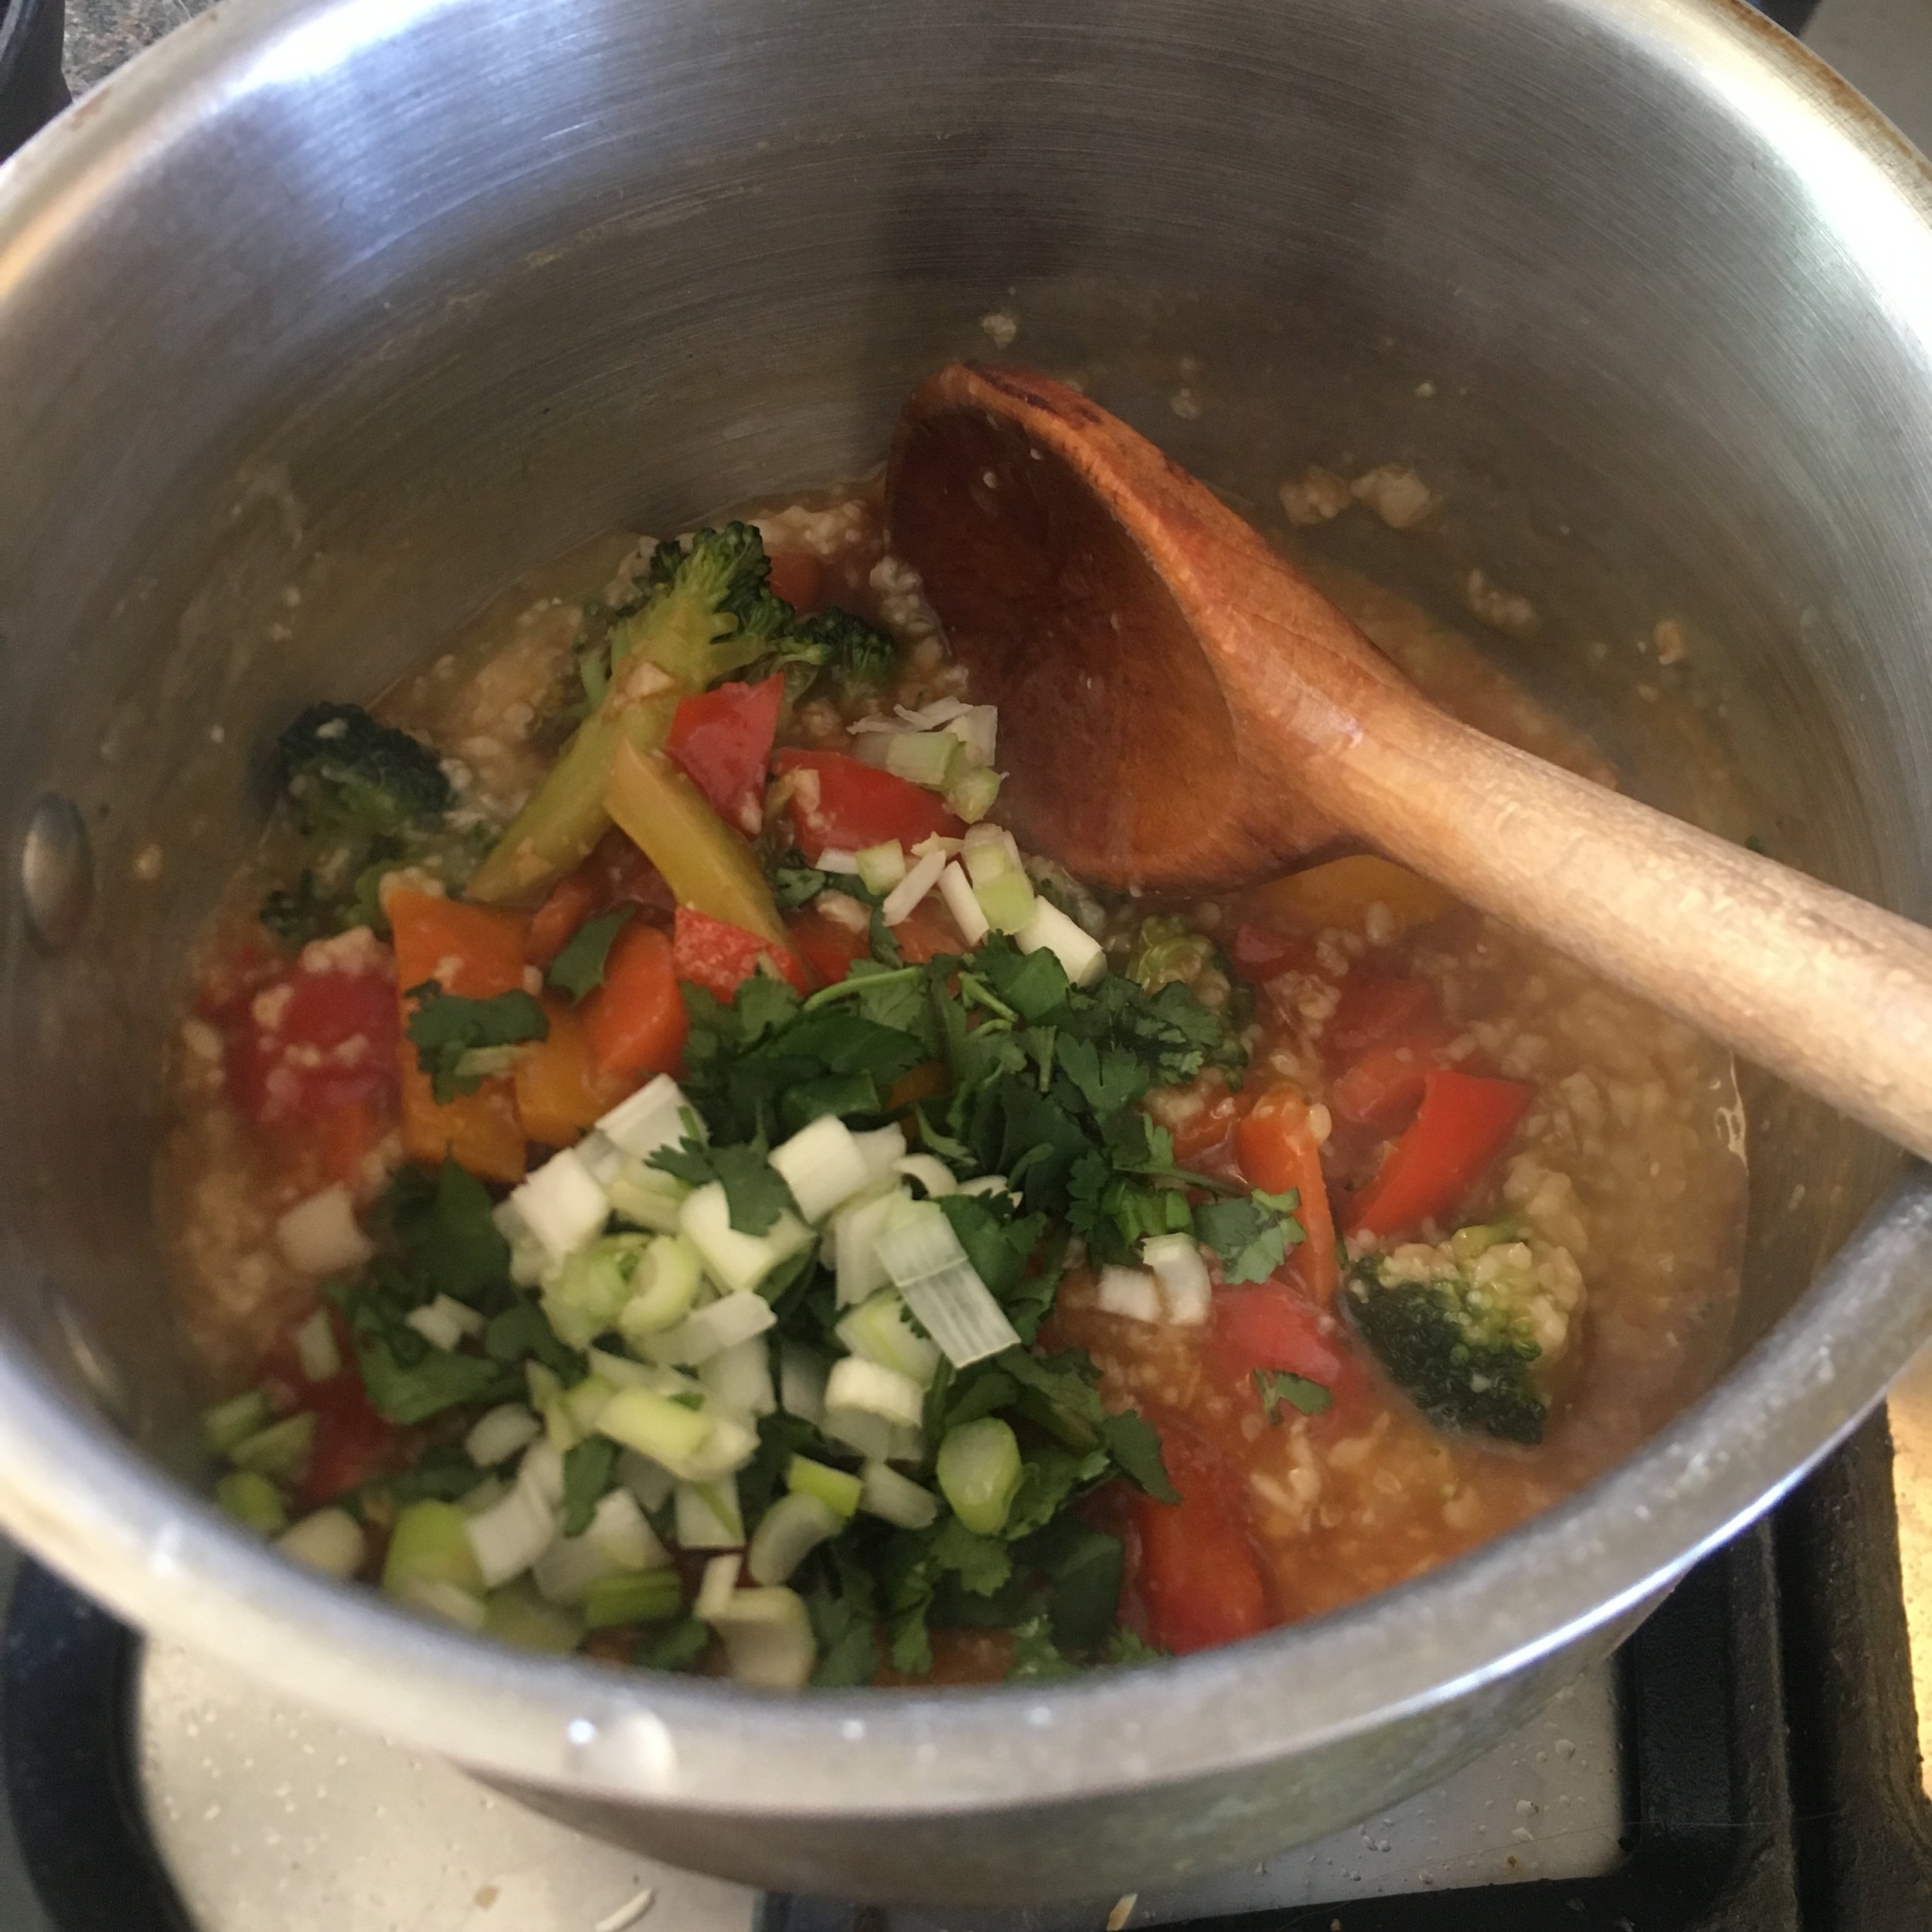
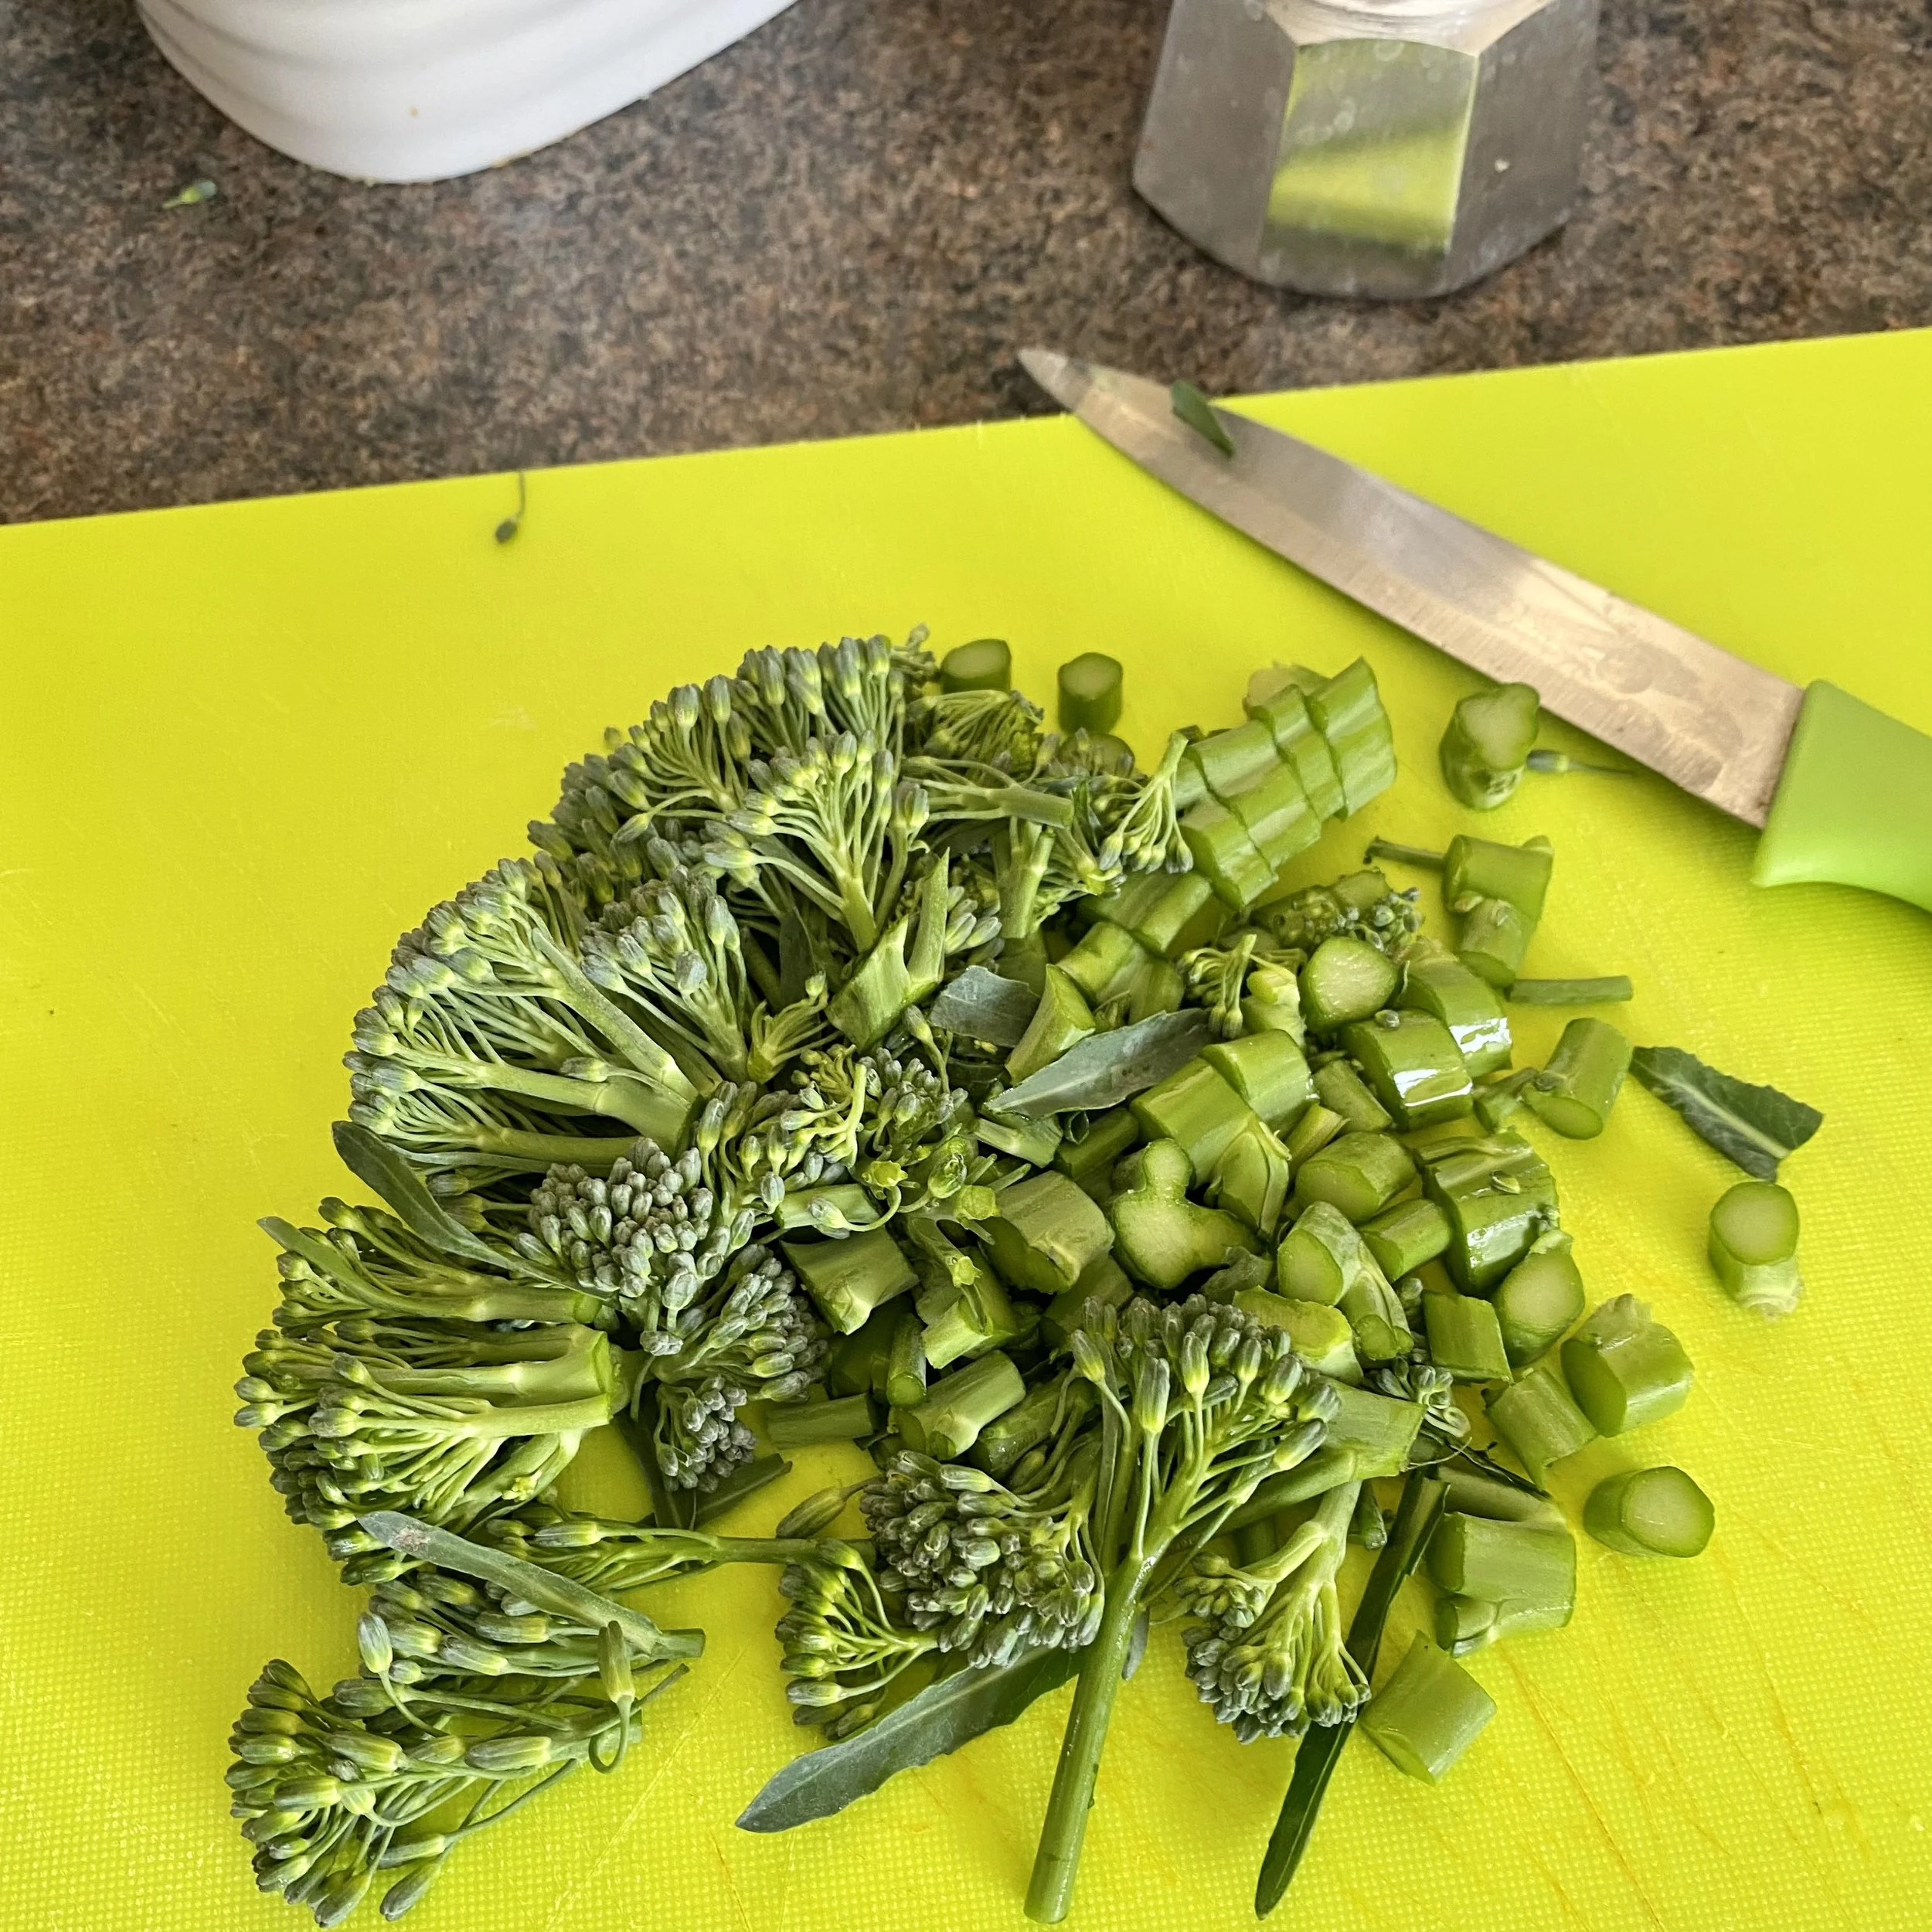
OK, the broccoli also looks weirdly kind of fluorescent against the lime green chopping board! I’ll take some new pics next time I make it.


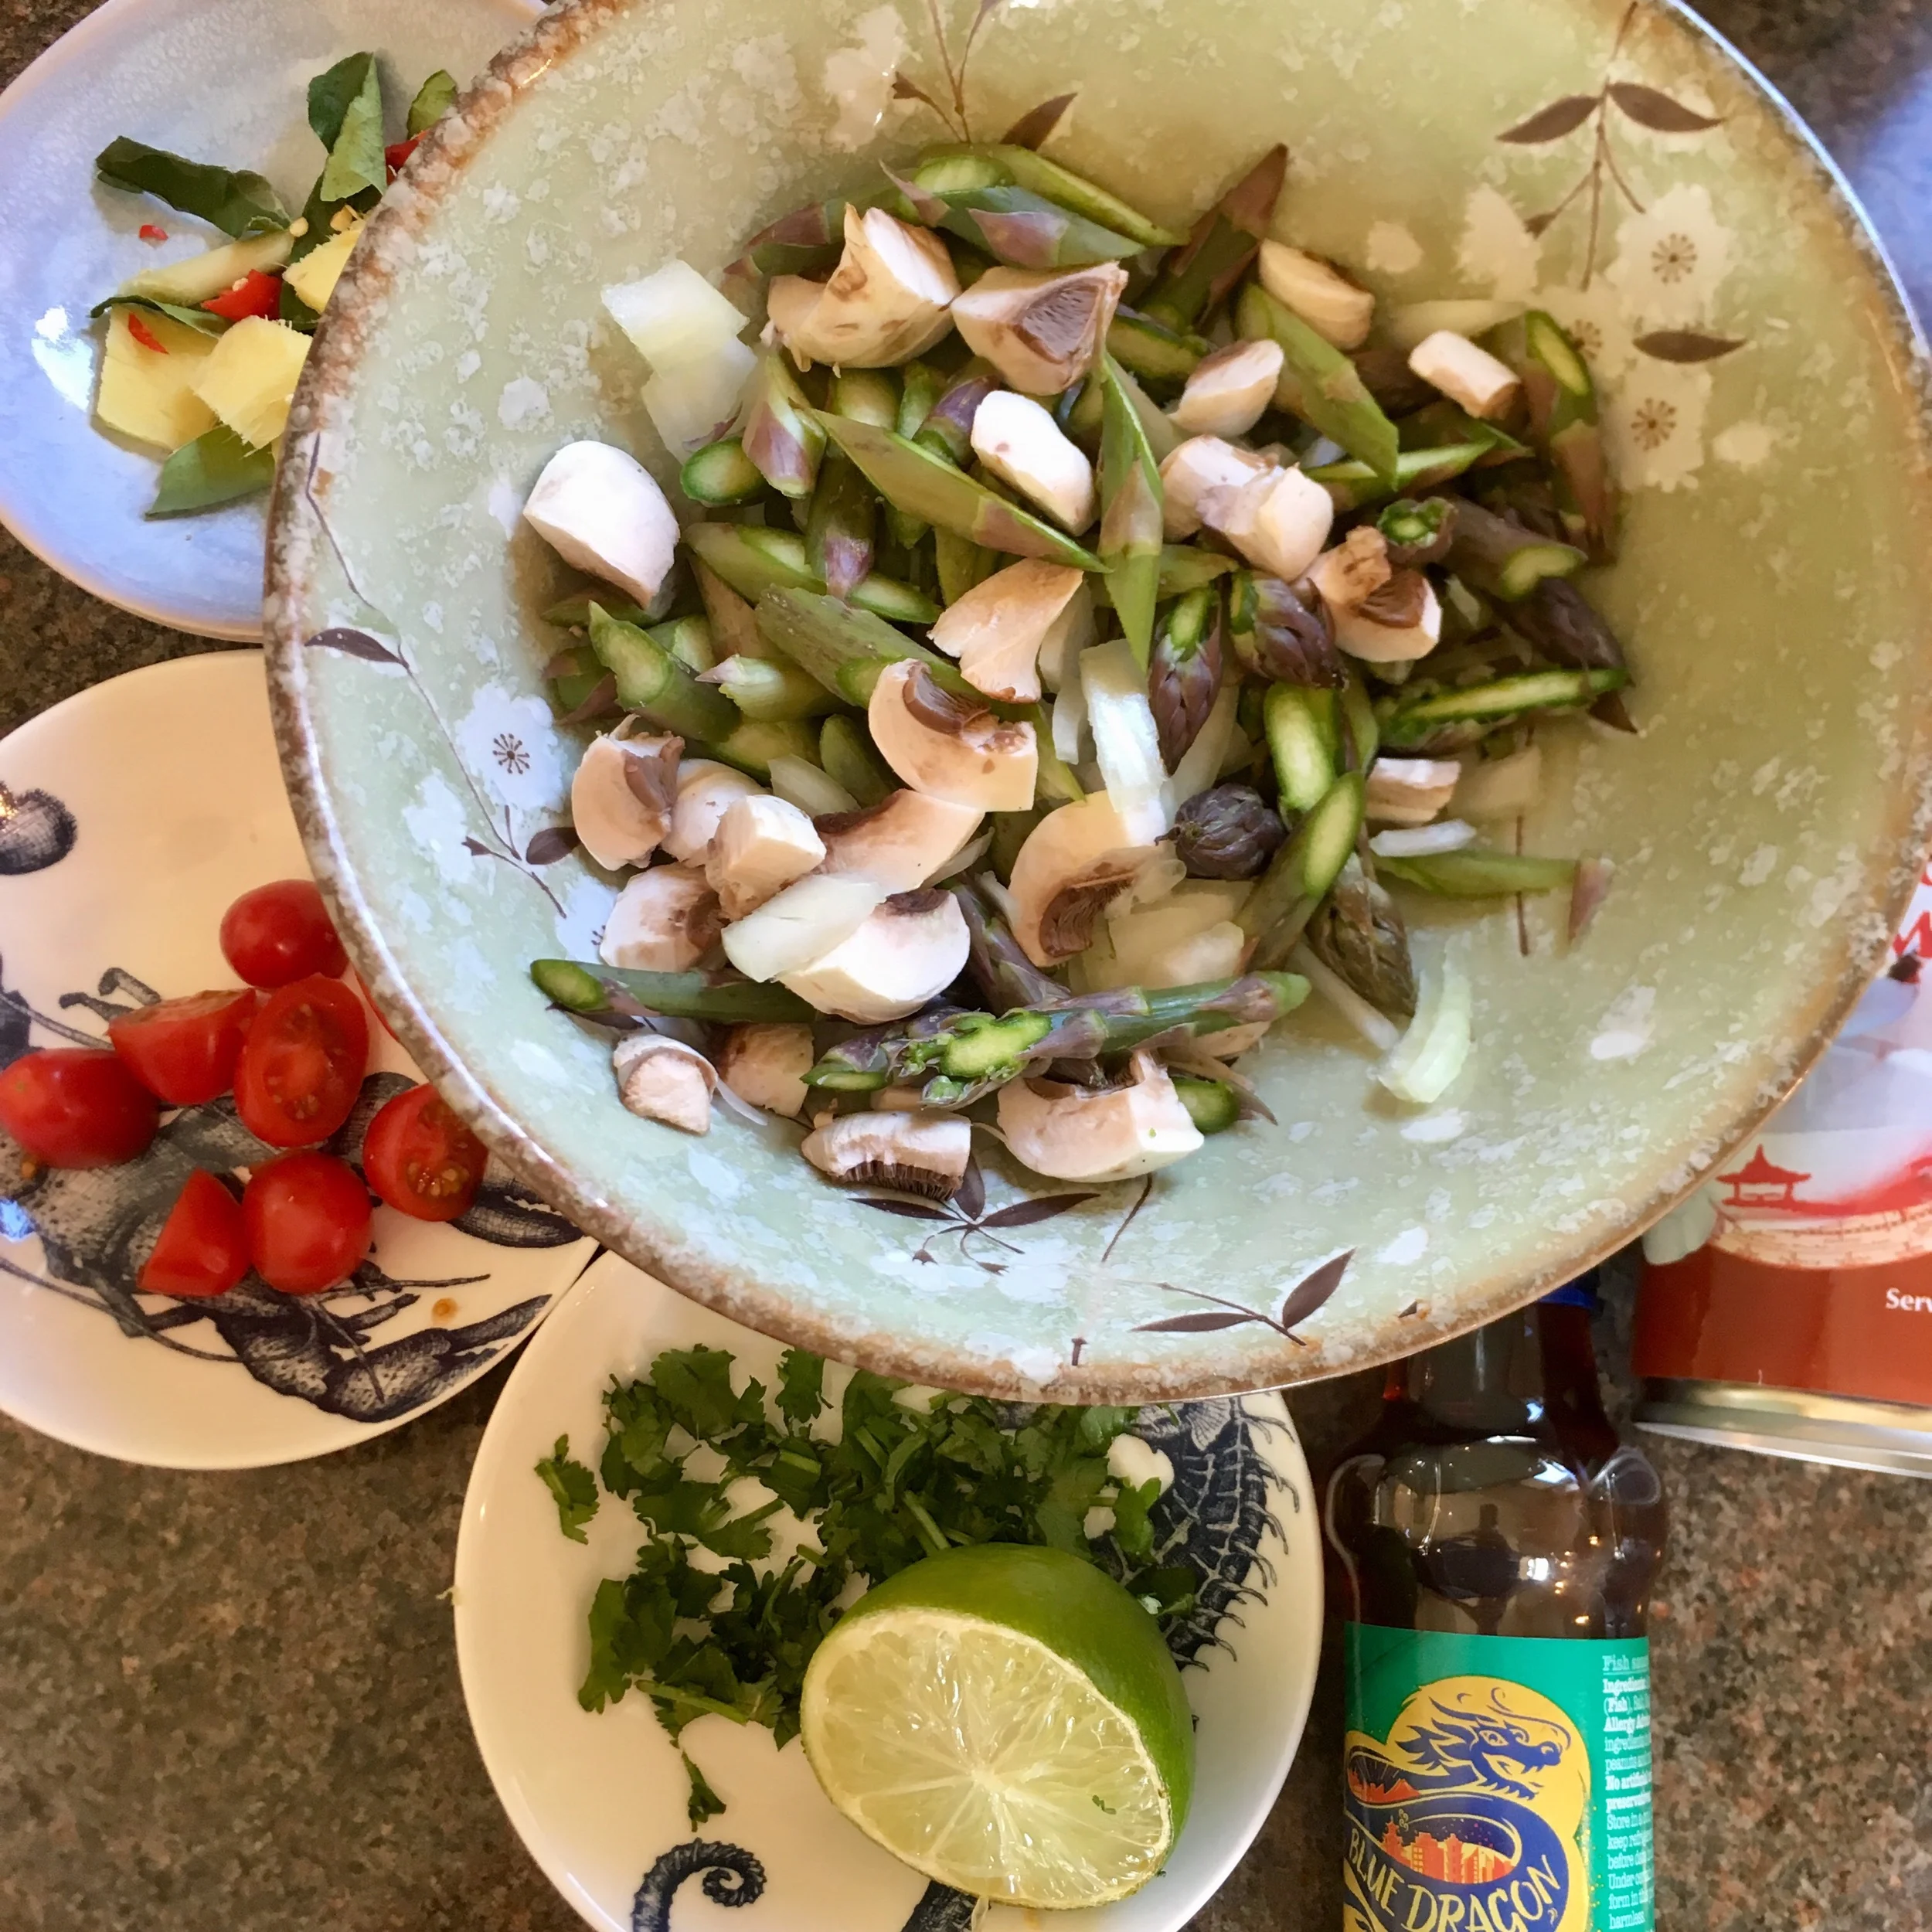
To make lunch (or dinner) for one you’ll need:

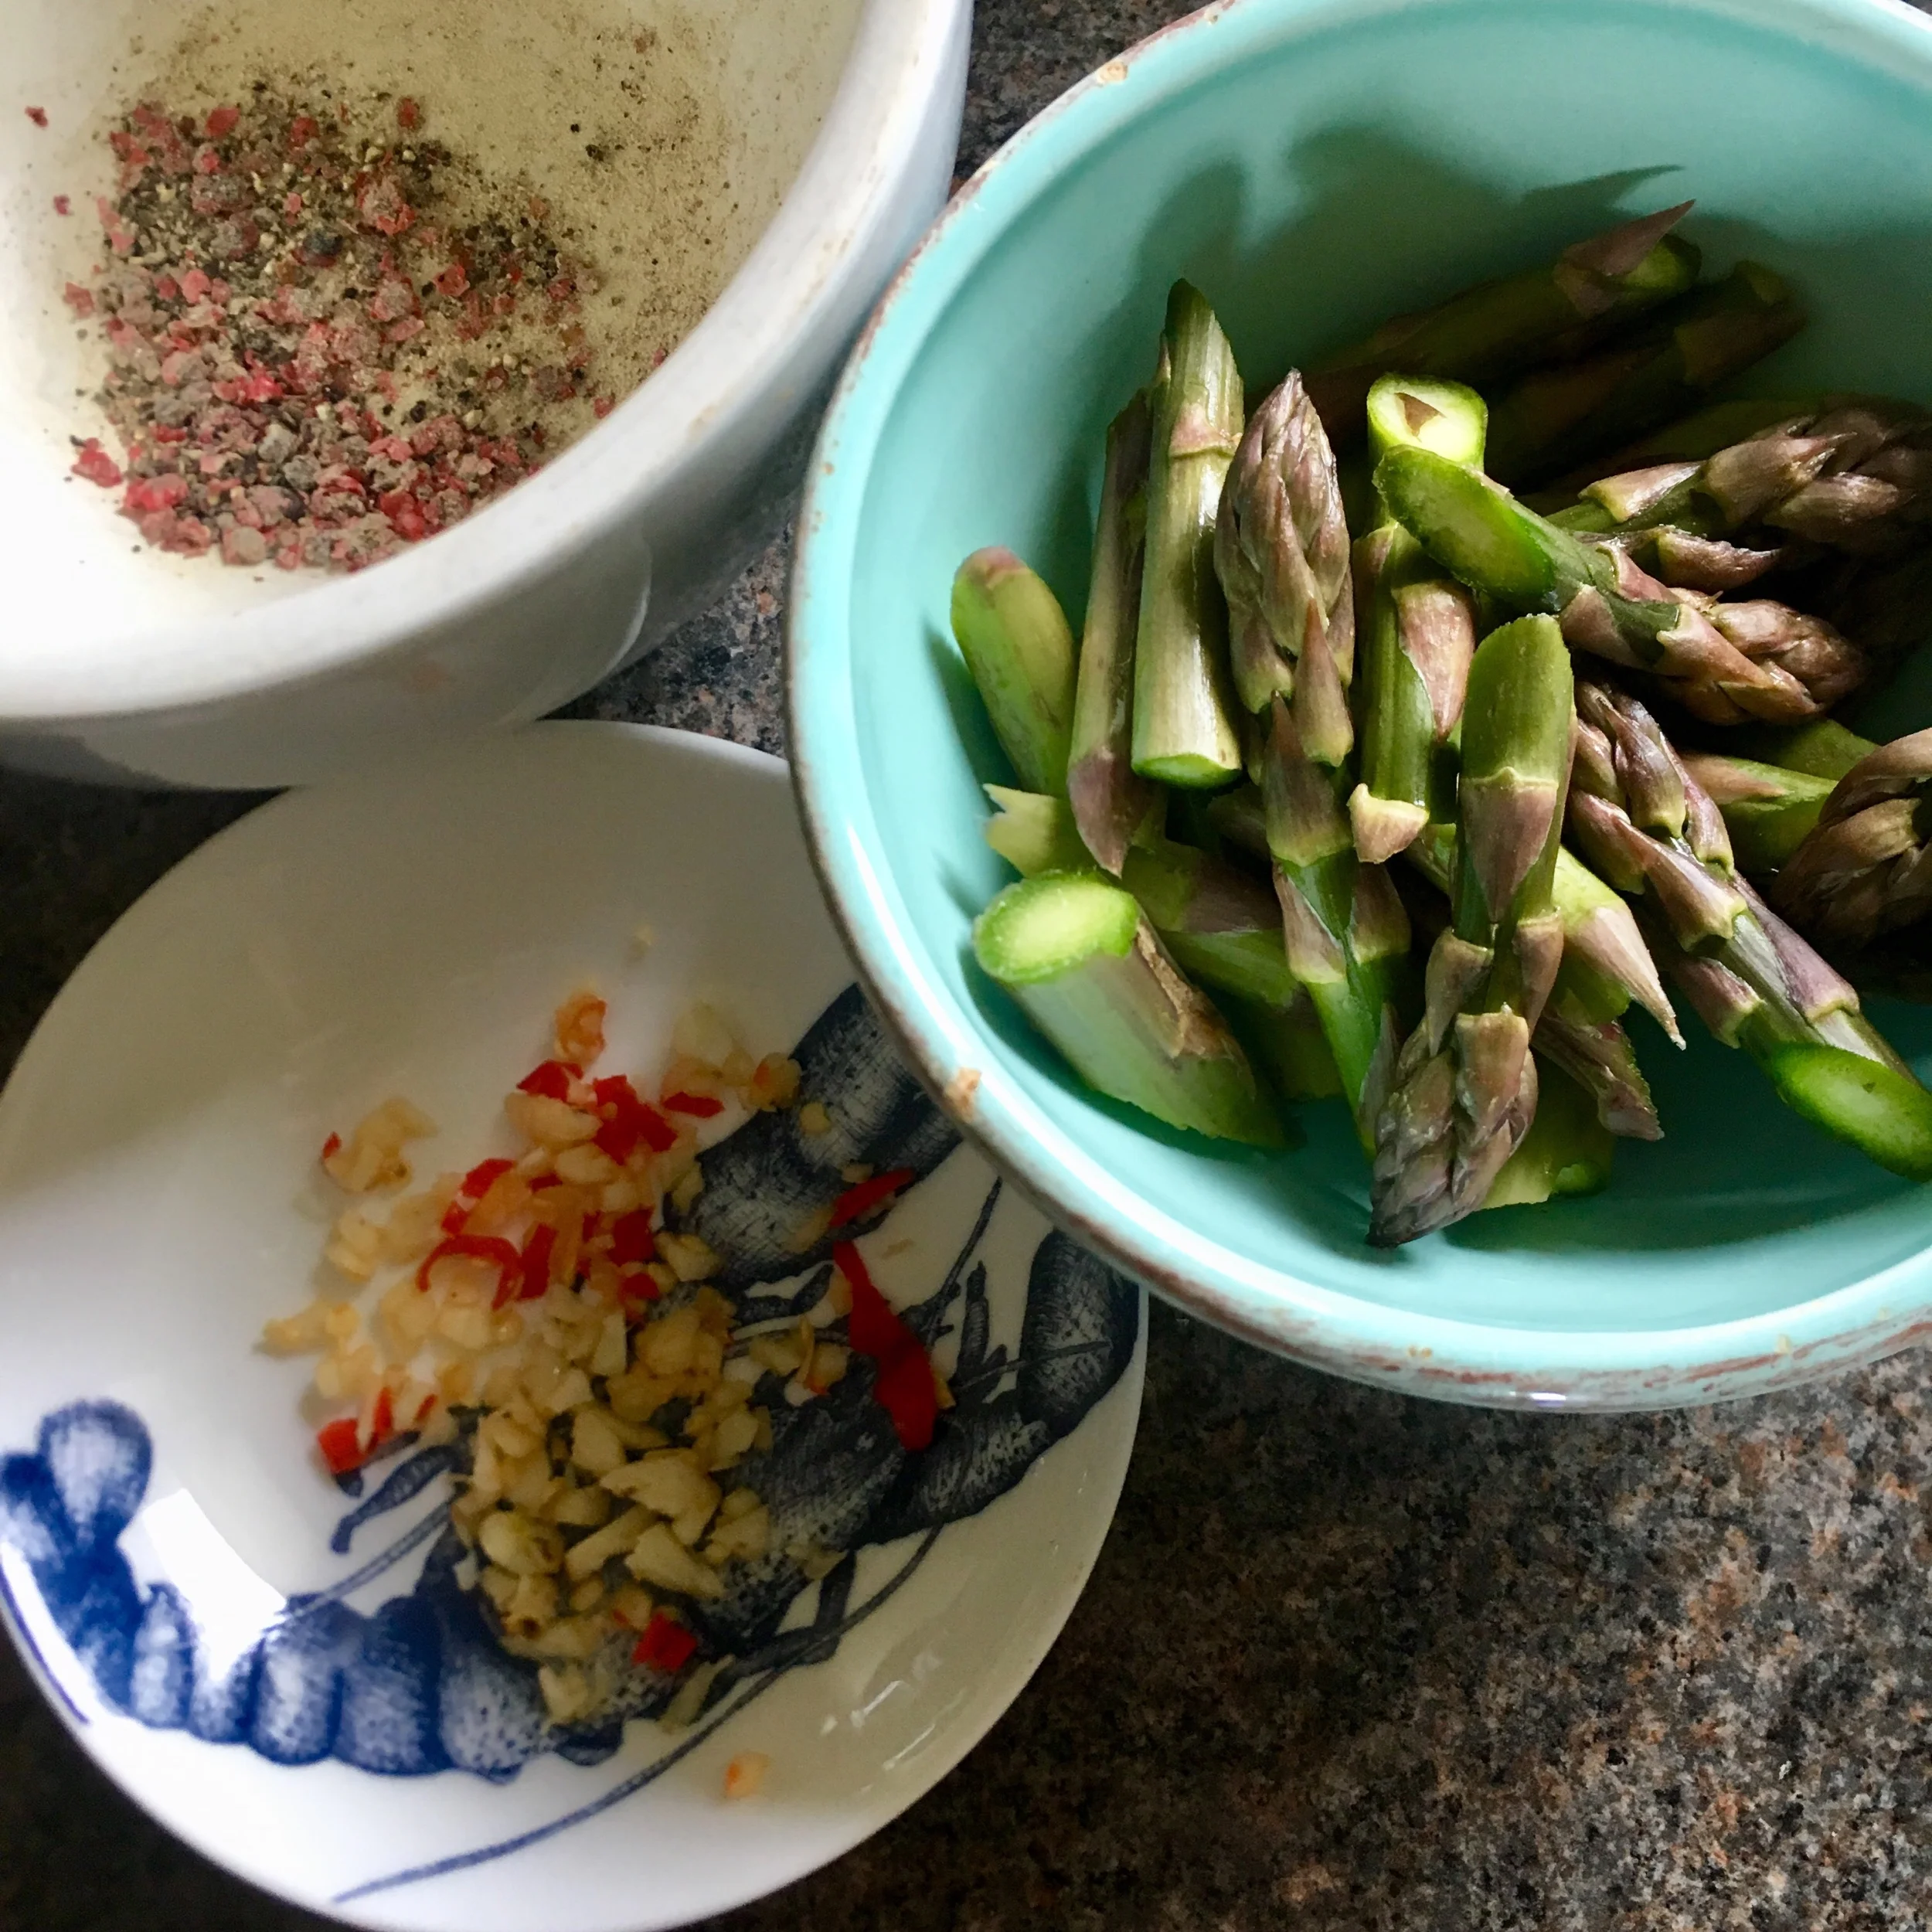
about 100g of broccoli, chopped

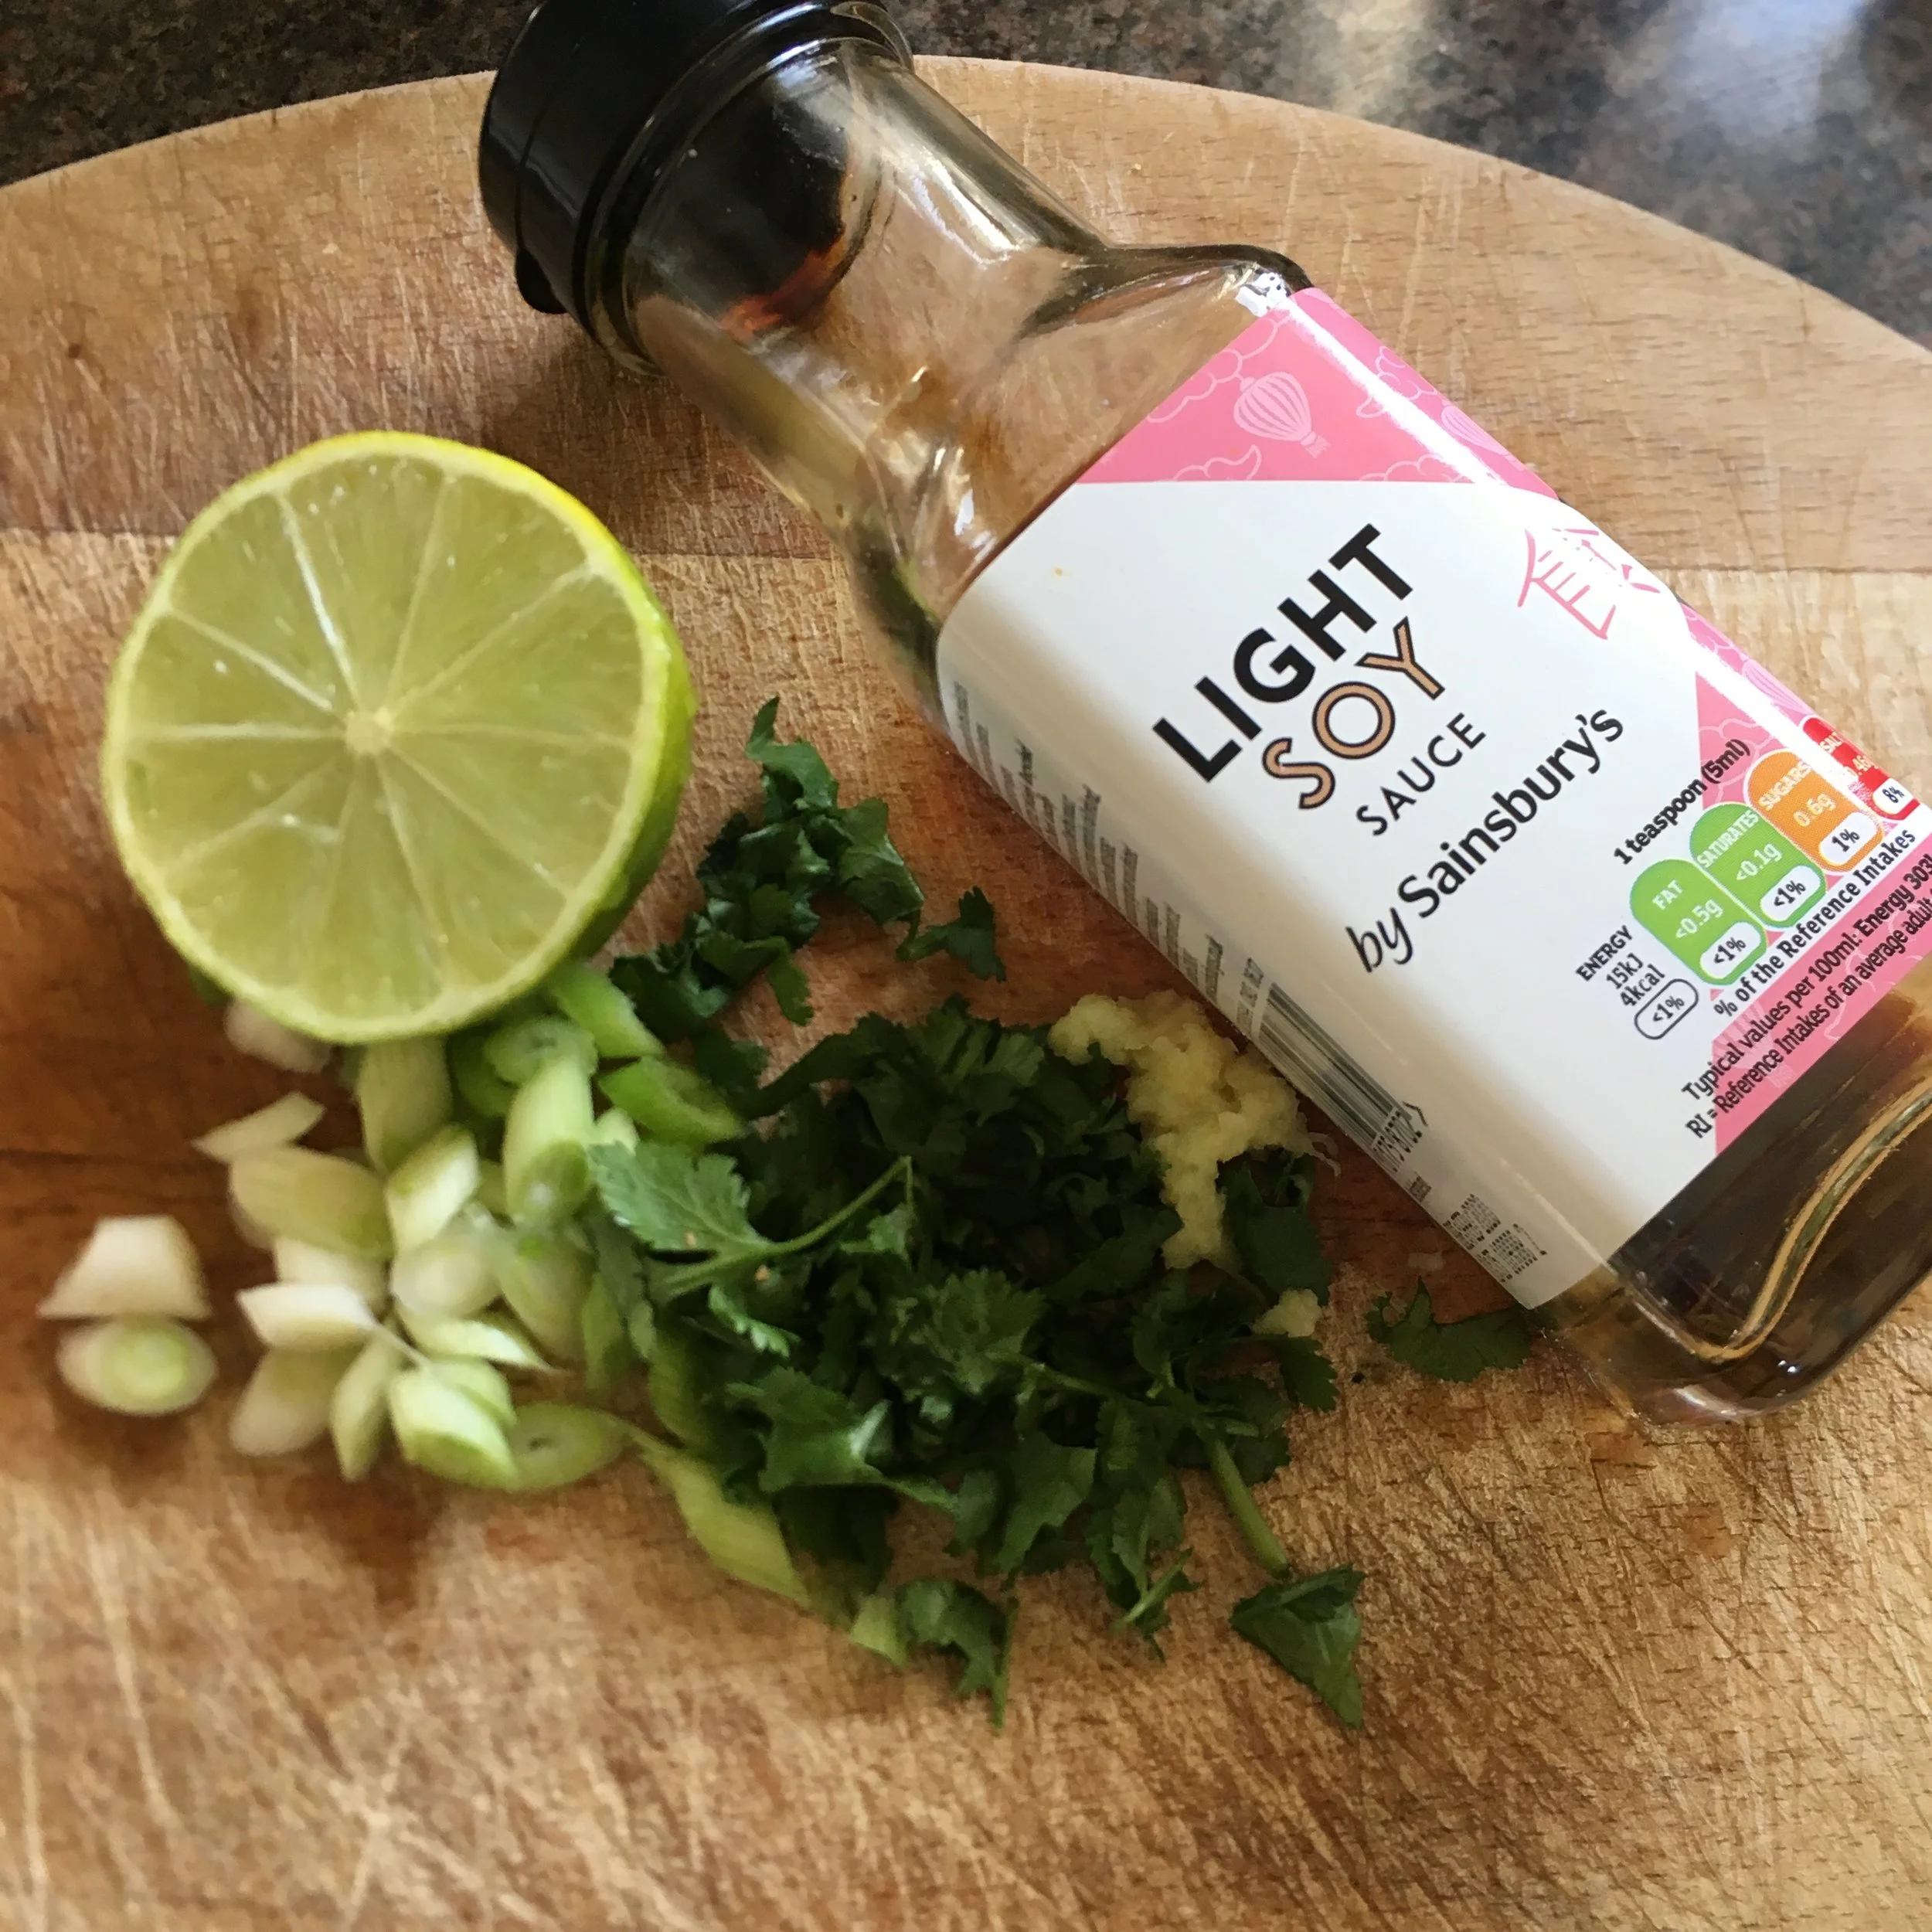
one clove of garlic, peeled and finely chopped

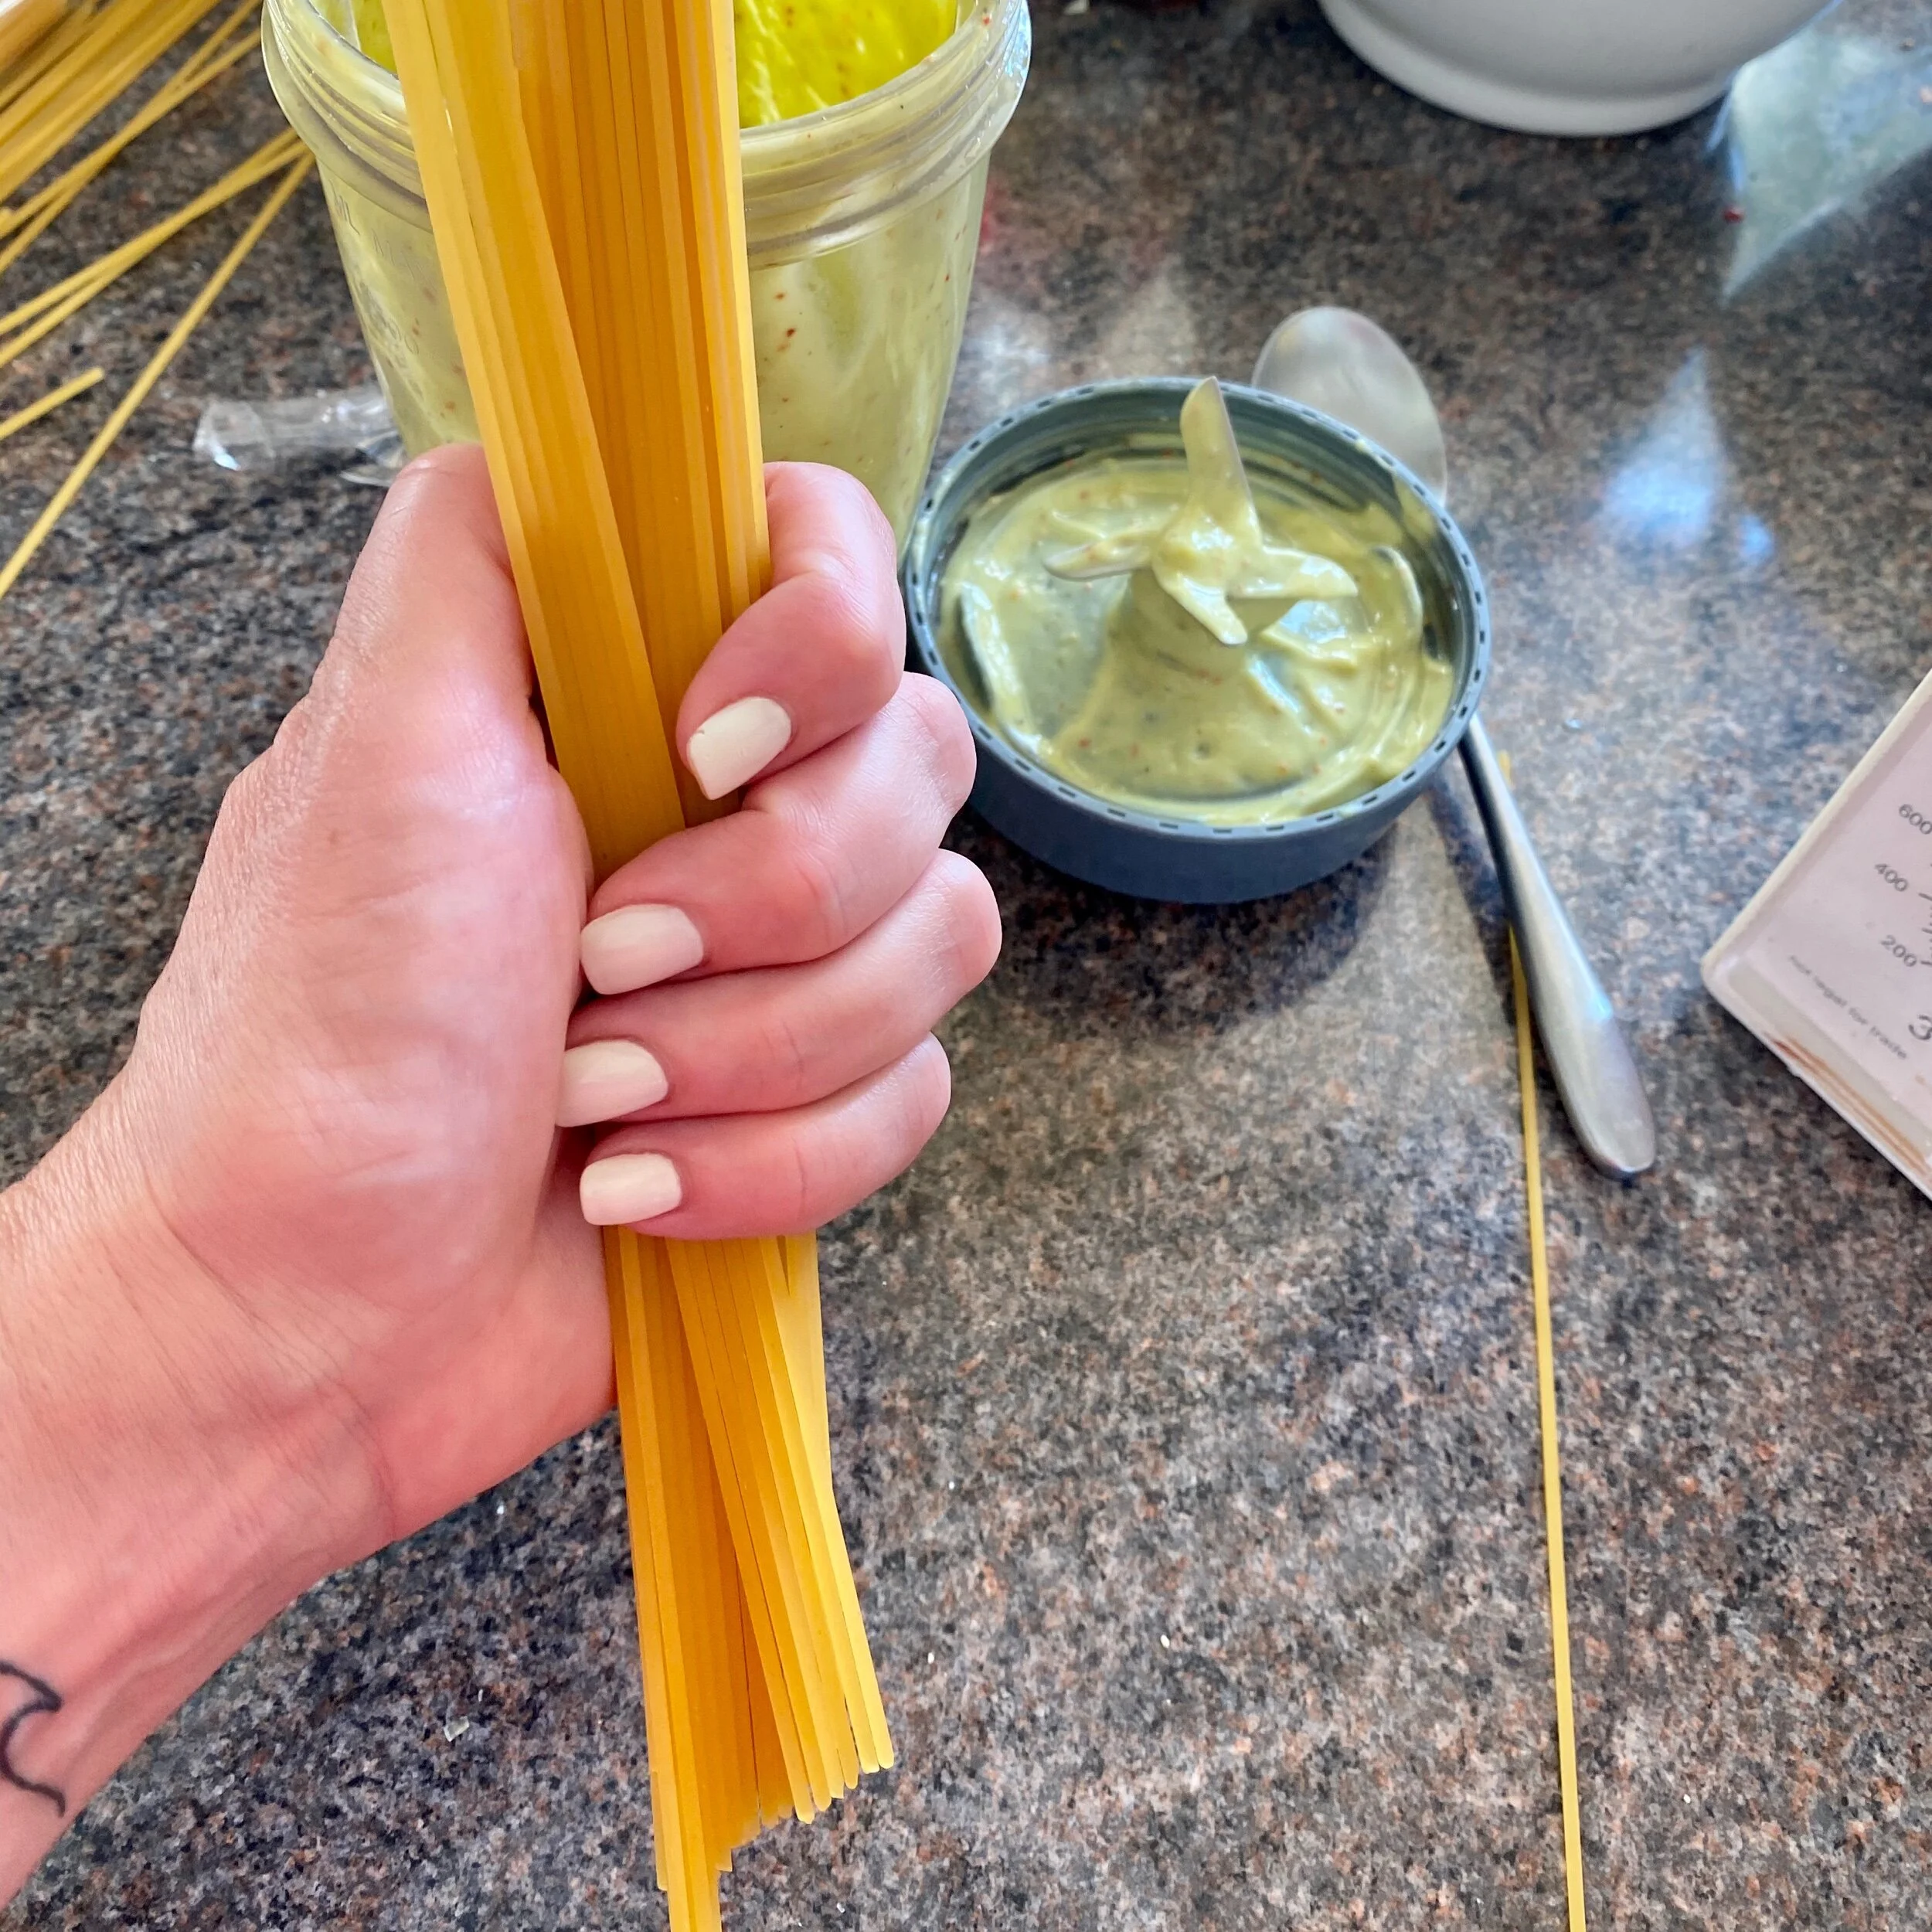
handful of spaghetti (about 100g)

salt and black pepper

dried chilli flakes (if liked)

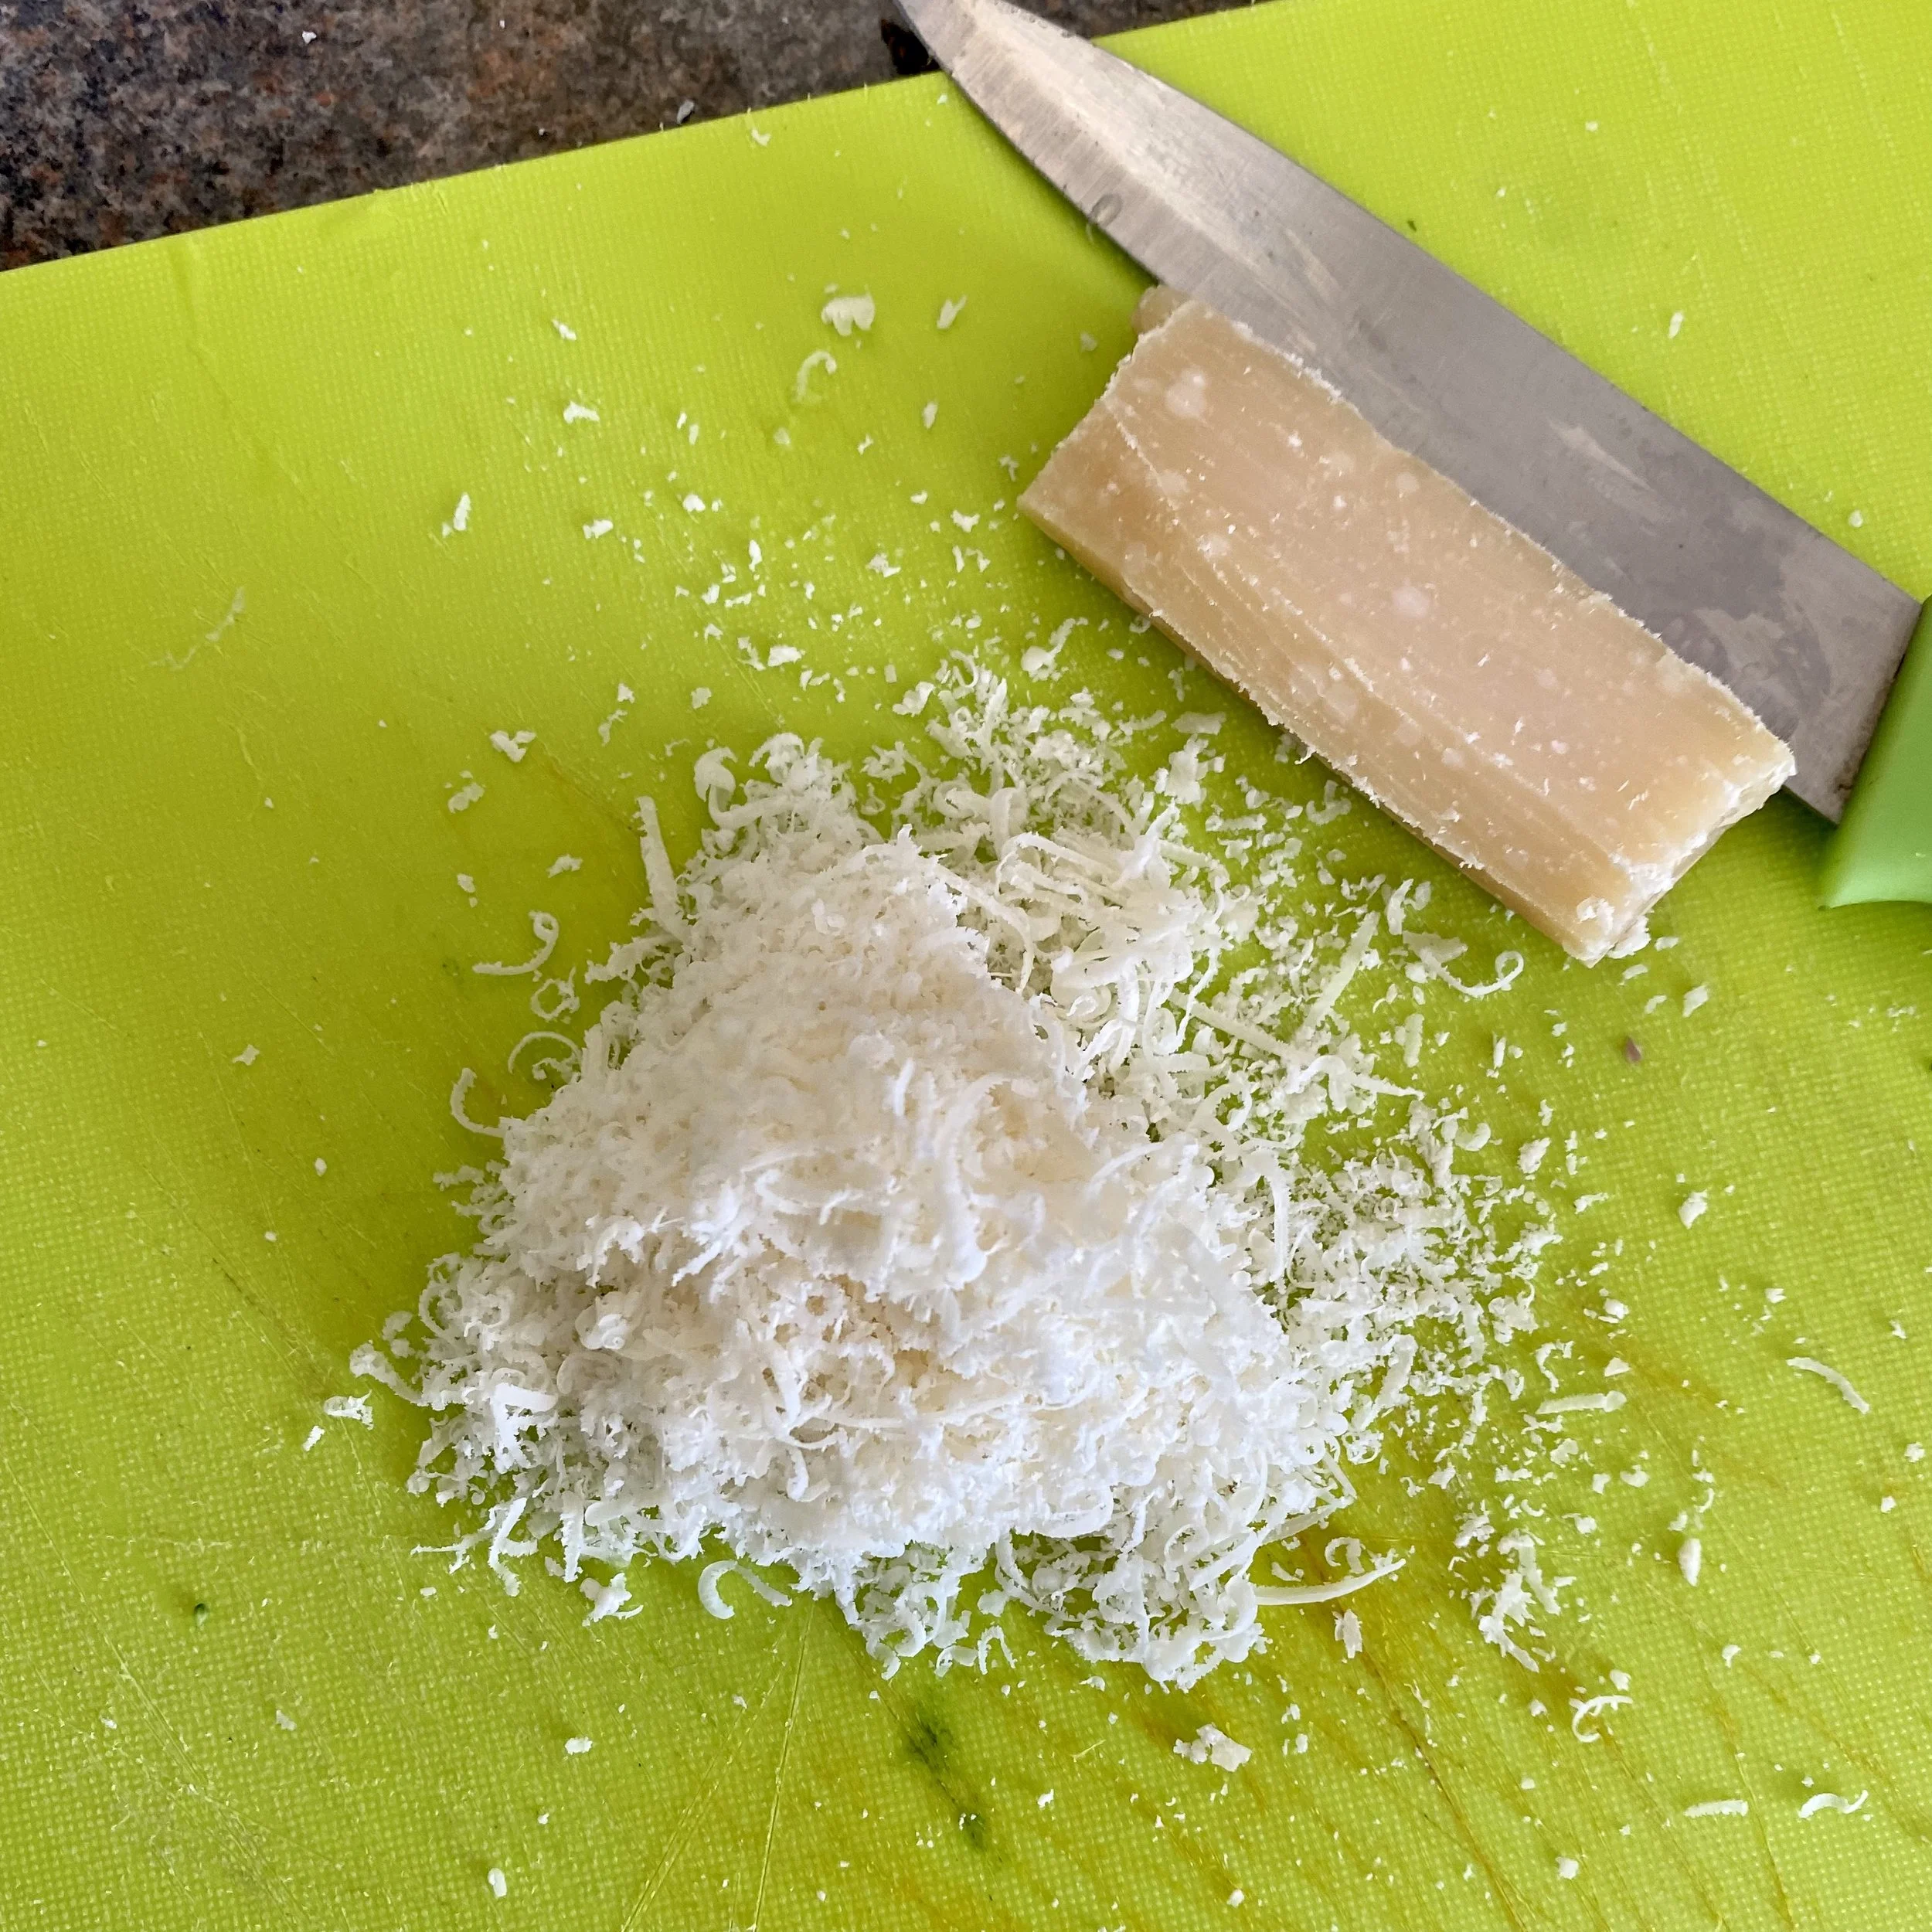
Parmesan or Pecorino cheese, grated

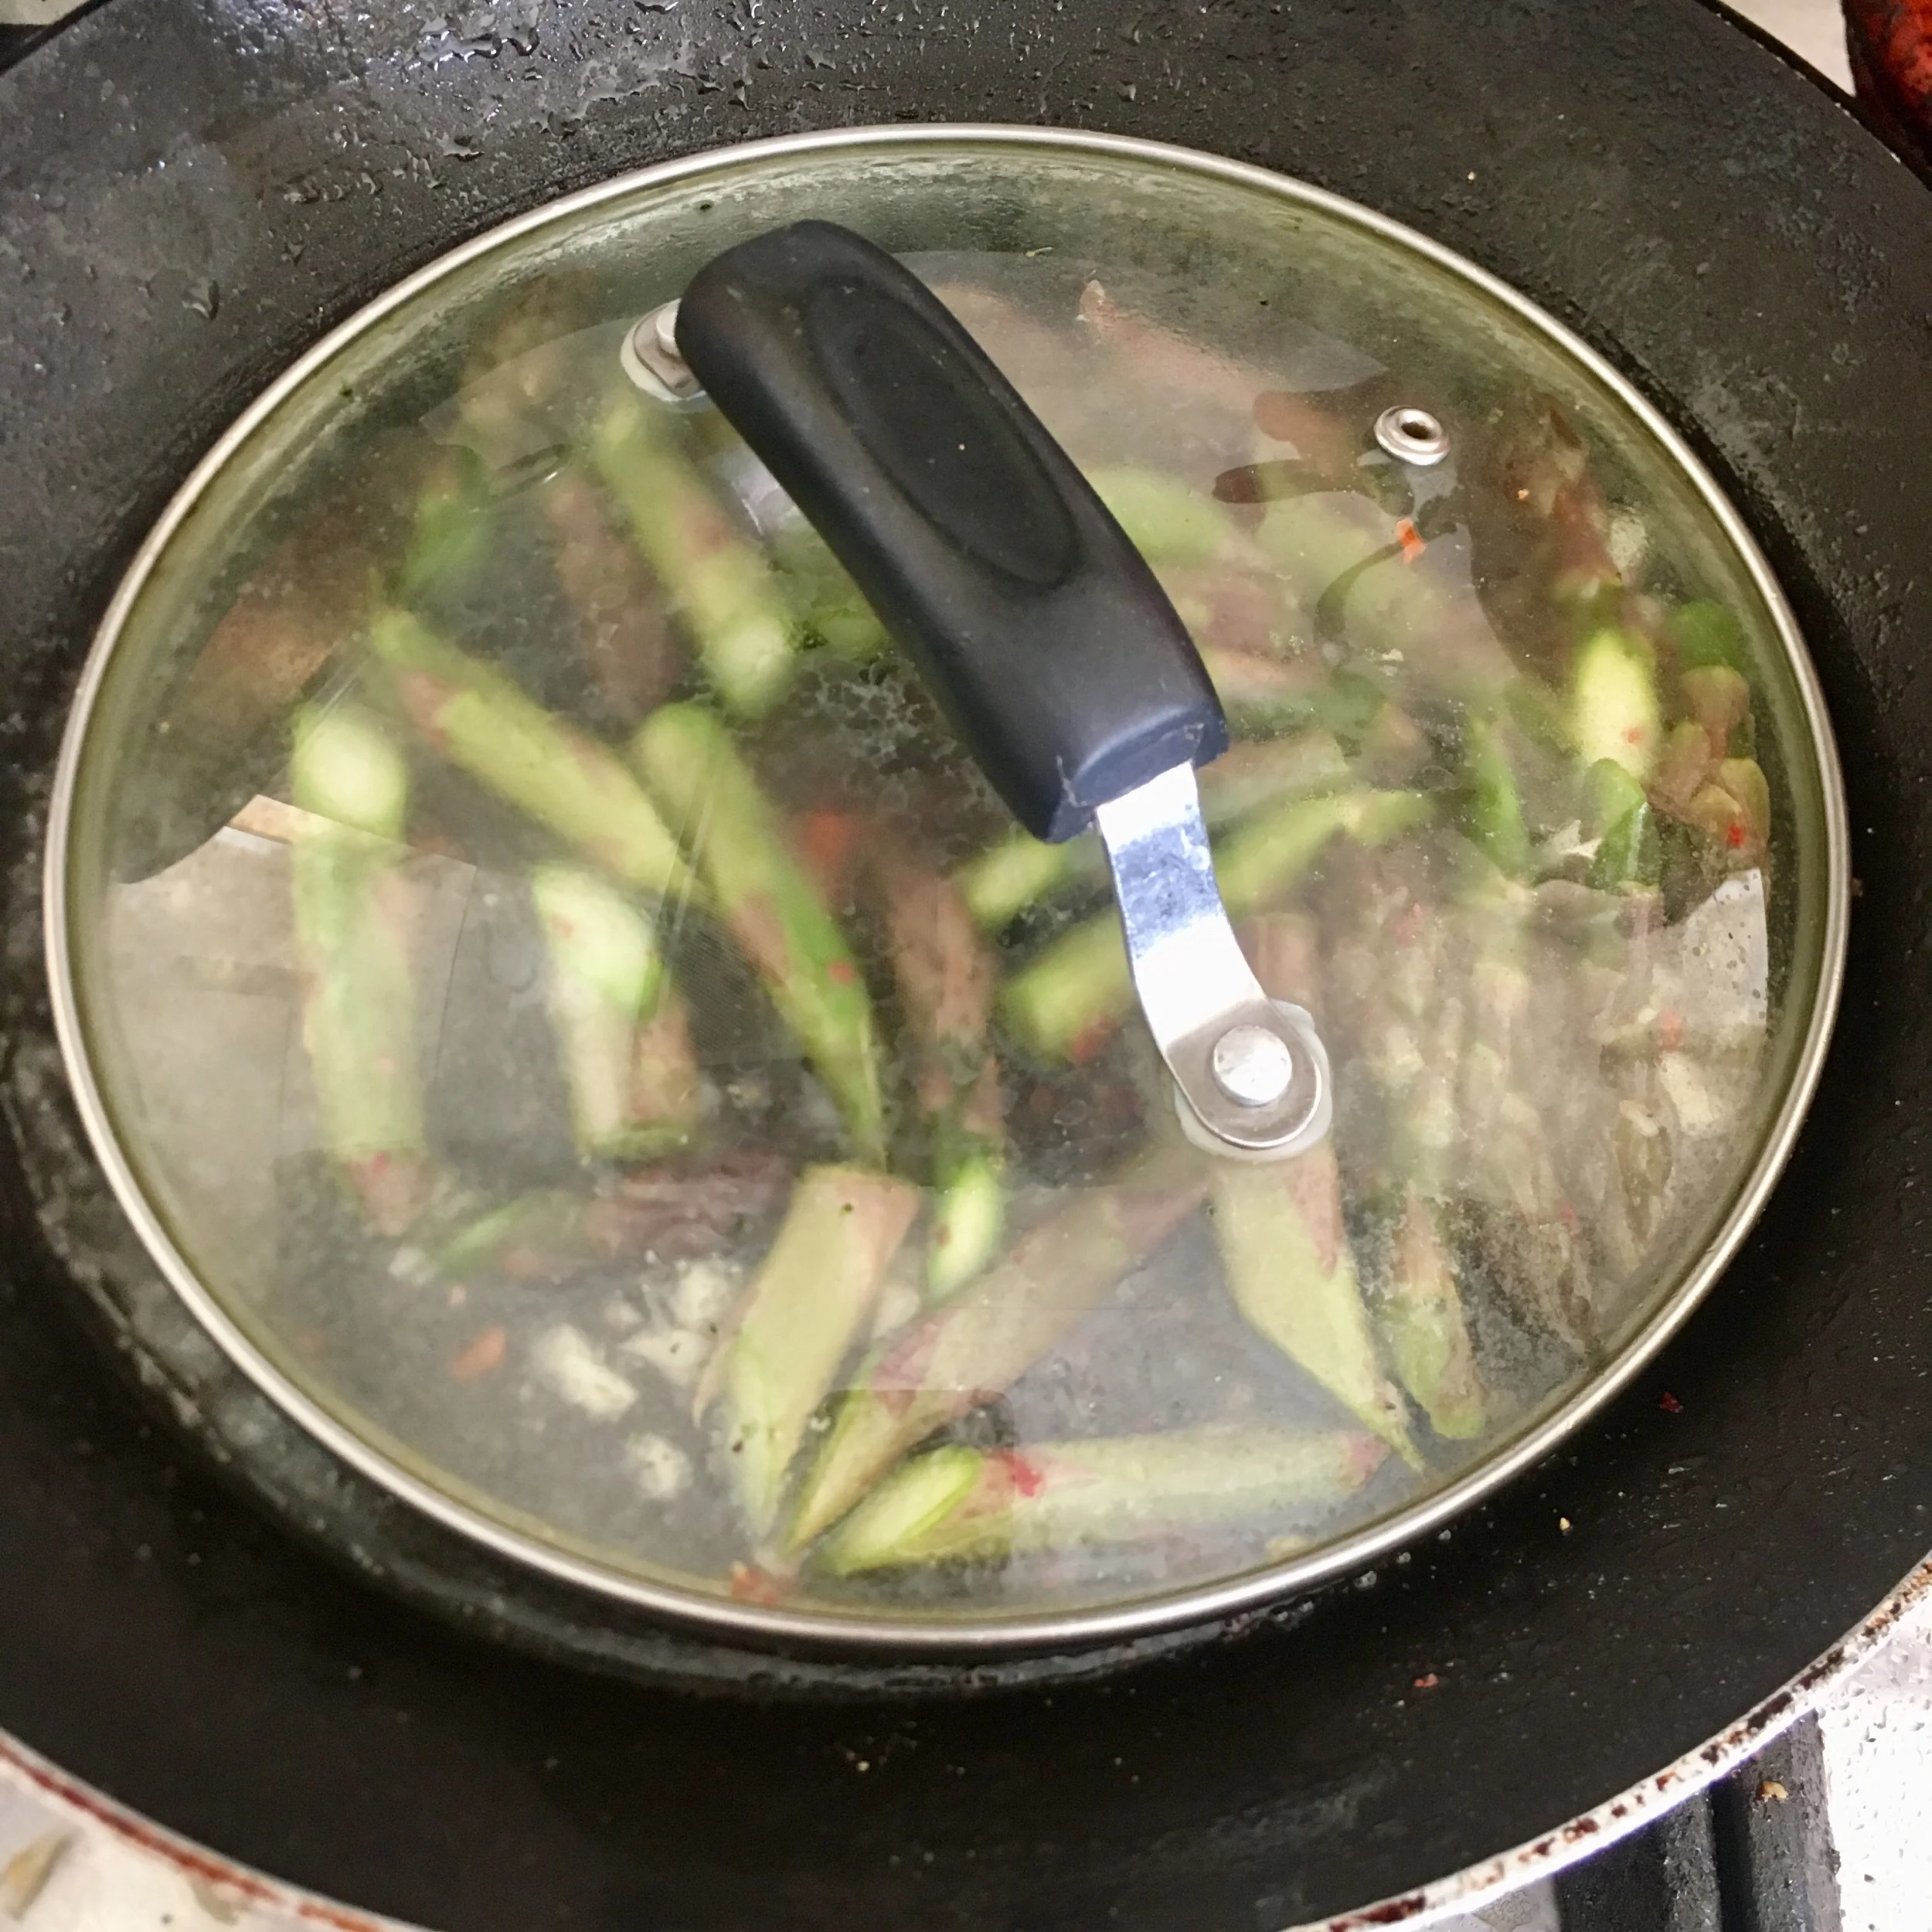
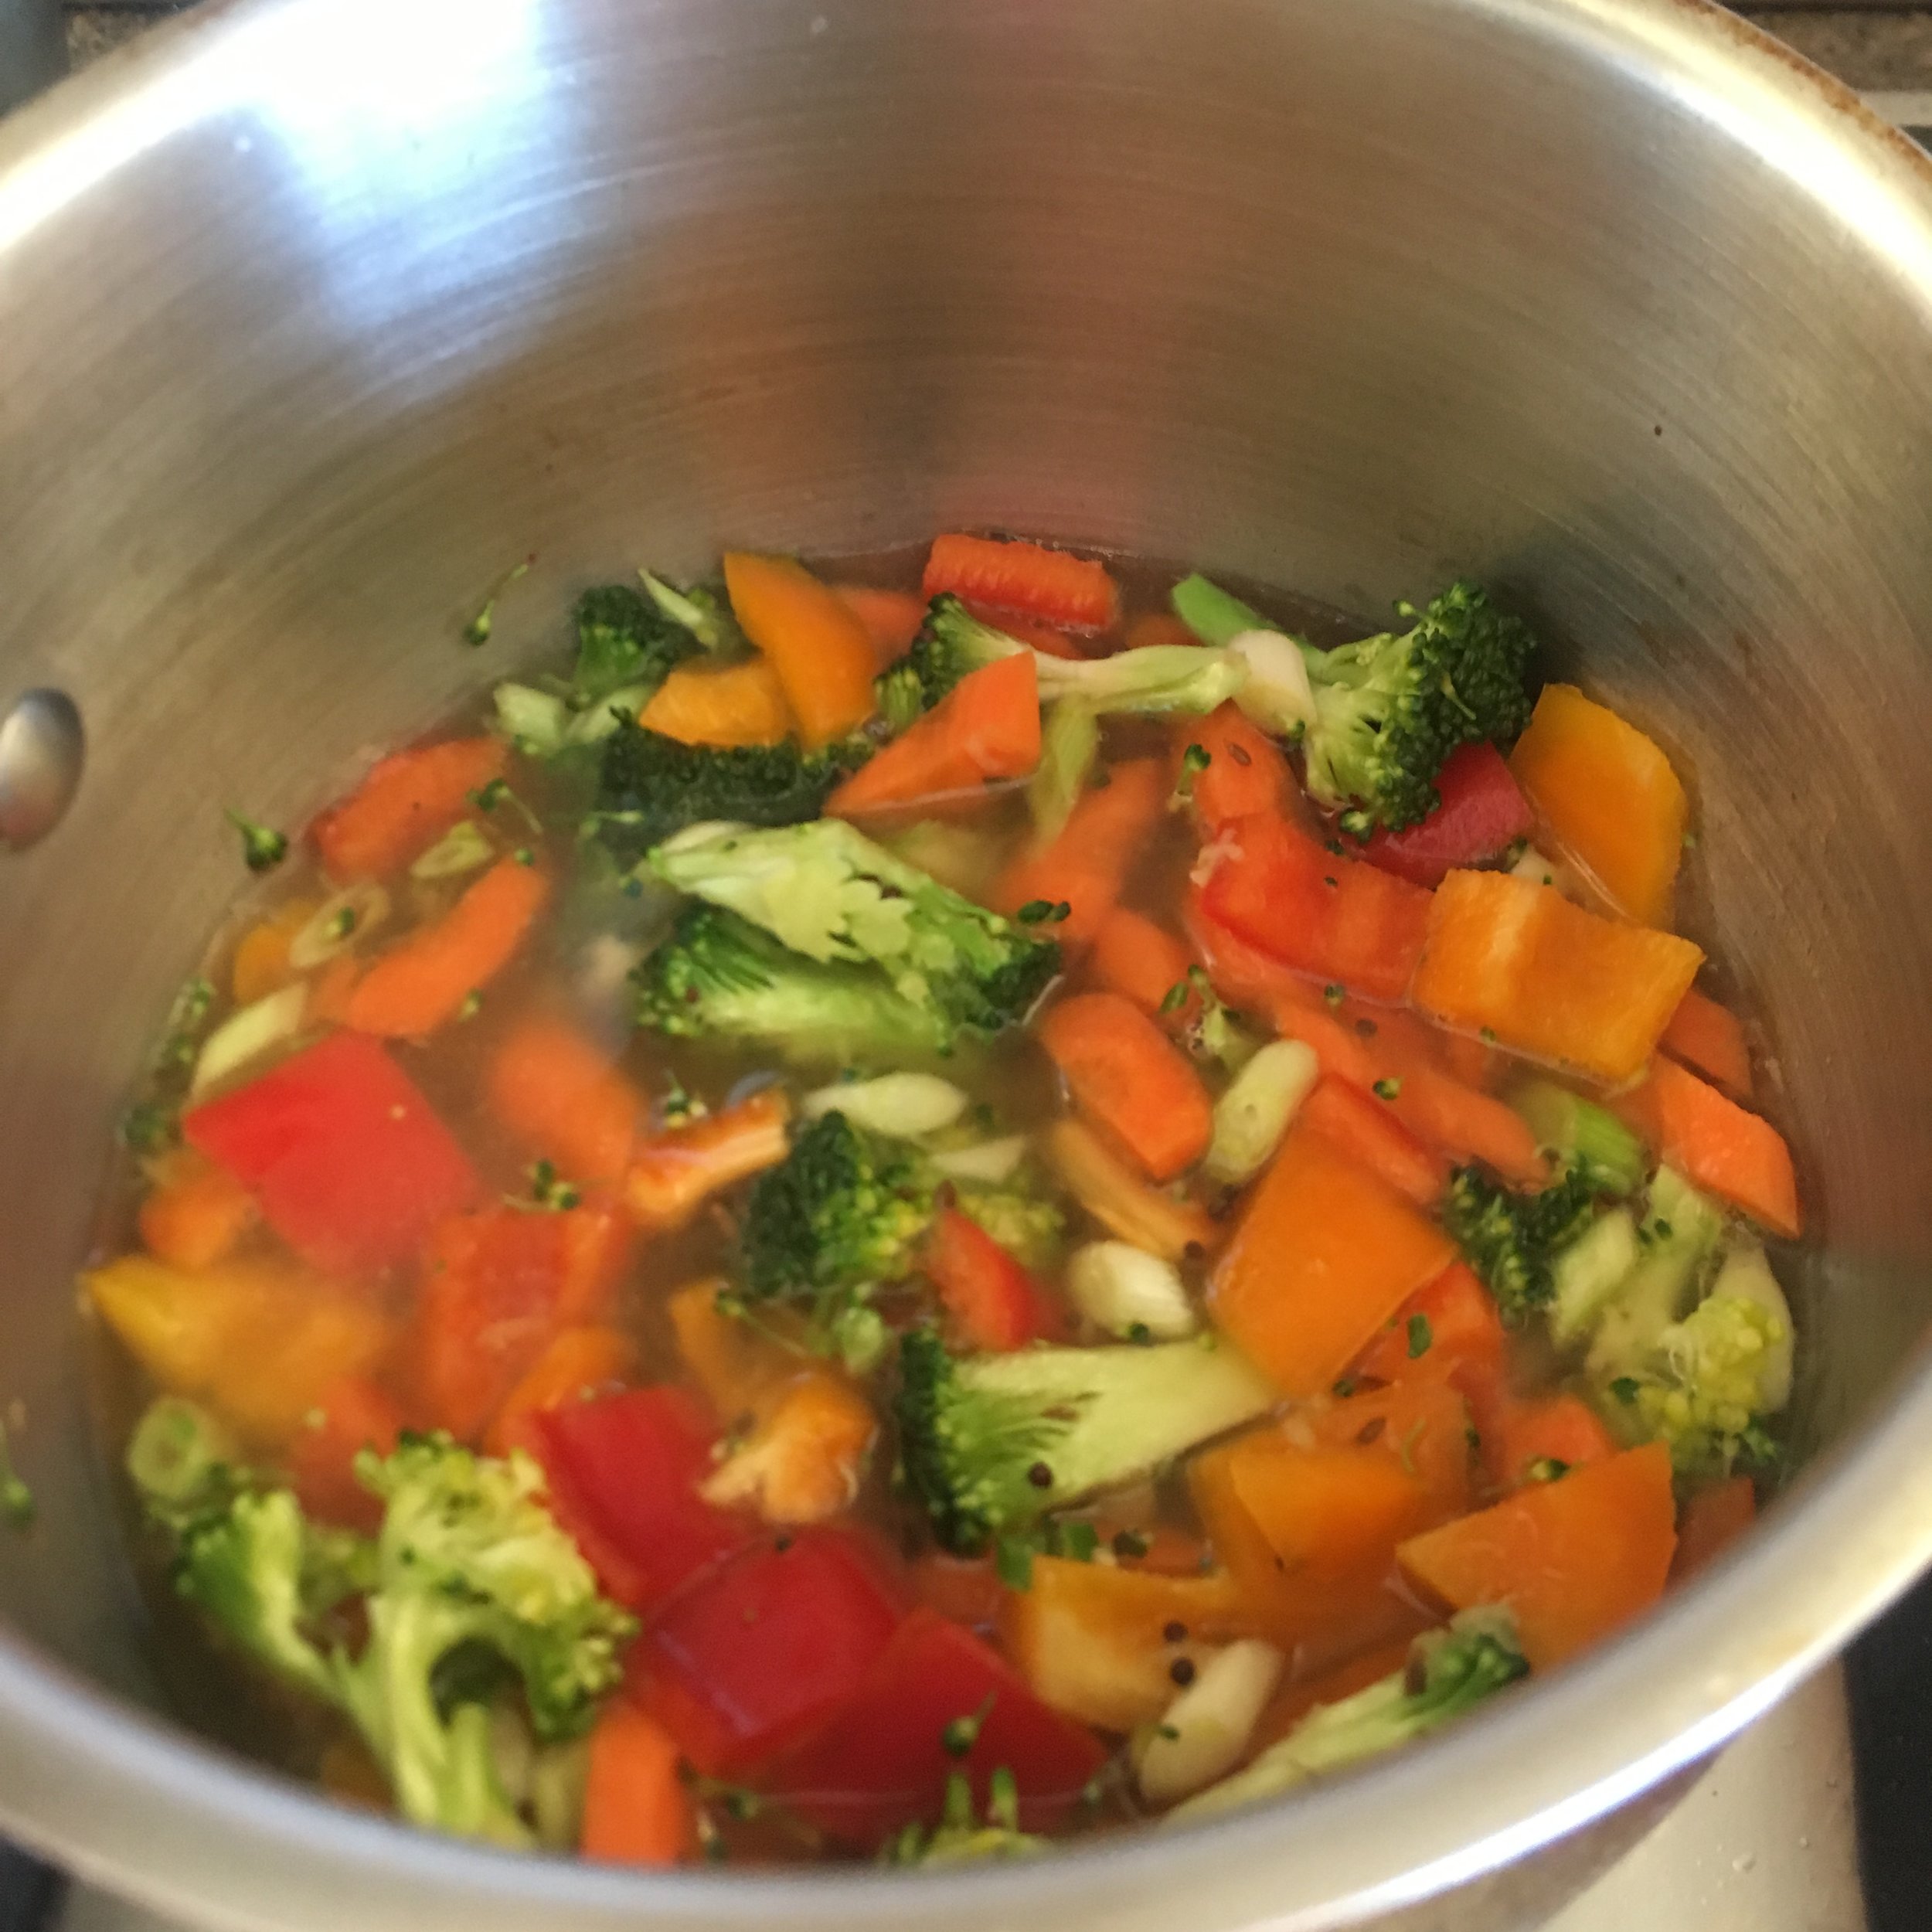
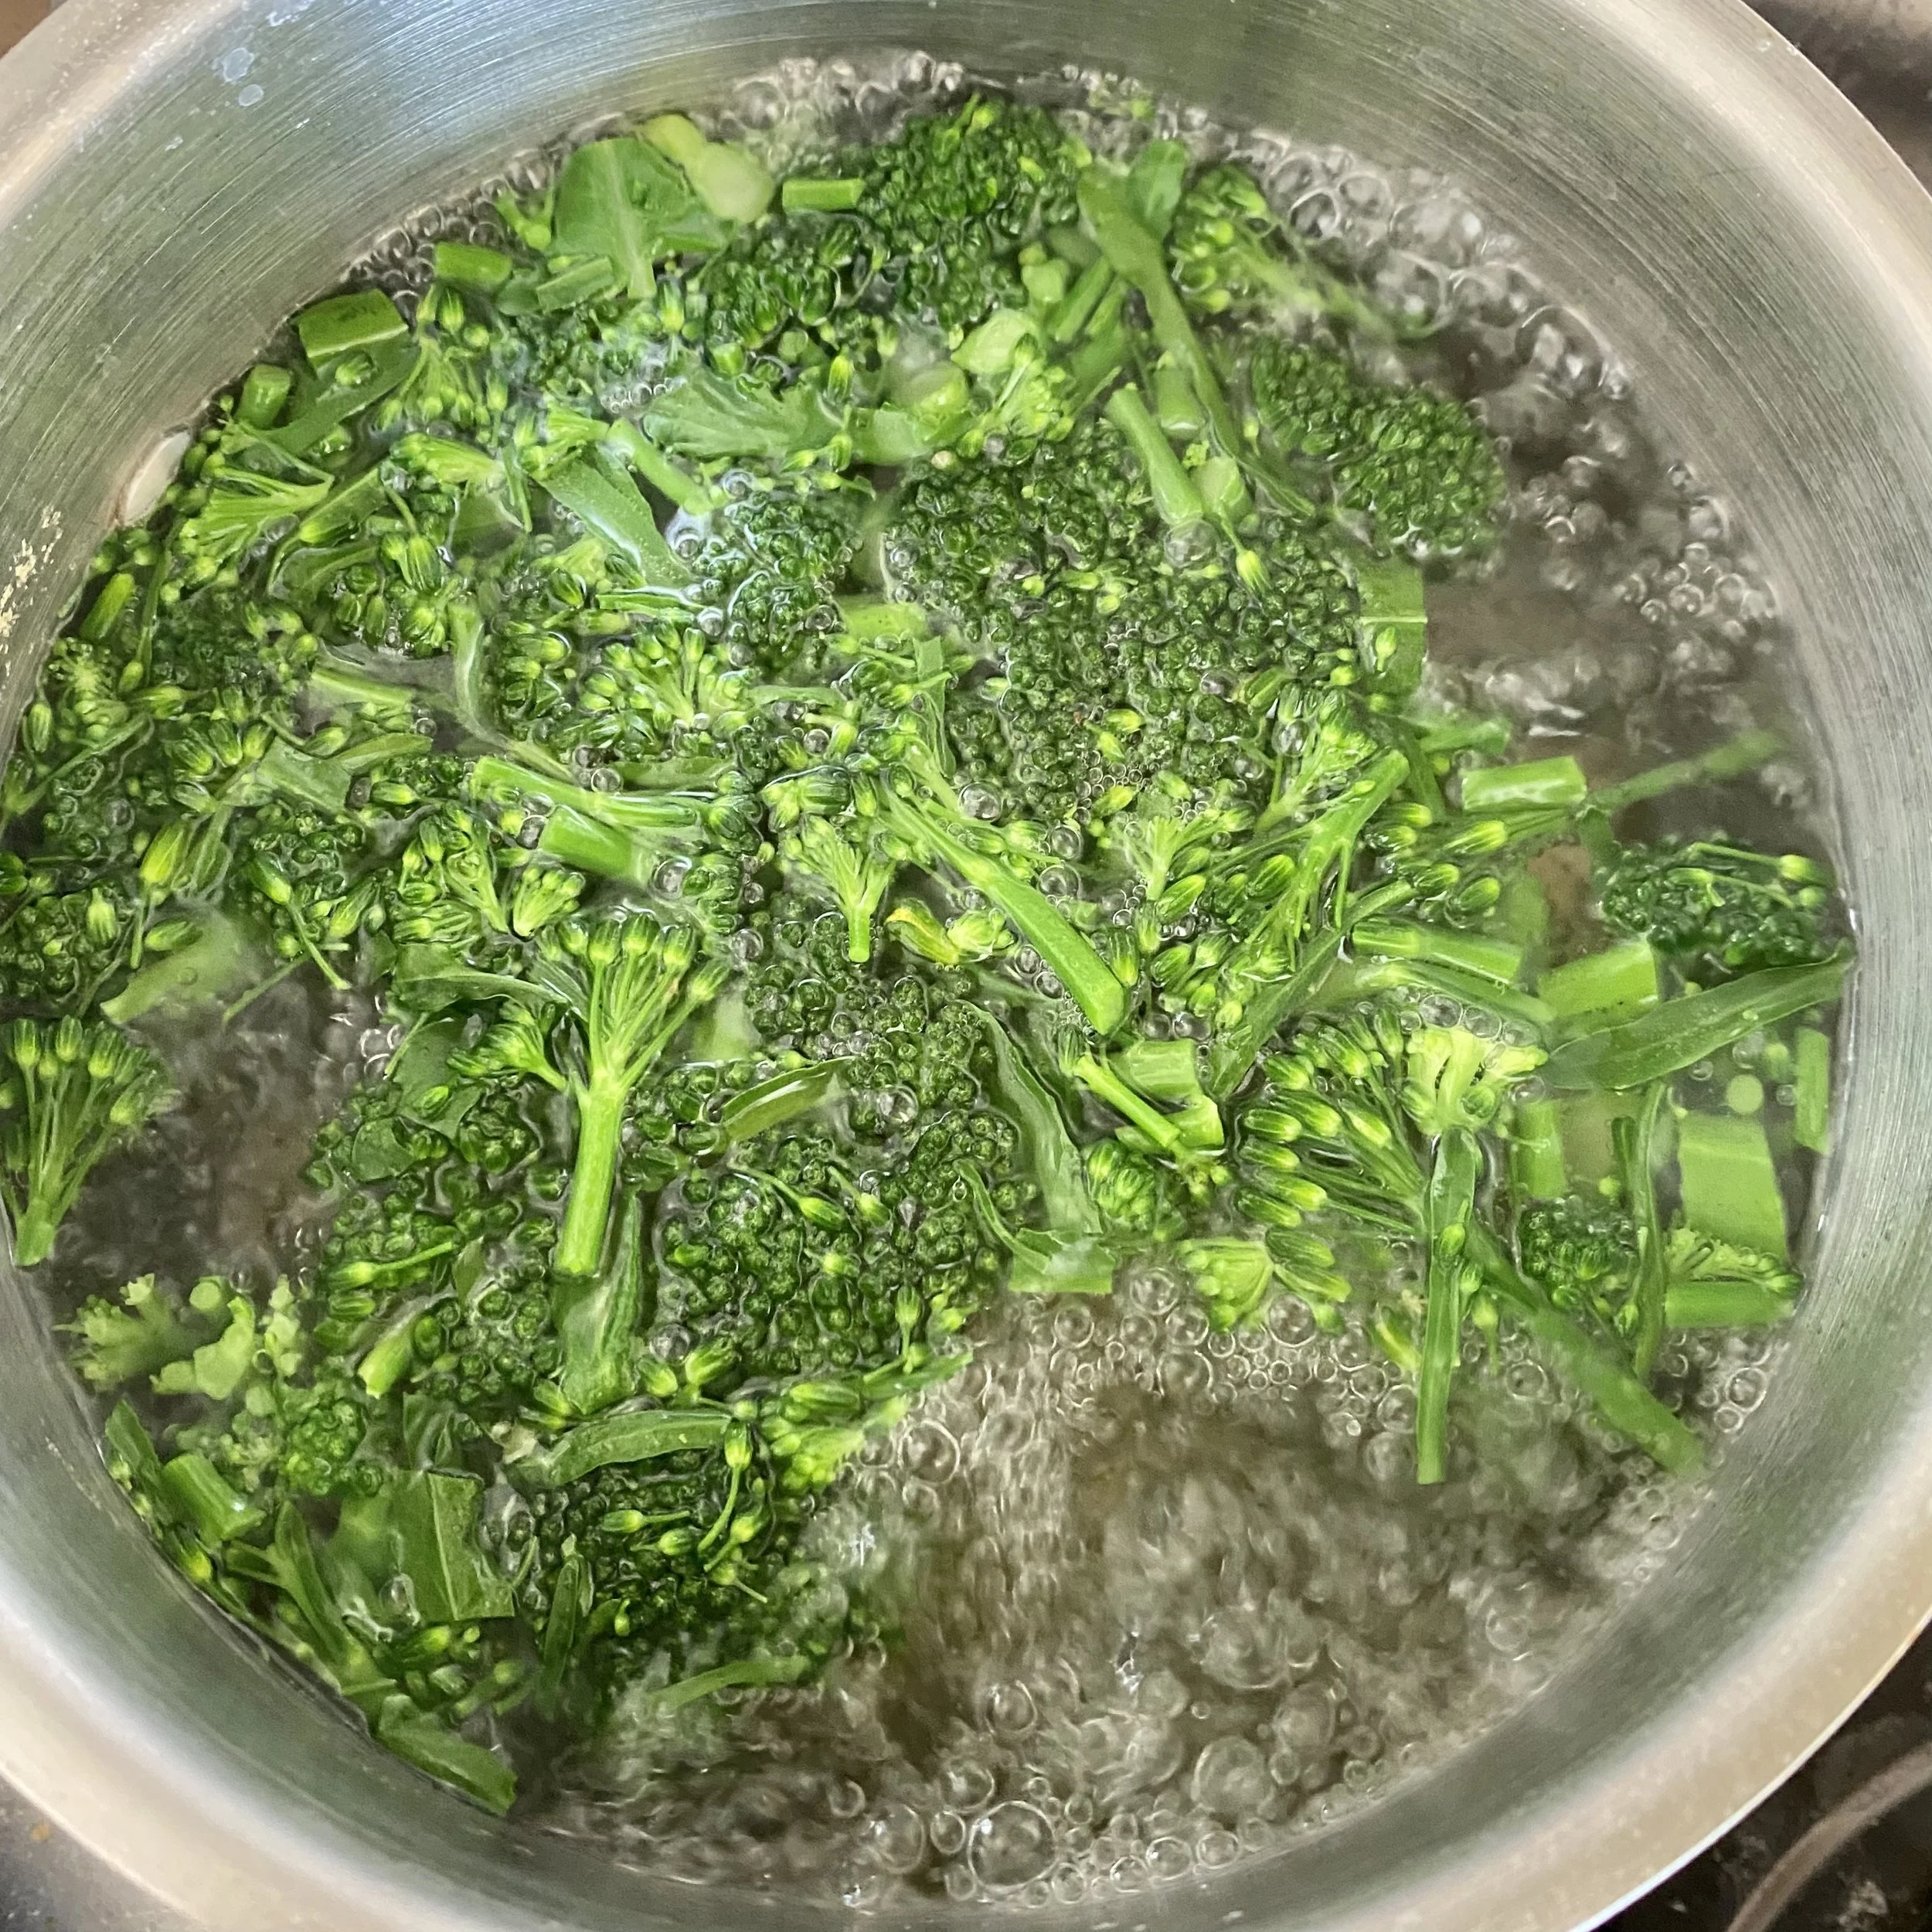
Put a pan of water with a big pinch of salt over the heat and cover. While it’s coming to the boil chop the broccoli and when the water’s boiling, add the broccoli and boil on a medium heat for about four minutes.

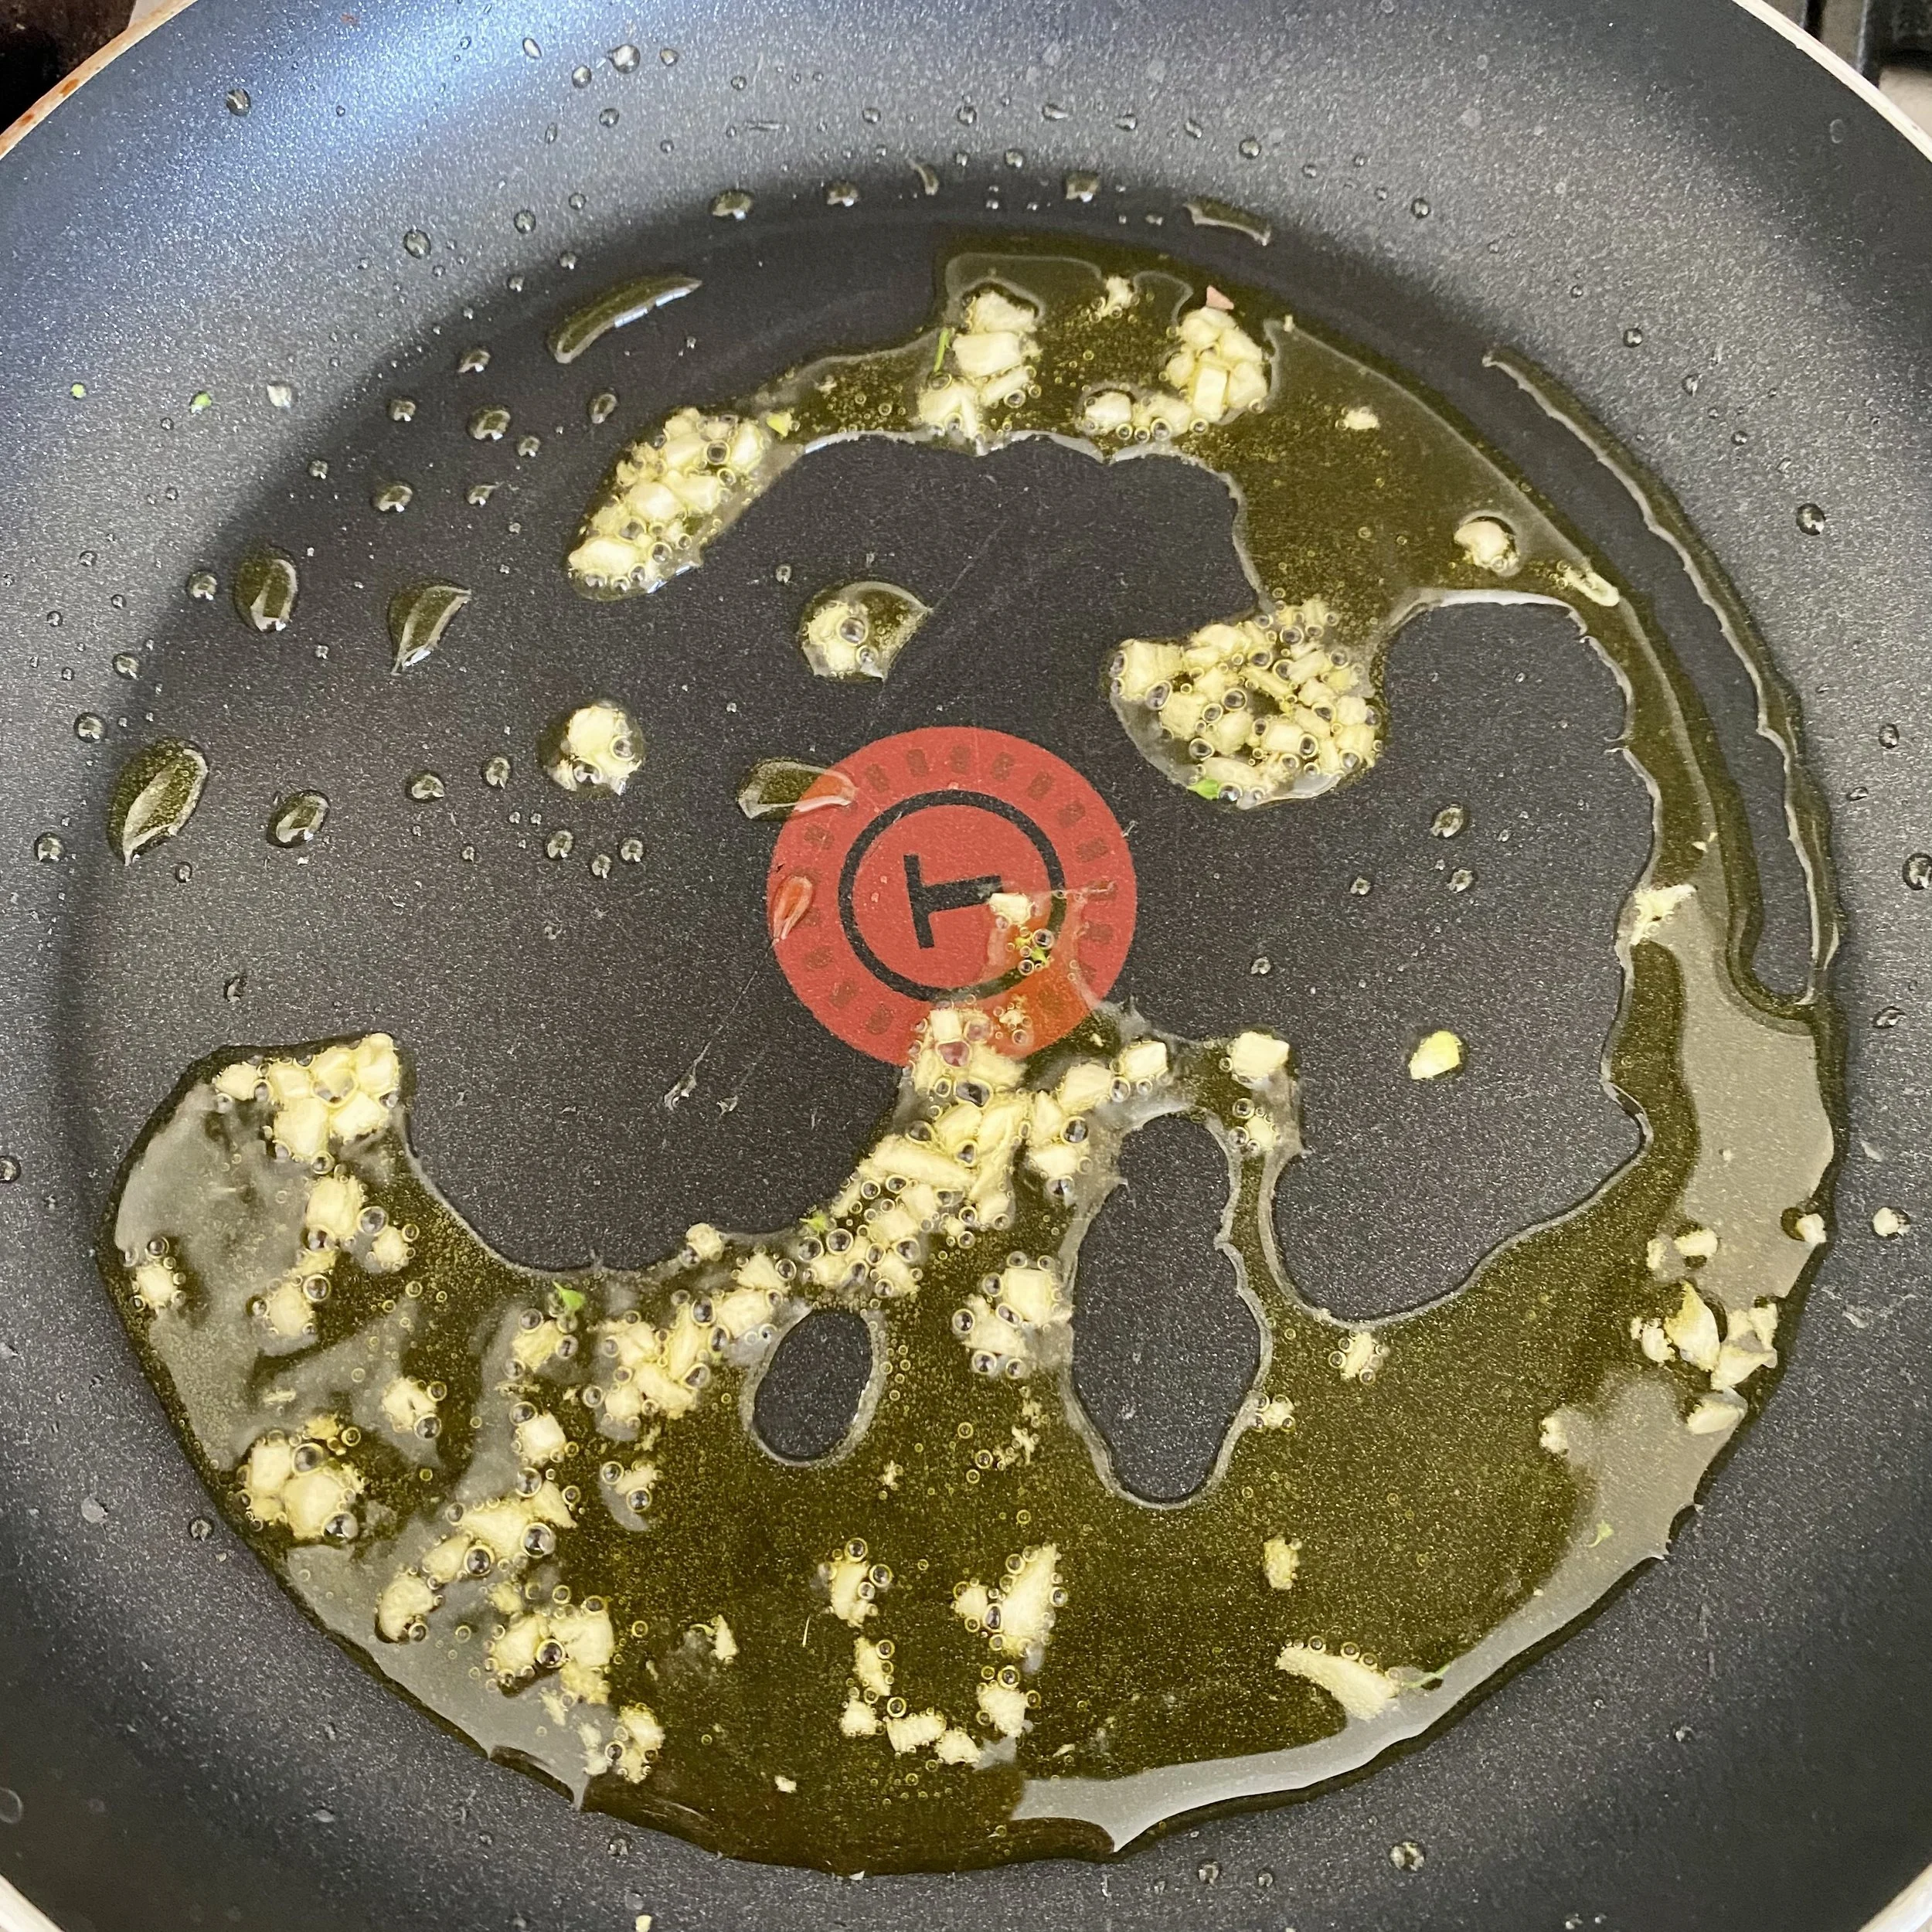
And while that’s cooking, add a good slosh of olive oil, perhaps a tablespoon, to a non-stick pan and fry the garlic very gently, stirring often. Add a little splash of water from the pasta pan if it even thinks about sticking/burning.

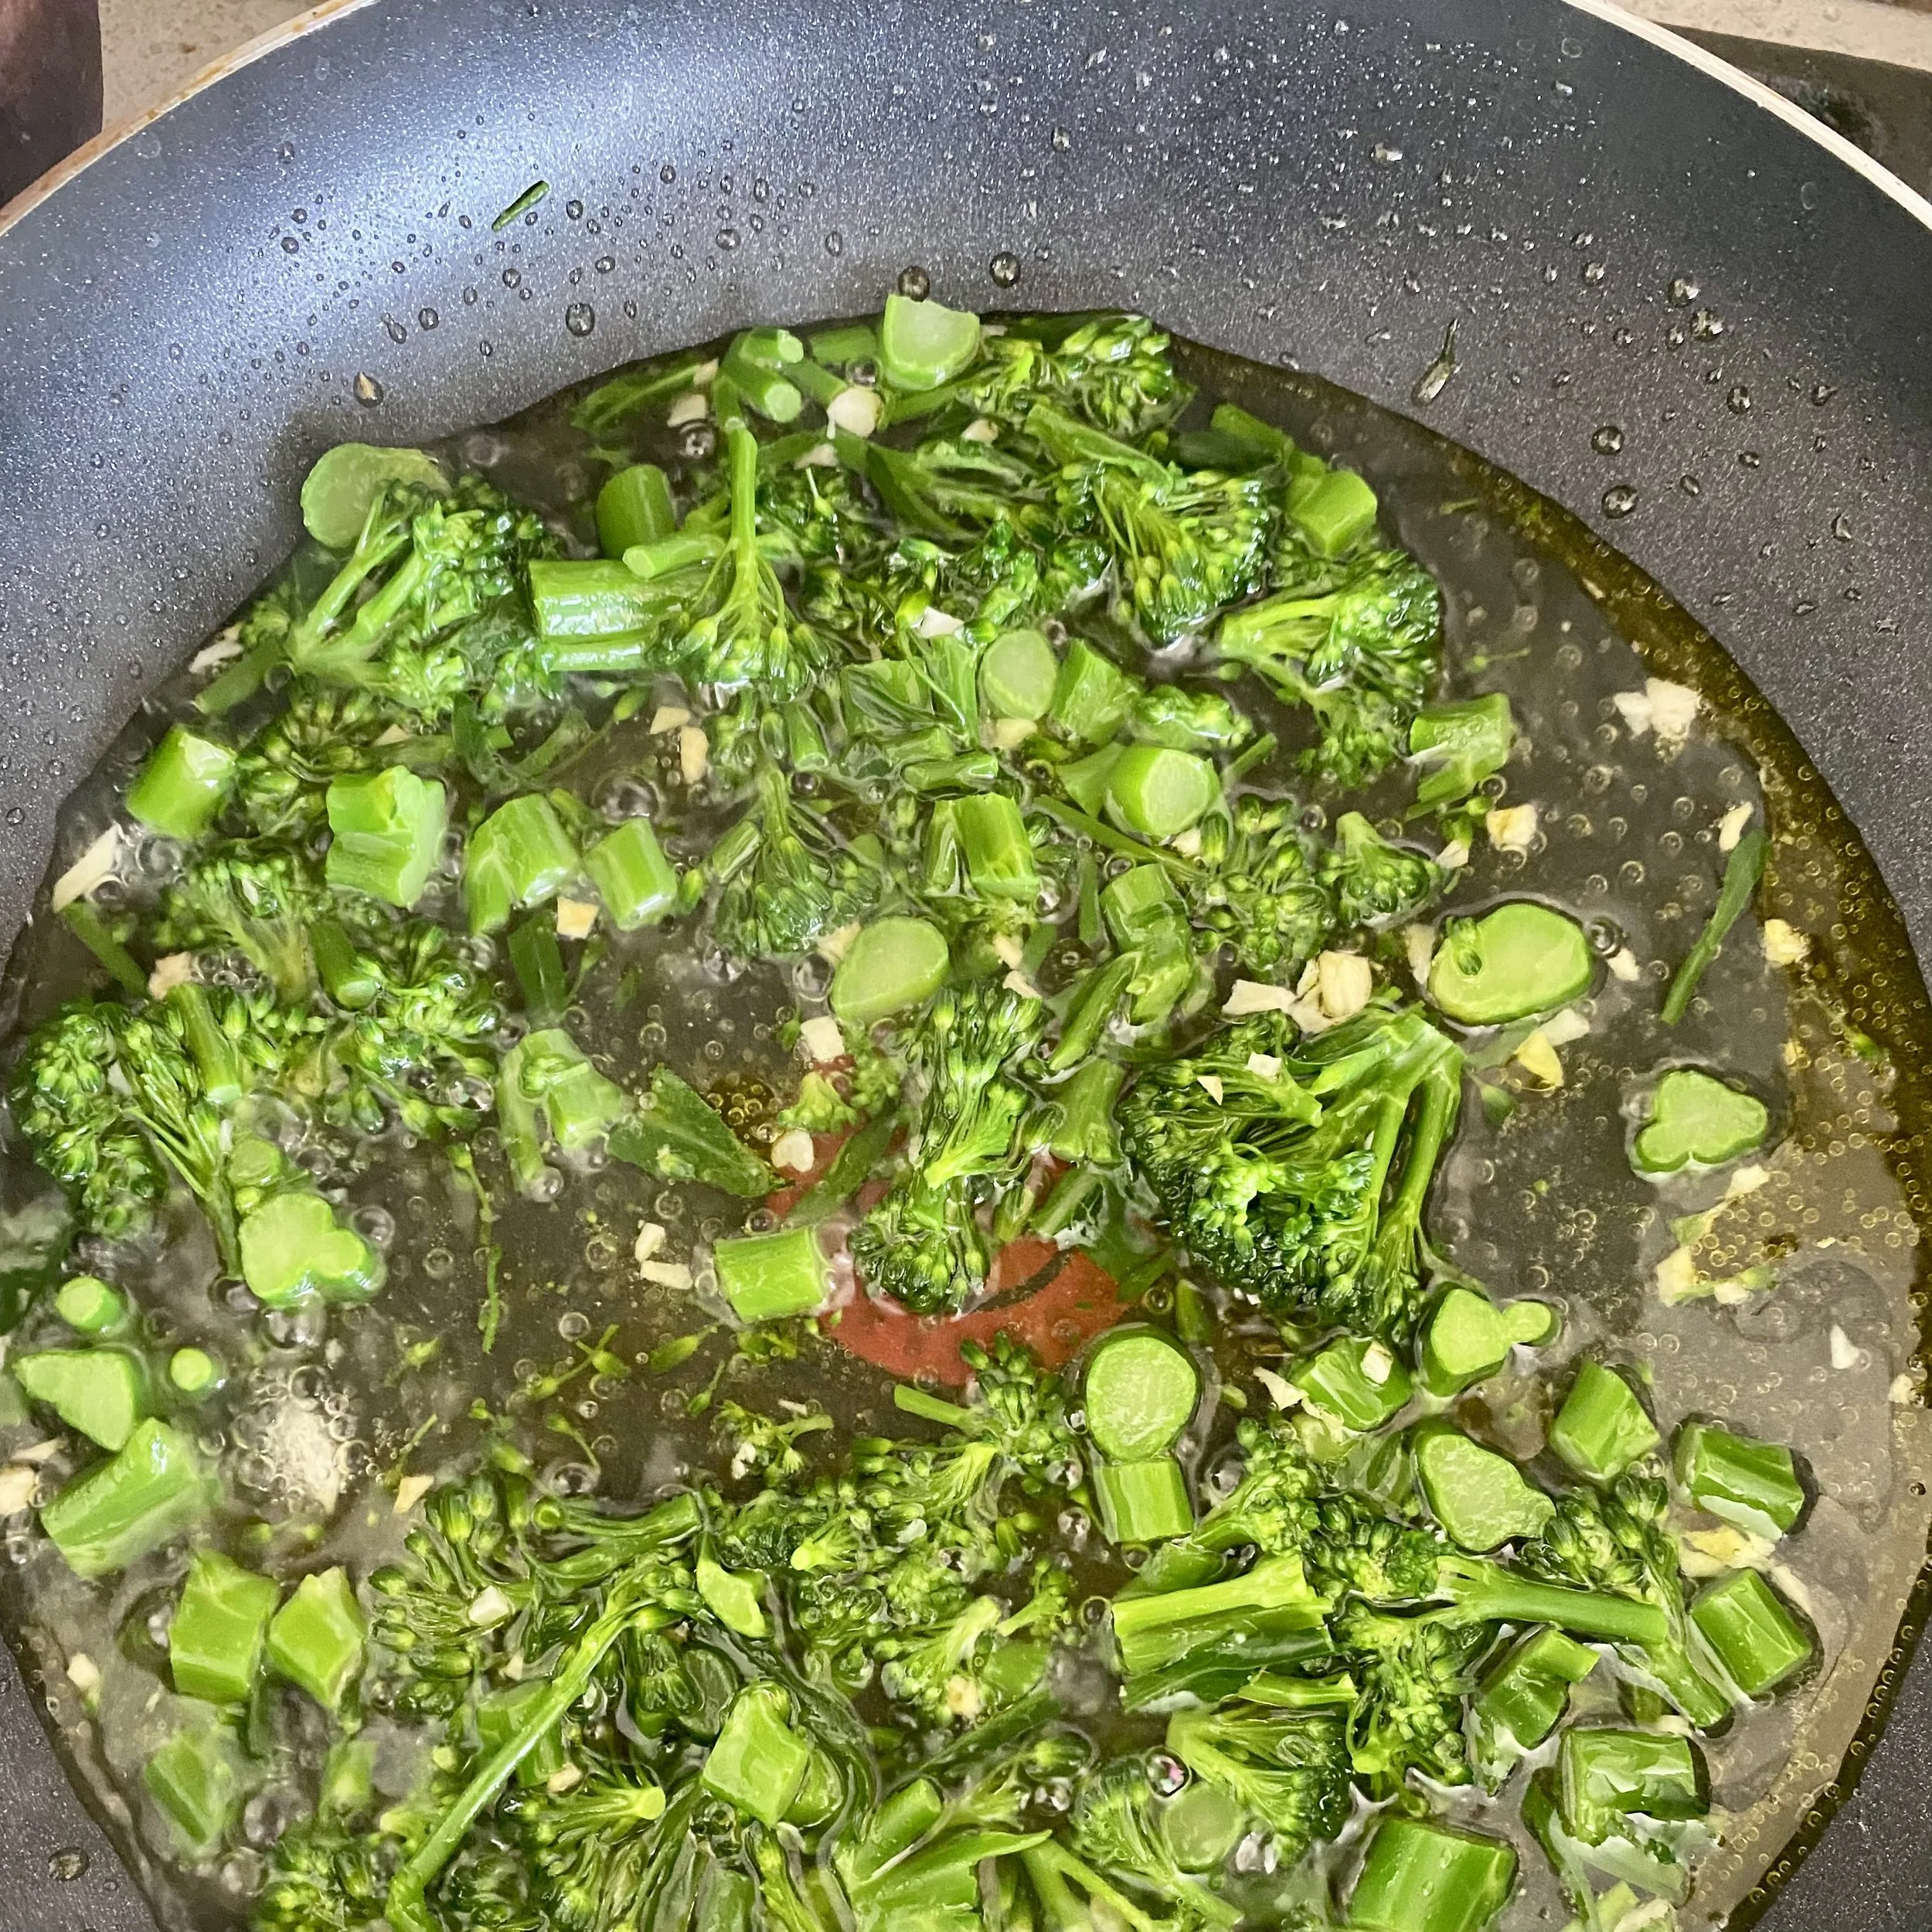
When the broccoli has cooked, remove it from the pan with a slotted spoon and add to the frying pan with a ladle more of the pasta water so it can continue simmering.

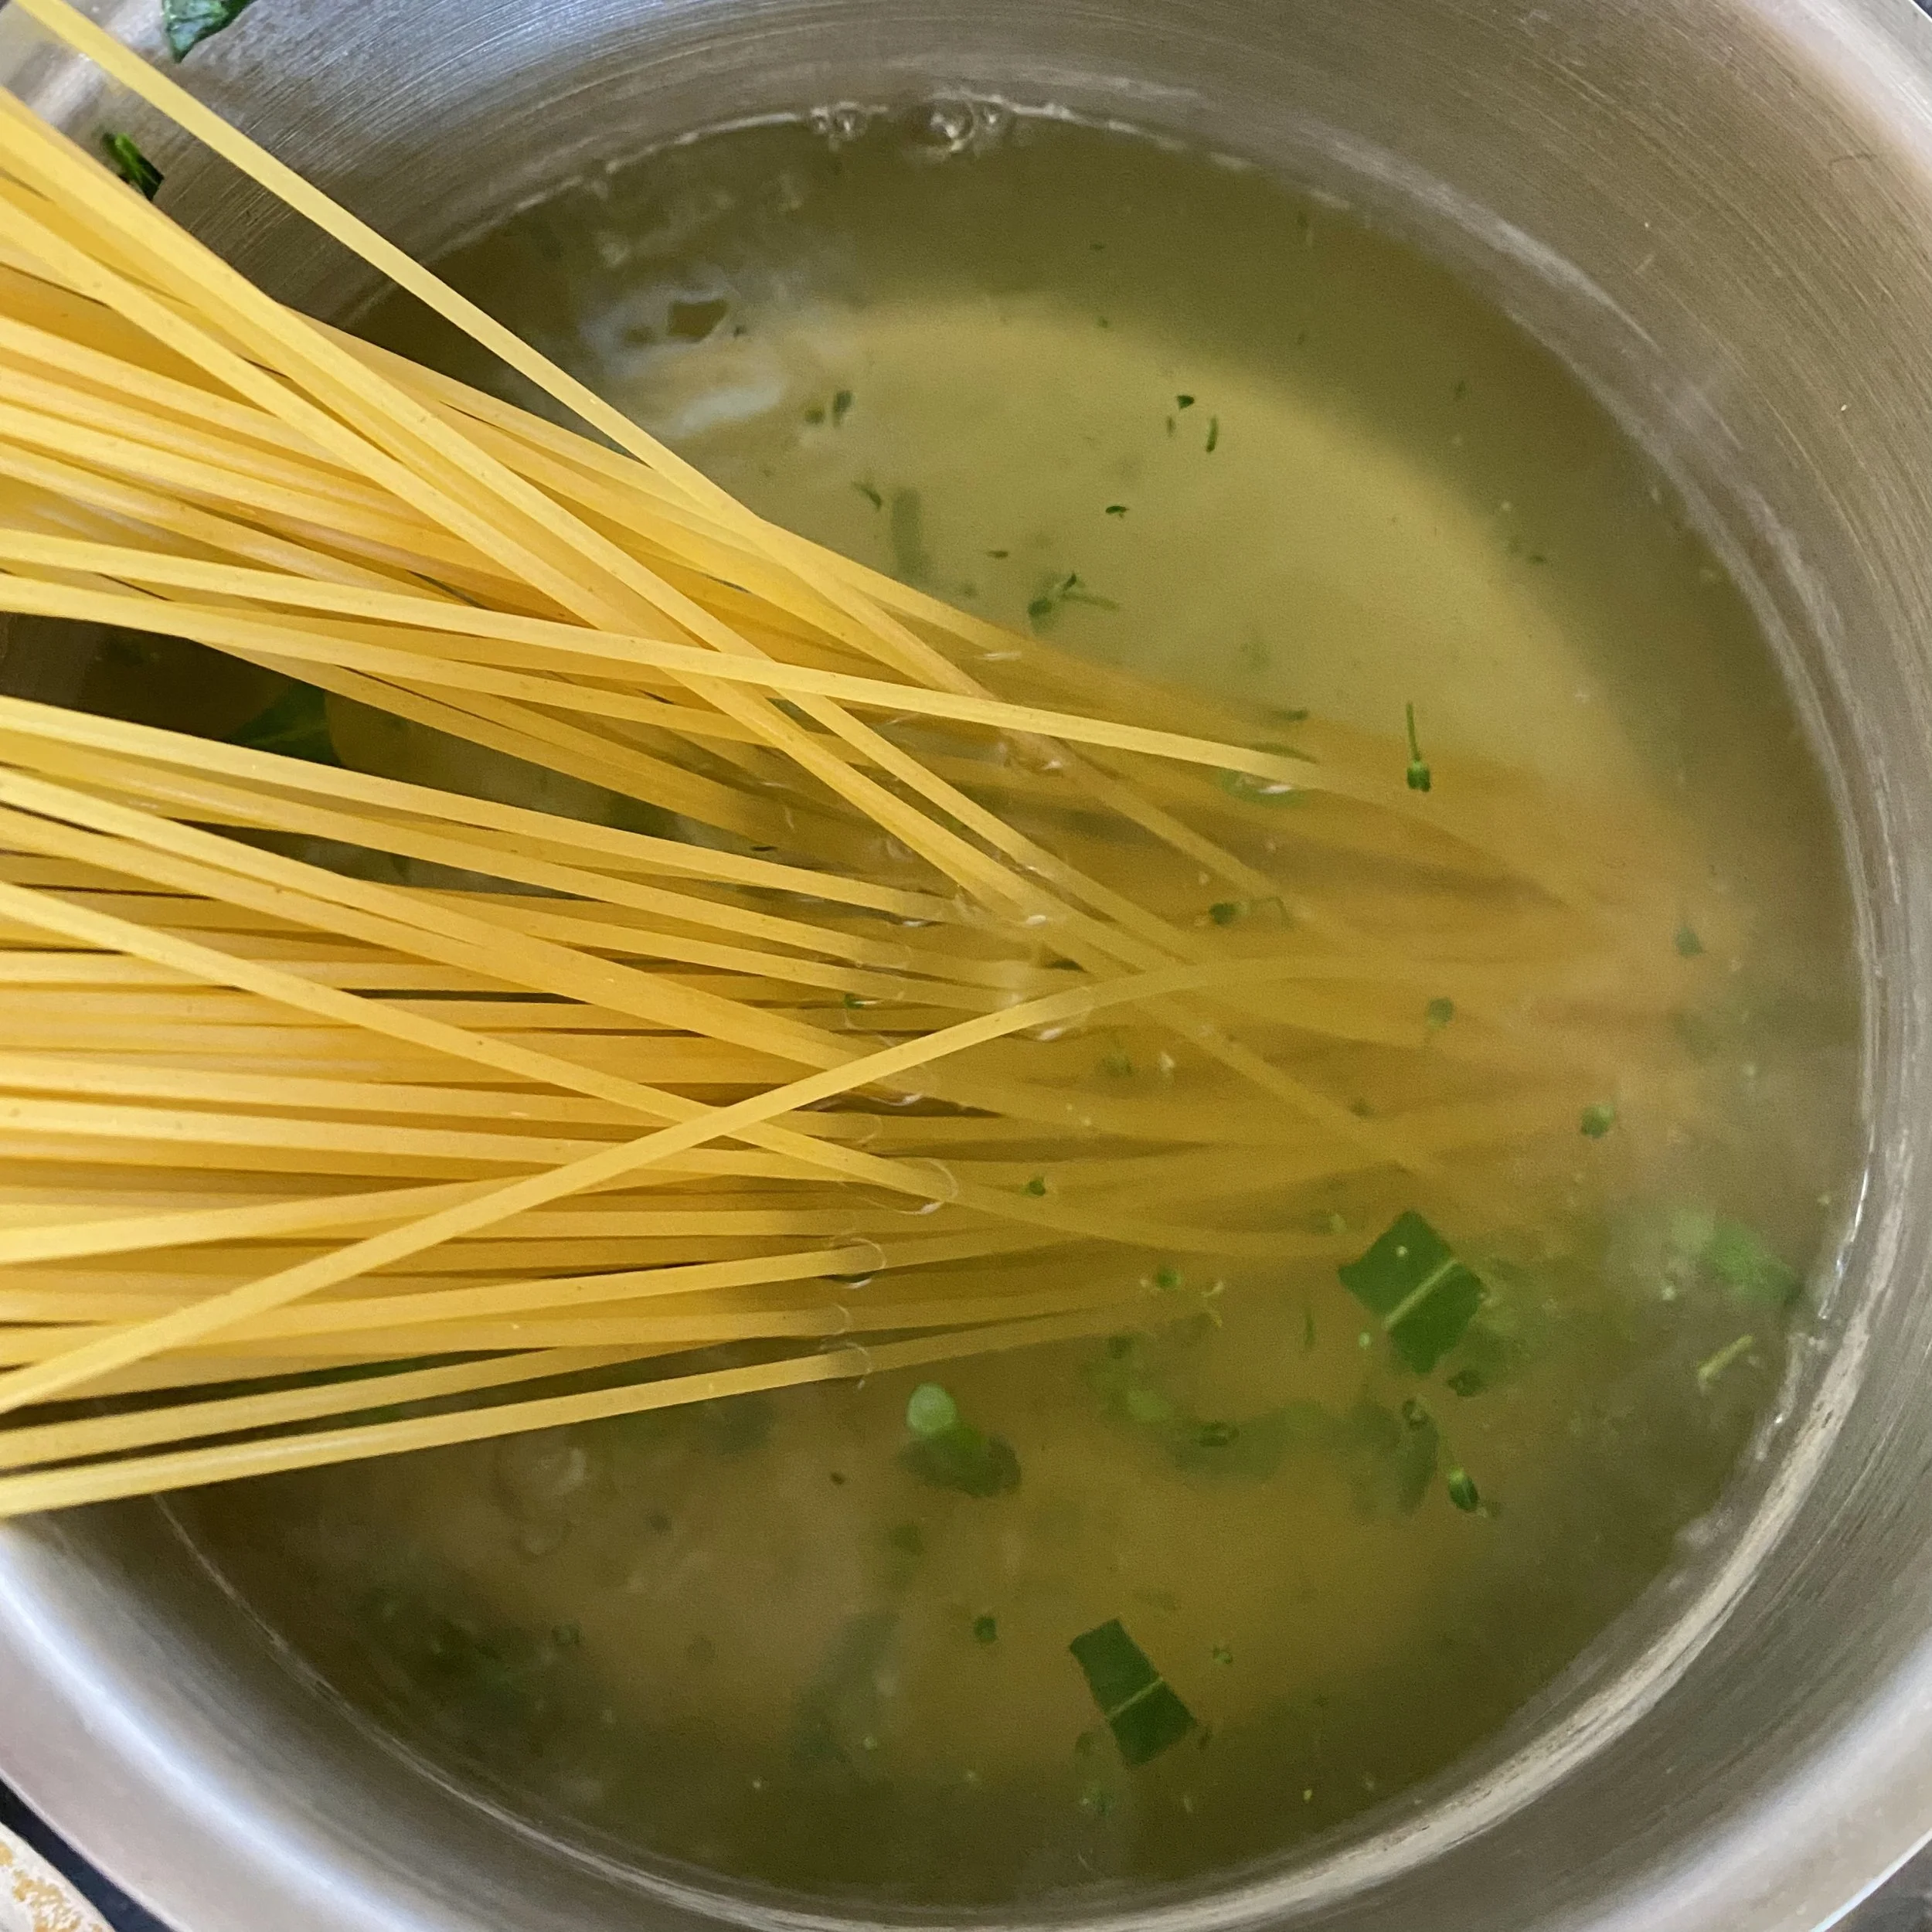
Put the spaghetti into the same pan of water that the broccoli was in - it’ll only add more flavour and goodness to cook in the vegetable water. Cook according to pack instructions or to your taste - I did mine on a medium boil for eight minutes.

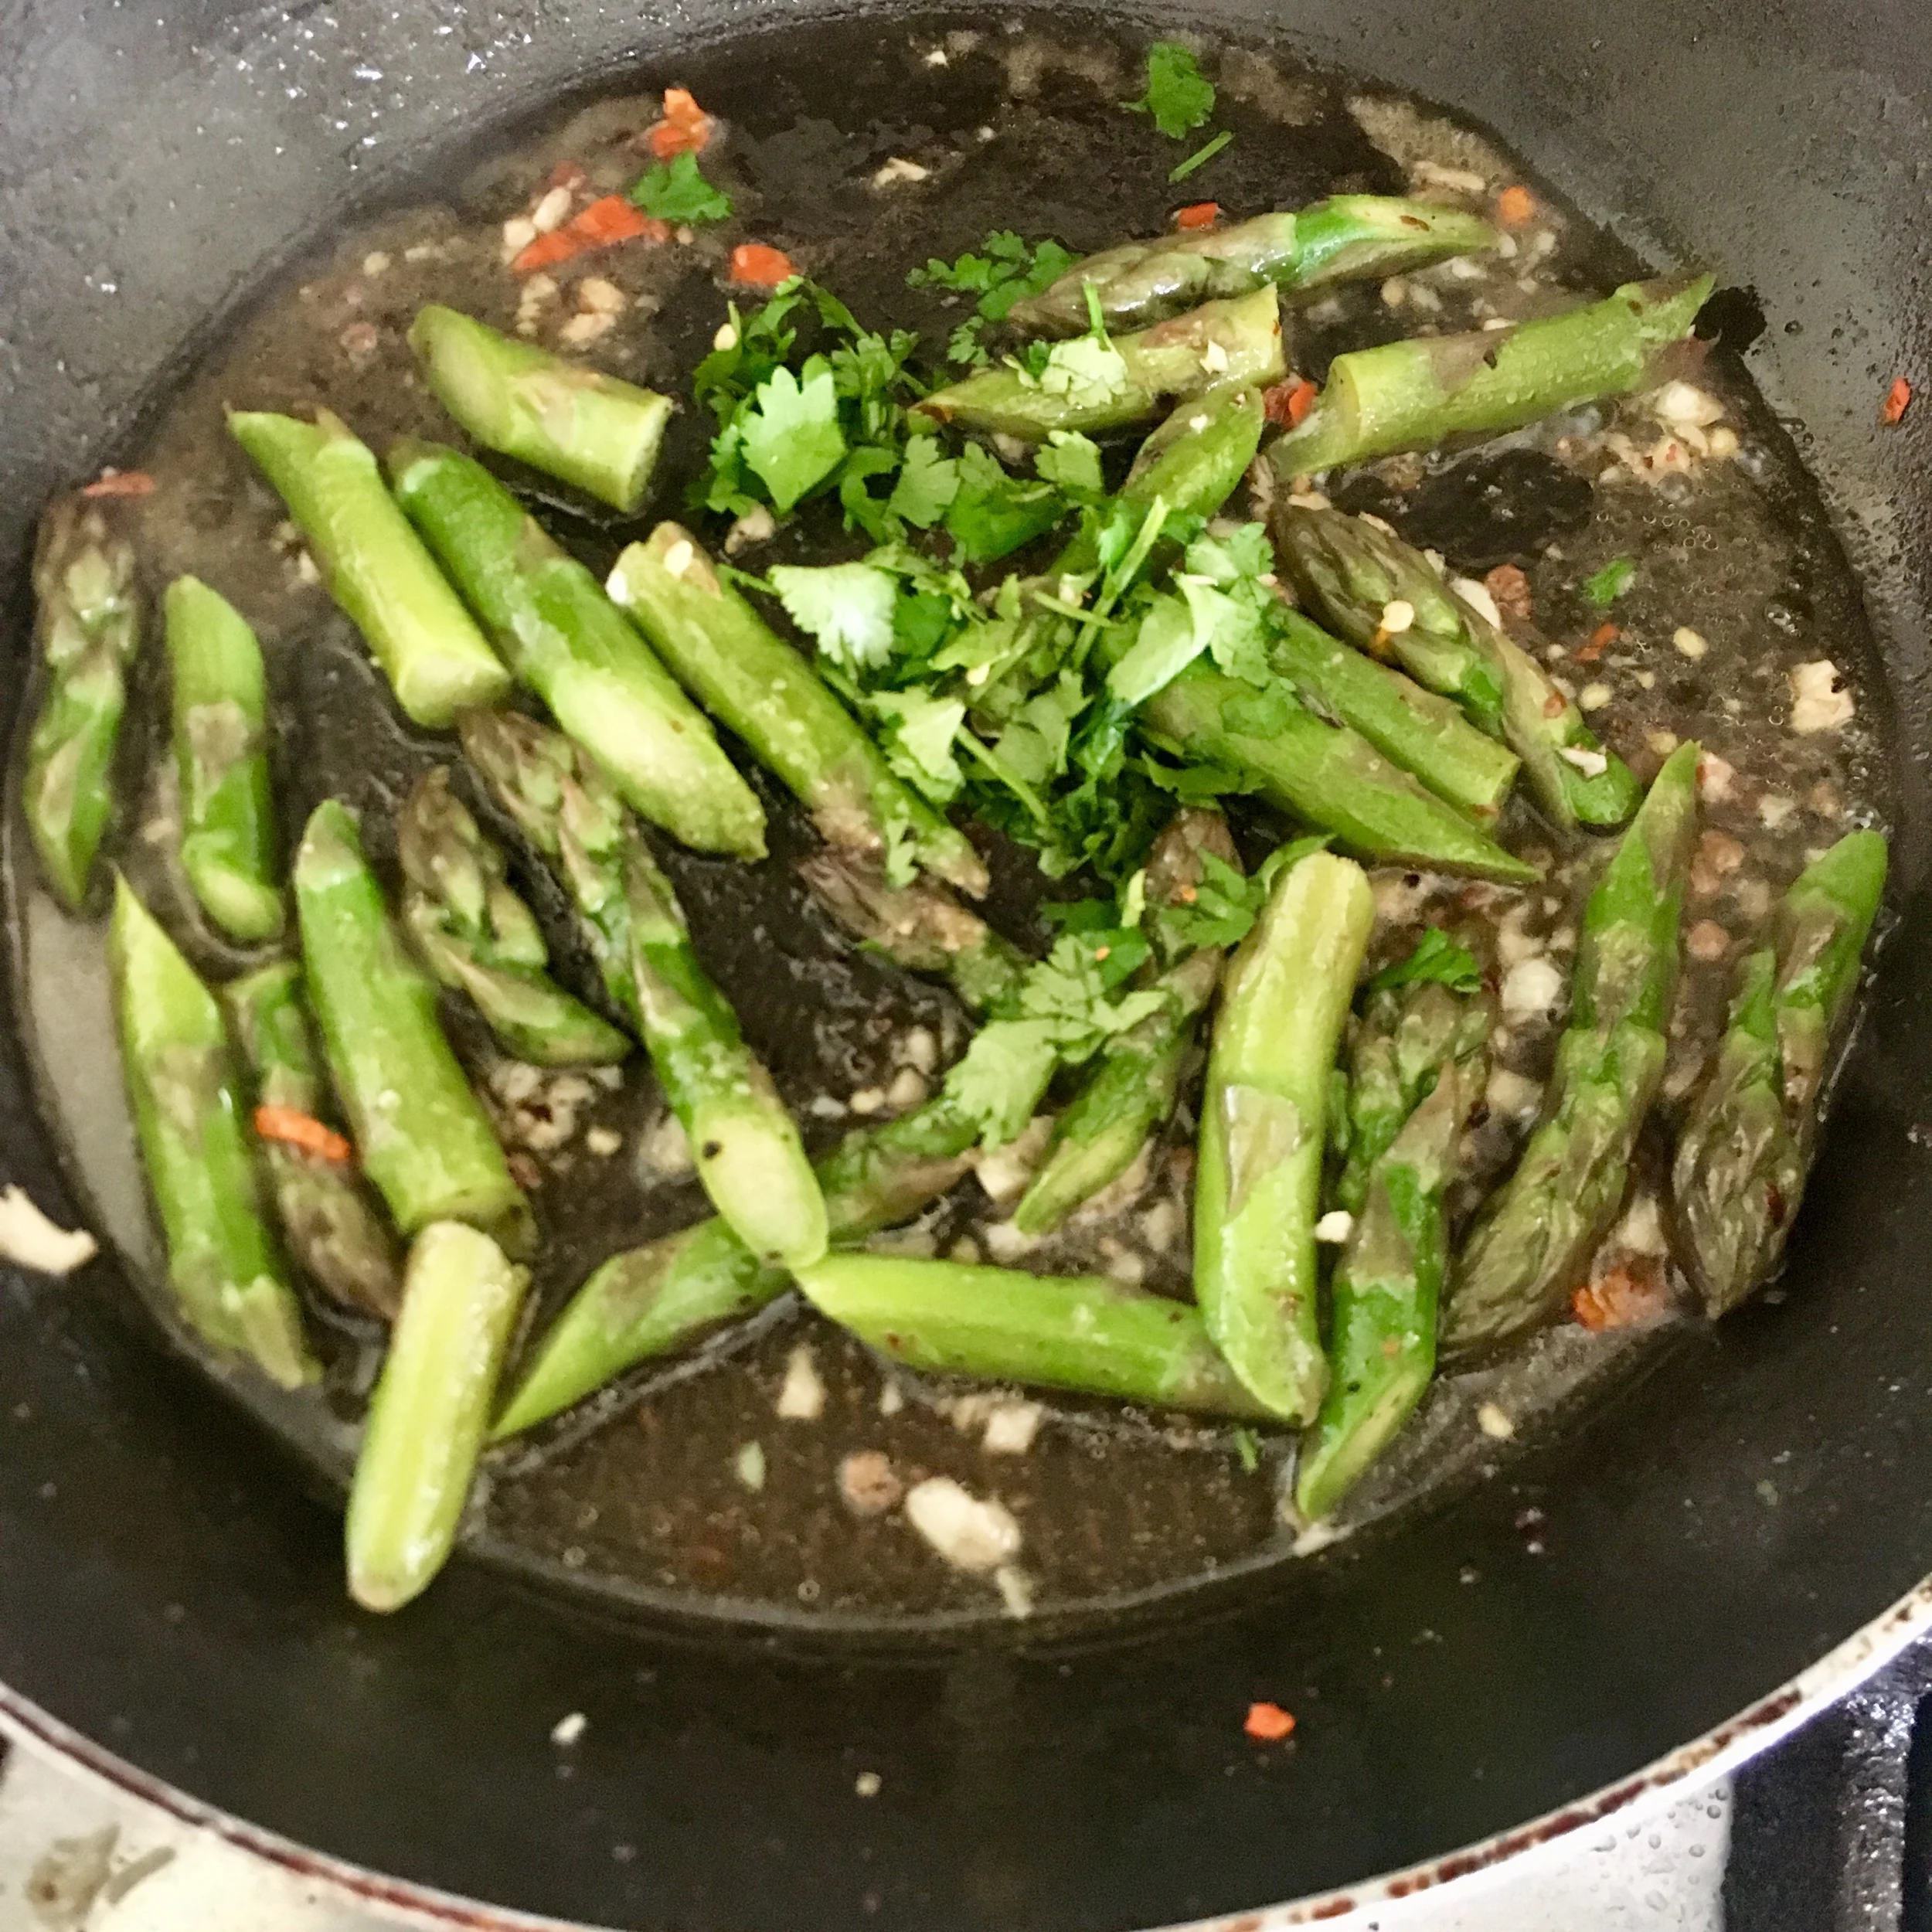
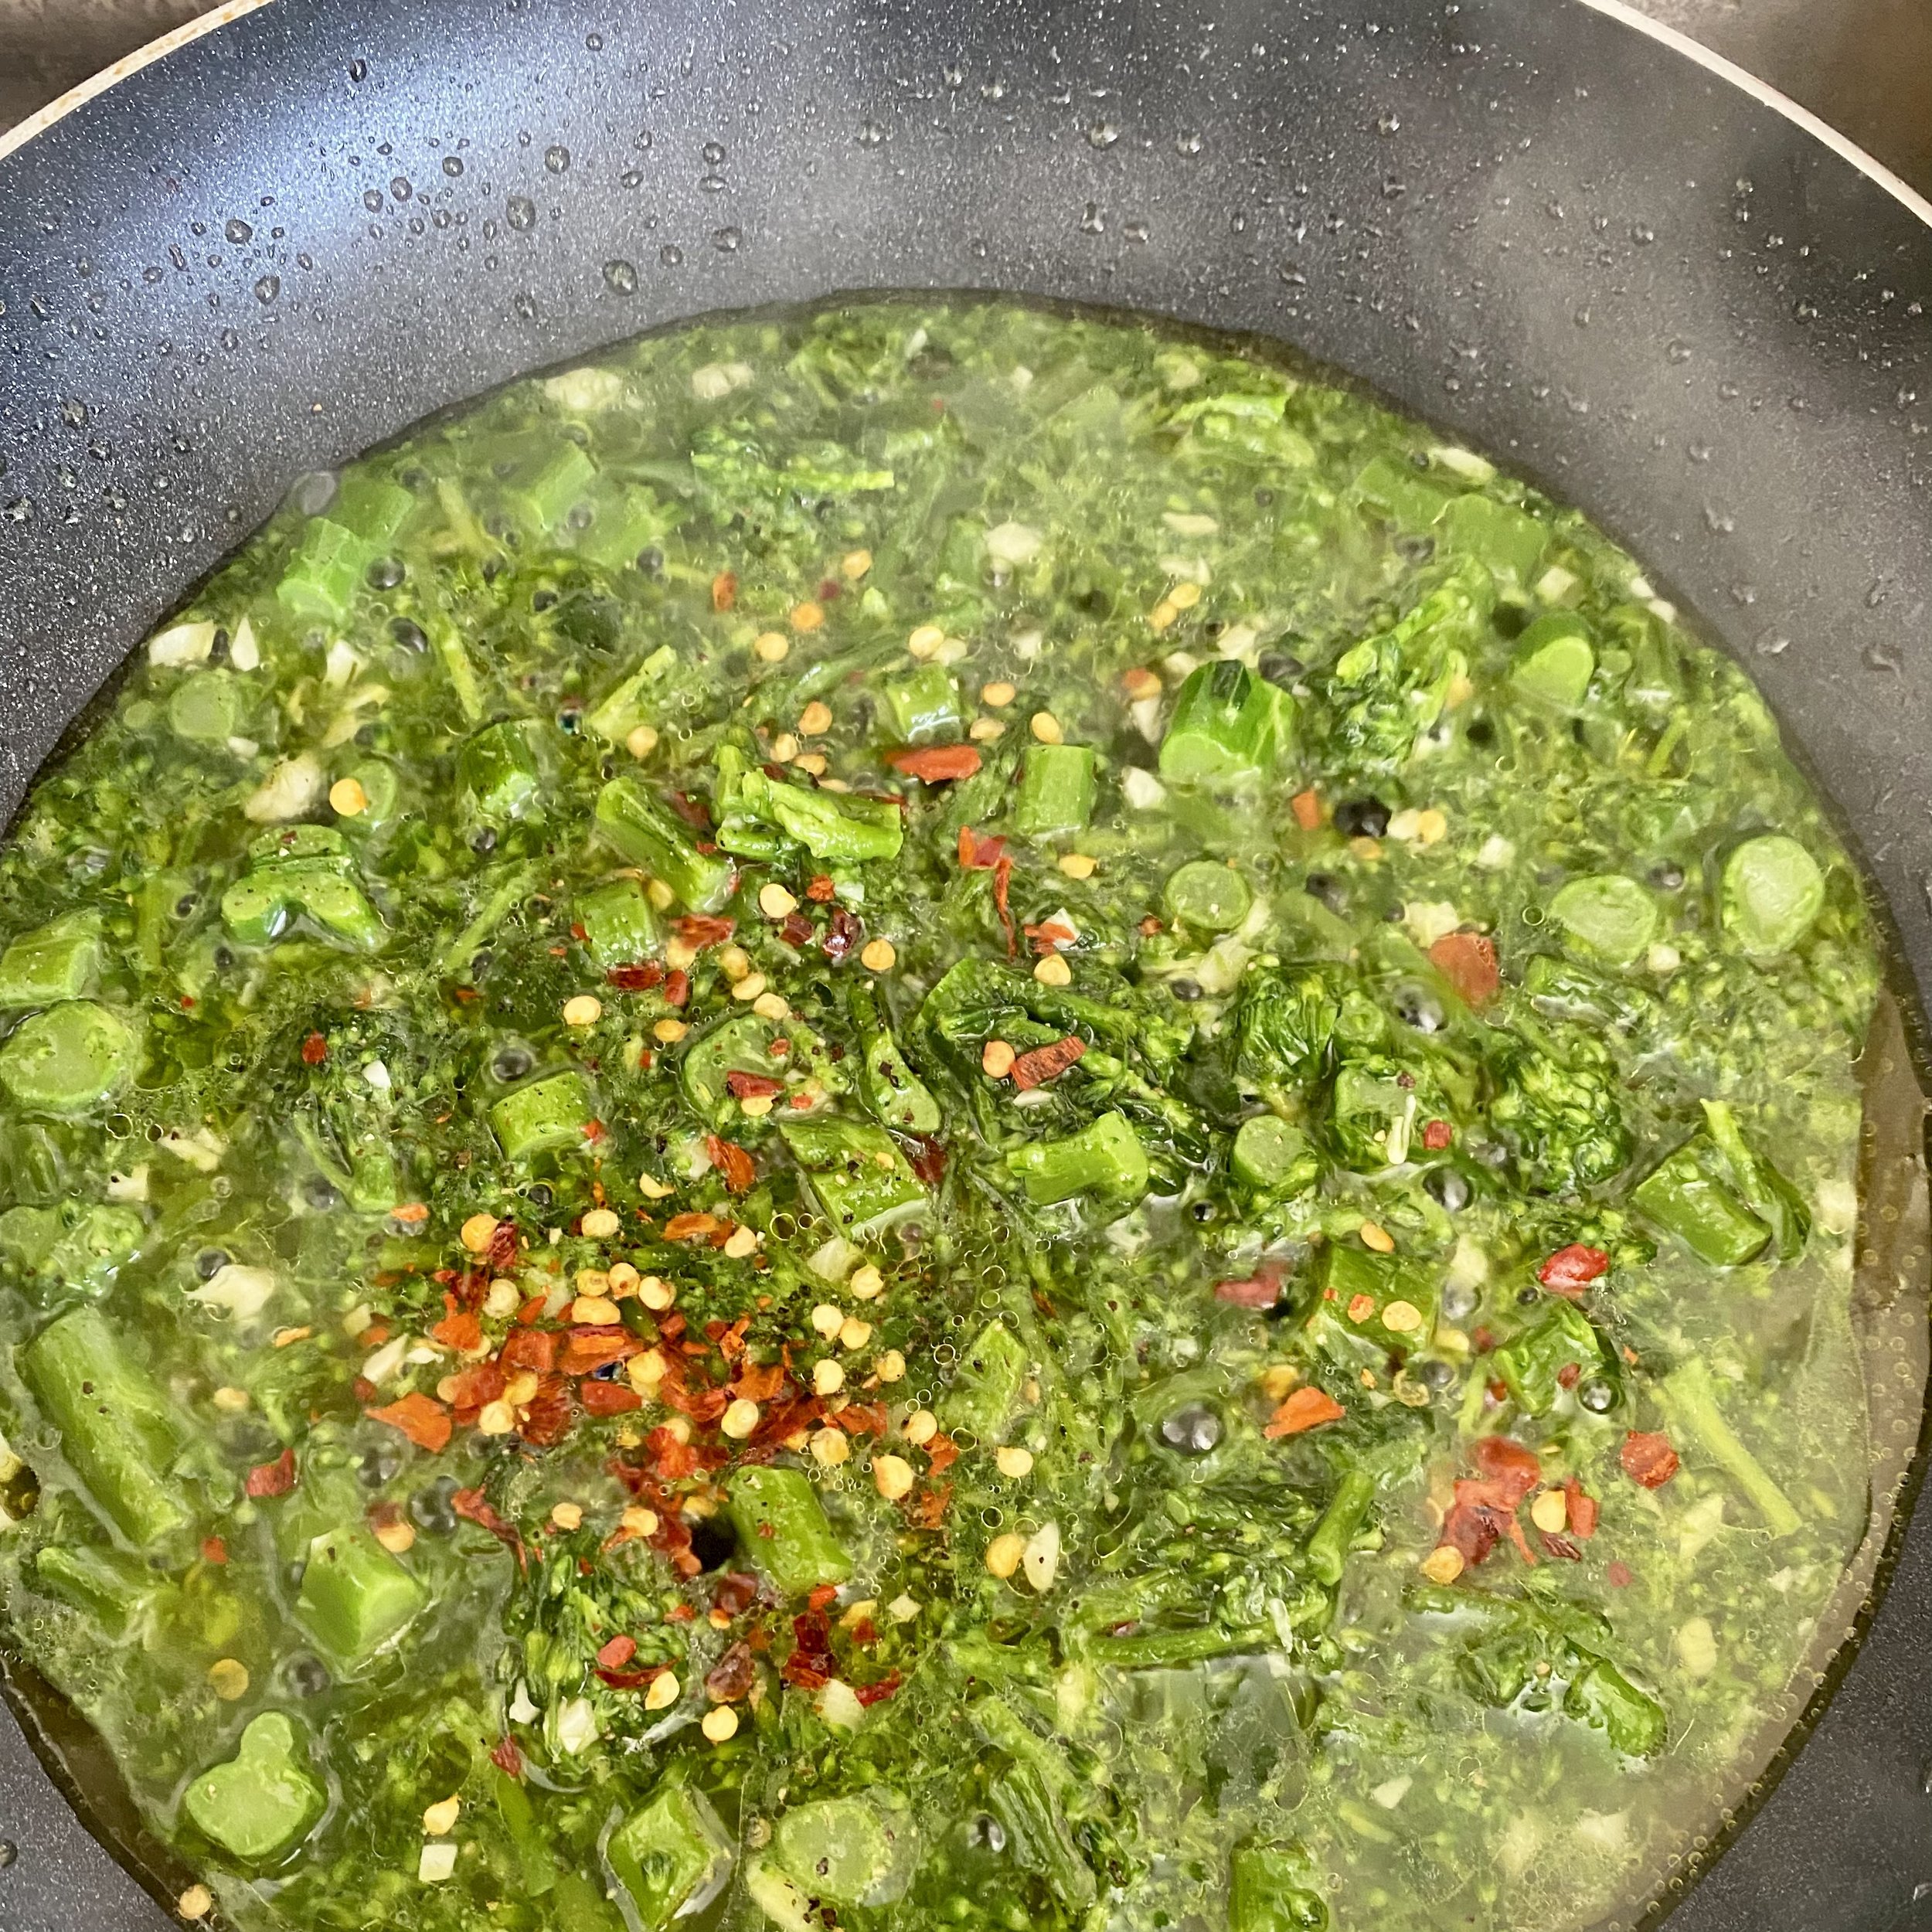
Keep stirring the simmering broccoli and it’s going to get really nice and soft. After about five minutes season with salt and pepper - and some dried chilli flakes if liked. Also add about half the cheese and stir in .

Drain the pasta when ready and add to the pan - make sure to reserve a little more of the cooking water in case you want to loosen your sauce any more. Stir, add the rest of the cheese and cook for another minute or two.

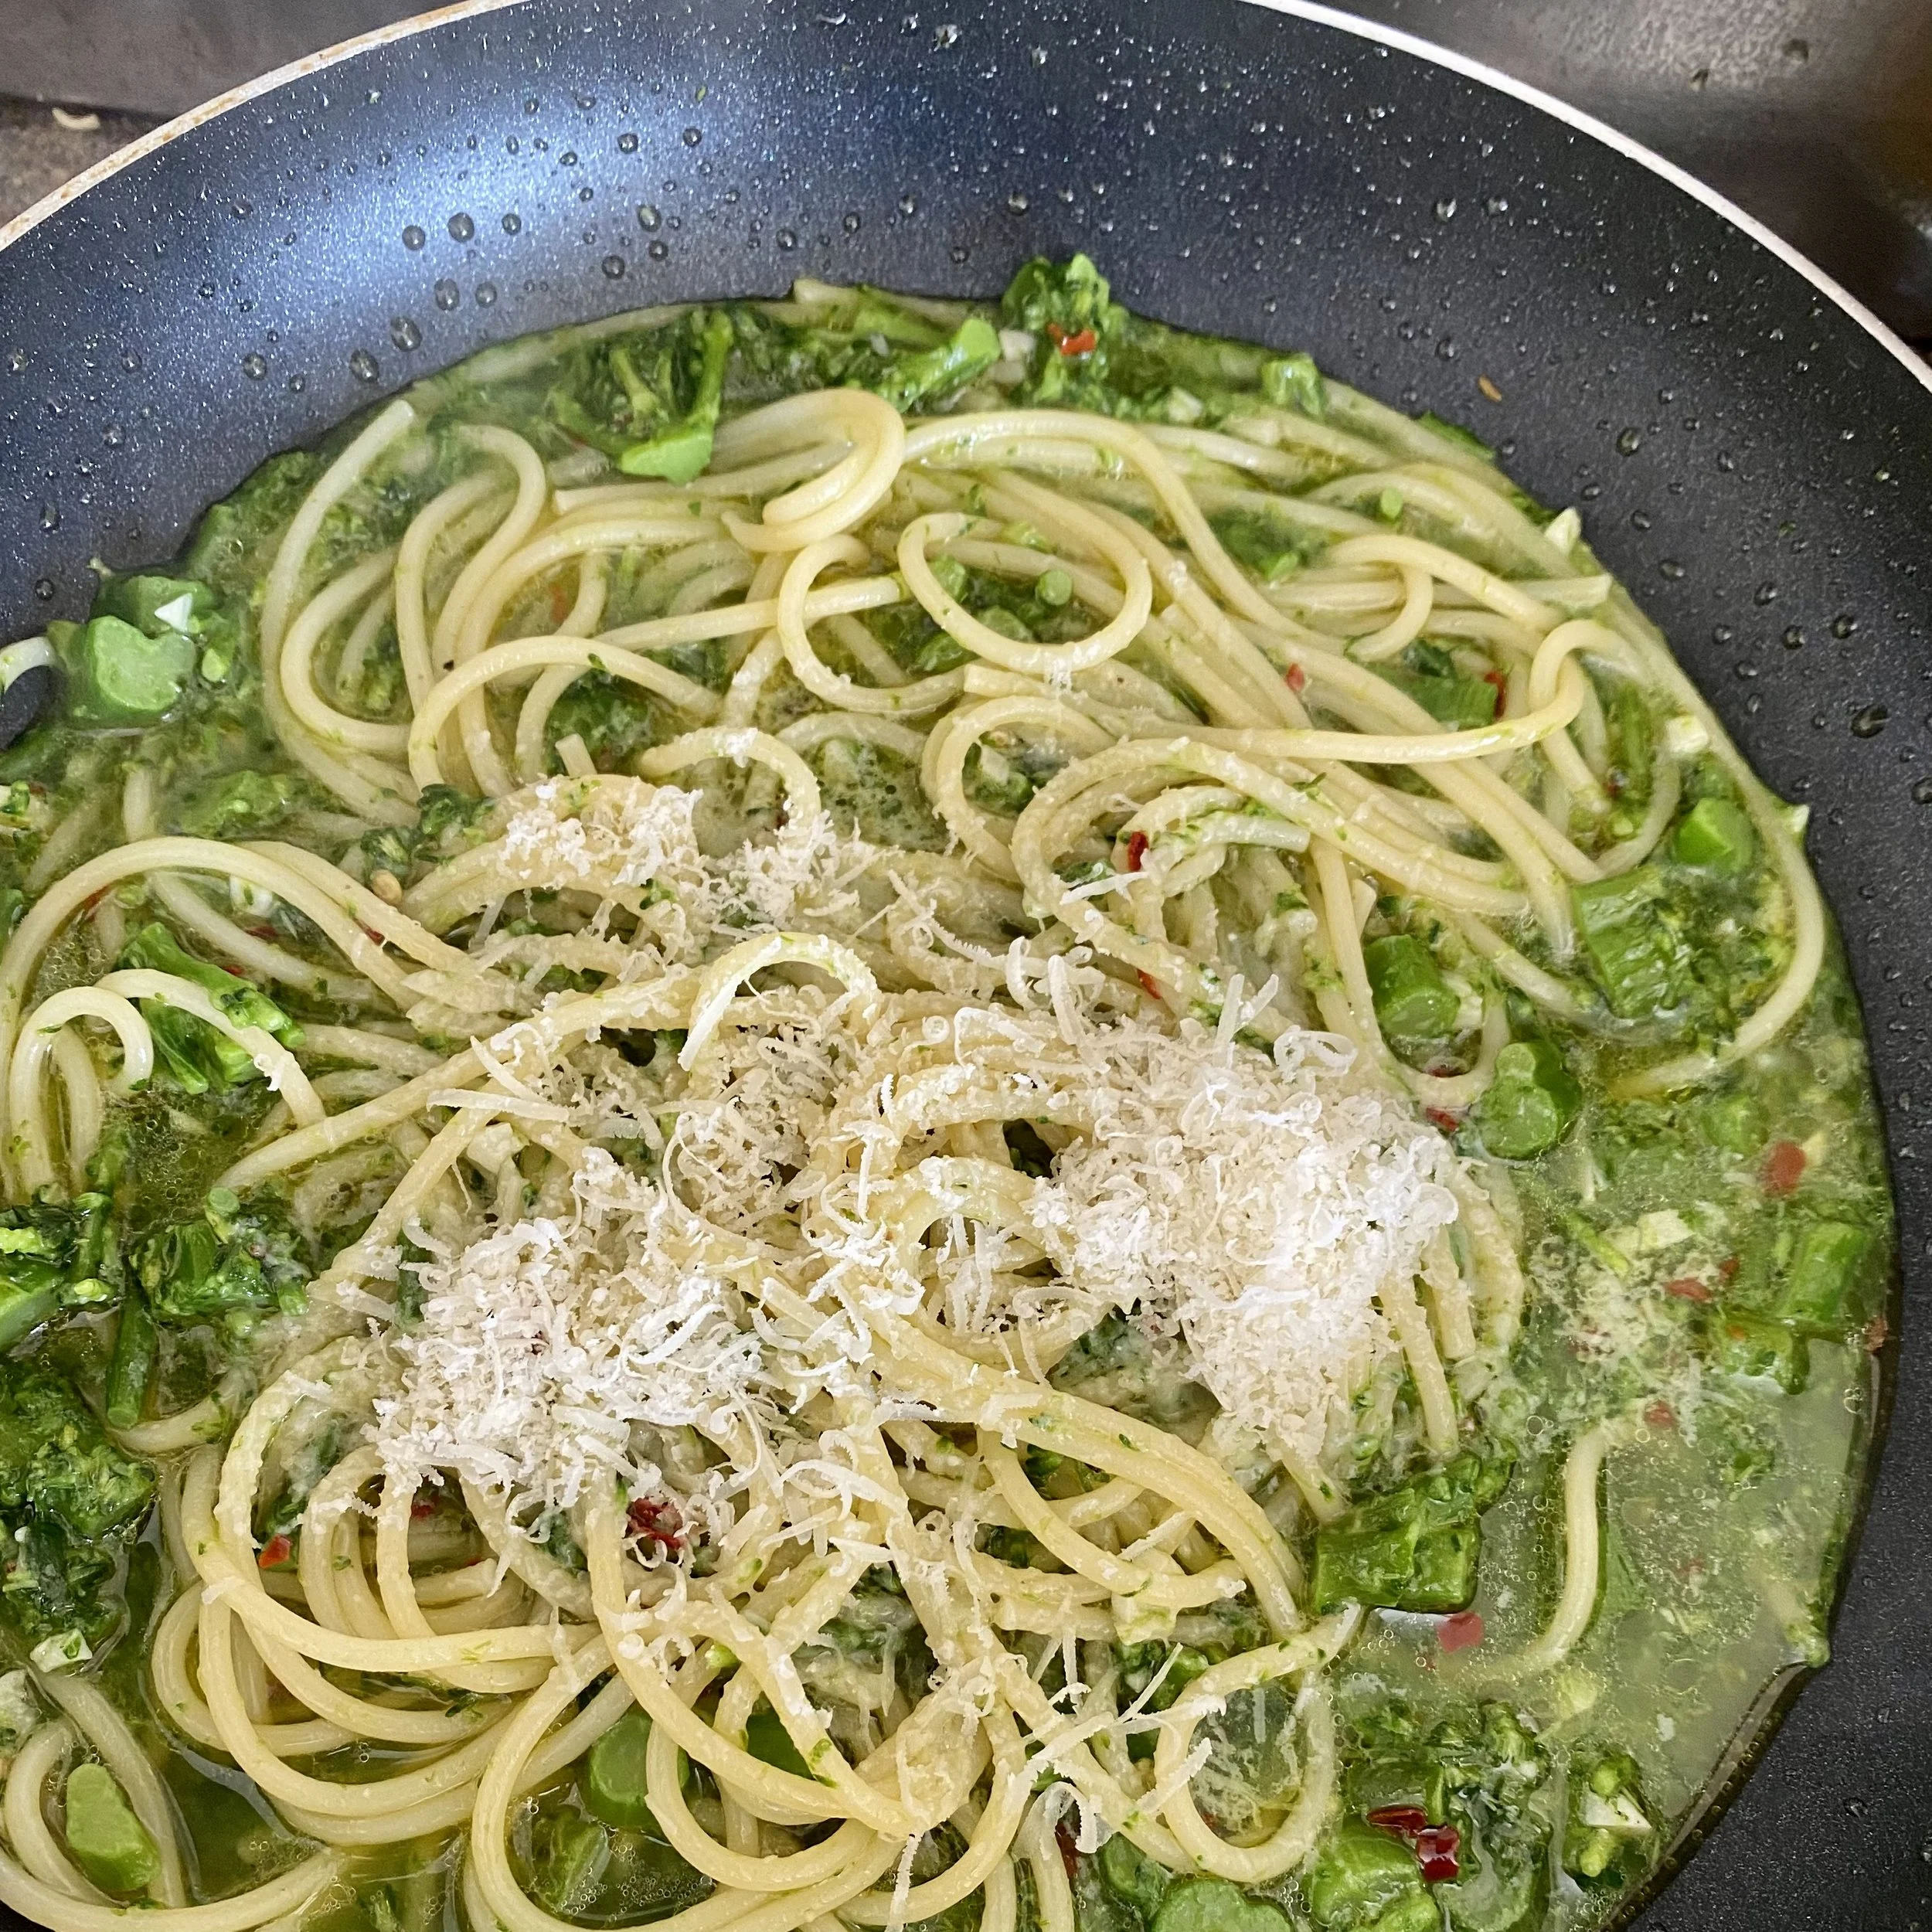
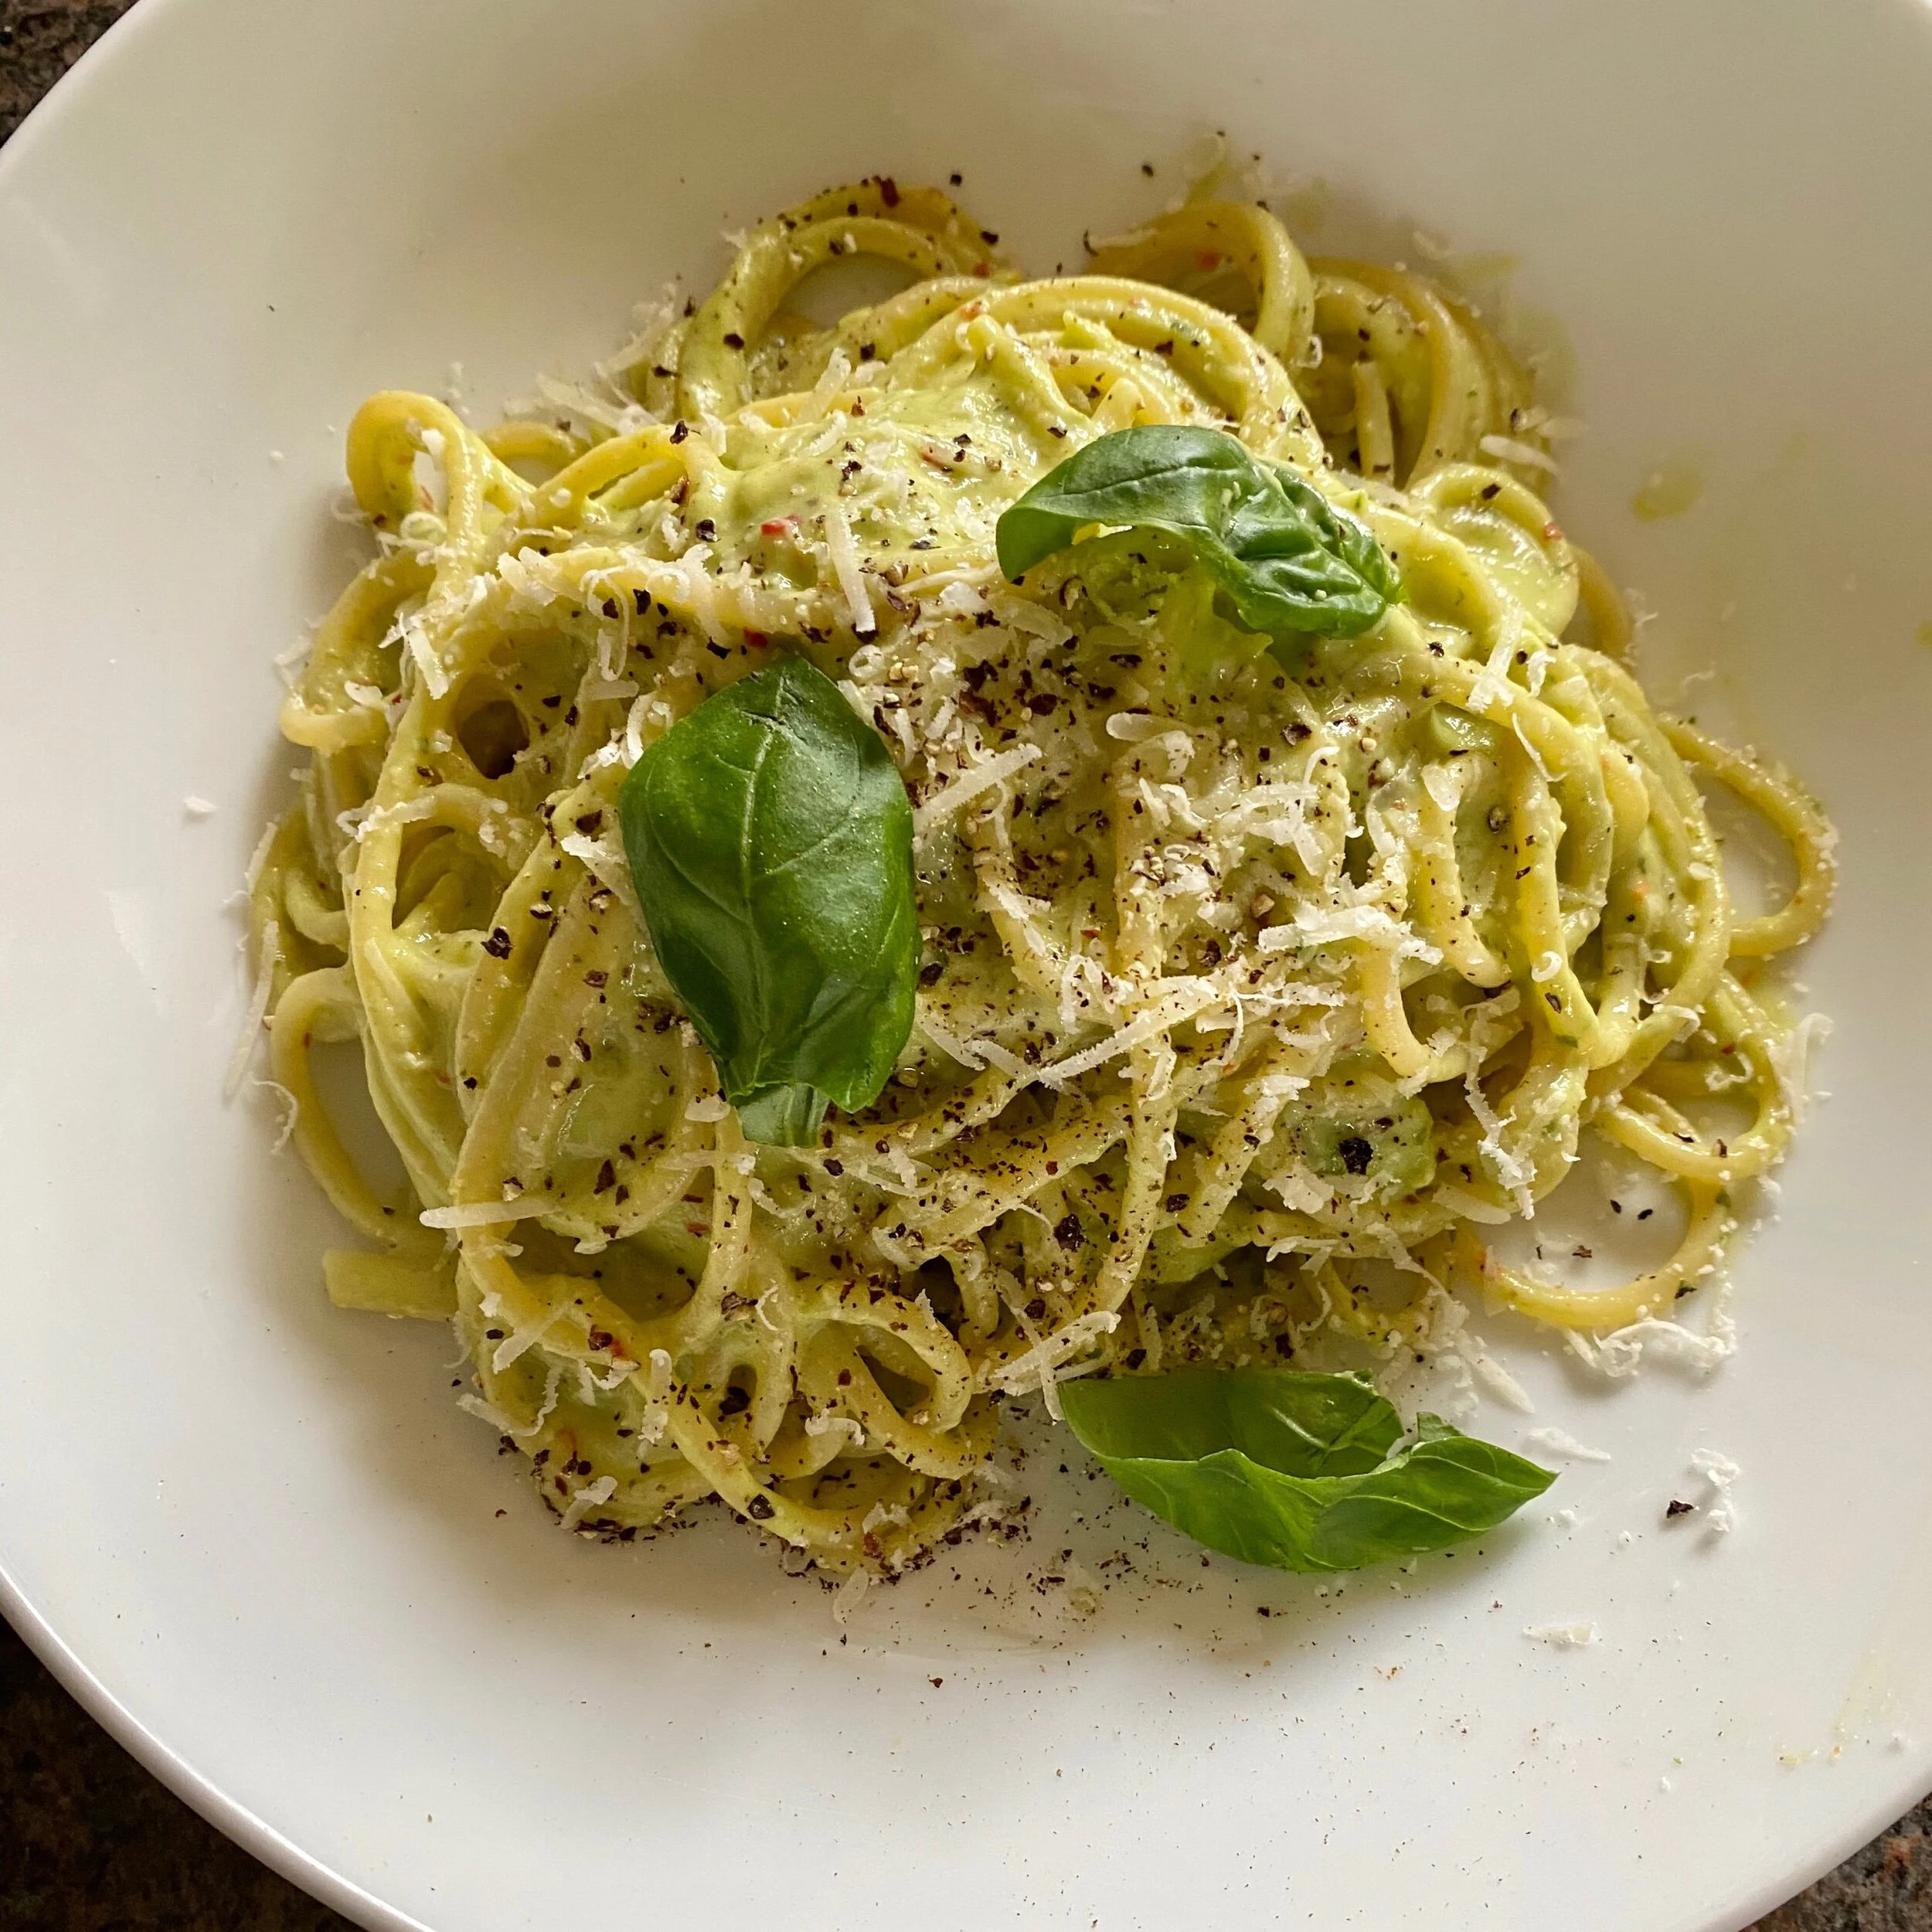
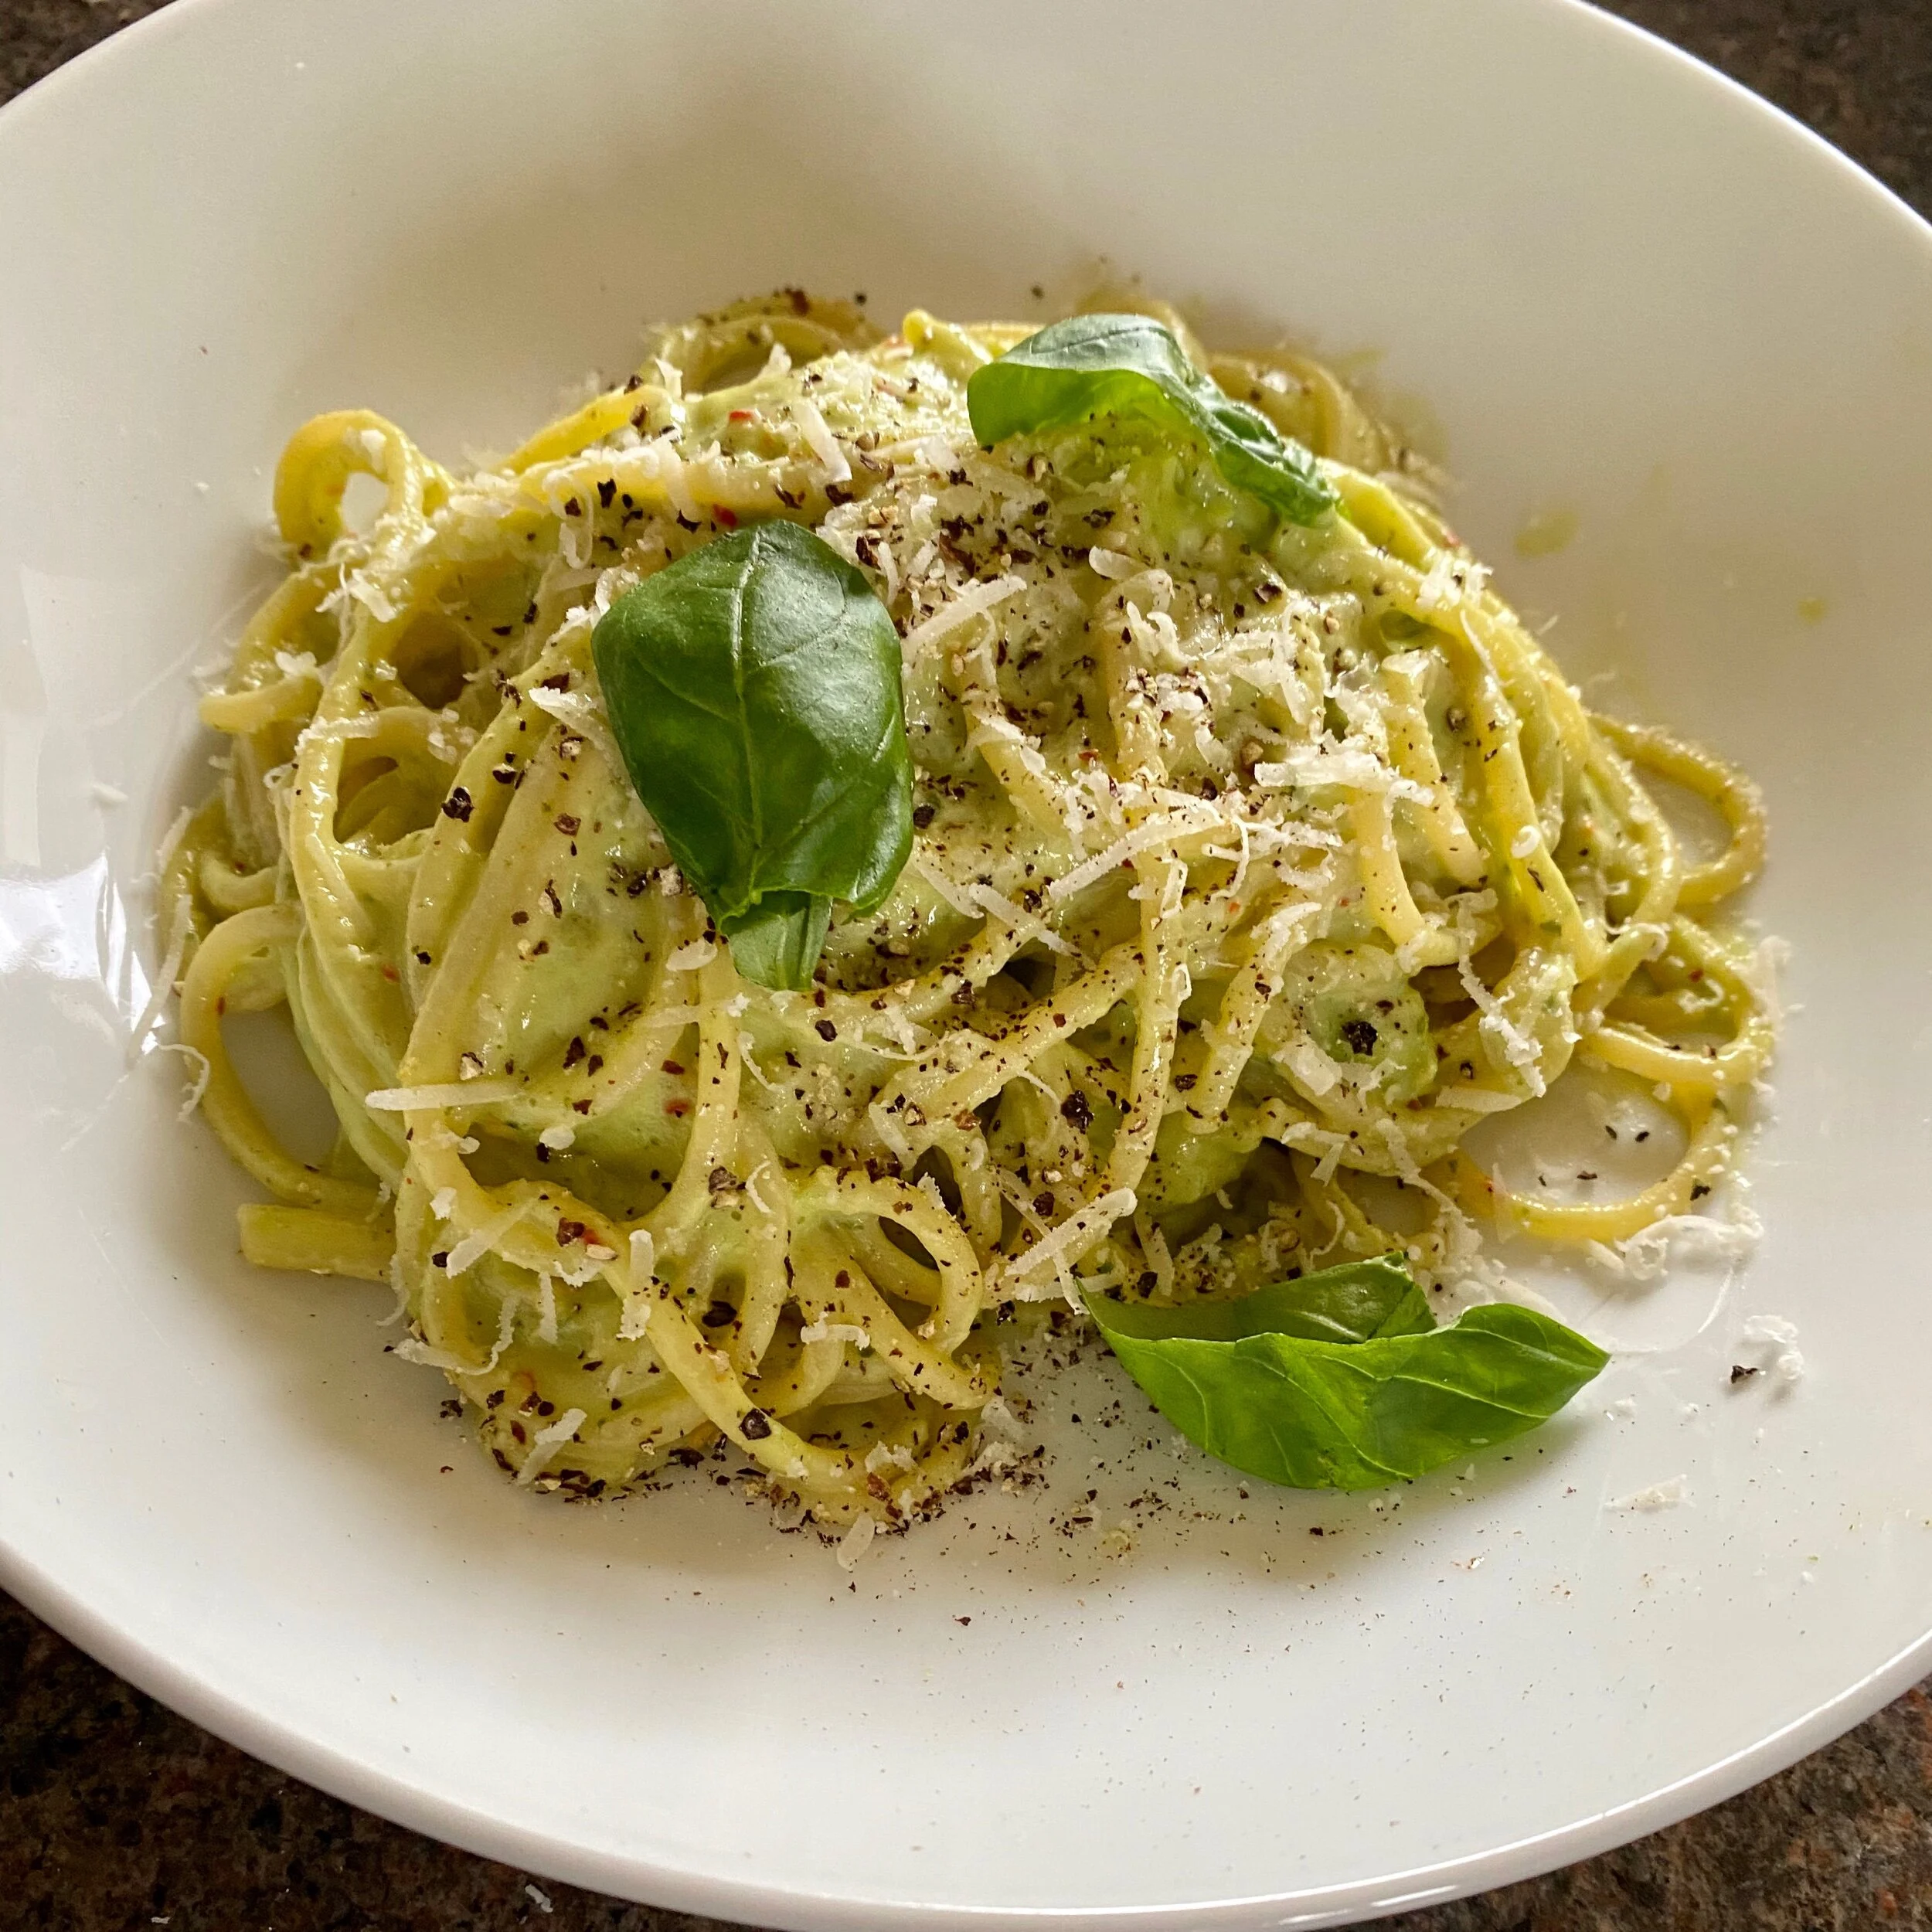
Taste and adjust the seasoning if needed and voila.

Creamy delicious nutritious broccoli spaghetti.


YOU MIGHT ALSO LIKE …

Simplest globe artichoke with lemon butter

Bear with me, I will eventually get to the point …

I think I was 13 when we went on a family holiday that summer, driving through France down to the Alps. We were on our way to stay with the family of a student who had come to stay with us, in Norfolk for a few weeks.

Her name was Violaine and she was 17, several years older than my sisters and me. She was very gracious and kind, and I now look back in something like awe as to how she so quickly settled into our family for the time she was with us.

We must have done something right too - as after her stay when she returned to France, my parents one day received a letter from her parents. It said thank you for making her at home and taking care of her, and extended an offer for our family to visit theirs.

I think it was the very next summer we set off on this trip, and it was an amazing trip. Not just that we were to stay with Violaine’s family and go to the Alps.

But also that we were going to travel down through France, to drive over several days, staying in B&Bs and small hotels.

Oh my goodness this was so so exciting! We had been to France before for holidays and loved it - but always camping (which I still love).

Staying in B&B’s was not something we really did as a family and was something I’d always kind of thought out of our budget, to be honest.

So this was exciting!

Anyway, I could talk / write lots (and lots and lots) more about that holiday.

The driving, the picnic lunches, the food, the things I learned, the cowbells in the summertime Alps, the lake swimming, the piece of dark chocolate eaten with a piece of baguette, the incredible thunder and lightning storms …

But for now, I take my mind back to a restaurant, in Lyon, I believe.

Another internal SQUEAL - restaurants were SO exciting! And unexpected! And incredible!

ANYWAY.

Apparently, in France, in Lyon, it was normal for a prix fixe menu (fixed price two courses, or maybe three) to include a starter of Globe Artichoke with Vinaigrette. It seemed the height of food luxury to me.

And so my 13-year-old-heart was won over.

I chose it immediately - without even really knowing what it was - and I think it may have started my lifelong love of ‘activity food’. You know, food that you have to physically engage with.

Snails, mussels, oysters, samphire, that sort of thing - anything you have to get involved with, really.

Fast forward from 1983 (or something like that) to today (well, a few weeks ago from today) and I saw a globe artichoke and HAD to buy it and HAD to find out how to cook it for myself for the very first time I’ve ever cooked one.

It was so, so good.

So good I called my dad to see if he remembered Globe Artichoke Day that is such an important date/memory for me and he did! He hadn’t remembered that it was Lyon but he knew exactly what I was talking about and commented that I had always been quite open about my food choices and keen to experiment.

I loved it so much I just wanted to get another and try it again.

And so I did.


Yesterday I re-watched (again - it’s one of my favourite films of all time) the movie Julie and Julia and of course - bien sur - immediately then wondered why I hadn’t before now consulted my copy of Mastering the Art of French Cooking re The Artichoke.

Zut alors!

So here is how I prepared and cooked and ate my delicious globe artichoke and its accompanying lemon butter ( beurre au citron) with a little help this time from Julia.


Straight in with a Julia tip then.

Last time I’d just cut the stalk off but she says to bend the stalk and find where it naturally snaps.

This feels natural to me as it’s what we do with asparagus so I liked that and also I really liked that when it does - finally (ok with a little help from me for the one I had) - snap off, you take with it lots of the stringy hairy stuff that was otherwise going to be at the bottom of the heart.

Anyway, however you choose to take off the stalk, just neaten it up with a knife so that your artichoke stands tall and stable on its own, upright on a plate.

And pull off any little leaves that are around the base too.

Next lie the artichoke on one side and cut about 2/3 of an inch off the top.

Then take your kitchen scissors and cut the point off the very top of each leaf.

And we now have a lovely neat artichoke ready to cook.

If you have a lemon, I liked this idea (from Julia) to rub lemon juice over all the cut parts of the artichoke.

But to be honest I don’t think you have to keep it in cold water with some vinegar to stop it discolouring - if all we’re doing is waiting for a big saucepan of water with salt to boil!

When it’s boiling, add the artichoke and boil for 25-35 mins, depending on size.

Take it out of the pan when done and turn upside down in a colander to drain.

You can leave it to rest here while you make your sauce if you haven’t already done so. It doesn’t matter either way - globe artichokes are good hot or warm or even cold.

I just let mine have a little rest in the colander while I made a melted lemon butter sauce to dip it in.

You can of course make any sauce you like to go with your artichoke - a lovely vinaigrette French dressing; mayonnaise; melted butter; lemon melted butter sauce; hollandaise …

I LOVE lemon butter, beurre au citron.

First time, a few weeks ago, I just put my room temperature butter in a little pan with lots of salt and pepper and lemon juice (I think it was one big juicy lemon) - and then simmered for a little.

It was delicous.

Today, I tried Julia’s method for Beurre au Citron lemon butter sauce and I have to say I do think there was a certain je ne sais quoi that was just that little bit better about it!

I didn’t measure though - although she does give quantities in the book - as I only had one lemon and I have no idea if its juice was anywhere near 1/8 of a pint …

I choose to use my own taste buds as to whether it’s good or not.

So in went the lemon juice, some salt and a good big pinch of white pepper and I brought this to a simmer.

Then a couple of little cubes of butter, chilled, straight from the fridge - and as they hit the pan, take the pan off the heat. Whisk the butter in.

When absorbed, put the pan back on a very gentle heat and add more butter, cube by cube, as each melts and becomes part of the sauce.

Taste every now and then so you know if still has a good lemony tang.

Once all the butter you choose to add is melted into the sauce, add a teaspoon or two (or three) of hot water, straight from the kettle and stir this in too.

And that’s the sauce done ….

To eat- you just pull off a leaf at a time from the artichoke.

Dip the end into the melted lemon butter - or other sauce of your choice.

Scrape off the delicious tender flesh between your teeth and discard the rest of the leaf.

When all the leaves are finished, you will come to the heart.

This we can eat with a knife and fork - but again dipping each forkful into the sauce - after of course scraping away the choke or hairy bits.

It’s so worth the work, that little effort.

The heart is delightful. It’s like the leaves were just the build up somehow to getting, to having, to eating … that tender heart of the plant in a bigger amount.

A whole forkful of artichoke heart, dipped into your favourite sauce.

It’s not just activity food.

It’s kind of heaven food.

BEAUTY FOOD NOTE

Artichokes are low in fat, high in fibre, and full of vitamins and minerals such as vitamin C, vitamin K, folate, phosphorus, and magnesium. They are also one of the richest sources of antioxidants.


YOU MIGHT ALSO LIKE …

Spaghetti with creamy avocado sauce

Simple, delicious and immune-boosting (vitamins A, C and E are all present in avocados).

Plus we’re adding fresh lemon juice and some gorgeous olive oil to the sauce just to up the goodness stakes.


Here we go …

For one or for two, basically it’s up to you how runny or thick you make the sauce:

one lovely soft ripe avocado

fresh lemon juice

a glug or so of olive oil

a handful of fresh basil leaves

salt and pepper

a pinch of dried chilli flakes

a little slosh of water if needed to loosen it up or to make the sauce thinner (as you choose)

Adjustments.jpeg
Adjustments.jpeg

Blend the sauce ingredients first so that’s ready to go and then cook your spaghetti in a big pan of salted water.

When you drain the pasta, make sure you keep some of the cooking water behind too, just in case you need to loosen the pasta a little more.

Pour the sauce over the pasta and make sure it’s covering all of it - keep mixing!

And then add salt and pepper and grated parmesan - if liked - and some extra fresh basil to garnish.

Super simple, super good for you and super good for this time of year as we head into winter and want our immune systems to be happy and strong.

Adjustments.jpeg
Adjustments.jpeg

PS. Yes, it’s unnecessary to have two almost identical photos of the dish but I’m just having one of those days where I can’t decide which I prefer!


YOU MIGHT ALSO LIKE …

Egg-fried cauliflower ‘rice’ with prawns

This is so good. So good.

And it has taken me SO long to get how to make cauli rice delicious!

One tip … make the cauliflower ‘rice’ first as it takes a good half an hour or so.

Or rather it takes that long to make it delicious hehe.

I’ve tried other ways. You know, just stir-frying it- and yes, you can add flavour after of course, but there’s still something kind of wet and insipid about it (in my opinion).

So I started roasting the cauliflower instead (having become a little obsessed with cauliflower ‘steaks’) and this, well I think this is delicious!

Whizz the cauliflower florets up in the food processor until they are rice-like - or couscous-like if you prefer - and then tip them into a baking tray or something where they’ll be in a relatively thin layer.

Add some sprays of oil - I use a coconut oil spray - or a little olive oil, and some salt and pepper and mix it all up and then spread evenly again.

I cooked mine on Gas 7 (medium hot) for 15 minutes, then stirred it all around and gave it another 15 minutes.

It’s personal preference really - I really like it when it’s just starting to turn a little brown, but just test and try and see what you like. You might want to cook yours for a shorter time, or give it a bit more time to brown and crisp even more.

Once done, just leave it somewhere warm while you make the rest of the dish.

Or of course use it straight away as a side dish for something else!

(Like this quick chicken and veg stir fry).

Adjustments.jpeg
Rachel Redlaw The Tiniest Thai caulliflower rice stiry fry

But to make a prawn fried ‘rice’ for one, you’ll need:

cooking oil

a few slices of onion

a garlic clove, peeled and squashed and minced

1 birds eye chilli, minced (have more or less to your taste, of course)

some red pepper, chopped

about 1/3 of a Knorr chicken (or veg) stock cube

light soy sauce

fish sauce

a little white sugar

a few raw prawns, deveined (you could use ready cooked of course)

one egg

coriander leaves to garnish (if liked) and half a lime to serve

Use a good non-stick pan, add a slosh of cooking oil and when hot add the onion, garlic, chilli and red pepper (yep, the red pepper at the same time, why not? I’ve tried waiting for the ‘aromatics’ to cook a little first and to be honest I don’t think it' makes any difference in a quick dish like this, so the simpler it is, the better).

Stir for a few second until it’s beautiful and fragrant. Make sure the garlic doesn’t burn and add a little slosh of water if it’s looking like sticking.

Then add a slightly bigger slosh of water and crumble in the piece of stock cube and bring to a boil.

Add a slosh each of light soy and fish sauce and add a pinch of sugar.

Stir and then add those lovely prawns and simmer for three minutes or so until they turn from grey to pink and are pretty much cooked.

Add the cauliflower rice and stir until it’s all hot.

There should be very little liquid left in the pan, so if you have a more try to boil some off before now, while you cook the prawns (this assumes you read the recipe in full of course before starting it, which I can’t say I always do!).

Push the whole stir fry to one side of the pan, add a tiny splash more cooking oil and then crack in the egg.

Leave it where it is and count to ten and THEN scramble it all in together and stir until it’s all perfect and the egg cooked through the mixture.

Turn out onto a plate (I pack the mixture into a little bowl and then turn over onto a plate so it keeps that lovely shape) and garnish with fresh coriander leaves if liked and serve with a wedge of lime to squeeze over.

69810905-5ED1-4A77-95B9-94B738AB1491.jpeg


YOU MIGHT ALSO LIKE …

Parmesan cauliflower ‘steak’

I’m a little bit obsessed with cauliflower ‘steak’ right now and I’m pretty sure you will be too once you try it.

You just need a nice fat slice of cauliflower, cut from the middle of the head so you have the whole piece, including the stalk, although do remove any leaves etc.

I always find on cutting my ‘steak’ piece that several florets kind of want to be a part of things too, so I just add them to the pan and have them later in a stir fry or salad (or straight from the pan after eating my steak if I’m feeling extra greedy).

Rub the steak on both sides with olive oil and salt and pepper.

Plus add whatever herbs or spices you like.

I love adding ground cumin.

You could try paprika. Or curry powder. Or chilli flakes. Or oregano. Just try it and see if you like it.

You can cook the cauliflower on a hot griddle pan for maybe ten minutes or so each side, but it gets so hot and smoky that I find roasting it in the oven easiest.

I put the cauliflower onto an oven dish and cook in a medium hot oven for 15 minutes or so and then turn for 15 minutes on the other side.

It’ll probably need a bit longer to be slightly blackened and soft and at perfect deliciousness so see what you think.

I added a handful of grated Parmesan to the top of the cauliflower for a last ten minutes cooking.

Cheddar or mozzarella would also be good.

Oh yum or how about blue cheese? Even bacon?

Or just keep it plain.

Adjustments.jpeg
Adjustments.jpeg

Have your cauliflower steak with salad or with stir-fried veg.

I’ve had it with steak steak (beef) and I’ve had it on noodles with charred little gem lettuce.

I think it would make an amazing burger too …. if you want another idea for a vegetarian burger, here’s my watermelon burger.

Perhaps try it with a curry sauce and rice.

Just do, do try it ….

3E9AF0BB-338A-4EE7-952D-843648A2C2FA.jpeg
Adjustments.jpeg


YOU MIGHT ALSO LIKE …

Watermelon burger

C28A1CEC-A8E8-455C-8798-65C30AA1A772.jpeg

I might never eat a beef burger again!

This is a watermelon burger and it’s absolutely delicious. PLEASE TRY IT!!

Having seen one recipe I kept seeing watermelon burgers everywhere (you know how it is) and as I had one I thought I’d try it.

So we have …

Watermelon (peeled of course) and in a little olive oil, salt and pepper and then onto a hot griddle for 3-4 mins each side - longer if your melon burger is thicker of course.

I added the bread roll to the same griddle pan to quickly toast it.

Accompaniments were what I had in the fridge really and thought would be good.

Greek yogurt with sweet chilli sauce stirred into it (to have in place of any butter or mayo) …. but next time I’ll use something spicier as the melon is so sweet when it’s cooked

cucumber

pickles

onion slices in white vinegar to remove the sharpness

feta cheese crumbled over - you could try other cheeses melted onto the melon - goat’s cheese would be good. Ideally a tangy cheese I think


The melon is a delight. Warm and sweet and a little charred.

I actually can’t wait to make this on a barbecue and surprise everyone with how good it is!

897E4A13-E640-4E84-83B4-3922D2E93682.jpeg
0AF7C5C0-625D-405D-8164-CBB74EB1E11E.jpeg


YOU MIGHT ALSO LIKE …

Courgette leek salad with (possibly) the best dressing ever

This one’s firmly based on a recipe from one of my favourite cookbooks, The French Women Don’t Get Fat Cookbook by Mireille Guiliano.

I love her writing and her recipes but I do usually change them up just a little bit, as with most recipes, as here.

This is the most beautifully simple dish that would be an utterly elegant side dish but I’m on a focused lose-the-lockfown-weight THING so I had this for lunch.

And I’ll be having it again soon. It was DELICIOUS.

The dressing makes enough for two so I have my second portion (this image) in the fridge ready for tomorrow’s amazing salad lunch idea (that I have already).

Honey, mustard, olive oil, lemony dressing = AMAZING.


To make it the way I did and to make a glorious, sunshine, light, gorgeous, healthy lunch for one, you’ll need:

FOR THE SALAD

2 leeks, cleaned, any tough outer layers removed, most of the green part cut off (use in soup another time) and the white piece remaining cut into a few smaller pieces

1 courgette, washed, peeled if you prefer, cut horizontally into slices and then these halved again

FOR THE DRESSING

2 tsp Dijon mustard

2 tsp runny honey

2 tablespoons olive oil

2 tablespoons freshly squeezed lemon juice

FOR THE MAKING IT ALL AMAZING

salt and pepper

fresh parmesan cheese, grated into little slices


Bring a big pan of salted water to the boil, throw in the leeks and boil on a fairly gentle boil for five minutes.

Add the courgettes, bring it back to the boil and give it another two minutes.

Drain and leave to cool.

Make the dressing while the vegetables cool by mixing all the dressing ingredients together in a bowl (to be honest, I started eating it straight from the bowl with a spoon). Obviously taste and adjust the quantities so it’s exactly right for you.

When the vegetables are cool, tip into a bowl and season with salt and pepper to your liking.

Toss and add some of the dressing and toss again.

Taste again!

Crumble or peel or grate on some parmesan cheese.

When it’s perfect, just pile it all up and dig in …. this is SO SO GOOD.

966A7823-599A-4FA9-A8EF-0F8029D26174.jpeg
Adjustments.jpeg


YOU MIGHT ALSO LIKE …

So simple, so good - & it's just aubergine, tomato, onion, chickpeas

Yep I did actually pretty much write a whole recipe in the title!

So let’s write this recipe quickly too so you can just get on with making and eating this.

It’s so simple and so good.

I bought a beautiful glossy aubergine the other day - just because it was so beautiful and so glossy … and then didn’t know what to make with it.

i asked my friends on FB for their suggestions, recommendations and recipes and chose to make the simplest - sent by my friend Amoul.

OK, confession .

Even though I have eaten in Amoul’s restaurant and so tried her wonderful food, and not just once, oh no …

But I STILL read the simple recipe she kindly shared with me on my asking for help and I read it and I thought, ‘mmmmm I’m not sure about this, it sounds a bit bland’.

I asked her several questions, almost like I wanted it to be more complicated, like I didn’t really get that this much simplicity would be so delicious.

But hey - I have eaten her amazing food and I see her mouth-watering posts and I know she knows all about simple delicious food.

So I trusted.

And oh my goodness, it was utterly delicious.

My dinner didn’t even make it to a bowl or plate, I ate it straight from the pan.

Then I stopped and tipped the rest into a dish so that I would have some the next day (this is enough for two portions).

And then I got the spoon again and dug right back in again.

Amoul suggested serving with rice.

Not a chance here! I tried it and I couldn’t stop eating it.

This is definitely a new regular dinner over here and I hope you love it too. I think it would also be a very lovely accompaniment to some simple baked or pan-fried white fish.

Also - go follow Amoul


Oops sorry, chatted on there more than I’d meant to.

This will make enough for two but if you have rice with it maybe more. Or maybe just make as much as you can as it’ll keep in the fridge a couple of days anyway.

Here’s what you need …

one white onion, peeled and finely chopped

a tablespoon of olive oil

one lovely beautiful glossy aubergine (eggplant) washed and diced

a tiny crumble (maybe a quarter) of a Knorr stock cube - but just omit if you don’t have/don’t want

three nice happy large vine tomatoes (more if small) peeled and chopped

salt and pepper

one tin of chickpeas, drained and rinsed

rice to serve, if liked


Saute the onion in the oil over a low heat, stirring often, for AGES - or it feels like ages anyway.

Don’t let it burn or stick so add a splash of water if needed.

Just go gentle, this is a very gentle dish.

Let it saute at its own pace - maybe up to 10 minutes - until soft and translucent.

Add the diced aubergine and the little crumble of stock cube, if using, and a little splash of water and stir.

Cook gently with a lid on the pan, stirring every now and then, for 6 or 7 minutes.

Check that the aubergine is really softening and cook a little longer if not.

Add in those lovely peeled fresh tomatoes and also now’s when to add the seasoning - so salt and pepper to taste.

I’d go a little tiny bit more heavy handed than you might normally do, but remember you can always add more, can’t take away.

Cover the pan again and simmer - gently - for another five minutes then stir and taste.

Add the tin of drained, rinsed chick peas, stir.

Add a little water if needed but it shouldn’t need.

Cover and simmer - gently - for a few minutes, maybe three.

Take the lid off, turn up the heat a little if it’s very liquid and cook for another minute or two.

Taste, add more salt and pepper if needed.

Try not to eat the whole thing straight from the pan yourself but let others also have some dinner ….


Adjustments.jpeg
Adjustments.jpeg


YOU MIGHT ALSO LIKE …

Gamja-jeon- Korean potato pancake with dipping sauce

Now, there’s some foods I just see a photo of and HAVE to make, or find, pretty much immediately!

When my niece, Mia, posted this on her insta recently - having returned from a trip to South Korea at the end of last year - well, this was one of them. She also has some other cool food ideas so if you want to go and check them out (and her beautiful singing) then the link’s HERE.

OK, straight onto this little beauty then.

Easy and delicious equals just about my favourite food ever and this is a traditional Korean potato pancake with a little dipping sauce.

Here’s what you’ll need for a good big pancake lunch for one, or as a side dish for two:

1 large potato, peeled and grated (mind your hands, I DID grate mine a little, yes)

About 1/4 of a finely sliced and chopped white onion or a few spring onions, finely sliced

1 teaspoon salt

1 tablespoon or so of plain flour

Combine the ingredients and then when adding the flour, mix until it’s a kind of sloppy dough consistency - add a little more if needed.

Then get a good non-stick pan on over a medium heat and add a good slosh of an oil that heats to a high temperature and doesn’t have too much flavour - grapeseed or rapeseed is ideal but a vegetable oil works too.

When hot, tip in the potato mixture and start to shape into a flat pancake.

Adjustments.jpeg
Adjustments.jpeg

When it’s nice and flat let it cook for about four minutes then turn (carefully not breaking the pancake) and cook for another four on the other side.

Add a little more oil if needed.

Adjustments.jpeg
Adjustments.jpeg

We want a nice crispy browned pancake so see what yours needs by now …. I turned the heat down a little, turned the pancake again and cooked for another three minutes on each side.

Adjustments.jpeg
Adjustments.jpeg

While the potato pancake cooks, mix up the dipping sauce.

You’ll need:

2 spring onions finely chopped (optional)

1 tablespoon light soy sauce

1 tablespoon rice vinegar (I didn’t have any so just used white malt vinegar)

the juice of one lime or lemon

1 chopped hot chilli

1 teaspoon of sugar

Stir to combine and dissolve the sugar then taste and see if you want to add more sugar, more lime, more vinegar?

When it’s as you like it, it’s ready.

Adjustments.jpeg
Adjustments.jpeg

Serve and eat the delicious hot crunchy potato pancake with the cool spicy dipping sauce and maybe squeeze over a little more lime juice, if liked.

I thought this was absolutely delicious and so simple too - I’ve made it three times this week … oops!


YOU MIGHT ALSO LIKE …

Easiest storecupboard tortilla/wrap ‘pizza’

Well, I only like very thin and crispy pizza bases so using one of these wraps just really works for me - I love it!

Plus it’s so simple and fast too.

http://rachelredlaw.com/recipes2/simple-tomato-sauce

Aha … but it’s fast if you already have some of this delicious tomato sauce in the fridge (and personally, I’m thinking I now need a batch in the fridge at all times) or you have a tomato pizza sauce that you like ready to use.

So, assuming you have your chosen tomato sauce ready to go, let’s go ….

For each wrap pizza, you’ll need:

tortilla / wraps (mine has got quinoa and chia and is so delish)

a good tomato sauce, whether homemade or store-bought

a big handful of grated mozzarella cheese (or cheddar, or a combination of both)

whatever other toppings you want! You might choose tuna, or mushrooms, or sweetcorn, or anything really. I had capers and some dried chilli flakes

And then I just took the grill off the grilling pan and put the pan in a hot oven for a couple of minutes to heat up.

Using oven gloves (ok, a tea towel) then took the pan out of the oven and put it over the hob and laid the tortilla wrap on it.

I spread the tomato sauce all over it and sprinkled over the cheese, then added the capers and some dried red chilli flakes.

Put back into the oven, now reduced to a medium heat, for ten minutes.

Then I put it under the grill for literally a minute or two more and that was that.

Crispy, cheesy, amazing tomato sauce. So simple, so delicious, so kind of just …. GOOD.

And we all need some just good right now.

I hope you like this one too.

A2B00158-86DC-4070-AF96-B869464C6668.jpeg
56C7DB8F-4929-408E-AAF8-715284D7B05E.jpeg


YOU MIGHT ALSO LIKE …

Delicious, easy, anti-inflammatory ginger turmeric carrot soup

So first of all, let’s just talk about a ‘self-retreat day’.

Well, it’s like a retreat, but at home, and also just doesn’t need any planning or thinking about. You can choose to do it any time really, although of course a nice clear weekend day without plans will be easiest.

I don’t even know if this is what she was thinking but I was chatting to Jessa on Saturday morning and she said the words ‘self-retreat’ and I just decided there and then that that was what I needed right away, that same day.

Another friend, Leah, asked me what I meant by a ‘self-retreat’ and so I’ll just share the answer I gave her:

“My definition is a day or however long you decide when you only do what feels amazing and nourishing for you. I had an appointment with my osteopath today and so had the most amazing back and neck and hip massage.

Then went and bought vegetables and had a good long walk.

Made soup.

Read and wrote.

Napped.

Had thought I might do yoga and clean the house (or even just wash up!) but nope neither are feeling amazing today so I’m going to take the dog out soon and read in bed.’

THAT was my self-retreat Saturday.


Sooooooo … anyway ….. onto the aforementioned soup.

It’s easy, really easy, and very delicious and also super healthy and anti-inflammatory and I just felt I needed it for nourishment and extra gut-healing stuff (having only just got better from six weeks of suffering with campylobacter - honestly, you’ll remember that weird name forever should you ever get it. NOTE - don’t be like me, don’t be cavalier with the tap water when abroad).

I made enough soup for a couple of big big bowls so up to you if you think this is a recipe for two people or for one (er, I decided one needed all the health and nourishment for oneself).

To make it, you’ll need:

Lots of garlic - maybe 2-3 cloves - squashed, peeled and minced

One red onion, diced

A good piece of turmeric root, peeled and grated (peel by scraping off the skin with a spoon otherwise you’ll lose loads of the flesh if you use a peeler)

Approx 1 litre boiling water

1 chicken or vegetable stock cube

A good piece of ginger, peeled (with a peeler) and grated

Lots of carrots - I had five good sized ones - peeled and sliced

Some fresh thyme leaves - but only if you have them, otherwise just leave out

A small head of cauliflower, cut into florets

Salt and pepper

Fresh parsley to serve

First, the garlic and red onion sautéed in olive oil.

Then add the boiling water and stock cube and tip in the grated ginger and turmeric and the carrots. I added some fresh thyme too just because I had it.

Adjustments.jpeg
Adjustments.jpeg

Simmer for ten minutes then add a small head of cauliflower cut into florets.

Season with Himalayan pink salt (or sea salt) and freshly ground black pepper.

Adjustments.jpeg
Adjustments.jpeg


Simmer for around 20-30 minutes - stir occasionally - when it’s done remove from heat and add fresh parsley.


Taste and add more seasoning if needed.

Adjustments.jpeg
Adjustments.jpeg

YOU MIGHT ALSO LIKE …

Thai grapefruit salad

I love spicy full-of-flavour salads eaten wrapped in lettuce leaves, from my favourite laarb to a a recent recipe for Thai coconut peanut prawn lettuce wraps.

And this recipe has that same coconut and peanut combination but is really fresh and light and tangy …. it’s a beautiful summery dish.

I saw it on my instagram friend Gena’s feed back in June, made it pretty much instantly but then totally forgot to post it!

So I hope you see this and have a chance to make it before the end of the summer.

I think next time I’ll make it I’ll use little gem lettuce ‘cups’ with the grapefruit salad already spooned in, but for this one I used bigger lettuce leaves to tear off and wrap around the salad.

I chose this pink grapefruit as I like the sweetness of pink grapefruit and of course for how pretty it is! Plus red and pink grapefruit contain more antioxidents than yellow.

This is a great anti-aging dish as everything is fresh and nothing cooked, so you get all the hydrating benefits possible.


To make a lovely starter for perhaps four, or a light lunch for two, you’ll need:

1 large grapefruit, torn into small chunks

2-3 dessert spoons of dessiccated coconut

2 -3 dessert spoons of peanuts (I used salted ones as that was what was in the shop), crushed or chopped very small

1 small red onion, or half a larger one, sliced very finely

1 handful of fresh mint leaves, finely chopped

1 handful of fresh coriander leaves, finely chopped

1/2 tablespoon demerara sugar

1 tablespoon fish sauce (or a light soy sauce to make this vegetarian)

the juice of 1/2 - 1 (depending on how juicy it is and how you like it!)

2 red bird eye chillies

lettuce leaves, to serve


I like to toast the coconut and peanuts, but you can add them just as they are too - that’s how it was in the original recipe.

To toast, put a non-stick pan over a medium heat, add the coconut and chopped peanuts and toast until a light brown. Stir constantly and watch it closely - it’ll be the one second you look away that it suddenly burns!

Remove from the heat and set aside.

public.jpeg
public.jpeg
public.jpeg

Make the dressing by pounding the chillies in the mortar with the pestle into small pieces, almost into a paste, then add the sugar, fish sauce and lime juice.

Mix together and taste to see if you need more sugar, fish sauce or lime juice so it’s perfect for you - and bear in mind the sweetness or tartness of your grapefruit too.

Tip the dressing into a larger bowl and add all the other ingredients, adding any juice that’s come out of the grapefruit too, and mix to combine.

Serve with the lettuce to make little bite-sized wraps of salad.

public.jpeg
public.jpeg
public.jpeg


YOU MIGHT ALSO LIKE …

Delhi-style green beans with ginger + green chilli (and noodles)

I’ve been getting so inspired this weekend reading Madhur Jaffrey’s Curry Easy Vegetarian and really wanted to try these green beans.

It’s a side dish really but I couldn’t wait to make it as part of a bigger meal, so cooked it this morning and had with noodles for brunch … and loved it.

I think it works perfectly on it’s own like this with noodles or with rice and it’s really simple too.

I adapted slightly (eg I didn’t have any asofoetida and I was making a much smaller quantity) so if you’re just making a portion for you to have with noodles too, here’s how I made mine.

You’ll need

most of the beans from a packet (mine was 220g and I had all but a few that I want for a salad later

2 teaspoons olive oil

1/4 teaspoon cumin seeds

1-2 green chilies, finely chopped

2 teaspoons or so of freshly peeled and grated ginger

1/2 teaspoon salt or to taste

1/2 teaspoon ground coriander

a tablespoon or two of water

Put a pan of water on to boil whilst you top and tail the beans and cut into smaller pieces. I actually didn’t top and tail mine but just topped because I like how the little curly tails look!

When the water’s boiling drop in the beans and boil rapidly for five minutes, then strain and set aside.

Put a non-stick frying pan over a medium heat, add the oil, swirl to cover the pan.

When it’s hot, drop in the cumin seeds and let them sizzle for a few seconds.

Take the pan off the heat and add the chillies and ginger - this will sizzle! Stir a few times then add the beans, salt, coriander and water.

Rachel Redlaw Delhi-style green beans with ginger + green chilli

Put back on the heat and turn it down low. Cook the beans very gently for another five minutes, stirring now and then.

While the beans were cooking gently I made my noodles and then just stirred them in when the beans were done.

So simple and so good.


YOU MIGHT ALSO LIKE …

Peppery garlic asparagus stir fry

Yep, it’s asparagus season!

And after a visit to the local Farmers’ Market I had enough asparagus to just get creative with - which is really what I love to do with food: get great ingredients and then just have fun, playing around and trying out new ideas.

First I made a Thai soup with coconut milk, a tom kha - I’ve usually had this with chicken or seafood, but I made it with asparagus and really liked it.

Next up this peppery, garlic stir fry.

In my head I’d wanted fresh green peppercorns but I was definitely too lazy to go out and get the bus up to the Thai supermarket to buy some, so I tried a mix of black, and pink peppercorns (that I had whole and ground) and some white pepper (ready ground).

I’ve since made it again with just white pepper to see what it was like, and it was still good.

Quantities are kind of vague (as they often are!) but here’s what I used to make this super simple peppery asparagus stir fry.


A teaspoon of cooking oil - sunflower, rapeseed or grapeseed will be best

Just over a teaspoon of ground peppercorns - your choice as to what you use but on the first occasion I used a mix of black, pink and white and on the second just white pepper on its own

1 garlic clove, minced

1 red chilli, diced finely (the chilli is optional and when I made this a second time I didn’t put one in and probably preferred it without - instead I had the asparagus as a side dish with a spicy chicken stir fry and rice)

A handful of asparagus spears - I LOVE how when you bed the asparagus it just KNOWS where the right place is to snap off - woody stalk snapped off and sliced

2-3 tablespoons water

2 teaspoons fish sauce

1/2 teaspoon sugar

Fresh coriander leaves, chopped (if liked - if not just leave out)


Put a non-stick frying pan over a medium heat, add the oil and swirl to cover the pan.

Add the pepper and garlic (and chilli if using) and cook for 20-30 seconds, stirring all the time, until it smells good. Add a splash of water if it looks like it’s going to stick or burn - it needs to keep moving.

Rachel Redlaw peppery garlic asparagus

Then tip in the sliced asparagus and stir to cover with the lovely oily peppery garlicky mixture and then add the water, fish sauce and sugar.

Do adjust the amount of water if you’d like more of a sauce or if at any point in the cooking time it looks like it’s run out of water and is going to stick.

Cover and simmer for about four minutes until the asparagus is cooked but still has a crunch - or to your liking of course. If you prefer it softer, cook it a little longer.

Add the coriander leaves if using and stir to mix it all together.

Rachel Redlaw peppery garlic asparagus

Serve on its own with rice for a delicious light lunch or supper, or have alongside other dishes in a multi-dish meal.

Rachel Redlaw peppery garlic asparagus


YOU MIGHT ALSO LIKE …

Tom kha - Thai coconut soup with asparagus

It’s asparagus season so get ready for a GLUT (ok maybe two or three) asparagus recipes from me… starting with this lovely coconut soup.

This is enough for one, or for two if you’re making it as part of a multi-dish meal.

If you’re serving this with rice, make the rice first and leave it to keep warm and fluffy while you make the soup.

Take a good handful of asparagus spears and snap the woody ends off.

I love that you can’t really judge where the right point would be to cut them off but instead just bend them back and where they naturally want to snap is of course is the exact right place for them to snap (I feel there’s a life lesson in here somewhere too).

Slice the asparagus spears into smaller lengths and put into a bowl with about a quarter of a white onion and a few mushrooms, washed and chopped.

So far, our ingredients have been:

8 or so asparagus stalks

1/4 white onion

3-4 mushrooms

And we’ll also need:

1 red birds eye chilli, diced

1 thumb-sized piece of ginger, peeled and cut into slices

1 stalk of lemongrass, outer woody layers removed, the bottom and top inch or so cut off and then sliced into rounds

a few kaffir lime leaves, torn from the stalk and then torn again into smaller pieces

half a tin of coconut cream plus half a tin of water (or use coconut milk)

four cherry tomatoes, halved (or a couple of larger tomatoes, cut into chunks)

a pinch of sugar

a dash of fish sauce

a handful of coriander leaves, chopped

half a lime

IMG_2270.jpeg
IMG_2273.jpeg

Get the chilli, ginger, lemongrass and lime leaves together so it’s ready to add to the soup and then put the coconut cream and water into a pan and gently bring to a simmer.

I think it’s good to be gentle with the coconut milk mixture so let it breathe and take its time.

When it’s just about simmering, add the aromatics (the chilli, ginger, lemongrass and lime leaves), stir and again just wait until it comes back to that almost-simmer.

Then tip in the vegetables, stir and bring to a proper gentle simmer - and cook for five minutes.

Add the tomatoes, sugar and fish sauce and stir and cook on a gentle simmer for another five minutes.

IMG_2275.jpeg
IMG_2277.jpeg
IMG_2278.jpeg

Taste and check if you want to add any more sugar or fish sauce and if it tastes good add the fresh coriander and squeeze in the juice of half a lime, stir and simmer for another minute.

Ladle into a bowl and serve with some rice.

I’ll leave you with a question …

Do you add your soup to the rice or the rice to your soup?!

IMG_2279.jpeg
IMG_2281.jpeg


YOU MIGHT ALSO LIKE …


Avocado salad

A couple of weekends ago, when I was last in Cornwall, we visited this beautiful National Trust house and gardens, Trerice. It was one of those ones that’s small enough and so completely gorgeous that always makes me think, ‘I could live here!’.

And within the outbuildings of the house there was not only a very good cafe but also a second-hand bookshop - where I bought this book for 50p.

I mean, South-east Asian salads?! I cannot have enough of them!

IMG_0931.jpeg
IMG_1394.jpeg

And one of the recipes in the book was for this Malaysia avocado salad that I’m making today - with a few little changes, as always, to make it exactly as I’m going to love it.

It’s so so good!

I’ll definitely be making this again (and again).

For a delicious light lunch for one, or as a side for two (I’m going to be having this with steak or grilled chicken soon), you’ll need:

1 nice ripe avocado

half a lime

3 dessert spoons or so of cottage cheese

1 dessert spoon or so of natural yogurt

1 very small - or half - a garlic clove, minced

1 green chilli, diced finely

some chopped chives - of, if you don’t have any but do have coriander leaves, use those (as I did)

1 spring onion, diced finely

some smoked paprika, chopped fresh mint leaves, and chopped lettuce - to serve


Cut the avocado in half, remove the stone, and dice the flesh. Set aside and squeeze some lime juice into the halves.

Put all the remaining ingredients (except for the garnishes) into a bowl and mix thoroughly and add a little salt and pepper to taste, plus another squeeze of lime juice, and then fold in the avocado cubes.

Put this bowl into the fridge for 10-15 minutes to chill.

IMG_1384.jpeg
IMG_1385.jpeg

When you’re ready to make the final dish, add some of the chopped lettuce into the avocado shells, then fill with the chilled mixture.

Add the rest of the lettuce to your serving dish, and top with the filled avocado shells.

Finish with a little salt and pepper if liked, and a powdering of smoked paprika plus a little chopped fresh mint … and eat!

This is just so fresh and easy and light and delicious, I’ll definitely be having it again soon.

IMG_1387.jpeg
IMG_1389.jpeg
Rachel Redlaw avocado salad

I made it again the other day and instead of scooping it all into the shells, I just put the shredded lettuce on a plate and all the yummy avocado mixture on top!

It might not look that appetising, but it tasted amazing :)


YOU MIGHT ALSO LIKE …

E945EA54-E621-46A1-BECF-09C3B8228BC8.jpeg

Kinda Thai congee savoury spicy oats

Having recently learned (as part of my studying with the Academy of Beauty Nutrition) what a superstar superfood and skin-beauty-food oats are, I had to give them another try and see how I could make them work for me.

I think I’ve never really liked porridge as it tends to be sweet and I prefer eating savoury foods.

So I’ve been playing with savoury oats - and two dishes are now actually my new favourite weekend breakfasts!

Good for you, filling, satisfying, simple and full of flavour.

I started with this Thai-influenced savoury oats - I had a sort of breakfast rice porridge congee in mind - and I also made a delicious South Indian-inspired savoury breakfast oat dish too.

For this kinda-congee and to make enough for one person you’ll need:

1 teaspoon coconut or olive oil

1 garlic clove, peeled and minced

1/2-1 red birds eye chilli (to your taste) - chopped finely

Chopped vegetables - mushroom, peppers, carrot … whatever you have and like

200 ml stock made with 1/3 Knorr stock cube (chicken or vegetable, your choice)

Oats - I use two scoops of this coffee scoop that says 7g on it

Light soy sauce

Fish sauce (just omit if you’re making this vegetarian or vegan)

1/2 teaspoon sugar

1 or 2 spring onions, chopped

chopped fresh coriander, if liked

Juice of 1/2 lime

IMG_0533.jpeg
IMG_0673.jpeg
IMG_0536.jpeg

First, prepare the vegetables.

Put the oil into a non-stick frying pan and when starting to warm, add the garlic and chilli and stir for about 30 seconds until it releases that beautiful smell!

Then add the vegetables and a good splash of water and cook for 3-4 minutes - I put a lid on top as I want to keep all the water/steam goodness in the vegetables.

Put to one side and in a saucepan add the oats and stock and simmer, stirring often, for four minutes.

Add the vegetables to the oats and stir to mix - if it’s too sticky add a splash of water.

Add the soy and fish sauces, the sugar, spring onions, coriander and lime juice and cook for another minute or two, stirring all the time.

IMG_0672.jpeg
IMG_0675.jpeg
IMG_0676.jpeg

And that’s it! Super-fast, filling and tasty … I really hope you like this too.

I had been planning to top this with a poached egg but oats are so high in protein it’s definitely not ‘needed’ nutritionally.

I also found the oats so filling I think the egg might have been too much! But if you’re very hungry or just fancy it, then an egg on top would be very delicious.


YOU MIGHT ALSO LIKE …

South Indian inspired breakfast savoury oats

I’ve been playing with making savoury oats recently.

I’ve never really been a big fan of oats/porridge - but I’m currently studying anti-ageing beauty nutrition and have learned what a real superfood oats are for beautiful skin.

When I learned how incredibly good they are, well, that was it, I had to see what I could experiment with and what I could do with them.

And so far, I’ve come up with two dishes that I think are delicious - a kind of Thai congee and this South Indian-inspired savoury breakfast. These are both really satisfying and filling as well as being so good for us.

What you’ll need to make enough for one person:

1 teaspoon coconut or olive oil

1/2 teaspoon black mustard seeds

1/2 teaspoon cumin seeds

1 small piece of ginger, peeled and grated - perhaps a teaspoon

1 garlic clove, peeled and minced

1/2-1 green chilli, chopped very finely (use enough for your own taste)

250 ml stock (boiling water and a small piece, perhaps 1/3, of a Knorr vegetable or chicken stock cube)

a mixture of vegetables, sliced or chopped into small pieces - carrot, peppers, mushroom, broccoli florets, spring onions … whatever you have and like

a tablespoon or two of cooked green lentils - entirely optional but I had some one day so decided to include them

oats (I use two scoops of this coffee scoop which says 7g on it) plus 1/2 teaspoon turmeric

chopped fresh coriander leaves to serve, if liked

Rachel Redlaw South Indian style breakfast savoury oats
Rachel Redlaw South Indian-inspired savoury oats

Prepare everything so it’s ready to go as this cooks beautifully fast.

Add the oil to a saucepan and when it’s warmed add the mustard and cumin seeds and stir, cooking for maybe 20-30 seconds until it all starts to sizzle. Then add the ginger, garlic and chilli, stir and add a splash of the stock to keep it all moving and make sure it doesn’t stick.

After another 30 seconds tip in the rest of the stock, the vegetables and the lentils if using and bring to the boil.

Simmer with a lid on - or mostly on - to retain the water and steam - for three-four minutes (I did four minutes because I had broccoli which takes longer to cook, but without broccoli I’d have given it three minutes).

Add the oats and turmeric and simmer on a low heat for four minutes, stirring regularly - and of course add another splash of water if it needs it.

IMG_0688.jpeg
IMG_0689.jpeg
IMG_0693.jpeg

And that’s it!

Top with some chopped fresh coriander if liked.

I found this such a gentle yet satisfying dish, I really hope you like it too.

A spoonful of mango chutney on top would have been delicious - but I devoured it before I thought of it!

Next time …


Thai-style avocado salad + peanut lime dressing

Well, I had intended to take more photos but …. it was just there. Nothing to take photos OF!

I chopped lots of lovely salad things:

avoacado

mango

red and yellow pepper

tiny tomatoes, halved

spring onions

a carrot

one courgette

a sliced red chilli

fresh coriander leaves

…. and put it all into a shallow dish

And then I made the delicious dressing!

2 tablespoons fresh lime juice

1 small garlic clove, peeled and minced

1 tablespoon demerera sugar

2 tablespoons white vinegar

2 tablespoons crunchy organic peanut butter

4 tablespoons light olive oil

Blend it all together with a grind each of salt and pepper … and taste, taste, taste to see if you think it needs more of anything before you serve it.

And that’s that!

You could always add prawns, chicken or chick peas perhaps if you wanted to make it more substantial, but I thought it was perfect the way it was - and the peanuts add richness.

Rachel Redlaw avocado salad


YOU MIGHT ALSO LIKE …

Chow mein with cashews or with pork

It was one of those dinners, where I didn’t quite know what I felt like, but I wanted it to be soft, warming, easy and good.

And looking at what was in the cupboard and fridge - and the fact I seem to have three packets of these noodles … well, it was going to be noodle based.

Chow mein is, I believe, just ‘fried noodle’, so you can kind of add what you want.

I made it one evening with pork, and then for brunch a few days later with cashew nuts.

I also realised I had no idea where my Chinese 5 Spice was (just VANISHED from the cupboard) so I quickly pounded up some spices to make mine - but I’m intending to get another jar as soon as I can as that would make things just that little bit easier.

I’m going to be as vague as I ever have been about quantities here as it’s just all going to taste good really, so it’s entirely up to you and what you feel like and what you have.

My recipe is based on this one from the Hairy Bikers, but as I didn’t have lots of the ingredients, I made a lot of substitutions!


Start by getting it all together, so if you have those ready-to-cook noodles (as I do today) that’s all good, and if you have dried noodles then soak them first and drain so it’s all ready to go.

For two, you’ll need:

Cooking oil

Noodles, prepared as necessary and ready to go!

1 teaspoon Chinese 5 Spice powder

Salt and pepper

A piece of pork loin or steak, around 250g, diced OR a good big handful of cashew nuts

Some sliced or diced vegetables - I have red and yellow peppers and carrot but spinach, broccoli florets, green beans, mushrooms … all good

A few spring onions, sliced (in my ingredients photo for the cashew version you’ll see I didn’t have any spring onions so used a sliced shallot instead)

A thumb-sized piece of ginger, peeled and grated

1 small birds-eye chilli (I don’t think chillies are traditionally in a chow mein but I just could’t help myself, so omit if you prefer)

1 garlic clove, peeled and minced

1 teaspoon corn starch

1 teaspoon demerera sugar (or plain white granulated is fine)

1 tablespoon dark soy sauce

3 tablespoons water

1/2 teaspoon toasted sesame oil

Rachel Redlaw chow mein

Put the pork or cashews into a bowl with the Chinese 5 Spice and a good grind each of salt and pepper.

Put the vegetables together in one bowl and the ‘flavour’ ingredients in another (the spring onions, the chilli, garlic and ginger).

And mix the cornflour, sugar, soy sauce, water and sesame oil together in a little cup.

Put a non-stick pan on over a medium heat, add some oil and then the pork or cashews - cook for approx 2 minutes, stirring all the time.

I’d keep the pork on a slightly higher heat and the cashews on a little lower. You want the pork to brown properly on all sides and you want the cashews lovely and golden.

Add a tiny splash of water at any time you think it might be sticking - you want it all to be able to MOVE!

Remove the pork or nuts from the pan and put into a bowl.

Rachel Redlaw chow mein

Return pan to heat, add a little more oil and then the sliced/chopped vegetables - stir fry for another minute or two and then add the ‘aromatics’ and stir fry for - yes - another minute of two! Add a splash of water as needed.

Remove and tip on top of the meat or cashews.

Return the pan again to the heat and add a little more oil … then add the noodles and a slosh of the cornflour/sugar/soy/water mixture - give it another stir first before you add it.

Cook, stirring all the time, over a medium heat for another 2 minutes.

Then add back in all the lovely pork/nuts/vegetables as well as the rest of the liquid mix.

Stir fry for another minute and then we’re done.

That’s it, really.

Rachel Redlaw chow mein

Add some sliced radish to serve - if you have some and you like it.

This is just a super easy, warm, gentle, quick little dinner and I hope you like it too.


YOU MIGHT ALSO LIKE …