Vegetables

Thai vegetable stir-fry with ginger, chilli and lime


I did consider joining in Veganuary, but realised that it didn't feel right to me to do so.

Generally I feel best when I eat fish, seafood, meat with salad and vegetables.

And I'm fine with that - we're all different and I think it's good knowing what feels best to you.

The only exception for me is if someone was to say they feel best only eating packaged, processed food ... that would test my belief a bit!

I also didn't want to sign up to something that I would then feel I HAD to stick to even if I wasn't feeling good about it ... yep, an over-strong sense of responsibility sometimes here (like Tamagotchis - remember them? I couldn't have one as I'd have felt so much responsibility!).

But I was definitely curious and have decided to just kind of participate in my own way, which is to experiment more with vegan and vegetarian food and recipes.

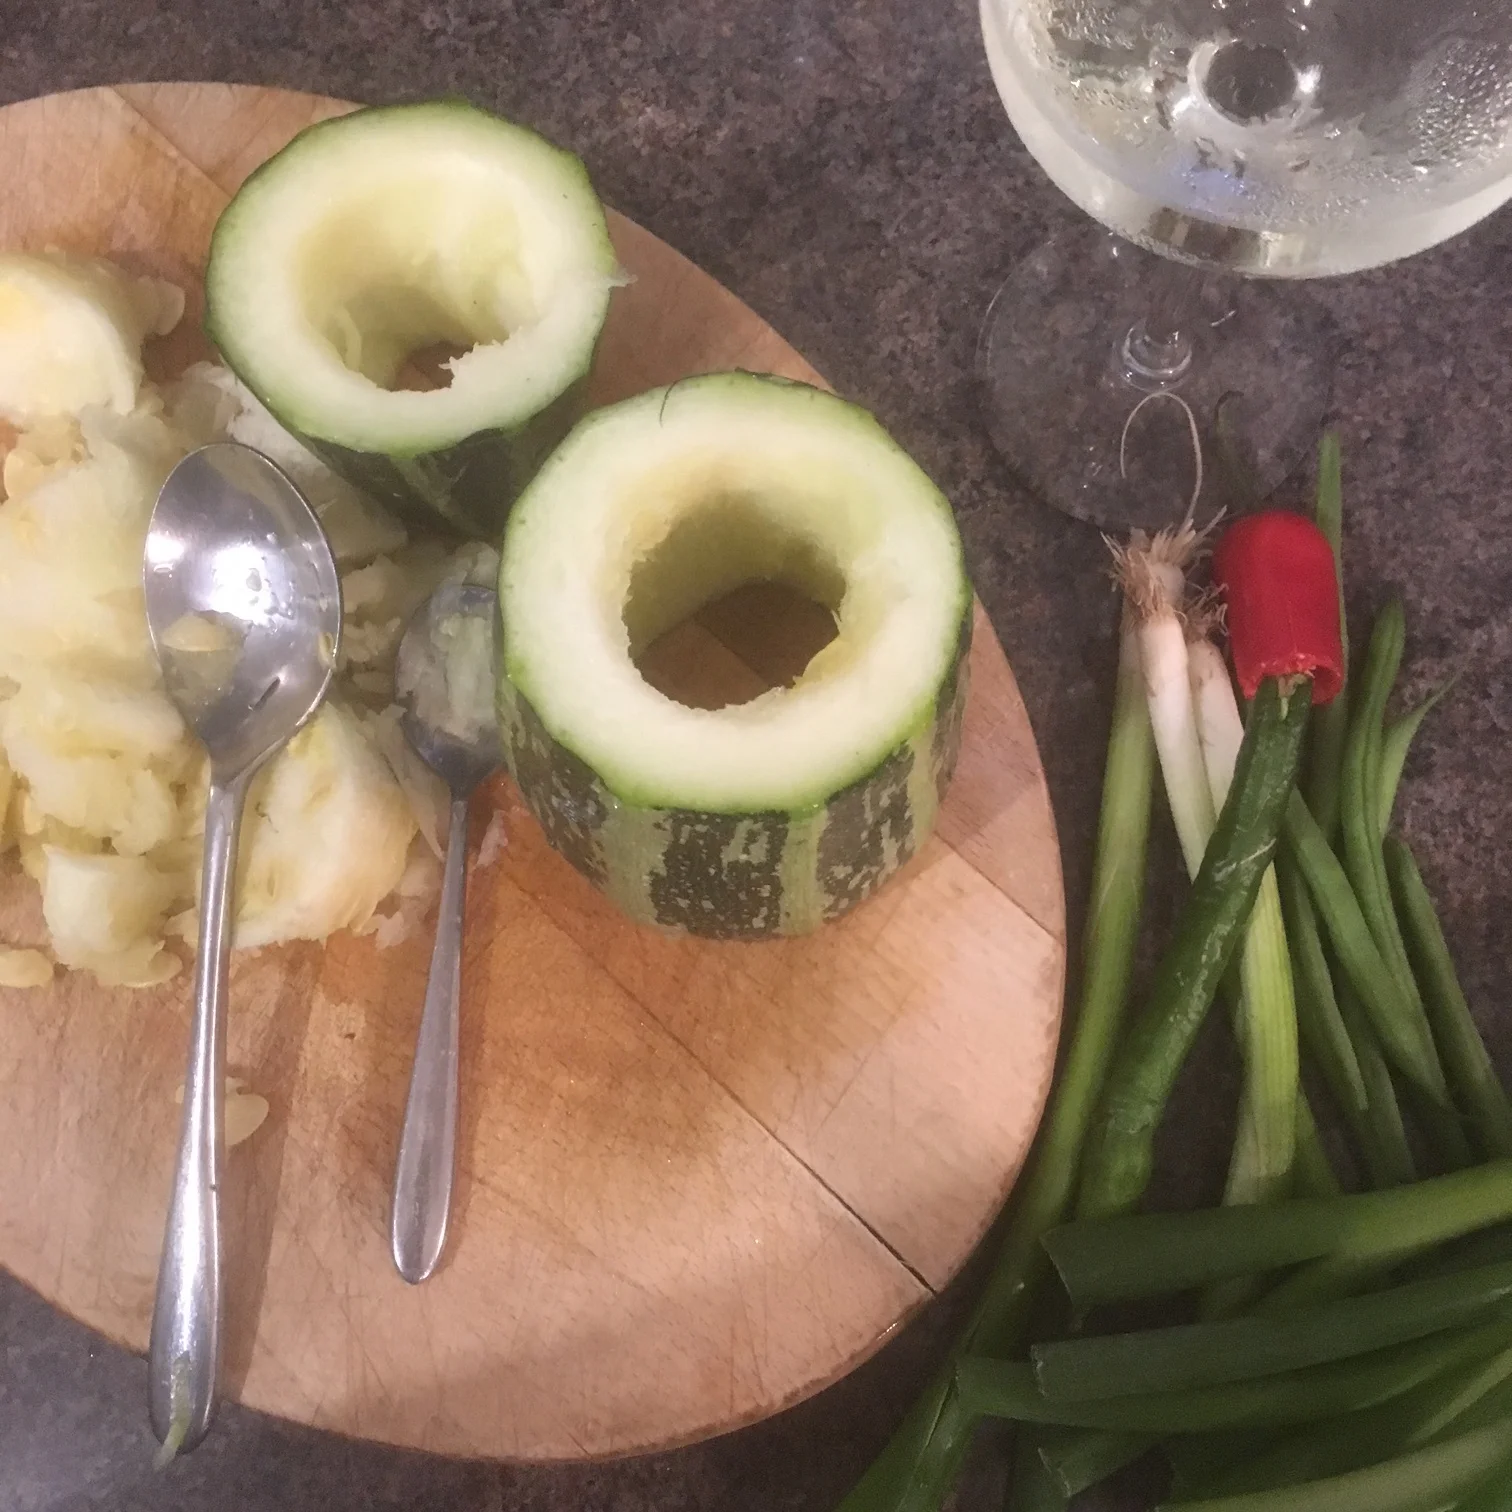
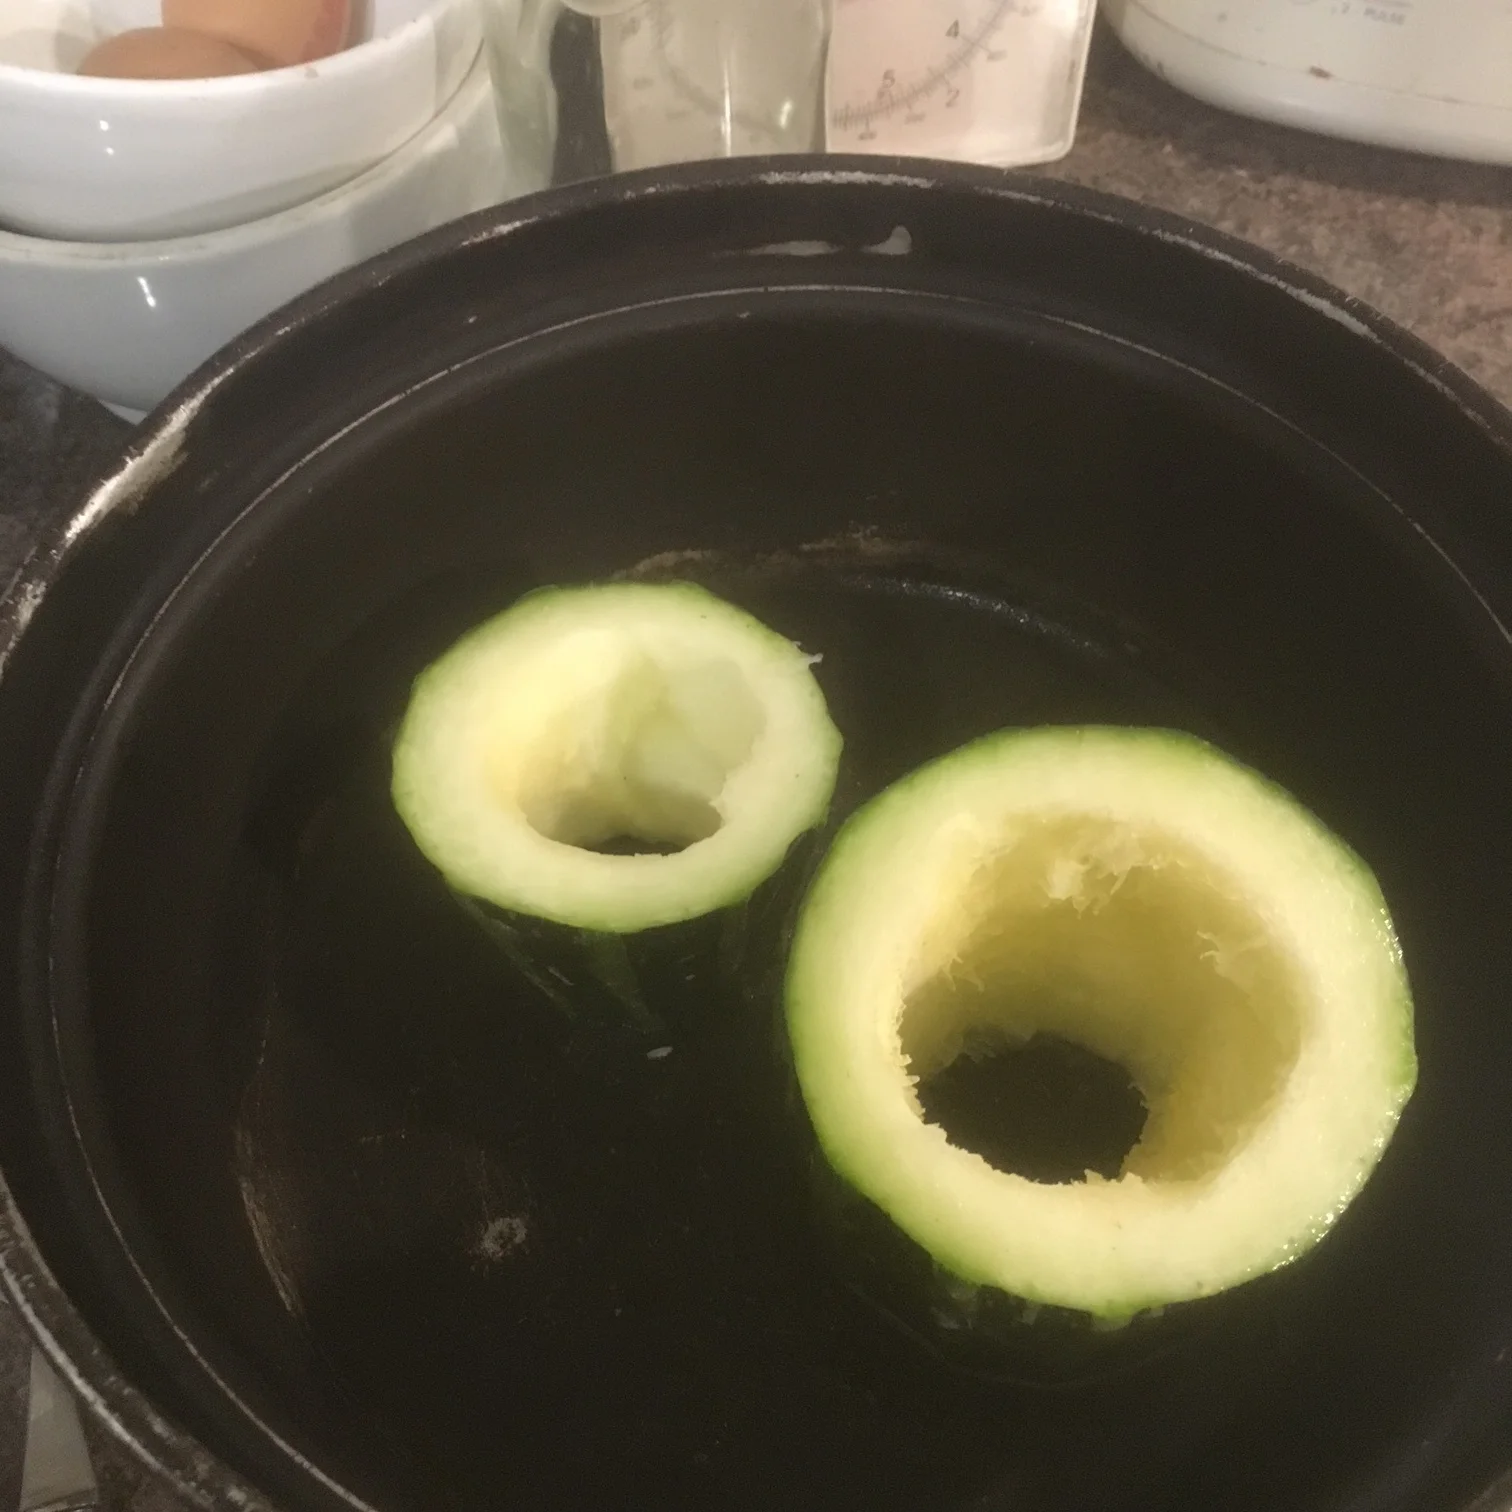
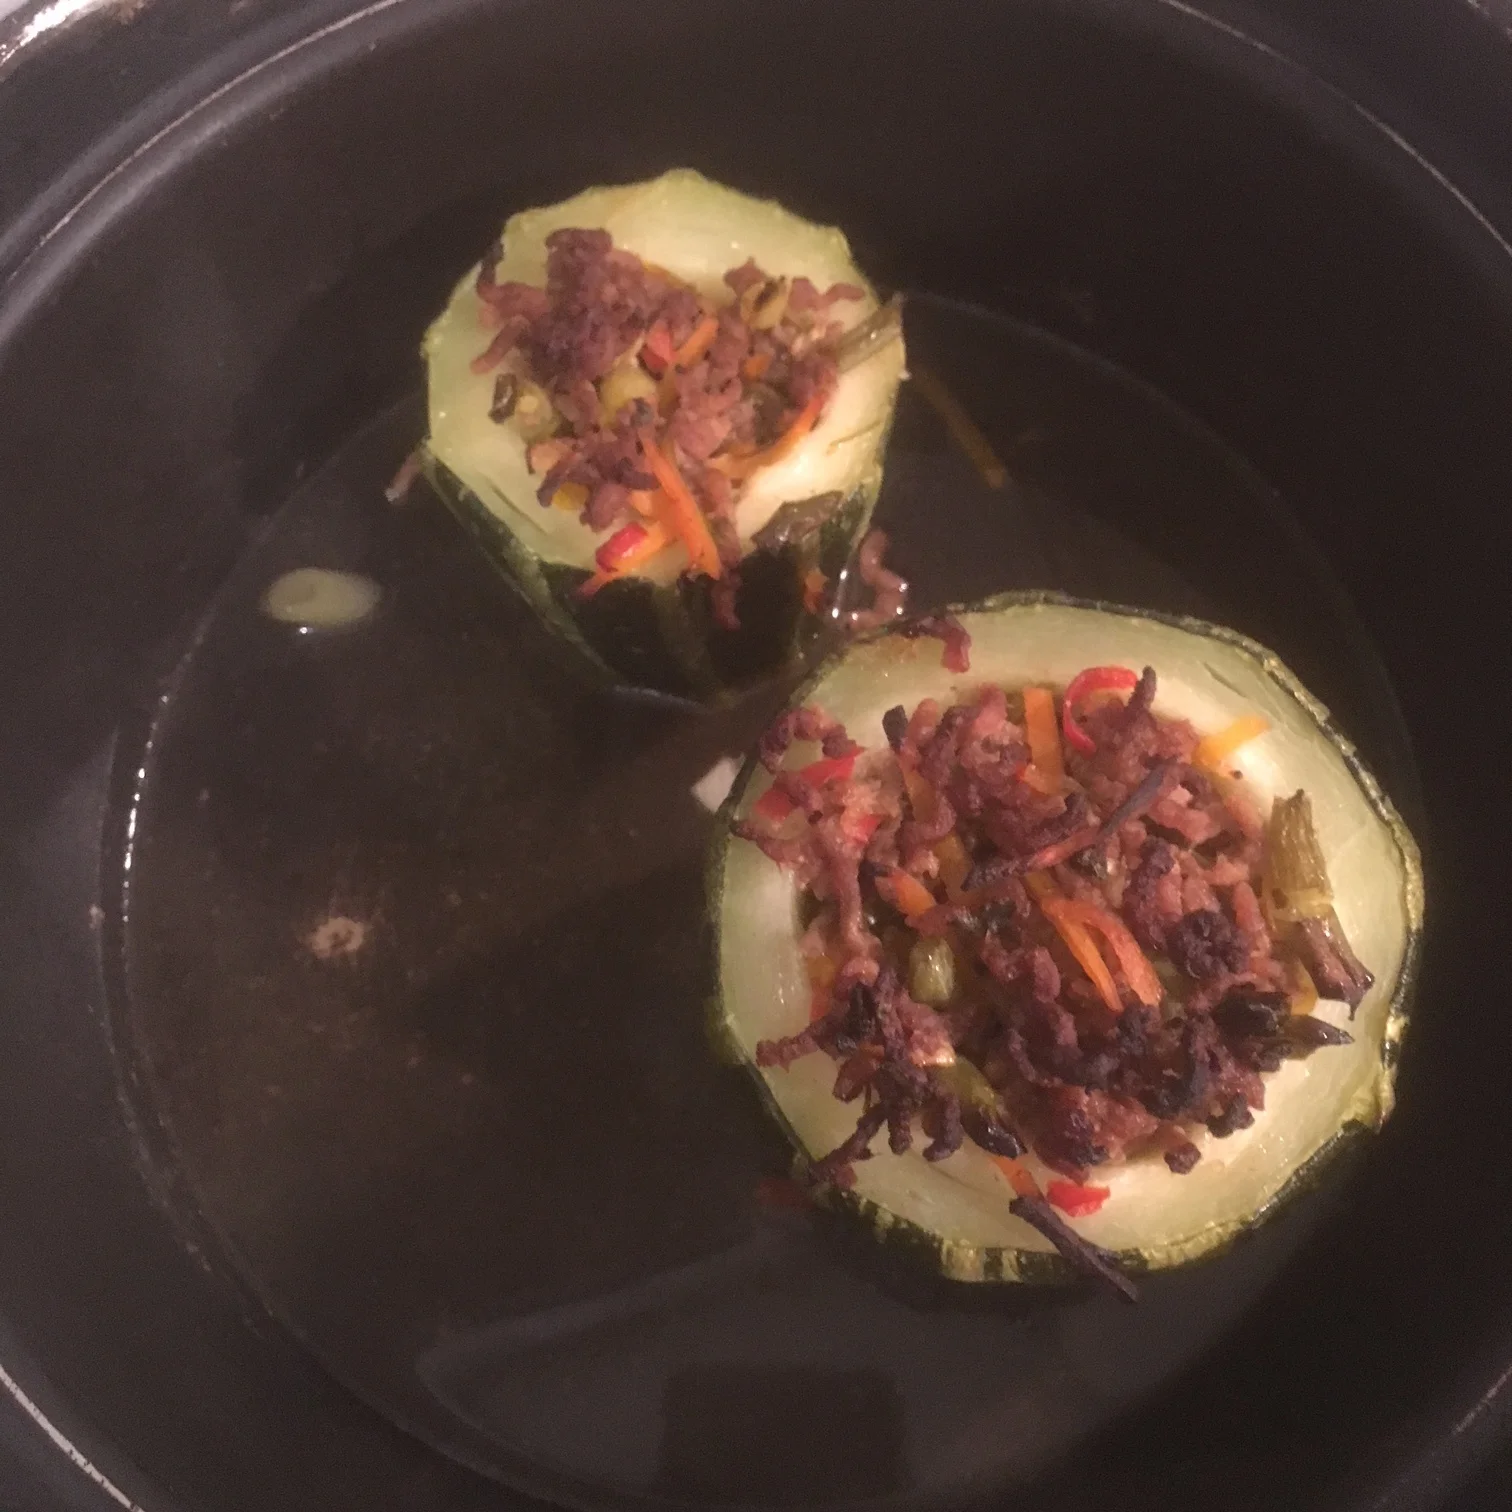
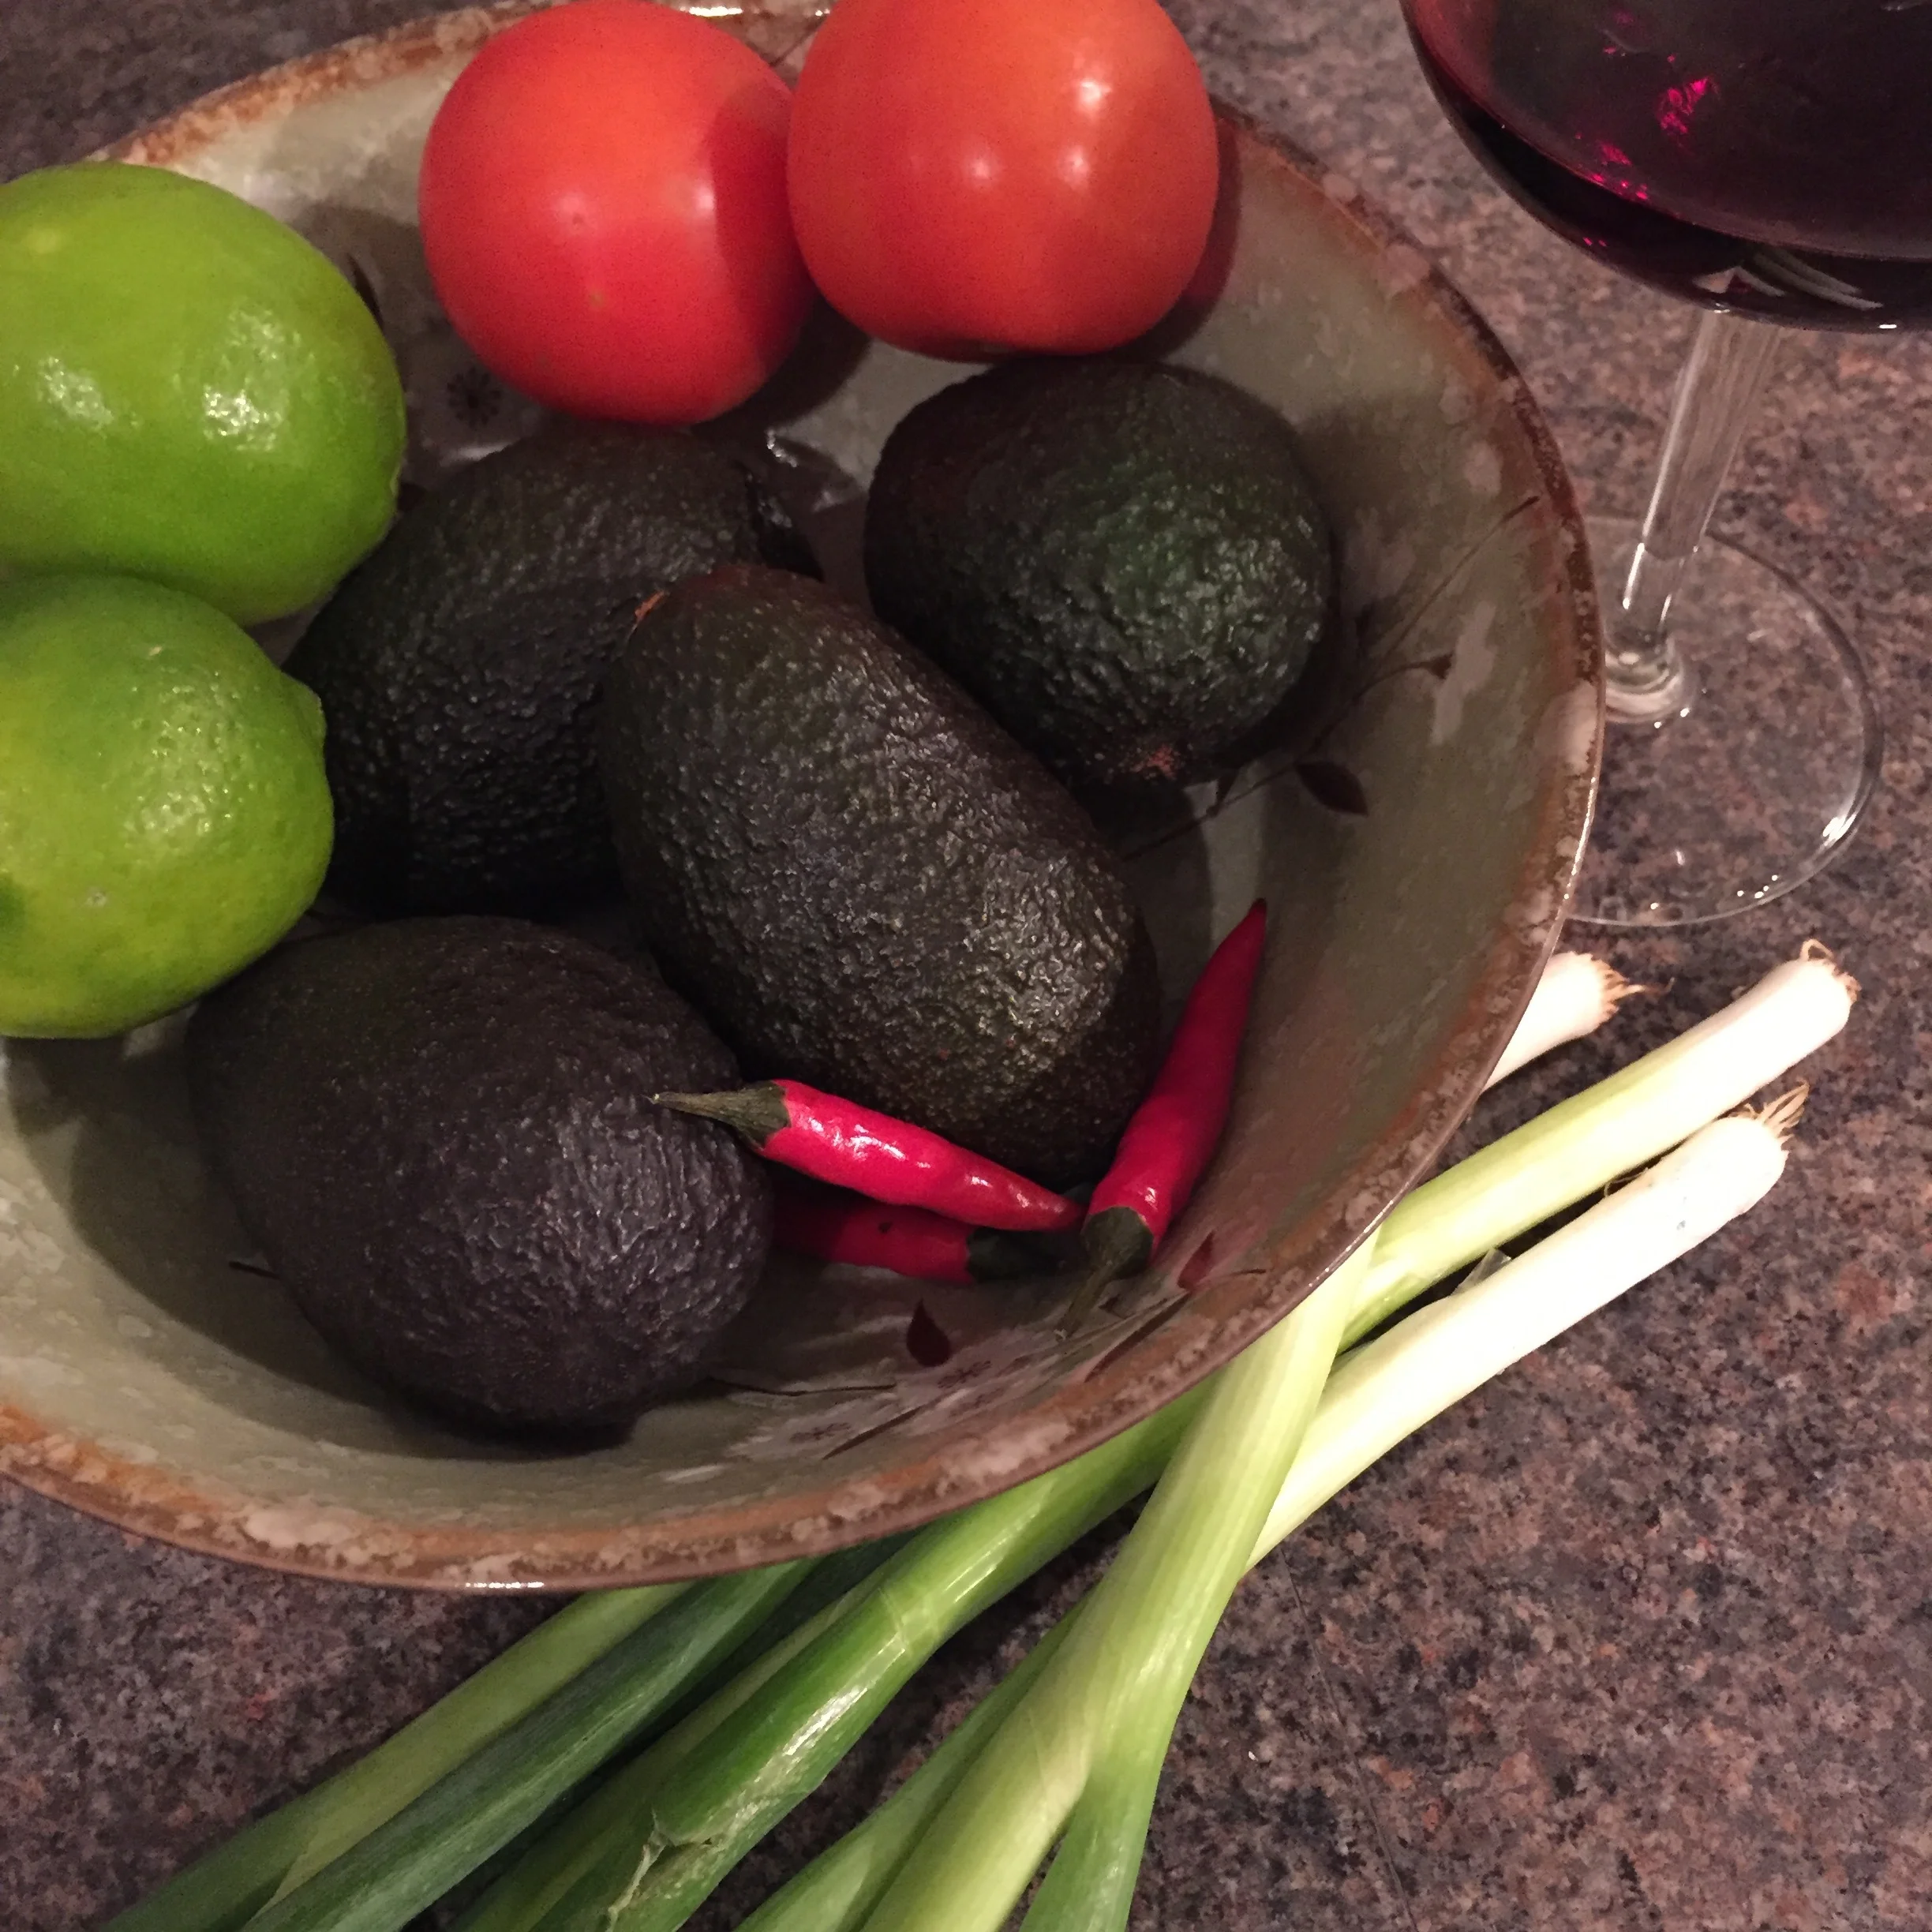
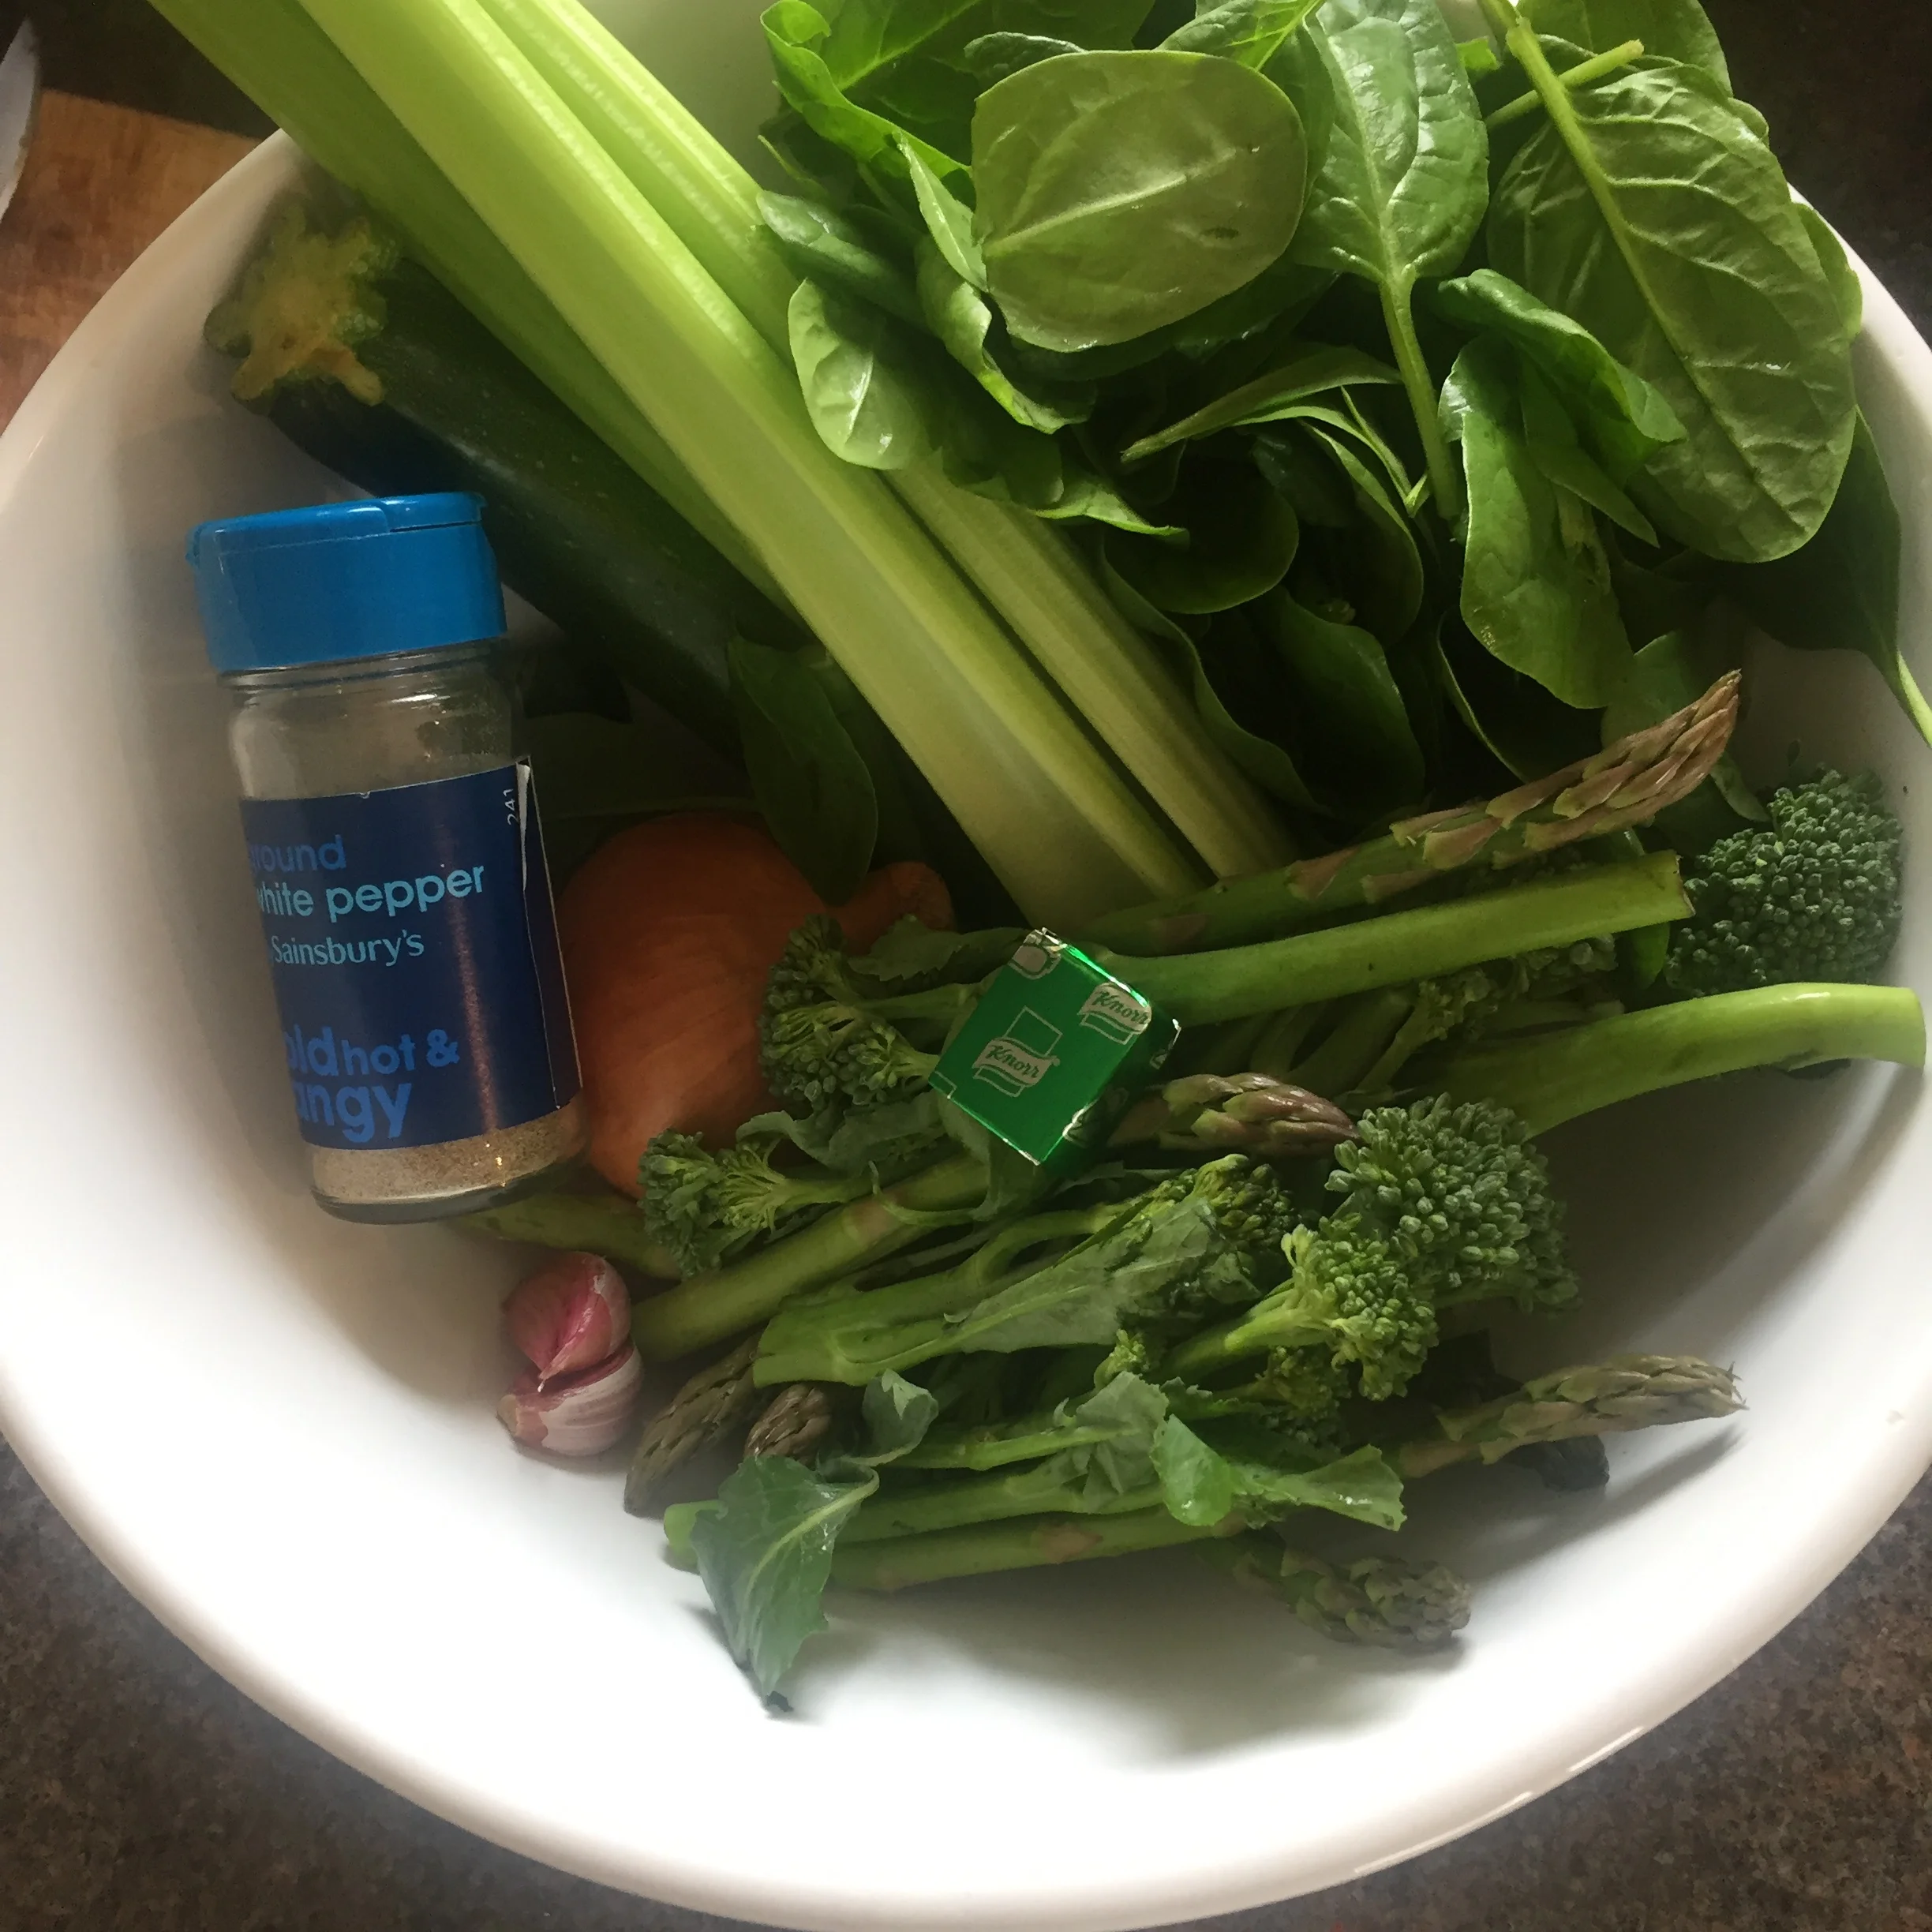
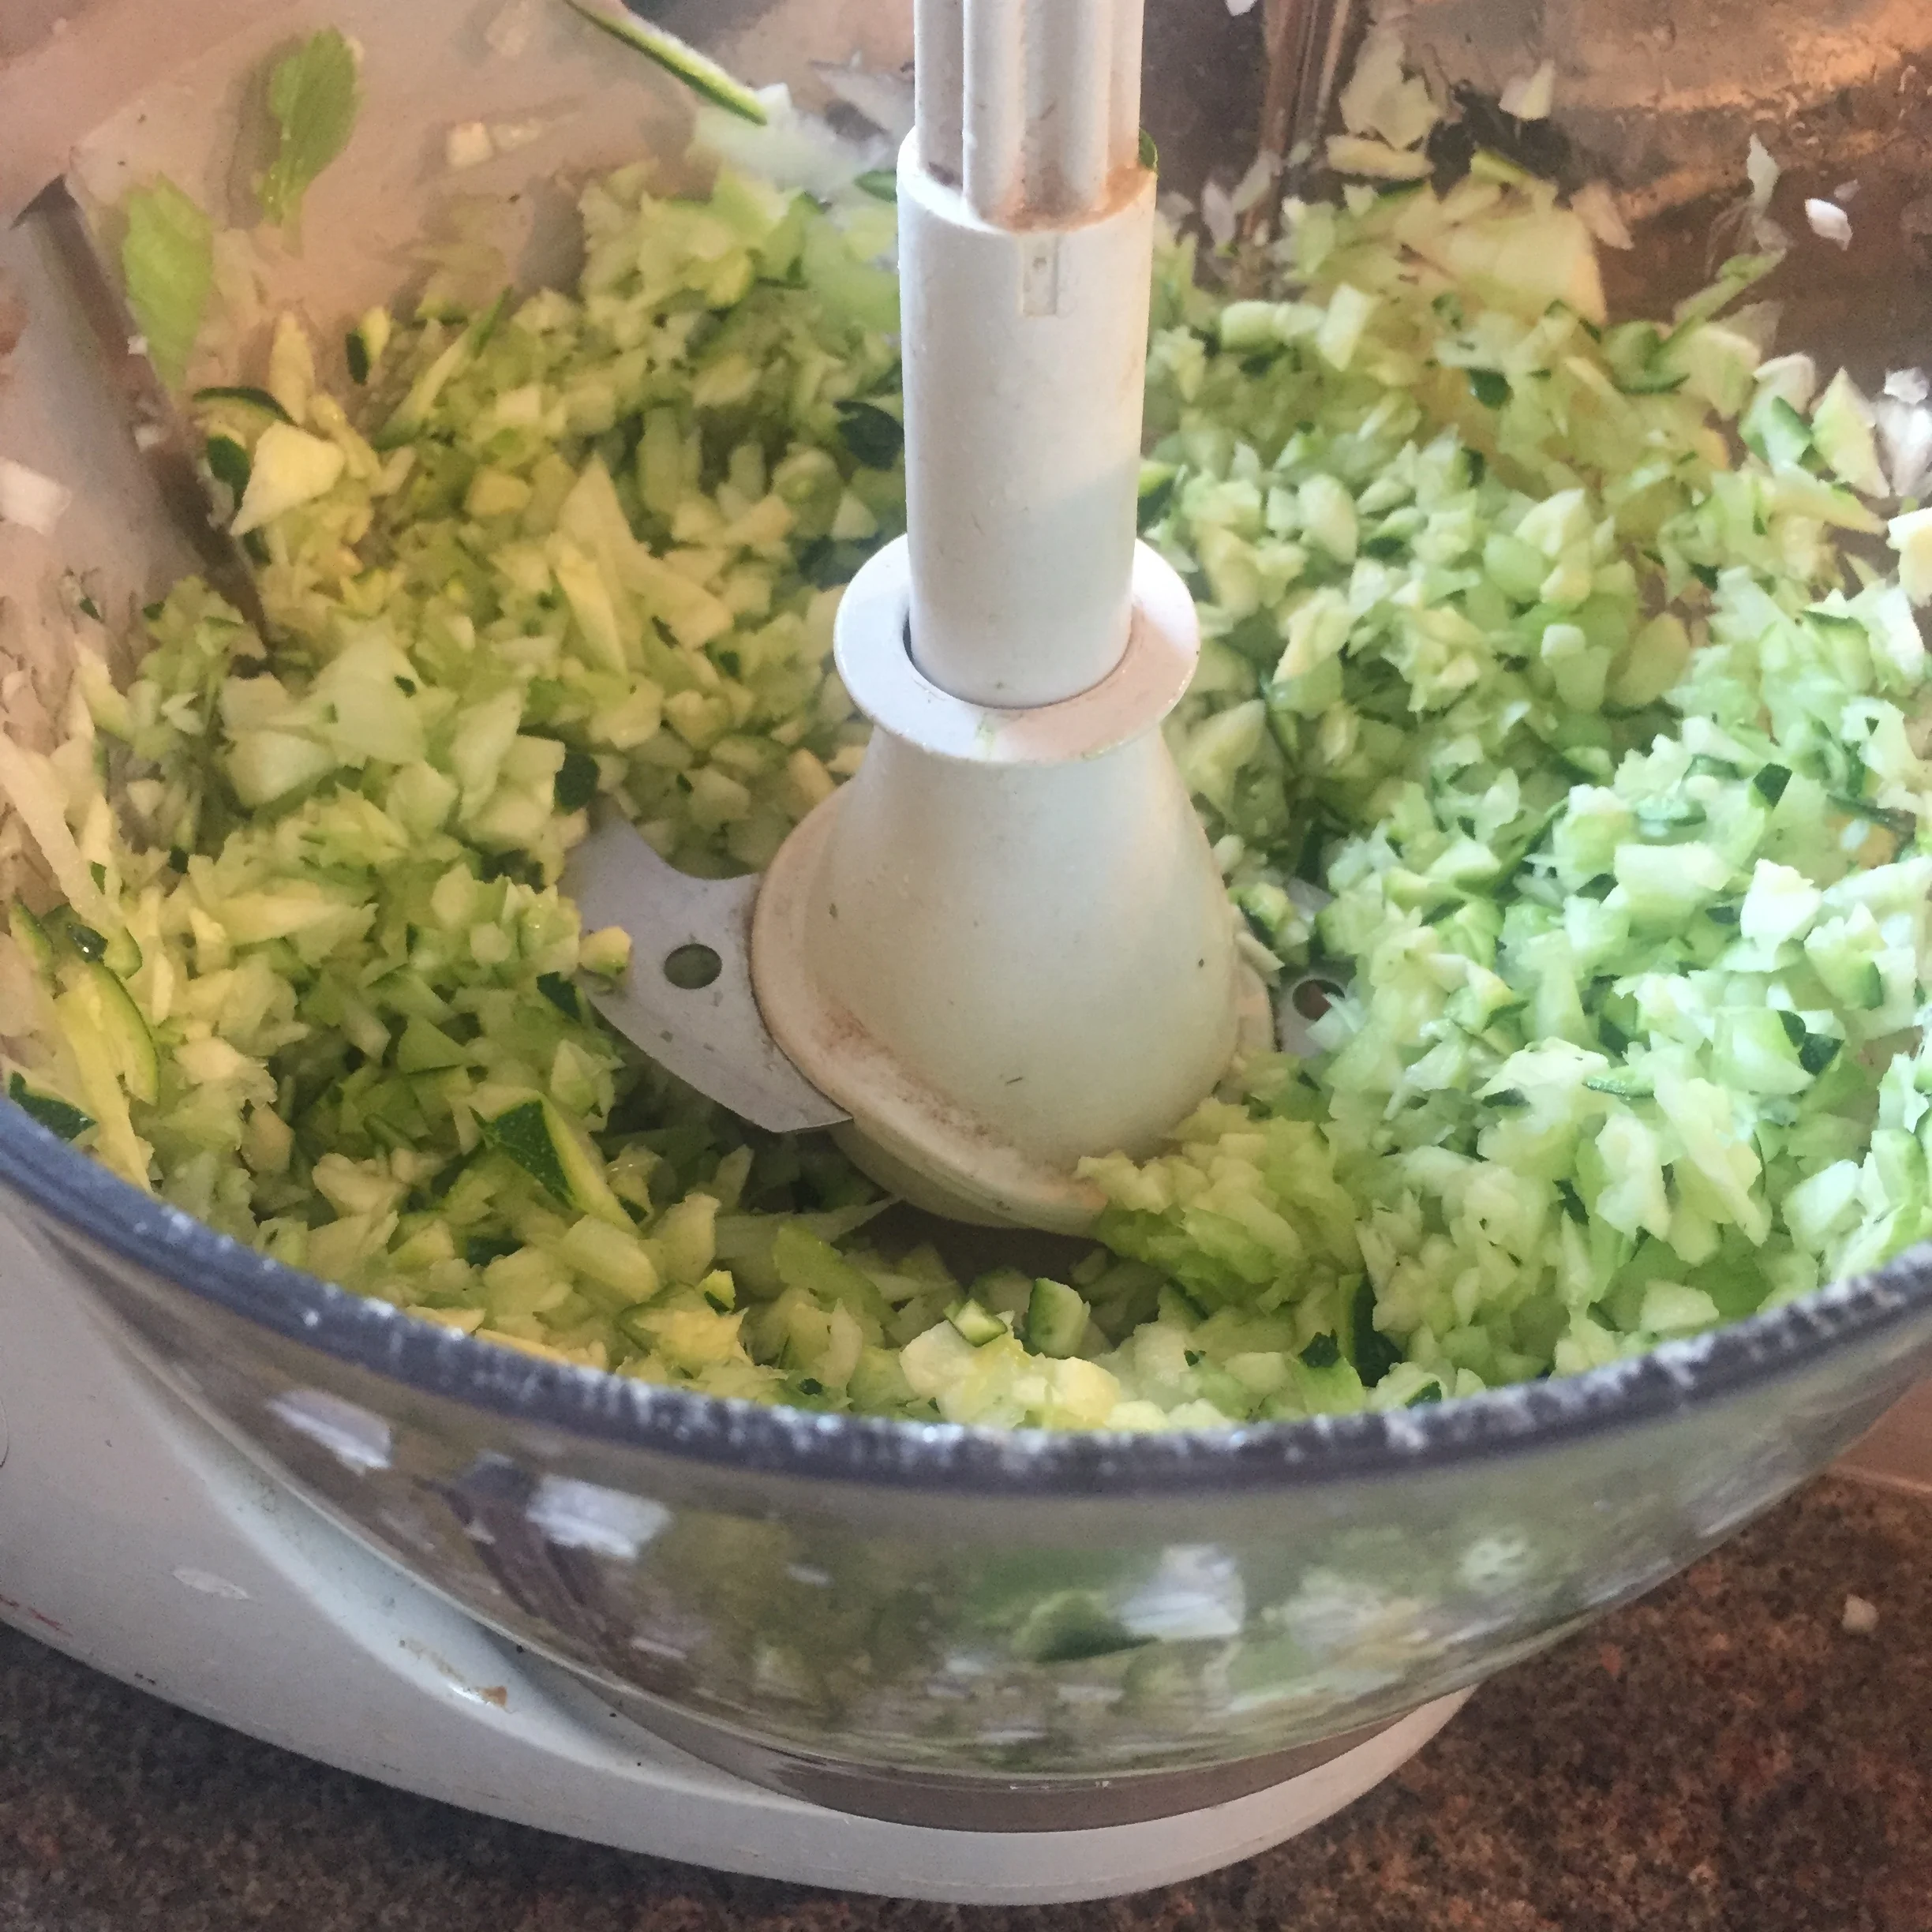
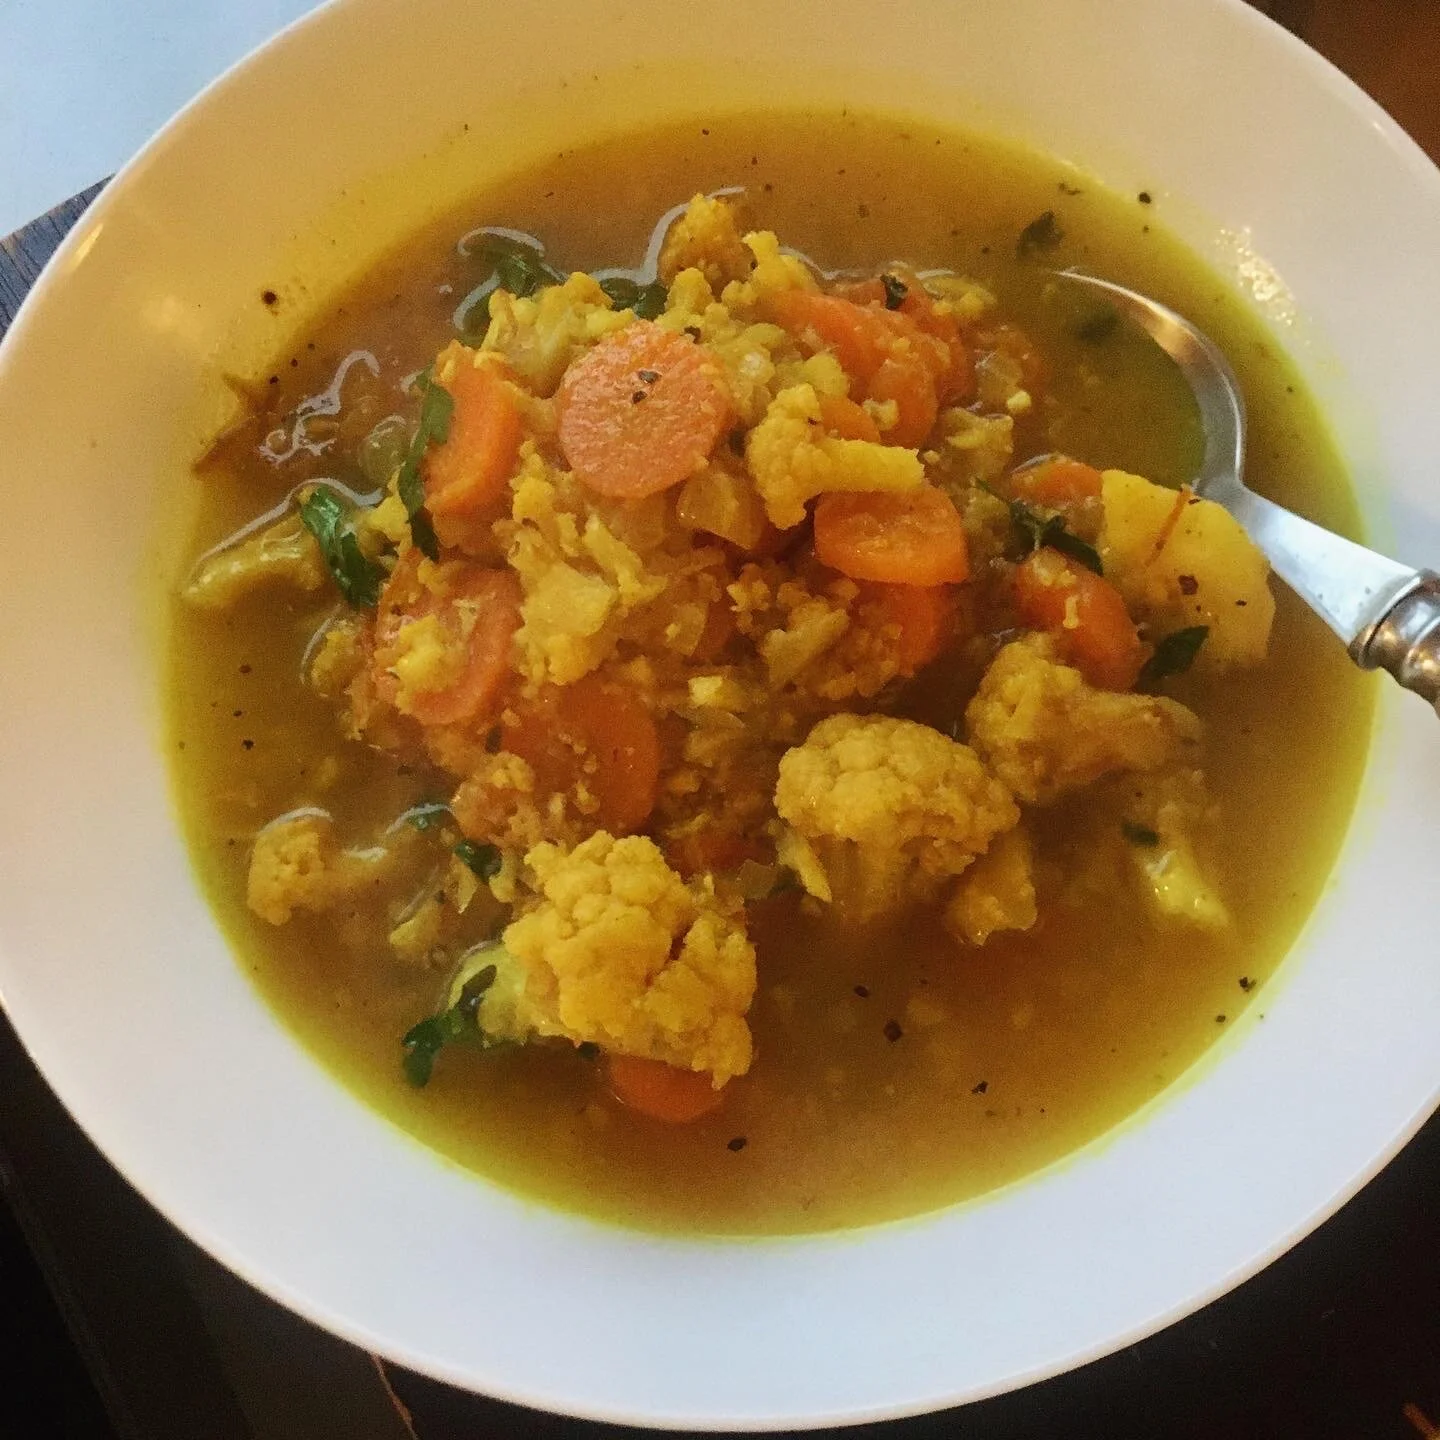
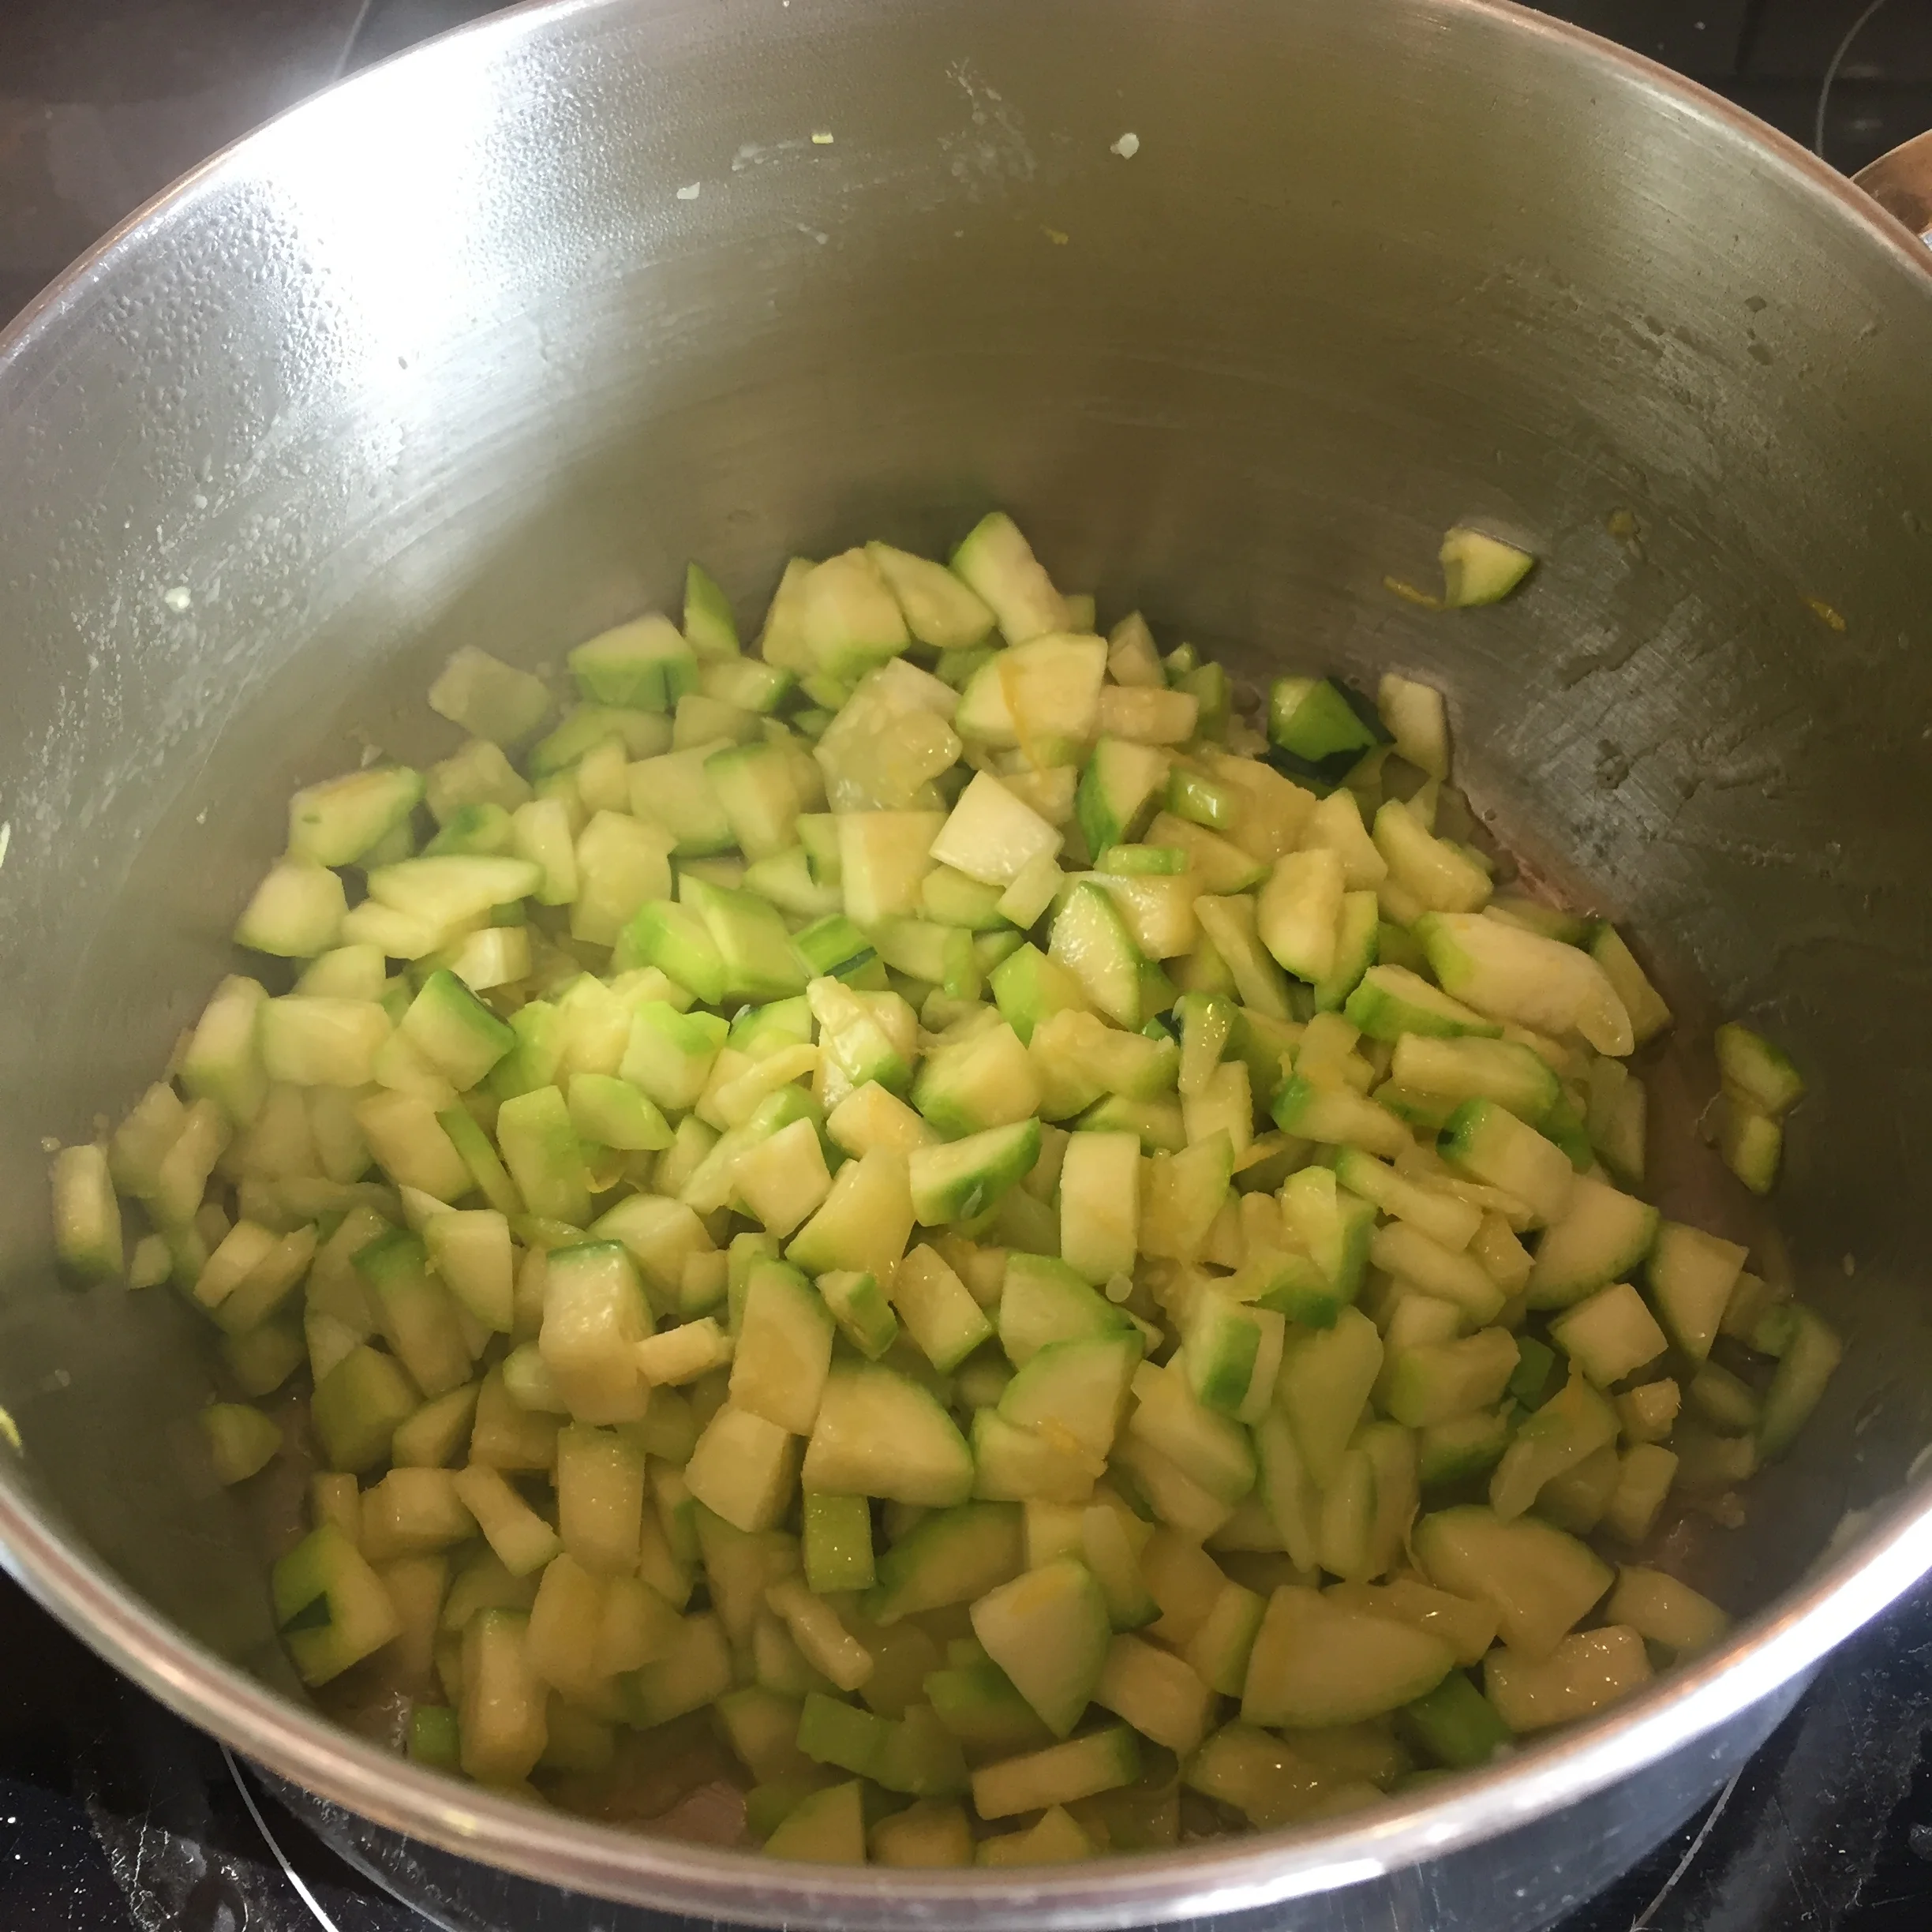
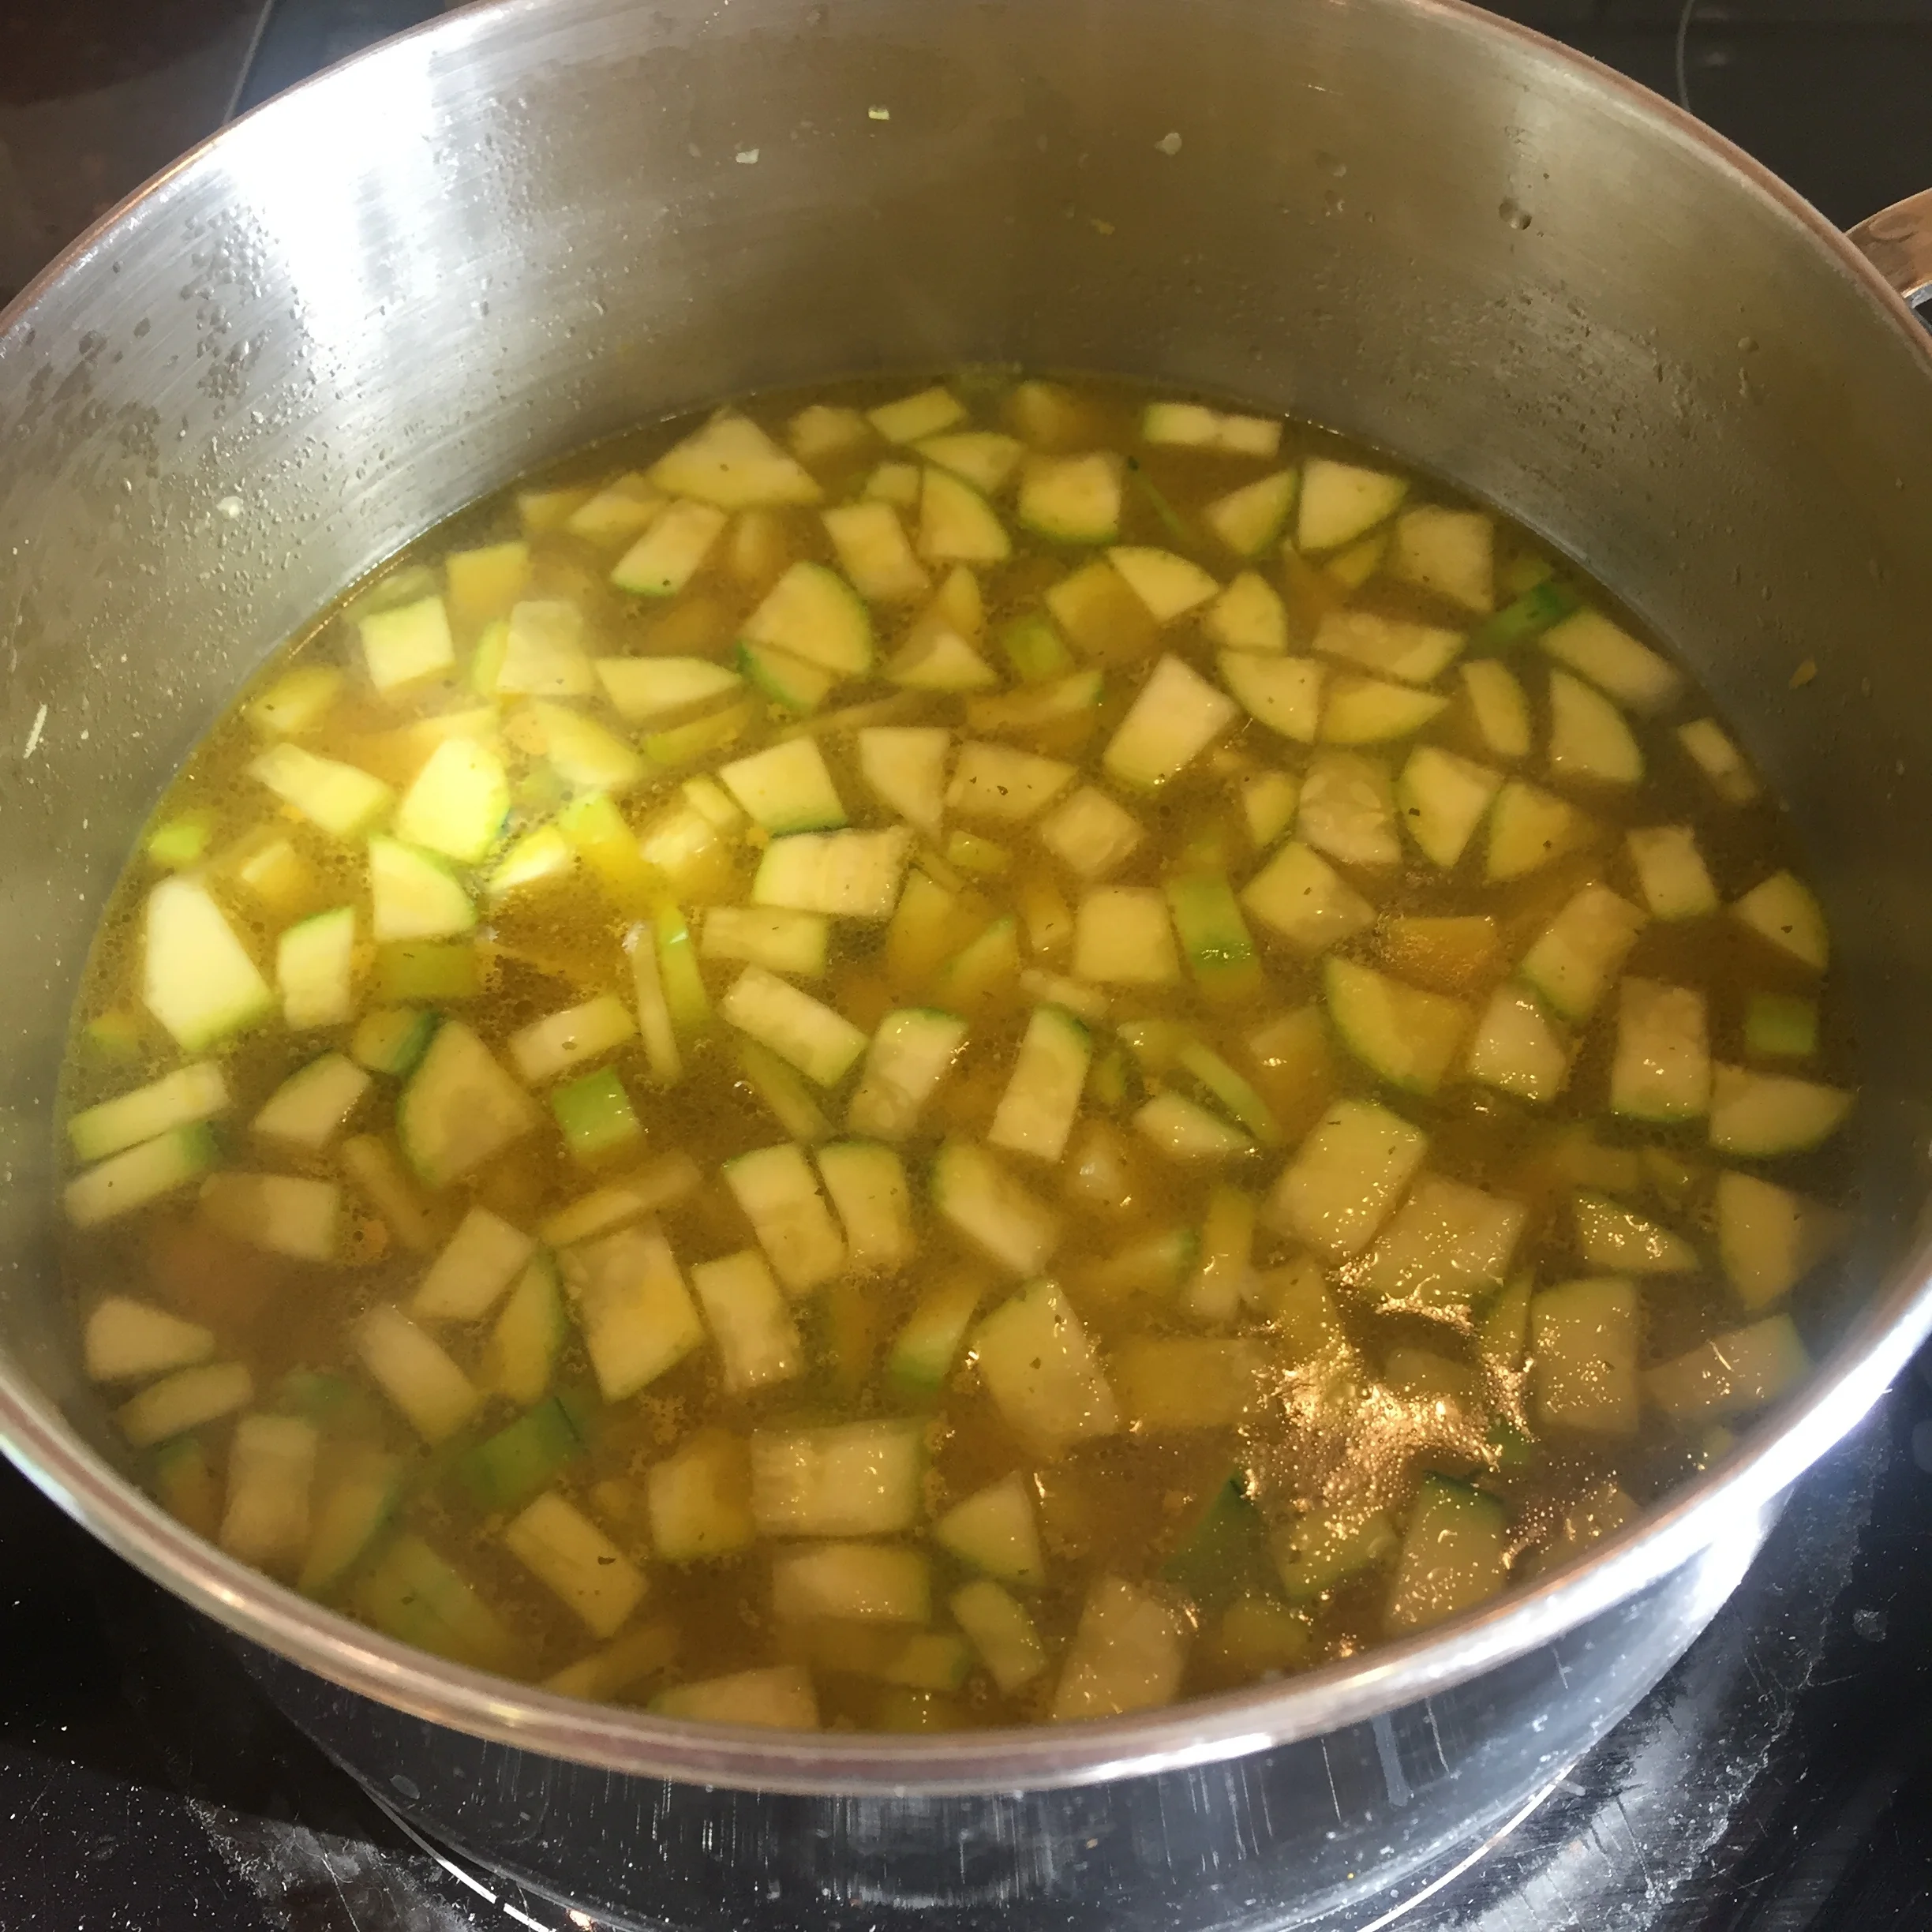
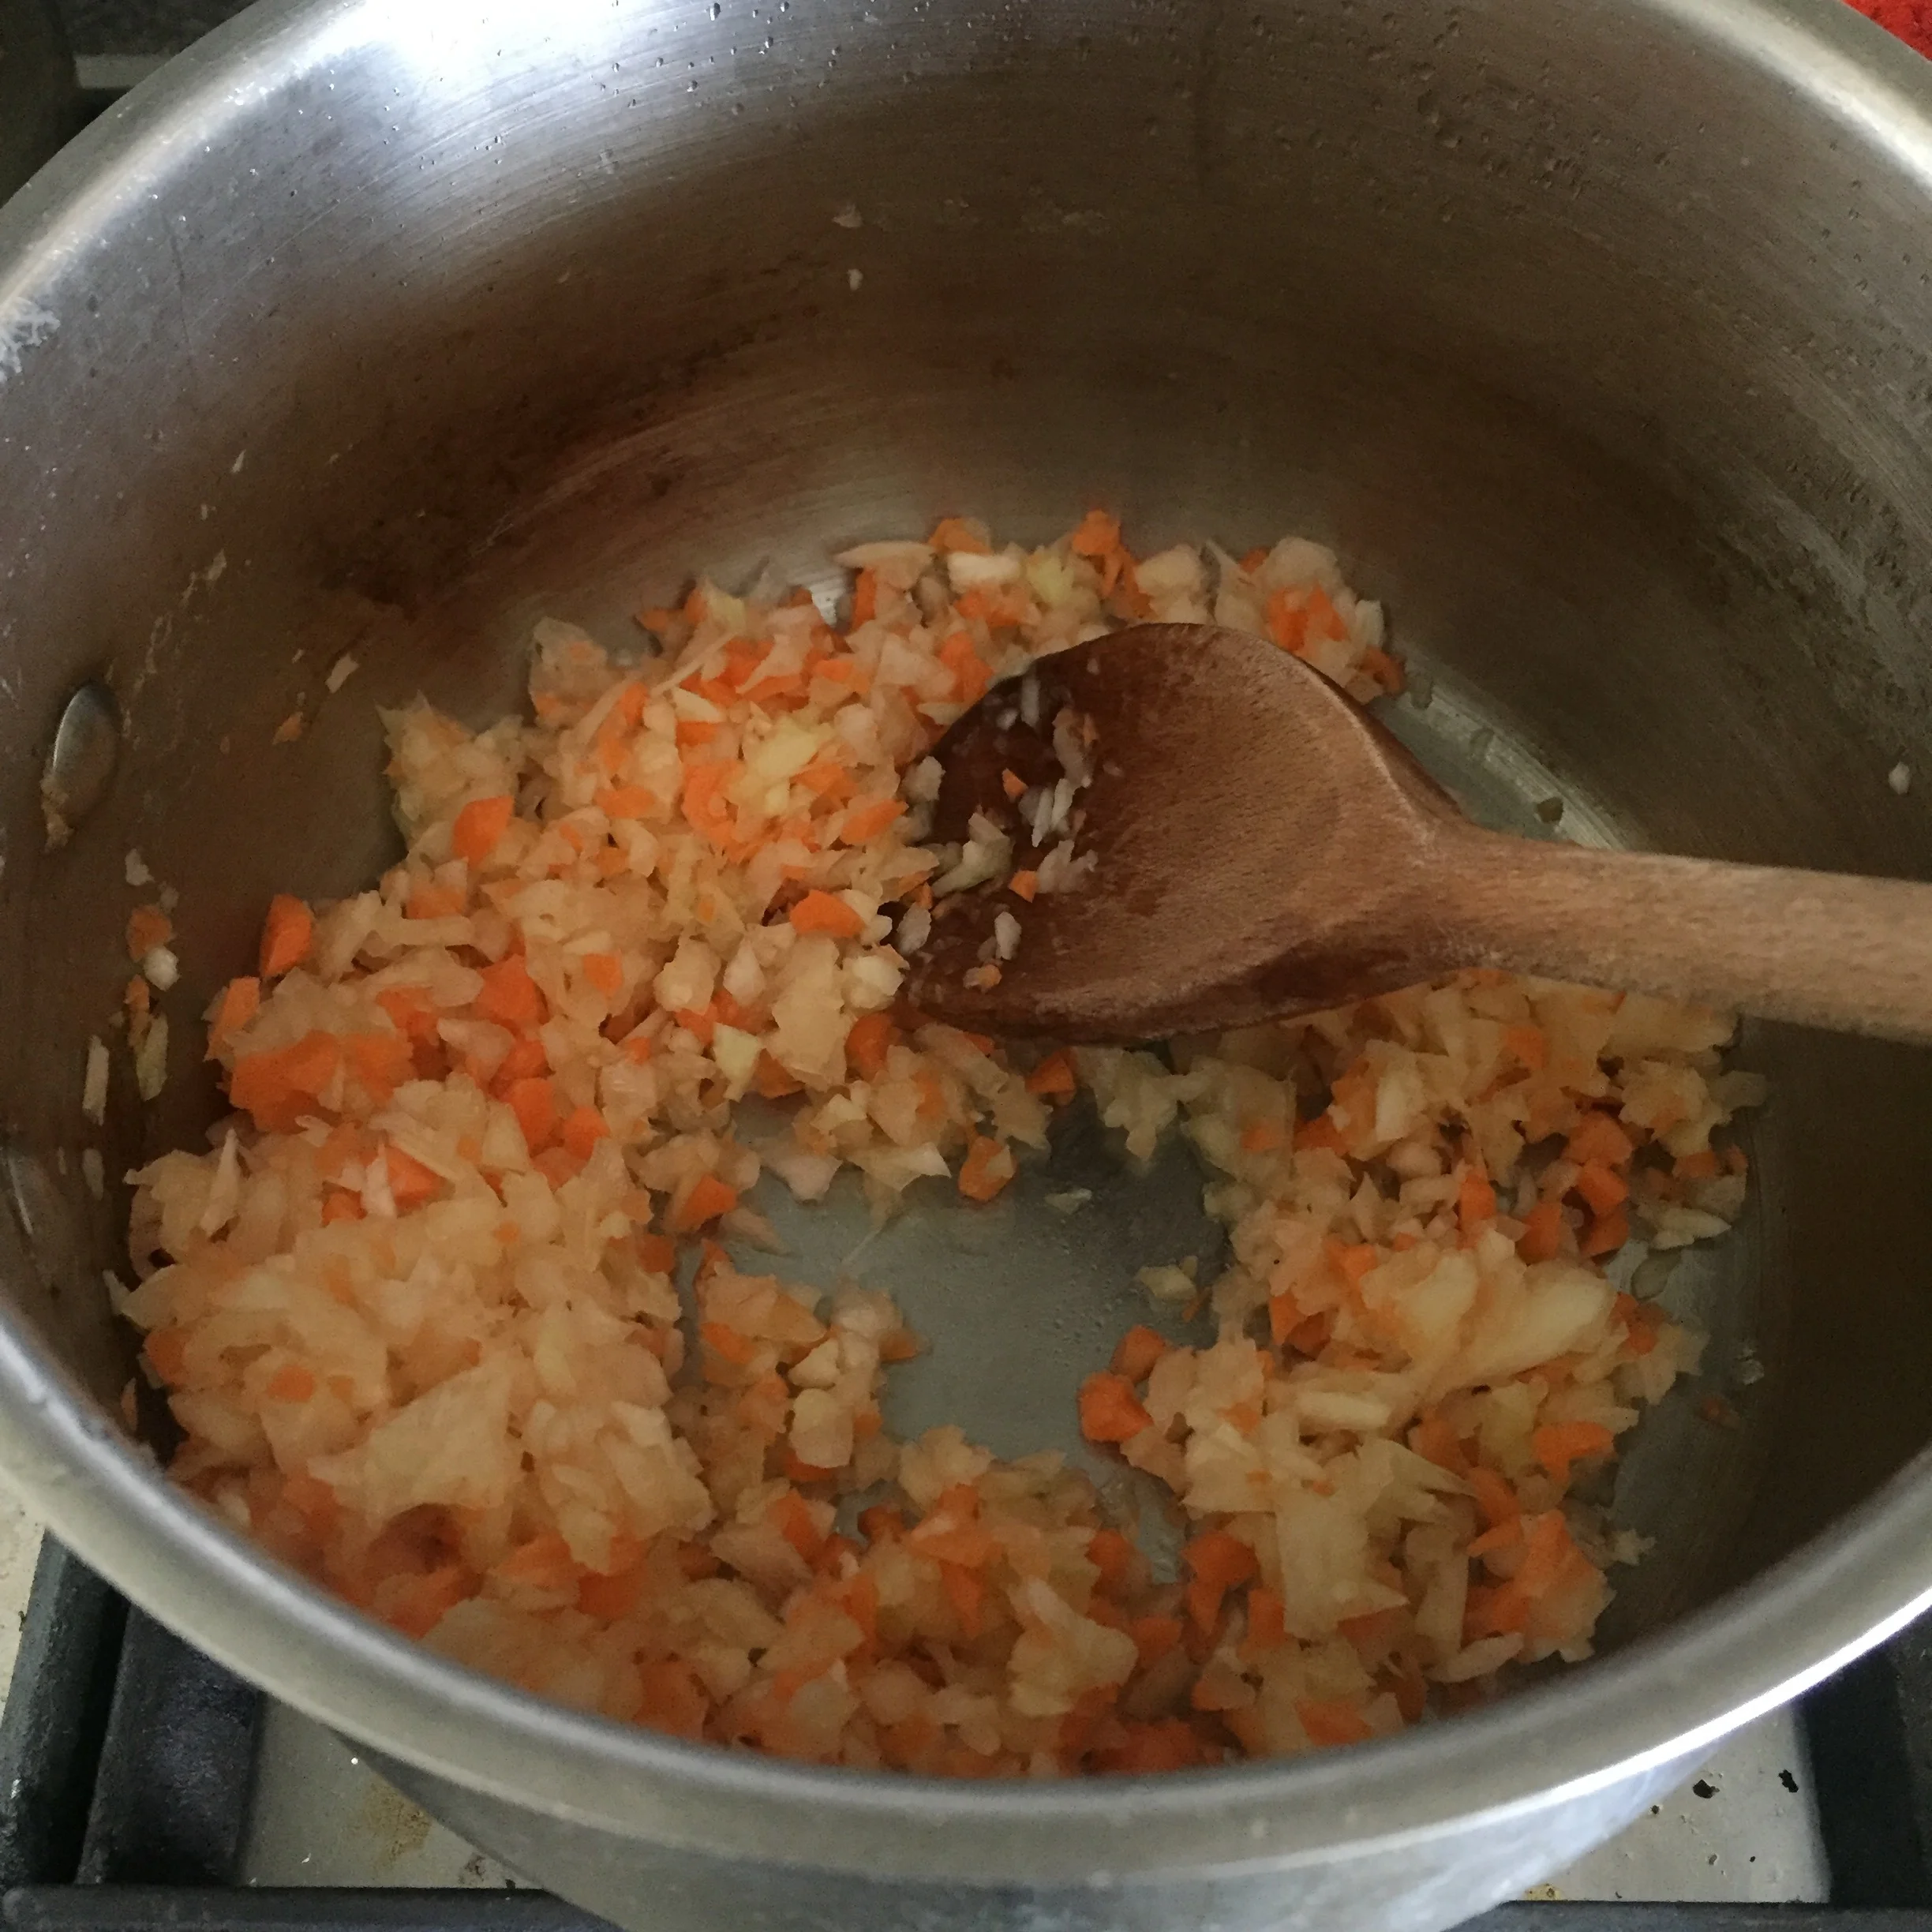
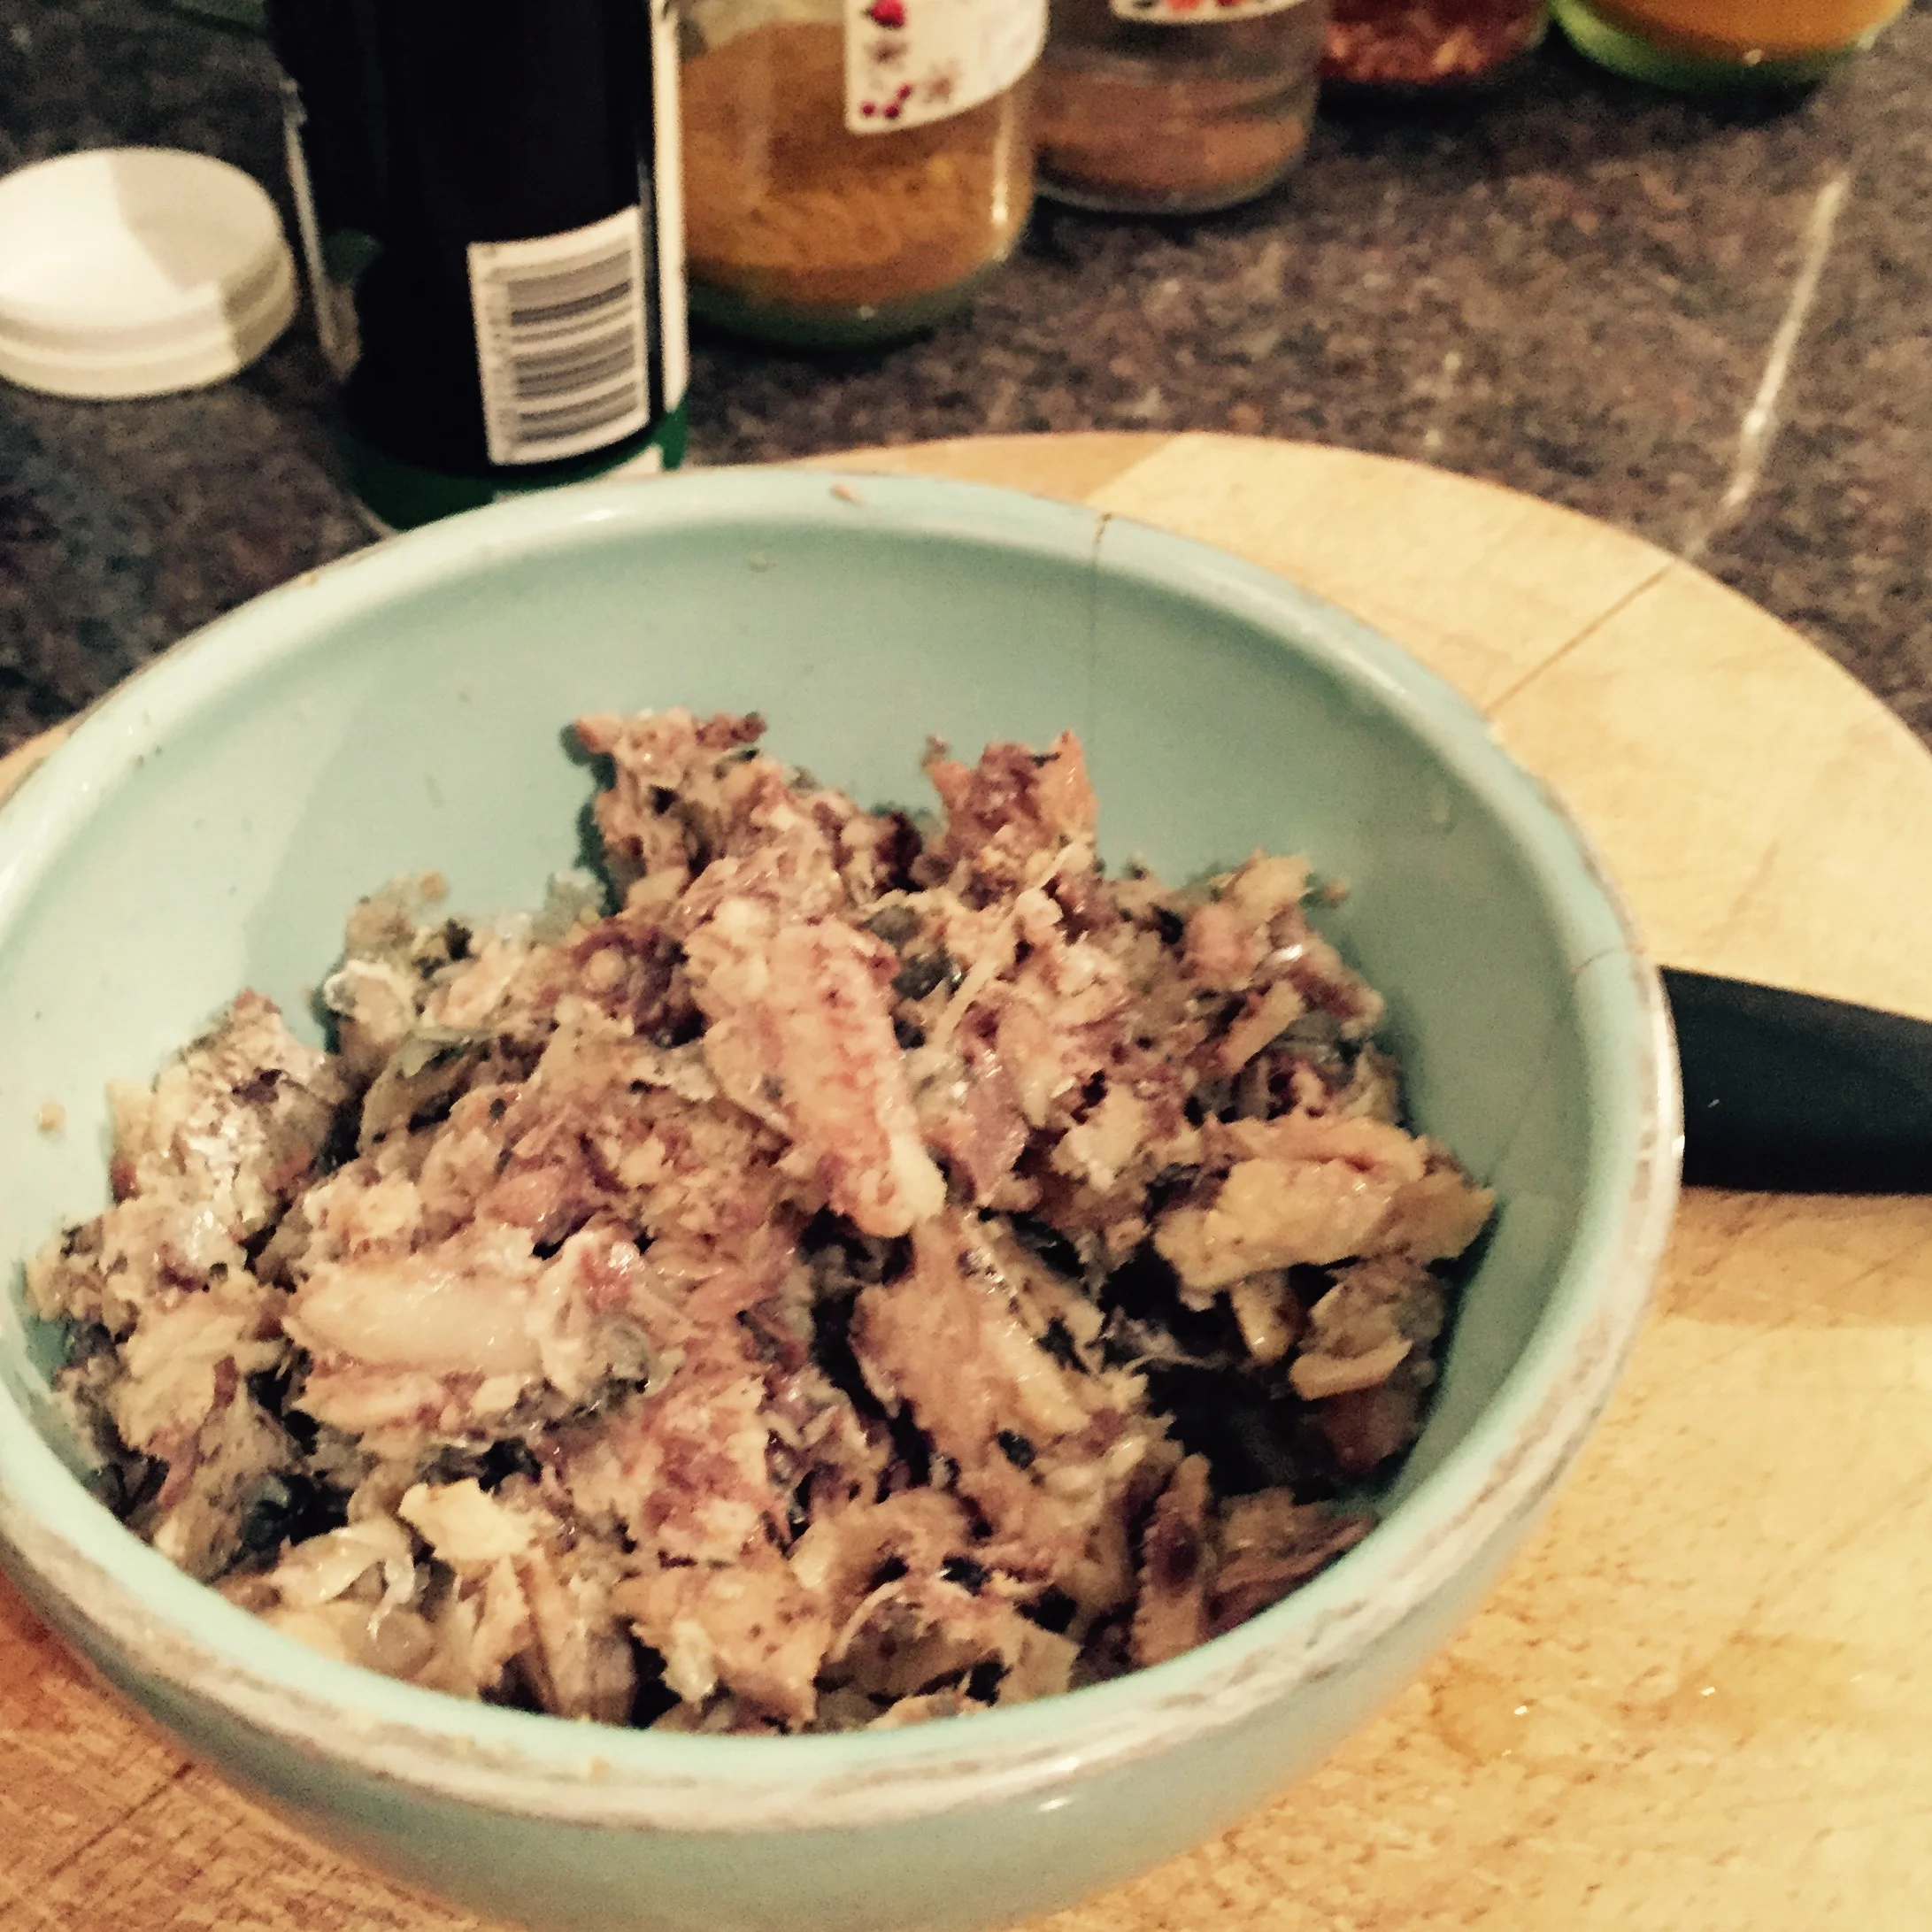
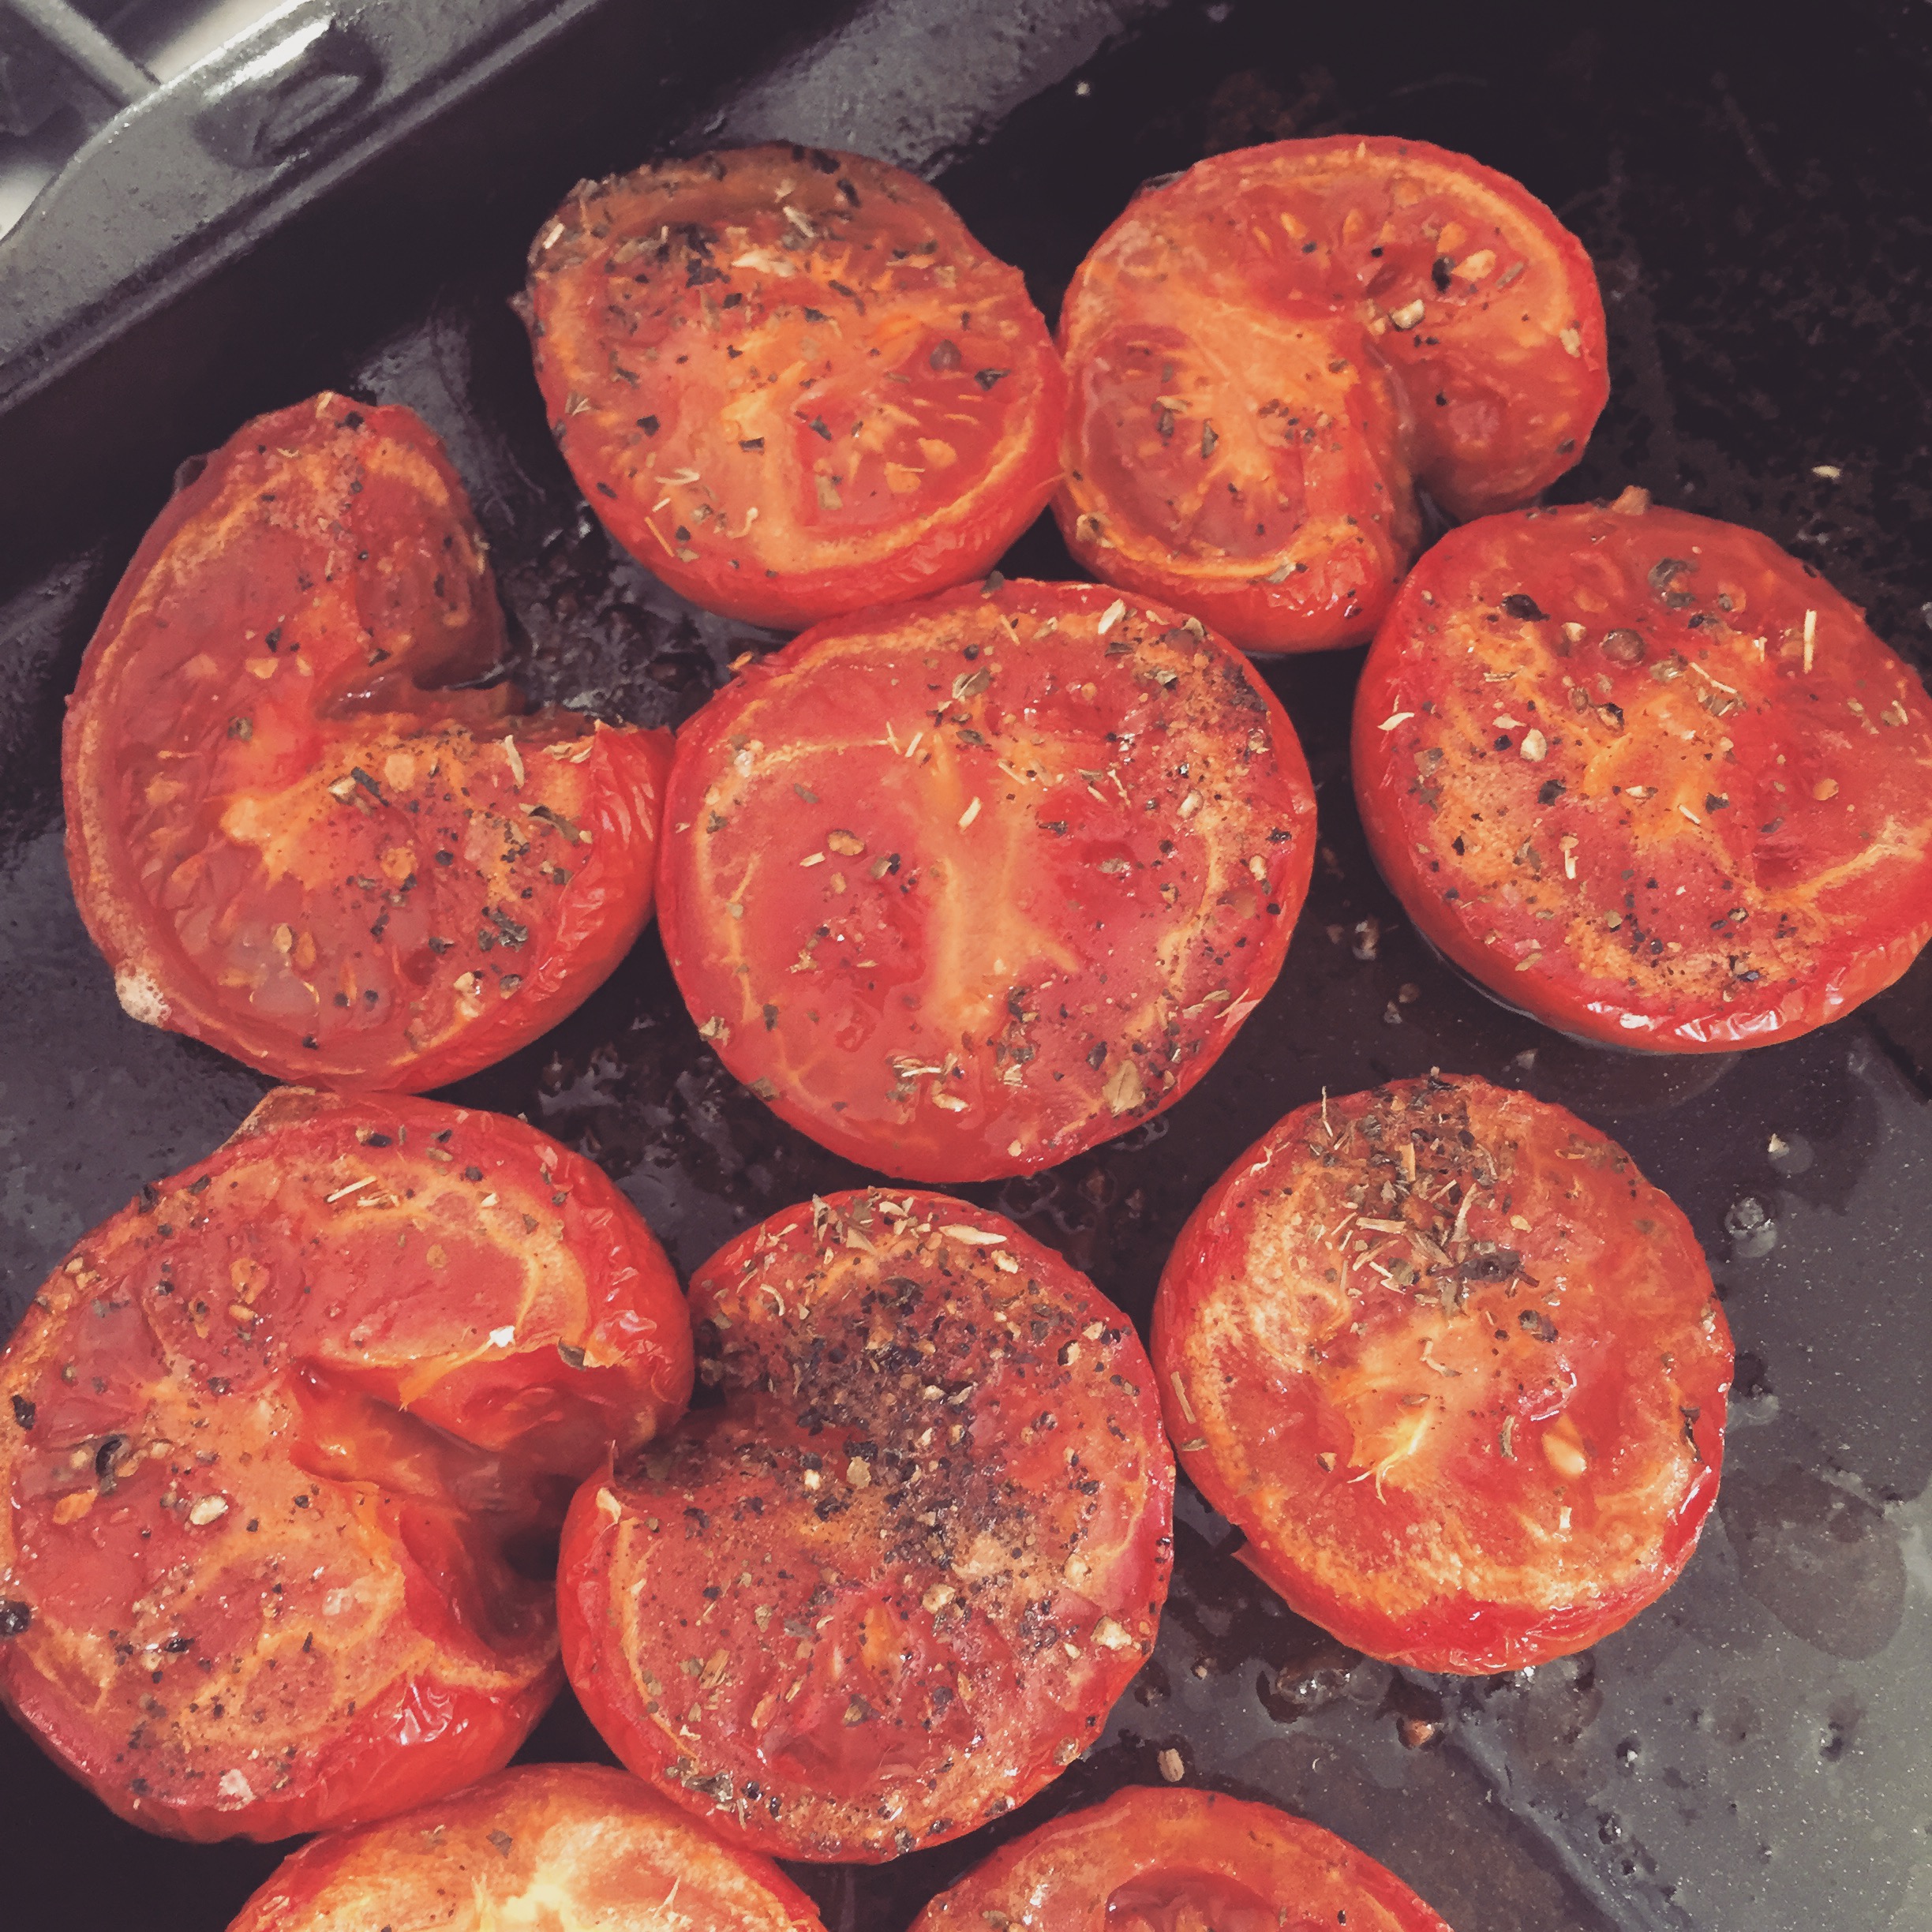
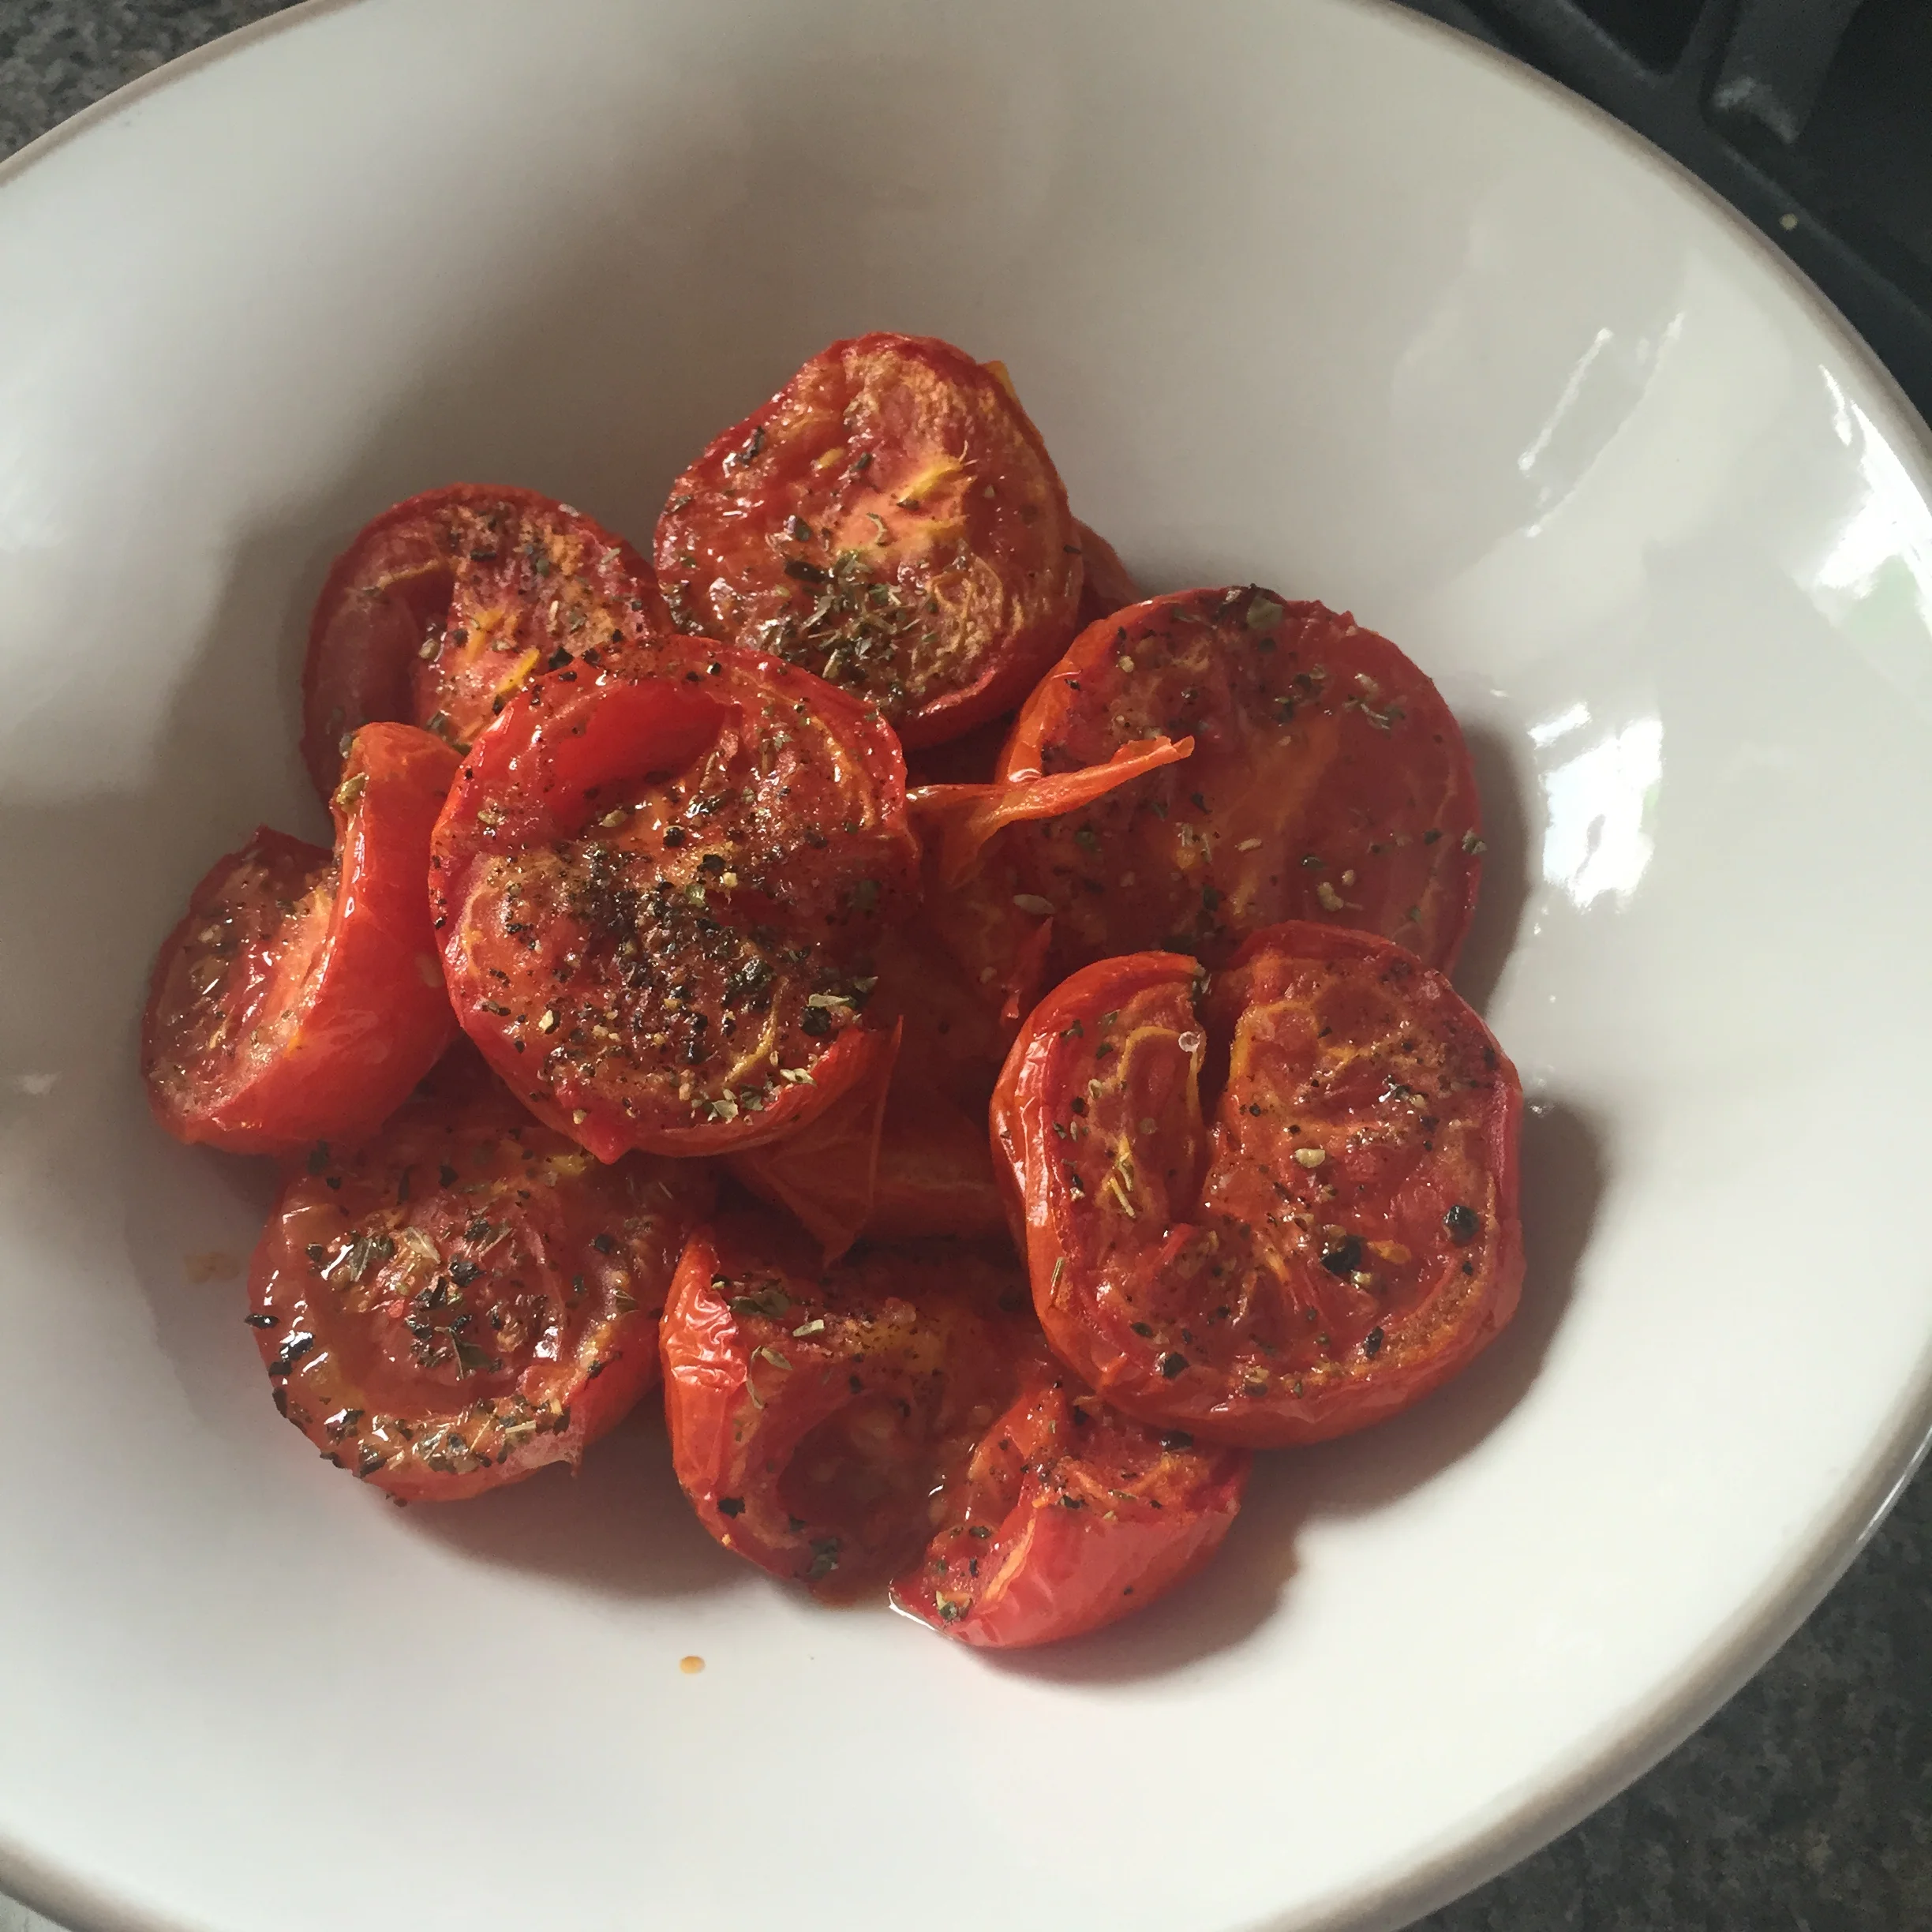
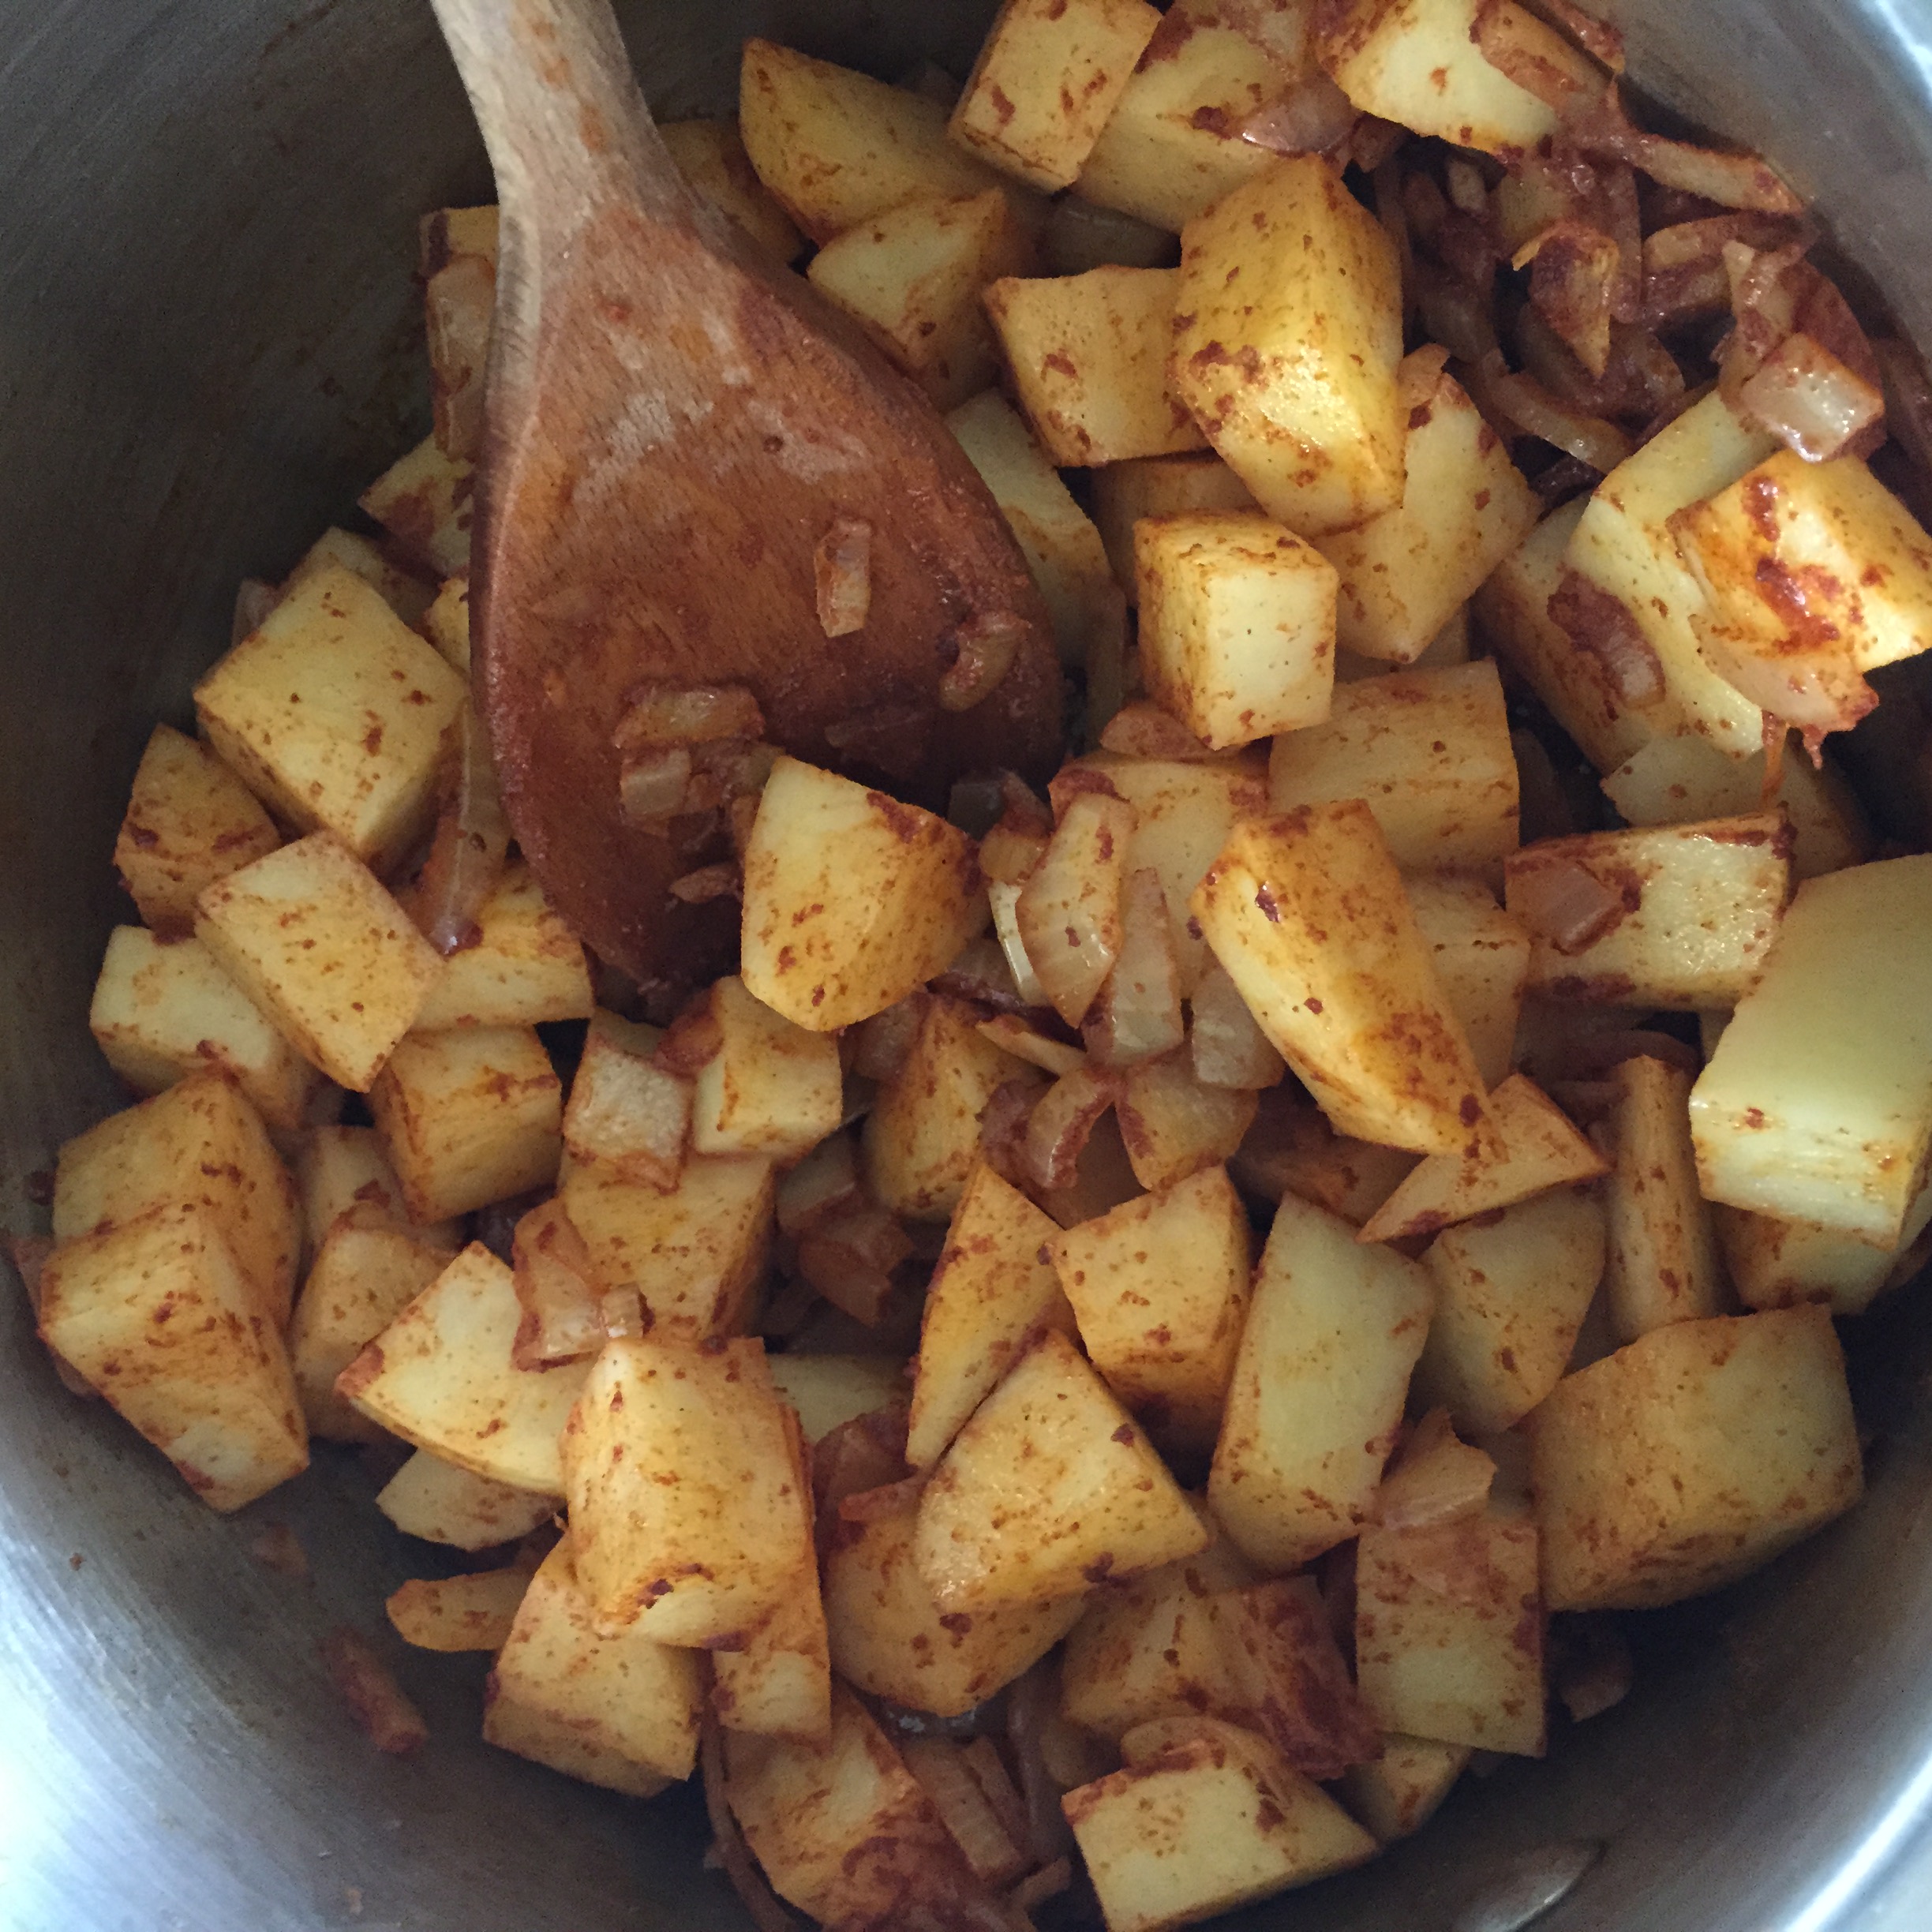
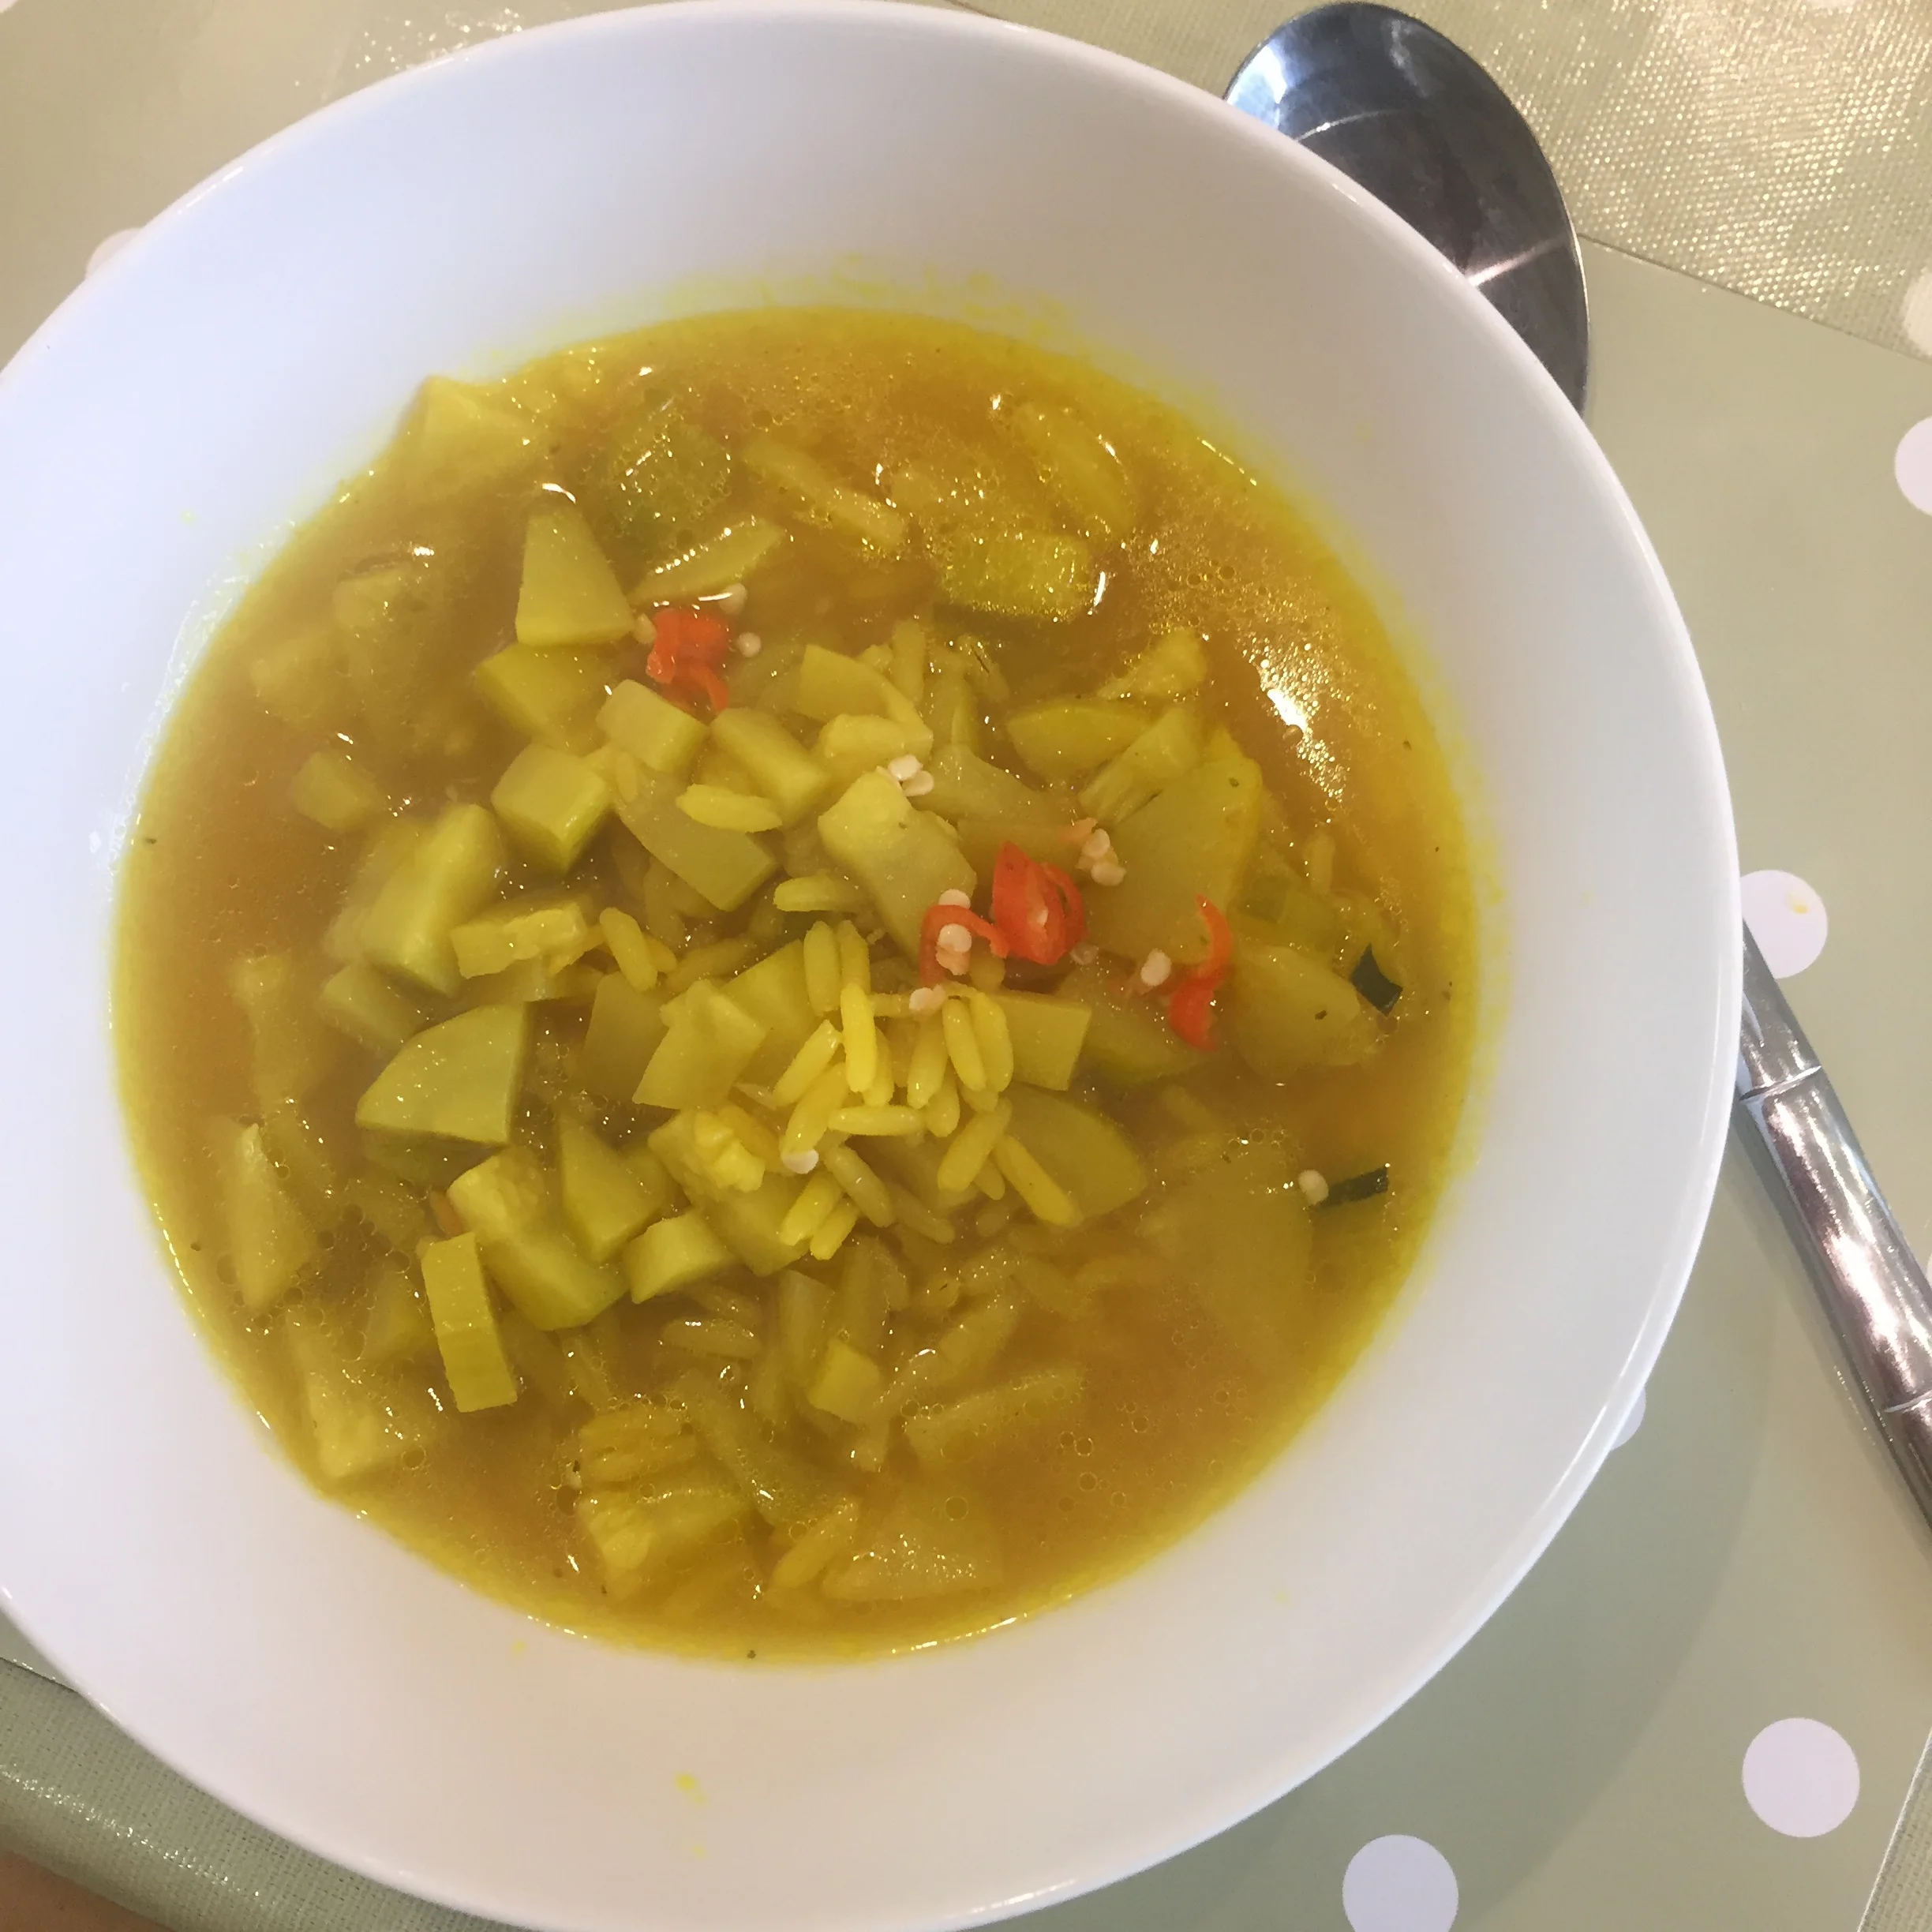
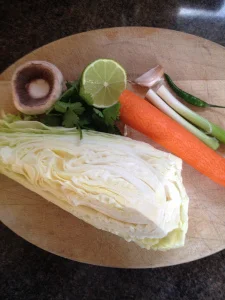
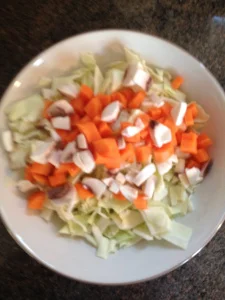
Today I had a lot of vegetables that needed eating, including a few Brussels sprouts, half an onion and a few carrots - these were the ones that really needed eating ASAP!

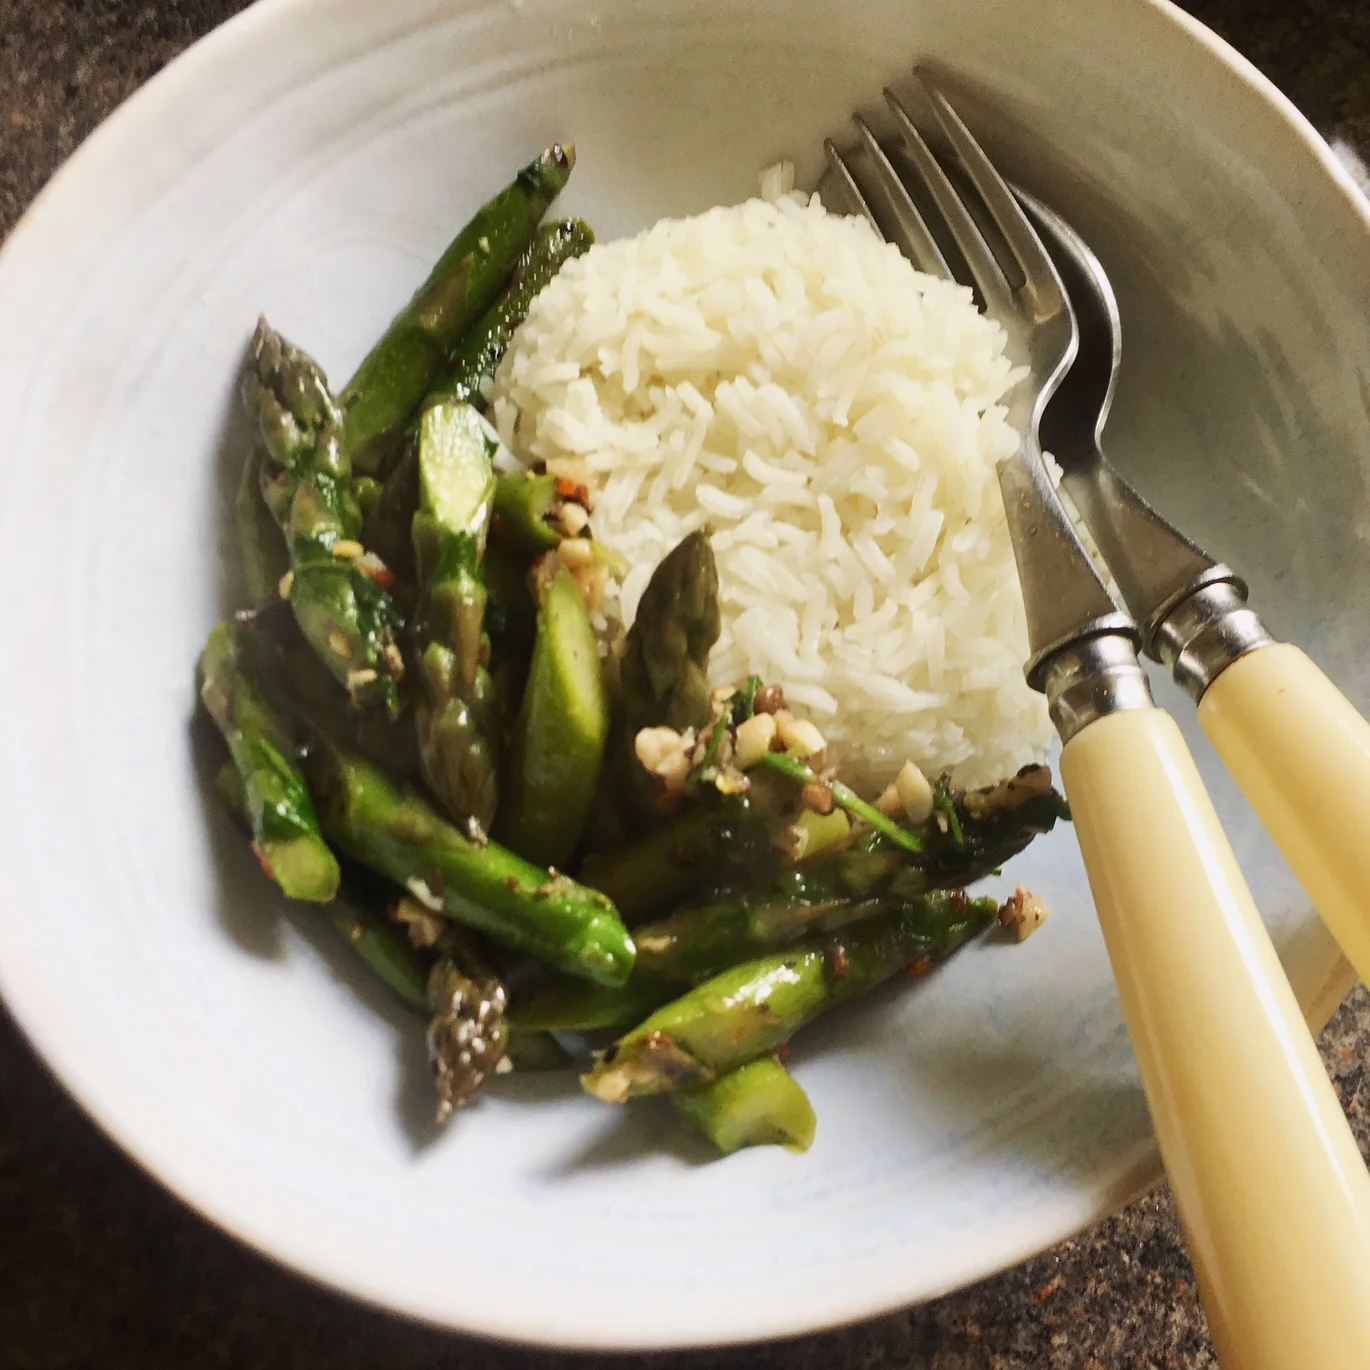
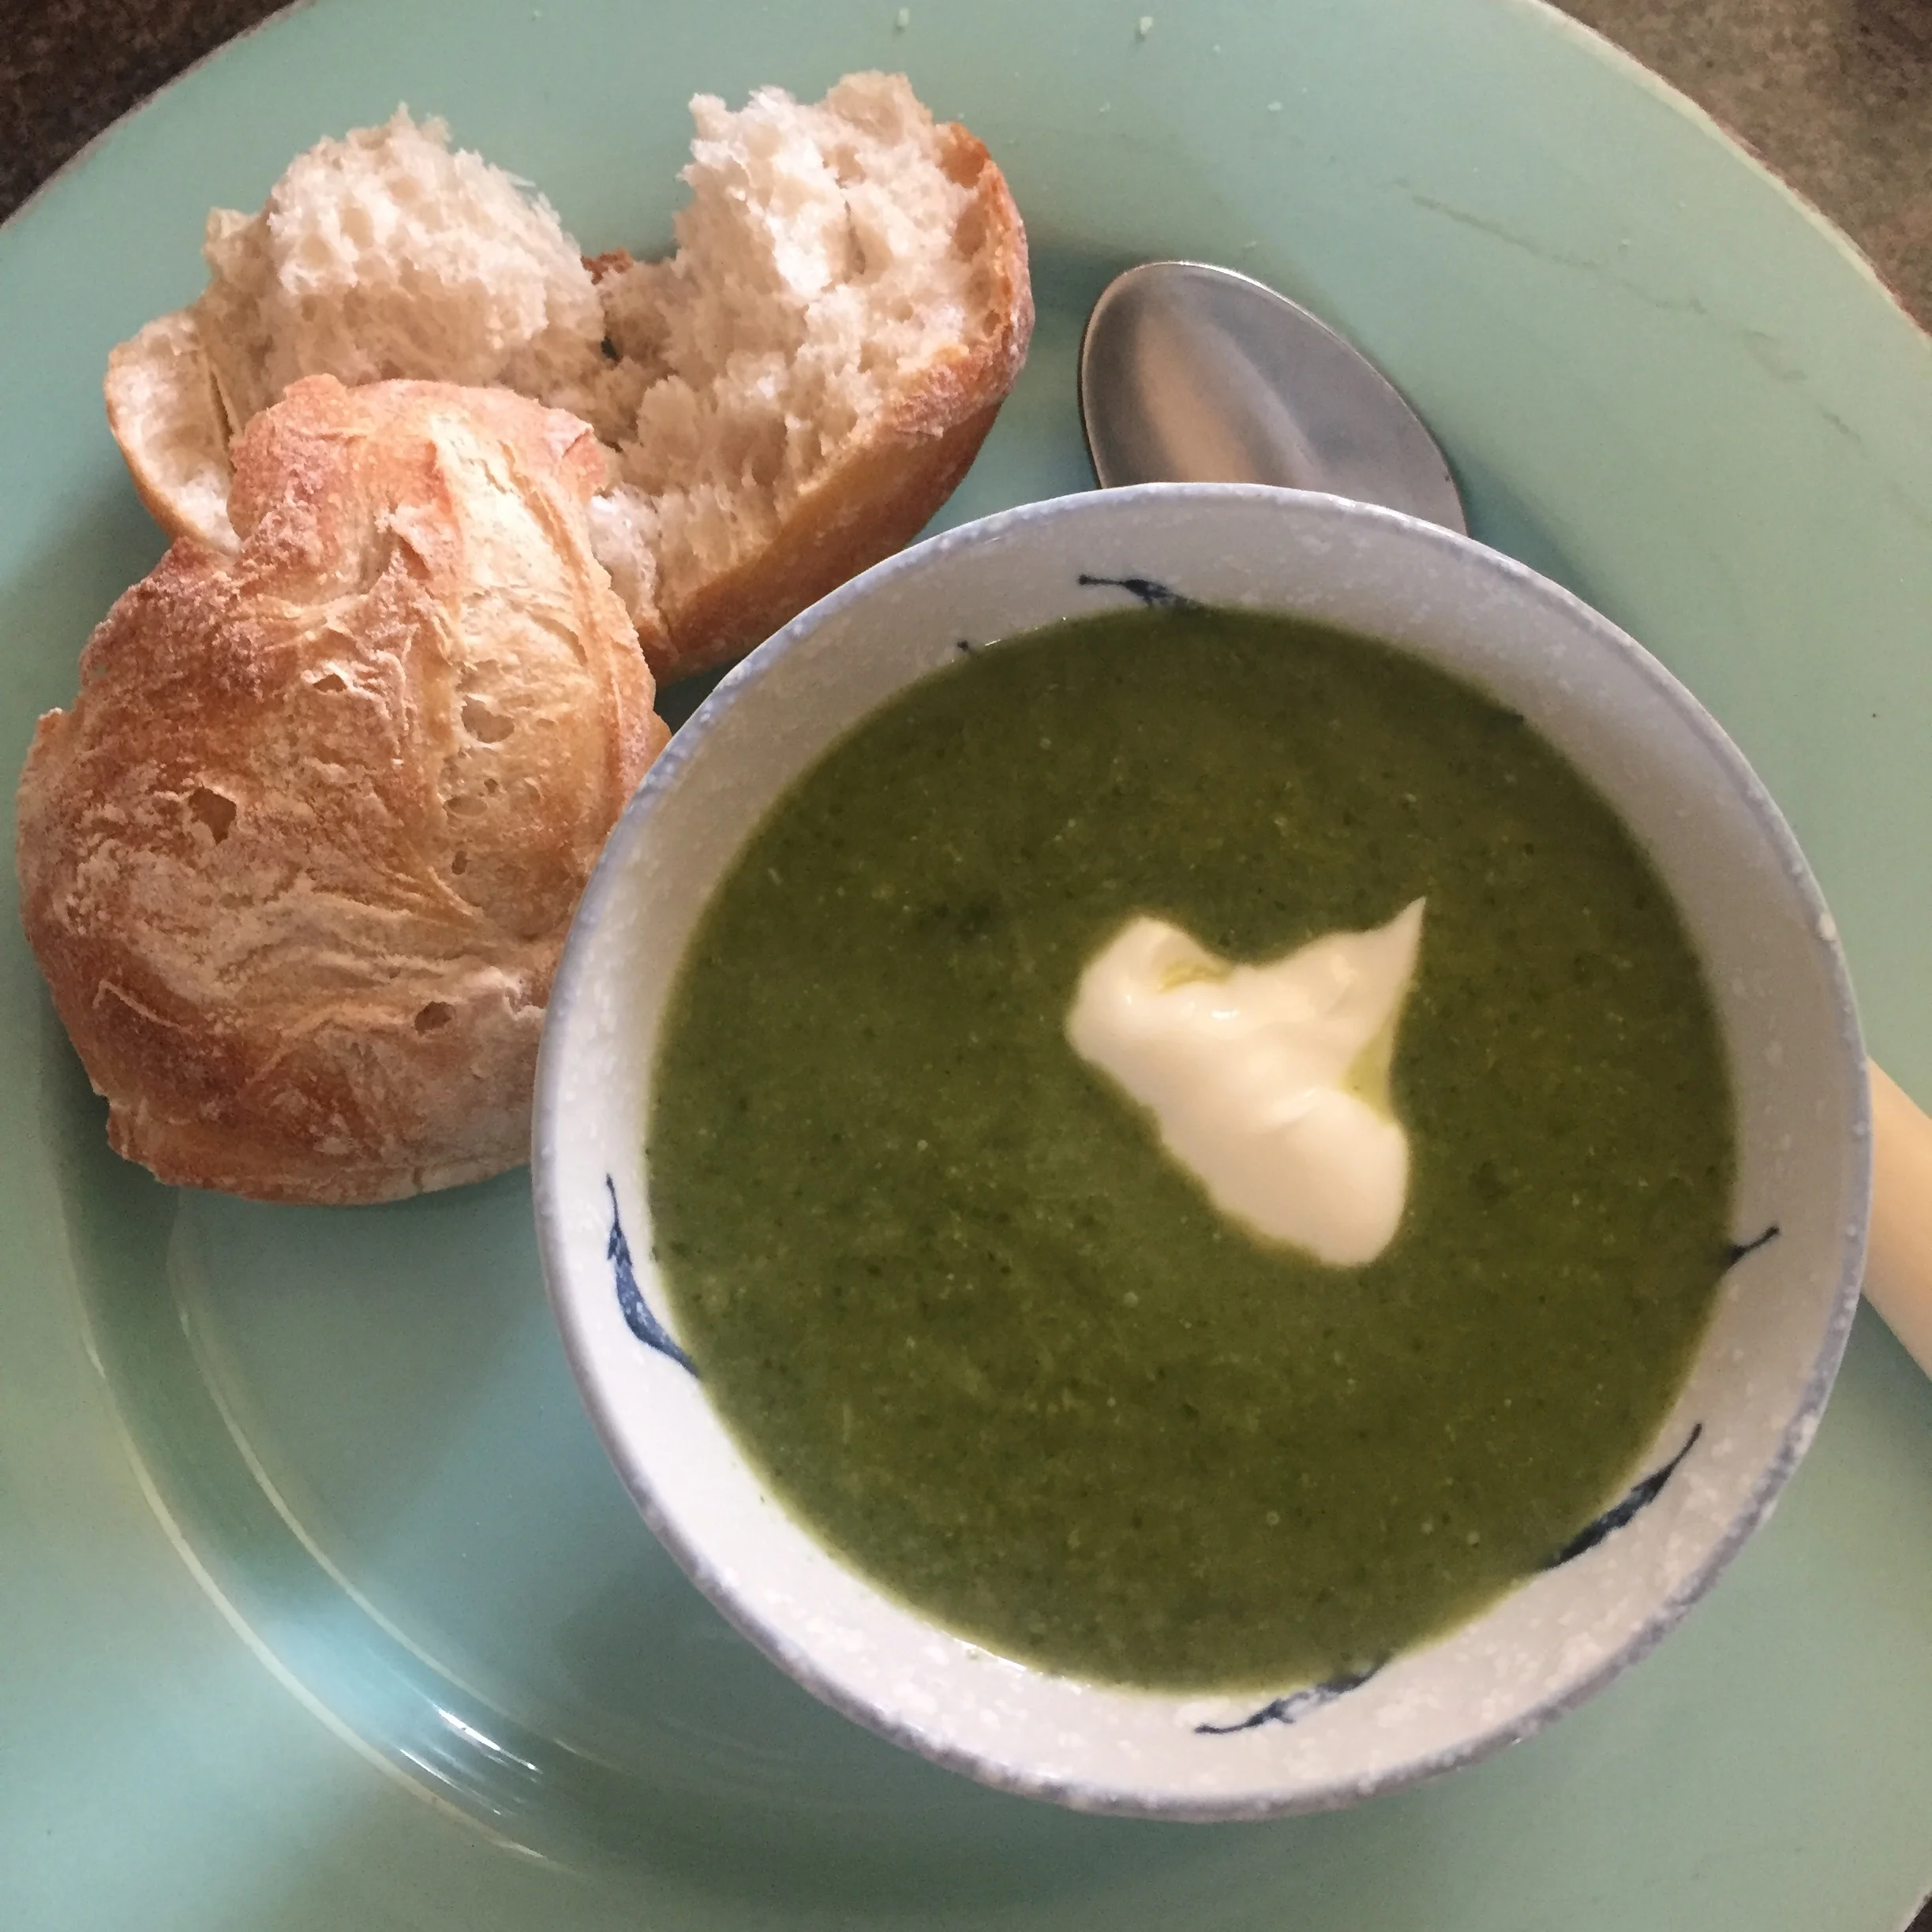
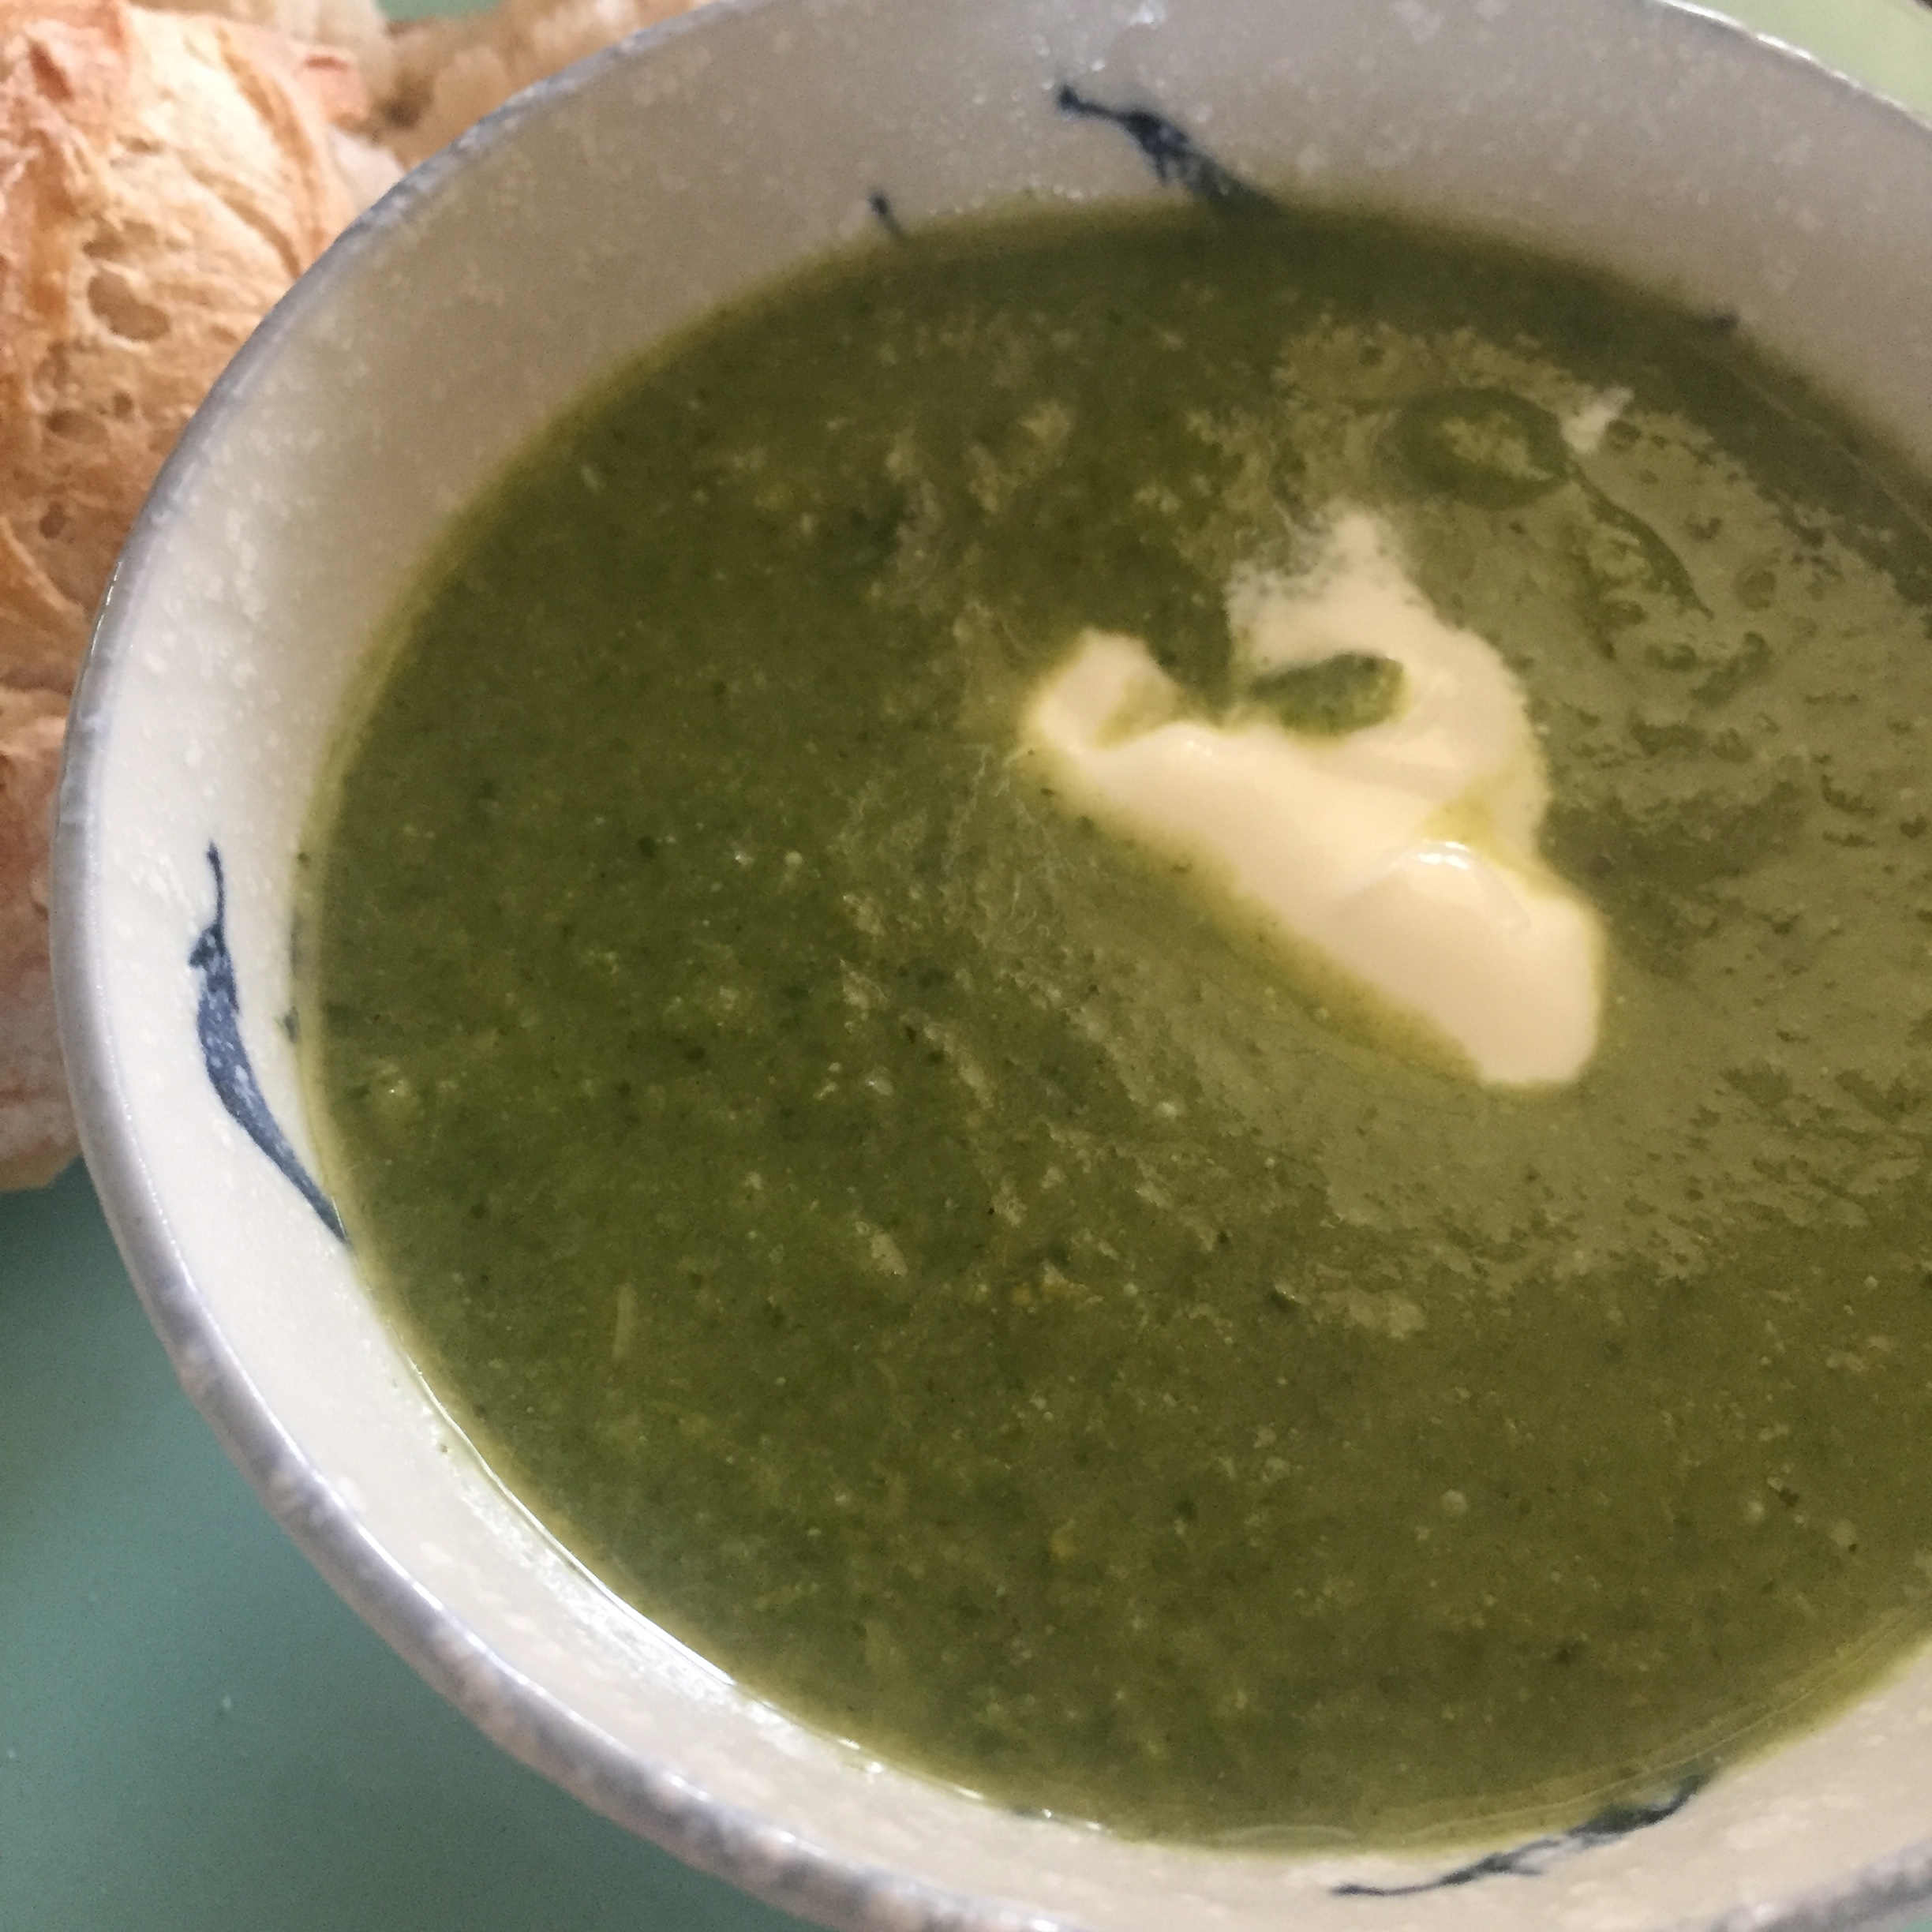
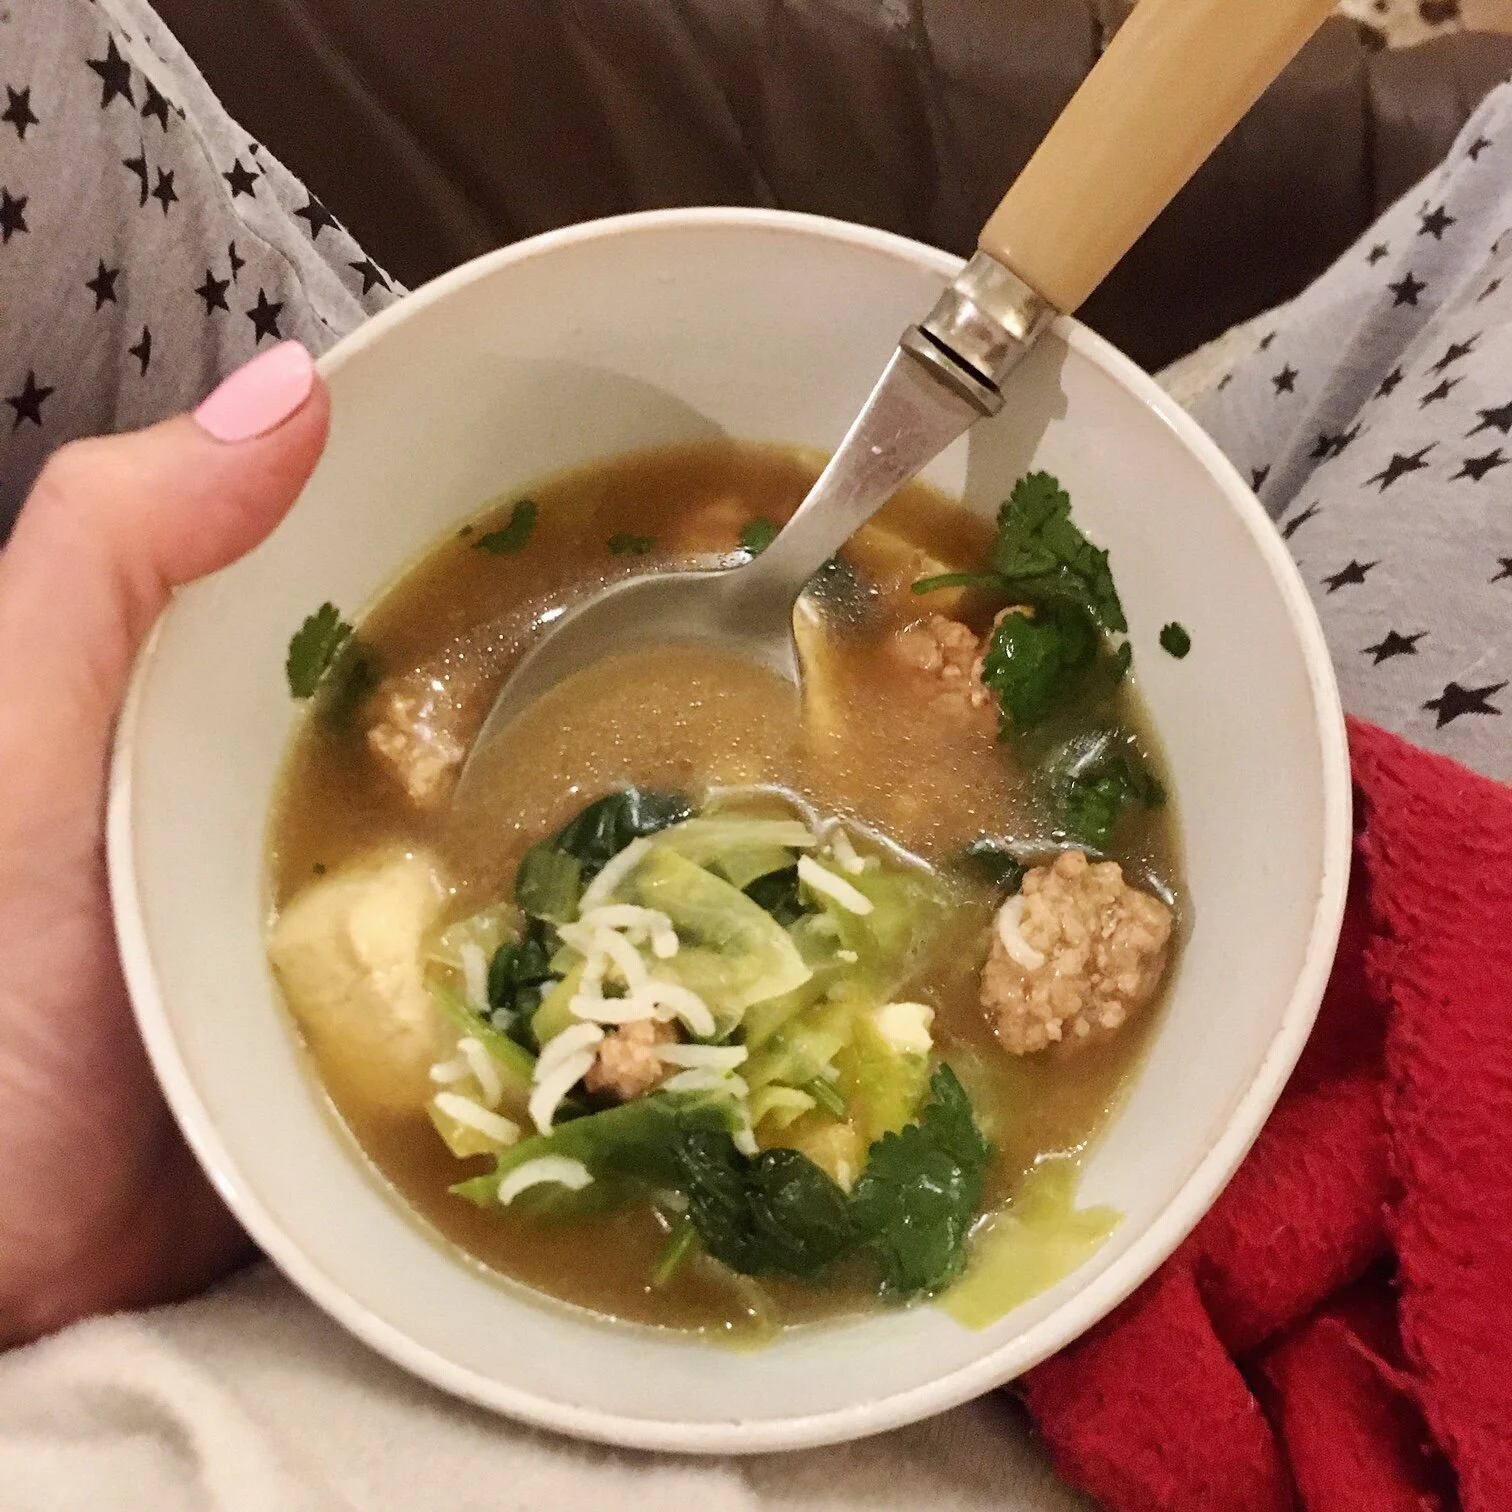
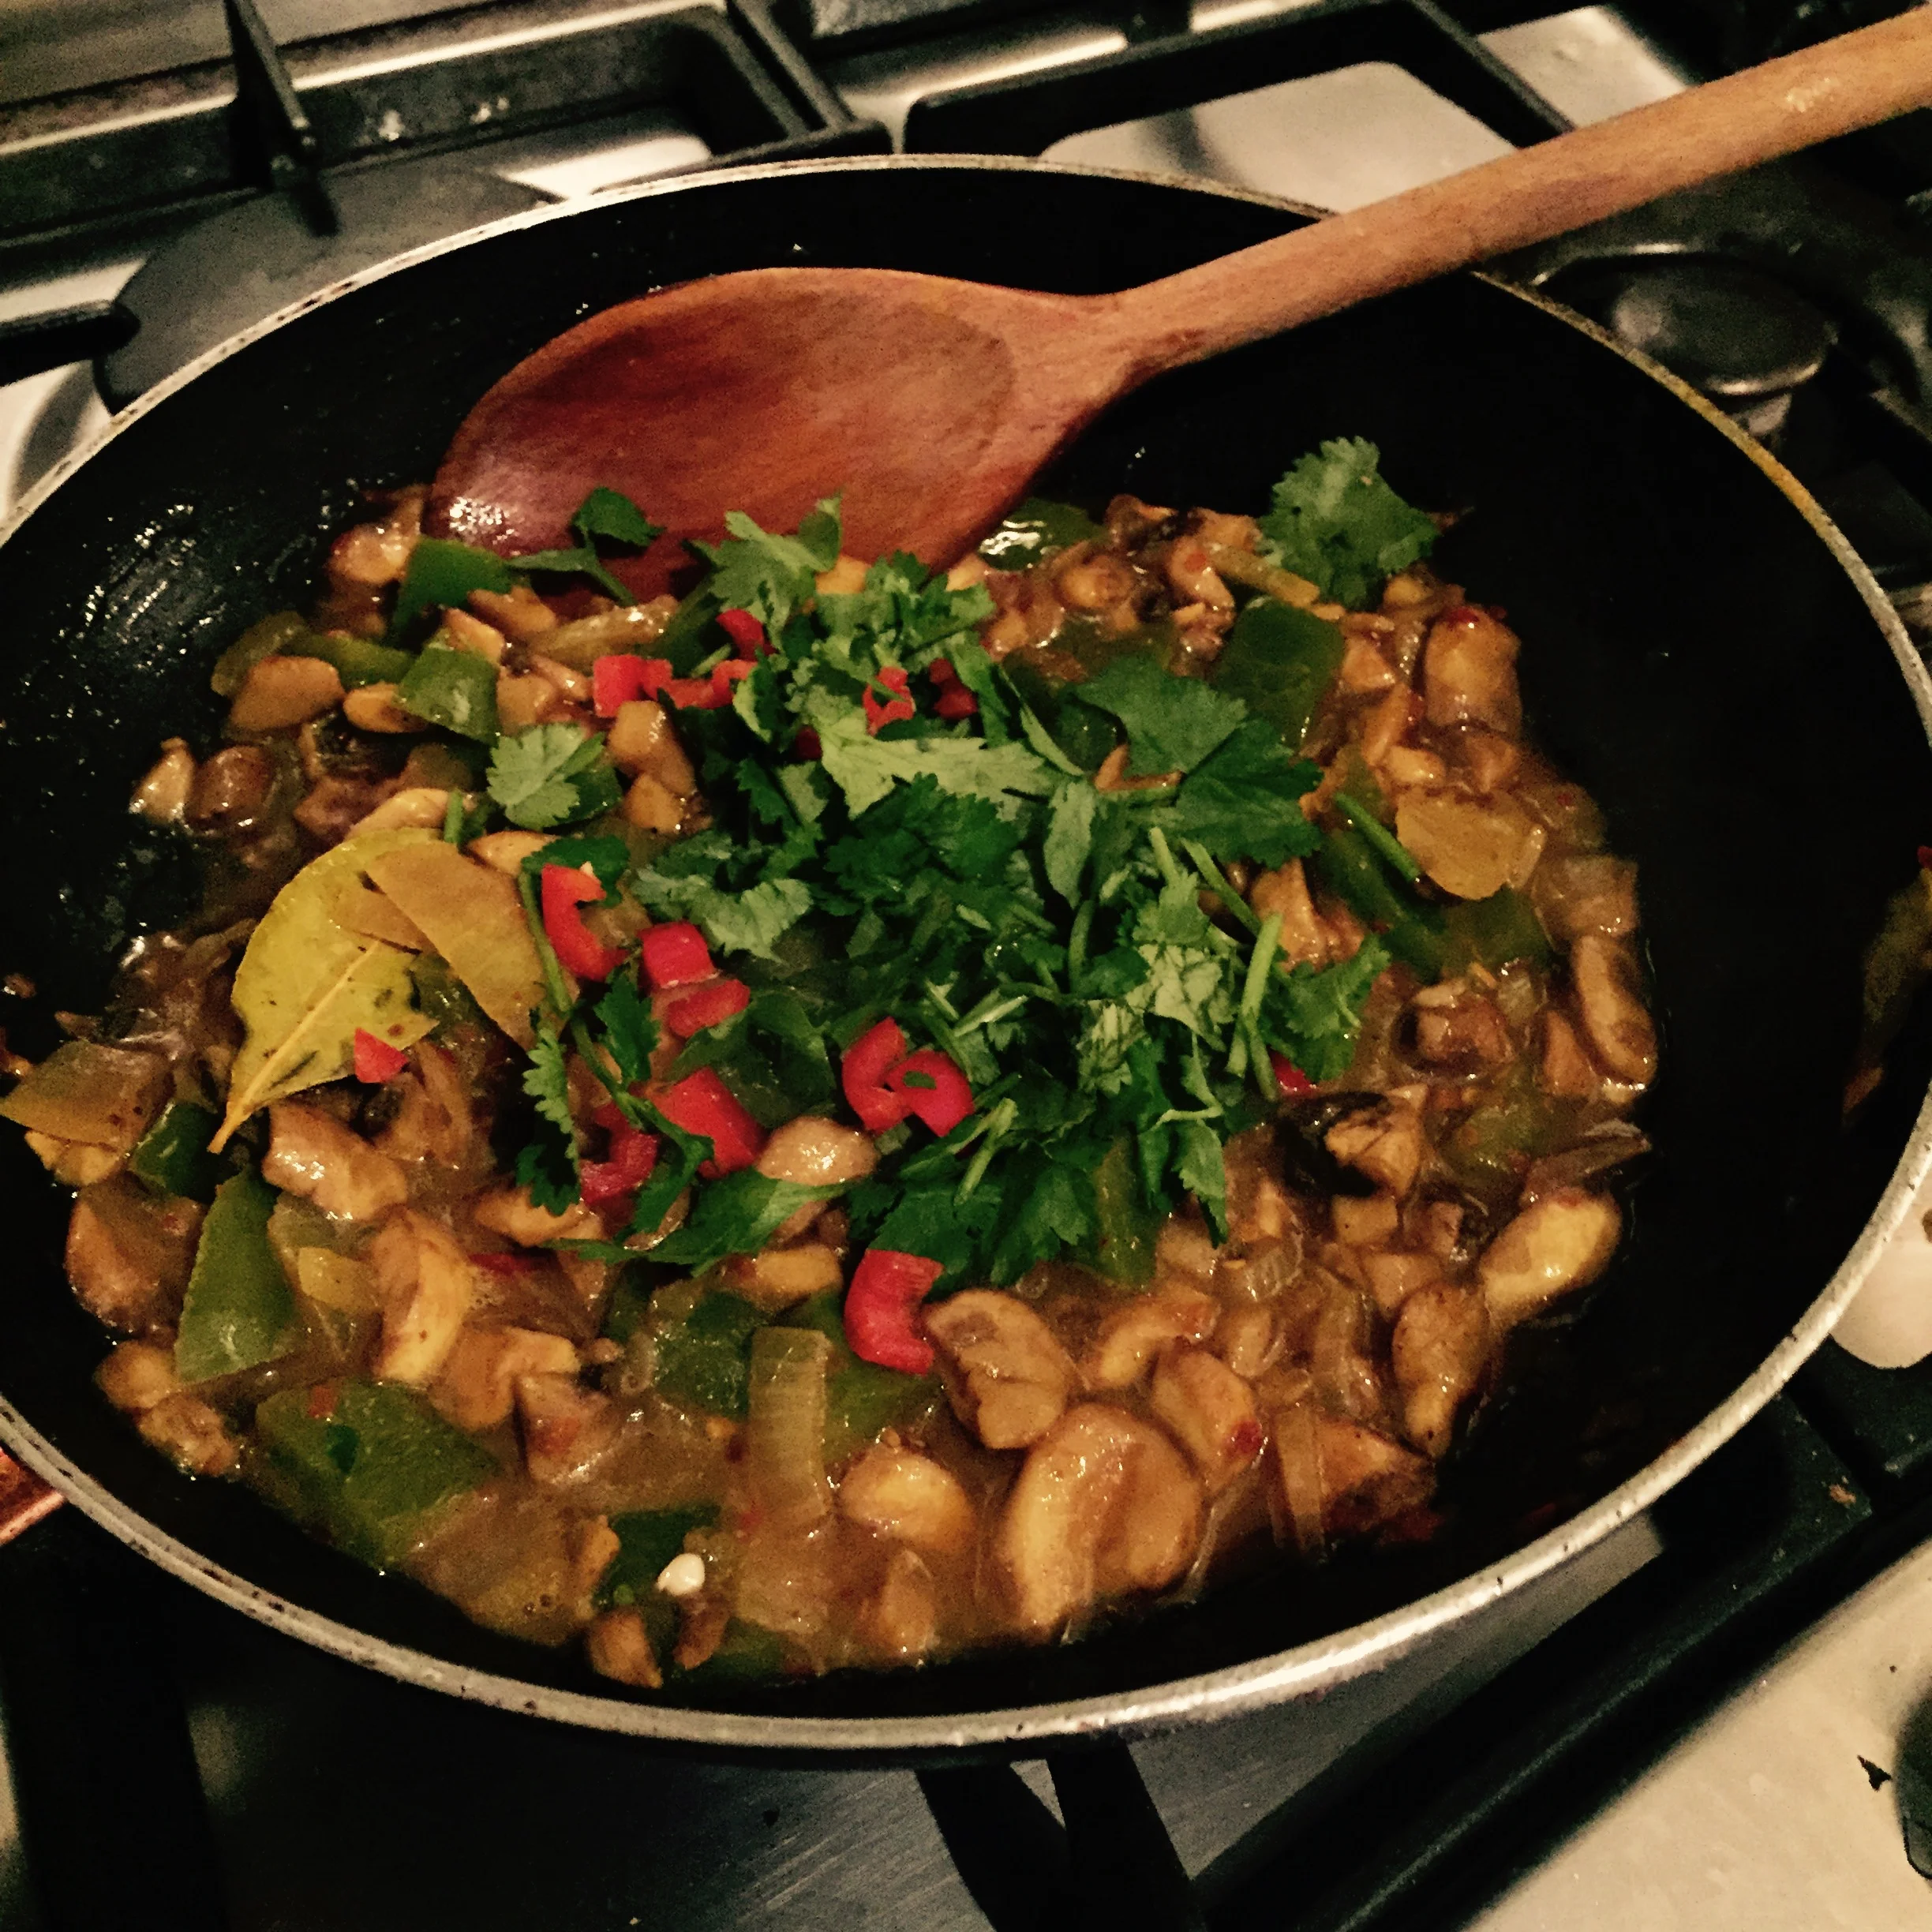
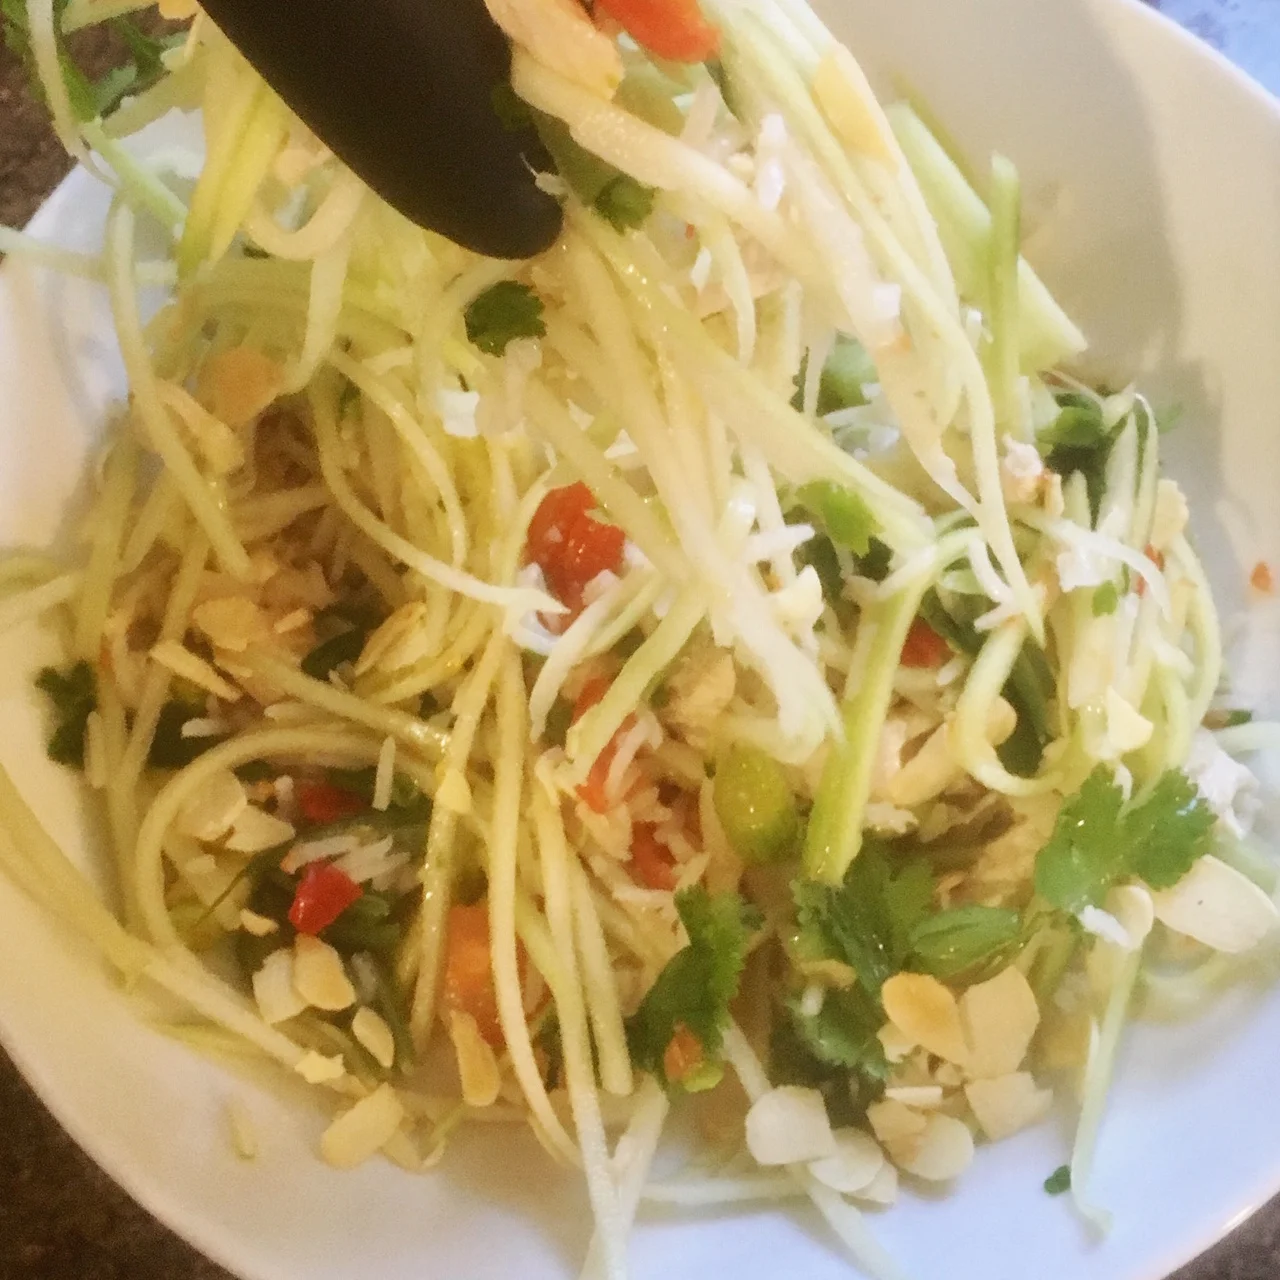
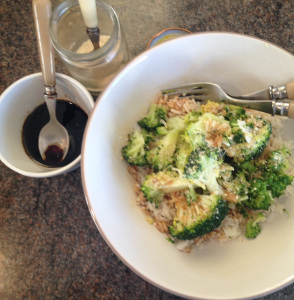
So I thought I'd try a vegan vegetable stir-fry for brunch and it was really good ... I also feel good and light after eating it, even though it was a lot of vegetables :)

To make this, you’ll need:

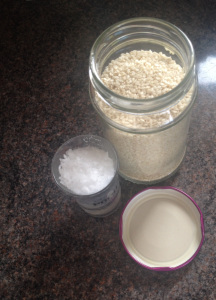
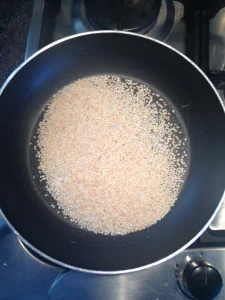
rice (cook it first and it can keep warm while you cook the stir fry)

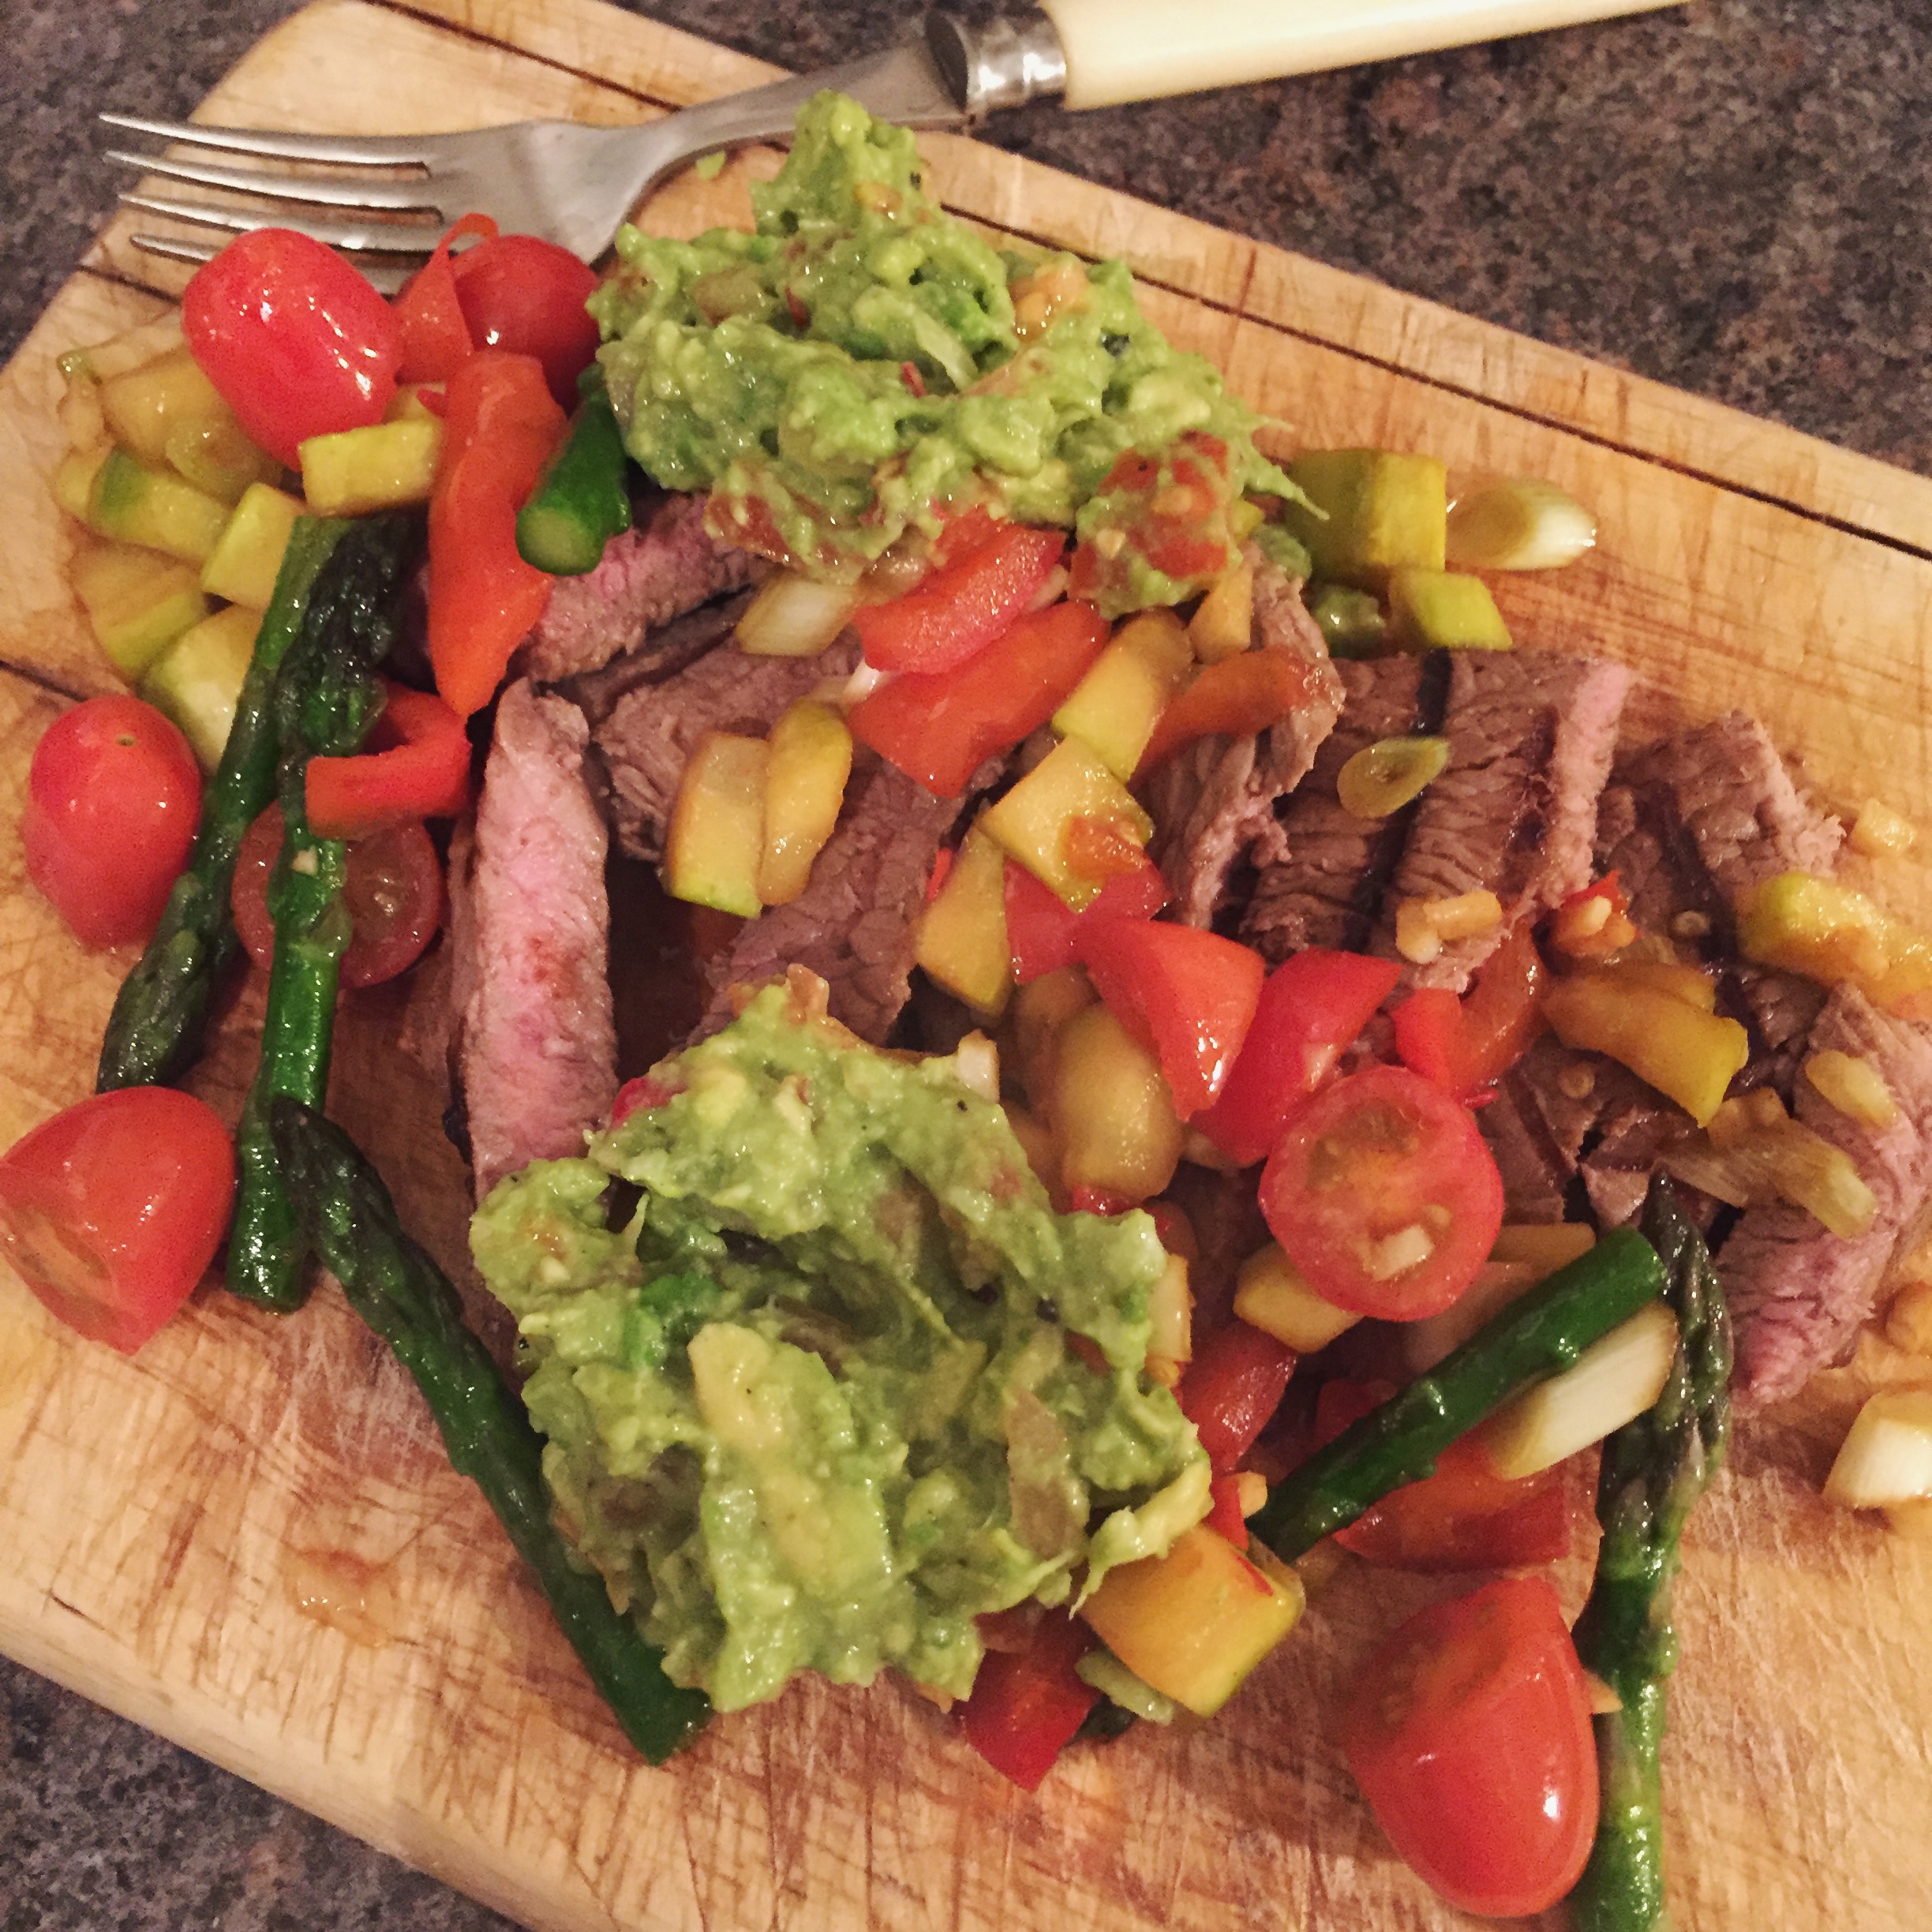
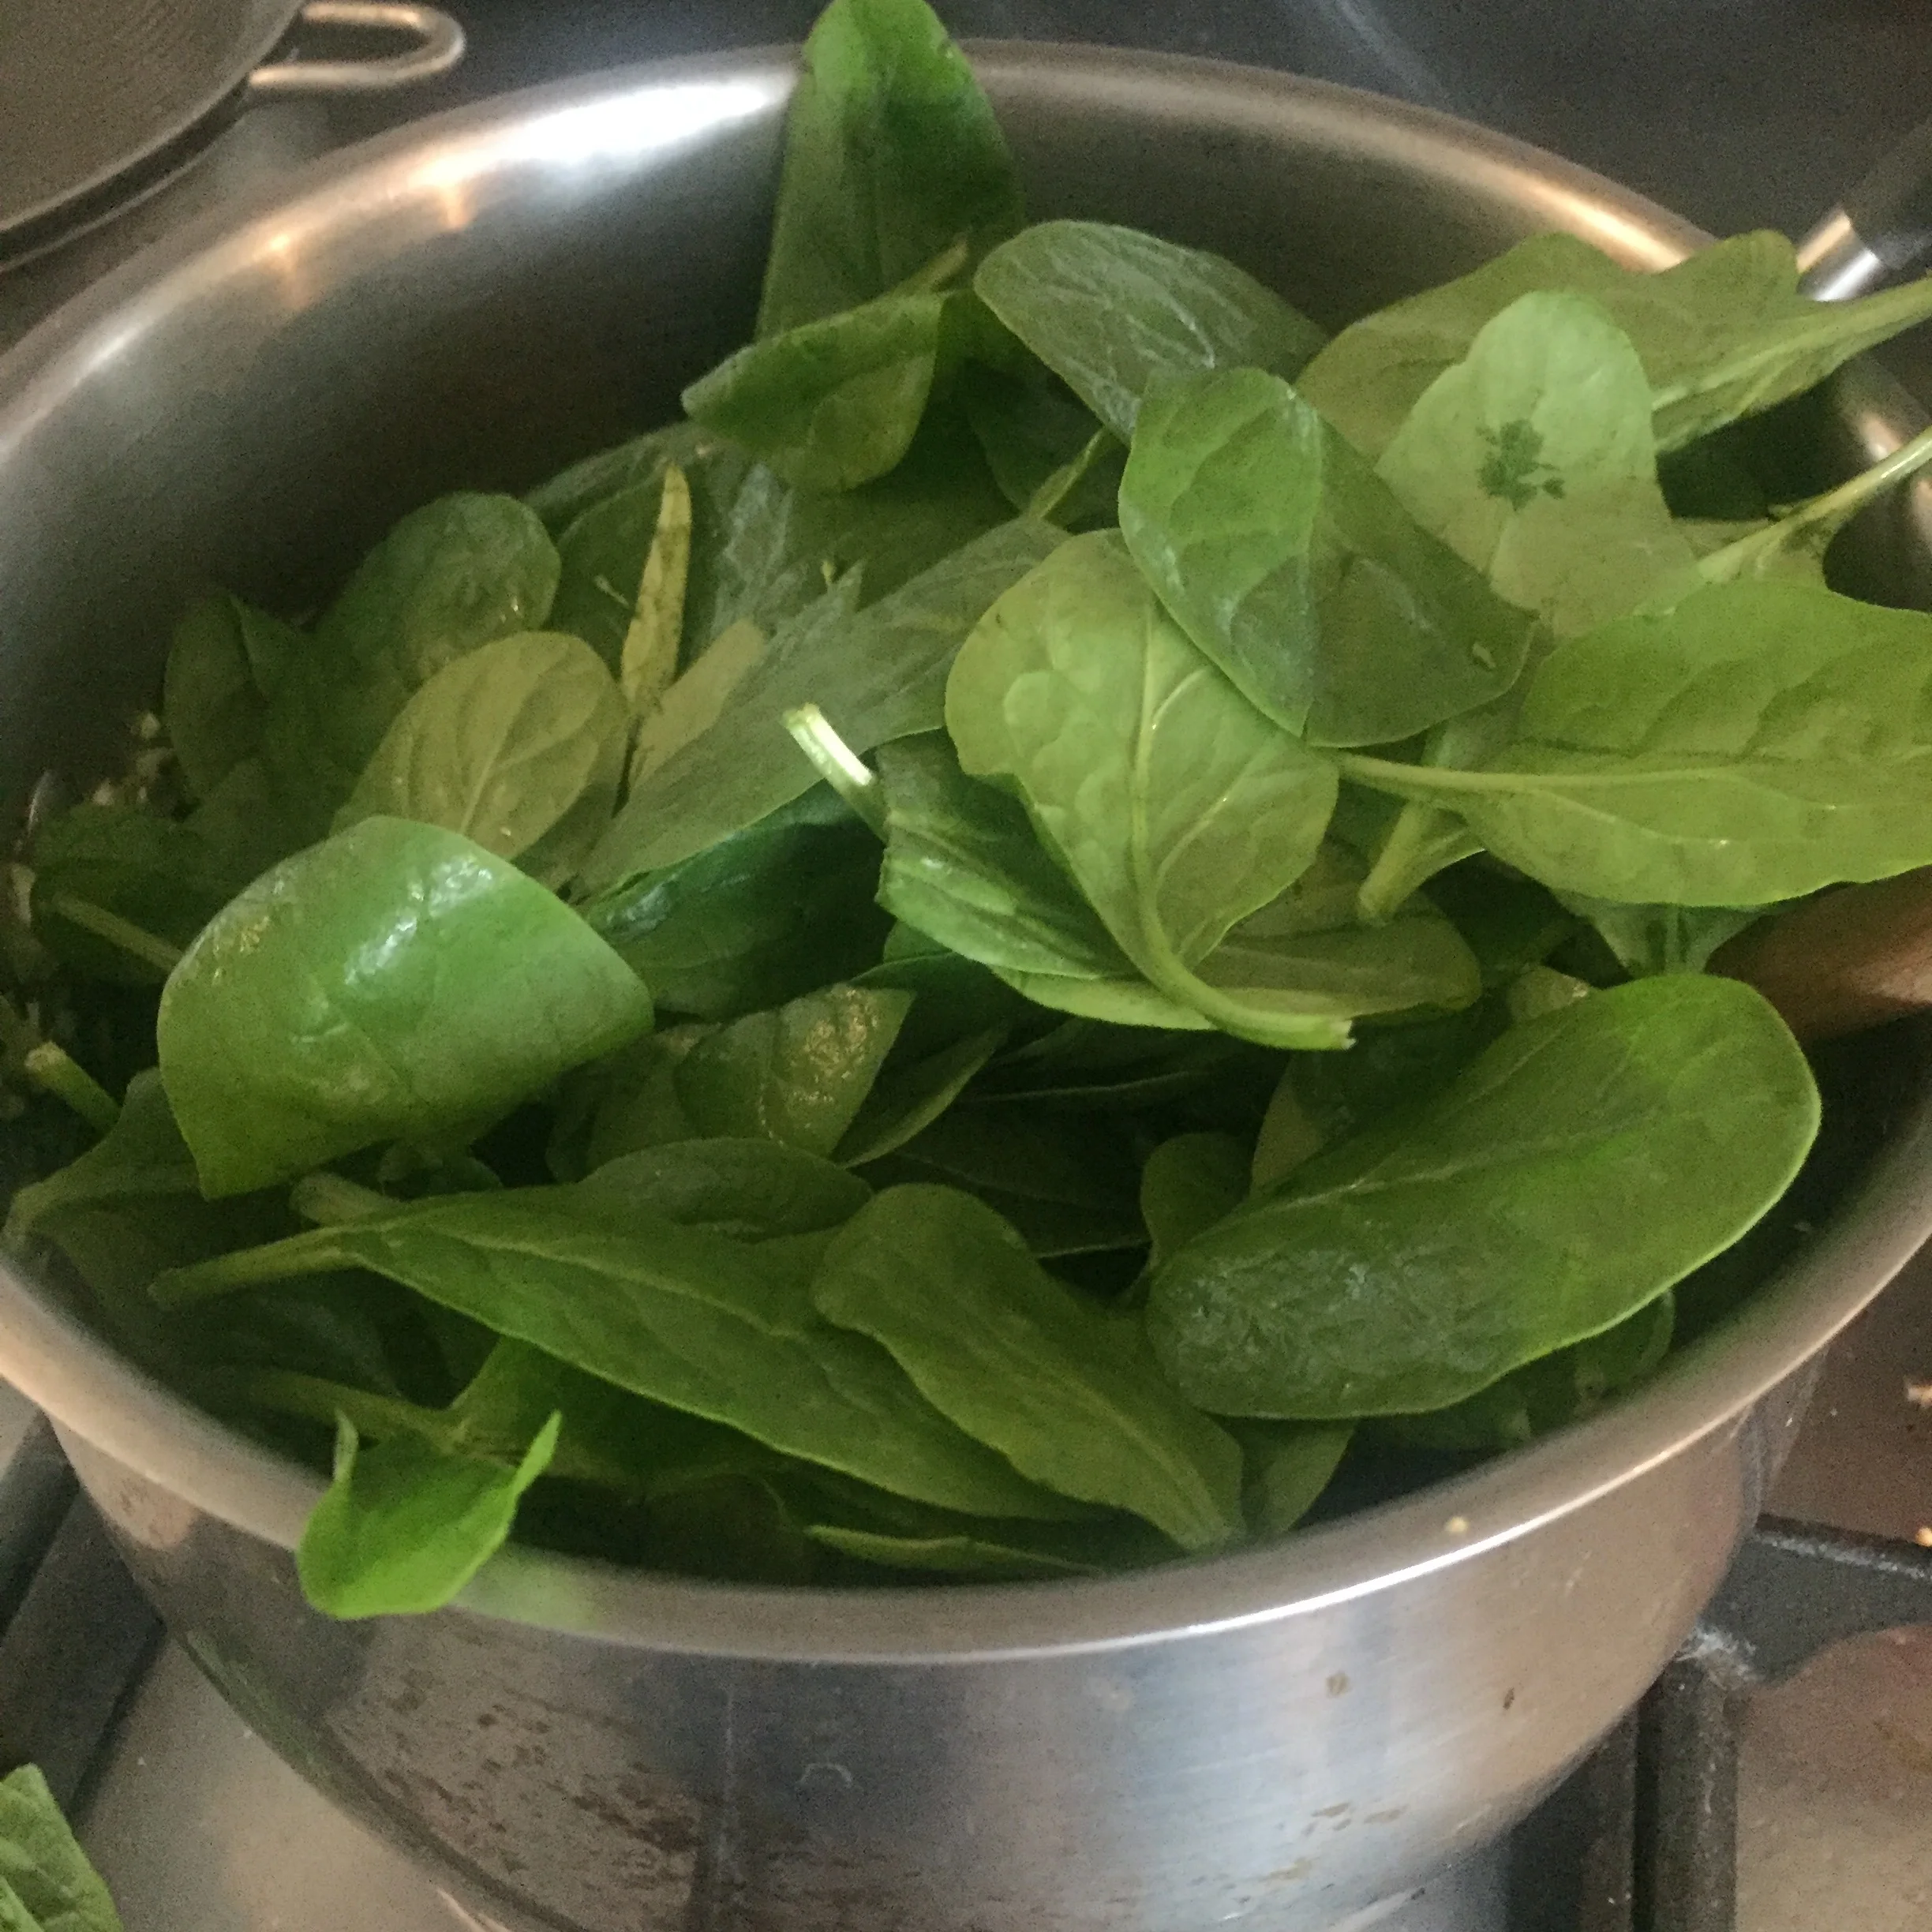
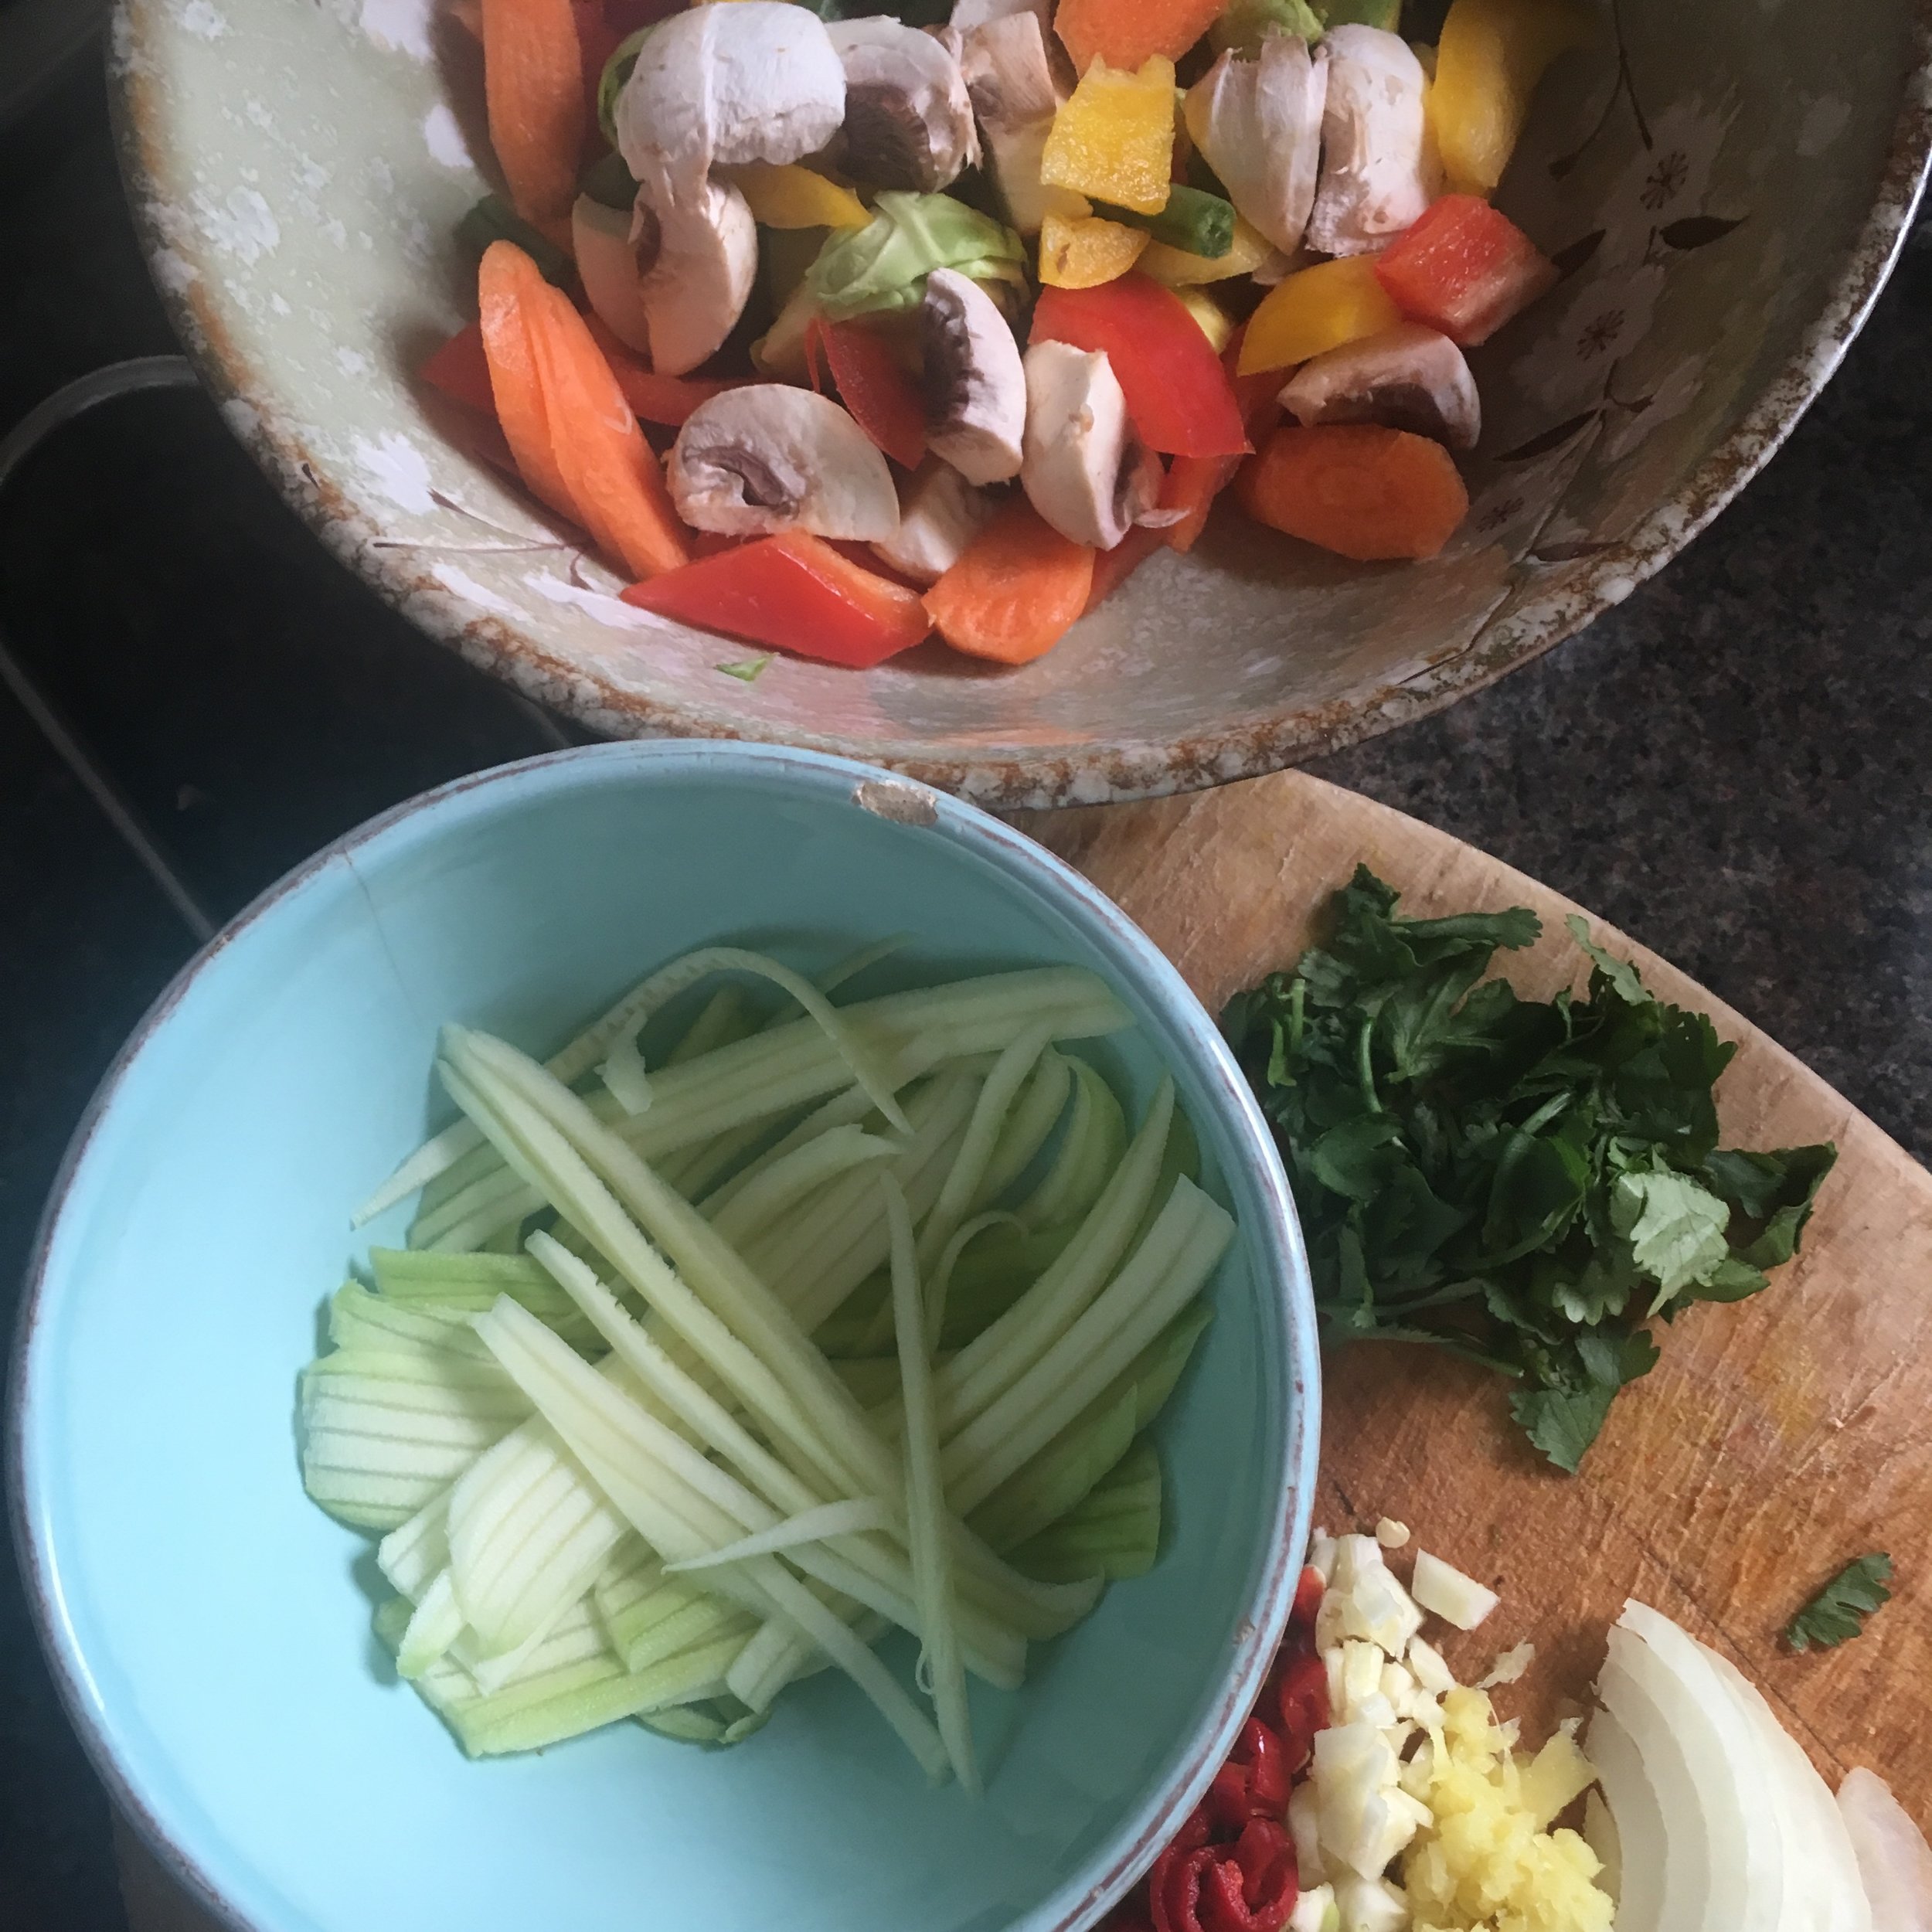
any vegetables of your choosing

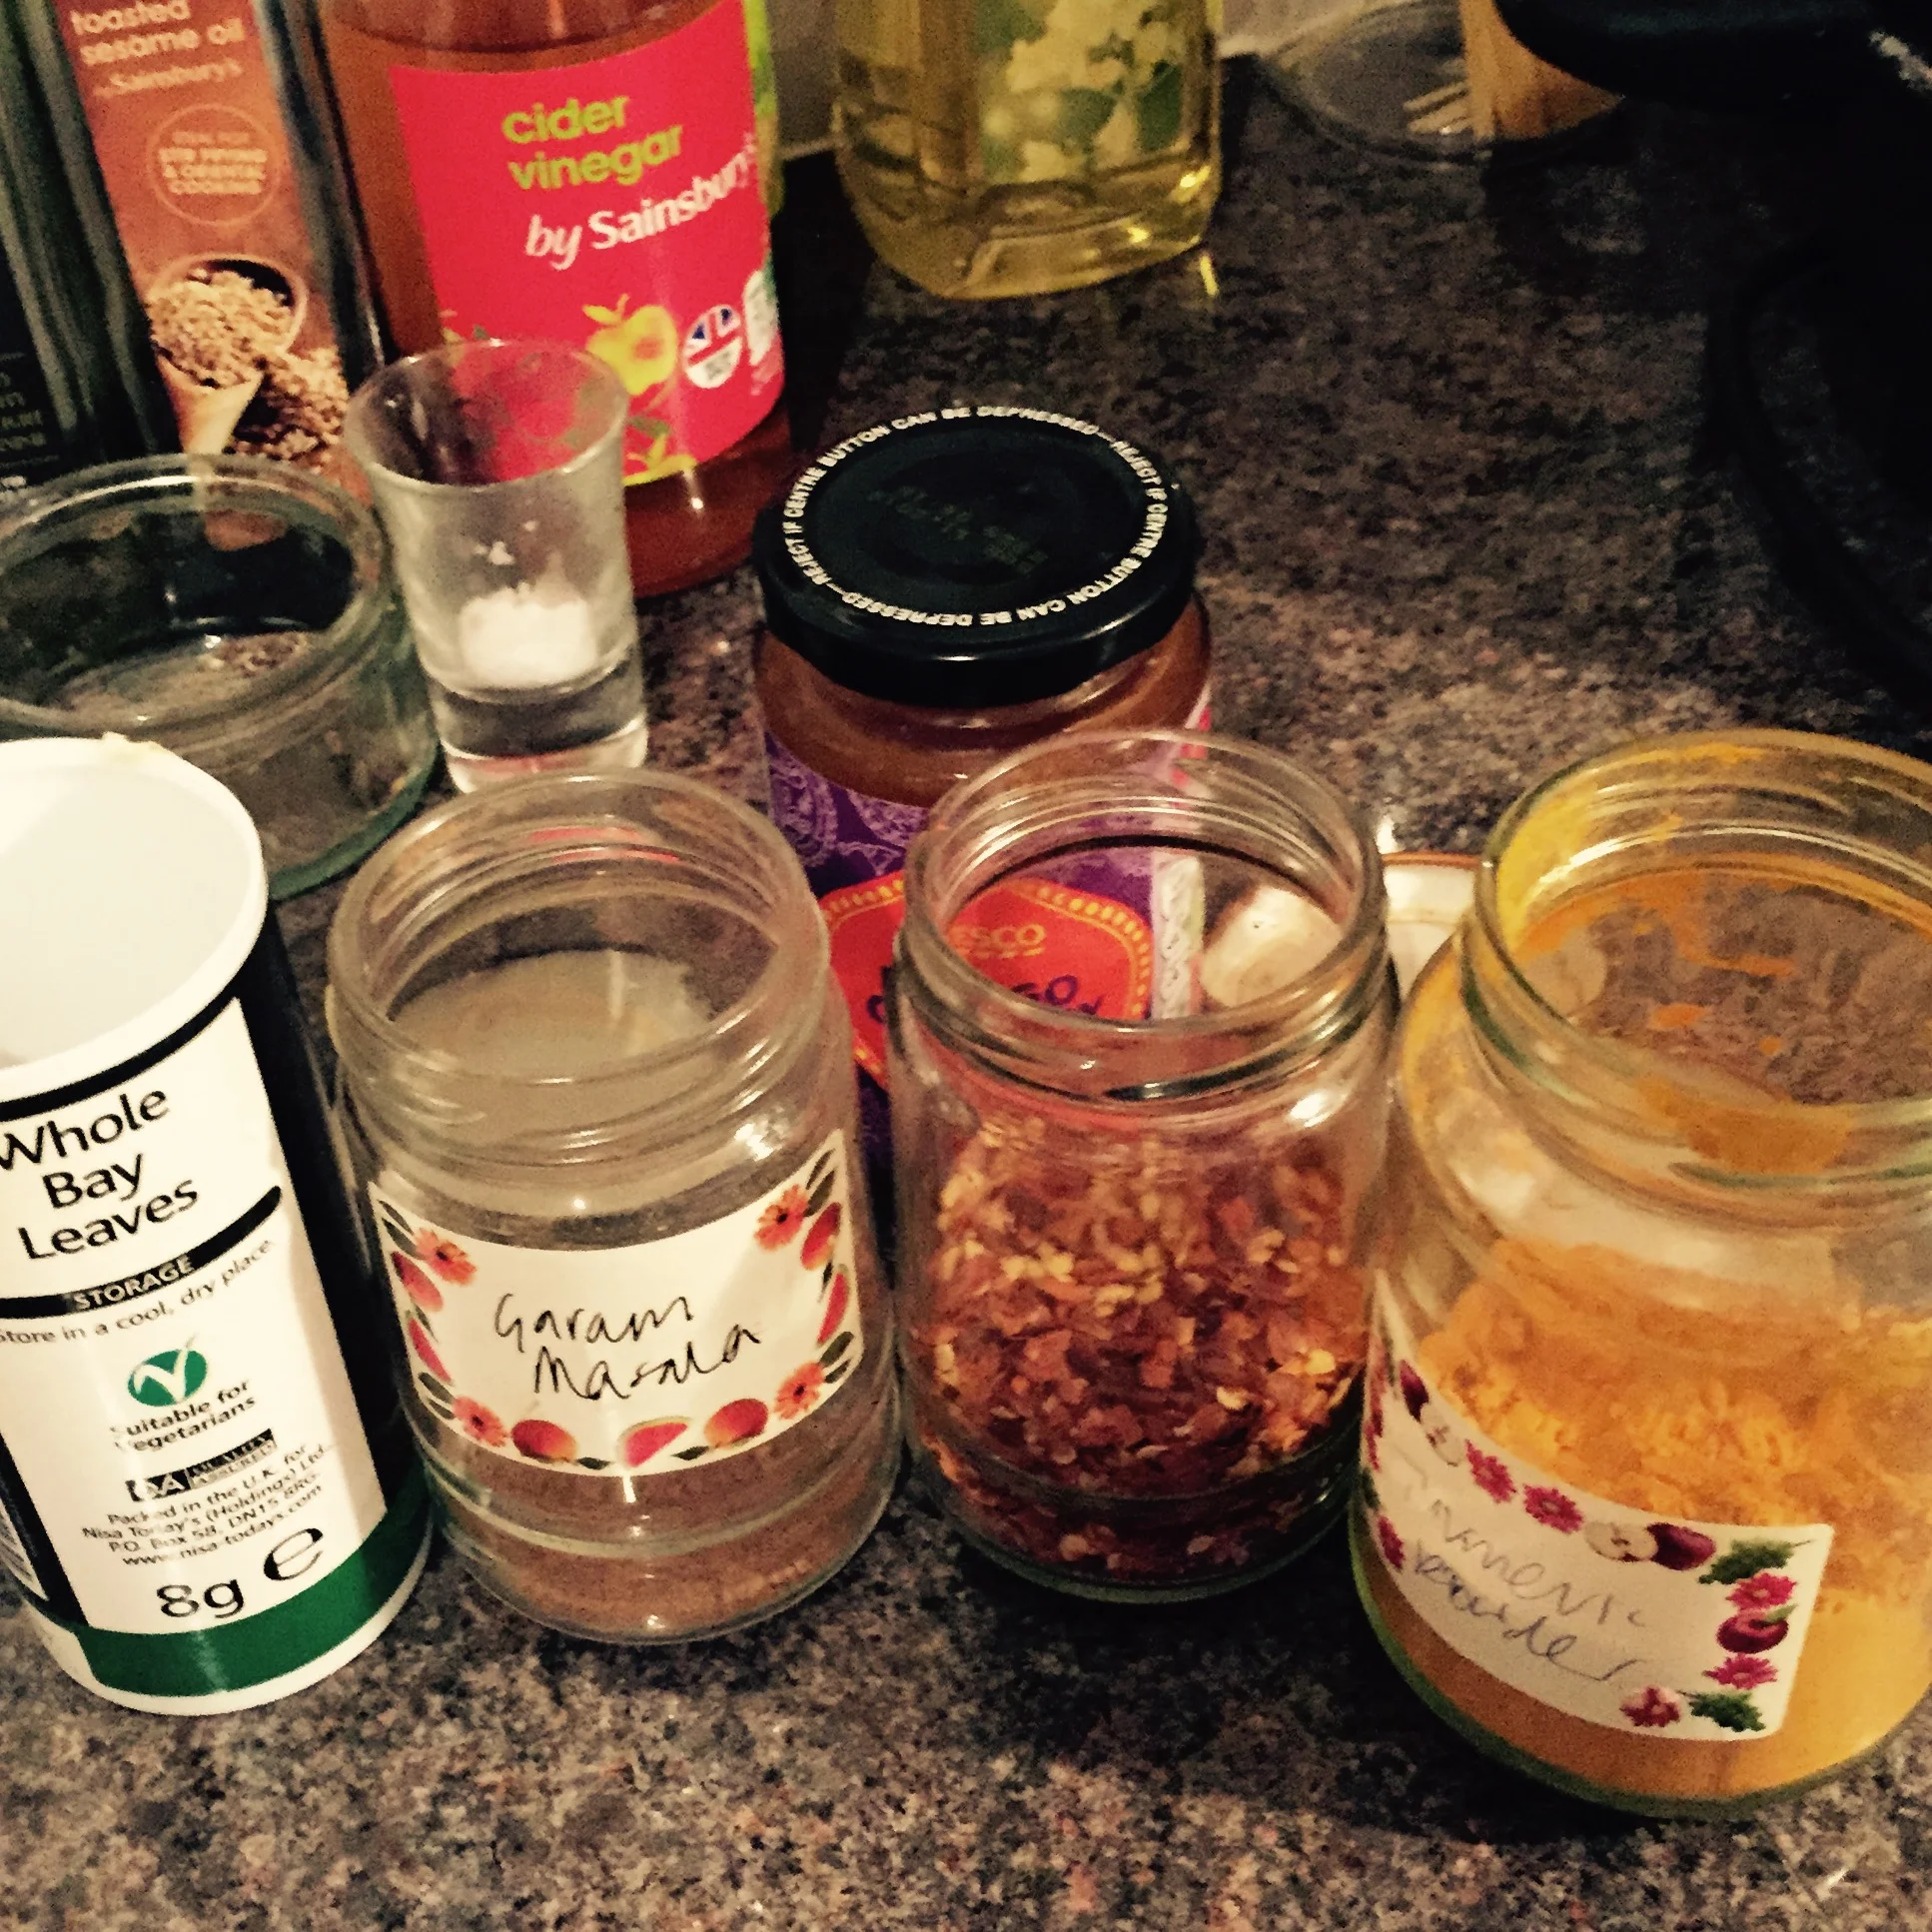
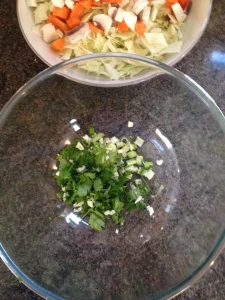
plus onion, garlic, chilli, grated ginger (I much prefer grated ginger to sliced as I find it a bit over-powering).

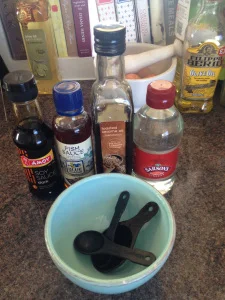
For the sauce you'll also need:

1/3 vegetarian (vegan) stock cube

light soy sauce

1/2 teaspoon sugar

1/2 lime

1/2 teaspoon toasted sesame oil.

Rachel Redlaw Thai vegetable stir fry with ginger, chilli and lime

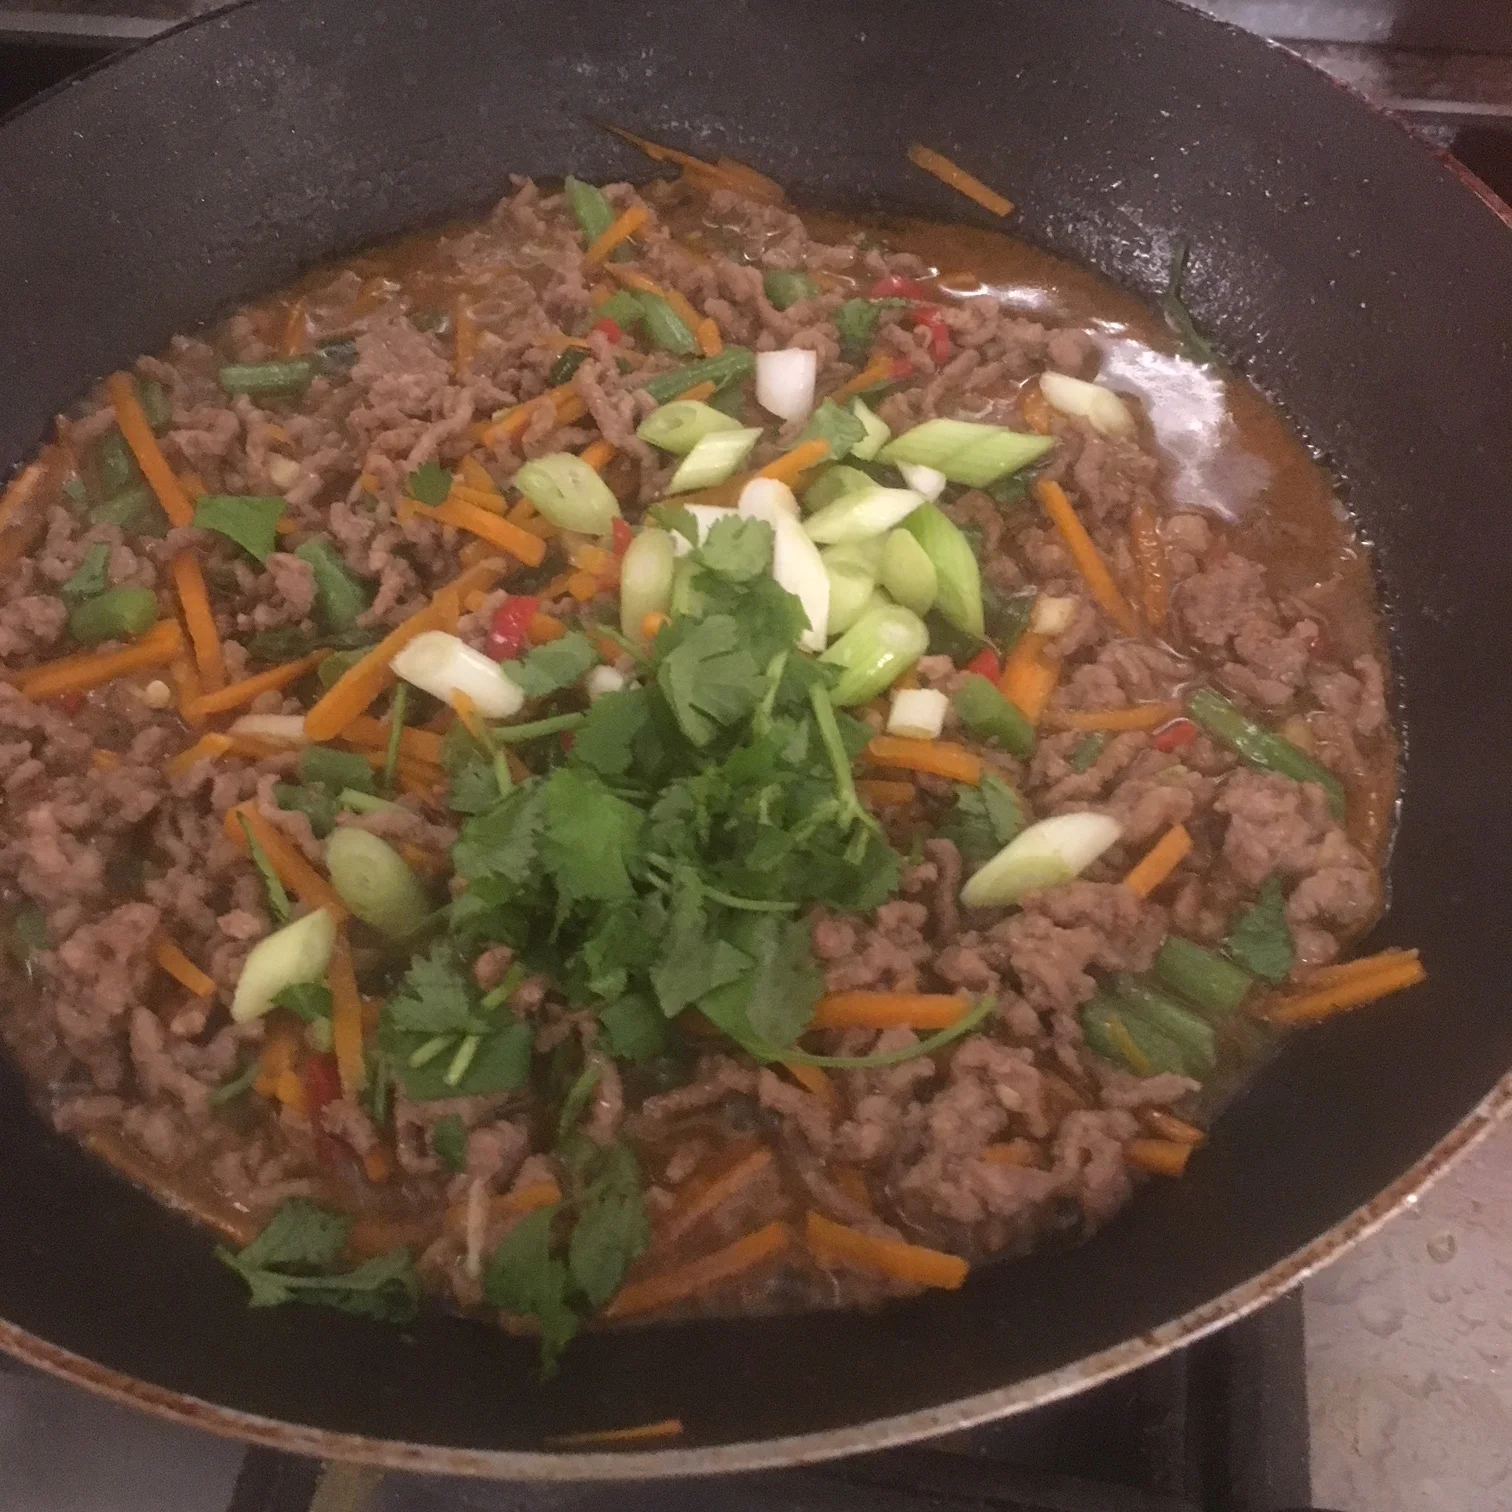
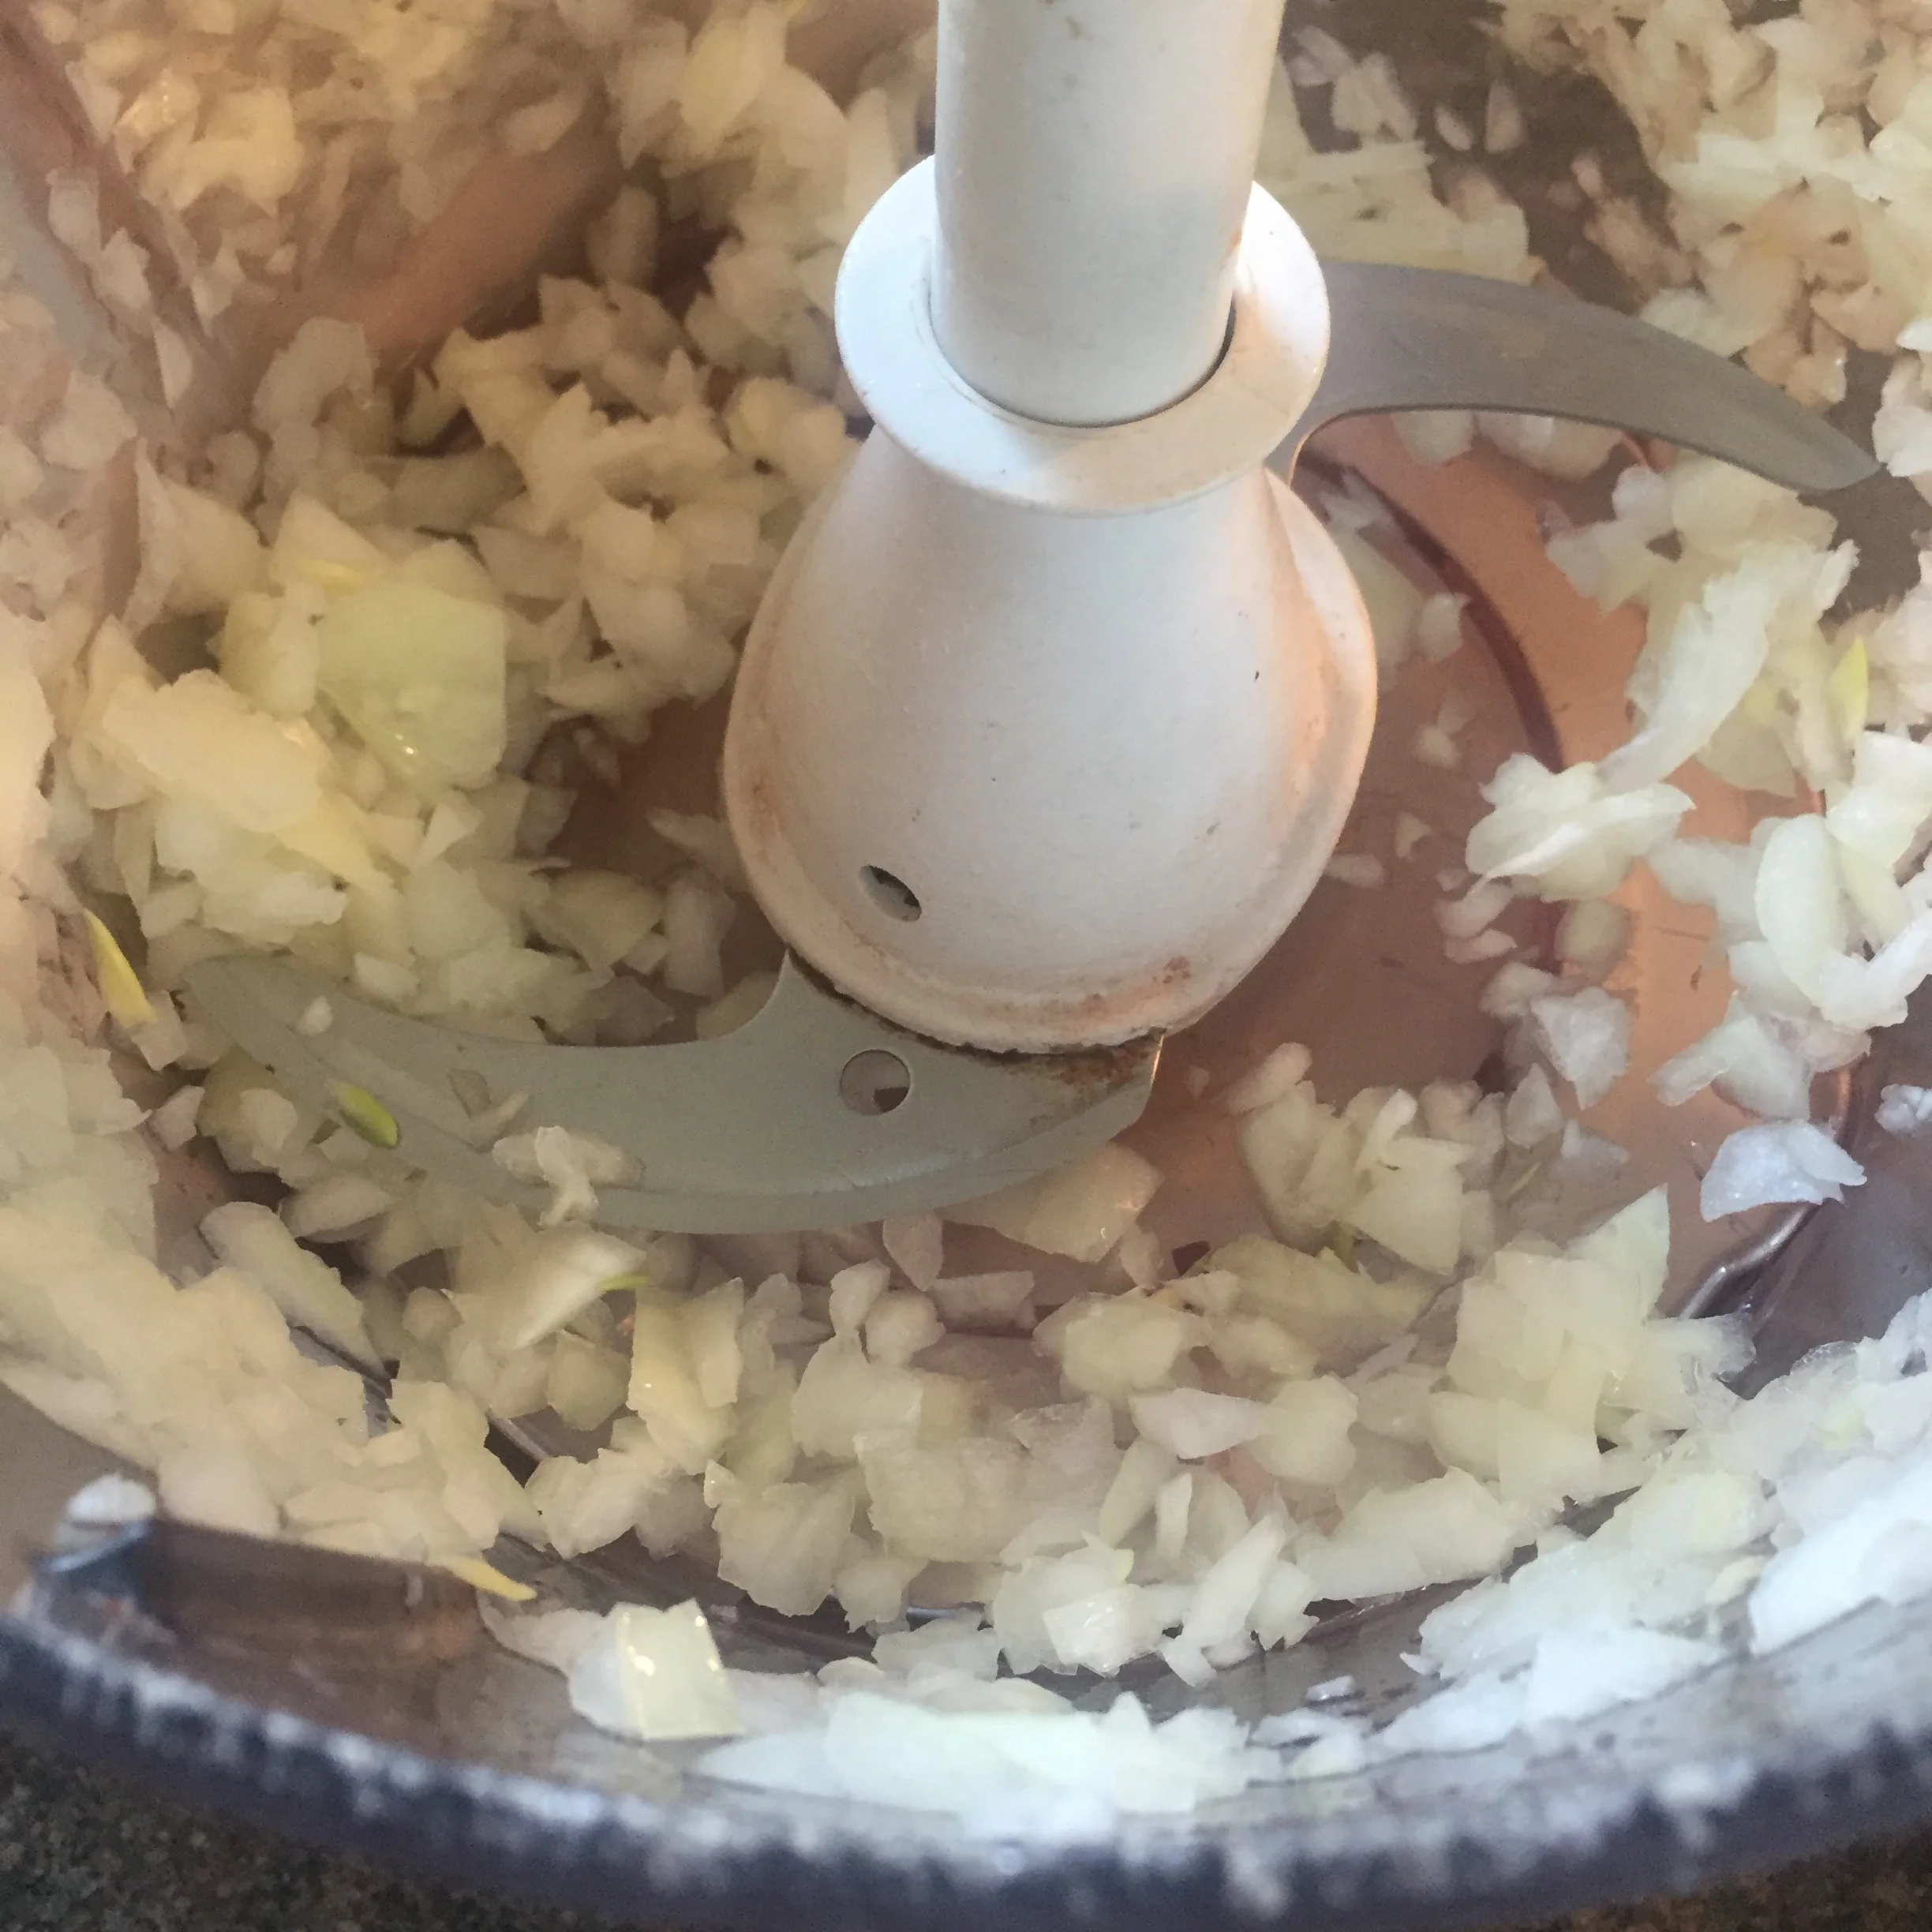
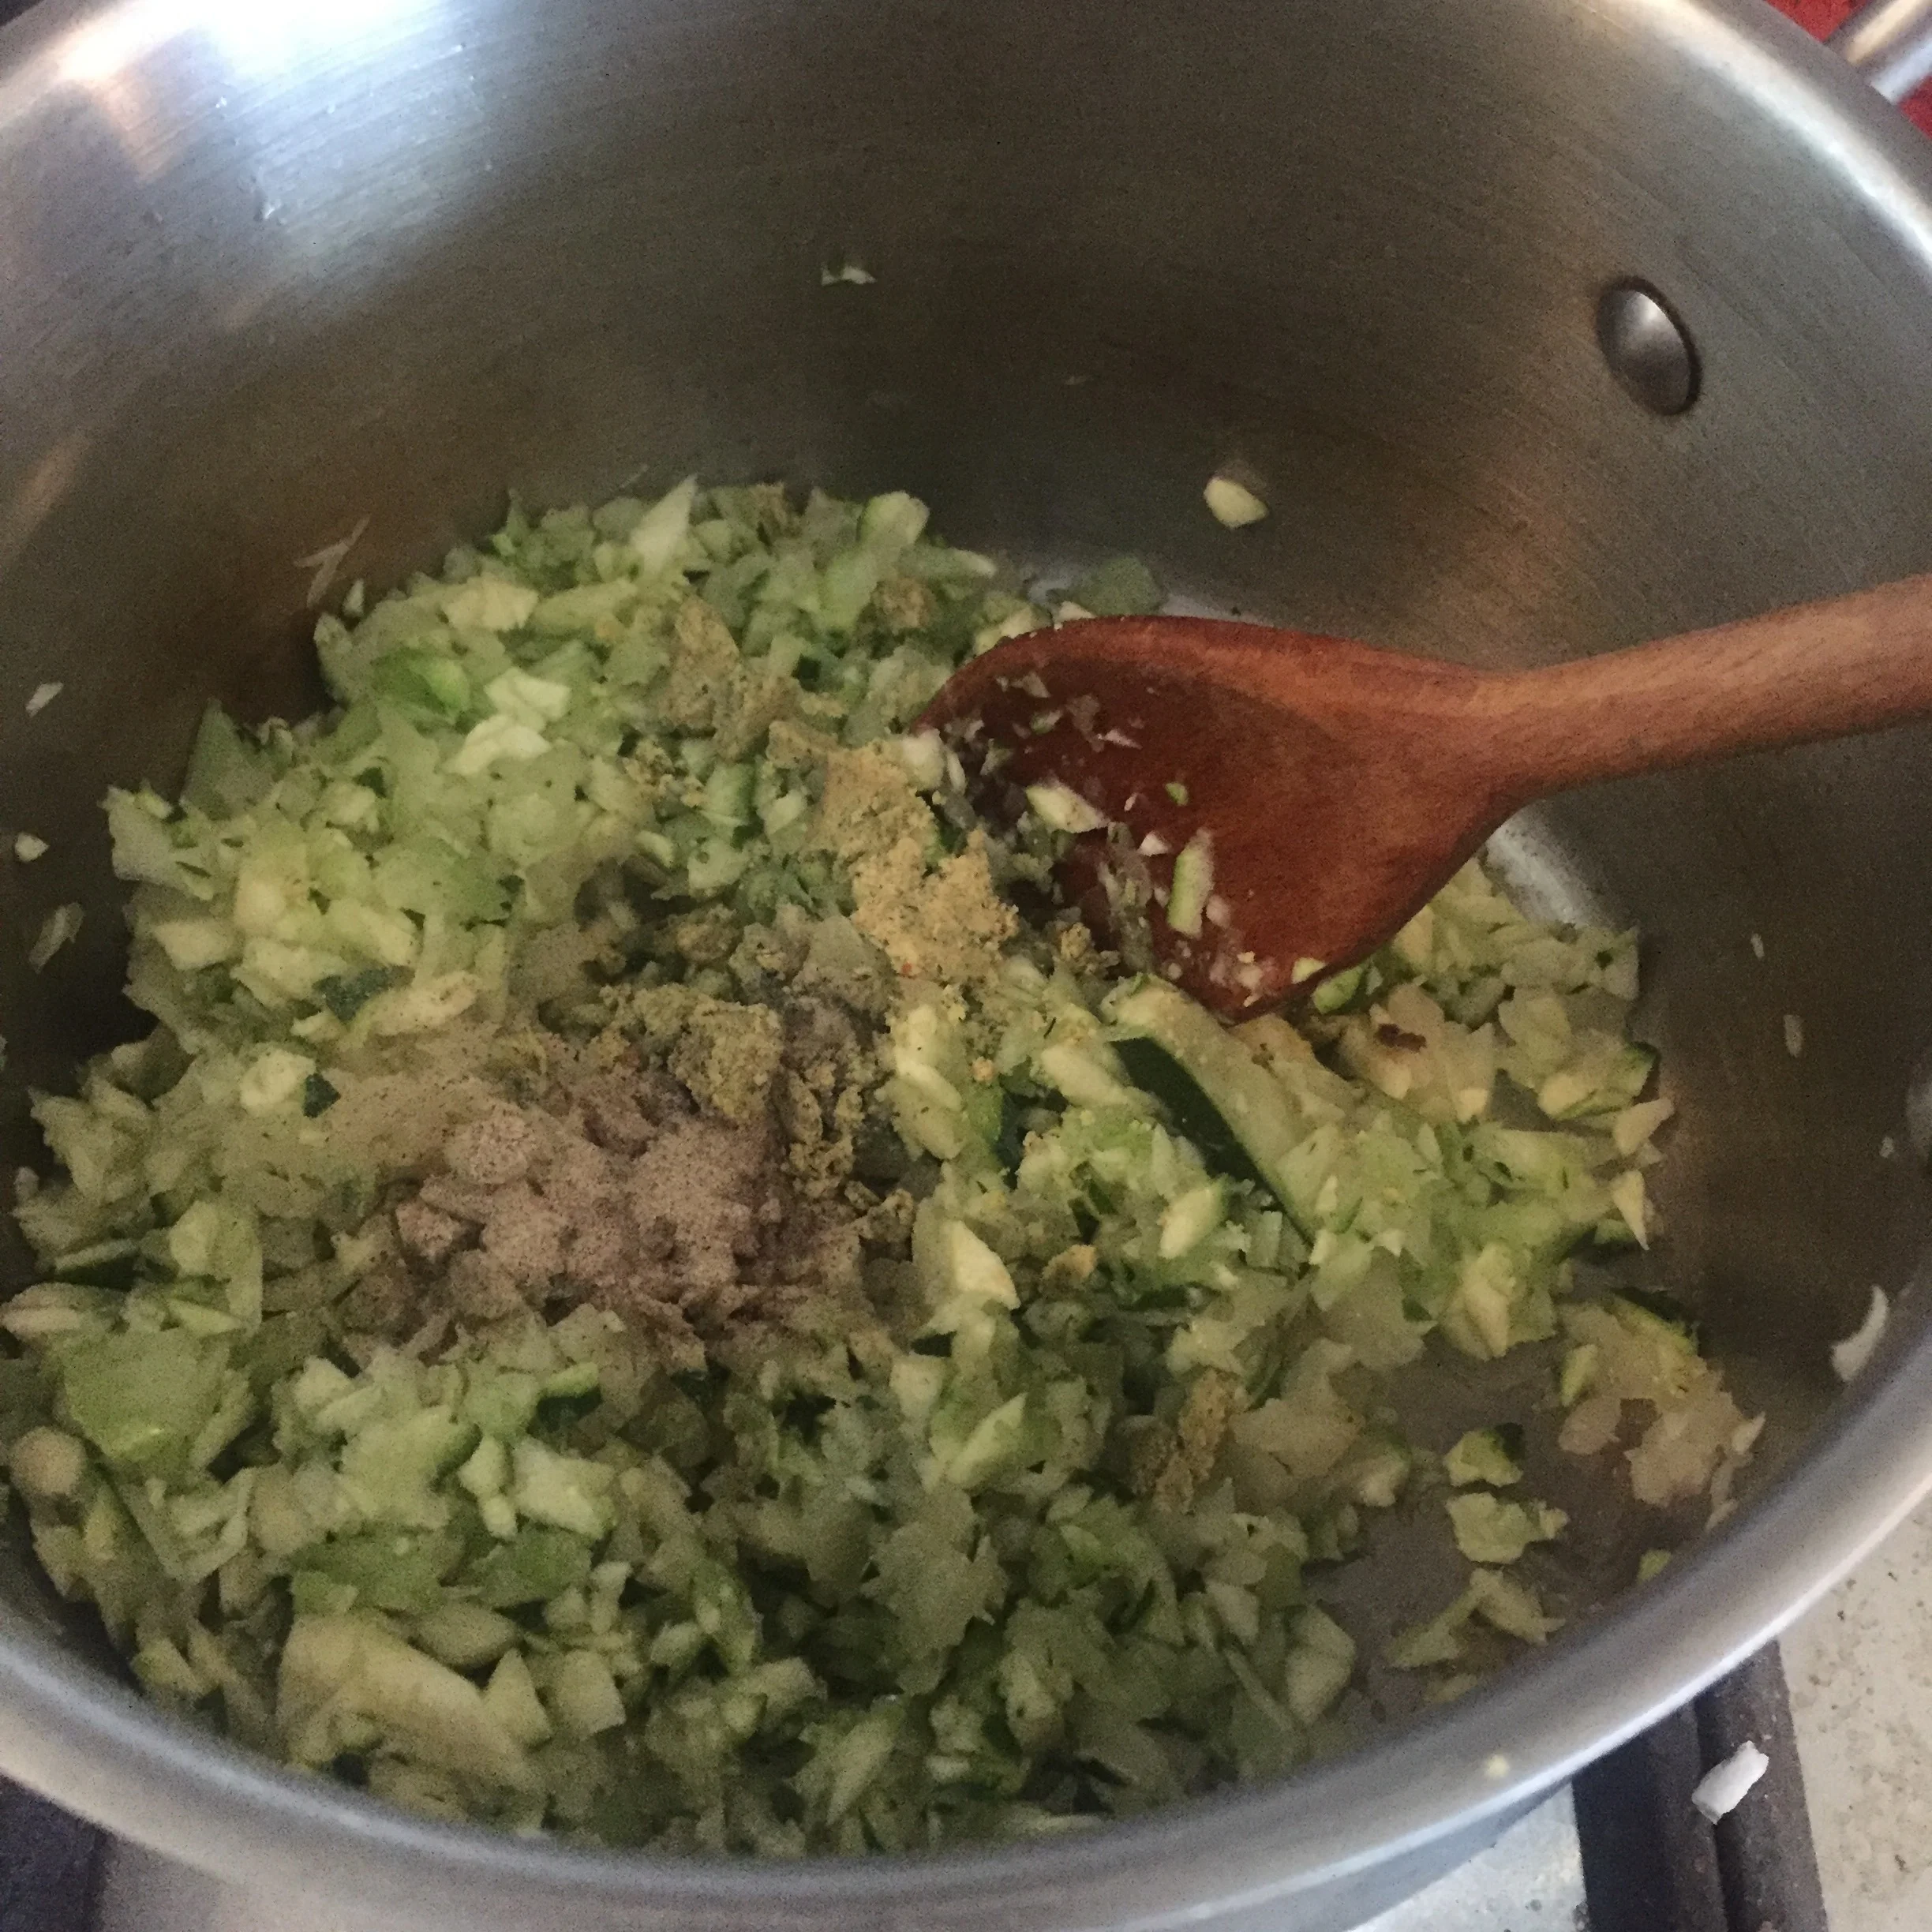
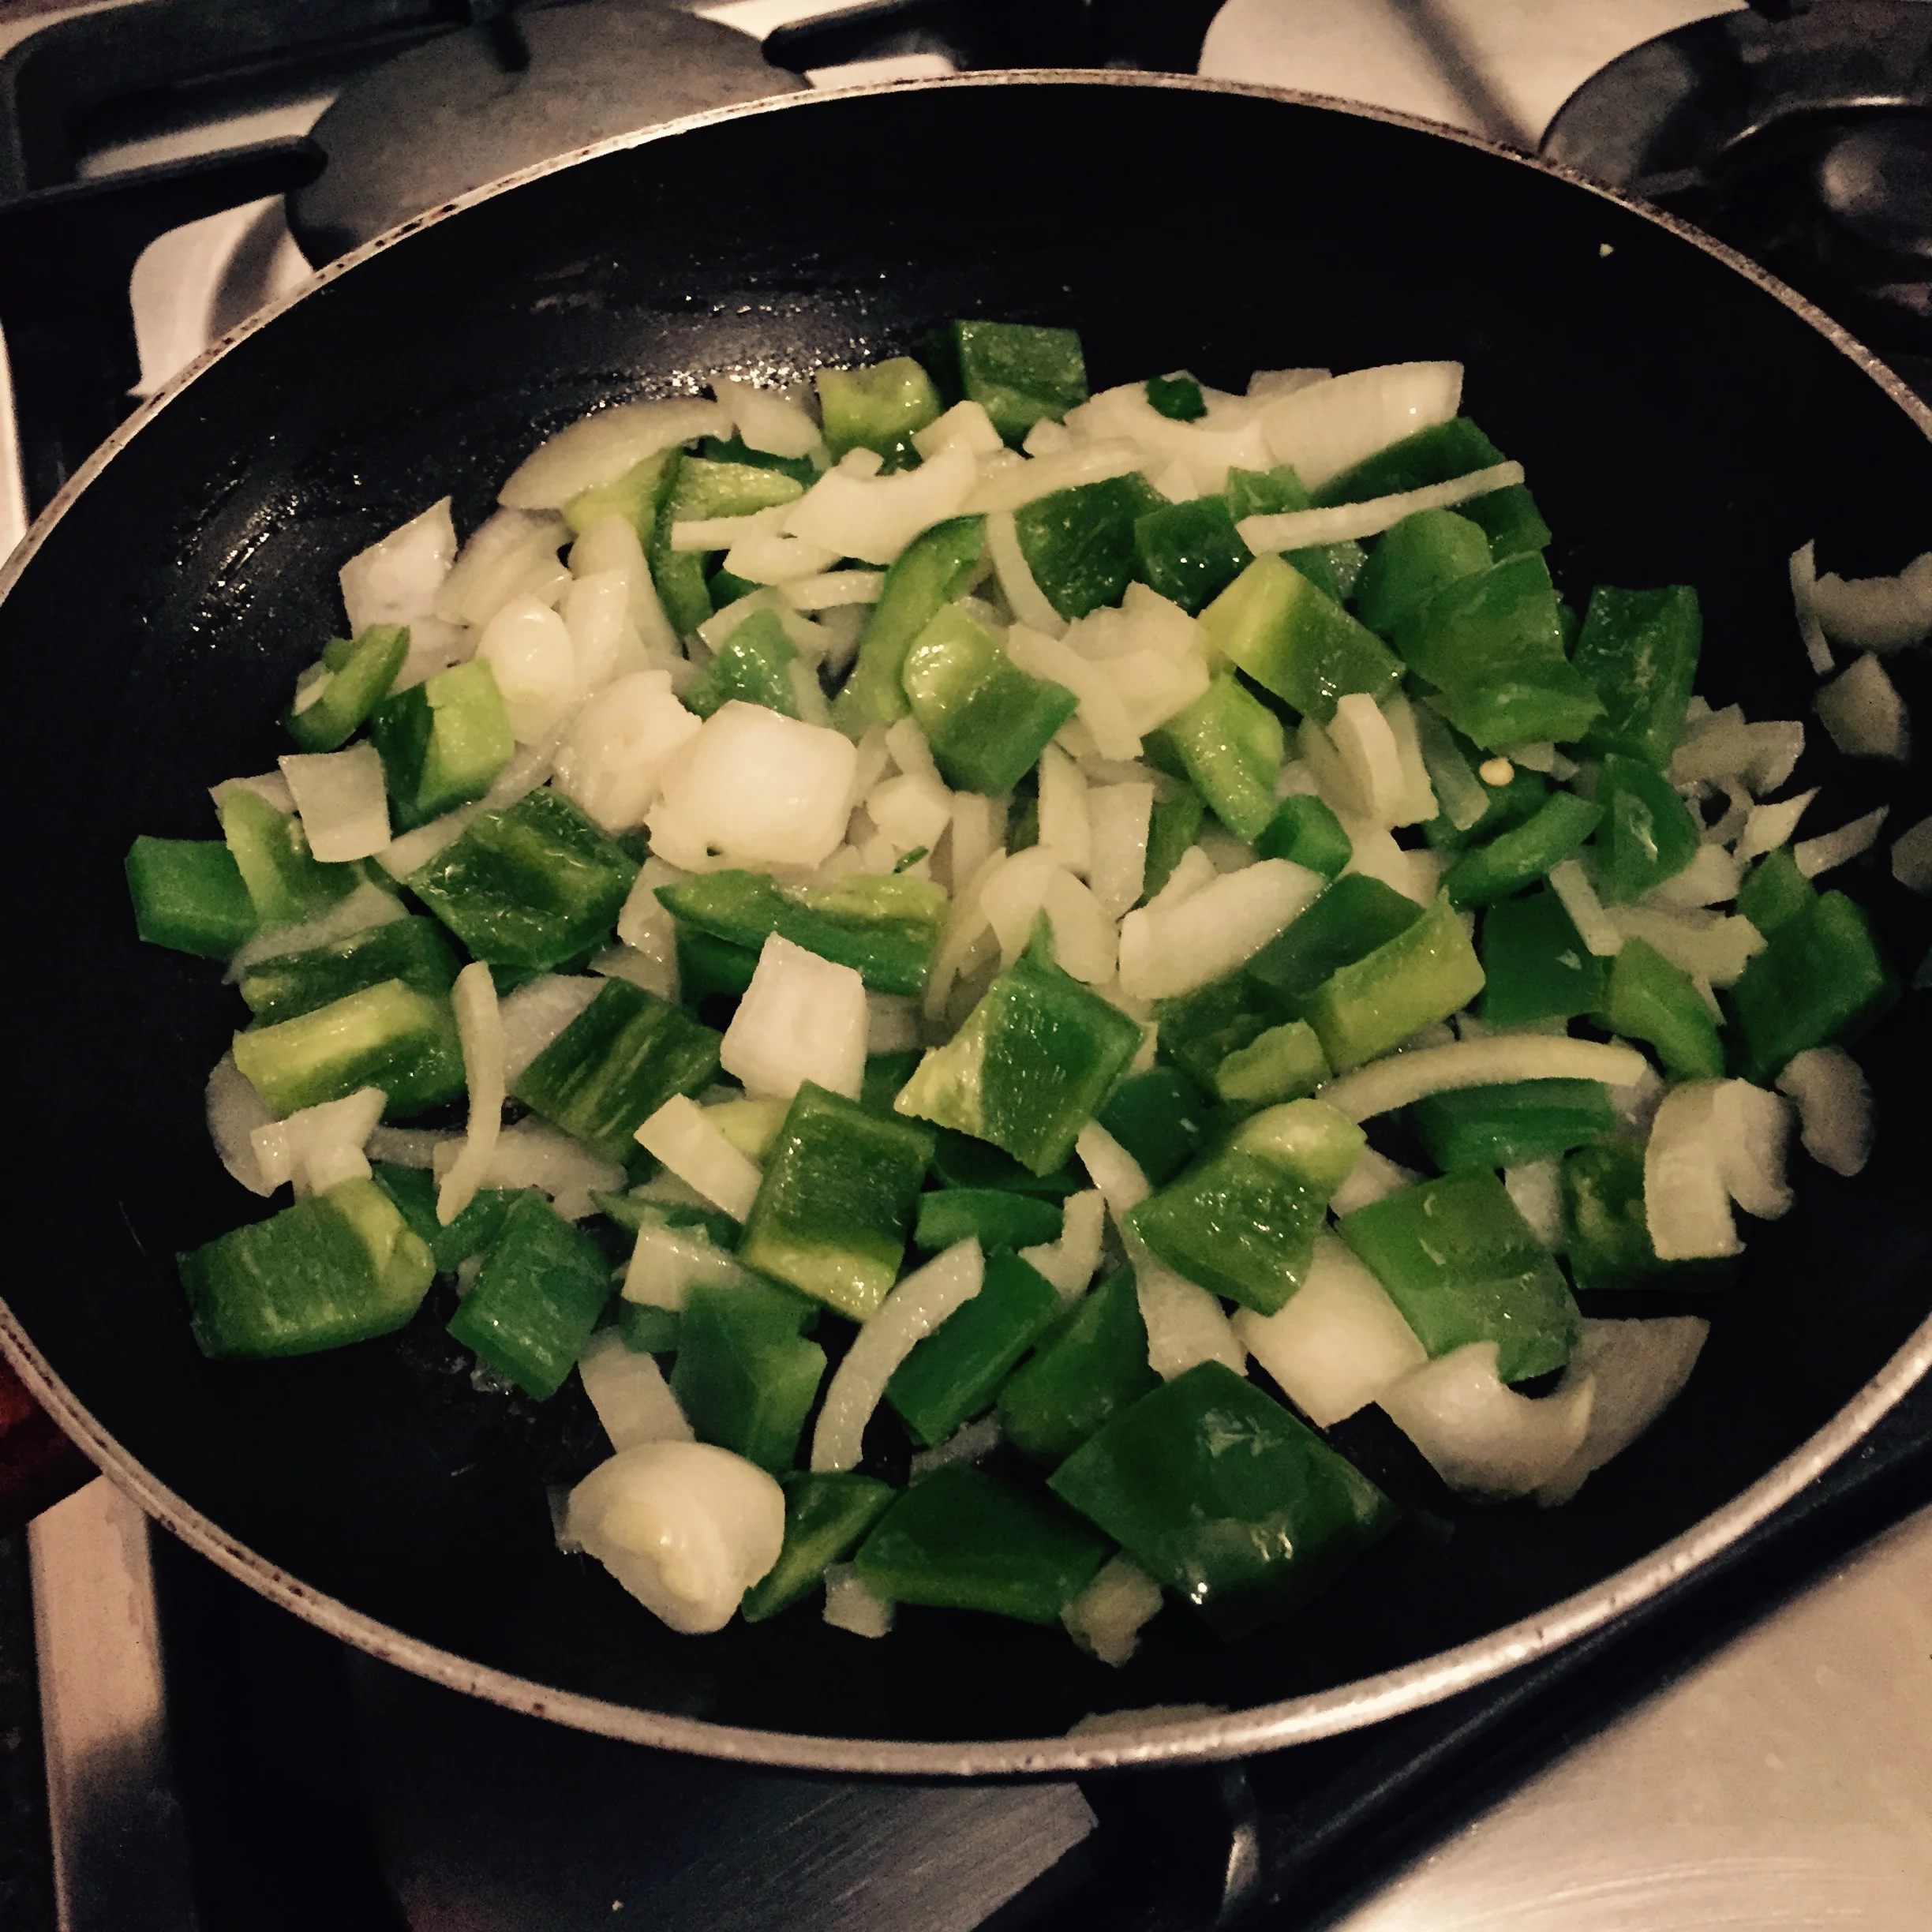
Heat a non-stick frying pan, add a little oil (I use a few sprays of my spray oil plus a little splash of water) and then add the onion, garlic, chilli and ginger and stir-fry over a medium heat for about a minute - add a little more water if it looks like it's going to stick or burn.

Rachel Redlaw Thai vegetable stir fry with ginger, chilli and lime

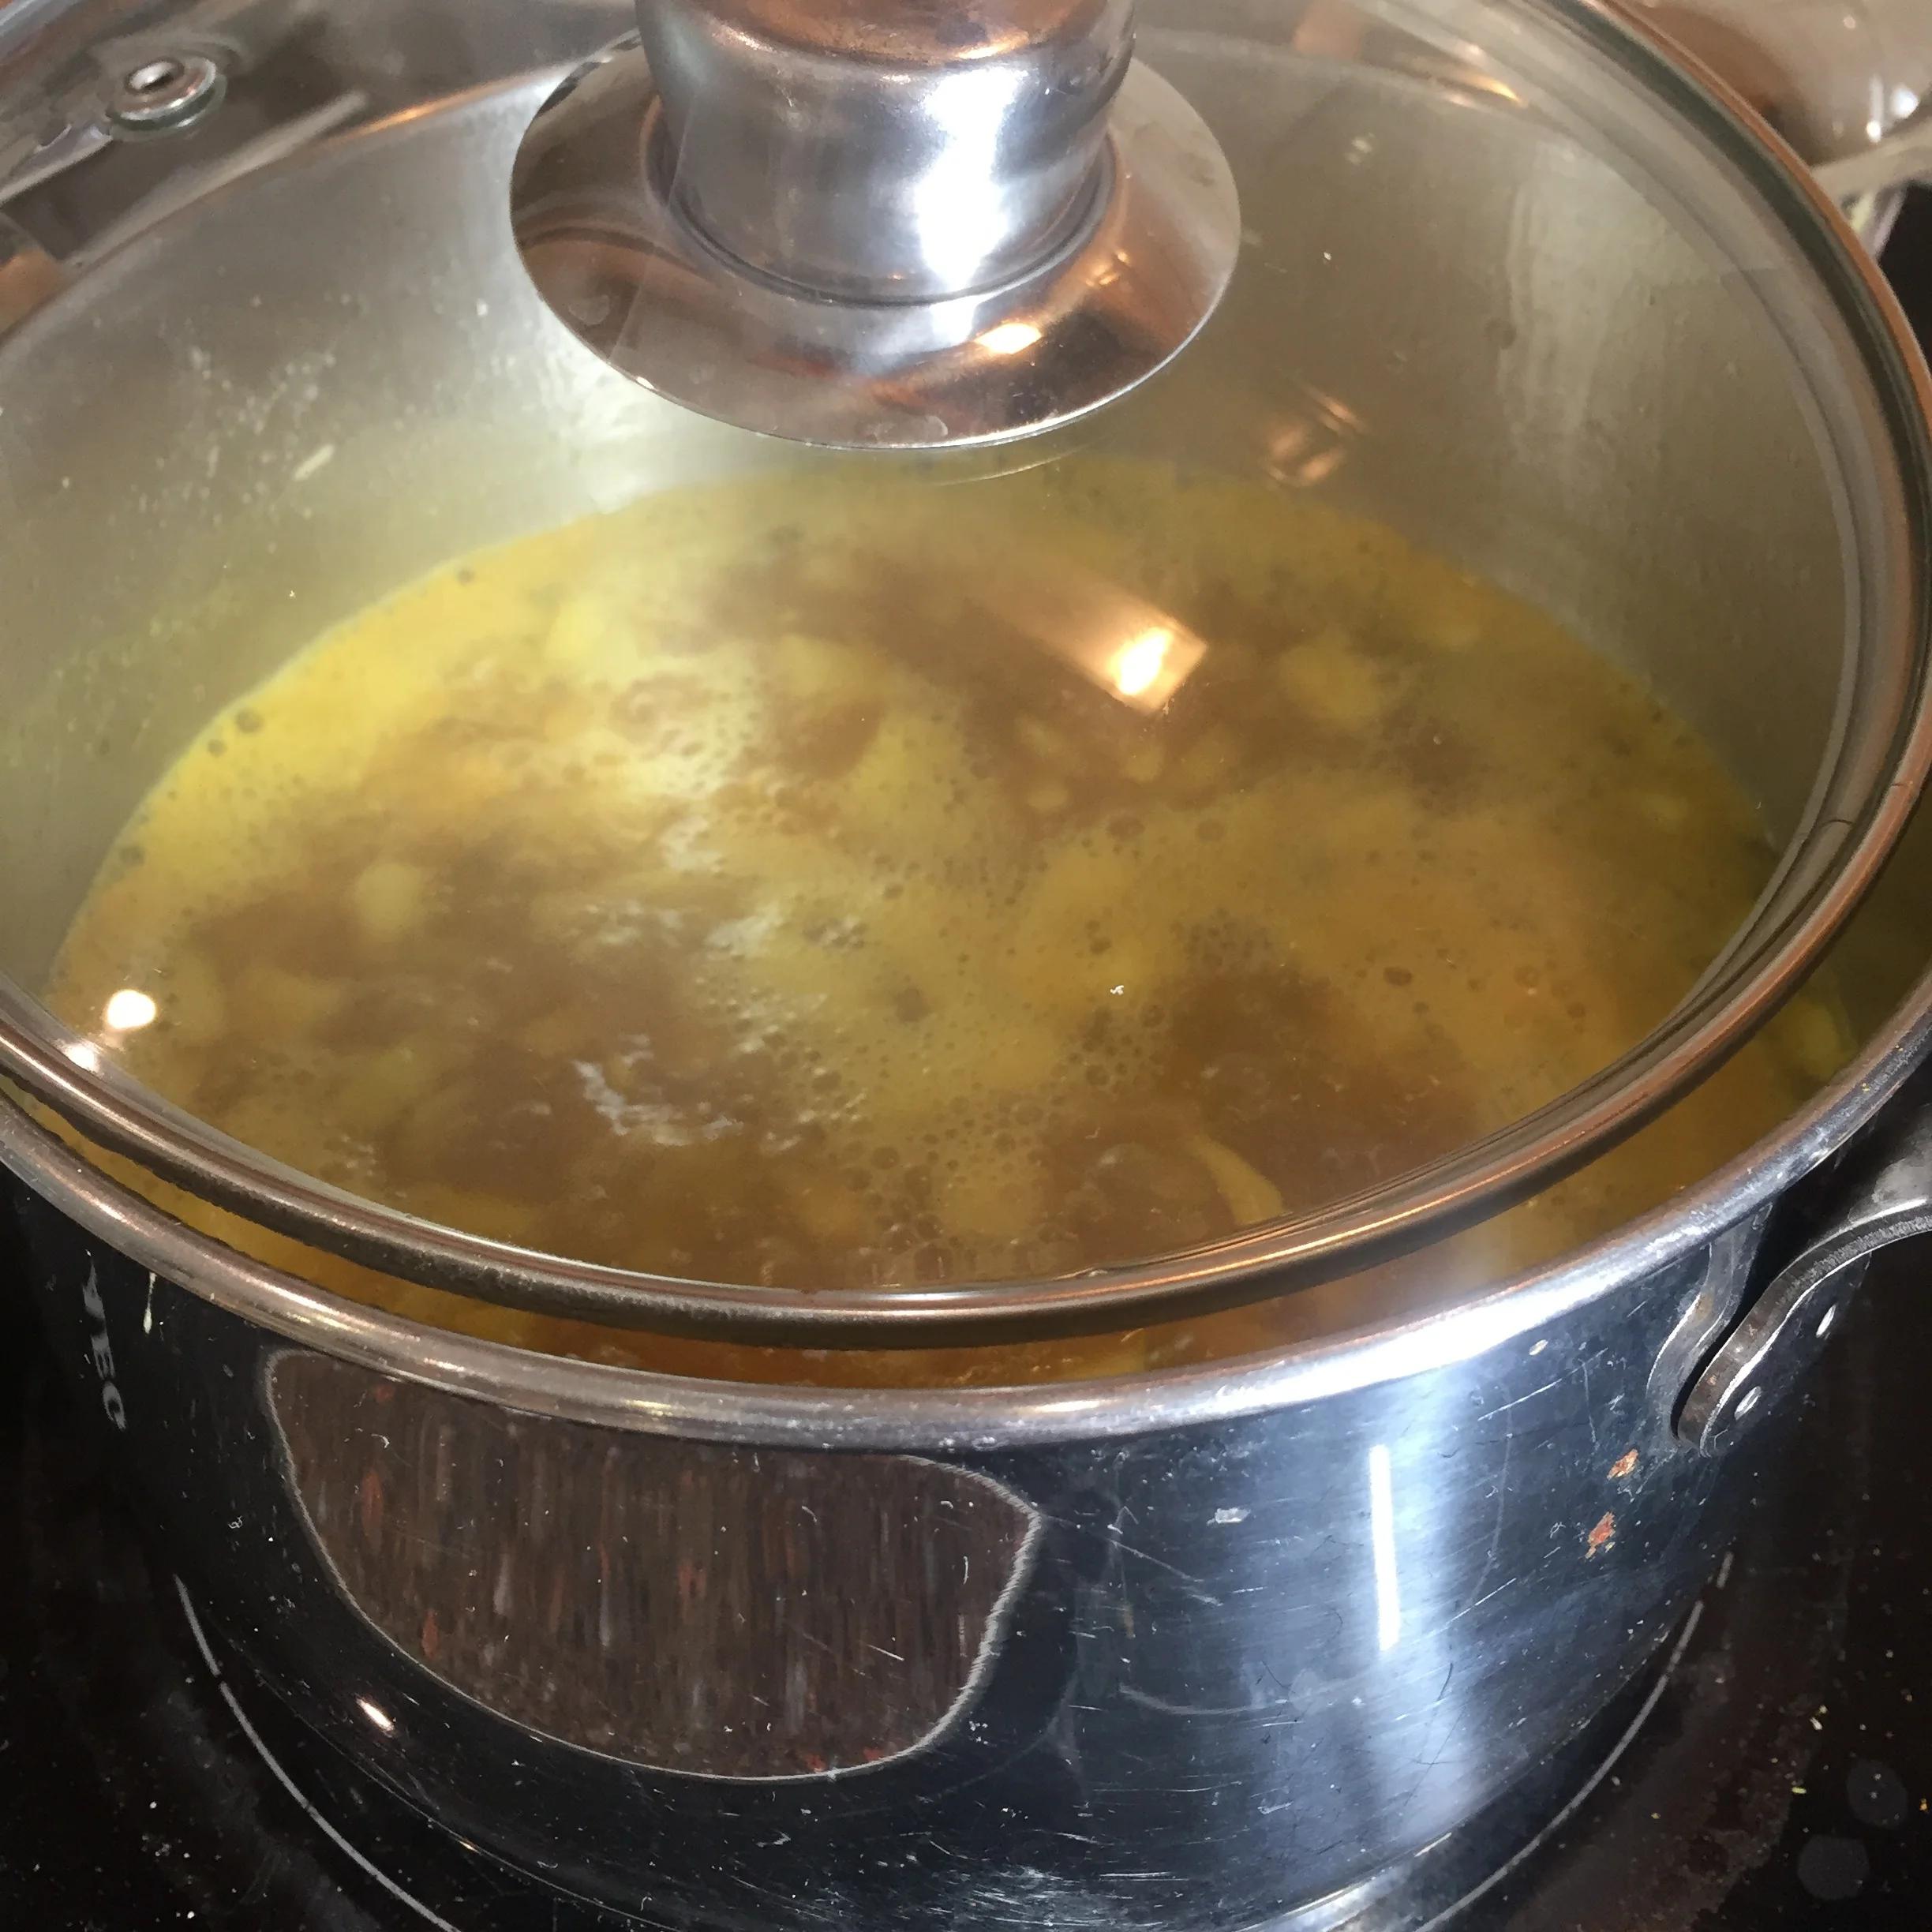
Crumble in the stock cube with some more water - I like to make it with quite a bit of sauce but how much is up to you.

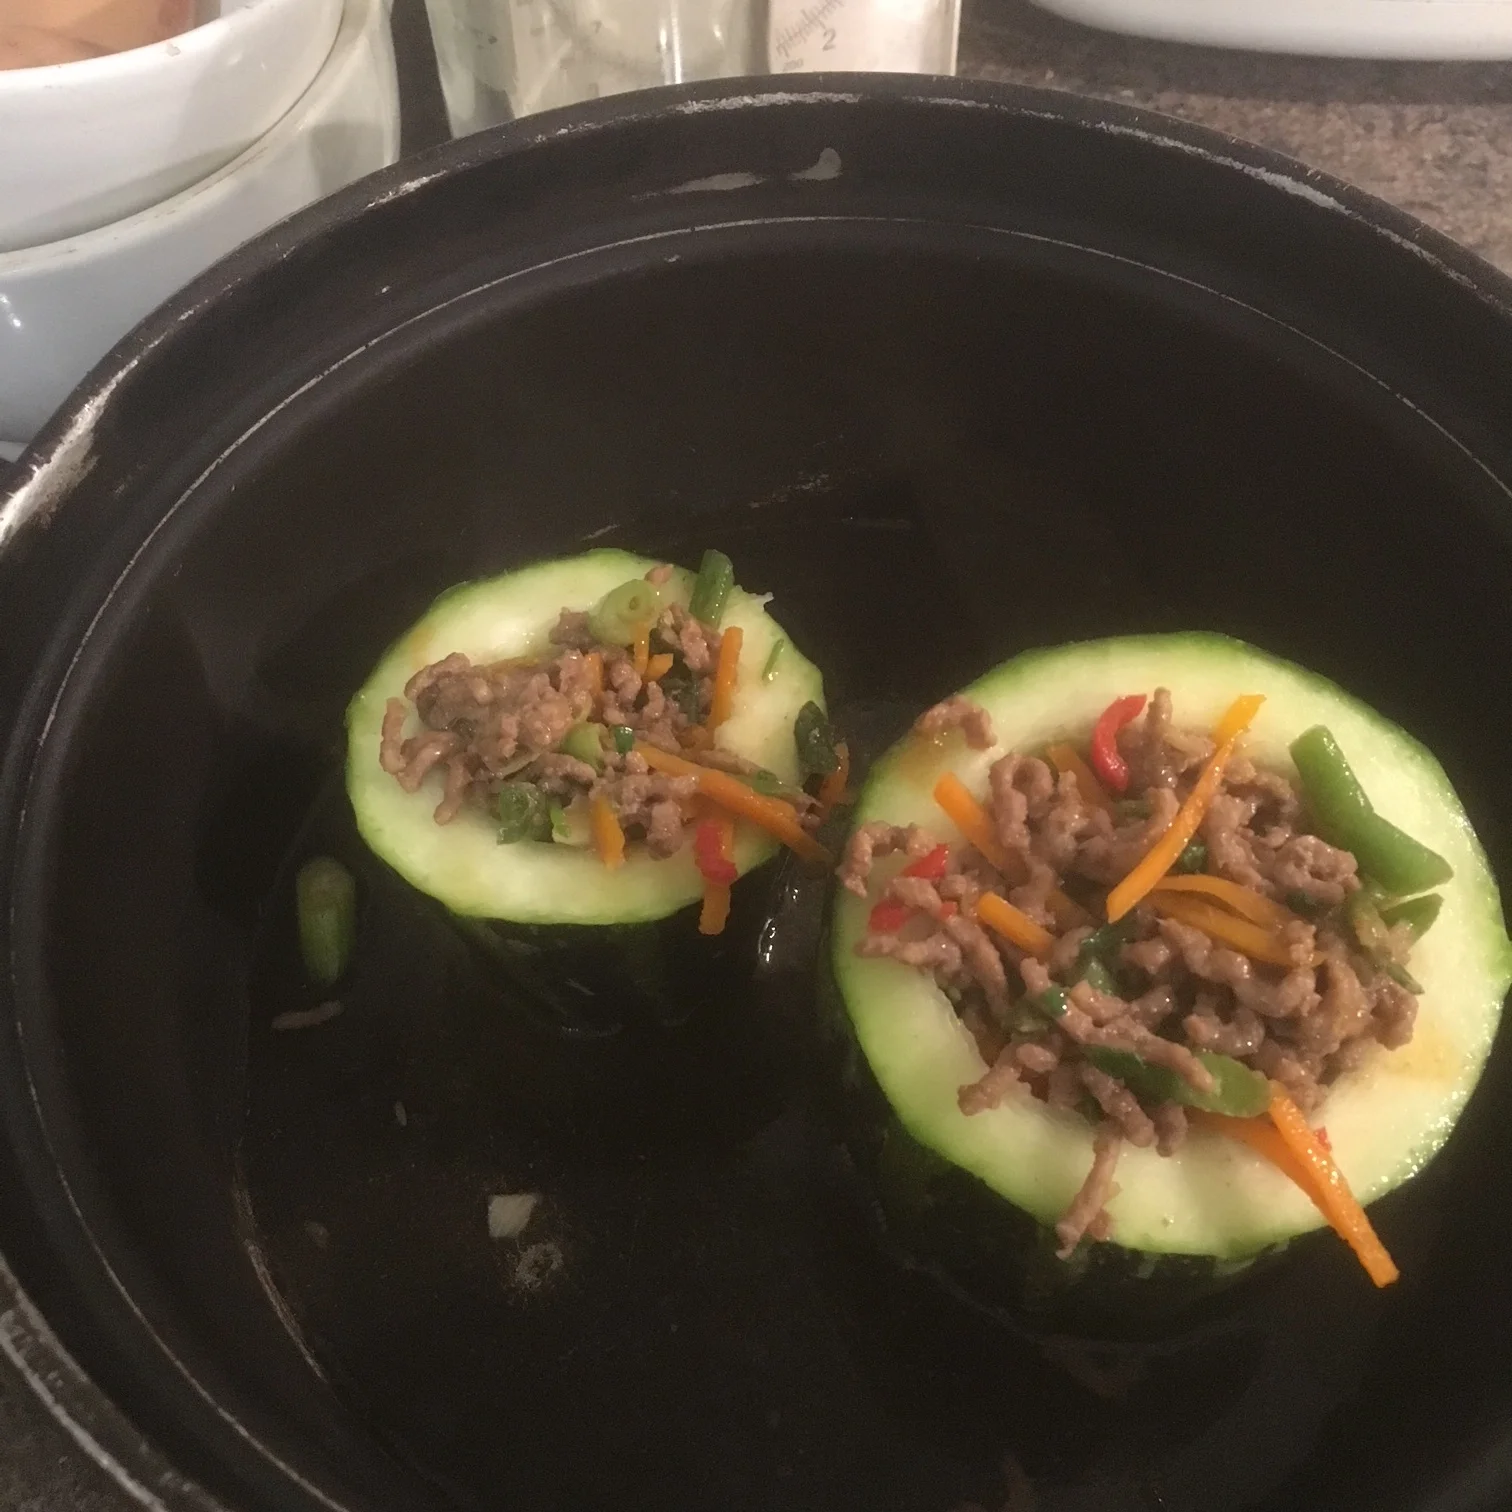
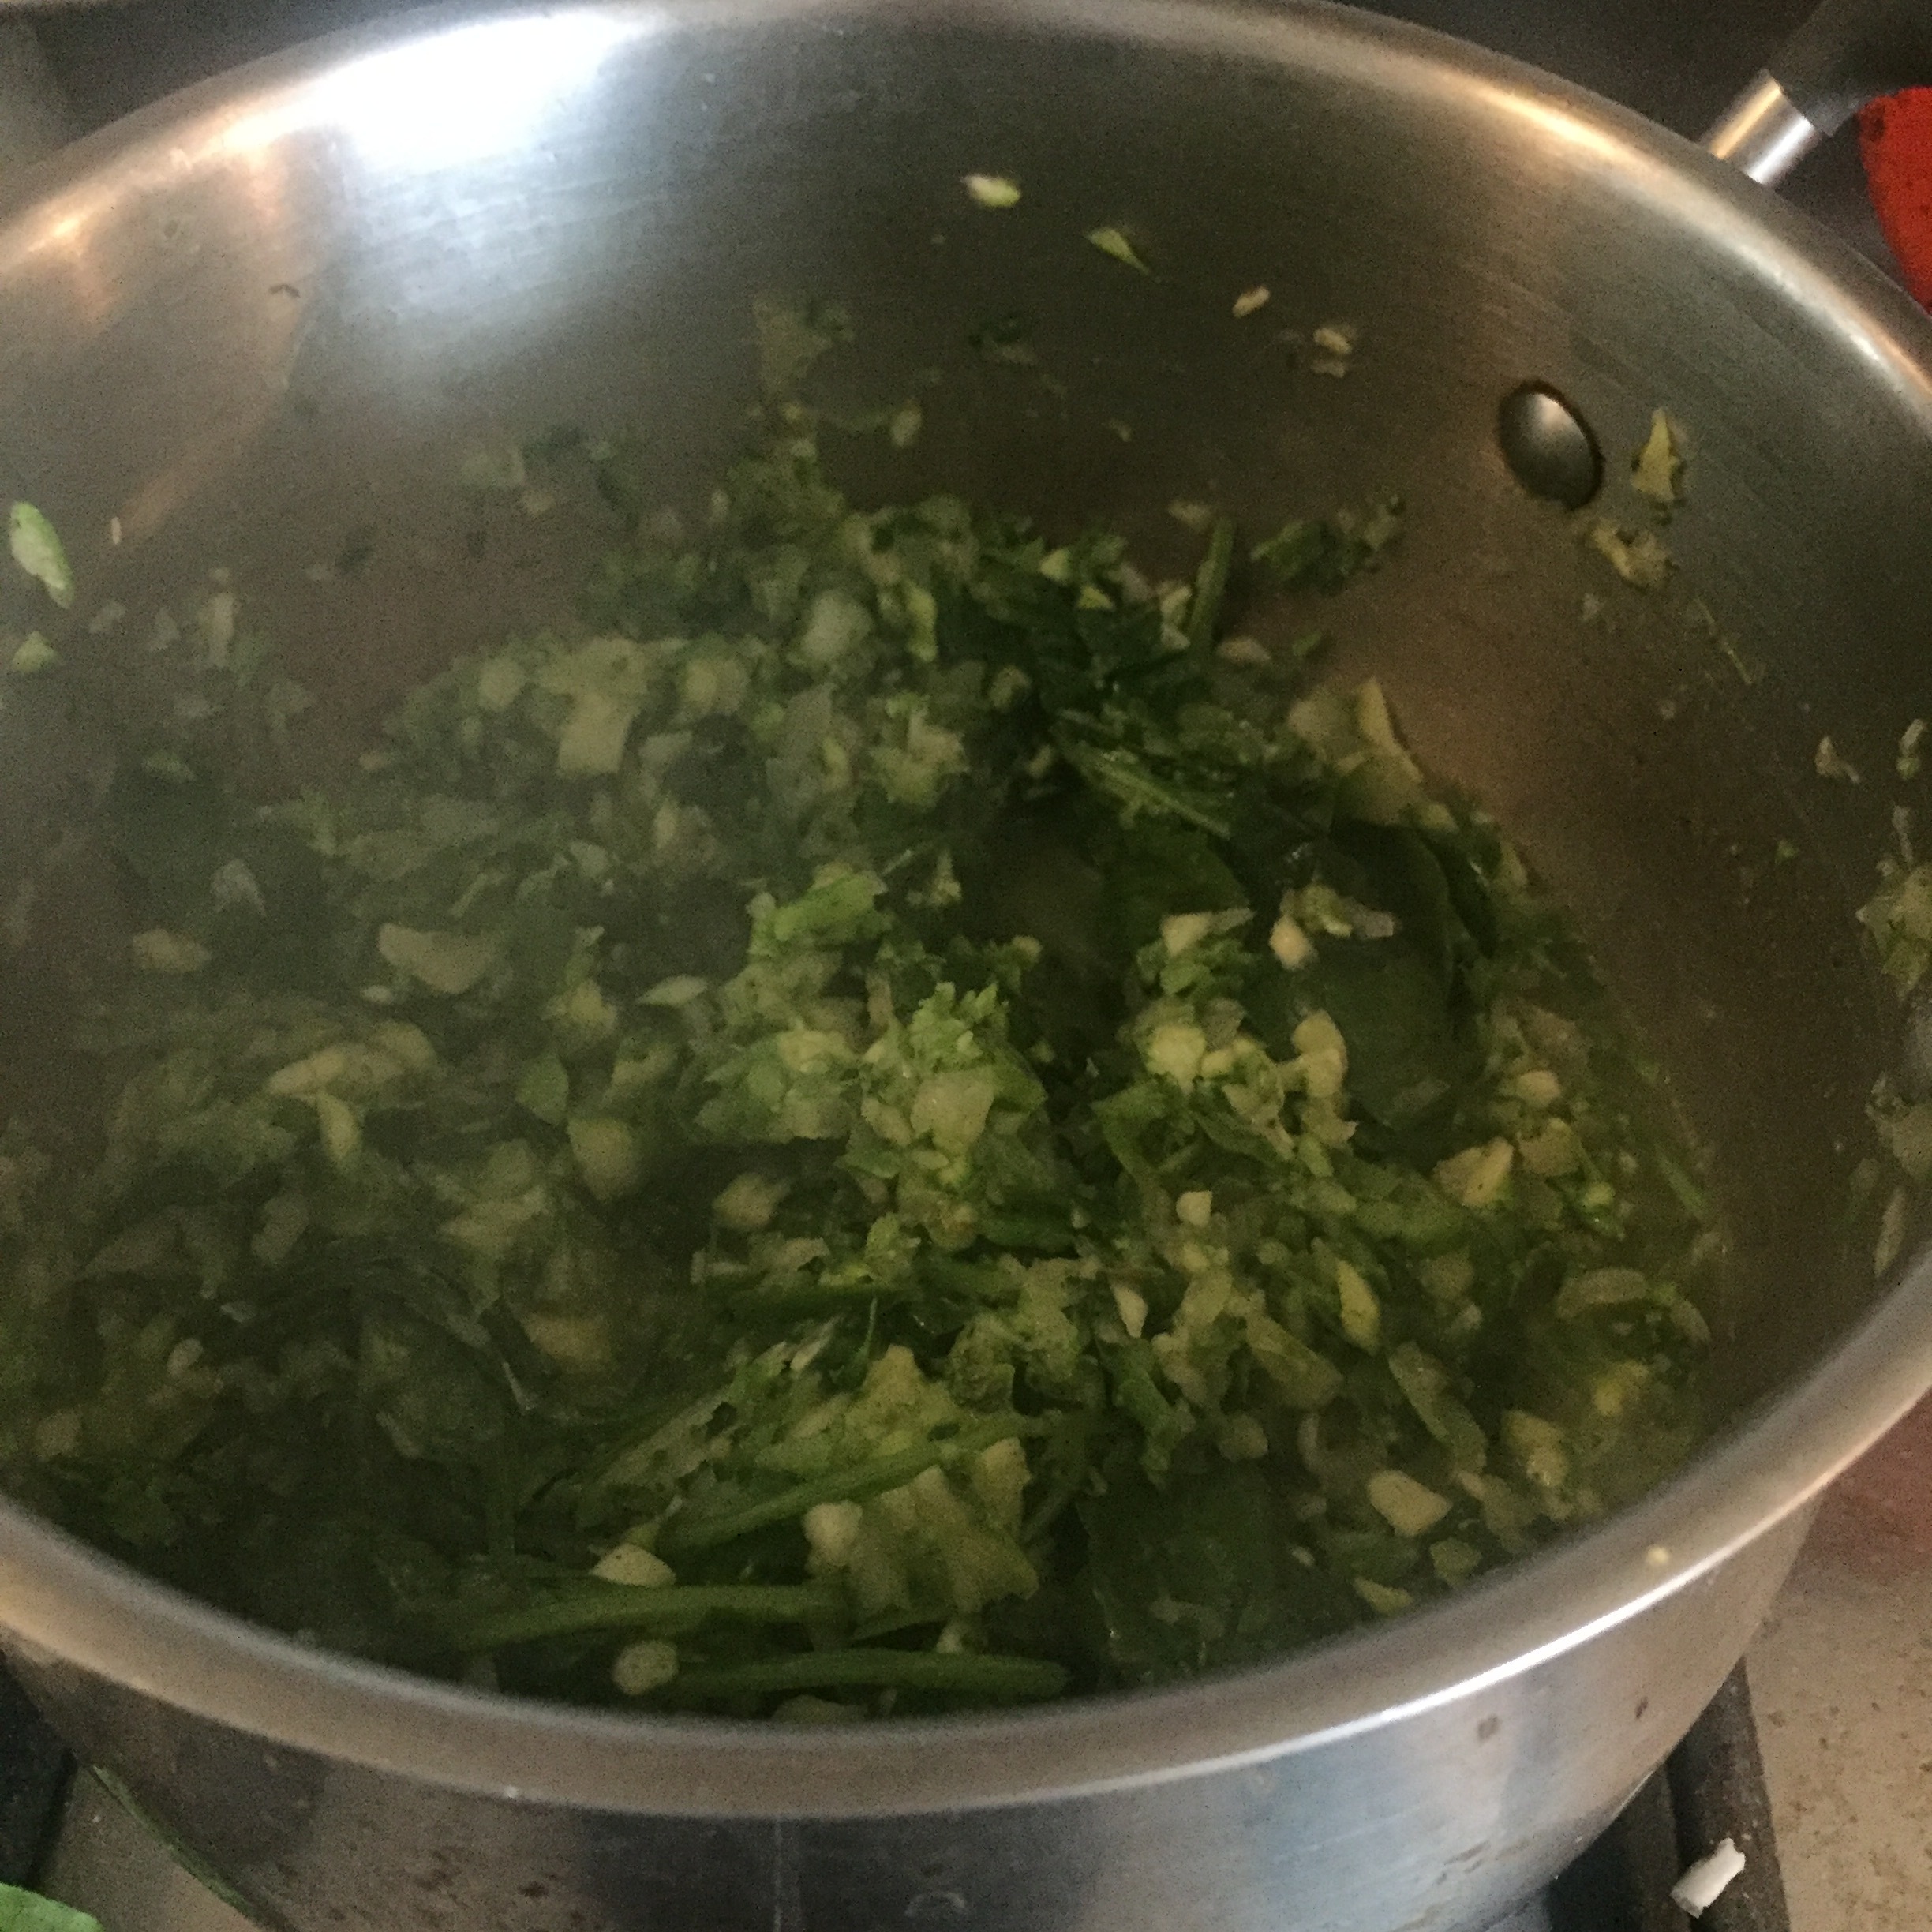
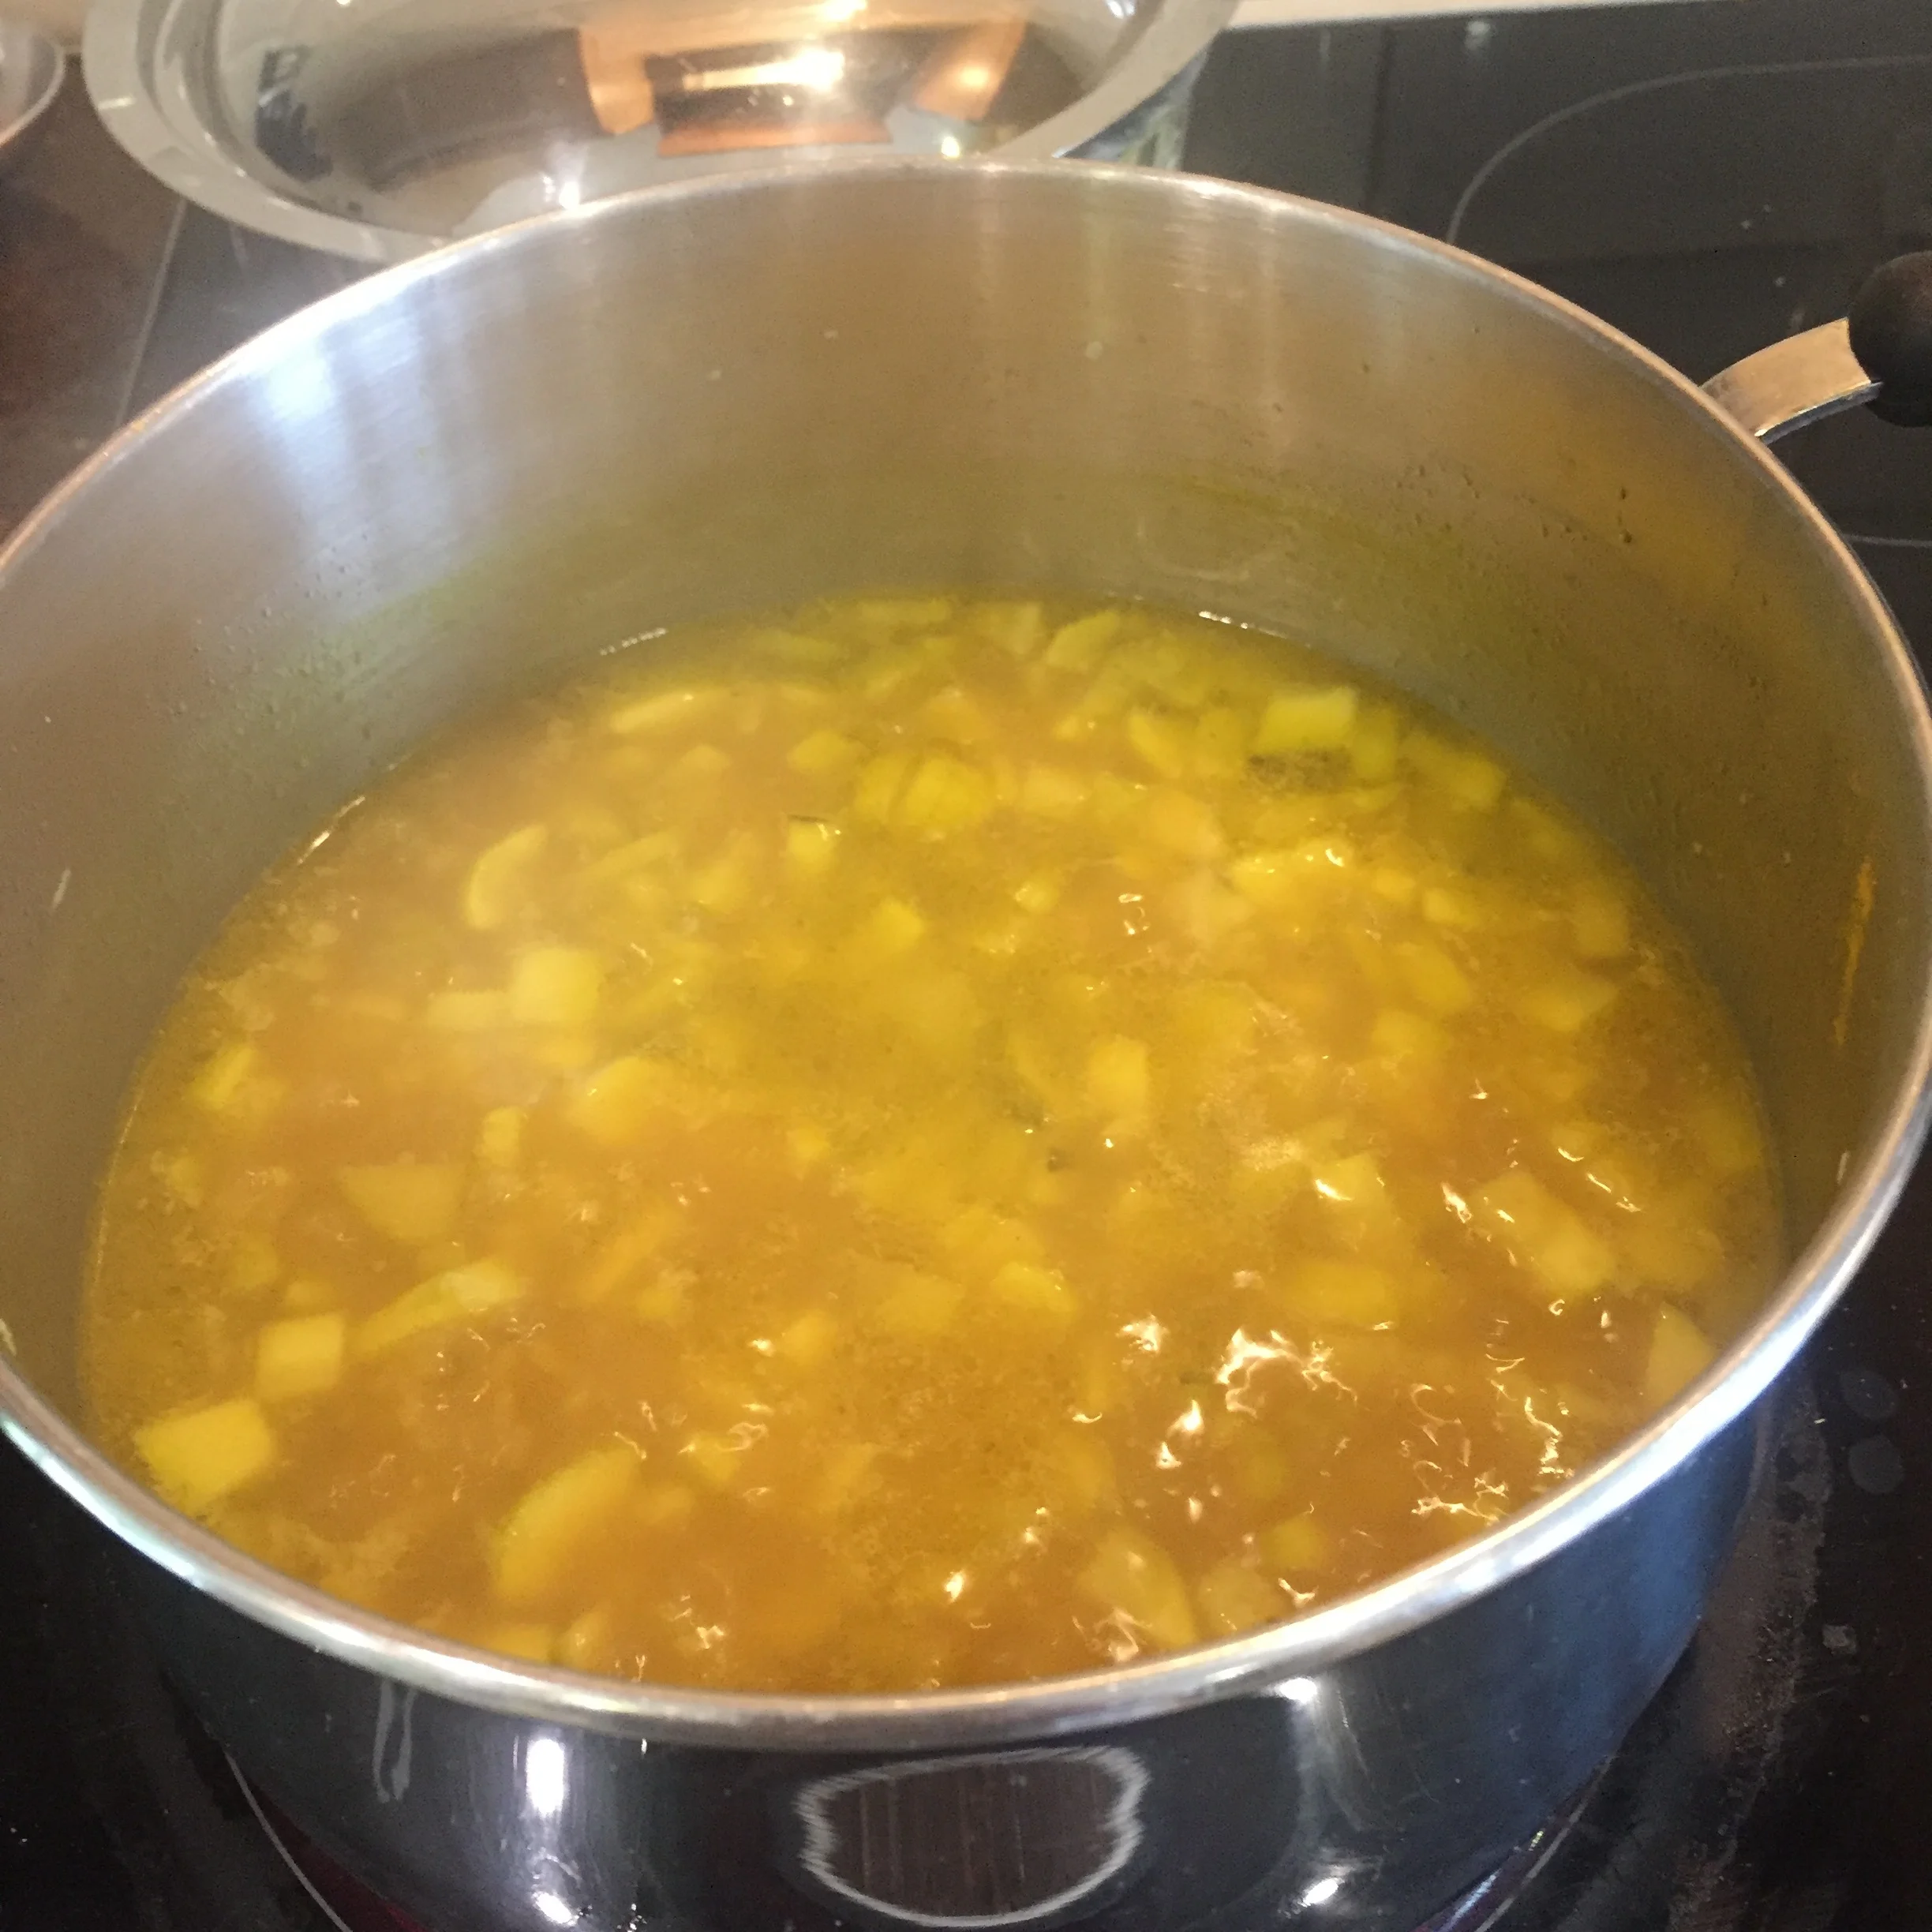
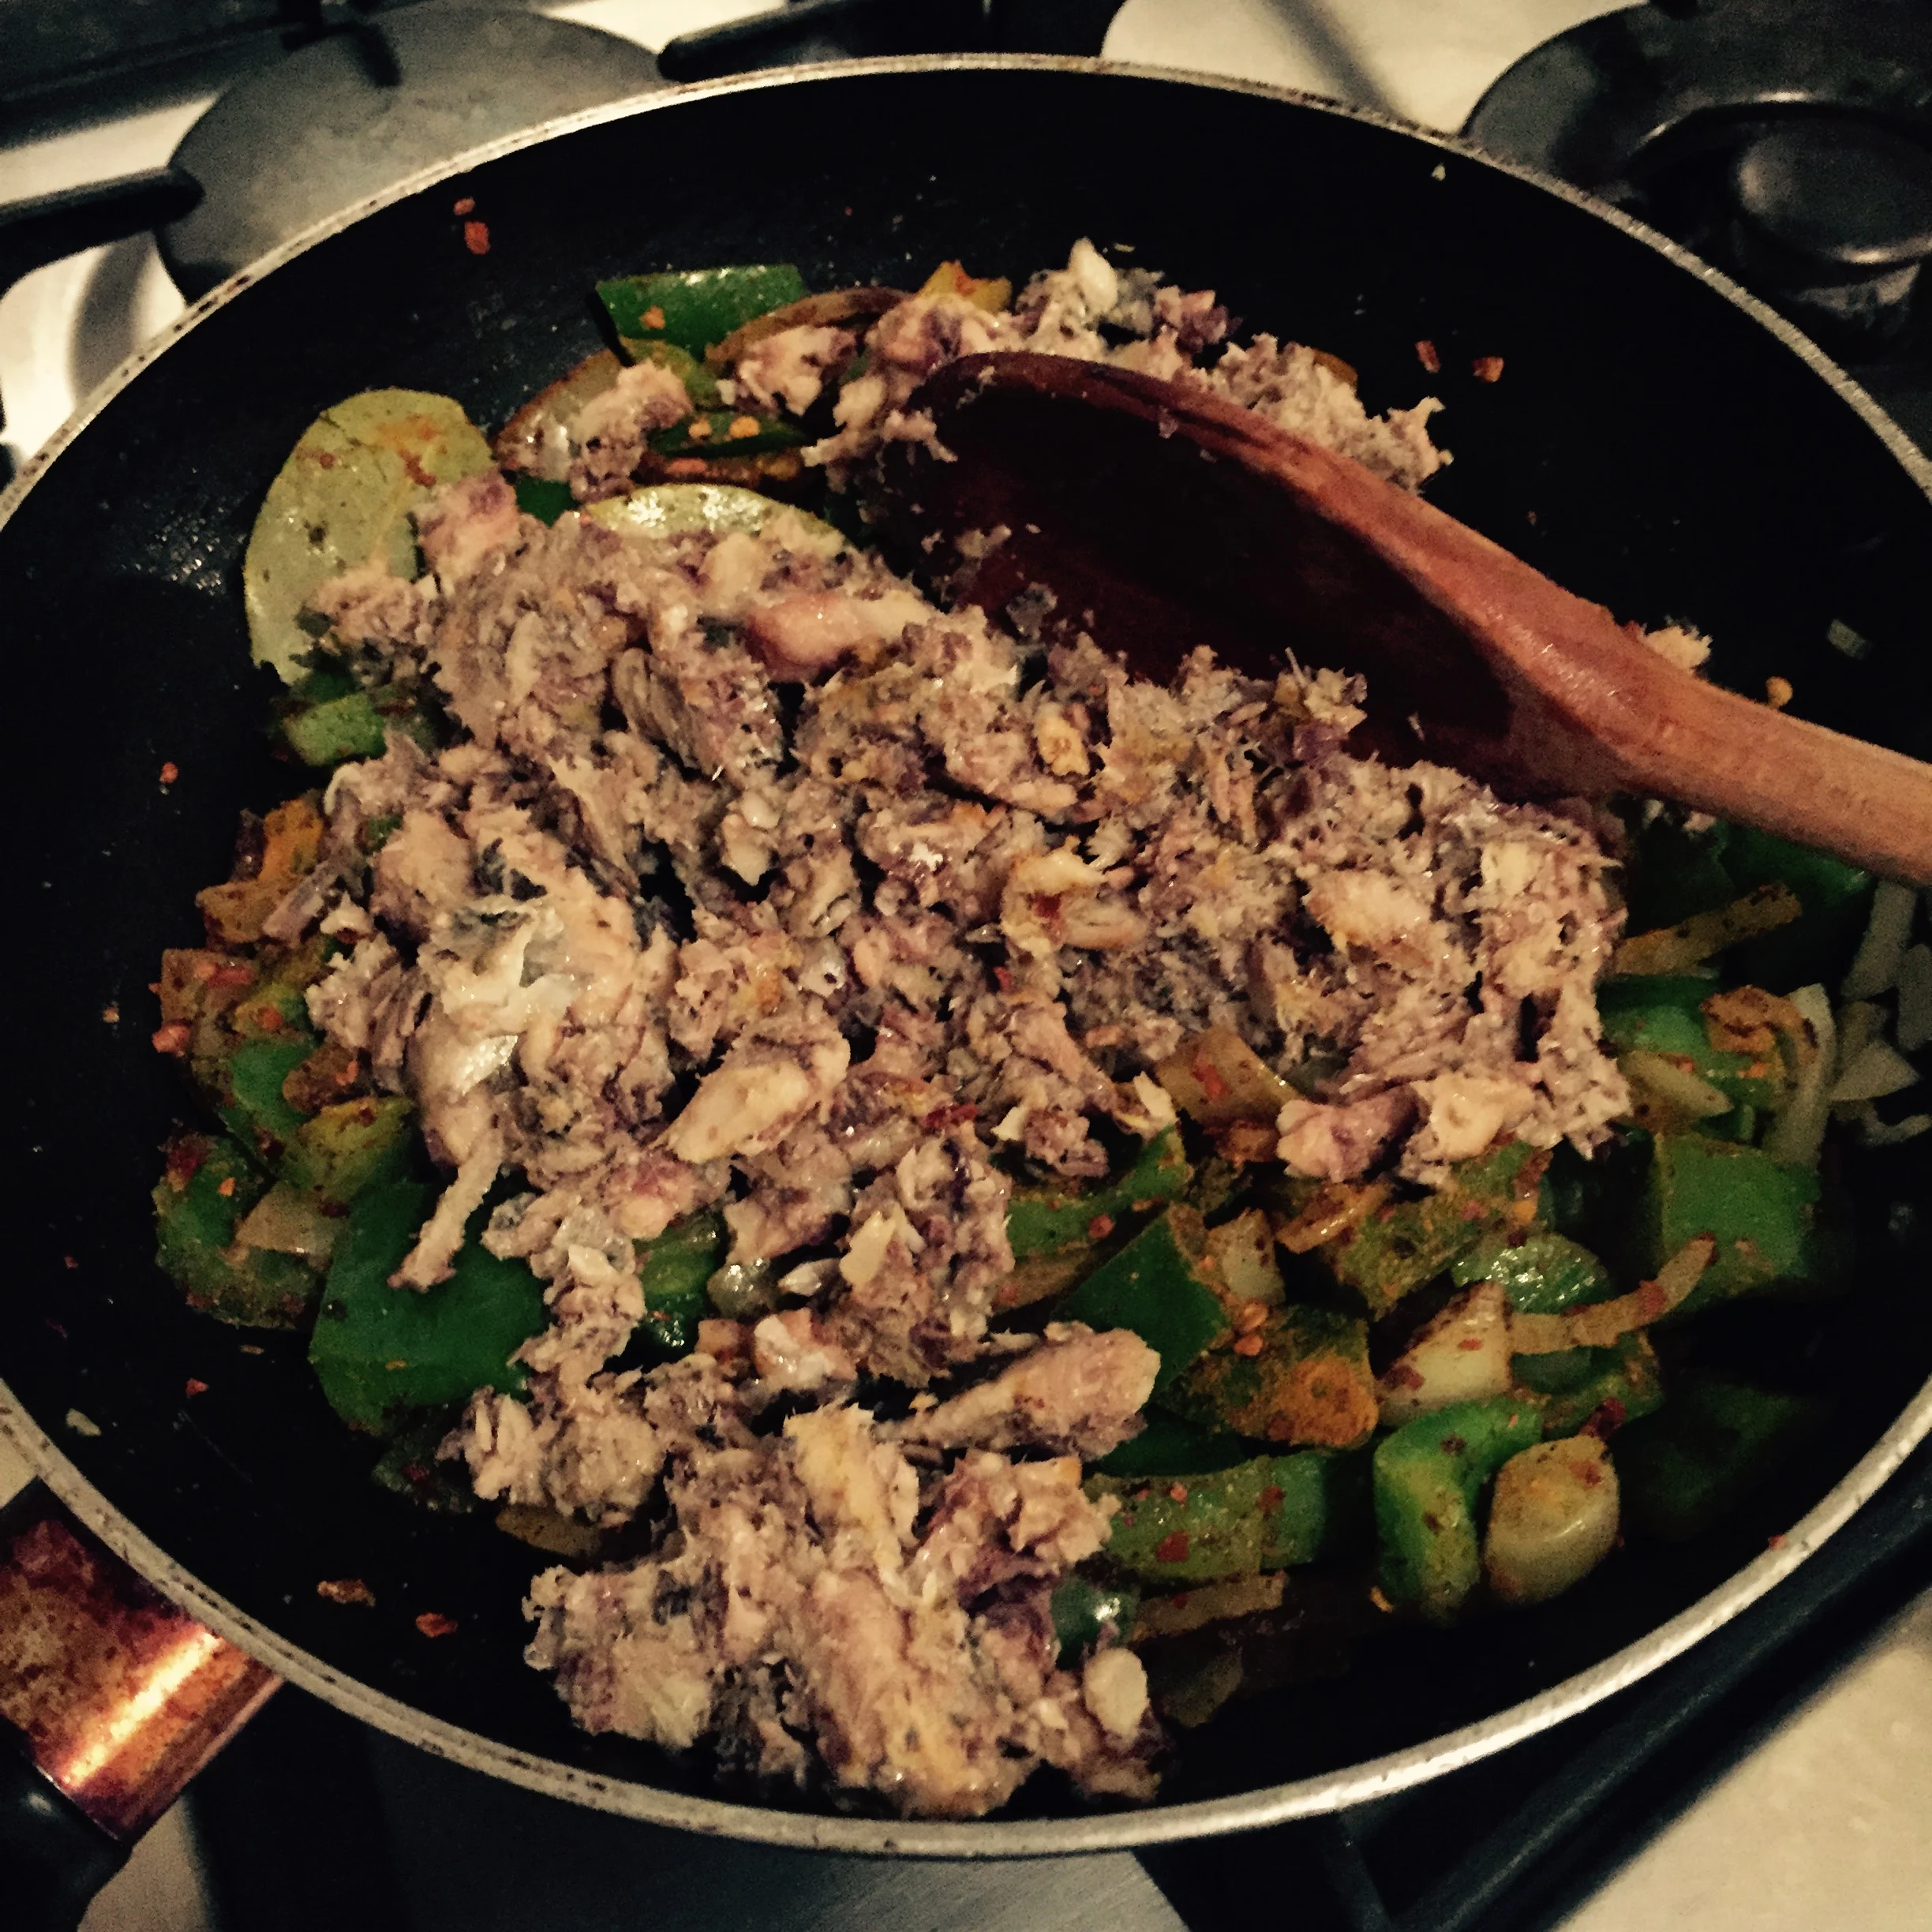
When it's simmering, add the vegetables (I added all except the courgette as I'd julienned it and it will cook pretty much instantly) and stir fry again for about four minutes - half way through this add the soy sauce and the sugar.

Then add the julienned courgette (if using), squeeze in the lime juice and add the sesame oil. Stir to combine thoroughly and remove from heat.

And that's it! I added some chopped fresh coriander but this is optional - I know a lot of people don't care for coriander and that's fine too - it's your food and it should be exactly as you like it!


YOU MIGHT ALSO LIKE …

Thai-style stuffed marrow

Well, I have to say I’m not sure they even grow marrows in Thailand …

Hold on: *goes off to google*

And yes, they do - I just had a quick search, saw a couple of headings and now I’m just hoping for another marrow from our communal kitchen garden so I can try a marrow curry.

And another yes, you can take this as meaning my stuffed marrow was delicious!

The marrow was almost creamy, it was so soft, and it all worked beautifully well together served with some plain rice.

I actually now can’t wait to try this in a curry, it’ll be so good.

But back to the stuffed marrow …

I washed it, cut the ends off and scooped out the seeds from the middle and then put, standing on end, into my remoska that I use for cooking so many things.

But just put them in a baking dish and cover it all with foil to cook it in the oven.

Rachel Redlaw Thai-style stuffed marrows
Rachel Redlaw Thai style pork stuffed marrow

I haven’t made a stuffed marrow for YEARS … and remember having them as a child from the garden and my mum making a kind of bolognaise mince to fill them with.

It was delicious and I don’t think you can really go wrong with any lovely savoury filling, but I thought I’d try something based on the flavours of one of my favourite stir fries with pork mince, chilli and garlic.

Well, except I only had beef mince, so that’s what I used.

I hope you’re getting the idea that this is very much a throw it all together kind of recipe rather than anything very specific!


Here’s what you’ll need:

about 1 tbspn cooking oil

2 cloves garlic, minced

2-4 red bird eye chillies, depending on your taste, finely chopped

chopped vegetables, whatever you like, I had carrot and green beans

1/3 knorr chicken stock cube

approx 200 - 250g pork or beef mince

1 tbspn light soy sauce

1 tbspn fish sauce

a pinch of sugar

2 spring onions sliced

a small handful coriander leaves chopped to garnish, if liked


Add a little oil to a non-stick frying pan and when hot, tip in the chilli and garlic and stir fry for a few seconds until it starts smelling good - and add a little splash of water if needed to stop it from sticking.

Then added the chopped vegetables (but not the spring onions) and stir-fried again for a couple of minutes adding another little splash of water if needed.

Rachel Redlaw Thai style pork stuffed marrow

To be honest, I’m not sure why I didn’t add the mince before the vegetables, but hey, it still worked, although I think it would be more usual to do the chilli and garlic, then add the mince and then when browned add the vegetables.

Anyway, I didn’t, so I stir fried the vegetables and then added the mince and stirred, cooking until it was browned, adding the piece of stock cube and another splash of water as needed.

Add the soy sauce, fish sauce, sugar, spring onions and squeeze in half a lime then cook, stirring, for another minute or two.

Rachel Redlaw Thai style pork stuffed marrow

Spoon the mince mixture into the marrow halves, cover with foil if baking in the oven and then cook in a medium oven until done - I’d test after about 20 minutes by just putting a knife into the marrow and see if it’s soft …. it’s gorgeous when it’s really soft so keep cooking until it is.

I think I ended up cooking mine for nearer 40 minutes, but everyone’s oven’s different so best to test earlier rather than later.

If I’d had a larger marrow it would have been enough on it’s own, but this was quite small so I served it with rice.

IMG_1726.JPGRachel Redlaw Thai style pork stuffed marrow
Rachel Redlaw Thai style pork stuffed marrow

I’m really hoping there’s going to be another marrow or two in the garden to cook it again before winter sets in …


YOU MIGHT ALSO LIKE …

Another green soup

Yeah I know .. it IS a bit weird! 

Just a couple of weeks ago I made my first ever, well first actually called by that name, GREEN SOUP - and it was so, so good.

And then I visited my mum that weekend and was looking through her recipe book - as I often do - as it has so many good recipes from such a long time ago, hand written and some torn from old newspapers ... and I found a recipe for 'green soup'.

It was just one of those coincidences where you can't NOT see where it goes - and so today I made her green soup recipe too.

In all honesty, I preferred the first green soup I made, but this one is a very good soup too.

I think it probably shows its age - there are of course fashions in flavours and trends in textures.

That's intriguing too .. yes it's a more filling soup as it includes potatoes and peas .. but it also has flavours and ingredients that were more unusual back then - it has ground coriander and cumin, a little fresh green chilli and roasted cumin seeds (I just dry toasted in a pan and then ground).

But hey, I'll DEFINITELY be making it again - a super-simple, nourishing, good, simple and filling soup ... er, YES.

Here's what you need for maybe four smaller bowls or two greedy people - or by greedy I mean a huge bowl each for a main course and no need for bread with it either (cos it's already got potato in the soup)!


1 medium-large potato, peeled and diced

1 medium onion, peeled and diced

Rachel Redlaw green pea and potato soup

1.25 litres chicken - or vegetable stock - to be honest I just throw the stock cube in and add the water separately but you can make up the stock first if you prefer

a nice cube of fresh ginger, peeled 

1 teaspoon ground coriander 

2 teaspoons ground cumin

a good handful fresh coriander leaves, chopped

1 fresh green chilli, diced

1/2 teaspoon salt

approx 400g fresh or frozen peas

the juice of half a lemon

1/2 teaspoon cumin seeds, roasted and ground

small pot of natural yogurt


Into a big saucepan put the potato, onion, stock, ginger and spices and bring to the boil then simmer for 30 minutes.

Fish out that piece of ginger and discard.

Add the fresh coriander, chilli, salt, peas, lemon juice and roasted cumin powder.

Bring back to the boil and simmer for three minutes until the peas are soft.

potatoes in.JPG
Rachel Redlaw green pea and potato soup

Pour it all into a blender or food processor and blend until smooth.

Tip back into the saucepan, season with salt and pepper to taste, tip in the pot of yogurt and bring back to a simmer.

Once at a simmer, remove from heat and serve - you could add a swirl of yogurt, some extra black pepper or fresh coriander to garnish if liked.

yogurt in.JPG
Rachel Redlaw green pea and potato soup

Ruth's Homemade Chunky Guacamole

Whenever I talk to someone about food and life for this blog, I always ask them to share a recipe too ... and I honestly couldn't wait to try this one shared with me by my friend and huge inspiration to me ... Ruth Ridgeway.

For some unknown reason, I've never had a good guacamole recipe and now when I think about it, that seems really strange - I love all the flavours in this and I adore avocado.

But sometimes, maybe, perhaps  .... the reason I've never had a good one before because one day I would have this one.

And this one is my idea of perfection when it comes to guacamole.

Also, pretty much perfection in other ways.

In it's beautiful simplicity ... every ingredient is exactly what is needed and results in a big flavour, easily.

I also love those baby avocados now available - and just as well as now this seems to be a staple part of my diet - I don't want to be using half an avocado and having the other half go brown (no matter what I do, or tips I follow, it seems to still happen).

I've already made this twice in the last 24 hours!

Once to go with a griddled steak and some stir fried vegetables, which was amazing.

And then to top a piece of toasted ciabatta - with an egg on top of that, which was pretty much SUBLIME - and one of the best breakfast/brunches I've had for a long time.

I love this recipe ... I know you will too.


Ruth Ridgeway homemade chunky guacamole
I just love things on a good slice of wholemeal toast - and this homemade guacamole is one of them ... preferably with a crispy fried egg too
— Ruth Ridgeway

To serve 2, you'll need:

Ruth Ridgeway homemade chunky guacamole

1 avocado

1 tomato (flesh only) chopped into small cubes

A little red onion (or spring onions, either work) diced into small cubes

1/2 finely chopped red chilli

A little salt, a little pepper

Squeeze of lime (I used a good half a lime as I like it very lime-y!)


Put everything in a bowl and mash with a fork until mixed but chunky.

Serve, eat, enjoy.

Ruth Ridgeway homemade chunky guacamole

But those avocado skins!  What to do with them?

I hate food waste and I love natural beauty ingredients, so the avocado skins went straight into my bath - yep, just as they are.

OK, it IS messy, there's no hiding from that, but I turn them kind of inside out and rub all that leftover flesh, full of gorgeous avocado oil, onto my knees, elbows, all over my skin, then soak in the bath with the pieces of avocado.

You'll need to pick the pieces out and clean the bath straight away but it does give you very soft skin - it's so good for you! 

There's something about using natural ingredients that just makes me feel really good too - as well as getting that deliciously soft skin of course.

Oh and I added a couple of drops of my favourite lime essential oil too - just to kinda recreate the guacamole essence in my bath :) 

Rachel Redlaw natural beauty avocado
Rachel Redlaw natural beauty avocado lime
Rachel Redlaw natural beauty avocado


You might also like ... 

Green soup

Yep, like a green smoothie but for winter!

Possibly the most healthful, nourishing, restorative thing you can make - and delicious too. 

I found this recipe on Adriene Mishler's site - she of Yoga with Adriene that I love so much and can't stop going on about - I love my almost-daily yoga practice and how it makes me feel.

Her 31-day yoga challenge is a great place to start if you want to try making yoga a part of your life too.

But enough yoga, and back to the soup.

I simplified the recipe slightly and added a spoon of creamy Greek yogurt - but you could just leave this out of course.

This is a seriously good soup - it sounded just what I needed when I woke up with swollen glands and a sore throat - and it was ... but I wasn't expecting it to be so utterly delicious too. 

Definitely a new favourite for me!

As you'll need a food processor (or blender) to blend the soup at the end, you might as well use it to chop everything and make this super-fast to prepare too.

No need to wash it in between chopping the onion and the vegetables, and then I just gave it a quick rinse in cold water before using to blend the finished soup.

Here's the ingredients for a good big pan of soup ... 

1 onion

a teaspoon of light olive oil or other cooking oil

2 cloves of garlic, finely chopped

1 large courgette

3 stalks of celery

Water, freshly boiled from the kettle

1 vegetable stock cube

1-1.5 teaspoons white pepper (I love white pepper!)

a good handful of broccoli - and another of asparagus

2 big handfuls of spinach leaves or kale, something dark green and leafy anyway

Salt, to taste


Put the kettle on to boil and get all the ingredients ready.

Whizz the onion in the food processor then put straight into a large saucepan with the cooking oil and garlic and cook over a low heat until it's softened - add a splash of water too and make sure it doesn't stick.

This will take probably between 5-10 minutes, so while it's cooking, chop the courgette and celery together in the food processor and then add to the softened onion and garlic mixture, and stir together.

Rachel Redlaw green soup
onion.JPG
Rachel Redlaw green soup

Add a ladleful of water and crumble in the stock cube and the white pepper and mix it all in.

Then whizz up the broccoli and asparagus and add this too and cook for a minute.

Rachel Redlaw green soup

Throw in the spinach leaves and stir until wilted, then add as much water as you want to make your soup plus a tablespoon of natural or Greek yogurt (if using).

Simmer for ten minutes then remove from heat and cool slightly before blending very smooth.

Rachel Redlaw green soup

Return to the pan to re-heat gently and add salt to taste (I also added a little more yogurt, since the pot was open!).

Serve with another dollop of yogurt if liked, and with a chunk of good crusty bread, or with a salad - as you choose.

Rachel Redlaw green soup


YOU MIGHT ALSO LIKE ...

Happiness soup

Looking through her old recipe book last weekend for my mum's original lentil soup recipe (couldn't find it!), I found a recipe for Savoury Slice, something forgotten from my childhood and from my packed lunches, which I couldn't resist making again.

I also found a recipe for this 'Happiness Soup' written into the book in one of my sister's handwriting - none of us, including my mum, have ever made this as far as I know!

But how can I resist a recipe for 'Happiness Soup'? 

So I made it yesterday for lunch for my dad, my step-mum and me - and it was really good.

(There was also leftover pumpkin soup that my dad had made the day before - which I tried and, having claimed to hate pumpkin soup - well, I was wrong! I'll be sharing his pumpkin soup recipe soon too!).

Happiness soup is simple and tasty and perfect for lunch - it has rice in it so you won't need to fill up on bread either.

Here's what you mean to make enough for four people, but of course adapt according to the size of the courgettes, etc that you have! It doesn't need specific measures so don't be worried to change the measurements a bit.

3 medium - large courgettes

zest and juice of 1.5 lemons

3 tablespoons light olive oil (or other cooking oil)

1.5 teaspoon turmeric

1.2 teaspoon chilli powder

1.5 litre chicken (or vegetable) stock

120g basmati (or long grain) rice

salt and pepper to season

sliced chilli or fresh herbs to garnish (if liked)

Rachel Redlaw happiness soup

Peel and finely dice the courgettes and put into a big saucepan with the lemon zest and oil.

Fry gently until softened, stirring often, which will take probably around eight minutes or so.

Rachel Redlaw happiness soup

Add the lemon juice, stock, turmeric, chilli powder and rice and simmer for 15 minutes, partially covered.

Rachel Redlaw happiness soup

Remove the lid, season and simmer again for another five minutes.

Check that it's all cooked through - cook a little longer if you want the rice softer etc of course.

Serve warm with slices of chilli or perhaps some fresh herbs to garnish.

Rachel Redlaw happiness soup

Such a lovely autumnal colour and so healthy and nourishing too. 

A really good, happy soup indeed.


YOU MIGHT ALSO LIKE ...

Savoury slice

At the time, at school ... I just wanted to be 'normal'. 

What I really wanted was 'normal' packed lunches.  Like the other kids. 

White sliced bread sandwiches with cheese or ham perhaps. A packet of crisps. 'Normal' food.

In my house, sliced bread was a bit of a no-no. Sliced white bread? Never.

My sandwiches were made with AGA-baked wholemeal bread - and mmm, ok, let's say the quality could be 'mixed'!

I remember home-made celery soup that smelled so strongly vegetable-y that it resulted in a whole table of nose-holding (and very dramatic, not to say a little cruel) children screaming and running off to another table leaving me alone.

Of course NOW .. now, I'm glad I wasn't 'normal'.

And glad we had good, healthy, wholesome food and glad I was brought up to cook from scratch.

And I do actually remember many things I did like - and that I think looking back, some of those 'normal' children with their dull sandwiches and nothing fresh to eat were probably envious of.

One of my favourites was 'Savoury Slice'. 

I came across the recipe the other day in my mum's old recipe book (full of loose pages, Sellotaped in recipes cut from newspapers and now falling free, handwritten ideas, and leaflets from products and supermarkets over decades).

Rachel Redlaw savoury slice

I was looking for her lentil soup recipe - I didn't find it and we think there wasn't a recipe as such, it was just something she made often.

But I did just come across this long-forgotten 'Savoury Slice' and decided to make it. 

Really easy and actually very tasty!

In my opinion, still a very good - although probably still not 'normal' haha - idea for a packed lunch, picnic, snack or a great accompaniment to soup (especially for those who don't eat bread).


Here's what you need:

Rachel Redlaw savoury slice

50-60g butter

Approx 200g carrots, grated

Approx 200g Cheddar cheese, grated

1 small-medium onion, peeled and diced

Just over 100g - maybe 120g - oats

1/2 teaspoon oregano

Salt and pepper to season


Prepare the ingredients so everything's ready to go.

Melt the butter in a saucepan and then mix in all the other ingredient.

When completely mixed, tip out into a tin and bake for about 20-30 minutes (check it and see when you think it's done, it's not really that precise!) at Gas 7 / 220 C.

Rachel Redlaw savoury slice

Leave to cool, cut into slices or squares and keep in an airtight container - it'll keep for a few days.

I would have taken a picture of them nicely cut in squares - I was planning to have a couple on the side of the plate along with a bowl of soup. 

But then I ate the best looking ones!

I'll just have to make some more - will add another photo next time.


YOU MIGHT ALSO LIKE ...

Lovely lentil soup

My mum used to make the most delicious lentil soup.

It came into my mind recently - thinking about this soup she used to make maybe 27 years ago ... it was garlicky and yummy and bubbling away on the AGA with French bread warming in the oven to have with it.

I forgot to look for the recipe in her great big falling-apart book of written recipes and tucked in hand-written ones from others and yet more torn from magazines and newspapers too.

Next time I'm there and I remember, I'll look for it, but I wanted to make something like it today, and so made this.

My version will definitely be quicker as I'm using a tin of green lentils and I know my mum would have used red lentils from the jar, dried red lentils that would have needed soaking overnight before cooking for a long time.

So, here's my super-simple version - and I find this so nurturing, nourishing, comforting and all round GOOD at this time of year, when the leaves are falling and the nights drawing in.

And here's what you'll need to make two bowlfuls (either two bowls for one, or one each for two people - cook's choice!).

1 smallish brown onion

1 medium carrot

1 stick of celery 

2-3 cloves of garlic (mine were small so I had three)

cooking oil (I use a spray oil like THIS one)

tin (265g) of green lentils, drained and rinsed in cold water

500ml vegetable stock

2 bay leaves

1/2 teaspoon dried oregano

salt and pepper to taste

ideas to garnish to to serve: crispy bacon pieces, Greek yogurt, slices of red chilli, fresh chopped parsley leaves, more black pepper

Rachel Redlaw lovely lentil soup

You want to chop the onion, carrot and celery very finely - the easiest way is to use a food processor.

Then finely chop the garlic and add to the other vegetables.

Rachel Redlaw lovely lentil soup

Put a little oil (I use 20 sprays of my spray cooking oil) into a saucepan, add the vegetables and cook over a low heat for a couple of minutes, stirring all the time so it doesn't stick or burn - add a tiny splash of water if it does look like it will.

Then add the lentils, vegetable stock and herbs, stir and bring to the boil.

Rachel Redlaw lovely lentil soup

Add a lid (slightly ajar), reduce the heat and simmer for 15 minutes.

Stir and check to see if it needs a little more water, and then cover and simmer again for another 15 minutes.

At the end of this time, remove the lid, stir again, add a little more water if it needs it - or you like a thinner soup - and simmer again on the lowest heat for a final 15 minutes. 

Season with salt and pepper to taste.

You can then serve it as it is or blend it first. I prefer it blended and I also like to add a spoonful of yogurt at this stage.

Garnish with whatever you choose! I had another dollop of Greek yogurt, a couple of slices of red chilli and a sprinkling of freshly ground black pepper.

Rachel Redlaw lovely lentil soup

Serve as it is or make more of a meal with it by having with some warm crusty baguette and a green salad too.


OK! I need to make this again as my mum said her savoury secret was adding 1/4 - 1/5 teaspoon Marmite to the soup! 


YOU MIGHT ALSO LIKE ...

Green beans, onions, tomatoes + feta

This is a really lovely dish from Rachel Roddy writing in the Weekend Guardian recently - an Italian warm vegetable sort of salad/stew with soft flavours of braised runner beans, tomatoes, olive oil, salt - all warm and beautiful on a summer's day served with some good bread.

I couldn't resist trying it immediately (nope, patience has never been a strong point of mine!) so I ended up making it slightly differently with the ingredients I had.

I still loved it and I'll be making it again, both the way I made it, and going back to try the original.

It's pretty much perfect in its simplicity just as it is, although would make a great accompaniment to any grilled / barbecued meats of fish too.

You'll find the original recipe HERE.

And because my local shop didn't have any fresh basil the day that I made it, and because I had fine beans rather than runner beans, I made some tiny changes to the flavours - without the basil it would need something so I also used a few slices of chilli pepper and some ground cumin.

If you have fresh basil, then omit the chilli and the cumin.

Note that you leave the dish to sit for an hour or two after cooking to be served warm, so factor that into your timings!

Or just eat it hot of course.

Or make it the day before you want it and reheat very gently to serve - I imagine the flavours will only get better when left overnight.

Here's how I made a big pot, enough for two.

You'll need: 

1 medium white onion, very finely sliced

salt

1/2-1 small red chilli, very finely diced

a couple of tablespoons olive oil (I used 20 sprays of my spray cooking oil and a splash of water when it needed it) 

equal quantities of green beans or runner beans, and ripe tomatoes - I think I used 200-300g of each (and use the very best tomatoes you can get hold of - ones with lots of flavour)

1/2 teaspoon ground cumin

a good chunk of Feta cheese to serve

Get the ingredients together

Get the ingredients together

Top and tail the beans and cut into small pieces

Top and tail the beans and cut into small pieces

Remove tough cores from the tomatoes and dice

Remove tough cores from the tomatoes and dice

Put the oil in a pan and when warmed, add the finely sliced onion and a small pinch of salt, and the chilli (if using) and cook gently over a low-medium heat until the onion is soft - if you use a spray oil like me, you'll need to add a splash of water or two as it cooks to prevent the onion burning. Cooking onions until soft always takes longer than I think it will - probably around 10 minutes.

Add the beans to the pan, stir well to combine with the onion, then cook - still stirring - for a 3-4 minutes.

Rachel Redlaw green beans, onions, tomatoes + feta

Add the tomatoes, another small pinch of salt and 1/2 teaspoon ground cumin (if using) then cover the pan and leave for a couple of minutes. Uncover the pan and stir, then cover for another 4-5 minutes (have a look and stir if you like - and if you need a little splash of water add it - although the juice from the tomatoes should be coming out now as it has time to cook with the lid on).

Once the tomatoes are releasing their juice, uncover the pan and cook uncovered on a low heat, simmering gently, for 30-40 minutes, stirring occasionally.

Rachel Redlaw green beans, onions, tomatoes + feta

The beans will be really tender and the sauce lovely and thick.

If you have fresh basil add a handful of torn basil leaves now for a couple of minutes. 

Taste and see if it needs any seasoning, then remove from heat and allow to sit for an hour or two before serving warm with the piece of feta crumbled over and served with bread, if liked. 

 
Rachel Redlaw green beans, onions, tomatoes + feta


YOU MIGHT ALSO LIKE ...

Vegan tofu + mushroom balls w/ a ginger sauce

When I knew my vegan friend was coming for dinner, I started a LOT of research googling recipe after recipe after recipe for something that would inspire me.

I was after something to make to go alongside my favourite prawn balls and was hoping for inspiration to create something new.

But eventually I came across this great recipe and pretty much just made it exactly as the original.

The original is HERE and I simplified it (to my mind anyway) slightly - and my go at making it you can find HERE.

Vegan tofu + shiitake mushroom balls with a sort of ginger sauce and sesame seeds.

They were very light with the lovely tofu but a bit crumbly - they became firmer on cooling and would be great served as a main with rice and vegetables.

We also had a sweet chilli sauce and a cucumber dipping sauce to accompany the prawn and tofu balls.

Super-simple with a food processor (or blender).

I only put these onto toothpick skewers to match the look of the prawn balls but actually these were a little crumbly so I'd just heap them in a yummy pile next time and pour the sauce and seeds over!

Rachel Redlaw tofu + mushroom balls

OK, let's get started ... pre-heat the oven to 375F / 190C / Gas 5.

The original recipe said to use baking paper brushed with oil on a baking tray ... which would probably be ideal, but I didn't have any greaseproof paper so just added a little oil to my baking tray and wiped it over with a piece of kitchen towel (and it worked fine).

The ingredients for the tofu balls themselves

About 200g firm tofu (I've had so much trouble with tofu over the years and then recently realised it was really down to me not buying the right sort - you do need the firm one!), drained and cut into a few pieces

A big handful of shiitake mushrooms - about 100g or a little more - and if you can't get shiitake then just use whatever mushrooms you have, stems removed and roughly chopped

200g of panko breadcrumbs (I found these easily at the supermarket - I'm sure you could use dry bread to make breadcrumbs in the food processor and then perhaps toast quickly in a dry pan and it would work well)

1 small, or half a large white onion, peeled and chopped into a few pieces

I garlic clove, finely chopped

2 tablespoons soy or almond milk

2 tablespoons light soy sauce

For the ginger sauce

I couldn't work out how to convert US cups very easily, so I just used a small cup and followed the measurements - I think as long as you're consistent it'll be fine (and it was, it was good).

1/4 cup cold water

1 tablespoon cornstarch

2 tablespoons rice vinegar (I didn't have any so used 1 tablespoon of white malt vinegar - I used less as it'll have a stronger flavour and taste than rice vinegar)

2 teaspoons sugar

1 teaspoon sesame oil

2 teaspoons grated fresh ginger

To serve

Some sesame seeds, toasted quickly in a dry pan (watch it all the time, they burn easily!)

Sliced spring onions


Put the tofu, mushrooms, breadcrumbs, onion, garlic, milk and soy sauce in the food processor and pulse until completely mixed and crumbly - keep scraping the mixture down into the bowl as needed.

(It was so good I did eat some - I mean 'taste' - at this stage!).

IMG_0375.JPG
Rachel Redlaw tofu + mushroom balls

Roll into about 20 balls and put onto the baking sheet.

I was worried that it was too crumbly to make balls but actually I just took a small spoonful and made it into a ball and it was easy!

Brush with oil (I think I forgot to do this so don't worry too much!).

Pop in the oven and bake for about half an hour, turning half way through - carefully! I started turning mine too soon and they needed a little longer to be firm enough to turn so just see what works for you and your oven.

When cooked, remove and either serve straight away with the ginger sauce and topped with the sesame seeds - this would be a lovely dinner with rice and some stir fried vegetables - or you can re-heat later.

I have to admit to eating two or three as soon as they were cool enough - I really like these!

While they're baking, make the ginger sauce if you're eating them immediately.

Stir the water and cornstarch together to mix well and put into a small saucepan with the vinegar, sugar, sesame oil and ginger and bring slowly to a low simmer. Simmer for a minute or so, stirring all the time, until the sauce has thickened.

When ready to serve, pour the sauce over the tofu balls and top with the sesame seeds and sliced spring onions.

So good - hope you like them!


YOU MIGHT ALSO LIKE ...

Soy/sesame oil/ginger/garlic: Asian-style grilled mushrooms

These are so good!

(And so easy too).

I've made them as a light main meal with rice and also as a side dish to accompany a bigger dinner - and have plans to slice them and use in a stir fry with rice noodles (pics to follow).

Just lovely ... do try.

For one as a main, or two as a side, you'll need:

2 flat Portobello mushrooms, peeled and stalk removed

Approx 1 teaspoon finely chopped garlic (about one clove)

Approx 2 teaspoon finely chopped fresh ginger

2 tablespoons light soy sauce

A scant 1 tablespoon toasted sesame oil

Cooked rice and / or other dishes, to serve.

Rachel Redlaw asian grilled mushrooms

Peel the mushrooms and remove the stalks.

Mince the garlic and ginger and put in a bowl. Add the soy sauce and toasted sesame oil and mix all to combine well.

Rachel Redlaw asian grilled mushrooms

Switch the grill on to high. Turn the mushrooms upside down and spray a couple of times each with 1-cal spray oil, or just a drop or two of olive oil.

Cook for 5-6 minutes. These huge mushrooms take so much longer than I always think they will to cook!

Turn the mushrooms, add the garlic/ginger/soy/sesame oil mixture over them and grill for another 5-6 minutes.

Rachel Redlaw asian grilled mushrooms
with topping.JPG

Careful not to lose the delicious sauce when you transfer them from the grill to plates! 

Rachel Redlaw asian grilled mushrooms

I love this easy, tasty recipe - and hope you do too.


Sardine or mushroom mango chutney curry

One of my sisters emailed me a recipe this week for 'Mumbai Sardine Chutney' using tinned sardines and mango chutney - and I confess my first reaction was 'YUK'! 

But she said it was much nicer than it sounded and that they had had it twice in a week as it was good value, easy and tasty.  So of course I gave it a try.  And it was all of those things.

I had some leftovers and the next night thought I'd use some mushrooms that were in the fridge to add to the sardine curry, but then decided rather than mixing it straight in I'd try making a mushroom version on its own and then combine. 

However, I found I much preferred the version made with mushroom rather than sardines!

I did find the sardine flavour a little strong for my taste, although I would have it again. In the meantime though, I've had the mushroom mango chutney curry twice more as I wanted to be completely certain that this slightly unusual sounding combination actually does go together.

And for me, it does.  I'd love to know your thoughts on this one - whether it's on the sardine or the mushroom variation! 

Let's start with the original, with the sardine curry.

For 2-3 portions, you'll need 

cooked rice or chapatis, to serve 

cooking oil 

1 small-ish white onion, chopped

1 green pepper

2 tsp garam masala

2 tsp dried chilli flakes

1 tsp turmeric

2 bay leaves

2 x 120g tins sardines, drained 

2 tablespoons mango chutney

a handful of coriander, chopped and a little red chilli sliced, if liked (it's quite spicy anyway)

Rachel Redlaw sardine or mushroom mango chutney curry
coriander and chilli.jpg

Put a little slosh of cooking oil in a frying pan, add the chopped onion and green pepper and cook over a low-medium heat until soft.  This always takes longer than I think (as I'm used to fast stir-frying!) and takes probably 5 or 6 minutes.

 
Rachel Redlaw sardine or mushroom mango chutney curry
 

Add the spices and bay leaves, fry for a few seconds then add the sardines and mix well.

Rachel Redlaw sardine or mushroom mango chutney curry

Add a little splash of water if it's too thick, and cook for a couple of minutes until the sardines are hot through. 

Stir in the mango chutney then top with the coriander and chilli (if using) and serve with rice or warm chapatis. 

Rachel Redlaw sardine or mushroom mango chutney curry

To make the mushroom, version, well, it's exactly the same ... except with mushrooms! 

I used about this many which made enough for two small chapatis (yes I ate both), so I halved the quantities of everything else, using half an onion, half a green pepper, etc.

Rachel Redlaw sardine or mushroom mango chutney curry

I did add a splash of water to the mushrooms while they were cooking.

mushrooms in.jpg
Rachel Redlaw sardine or mushroom mango chutney curry

I also made a quick yogurt raita to have with the curry - just a very small garlic clove very finely chopped, some natural yogurt, some diced cucumber, all stirred together and drizzled with a little olive oil and a pinch of salt.

 
Rachel Redlaw sardine or mushroom mango chutney curry raita


YOU MIGHT ALSO LIKE ...

Summer roast tomatoes / roast tomato pasta

Tomatoes to me just smell of summer

I love the smell of them growing, of the stalks, of the green and ripe tomatoes both (and I'm looking forward to next weekend and having tomatoes straight from my parents' garden). 

Add oregano - and they smell like a Mediterranean summer

And roasting tomatoes with oregano has got to be one of the most languid and evocative cooking smells ever. 

So easy to do - but as with nearly everything very simple to make that relies on flavour, using the best tomatoes you can find is going to make all the difference.  I admit to just getting mine at the supermarket but I did get the tomatoes on the vine that actually smell of the fruit. 

Halve the tomatoes, cutting out the stalk if it looks a bit tough, and place on a baking tray.  Drizzle over extra-virgin olive oil, some salt and black pepper, and some dried oregano.  

Then roast in a low oven (Gas 4 / 170 degrees) for an hour.  

Rachel Walder The Tiniest Thai roast tomatoes with oregano

About half an in to the cooking time, they started SINGING with the smell of tomatoes and oregano, making my whole flat smell amazing!  

And that's it.  

Rachel Walder The Tiniest Thai roast tomatoes with oregano

Once cooked, you can use them as part of an antipasta platter, or the base of a tomato sauce for pasta or pizza.  Put them in pastry.  Have them on toast.  Eat them in a salad. Or even put them in a jar and give them as a gift. 

What I did was make a really simple pasta dish for dinner

In a frying pan I softened some chopped onion and a clove of chopped garlic over a low heat in a little olive oil, then added the tomatoes, breaking them up with a wooden spoon.  

No need to add extra seasoning as the tomatoes have so much flavour.  When they started to bubble I added some de-veined prawns, a few chilli flakes and some halved (and stoned) black olives.  

Right at the end, I threw in some fresh basil. 

When it was hot right through, I mixed it with pasta and served with a green salad and my favourite dressing of olive oil, vinegar and Dijon mustard. 

Rachel Walder The Tiniest Thai roast tomatoes with oregano

Tempted to make more today - they were so good!

Would love to hear what you make with roast tomatoes - do give them a try. 


YOU MIGHT ALSO LIKE ...


Viktoria's paprika potatoes / paprikas krumpli

This is a sort-of-soup that's almost a stew.  It's simple and very tasty. Filling and good value.

I love potatoes so I really liked this! 

The recipe was shared with me by my friend Viktoria and she told me that during her childhood in Hungary it was traditional to eat two courses at main meals, usually starting with a soup - often a vegetable broth or sometimes something more substantial like this.

It's made with a Hungarian dried sausage not available over here, so Viktoria suggested using chorizo or - if you prefer fresh sausage - a Polish sausage that will be more readily available would be similar.

When I told another Hungarian friend that I was making this dish she said her family make it with frankfurters - I might try those next time I make it.  

I found that the chorizo was soft as it's added at the same time as the water - this is the correct texture but it was an unusual texture for my palate.  

When I make this again (and I will), I might try frying the sausage with the onion and see how that works. 

For two, I used:    

two potatoes, peeled and diced

one onion

cooking oil

about 1/2 tablespoon sweet paprika (Hungarian if you can get it, or spicy paprika if you prefer) 

a piece of dry sausage or frankfurter (just use however much you like!) 

a couple of bay leaves (I used dried but I'd like to try it with fresh too)

salt and black pepper

The Tiniest Thai Rachel Walder Viktoria's paprika potatoes

Peel, wash and dice the potatoes, and peel and chop the onion finely.

Heat a tablespoon or so of oil in a saucepan and saute the onion until soft. 

Add the paprika and mix in quickly as you don't want the paprika to burn and taste bitter.

 
The Tiniest Thai Rachel Walder Viktoria's paprika potatoes
 

Now tip in the diced potatoes, stir to mix and then add enough water to cover.

The Tiniest Thai Rachel Walder Viktoria's paprika potatoes

Slice and add the sausage plus a couple of bay leaves and a little salt and pepper (you can adjust to taste when it's cooked and do bear in mind that the sausage is quite salty.

The Tiniest Thai Rachel Walder Viktoria's paprika potatoes

Cook until potatoes are cooked, around 15 minutes.  I deliberately overcooked them a little as I'm with Viktoria on this one and prefer them quite soft in this sort of stew/soup. 

Add salt and pepper to taste, and serve!

So simple and really good. 

 
The Tiniest Thai Rachel Walder Viktoria's paprika potatoes
 

She also shared with me a traditional dish for the second course to follow the paprikas krumpli and as soon as I've made it, I'll add it here too.

In the meantime, let me know what you think of the paprika potatoes! 


WANT MORE LIKE THIS?


YOU MIGHT ALSO LIKE ... 


Valentina's Sicilian Orange Salad

This is a really good and easy salad, another family recipe from my friend Valentina, and a traditional Sicilian dish. 

I think this would probably make enough for 4-6 people depending what you served it with.  I halved the quantities for two and it was perfect with grilled tuna steaks and my favourite tomato and onion salad.

You'll need:

The Tiniest Thai Rachel Walder Sicilian orange salad

For the dressing -

4 tablepspoons extra vergin olive oil

the juice of 1/2 lemon juice

1 tablespoon chopped parsley

salt and pepper to season

For the salad -

4 oranges

2 fennel bulbs

approx 60g black olives

1/2 white onion

Make the dressing first by mixing all the dressing ingredients (olive oil, lemon juice, parsley, salt and pepper) in a bowl.

The Tiniest Thai Rachel Walder Sicilian orange salad

Even though I halved the salad quantities and the olive oil, I still put in this much lemon juice as I like it really lemon-y so do taste and adjust as you like. 

Set aside while you prepare the salad. 

Peel and segment the oranges, removing all pith then slice or halve as you prefer, but do cut them gently to try to keep the juice within the orange pieces rather than all over the bowl.

Slice the onion and fennel bulbs in very thin slices and add the olives.

Add the orange pieces and combine gently, then add the dressing and toss with clean hands so that everything is coated and thoroughly mixed.

The Tiniest Thai Rachel Walder Sicilian orange salad

It will keep in the fridge for a day or so, but is best eaten fresh.  It was deliciously summery with grilled tuna steaks and I'll be having it with steak soon too.

If you make this I'd love to know what you eat it with so do let me know in the comments below.


YOU MIGHT ALSO LIKE ...

Valentina's mushroom risotto

This is the best, most delicious risotto I've ever made, all thanks to my friend Valentina sharing her family recipe.  

When she talked me through how to make this, we also chatted about family, food and memories - if you'd like to know more then head over here

But if you 'just' want this gorgeous recipe, then here's what you need to make the most beautiful mushroom risotto for two.

 
The Tiniest Thai Rachel Walder mushroom risotto
 

half a 25g packet of dried porcini mushrooms, soaked in hot water for 20 minutes

extra virgin olive oil

1/4 onion, finely sliced

2 garlic cloves, chopped finely

a selection of mushrooms -  I used about 8 white and chestnut mushrooms 

1/4 onion

2 garlic cloves

salt

1 vegetable stock cube (I used chicken as I didn't have a veggie one) made into stock with 1 litre of boiling water

about 3/4 cup risotto rice

2 tablesppons grated fresh parmigiano cheese

3 teaspoons mushroom concentrate (optional)

1 tablespoon double cream 

salt and black pepper, to season

chopped fresh parsley to serve

Put the dried mushrooms in a bowl, cover with hot water and leave to soak for 20 minutes. 

Put a saucepan over a low heat, add some extra virgin olive oil and tip in the onion and garlic plus a pinch of salt.

 
The Tiniest Thai Rachel Walder mushroom risotto
 

Cook over a low heat for around ten minutes until soft or, as Valentina says, until 'it makes gold' (but not brown, you don't want them browned). 

In the meantime, chop the fresh mushrooms into small pieces.

When the onions and garlic are soft, add the mushrooms to the pan and continue cooking on a low heat, stirring every now and then. 

 
The Tiniest Thai Rachel Walder mushroom risotto
 

After the mushrooms have been cooking for around 10-15 minutes, add one ladle of the stock and stir in.

Now add the risotto rice - the rice will absorb the little water that comes from the mushrooms so you need to stir constantly for the first 30 seconds. 

 
The Tiniest Thai Rachel Walder mushroom risotto
 

Then slowly add another ladle of the stock and keep stirring so the rice doesn't burn.

Now strain the dried mushrooms, add and again, stir in.

All you need to do now is add a ladle of stock at a time and stir until it is absorbed.

 
The Tiniest Thai Rachel Walder mushroom risotto
 

Continue doing this until the rice is creamy and all the water absorbed.  You might not need the full litre of stock or you might need to add a little more water.  

It's going to take quite a while, perhaps 20 minutes, so you do just have to take it slowly, be patient and surrender to the whole long beautiful process of making a risotto. 

 
The Tiniest Thai Rachel Walder mushroom risotto
 

When the rice is creamy and just before you turn off the heat, add two tablespoons of grated Parmigiano cheese, three teaspoons of mushroom concentrate ( if you have it) and one tablespoon of double cream. 

Stir to combine, turn off the heat, season to taste and serve your risotto with a little chopped parsley. 

 
The Tiniest Thai Rachel Walder mushroom risotto
 

PS. I have a confession.  

I've made this twice now - both times I was home on my own and once I thought I'd leave a portion for the bf to have when he got home and the other time i thought I'd take the other half in to work for lunch the next day.  

On both occasions, full though I was, I ended up eating the (big) second portion that same night ... oops.

So beware! Only make this when you have all the people needed to finish it, or lots of willpower.

Because this is DELICIOUS.


YOU MIGHT ALSO LIKE ...

Mango, chilli and lime lettuce cups

I was making larb recently for a Tiniest Thai lunch and really needed a vegetarian version, so found this recipe online, but didn't want to use the pastry cases suggested so - as with the larb - I prefer this served in lettuce 'cups'.  

Just mix together the following and spoon into little gem lettuce leaves to serve.  

1 mango, diced

1 red chilli, diced

½ red onion, diced

handful coriander leaves, chopped

the juice of 1 lime

2 tbsp sweet chilli sauce (if you want to make your own, try my recipe here)

This will make enough for about 15-20 cups. Only make it about an hour before you need it though as it will go soggy otherwise!

The Tiniest Thai Rachel Walder mango chilli lime cups


LIKE THIS?  YOU MIGHT WANT TO TRY THESE ...

2 great condiments to liven up vegetables ...

... and the best 'Zen lunch' guaranteed to do the same for me.

A lovely toasty sesame salt to sprinkle over plain rice, green vegetables, roast chicken and more. And a really good easy soy and sesame sauce that is great on plain steamed veg.

First, the sesame salt, which will keep for a week or two in an airtight container.

All you need is:

3 tablespoons sesame seeds

1/2 teaspoon salt

The Tiniest Thai Rachel Walder condiments for veg

Heat a frying pan over a medium-low heat, add the sesame seeds and salt and toast until golden brown, stirring or shaking the pan constantly. It will take maybe five minutes.

The Tiniest Thai Rachel Walder condiments for veg

If you've got more time, the flavour will be even better drawn out more slowly, toasted over a very low heat for perhaps 10-15 minutes.

Once toasted, crush in a mortar or grind in a spice mill and transfer to a jar.

The Tiniest Thai Rachel Walder condiments for veg

The lovely soy and sesame sauce is even easier and you need just these few store cupboard ingredients:

2 tablespoons dark soy sauce (if you only have light soy then stir in a teaspoon of brown sugar to dissolve before using)

1 teaspoon fish sauce

1/2 teaspoon toasted sesame oil

4 teaspoons white or rice vinegar

The Tiniest Thai Rachel Walder condiments for veg

Mix it all together in a bowl. Any left over will keep covered in the fridge for a few days.

And then - for me today - it all comes together in one restorative, soothing 'Zen lunch' of steamed rice and broccoli with the sauce spooned over and topped with some sesame salt.

All is well.

The Tiniest Thai Rachel Walder condiments for veg


YOU MIGHT ALSO LIKE ...


Burmese spicy cabbage

Healthy, detox-y, budget-y and delicious spicy Burmese cabbage.

Not Thai (obviously), and not really my recipe either - I found it online and have since adapted it but I think it's originally from one of the Leon cookbooks.  However, this is way too good not to share, and it's great to eat this time of year.  Clearly I'm not on a detox (should have moved that glass of red out of shot!) but I am on a budget and wanting to eat vegetables and clean, spicy flavours after all the festive gorging on rich foods.

This will serve four as a side dish -  I love it just with plain grilled or roasted chicken, but it would also be good as a main course in its own right served with rice.

The Tiniest Thai Rachel Walder Burmese cabbage

approx 400g of any cabbage

1/2 - 1 red chilli (a normal one, not a birds eye one!)

a piece of ginger

2-3 cloves of garlic

a few spring onions

around 50g roasted peanuts (or add toasted flaked almonds right at the end)

1 teaspoon turmeric

1 tablespoon fish sauce

100 ml hot water

juice of half a lemon

2 tablespoons cooking oil

coriander leaves or, like me, the coriander stalks that I had leftover in the fridge

1. Slice the cabbage thinly and chop the red chilli

2. Chop the spring onions, garlic, ginger and peanuts and set aside in a bowl (they all go in at the same time).  I also added the chopped coriander stalks, but if you have leaves these will go in later

3. Pour 100ml hot water into a measuring jug and add the turmeric, stirring until smooth, then add the lemon juice and fish sauce

The Tiniest Thai Rachel Walder Burmese cabbage

4. Heat the oil in a wok or large frying pan and add the cabbage and chilli

The Tiniest Thai Rachel Walder Burmese cabbage

5. After 2-3 minutes when the cabbage has just started to wilt, add the spring onions, ginger, garlic and peanuts (and coriander stalks if using) and cook for a further 2-3 minutes

The Tiniest Thai Rachel Walder Burmese cabbage

6. Pour in the liquid and cook for a couple of minutes more and if you are using coriander leaves, add these right at the end of the cooking time

The Tiniest Thai Rachel Walder Burmese cabbage

7. Taste and add another squeeze of lemon at the end if it needs it

DELICIOUS!

 
Rachel Redlaw Burmese cabbage
 

If you try this recipe, do let me know what you think.


YOU MIGHT ALSO LIKE ...

No Name

Yes, it really is called No Name.  I believe it was originally just an at-home concoction to use up leftovers, and when it found its way onto the menus of beachside bars and restaurants, it was listed as No Name.

These little vegetable fritters may have started life as leftovers, but they are very tasty in a bubble-and-squeak or pakora sort of way. Great as snacks or starters.

I’ve never come across a recipe for No Name, but having a craving this evening, I thought I’d try to make some.  This is a bit of an experiment and while I’m fairly pleased with the outcome, I really would love to know what you think  – from No Name authorities and first-timers alike!

Any leftover cooked vegetable should work well, but never having leftovers, I’m making it (up) from scratch …

To make around 15 small fritters

The Tiniest Thai Rachel Walder No Name

1/4 cabbage

1 carrot

1 mushroom

2 spring onions

1 clove of garlic

1 green chilli

small handful of coriander

juice of 1/2 lime

1 tsp fish sauce

2 tsp soy sauce

1 tsp baking powder

2 tbsp cornflour

2.5 tbsp plain flour

coriander leaves to garnish, and chilli sauce to serve

Put a pan of water on to boil, and chop the cabbage, carrot and mushroom into small pieces.

The Tiniest Thai Rachel Walder No Name

Chop the spring onions, garlic, chilli and coriander and put into a mixing bowl.

The Tiniest Thai Rachel Walder No Name

Boil the cabbage, carrot and mushroom for five minutes, drain and leave to cool.

Add all the other ingredients to the mixing bowl.  With hindsight it might have been more elegant to have sifted the flours and baking powder together first – but I didn’t do this and it worked out ok.

Add the cooled cooked vegetables and mix well.

The Tiniest Thai Rachel Walder No Name

Heat a wok or frying pan and add quite a lot of oil to – almost – deep fry.

When very hot, add spoonfuls of the mixture straight into the pan to form separate patties and cook for 2-3 minutes on each side until golden brown and crisp (turning really carefully as all that oil will spit as I now know to my cost).

The Tiniest Thai Rachel Walder No Name

Drain and blot well on kitchen paper and then eat still very hot, with some sweet or spicy chilli sauce.

The Tiniest Thai Rachel Walder No Name

Oh, and a side order of sand underfoot … beautiful dark sea all around … a big big sky … the squid fishing boats’ lights bright on the horizon … and a cold beer Chang would be great.

No Name, your name is Nostalgia.


YOU MIGHT ALSO LIKE ...